The Ultimate Guide to Baking the Most Delicious & Moist Pumpkin Banana Bread for Fall
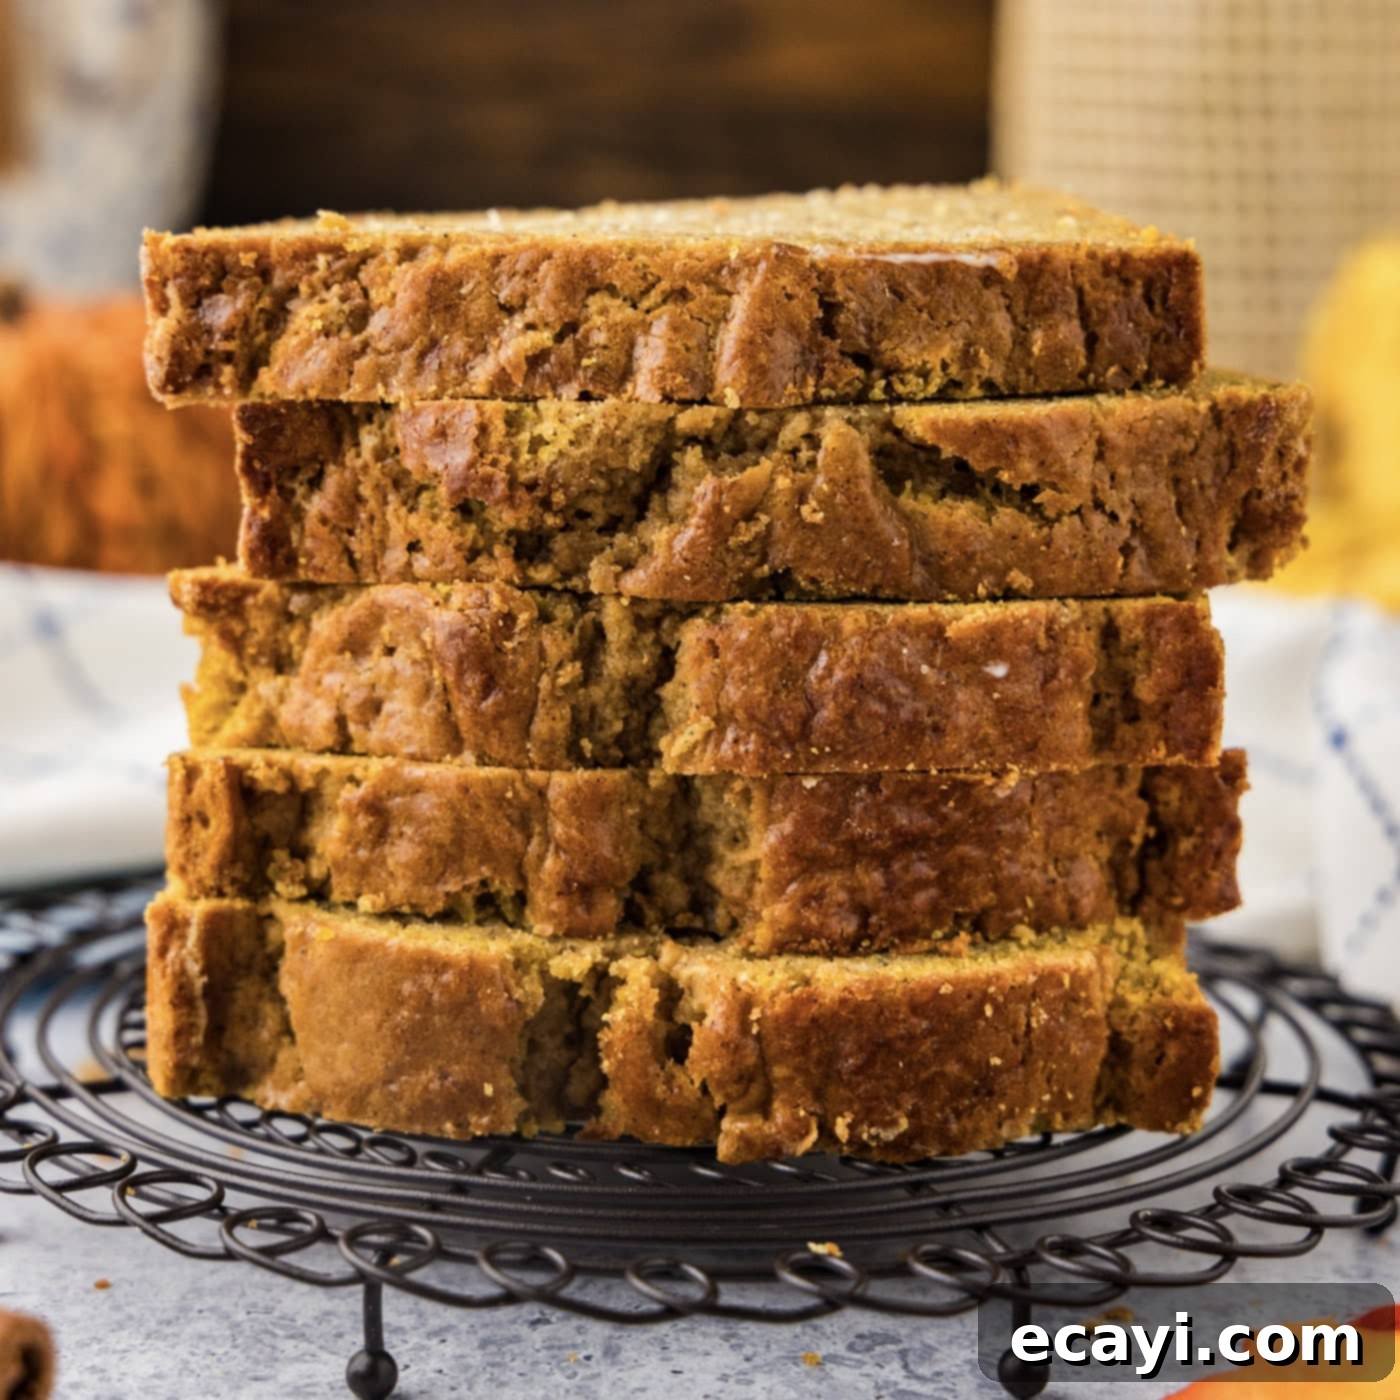
As the leaves begin to change and a crisp chill fills the air, there’s nothing quite like the comforting aroma of freshly baked goods wafting from your kitchen. This pumpkin banana bread recipe perfectly encapsulates the essence of autumn. It’s an exceptionally moisture-rich and subtly spiced quick bread that effortlessly combines the earthy sweetness of pumpkin with the familiar comfort of ripe bananas. This delightful loaf is not just a treat; it’s an experience, making it an absolute must-add to your fall baking list. Whether you’re a seasoned baker or just starting, this easy-to-follow recipe promises a soft, tender, and incredibly flavorful result that will become a seasonal favorite.
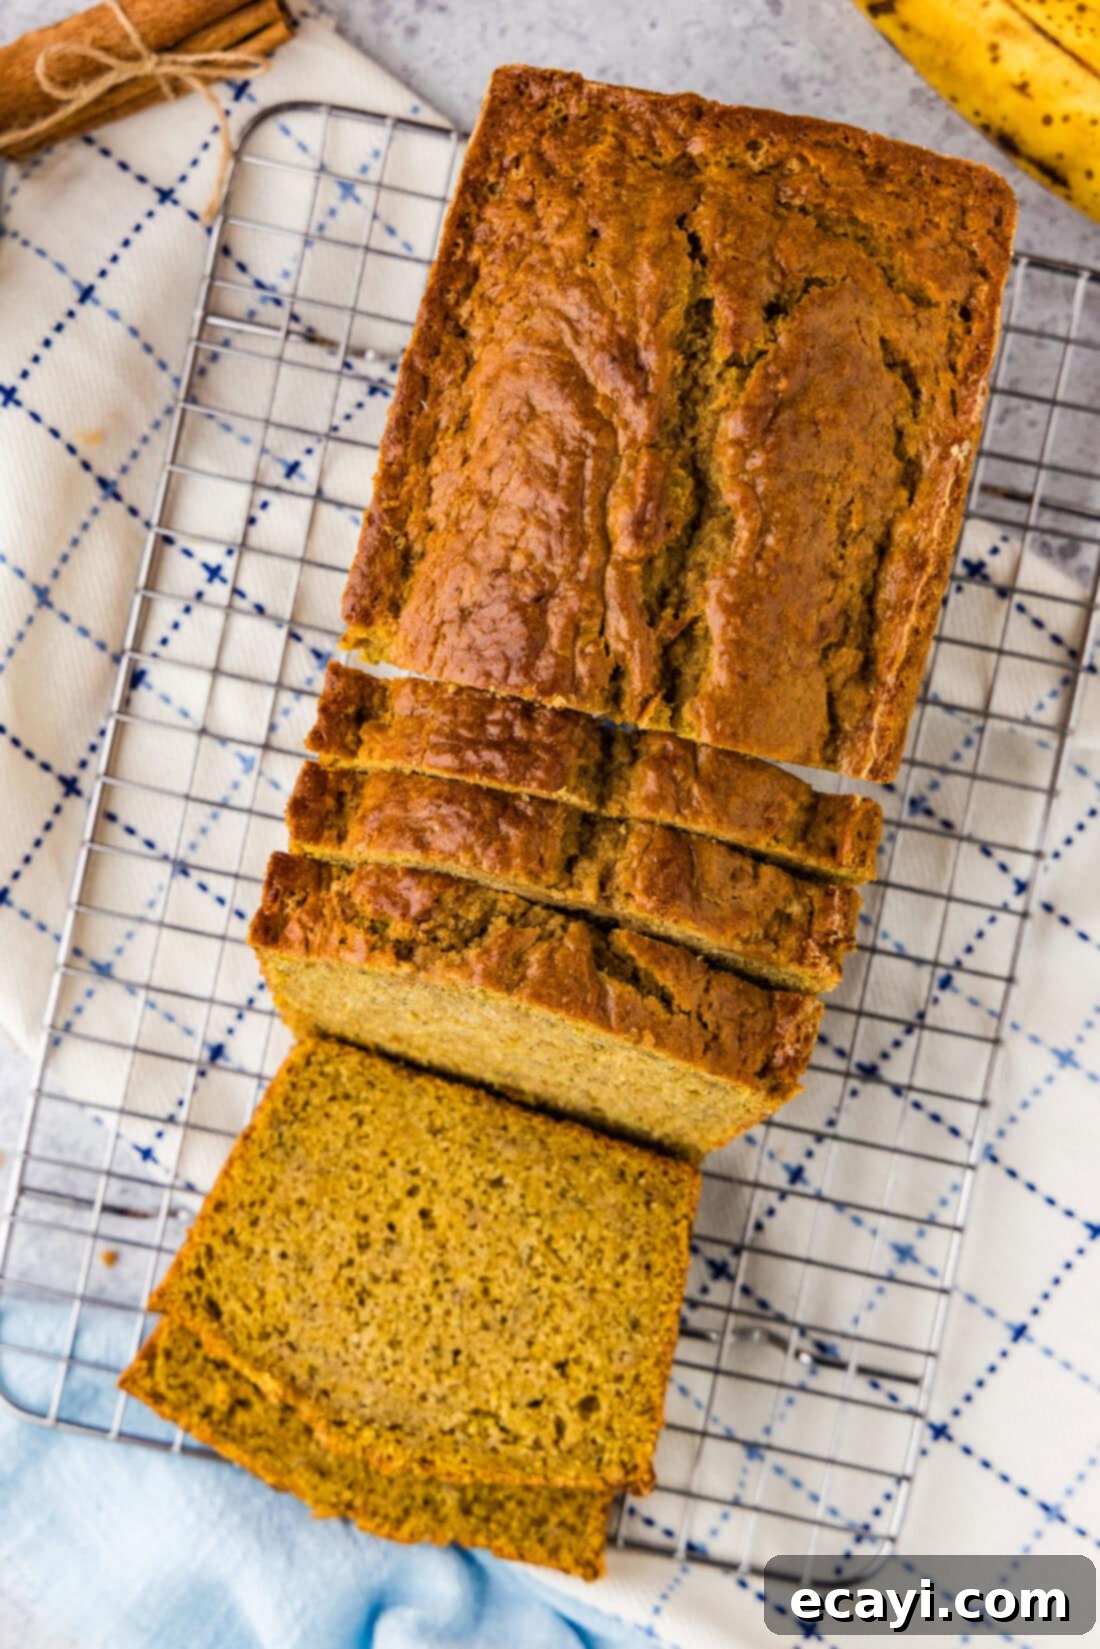
Why This Pumpkin Banana Bread Recipe Is a Fall Baking Must-Try
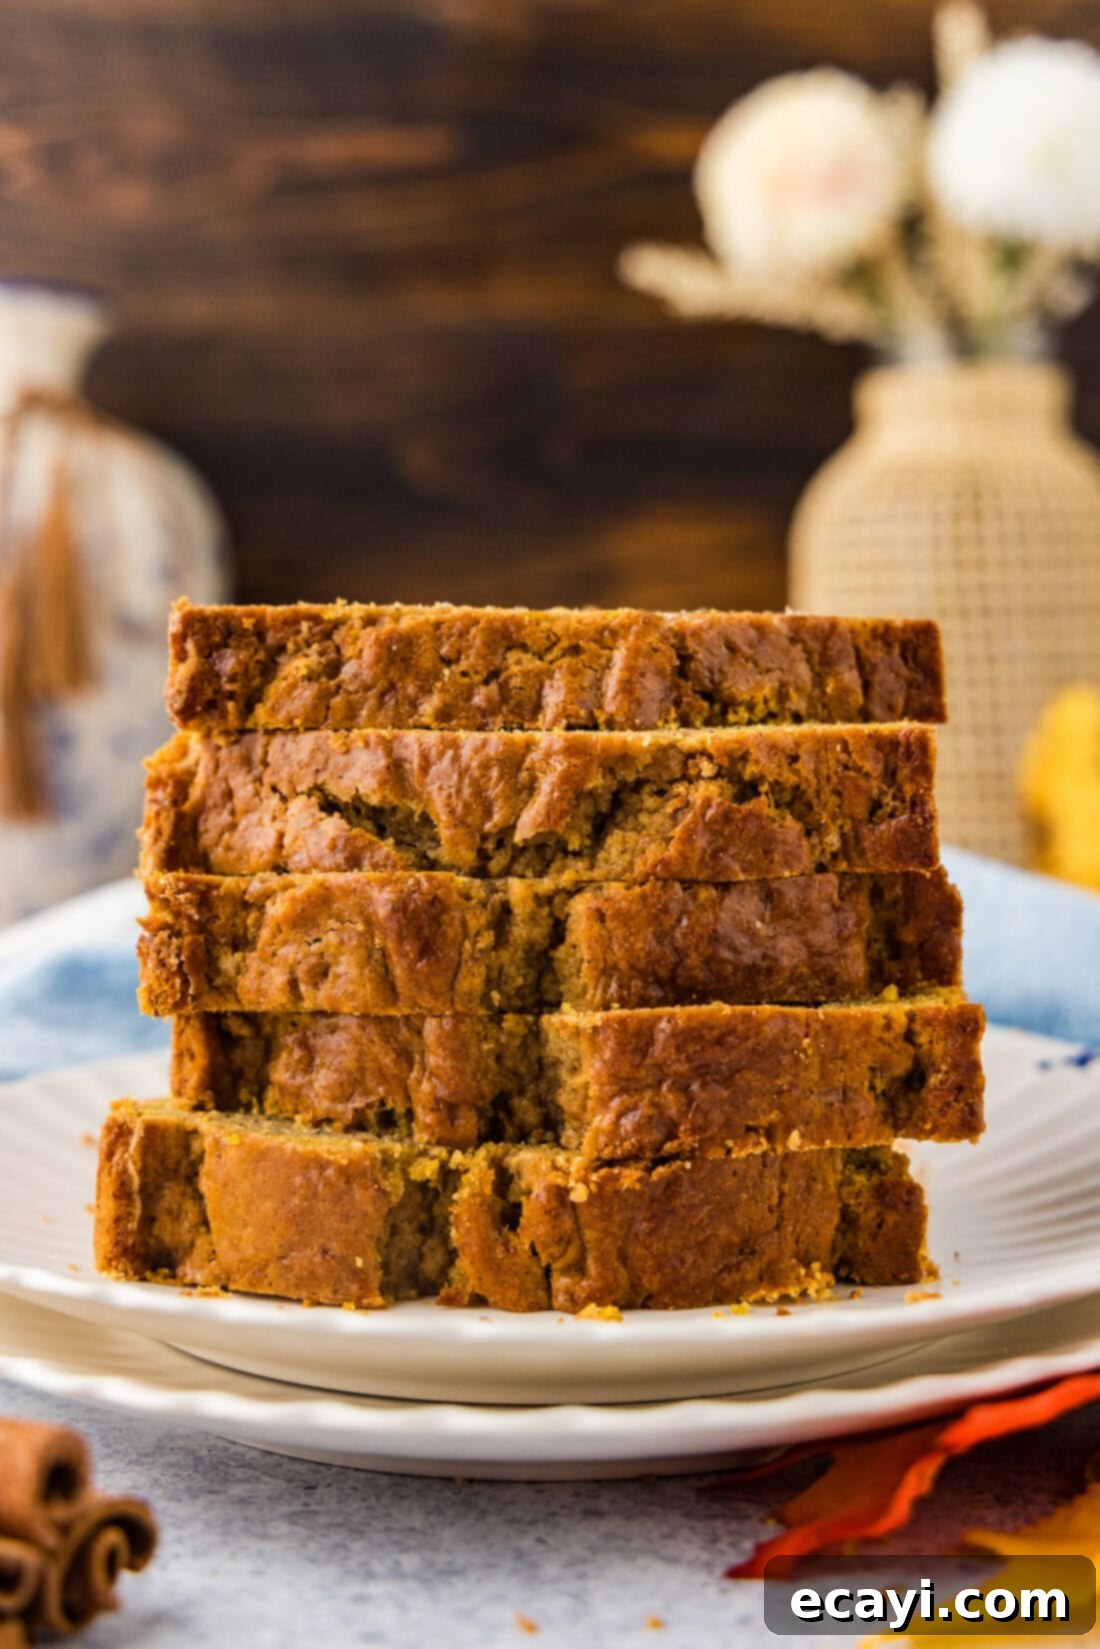
This isn’t just another quick bread; this pumpkin banana bread truly stands out! Its secret lies in the harmonious blend of two key moistening ingredients: pumpkin puree and perfectly mashed ripe bananas. This dynamic duo ensures every slice is incredibly tender, preventing any dryness often associated with baked goods. The result is a bread that is soft to the touch and melts in your mouth, making it arguably one of the best ways to elevate a classic banana bread recipe into a seasonal masterpiece.
Beyond its luxurious texture, this loaf is gently infused with the quintessential flavors of autumn. A balanced combination of warm cinnamon and aromatic pumpkin pie spice creates a fragrant, inviting profile that screams fall. It embodies everything you desire in a comforting baked good during the cooler months. While it’s utterly perfect on its own, its versatility is another strong point. You can effortlessly customize it with your favorite additions like chocolate chips for a touch of sweetness, chopped nuts for a satisfying crunch, or dried fruits for extra chewiness and flavor. You can even transform this delightful batter into individual pumpkin banana bread muffins for grab-and-go treats. But honestly, its inherent flavor and moistness are so outstanding, it needs no embellishment to be truly spectacular.
Gather Your Ingredients for the Best Pumpkin Banana Bread
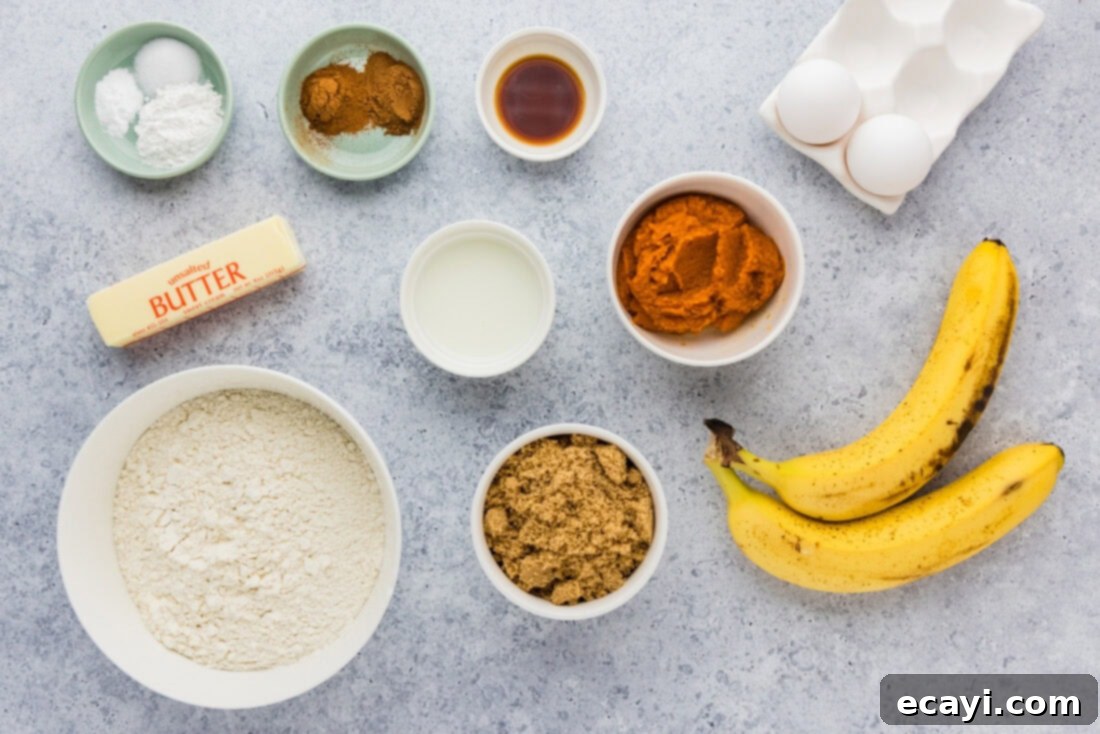
To embark on this delightful baking journey, you’ll need a selection of pantry staples and fresh ingredients. For a complete list of precise measurements, all ingredients, and detailed step-by-step instructions, please refer to the printable recipe card located at the end of this post. It contains everything you need to successfully create this incredible pumpkin banana bread.
Key Ingredient Insights & Smart Substitutions for Perfect Quick Bread
Understanding the role of each ingredient is key to achieving the perfect pumpkin banana bread. Here’s a deeper look into some of the crucial components and how to handle them, including smart substitution suggestions to ensure your baking success.
BANANAS: The ripeness of your bananas is paramount for this recipe. You want them to be extremely overripe, with skins that are heavily speckled brown or even black. These bananas are sweeter and softer, making them easier to mash and providing more moisture and intense banana flavor. While mashing a banana might seem straightforward, the consistency actually plays a vital role in the final texture of your quick bread. Be sure to mash them very well, aiming for a smooth consistency with minimal large chunks. Leaving significant pieces of banana can create “moisture pockets” within the batter. These pockets might not cook through properly, leading to a false indication that your bread isn’t done when tested with a toothpick. Continuing to bake based on these false positives can unfortunately lead to an overbaked and dry loaf. Thorough mashing ensures even moisture distribution and a consistent bake.
FLOUR: For this recipe, we specifically call for cake flour. This type of flour is milled from soft wheat, resulting in a lower protein content and a finer texture compared to standard all-purpose flour. The benefit? It yields an incredibly soft, tender, and delicate crumb in your pumpkin banana bread, a stark contrast to the denser, chewier texture that all-purpose flour typically produces in quick breads. Precision in measuring cake flour is even more critical because its fineness means it can compact easily, leading to over-measurement. The most accurate way to measure is by weighing it using a kitchen scale. If you don’t have a scale, use the “scoop and sweep” method: lightly spoon the flour into your measuring cup until it overflows, then level it off with a straight edge. Never pack the flour into the cup. If cake flour isn’t available, check our FAQ section for a simple substitution using all-purpose flour and cornstarch.
PUMPKIN PUREE: Ensure you are using 100% pure pumpkin puree, not pumpkin pie filling. Pumpkin pie filling contains added sugars and spices that will alter the flavor profile of this bread. Pumpkin puree adds wonderful moisture and a subtle, earthy pumpkin flavor that complements the banana beautifully.
BUTTERMILK: Buttermilk is a magical ingredient in quick breads. Its acidity reacts with the baking soda, helping the bread to rise and creating a lighter, more tender crumb. It also imparts a subtle tang that balances the sweetness of the fruit and spices. If you don’t have buttermilk on hand, you can easily make a substitute: simply add one tablespoon of white vinegar or lemon juice to a liquid measuring cup, then fill the rest with regular milk (dairy or non-dairy) until it reaches the 1/4 cup mark. Let it sit for 5-10 minutes until it slightly curdles before using.
SPICES: Cinnamon and pumpkin pie spice are the stars here. Pumpkin pie spice is typically a blend of cinnamon, nutmeg, ginger, cloves, and sometimes allspice. These spices provide the warm, inviting fall flavors. Feel free to adjust the amounts to your personal preference, adding a little more if you like a bolder spice profile.
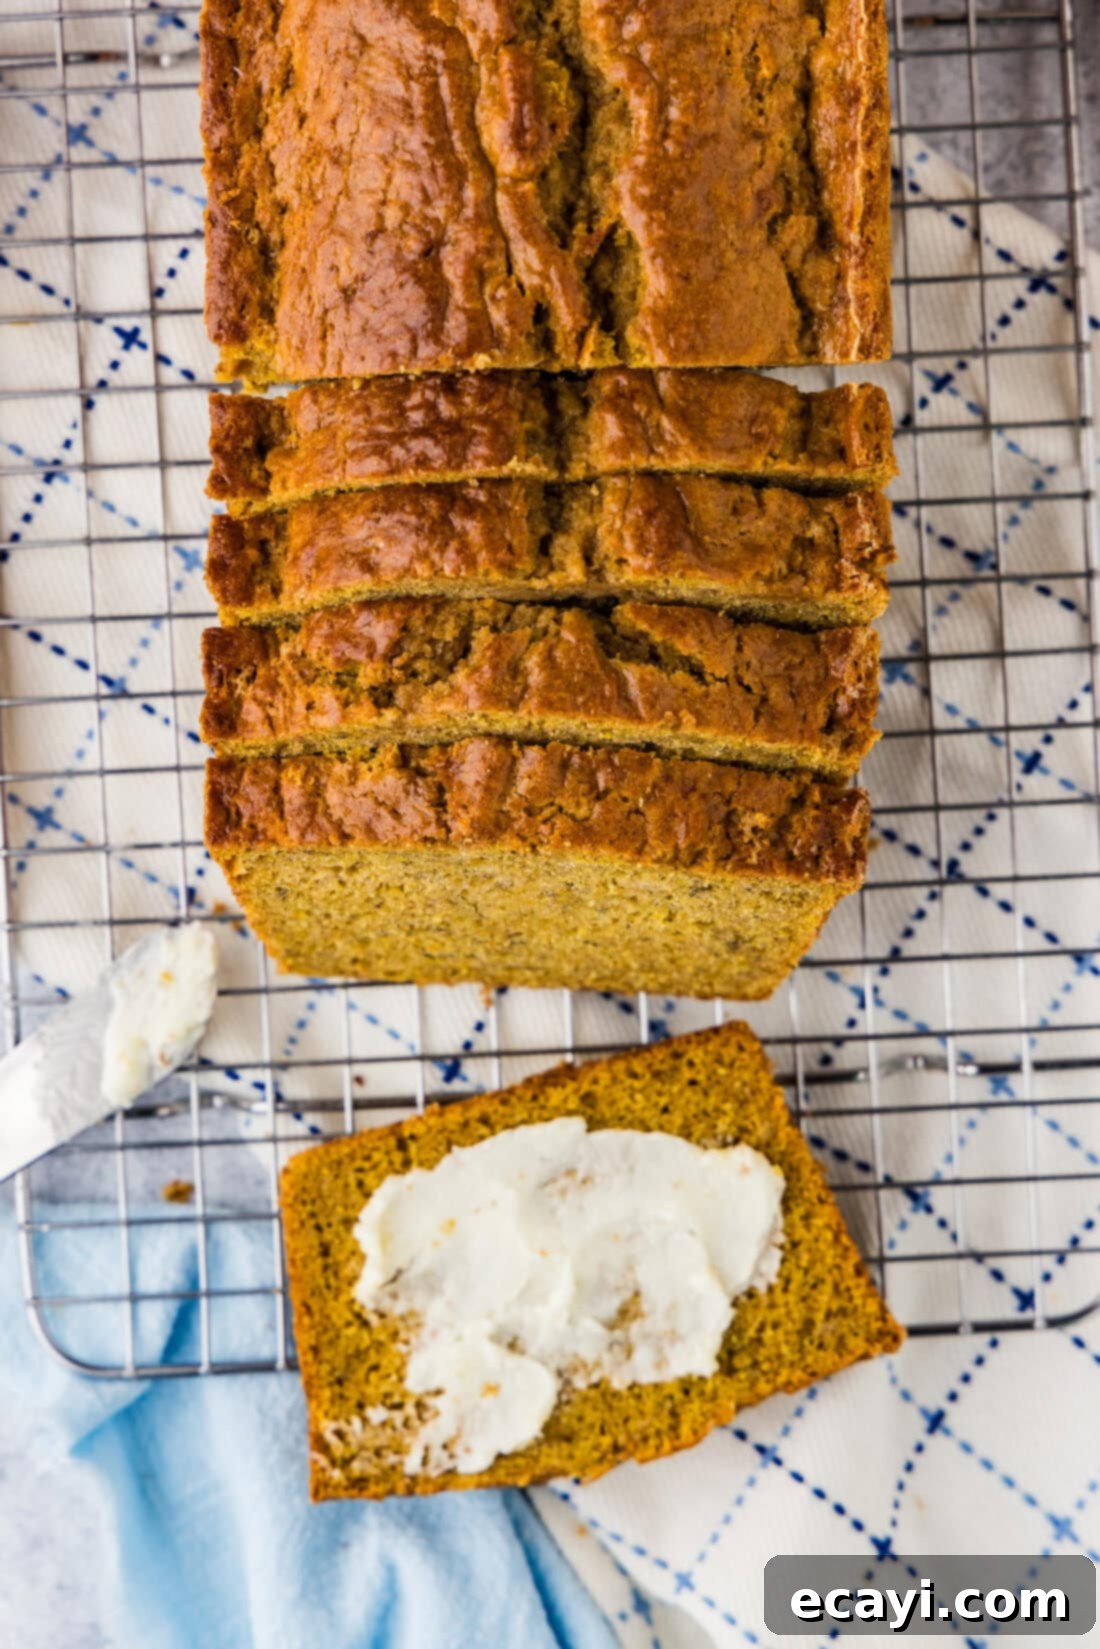
Exciting Pumpkin Banana Bread Variations & Add-Ins
While this pumpkin banana bread is delightful in its pure form, it also serves as an excellent canvas for creativity. You can incorporate up to 1 1/2 cups of various additions to truly make it your own. Here are some of our favorite ideas to elevate your loaf:
- Baking Chips: For any type of baking chips – whether they are classic semi-sweet chocolate, rich dark chocolate, creamy white chocolate, or even autumnal cinnamon chips – we recommend adding about 1/2 to 3/4 cup. This amount is usually perfect to provide bursts of flavor without overwhelming the bread. For intensely flavored chips like cinnamon, 1/2 cup is often more than enough to achieve that delightful spice kick. Butterscotch chips also make a fantastic addition, pairing wonderfully with the pumpkin and banana flavors.
- Nuts: If you enjoy a textural contrast, adding nuts is a great option. Approximately 3/4 cup of chopped nuts provides a satisfying crunch and nutty flavor. Chopped pecans or walnuts are particularly excellent choices for this recipe, complementing the existing flavors beautifully. For an even deeper flavor, consider toasting your nuts lightly in a dry skillet or oven before adding them to the batter. This enhances their natural oils and aroma.
- Dried Fruits: Dried fruits can add another layer of sweetness and chewiness. Raisins or dried cranberries are classic choices that work wonderfully. For the best texture, we highly recommend rehydrating them first. Simply soak your raisins, dried cranberries, chopped dried apricots, or dates in hot water, fruit juice (like apple or orange), or even a tablespoon of rum or brandy for a minimum of 15 minutes. This plumps them up, preventing them from drawing moisture out of your bread during baking. Once rehydrated, remember to drain them thoroughly and pat them dry with a paper towel before folding them into the batter.
- Toppings: Don’t forget about the exterior! A simple topping can add both visual appeal and extra flavor. Before baking, sprinkle your loaf with coarse sugar for a sparkling crunch, cinnamon sugar for an extra layer of spice, more chopped nuts, or a scattering of baking chips. For an indulgent finish, consider adding a streusel topping (a mixture of flour, sugar, butter, and cinnamon) or a simple cream cheese glaze after the bread has cooled.
Step-by-Step Guide: How to Bake the Perfect Pumpkin Banana Bread
These step-by-step photos and detailed instructions are designed to help you visualize each stage of making this delicious quick bread. For the complete printable version of this recipe, including exact measurements and a comprehensive list of instructions, simply Jump to Recipe at the bottom of this post.
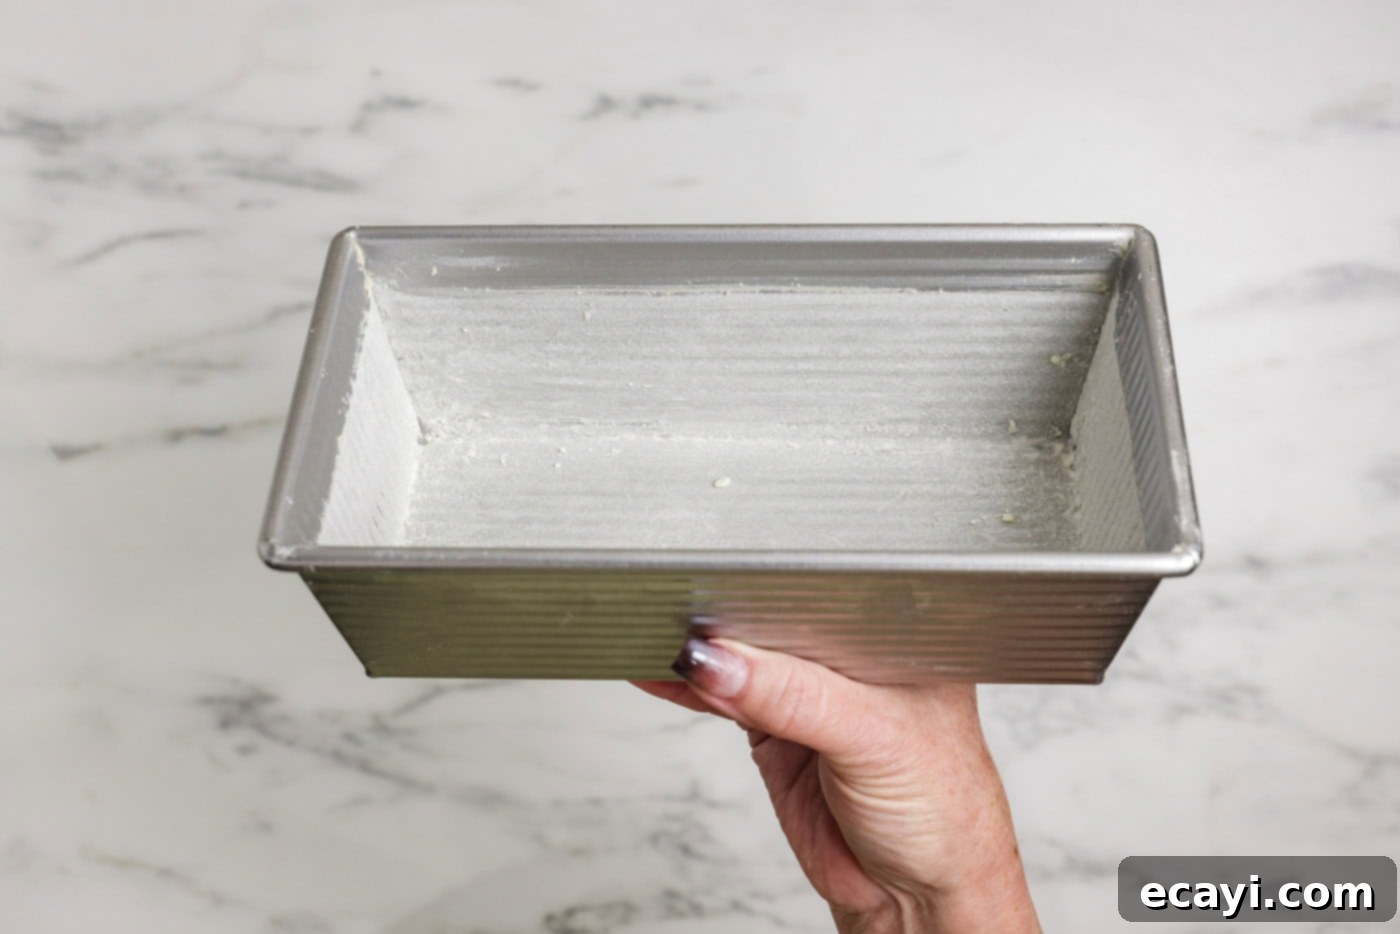
- Preheat your oven to 350°F (175°C). Prepare an 8×4 inch loaf pan by generously buttering or greasing it, then lightly flouring it. This ensures your quick bread will release cleanly from the pan.
PRO TIP: When greasing and flouring a loaf pan for quick breads, I always recommend wiping away the top 1/2 to 3/4 inch of flour from the sides of the pan with a piece of paper towel. This seemingly small step helps the bread to pull away from the pan’s edges more effectively as it rises, encouraging it to dome beautifully in the center rather than creating an over-baked “lip” around the top. For extra security, you can also line the pan with parchment paper, leaving an overhang on the long sides to create a “sling” for easy removal.

- In a medium bowl, whisk together the dry ingredients: cake flour, baking powder, baking soda, salt, ground cinnamon, and pumpkin pie spice. Whisking ensures these leavening agents and spices are evenly distributed throughout the flour, guaranteeing a consistent rise and flavor in every bite.
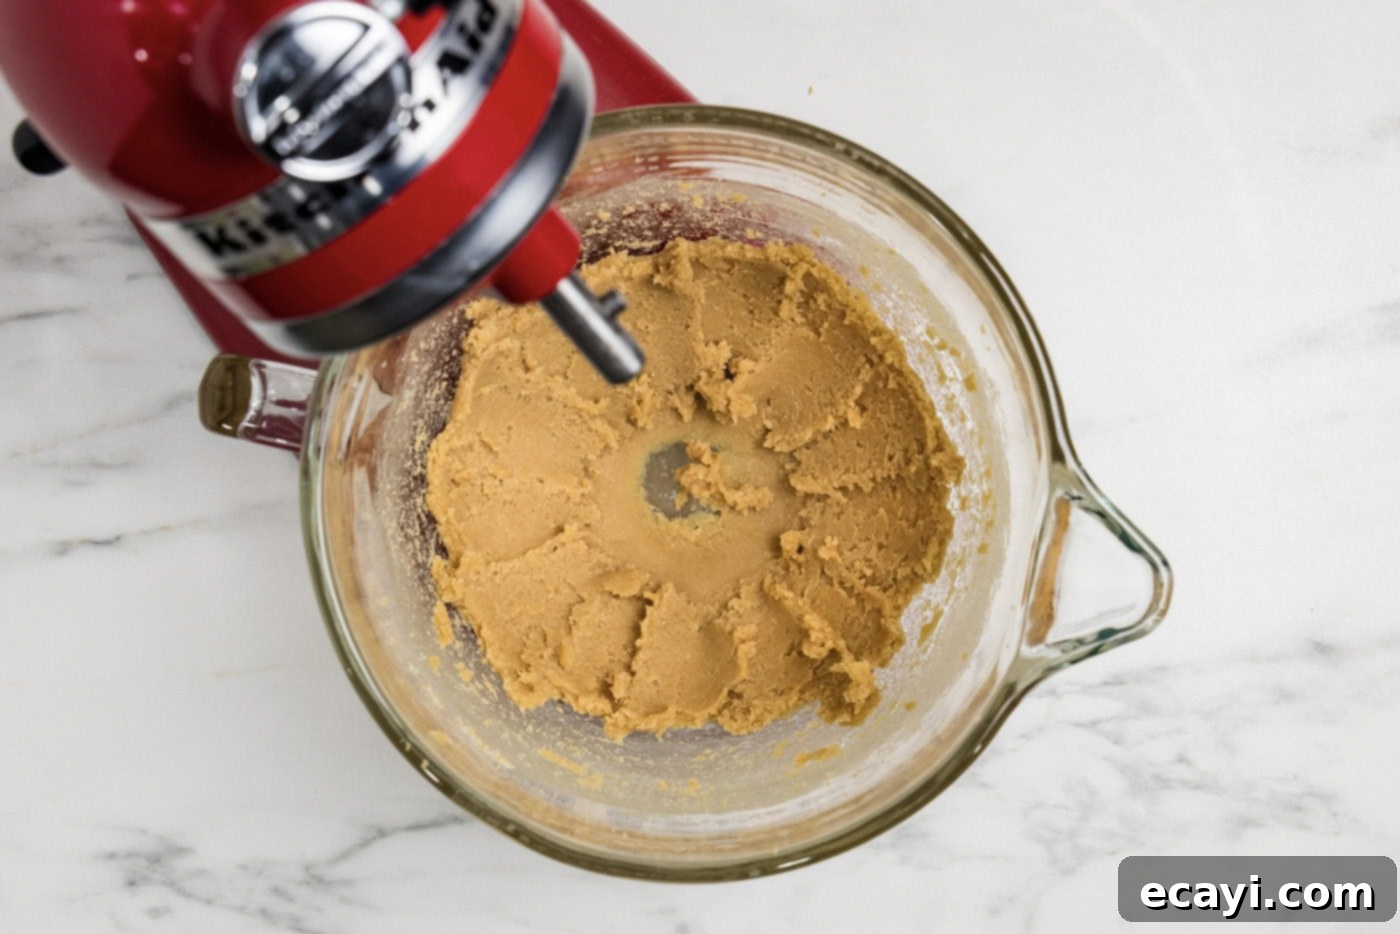
- In the bowl of a stand mixer fitted with the paddle attachment (or using a hand mixer), beat the softened unsalted butter and packed brown sugar on medium speed until the mixture is light, fluffy, and creamy. This creaming process incorporates air into the butter and sugar, which contributes to the bread’s tender texture. Ensure your butter is at room temperature for optimal creaming.

- Add the large eggs and pure vanilla extract to the creamed butter mixture. Beat on low speed just until they are combined, scraping down the sides of the bowl as needed. Avoid overmixing at this stage.
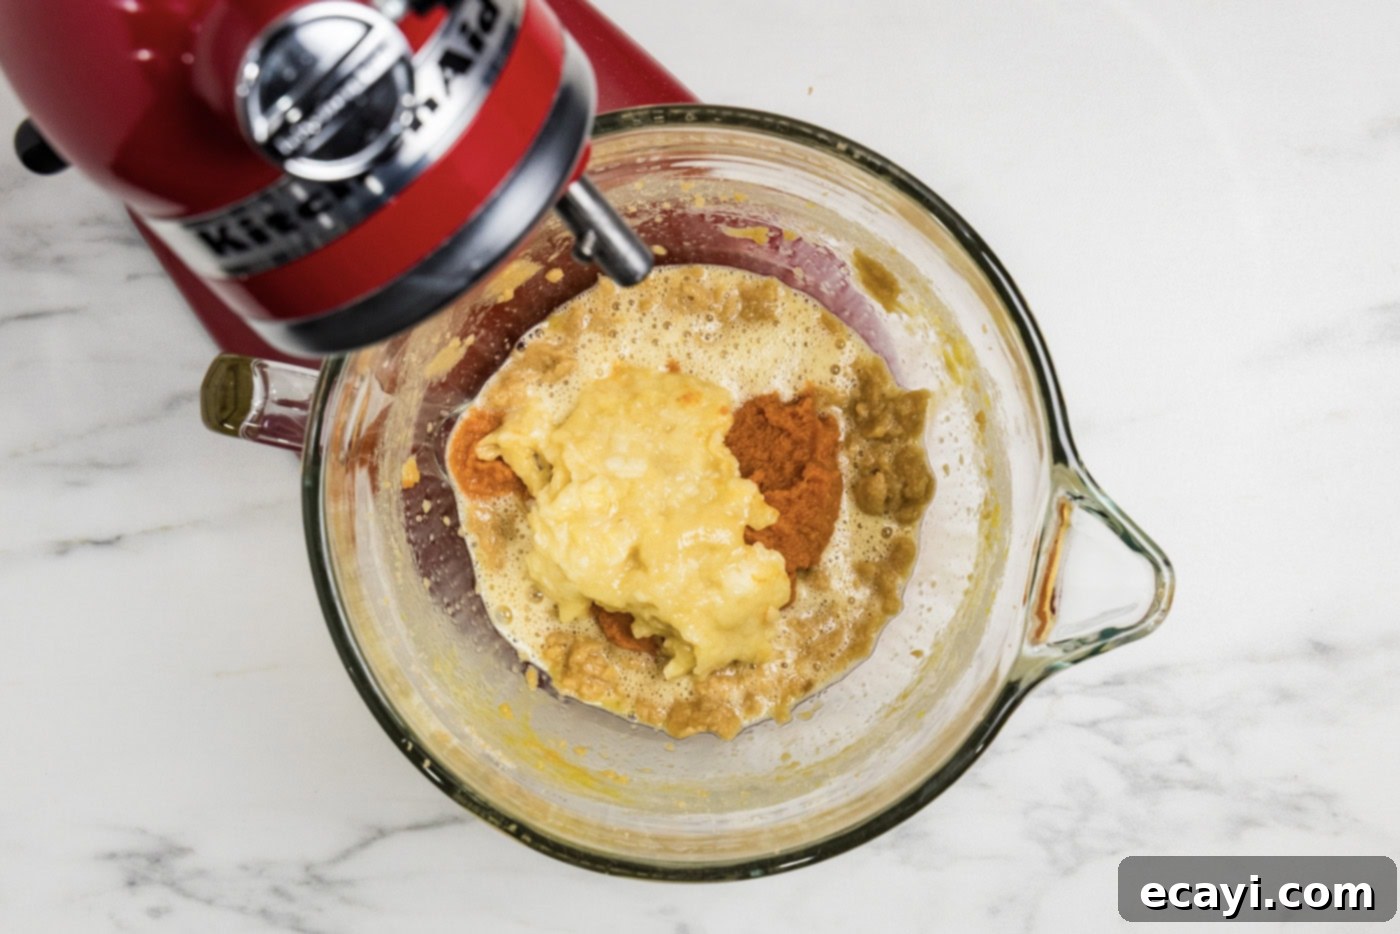
- Next, add the pumpkin puree and the well-mashed overripe bananas to the mixer. Beat on low speed just until these wet ingredients are fully incorporated into the batter. Again, be mindful not to overmix.

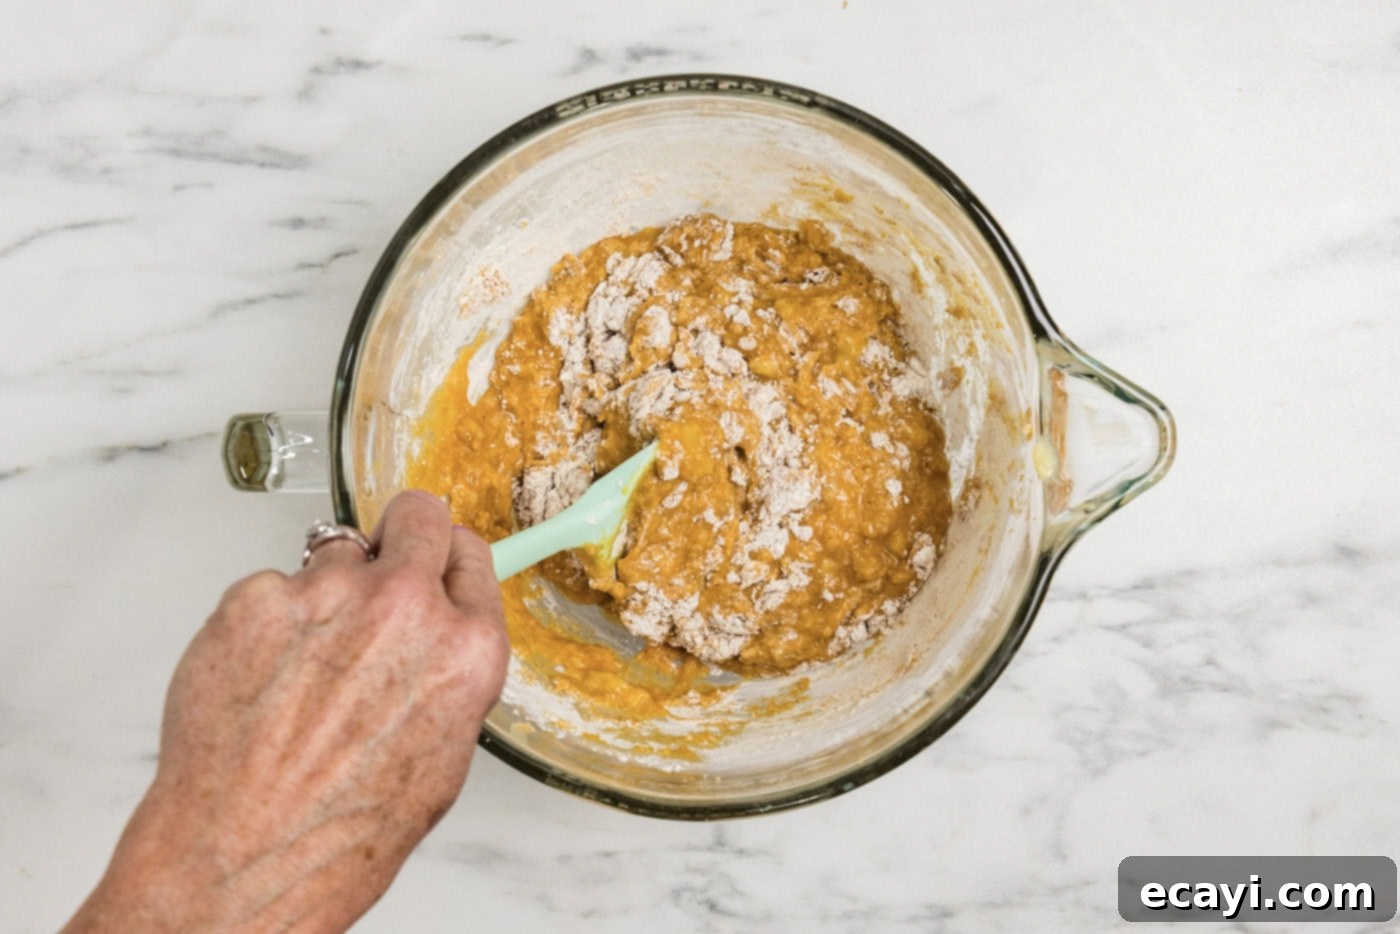
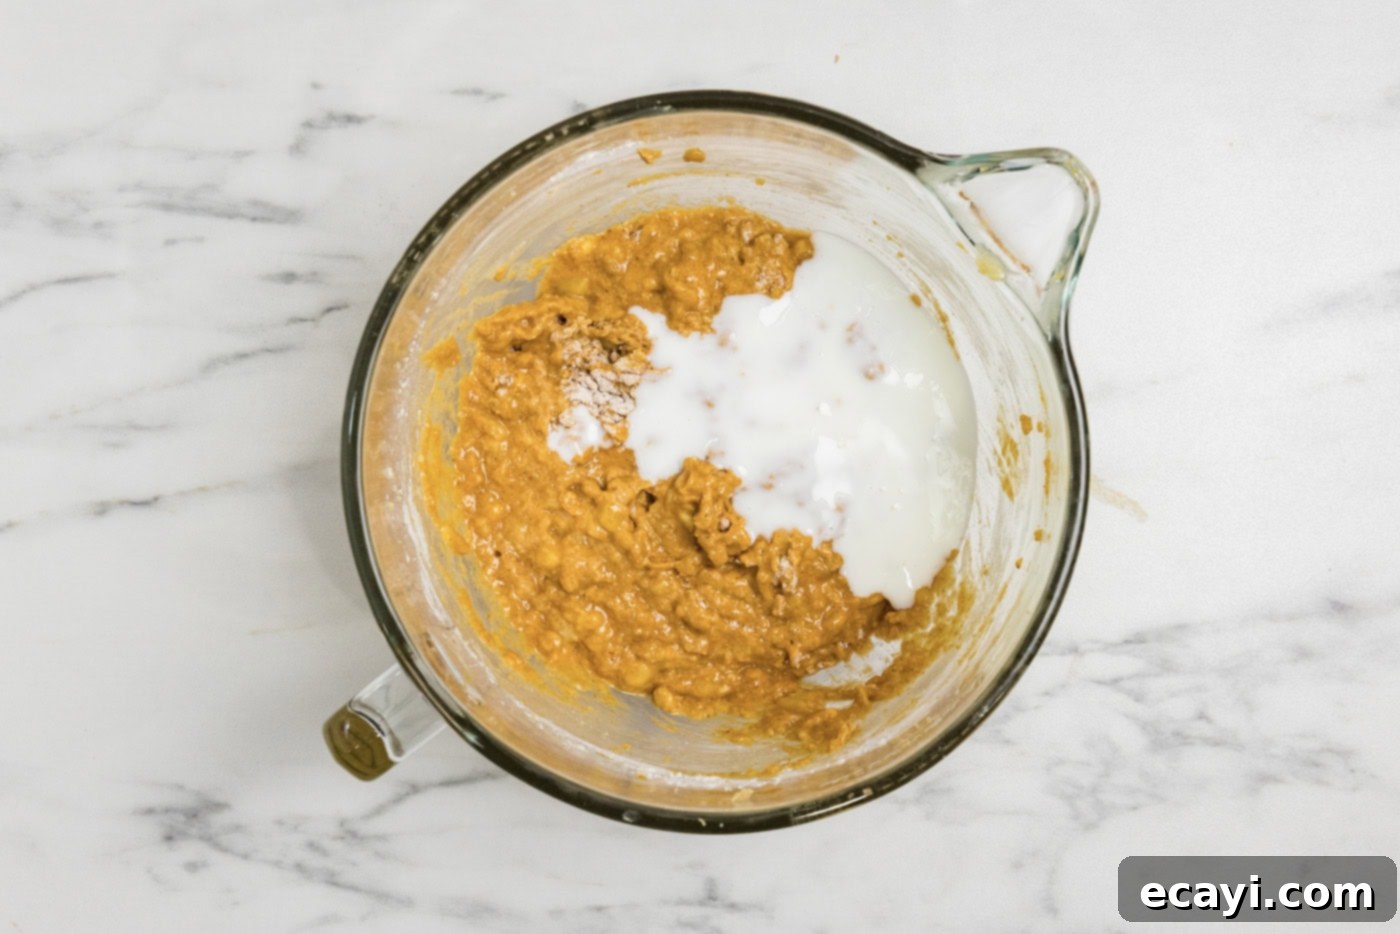
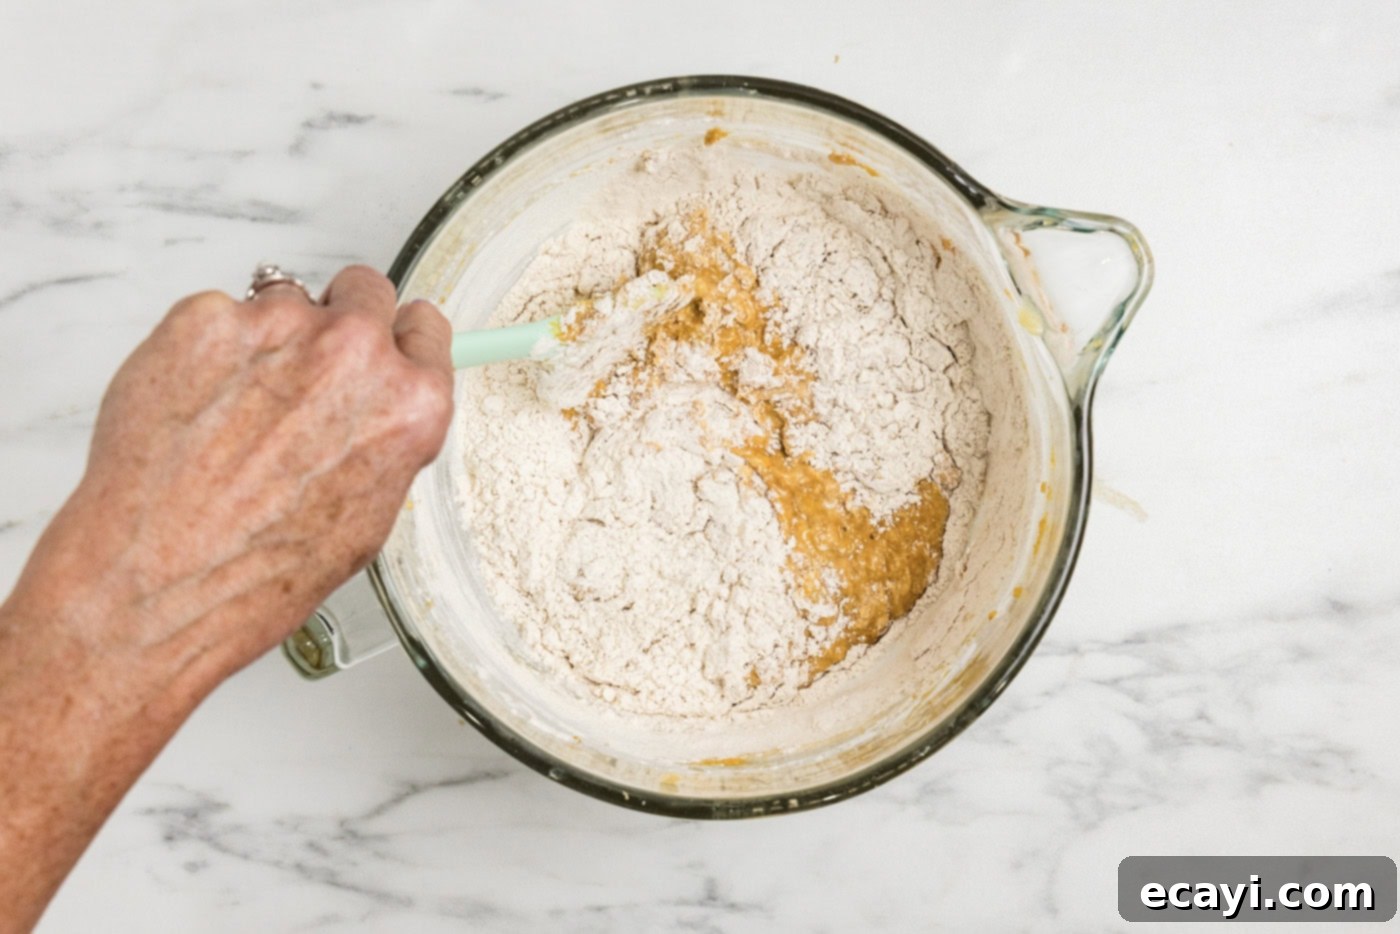
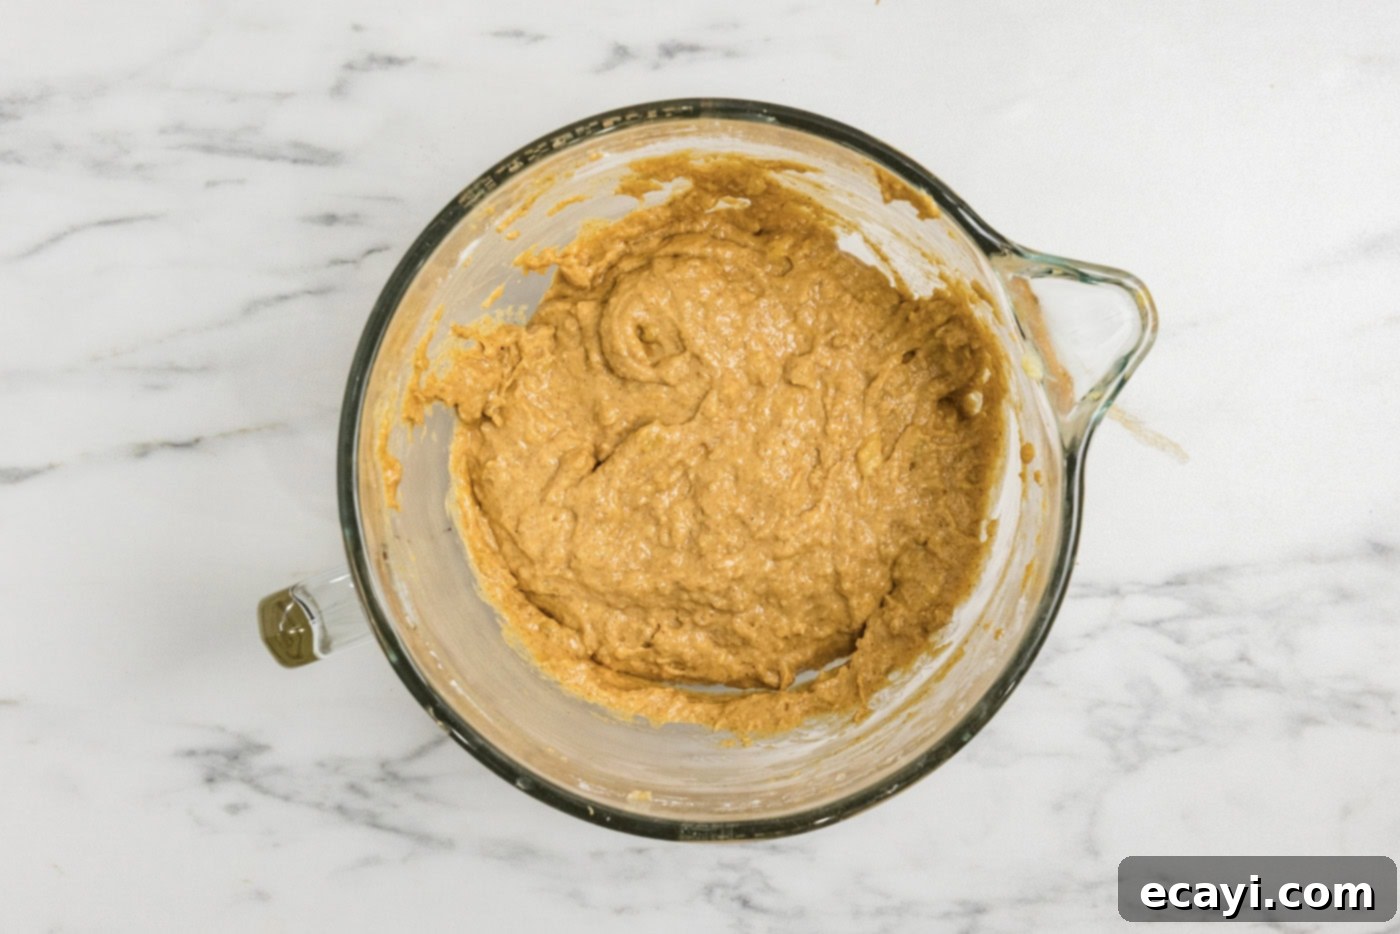
- With a rubber spatula, gently fold in about half of your whisked dry ingredients into the wet mixture. Once partially combined, pour in the buttermilk and gently stir. Finally, fold in the remaining dry ingredients. The key here is to mix *just* until the flour streaks disappear. Overmixing can develop the gluten in the flour too much, resulting in a tough, dense bread. It’s perfectly fine if there are still a few small traces of flour visible – this is better than an overmixed batter.


- If you’ve decided to add baking chips, chopped nuts, or dried fruits, gently fold them into the batter at this point with your rubber spatula. Distribute them evenly but avoid excessive stirring.
- Allow the prepared batter to rest in the bowl for 30 minutes. This resting period is not merely for convenience; it allows the flour to fully hydrate, resulting in a more tender crumb and a more consistent rise. It also gives your oven ample time to reach and stabilize at the correct baking temperature.

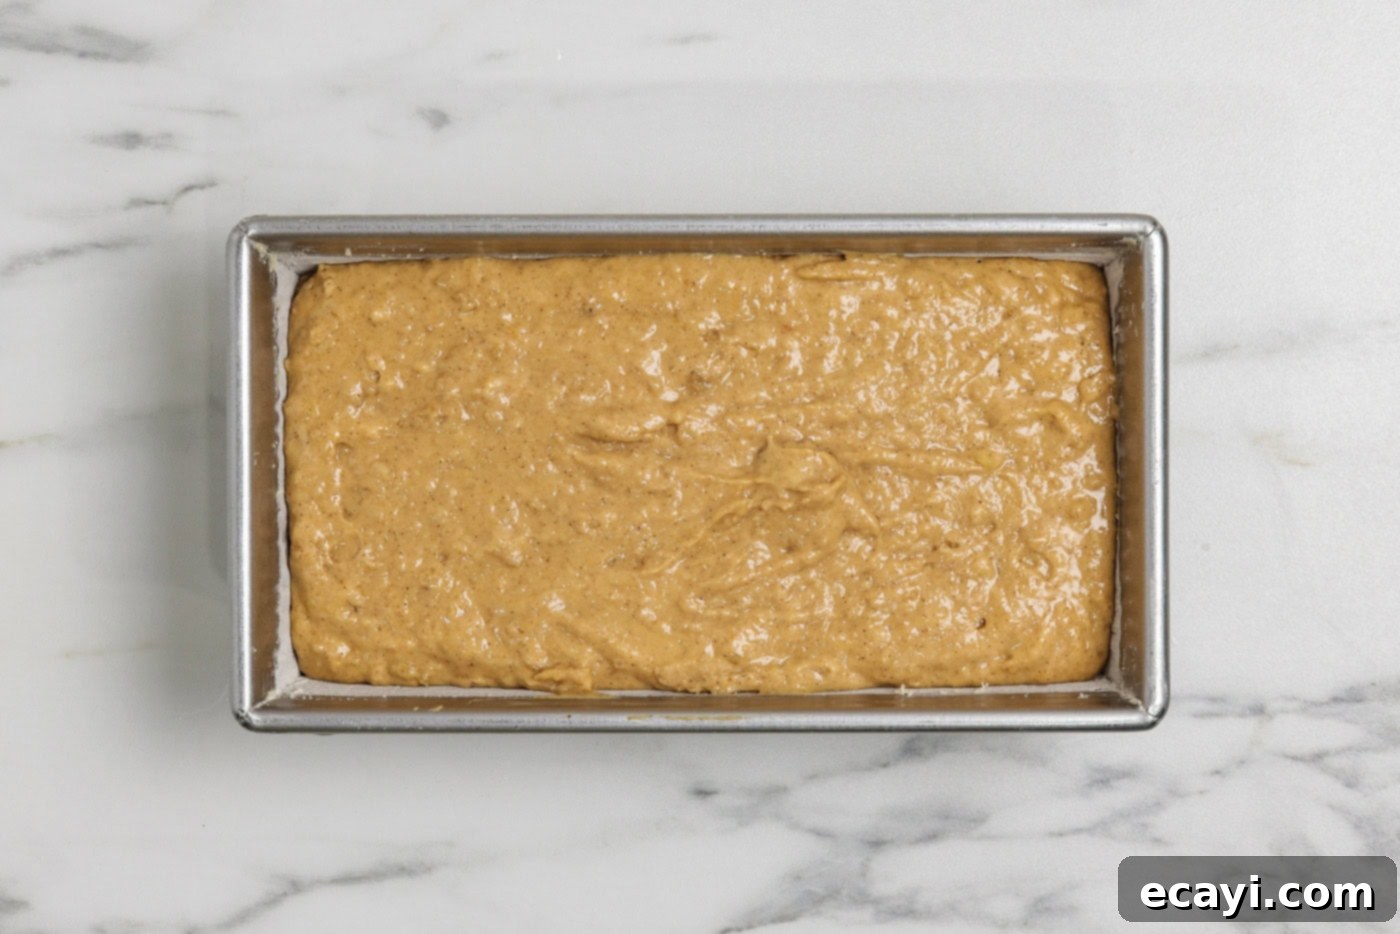
- After resting, scrape the batter into your prepared loaf pan. Gently smooth the top with your spatula. For best results and to prevent the bottom from over-browning, place the loaf pan on an insulated baking sheet before putting it into the oven.

- Bake in the preheated oven for 60–75 minutes. The baking time can vary slightly depending on your oven. To check for doneness, insert a butter knife or a wooden skewer into the center of the loaf. If it comes out clean with no wet batter attached, your bread is ready. If it comes out with moist crumbs, continue baking for another 5-10 minutes and test again.
- Once baked, remove the loaf from the oven and allow it to cool in the pan for about 10 minutes. This allows the bread to set and prevents it from crumbling. After 10 minutes, carefully invert the loaf onto a wire rack to cool completely. Cooling completely is crucial for the bread’s final texture and to prevent a soggy bottom if stored prematurely.
Frequently Asked Questions & Expert Tips for Perfect Pumpkin Banana Bread
Absolutely! If you don’t have cake flour readily available, you can create a suitable substitute using all-purpose flour and cornstarch. Here’s how: First, precisely weigh out 320g of all-purpose flour. Next, remove 40g of that all-purpose flour and replace it with 40g of cornstarch. Sift this mixture together at least three times to ensure the cornstarch is perfectly incorporated. If you don’t own a kitchen scale, the general volumetric rule is to remove 2 tablespoons of all-purpose flour from every cup and replace those 2 tablespoons with cornstarch. For this recipe, that would mean removing 5 tablespoons of all-purpose flour (2.5 cups x 2 tablespoons/cup) and adding 5 tablespoons of cornstarch. However, for the most accurate and consistent results, we highly recommend weighing your ingredients, especially when substituting flour types, as volume measurements can be inconsistent.
To maintain optimal freshness and texture, it’s essential to allow your loaf to cool completely on a wire rack before attempting to store it. Transferring a warm loaf directly to an airtight container or wrapping it while still warm will trap steam, leading to condensation and a potentially soggy, gummy bread. Once fully cooled, you can store the bread in an airtight container or wrap it tightly with plastic wrap or aluminum foil. It will keep beautifully at room temperature for up to 3 days. For longer storage, refrigeration can extend its life by a few more days, though the texture might become slightly firmer.
Yes, absolutely! Freezing is an excellent way to preserve this delicious bread for enjoyment later. To freeze a whole loaf, ensure it is completely cooled first. Then, wrap the loaf tightly a few times in plastic wrap, followed by a layer of heavy-duty aluminum foil. This double-layer protection helps prevent freezer burn. Optionally, you can then place the well-wrapped loaf into a large freezer-safe bag. It can be frozen for up to 2 months. To thaw, simply remove the loaf from the freezer and let it rest (still wrapped) at room temperature for several hours, or overnight, until fully defrosted.
You can also freeze individual slices, which is incredibly convenient for quick snacks or breakfasts. To do this, flash freeze the slices by arranging them in a single layer on a baking sheet and placing them in the freezer for about 1-2 hours until solid. Once frozen, transfer the individual slices to a freezer bag or an airtight container, using layers of parchment paper between slices to prevent sticking. You can then grab a single slice and thaw it at room temperature, or even gently warm it in a microwave or toaster oven.
Overripe bananas (with brown or black spots on the skin) are crucial because as bananas ripen, their starches convert to sugar, making them naturally sweeter. They also become softer and easier to mash, releasing more moisture and intense banana flavor into your bread. Using underripe bananas will result in a less sweet, less moist bread with a subtler banana flavor.
No, it is highly recommended to use 100% pure pumpkin puree. Pumpkin pie filling is a pre-sweetened and pre-spiced mixture, containing additional ingredients like sugar, cinnamon, nutmeg, and cloves. Using it instead of pure pumpkin puree will throw off the balance of sweetness and spices in this recipe, likely making the bread too sweet and possibly overpowering the delicate balance of flavors we aim for.
A dry quick bread is usually a sign of one of two common issues: overmixing the batter or overbaking. Overmixing develops the gluten in the flour too much, leading to a tough, dry texture. Always mix just until the ingredients are combined, with a few flour streaks being acceptable. Overbaking, on the other hand, dries out the moisture from the bread. Ensure you’re testing for doneness around the minimum bake time, inserting a toothpick or butter knife into the center, and removing it from the oven as soon as it comes out clean.
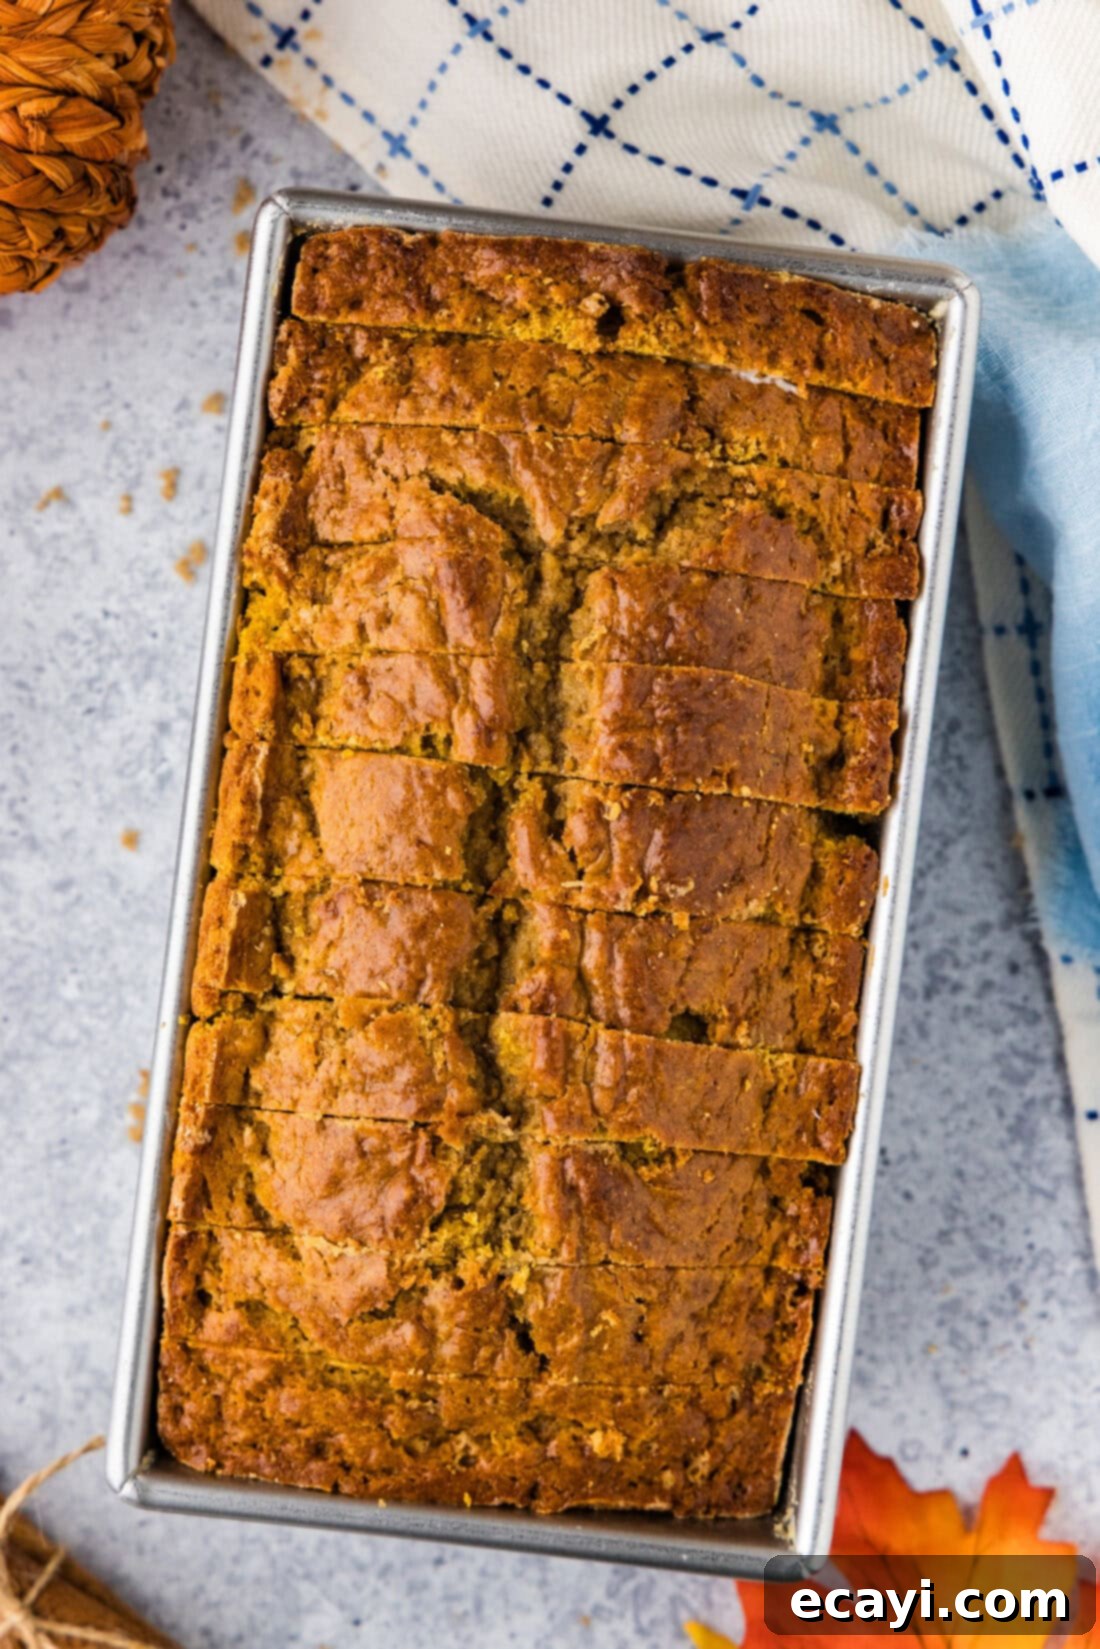
Delightful Serving Suggestions for Your Pumpkin Banana Bread
This exquisite pumpkin banana bread is incredibly versatile and delicious, whether served warm or at room temperature. Each temperature offers a slightly different experience, both equally enjoyable. If you choose to serve it warm, the spices become even more aromatic, and the texture is exceptionally tender. A generous smear of softened butter or a dollop of our homemade cinnamon honey butter takes it to another level of indulgence. You could also try it with a light dusting of powdered sugar, a drizzle of maple glaze, or even a spoonful of cream cheese frosting for an extra special treat. Pair a slice with your morning coffee, a cozy cup of tea, or as a delightful dessert after a fall meal.
More Irresistible Quick Bread Recipes to Try
If you’ve fallen in love with the ease and deliciousness of quick breads, we have many more recipes that are sure to become family favorites. Explore these other simple yet satisfying recipes for any season:
- Apple Bread: A delightful bread bursting with sweet apple chunks and warm spices.
- Chocolate Chip Banana Bread: The classic comfort of banana bread enhanced with pockets of melty chocolate.
- Chocolate Chip Pumpkin Muffins: Perfect individual servings of pumpkin goodness with a sweet chocolate twist.
- Pumpkin Bread with Maple Glaze: A simple and elegant pumpkin bread, elevated by a sweet maple drizzle.
I love to bake and cook and share my kitchen experience with all of you! Remembering to come back each day can be tough, that’s why I offer a convenient newsletter every time a new recipe posts. Simply subscribe and start receiving your free daily recipes!
Pumpkin Banana Bread
IMPORTANT – There are often Frequently Asked Questions within the blog post that you may find helpful. Simply scroll back up to read them!
Print It
Pin It
Rate It
Save ItSaved!
Ingredients
- 11.3 ounces cake flour 2 1/2 cups, 320g
- 1 Tablespoon baking powder
- ½ teaspoon baking soda
- ¾ teaspoon salt
- 1 teaspoon ground cinnamon
- 1 teaspoon pumpkin pie spice
- ½ cup unsalted butter softened, 8 Tablespoons, 114g
- 6.35 ounces packed brown sugar 3/4 cup, 180g
- 2 large eggs at room temperature
- 1 teaspoon pure vanilla extract
- 4.5 ounces pumpkin puree 1/2 cup, 128g
- 2 overripe bananas mashed well
- 2 ounces buttermilk at room temperature. 1/4 cup, 59ml
Things You’ll Need
-
8×4 loaf pan
-
Stand mixer or electric mixer
-
Rubber spatula
-
Wire cooling rack
-
Kitchen scale
Before You Begin
- While you wouldn’t think there’s a science to mashing a banana, the amount of mashing you do CAN affect the science of the baking process. Be sure to mash them up well, large chunks of banana can cause moisture pockets. This can affect the rise of your bread and make you think it isn’t done. If you insert a toothpick into a section with a moisture pocket, you may continue baking and end up drying out your quick bread.
- You should measure cake flour the same way you measure flour, by either weighing it or using the scoop and sweep method. Cake flour is finer than all purpose flour, which means it’s even more important to not overmeasure. I highly recommend weighing it and using a kitchen scale.
Instructions
-
Preheat oven to 350 F. Generously butter/grease and flour an 8×4 loaf pan.
TIP – Whenever I grease and flour a loaf pan for quick bread, I always wipe away the top 1/2-3/4” of flour with a piece of paper towel. This can help the bread pull away from the sides and dome in the center better.
-
Whisk together cake flour, baking powder, baking soda, salt, cinnamon, and pumpkin pie spice.11.3 ounces cake flour, 1 Tablespoon baking powder, 1/2 teaspoon baking soda, 3/4 teaspoon salt, 1 teaspoon ground cinnamon, 1 teaspoon pumpkin pie spice
-
With a stand mixer, beat butter and brown sugar on medium speed until creamy.6.35 ounces packed brown sugar, 1/2 cup unsalted butter
-
Add eggs and vanilla and beat just until combined.1 teaspoon pure vanilla extract, 2 large eggs
-
Beat in pumpkin and bananas, beating just until combined.4.5 ounces pumpkin puree, 2 overripe bananas
-
With a rubber spatula, stir in half of the dry ingredients. Stir in the buttermilk. Stir in remaining dry ingredients. Do not overmix, it’s okay if there are small traces of flour still showing.2 ounces buttermilk
-
If adding chips, nuts, or fruit, fold them into the batter now.
-
Let batter rest 30 minutes. This allows the oven to get nice and hot as well.
-
Scrape batter into the prepared loaf pan. Place loaf pan on an insulated baking sheet.
-
Bake in preheated oven for 60–75 minutes, or until a butter knife poked into the center comes out clean.
-
Remove from oven and allow to cool in pan for 10 minutes, then remove to wire rack to cool completely.
Expert Tips & FAQs
- Allow the loaf to fully cool before transferring to an air-tight container, or you can wrap it well with plastic wrap or foil. Keep at room temperature for up to 3 days. If you wrap the loaf while still warm, you’ll end up with condensation and potentially soggy bread.
- Freezing – Allow your loaf to fully cool before wrapping a few times in plastic wrap, followed by a layer of aluminum foil. Optionally place the loaf in a large freezer safe bag, or leave as is, and freeze for up to 2 months. To thaw, allow the loaf to rest (still wrapped) at room temperature for a few hours.
- You can also freeze individual slices by flash freezing them on a baking sheet. Once solid, transfer the slices to a freezer bag or air-tight container separated by layers of parchment paper.
Nutrition
The recipes on this blog are tested with a conventional gas oven and gas stovetop. It’s important to note that some ovens, especially as they age, can cook and bake inconsistently. Using an inexpensive oven thermometer can assure you that your oven is truly heating to the proper temperature. If you use a toaster oven or countertop oven, please keep in mind that they may not distribute heat the same as a conventional full sized oven and you may need to adjust your cooking/baking times. In the case of recipes made with a pressure cooker, air fryer, slow cooker, or other appliance, a link to the appliances we use is listed within each respective recipe. For baking recipes where measurements are given by weight, please note that results may not be the same if cups are used instead, and we can’t guarantee success with that method.
