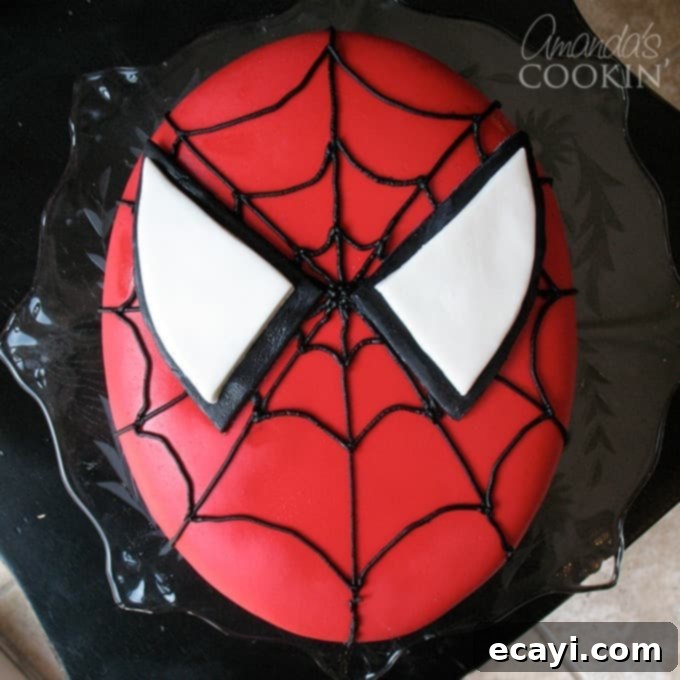
Mastering the Ultimate Spiderman Cake: A Step-by-Step Guide with Homemade Marshmallow Fondant
Unleash your inner superhero baker and create an unforgettable Spiderman cake that will be the highlight of any birthday party! This comprehensive guide will walk you through crafting a spectacular Spiderman cake using delicious homemade marshmallow fondant, ensuring it’s not only visually stunning but also incredibly tasty. Whether you’re a seasoned baker or a beginner tackling fondant for the first time, this tutorial provides all the tips and tricks you need for a smooth, web-slinging success. Get ready to impress with your baking prowess!
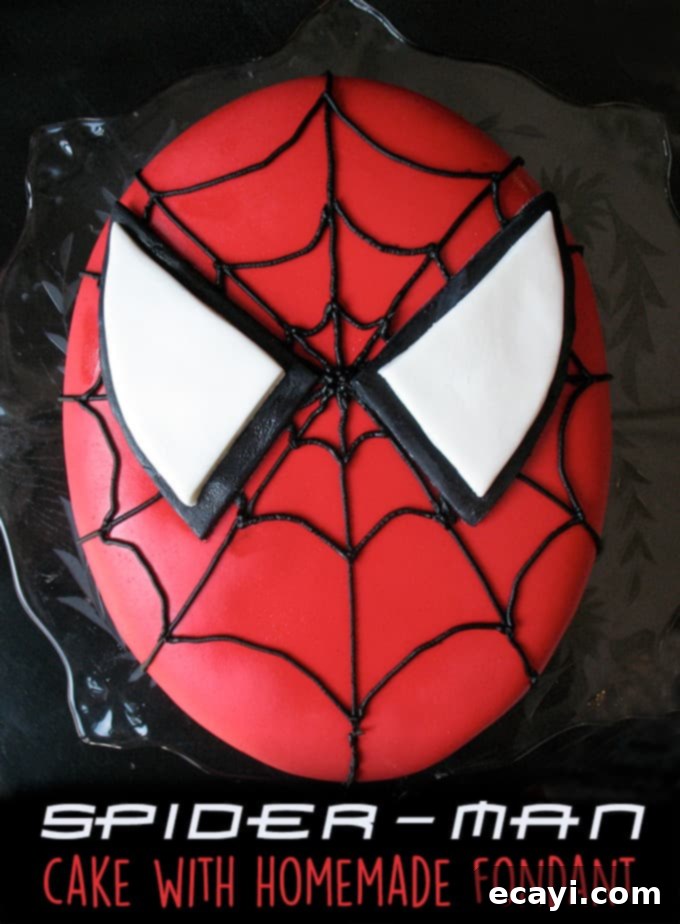
The inspiration for this adventure in cake decorating struck back in the summer of 2010 when my then 16-year-old daughter requested a Spiderman cake for her best friend’s birthday. I admit, I was a little surprised – a superhero cake for a teenage girl? But my daughter assured me her friend was utterly obsessed with all things Spiderman. And when it comes to making a loved one happy, who am I to refuse such a delightful challenge?
Crafting Your Spiderman Cake: From Concept to Culinary Creation
My initial thought was to keep things simple: a basic round cake pan, white frosting, and a piped black spider web design. I even considered a light-up Spiderman cake topper to quickly add a Spiderman face to the center. However, my daughter had a more ambitious vision: she wanted the iconic Spiderman mask itself. This meant embarking on a journey into the world of fondant, something I had always admired but never dared to try.
Fondant. The word itself conjured images of intricate, professional-level cakes. It had long been on my mental list of baking techniques to conquer. To my pleasant surprise, the process was far less intimidating than I had imagined. With a little research and a helpful video tutorial, I discovered that working with fondant was actually quite manageable. This newfound confidence propelled me forward, eager to transform a simple cake into a superhero masterpiece perfect for a birthday celebration.
The Sweet Secret: Homemade Marshmallow Fondant for Superior Flavor
Before diving into the cake design, I made a crucial decision regarding the fondant. Many bakers agree that store-bought fondant often lacks in flavor, sometimes tasting bland or even a bit artificial. I had heard rave reviews about homemade marshmallow fondant – not only is it more pliable and easier to work with, but it also tastes wonderfully sweet and vanilla-like, far superior to its store-bought counterparts. This made it the perfect choice for a custom cake meant to delight a birthday girl and her guests.
My first foray into marshmallow fondant wasn’t entirely without its bumps, but every challenge became a valuable learning experience. While I didn’t capture every step with photos (my focus was entirely on not messing up!), I’ll share the essential details and lessons learned. The final result was definitely worth every effort, proving that homemade is often best!
Baking and Shaping the Spiderman Cake Base
For the cake itself, per Kristen’s request, I opted for convenience with a chocolate cake mix, baked in two standard 9-inch round cake pans. Once baked and completely cooled, chilling the cakes in the freezer for about an hour made them much easier to handle. This firming up allowed me to precisely level the uneven tops using a serrated knife, creating a perfectly flat surface for stacking and shaping. This step is crucial for a stable and professional-looking cake.
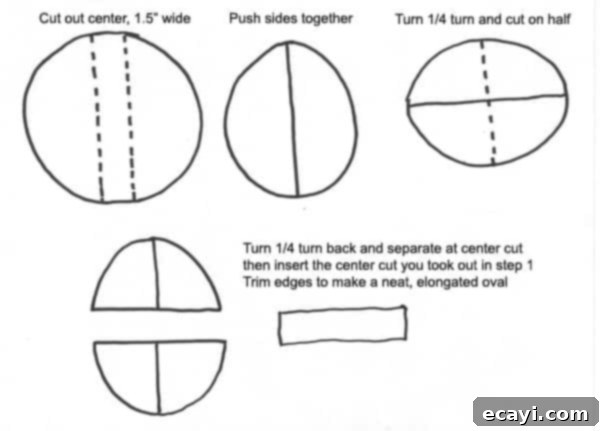
Now for the creative part: shaping the Spiderman face. I started by cutting a 1.5-inch wide section from the middle of each round cake layer. These removed pieces were set aside. I then slid the two larger outer sections of each cake layer together, forming two distinct ovals. However, these ovals weren’t quite elongated enough to resemble Spiderman’s face accurately. To achieve the desired shape, I turned the ovals a quarter turn and cut them in half again. By carefully reinserting sections from the pieces I had initially removed, I was able to create longer, more proportionate ovals. This method worked surprisingly well, despite a heart-stopping moment when one layer nearly slipped to the floor – a baker’s worst nightmare!
After the shaping, the cake layers went back into the freezer to chill further, ensuring stability. Once firm, I assembled the layers, spreading a generous amount of white frosting between them. Then came the crucial “crumb coat” – a thin layer of frosting applied all over the cake to seal in any loose crumbs, creating a smooth canvas for the final frosting. Another couple of hours in the freezer solidified the crumb coat. Finally, I applied the remaining white frosting, meticulously smoothing it out using an icing spatula and a light mist of water, which helps achieve a professional, silky finish. Back into the fridge it went, ready for its vibrant fondant transformation, forming the perfect foundation for our superhero cake.
Conquering Homemade Marshmallow Fondant: A Detailed Guide
Making homemade marshmallow fondant can seem daunting, but it’s genuinely rewarding and provides a far superior taste. While there are countless tutorials available, the video I watched was instrumental in my learning, though it could have benefited from some heavy editing. My main takeaways: patience is key, and don’t make my mistakes!
The basic recipe calls for melting 16 ounces of marshmallows with a touch of water, then mixing it with 2 pounds of sifted powdered sugar. My learning curve involved a few crucial missteps:
- I initially underestimated the amount of marshmallows, melting only one package instead of the required 1.5 packages for 16 oz. Always double-check your package weight and measure carefully!
- In my haste, I forgot to add the water to the marshmallows *before* microwaving them, which makes the melting process smoother and prevents scorching. The water is essential for creating a pliable texture.
- Due to these initial errors, I ended up incorporating more powdered sugar than the recipe specified to reach the correct consistency. This highlighted the importance of observing the fondant’s texture, not just rigidly following measurements, especially in varying humidity levels. Fondant consistency can be very sensitive to environmental factors.
Despite these hiccups, the fondant eventually came together beautifully. The key is to keep working it until it’s pliable but no longer sticky. Once ready, I wrapped it tightly in plastic wrap, ensuring no air could reach it, and let it rest overnight. This resting period is crucial, allowing the fondant to firm up and become much easier to handle the next day, resulting in a smoother application.
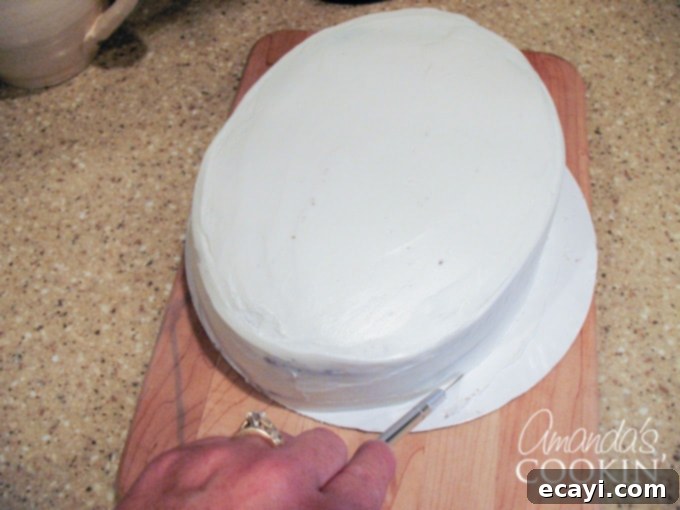
The next morning, after a much-needed cup of coffee, I retrieved the chilled cake and the rested fondant. A helpful trick I learned for a clean finish is to trim the cake cardboard base to match the exact shape of the cake. An X-Acto knife or a sharp utility knife is perfect for this, allowing you to easily trim the excess fondant later for a seamless, professional-looking edge around the base of your Spiderman cake.
Bringing Spiderman to Life: Coloring and Covering the Cake
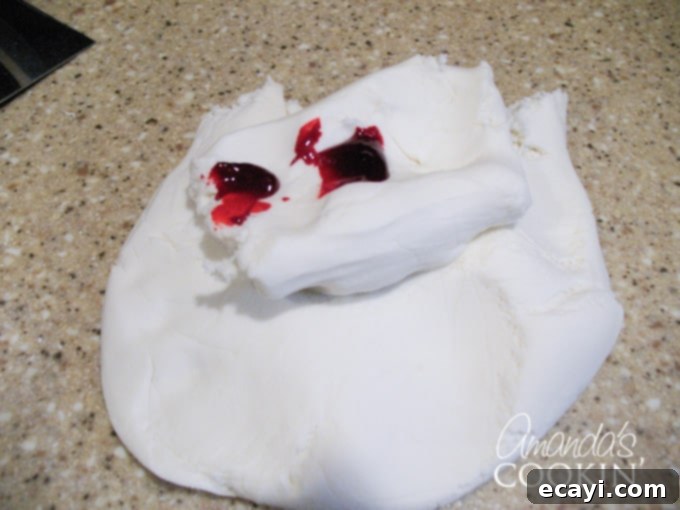
With the fondant ready, it was time to add the iconic red hue. I separated a small portion for the white eyes and then began coloring the bulk of the fondant vibrant red using red gel food coloring. Gel colors are essential for fondant as liquid colors can alter its consistency, making it sticky and difficult to work with. As I kneaded the color in, a moment of panic struck: I RAN OUT of red gel food coloring!
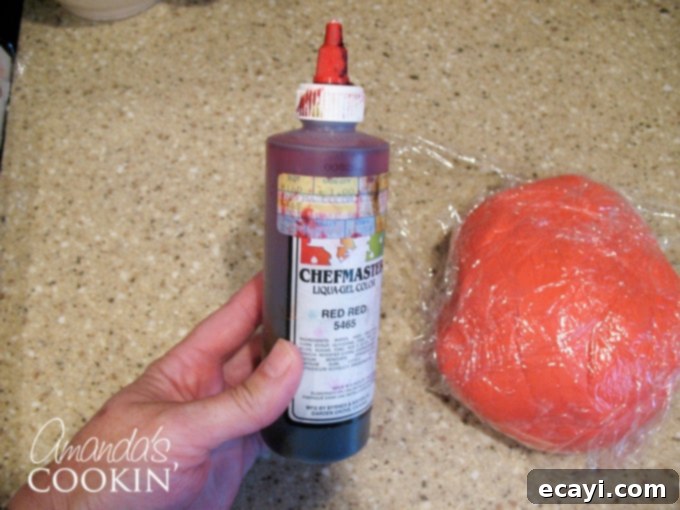
Thankfully, the local bakery came to my rescue, selling me an extra bottle. This experience taught me a valuable lesson: always have more gel food coloring than you think you’ll need, especially for bold colors like the deep red required for a Spiderman cake!
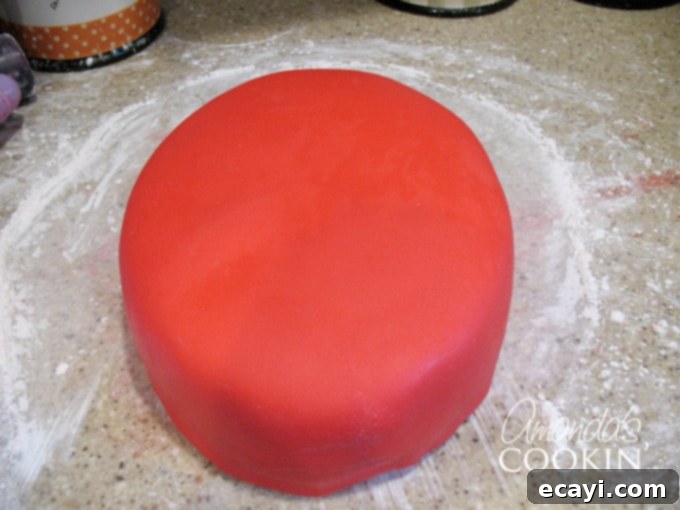
Rolling out the fondant was surprisingly straightforward. The key is to generously dust your work surface with cornstarch to prevent sticking – this is non-negotiable! I rolled it to about 1/4-inch thickness, as recommended by various tutorials, ensuring it was large enough to cover the entire shaped cake. Once rolled, it easily lifted and draped over the chilled cake without any tearing or major issues. After carefully smoothing it down and trimming the excess fondant around the cake cardboard, the perfect red base was complete. I found using the top of my turntable spice rack as a stable, rotating platform for the cake during this process incredibly helpful, making it easier to work on all sides.
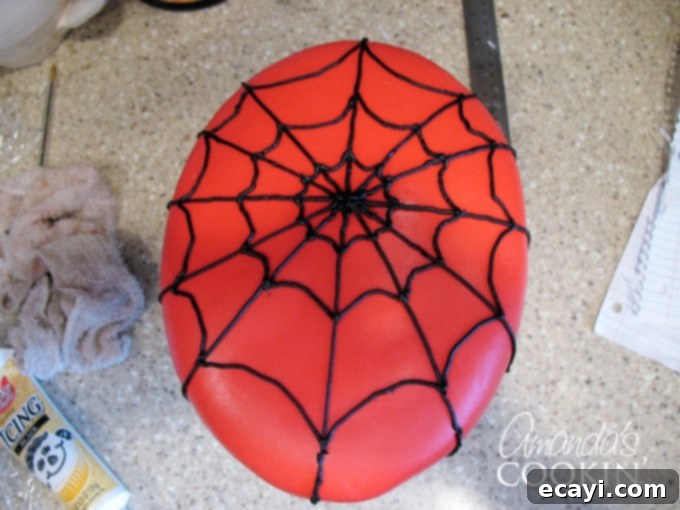
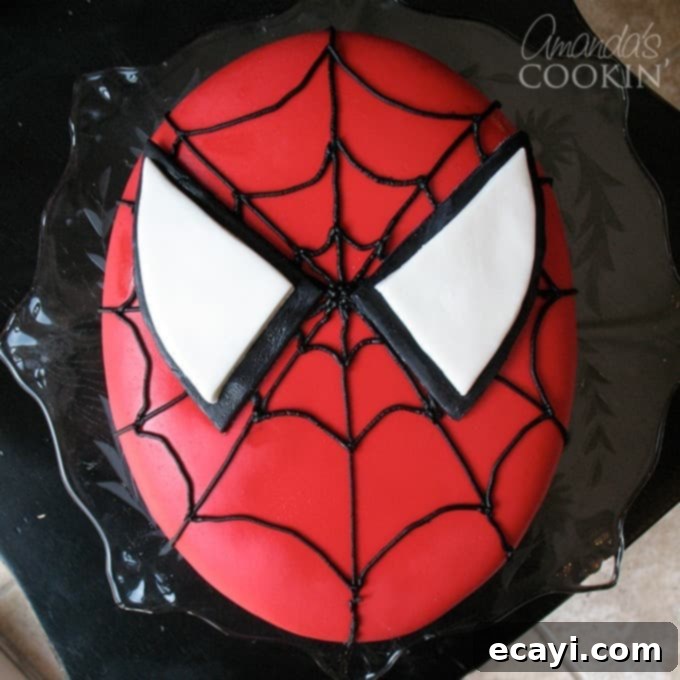
Next, it was time for the signature spider webs. Using black decorator gel (which comes in a convenient tube with a fine tip), I meticulously piped the web design onto the red fondant. This step requires a steady hand and a bit of artistic flair, but even if your lines aren’t perfectly straight, the overall effect is still impressive and distinctly Spiderman. Don’t be afraid to practice a few lines on parchment paper first to get a feel for the pressure and flow of the gel.
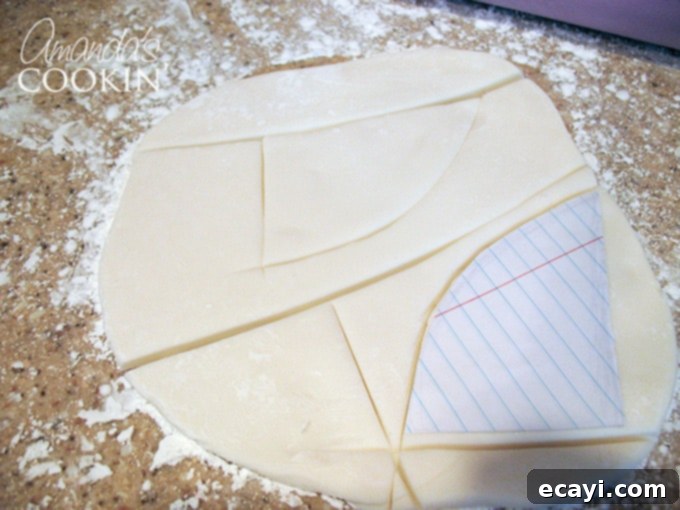
The final touch was Spiderman’s expressive eyes. I sketched out the eye shapes on paper first, then used these as templates to cut them precisely from both white and a small amount of black fondant (for the outlines or inner detail, if desired). A tiny bit of water acts as a “glue” to lightly dampen the back of the fondant pieces, allowing them to adhere smoothly to the cake. A small paintbrush, dipped in water and excess squeezed out, helped touch up any smudges or create subtle blends. And with that, the homemade marshmallow fondant Spiderman cake was complete and ready to amaze everyone!
Looking back, my first attempt at a Spiderman cake with homemade fondant was a resounding success! Despite the minor challenges, the joy it brought my daughter and her best friend was immeasurable. Conquering a new baking technique that summer proved to be incredibly satisfying. This experience reinforced that with a little research, patience, and a willingness to learn from mishaps, even ambitious cake designs like this superhero marvel are absolutely within reach. Don’t be afraid to try something new – the results can be incredibly rewarding!
For those brave enough to venture into the world of homemade marshmallow fondant, the detailed recipe is provided below. And if you’re a visual learner, consider watching a video tutorial (just be prepared to fast-forward through the slower parts, as some can be quite lengthy!).

If you’re looking for more delightful birthday party ideas, these charming Cookie Monster and Elmo cookies are incredibly easy and fun to make. They offer another fantastic opportunity for creativity, and kids absolutely love decorating them themselves as a party activity!

