Easy & Festive Pastel Easter Poke Cake: A Vibrant Holiday Dessert Guide
Transform your Easter celebration into a pastel dream with this incredibly simple and absolutely stunning Easter poke cake. It’s a delightful dessert that promises a burst of color and flavor, perfect for gracing any holiday table. Crafted with readily available ingredients like a white cake mix, creamy instant vanilla pudding, and a light, airy Cool Whip topping, this recipe is designed for ease without compromising on visual appeal or taste. Get ready to impress your family and friends with a show-stopping dessert that’s as fun to make as it is to eat!
Why This Easter Poke Cake Recipe is a Must-Try
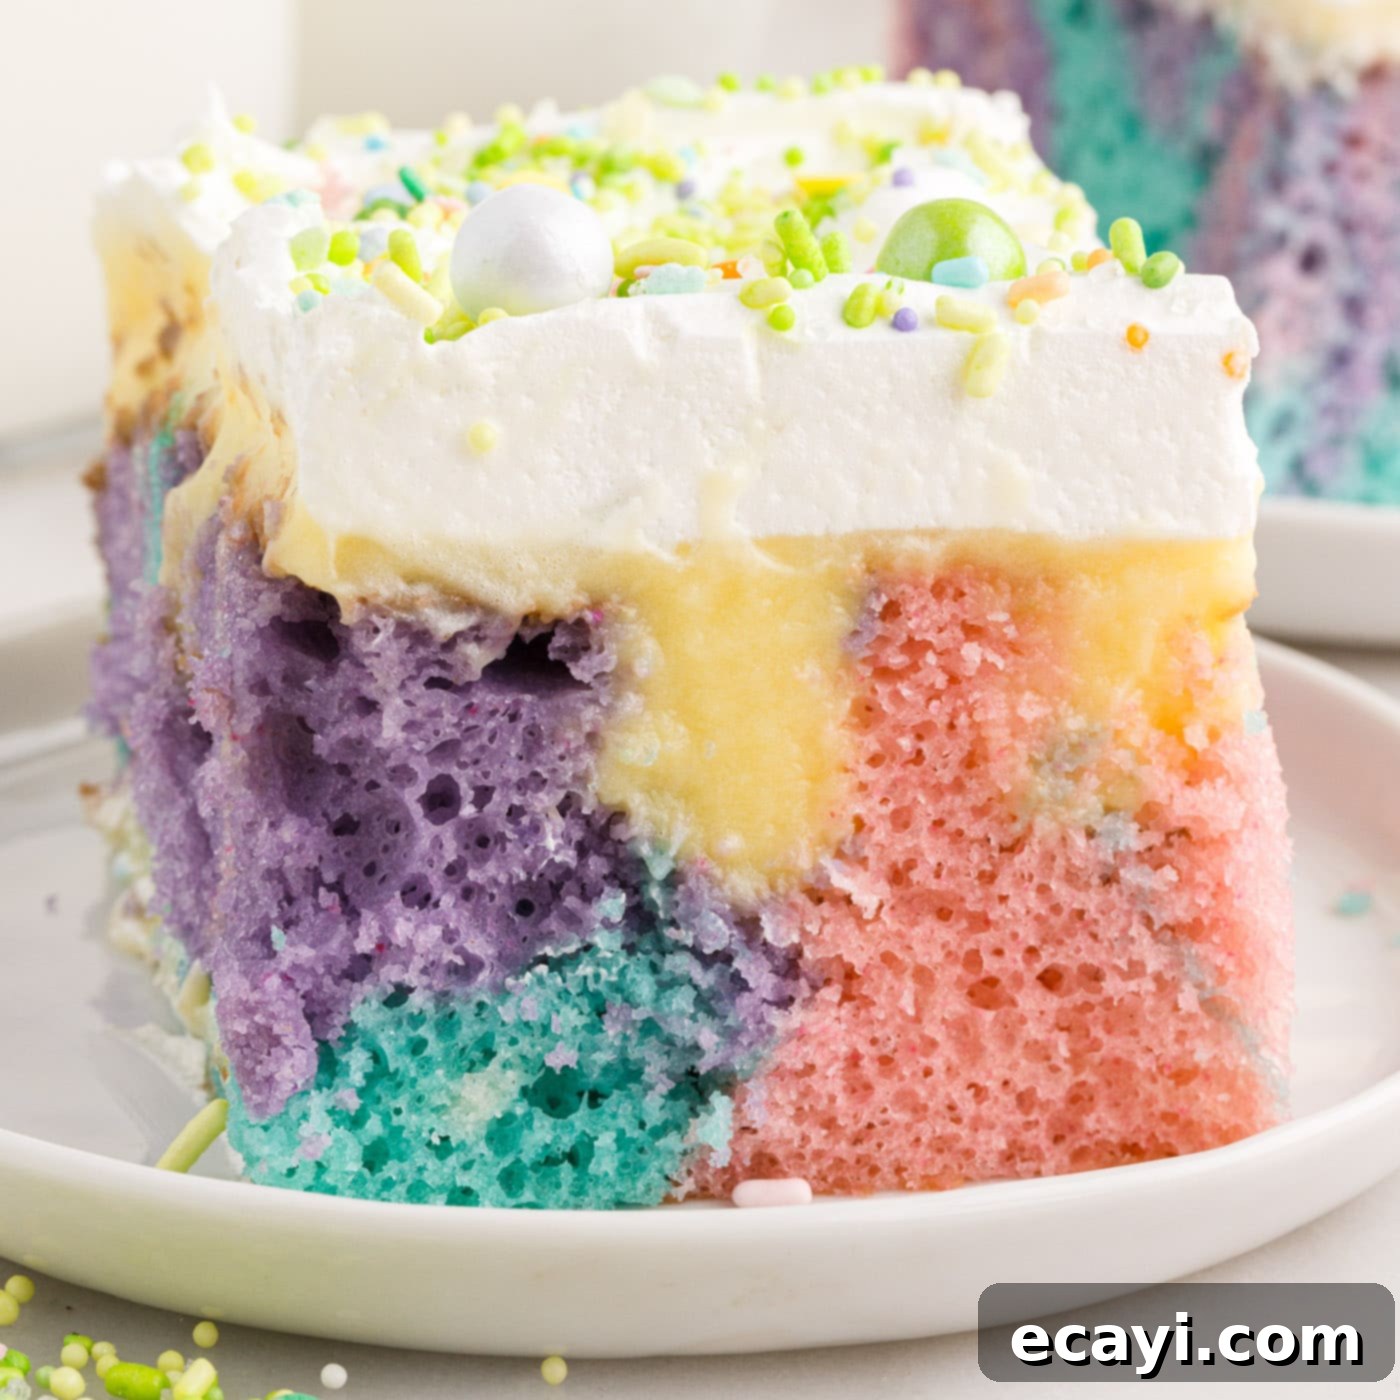
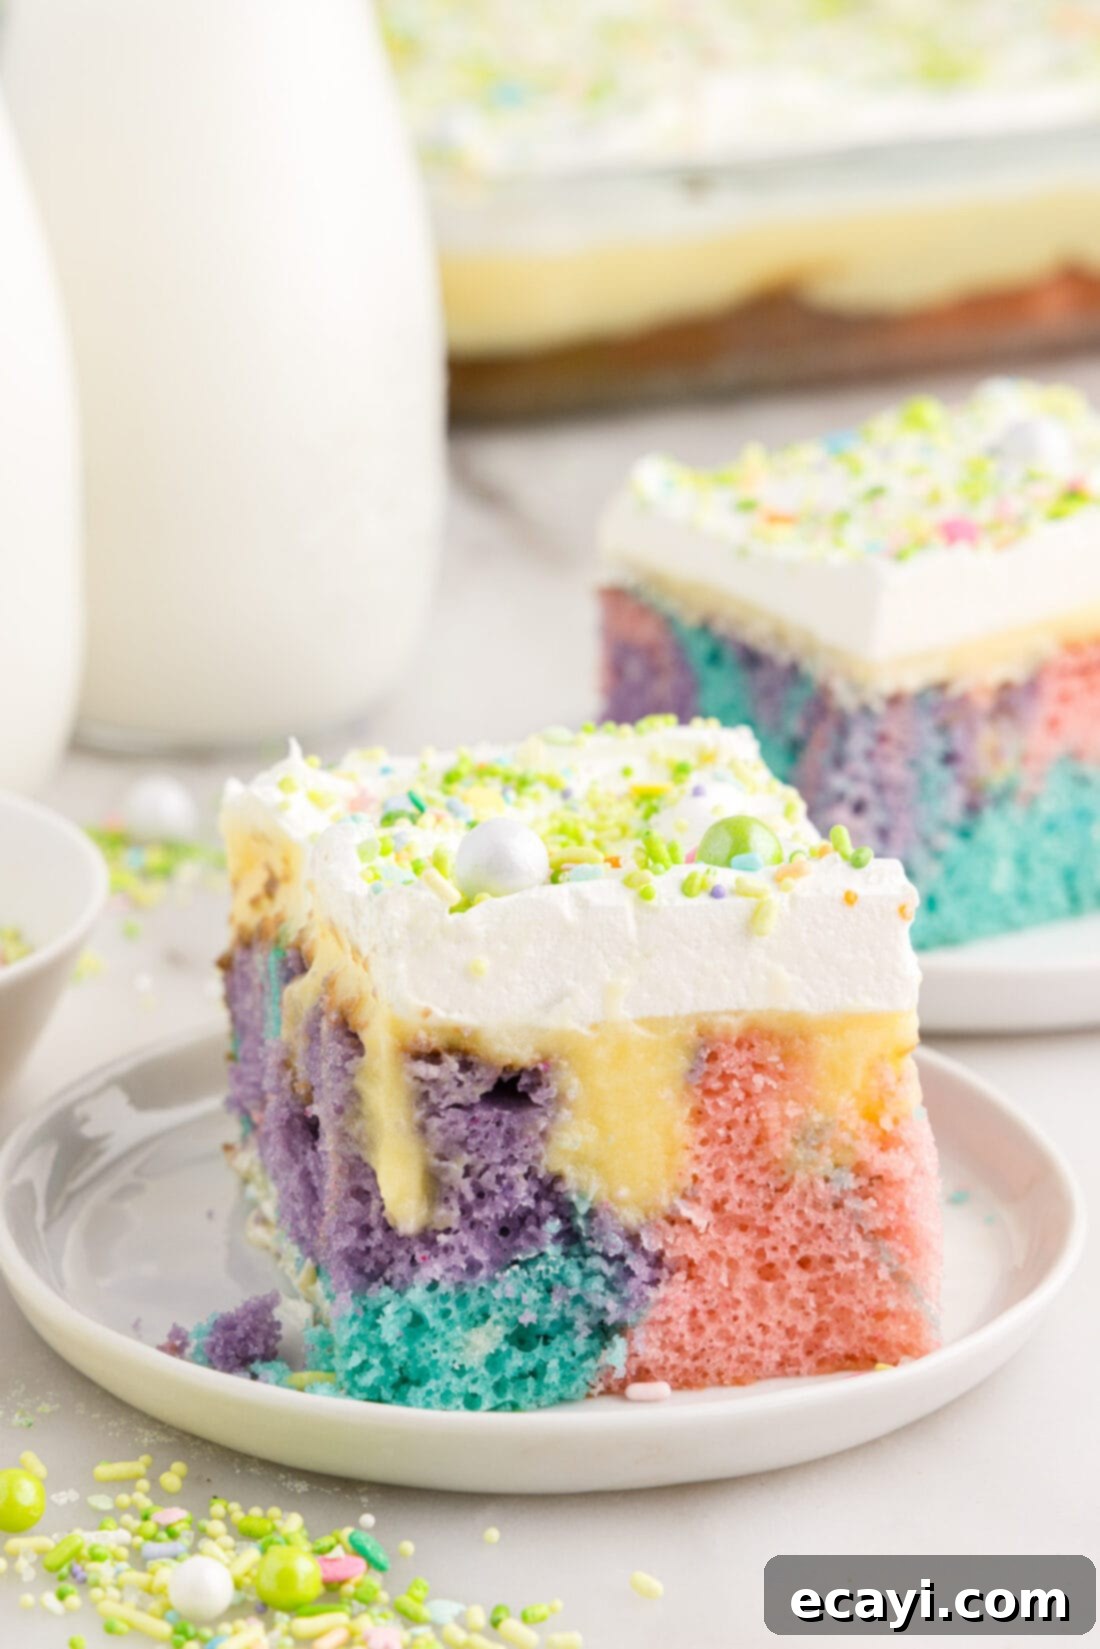
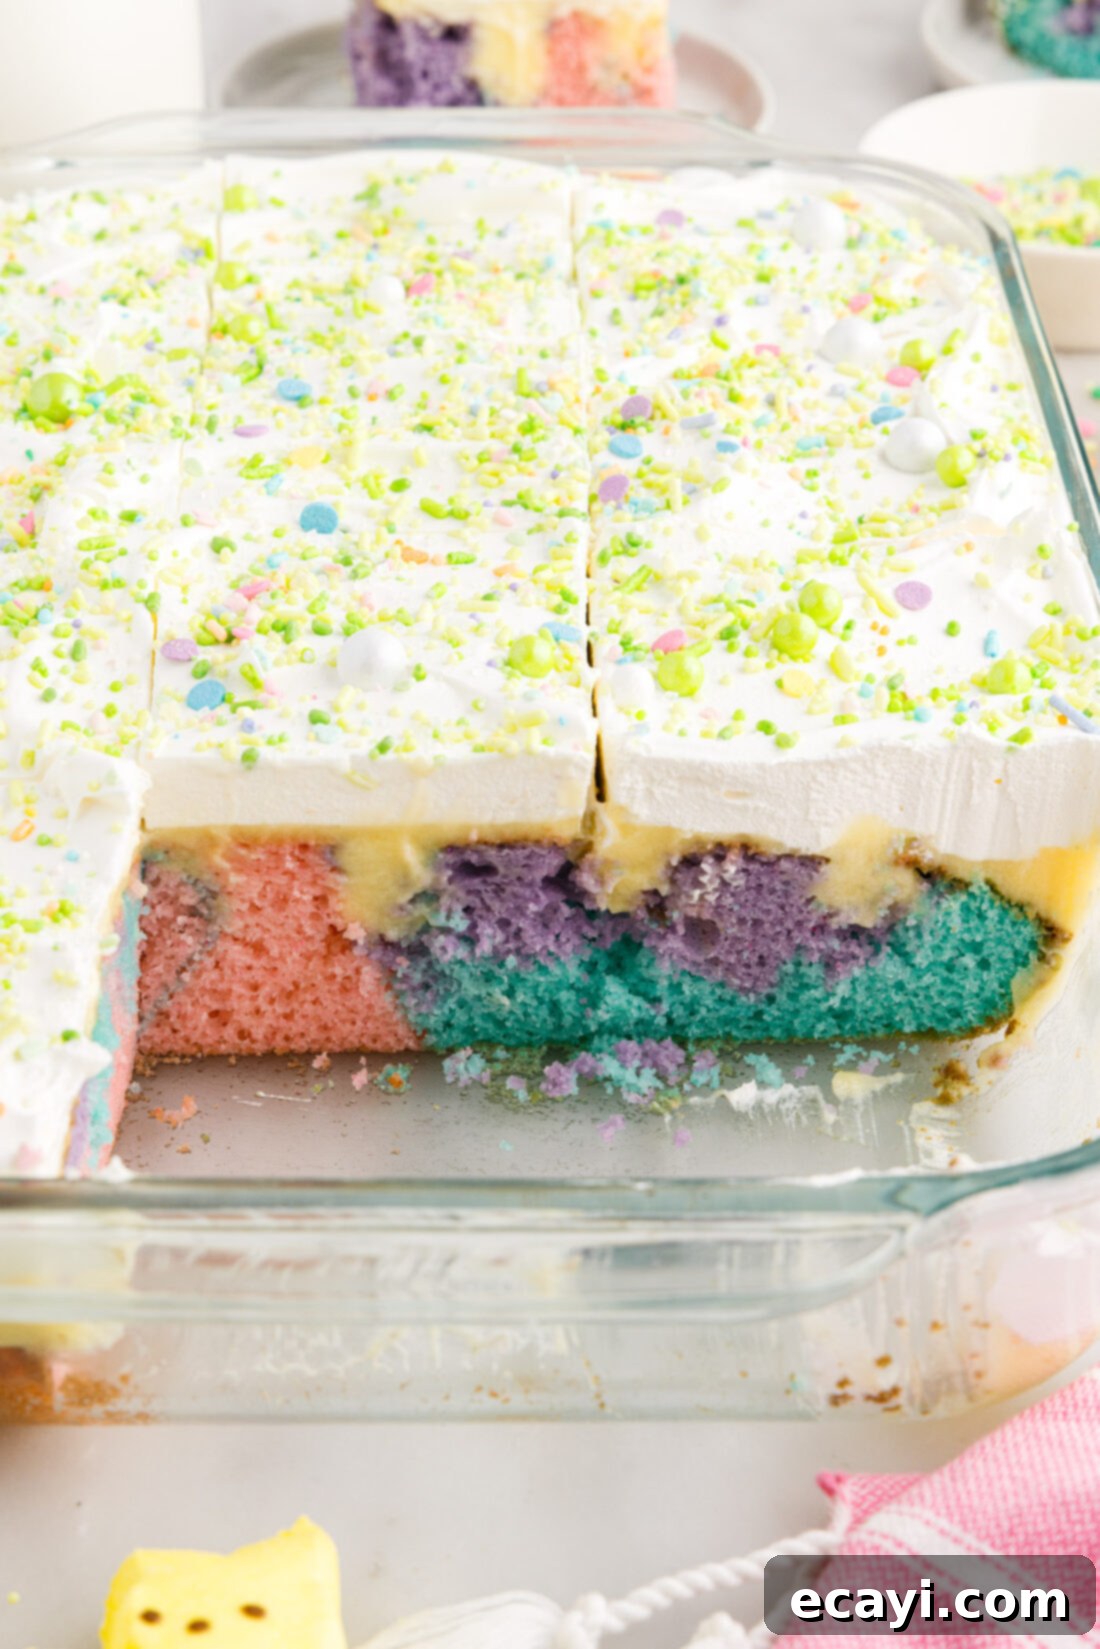
This Easter poke cake truly shines as a holiday centerpiece. Its cheerful and bright presentation, featuring lovely swirls of pastel purple, pink, and blue cake, complemented by the delicate yellow hue of the vanilla pudding, makes it an absolute feast for the eyes. The creamy Cool Whip frosting binds all these elements together, while a generous scattering of colorful sprinkles adds that final festive touch. This isn’t just another dessert; it’s an edible work of art that’s remarkably easy to prepare.
Easter is a cherished time of year, inspiring us to create fun and vibrant recipes, often adorned with charming pastel colors, bunnies, chicks, and even tie-dye eggs. We love how this holiday brings out creativity in the kitchen! Last year, our Easter dirt cake was a phenomenal success with both children and adults, and we are confident that this delightful poke cake will be equally adored. The simplicity of using a cake mix combined with the “poke” technique ensures a moist, flavorful cake that looks sophisticated but requires minimal effort. It’s the perfect solution for busy holiday schedules, allowing you more time to enjoy with loved ones and less time stressing in the kitchen. Plus, the interactive process of coloring the batter can be a fun activity to share with younger helpers, making the baking experience even more memorable.
Key Ingredients for Your Perfect Easter Poke Cake
Before diving into the baking process, ensure you have all the necessary ingredients on hand. For precise measurements and comprehensive instructions, refer to the printable recipe card located at the conclusion of this article. This section provides a detailed look at the components that bring this festive dessert to life, along with helpful substitution suggestions to tailor the cake to your preferences.
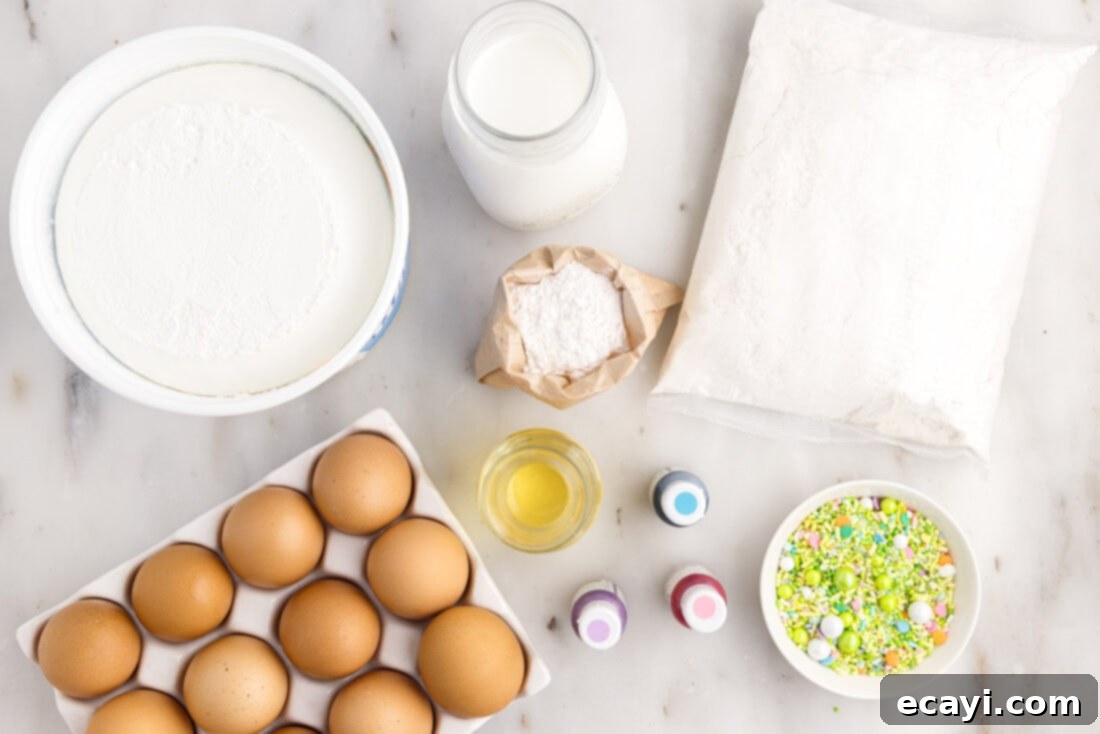
Ingredient Information and Substitution Suggestions for a Customizable Poke Cake
Understanding your ingredients is key to successful baking. Here’s a closer look at what goes into our Easter poke cake and how you can adapt it.
CAKE BASE: We opt for a standard white cake mix for its convenience and light flavor, which serves as a perfect canvas for our vibrant pastel colors. While we used whole eggs in our version, for an even truer, brighter white cake base, consider using only egg whites. This slight adjustment prevents the subtle yellow tint from egg yolks from potentially dulling your pastel dyes. The cake’s rise, texture, and taste will remain largely consistent, offering a beautifully pure backdrop for the colored batter. If you’re feeling adventurous or prefer a from-scratch approach, any sturdy vanilla or white cake recipe can be adapted, just ensure it yields a 9×13 inch cake. For an extra festive touch, you could even use a “Funfetti” style cake mix, though its existing sprinkles might interfere with the intended pastel swirls.
PUDDING LAYER: Instant vanilla pudding mix provides a delightful pale yellow layer, adding a fourth lovely pastel shade to the cake’s interior when sliced. This pudding not only infuses the cake with rich vanilla flavor but also ensures incredible moisture and a wonderfully creamy texture throughout the cake. If yellow is already one of your chosen cake batter colors and you prefer a stronger contrast, a white chocolate instant pudding mix is an excellent alternative. It will maintain the creamy texture and flavor while providing a starker white appearance to differentiate from your colored cake layers. Ensure you use *instant* pudding, as cook-and-serve varieties will not set properly when poured into the cake holes.
FROSTING: A generous layer of Cool Whip (or frozen whipped topping), thawed, forms the cloud-like topping for this poke cake. Its light, airy texture and subtly sweet flavor perfectly balance the richness of the cake and pudding. For those who prefer homemade, a stabilized whipped cream made with heavy cream, powdered sugar, and a touch of vanilla extract can be used as a substitute. Stabilizing it with cream cheese or gelatin will help it hold its shape longer. If you’re not a fan of whipped toppings, a simple vanilla buttercream or even a cream cheese frosting could also work, though they would offer a denser, richer finish.
COLORING: Gel food coloring is highly recommended over liquid food coloring. Gel colors are more concentrated, meaning you need only a tiny drop to achieve vibrant pastel shades without altering the cake batter’s consistency. This allows for precise control over the intensity of your pink, purple, and blue hues. Have a few extra colors on hand if you want to experiment, but pink, purple, and blue are classic Easter tones.
LIQUIDS & FAT: The recipe calls for milk (divided for cake and pudding) and vegetable oil. Milk adds richness and moisture to both the cake and pudding, while oil contributes to a tender, moist cake crumb. Whole milk provides the best flavor and texture, but 2% milk can also be used. Ensure all wet ingredients are at room temperature for the best mixing results.
GARNISH: Sprinkles or Easter candy are essential for the final festive flourish. Think pastel nonpareils, jimmie sprinkles, tiny candy eggs, or even adorable marshmallow Peeps. This is where you can truly let your creativity shine and personalize the cake for your Easter celebration.
How to Make a Beautiful Easter Poke Cake: Step-by-Step Guide
These step-by-step photos and instructions are designed to visually guide you through the process of creating this delicious Easter poke cake. For a printable version of this recipe, complete with precise measurements and comprehensive instructions, simply Jump to Recipe at the bottom of the page.
- Prepare Your Baking Dish and Oven: Begin by preheating your oven to 350°F (175°C). This ensures the oven is at the correct temperature for even baking from the start. Thoroughly spray a 9×13 inch glass baking dish with a nonstick baking spray, ensuring all corners and sides are covered to prevent sticking. Set the prepared dish aside.
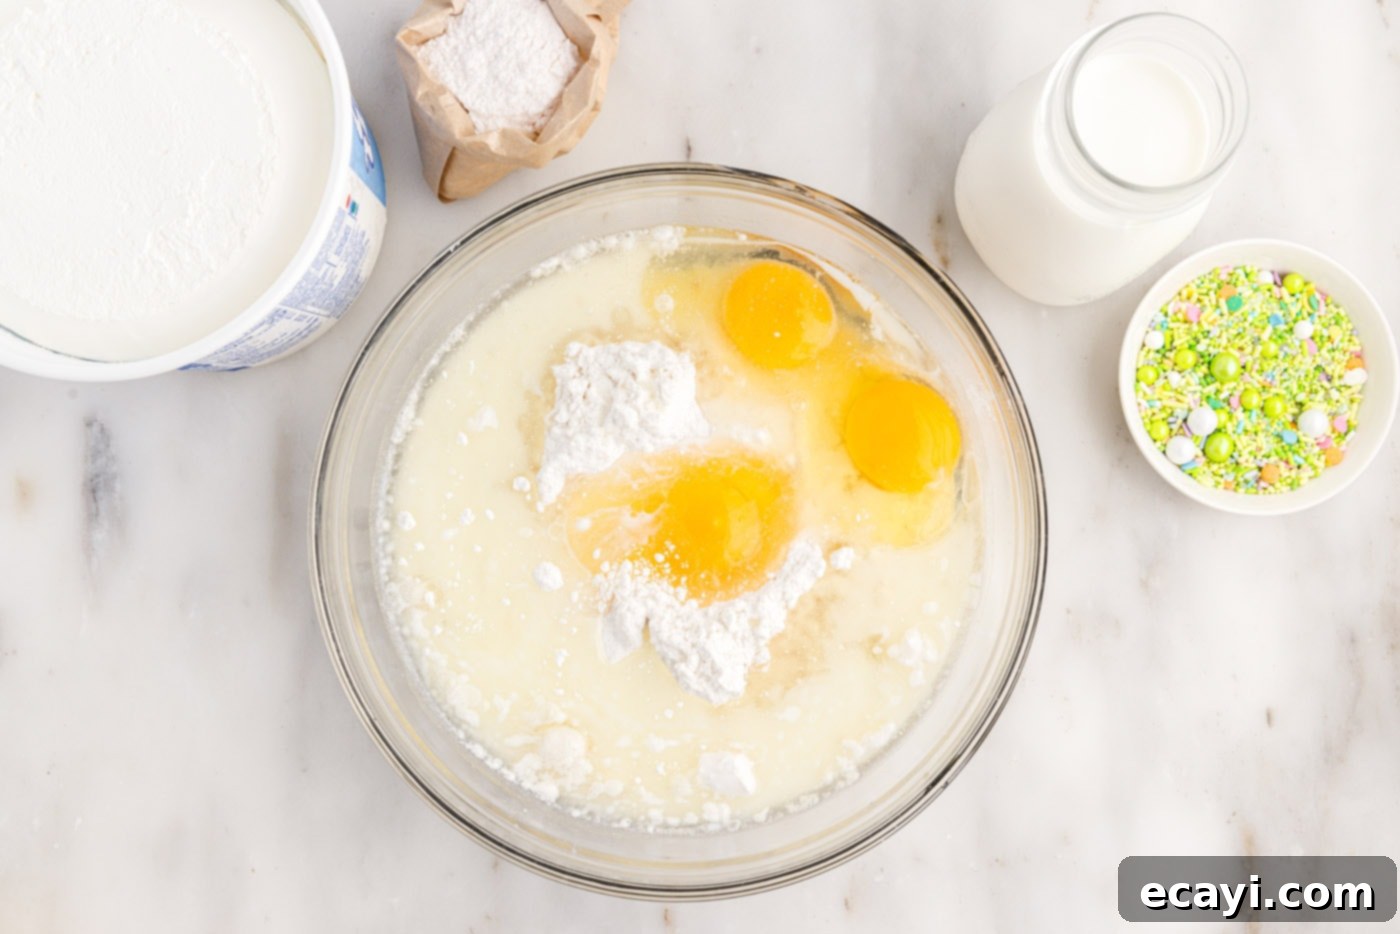
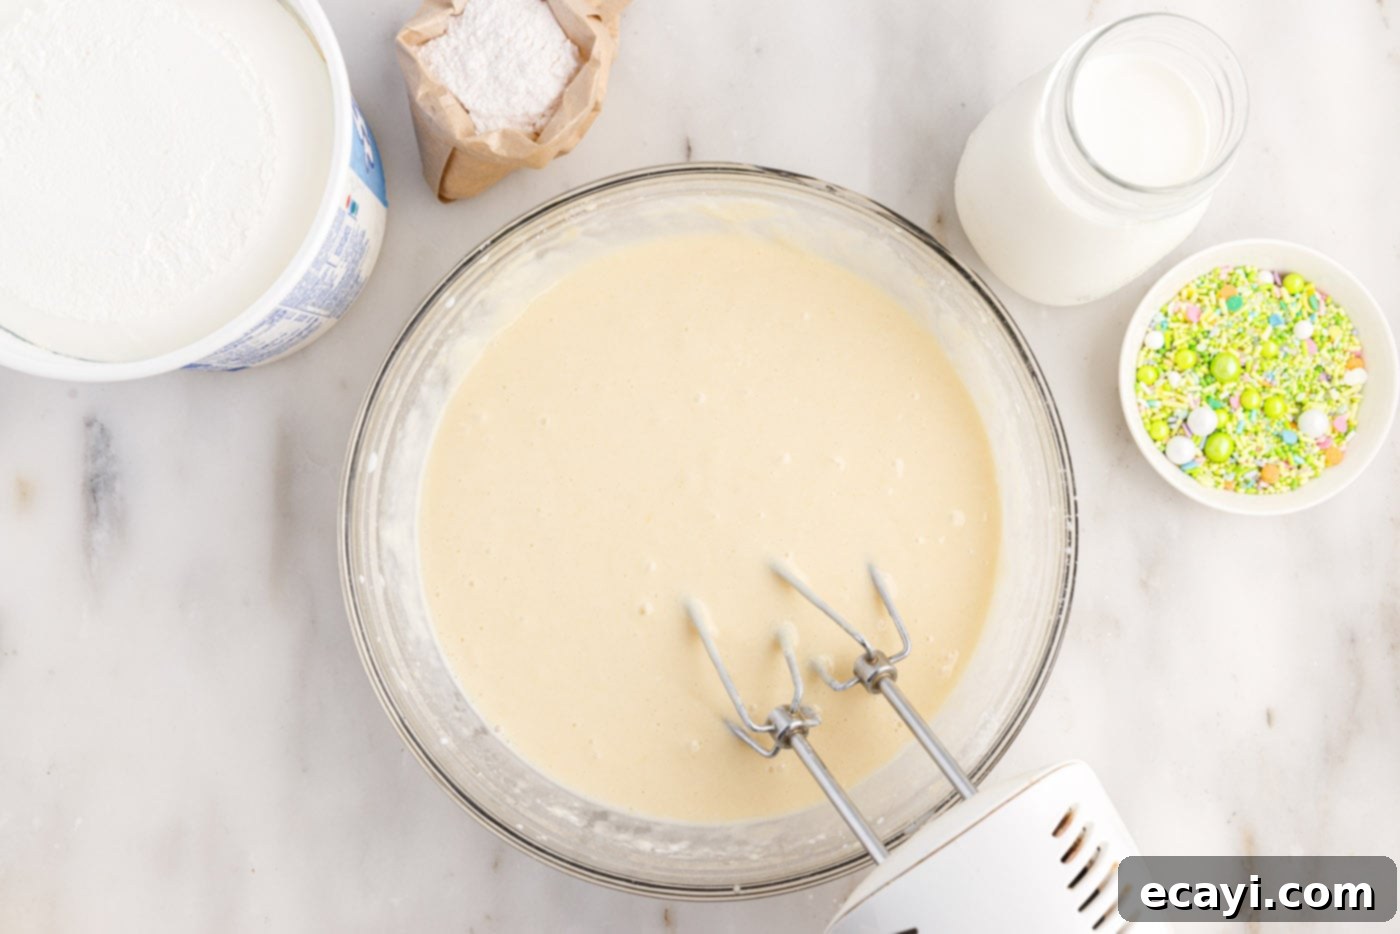
- Mix the Cake Batter: In a large mixing bowl, combine the white cake mix, the three large eggs (or egg whites if you’re aiming for a pure white base), ½ cup of vegetable oil, and 1 cup of milk. Beat these ingredients together with an electric mixer on medium speed until they are fully combined and the batter is smooth, typically for 1-2 minutes. Scrape down the sides of the bowl to ensure no dry spots remain.


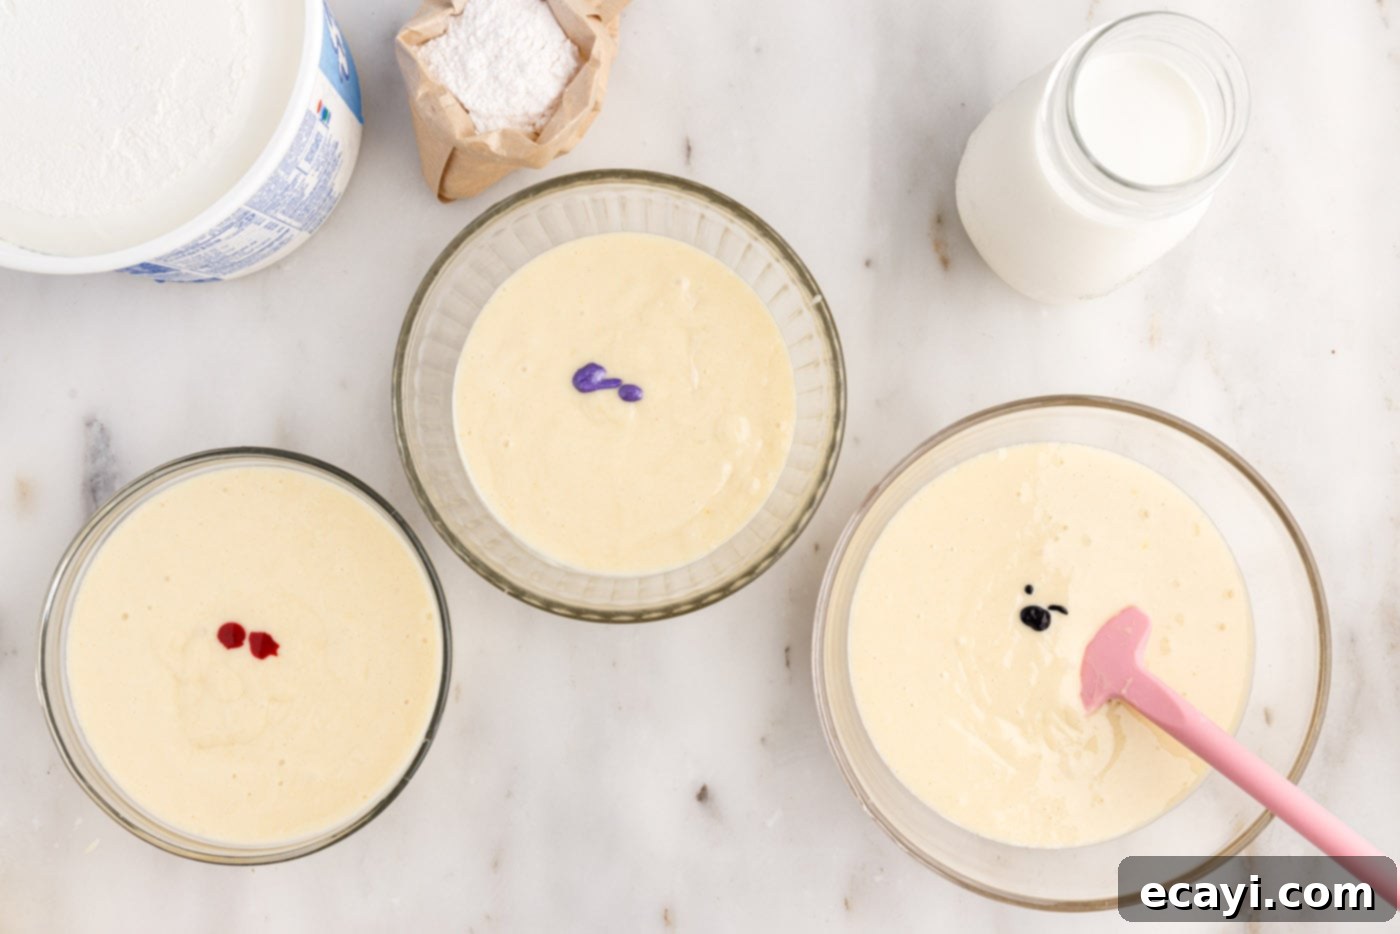
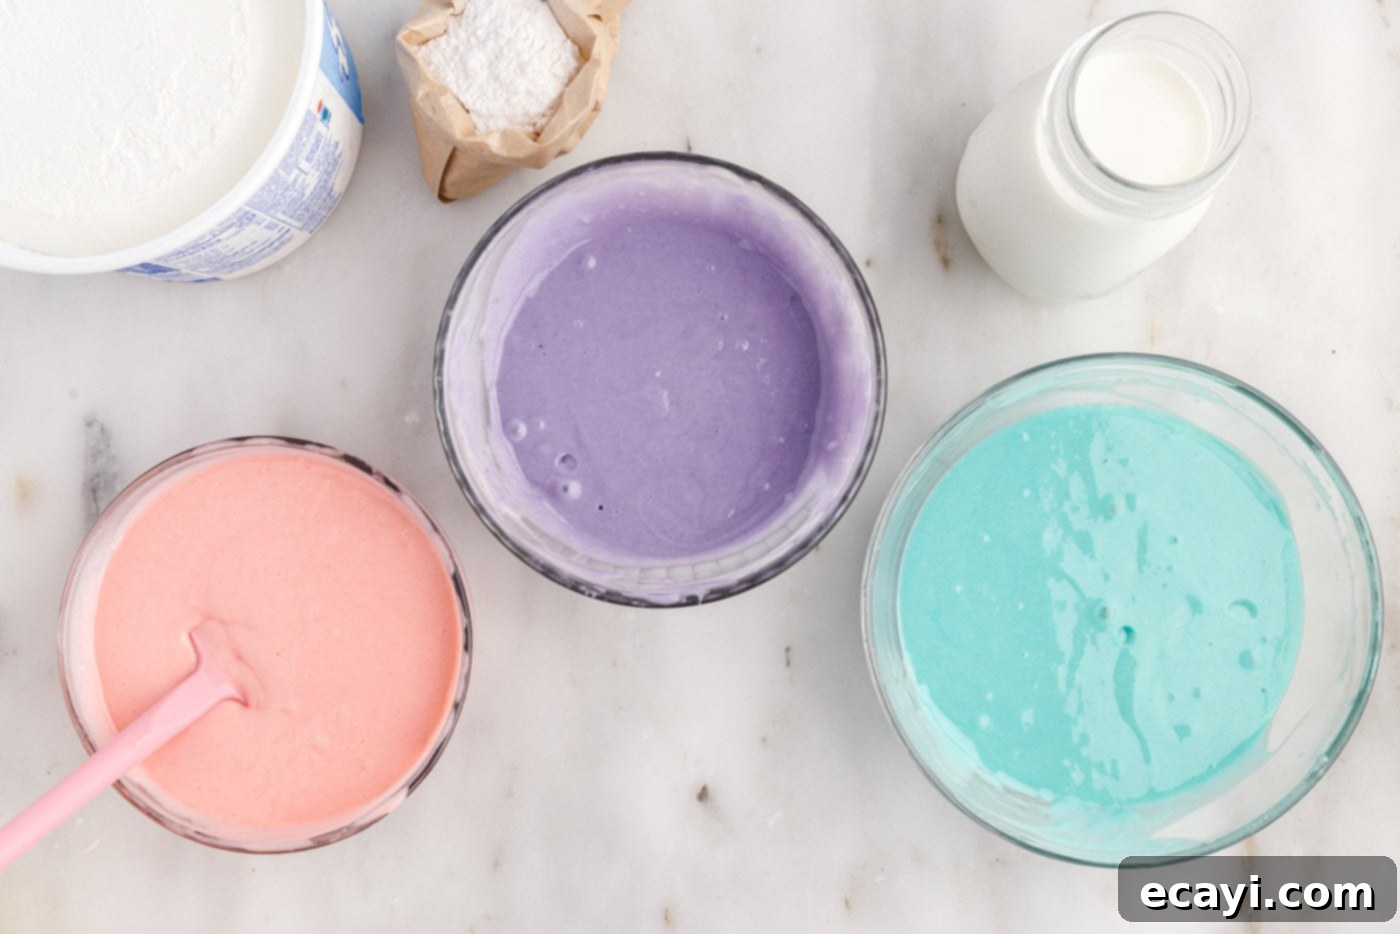
- Divide the Batter: Carefully divide the prepared cake batter evenly into three separate bowls. This will allow you to color each portion individually. Aim for roughly equal amounts in each bowl.
- Tint the Batter with Pastel Colors: Add just a drop or two of your chosen gel food coloring to each bowl of batter. We recommend beautiful pastel shades like pink, purple, and blue for an Easter theme. Stir gently until the color is incorporated. Add more food coloring, one drop at a time, until you achieve your desired pastel intensity. Remember, a little goes a long way with gel colors, so start sparingly and build up the color.


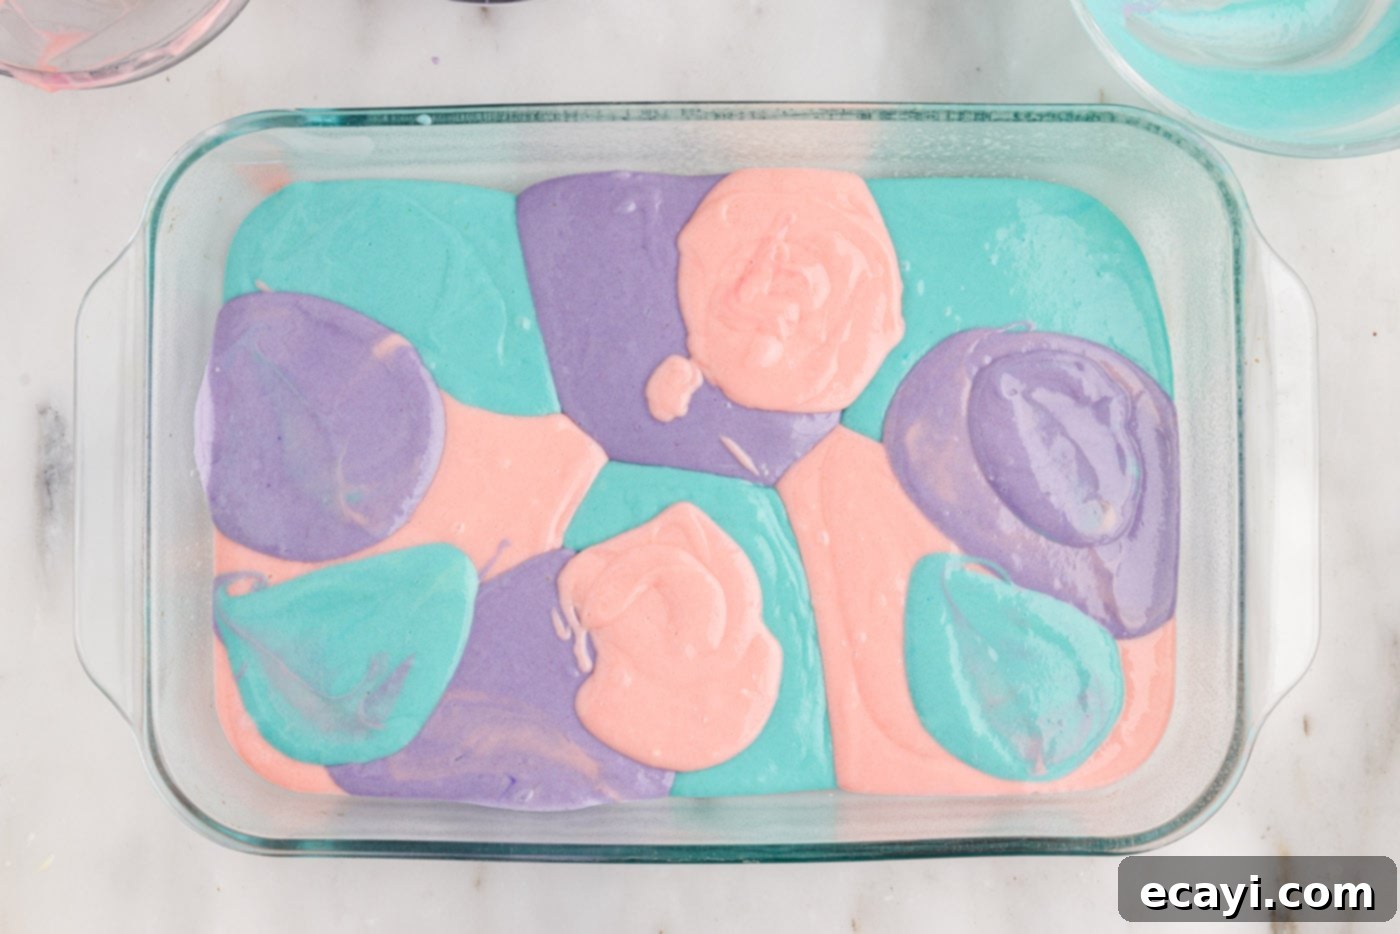
- Layer the Colored Batter: Using a large spoon or an ice cream scoop, drop large spoonfuls of each colored cake batter alternately into the prepared baking dish. Distribute the colors randomly across the dish, creating a mosaic of pastel dots.
EXPERT TIP: Using an ice cream scoop or a large cookie dough scoop simplifies the process of neatly dispensing the batter. If you choose to drop smaller scoops of batter, there’s no need to swirl them. The smaller, distinct dots will create a beautiful and varied color pattern on their own when baked. The goal is a visually appealing, marbled effect, not a fully blended one.

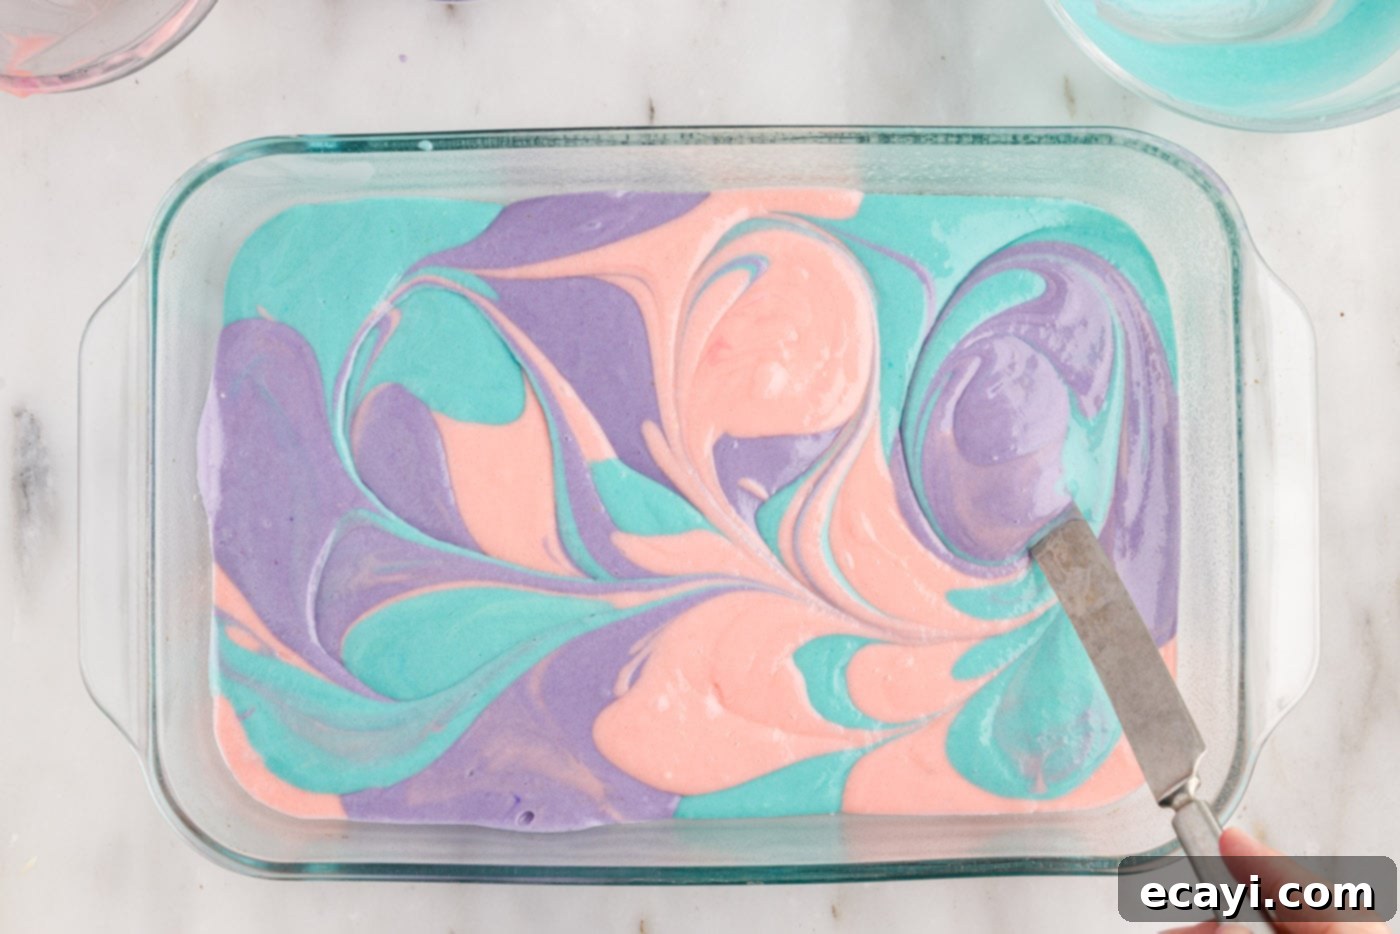
- Gently Swirl the Colors: Take a butter knife or a wooden skewer and gently swirl the colors together within the baking dish. Be careful not to over-swirl, as this can cause the colors to become muddy and blend into an indistinct gray or brown. A few gentle passes are all you need to create attractive streaks and patterns.

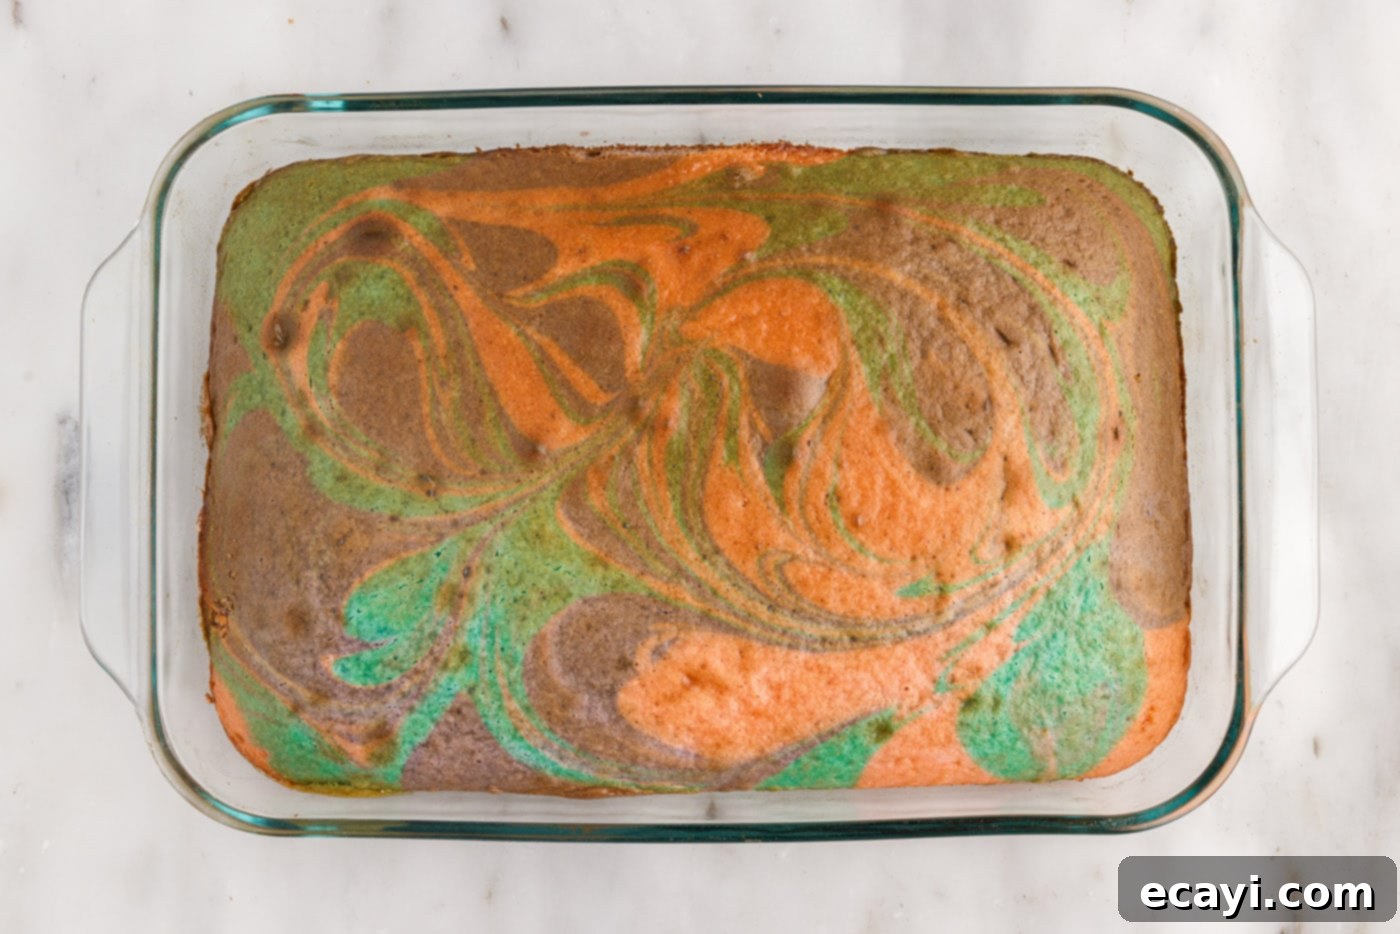
- Bake the Cake: Place the baking dish into the preheated oven and bake for approximately 25-30 minutes. The cake is done when the center is set, springs back lightly when touched, and a toothpick inserted into the center comes out with just a few moist crumbs attached, or completely clean. Avoid overbaking, as this can lead to a dry cake.

- Cool the Cake: Once baked, remove the cake from the oven and place it on a wire rack. Allow the cake to cool almost completely at room temperature. This is a crucial step; if you poke the cake while it’s too hot, it might tear, and the warm cake will absorb the pudding too quickly, potentially making it soggy.
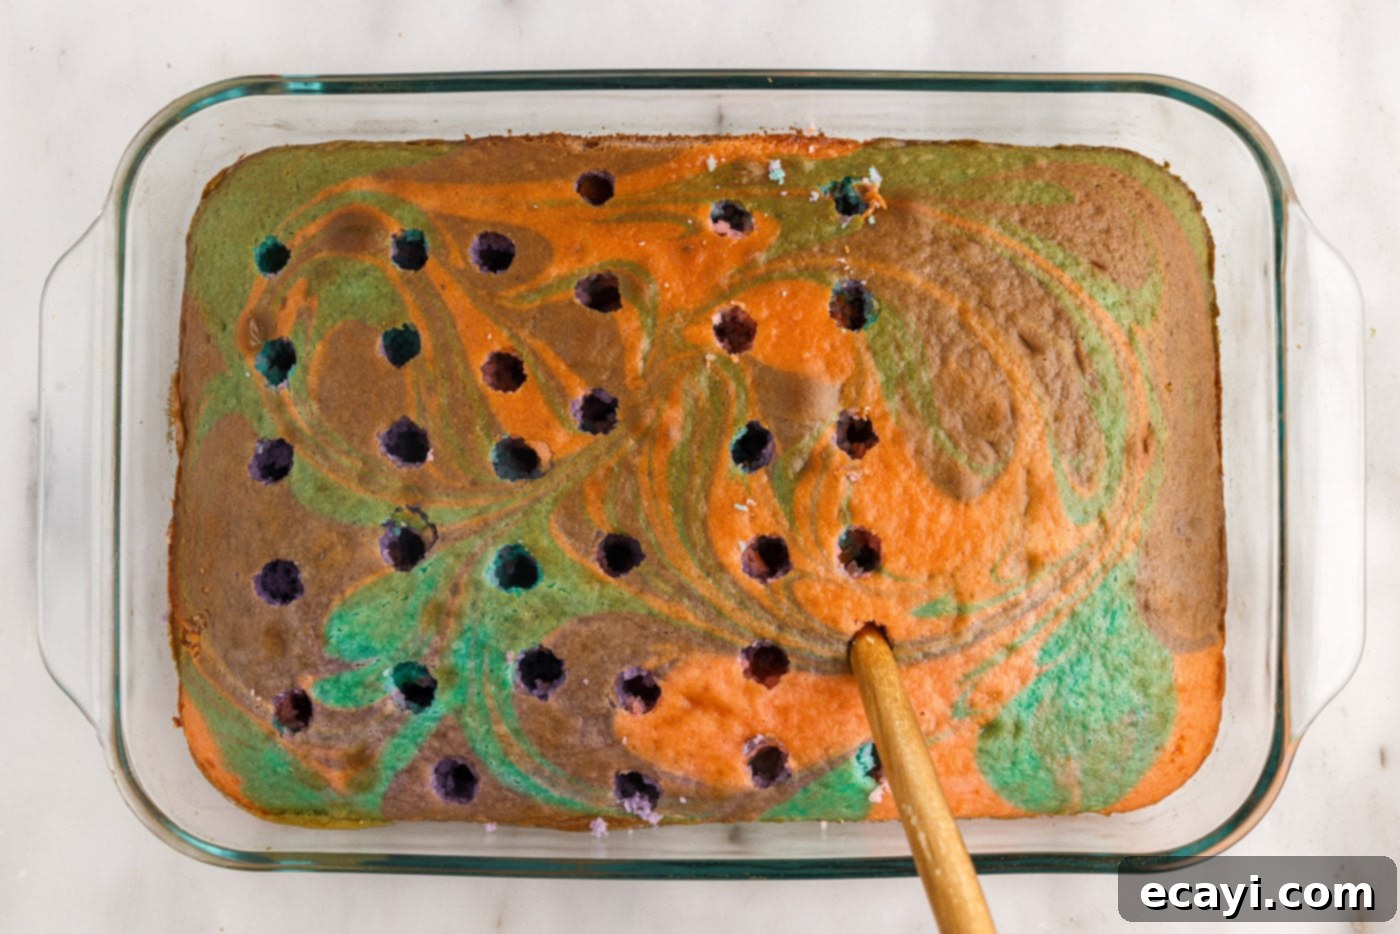
- Poke the Holes: Once the cake has cooled sufficiently (it should still be slightly warm, but not hot), use the round handle of a wooden spoon or a wooden dowel to poke an array of holes across the entire surface of the cake. Aim to poke the holes about ⅔ of the way down into the cake, spacing them approximately ¾ to 1 inch apart. These holes are vital for the pudding to seep into, creating those wonderful pockets of flavor and moisture.

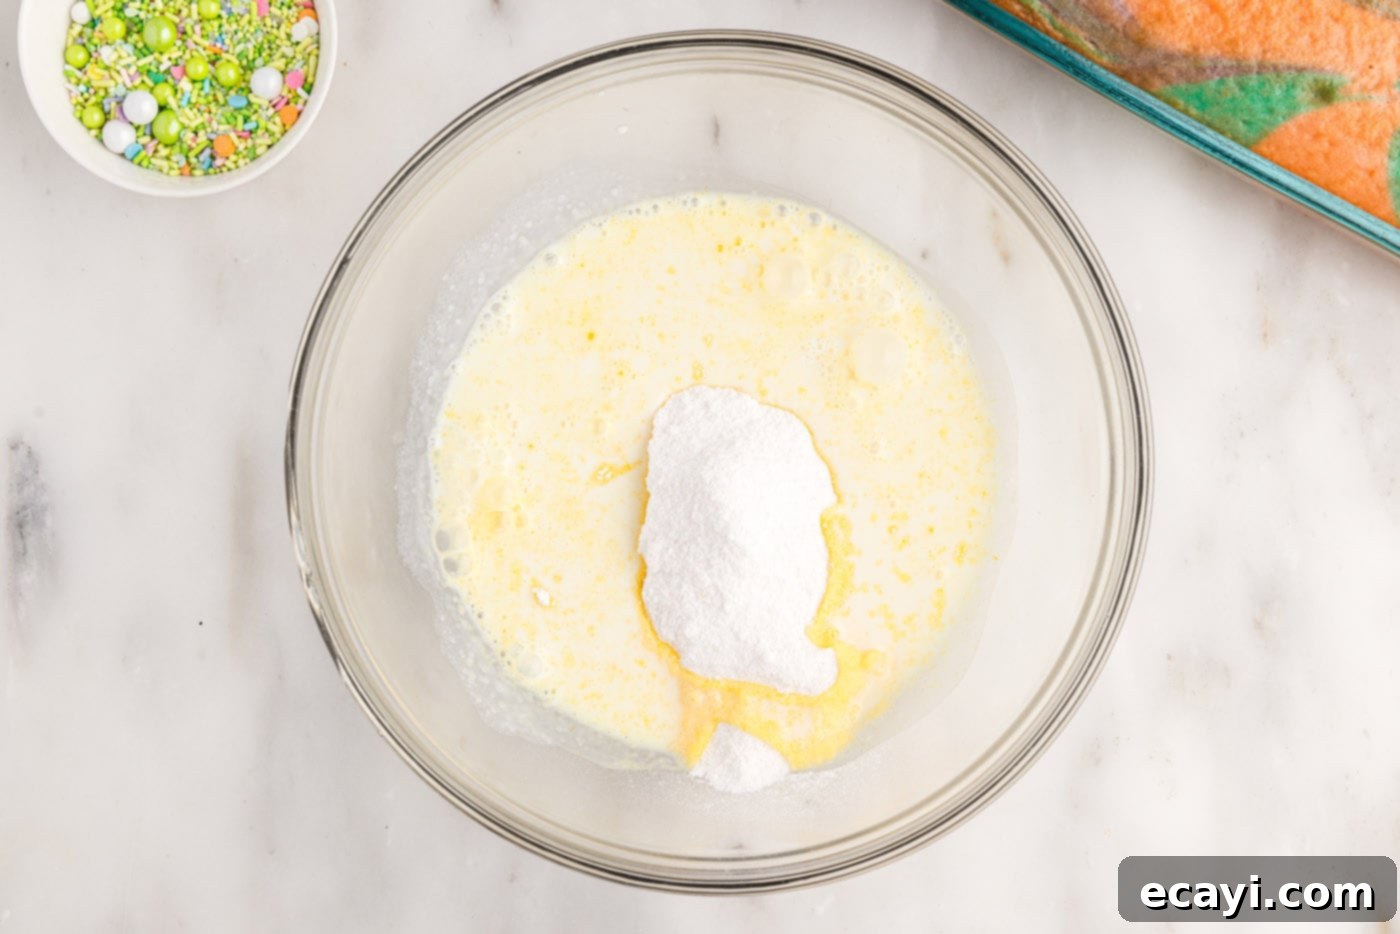
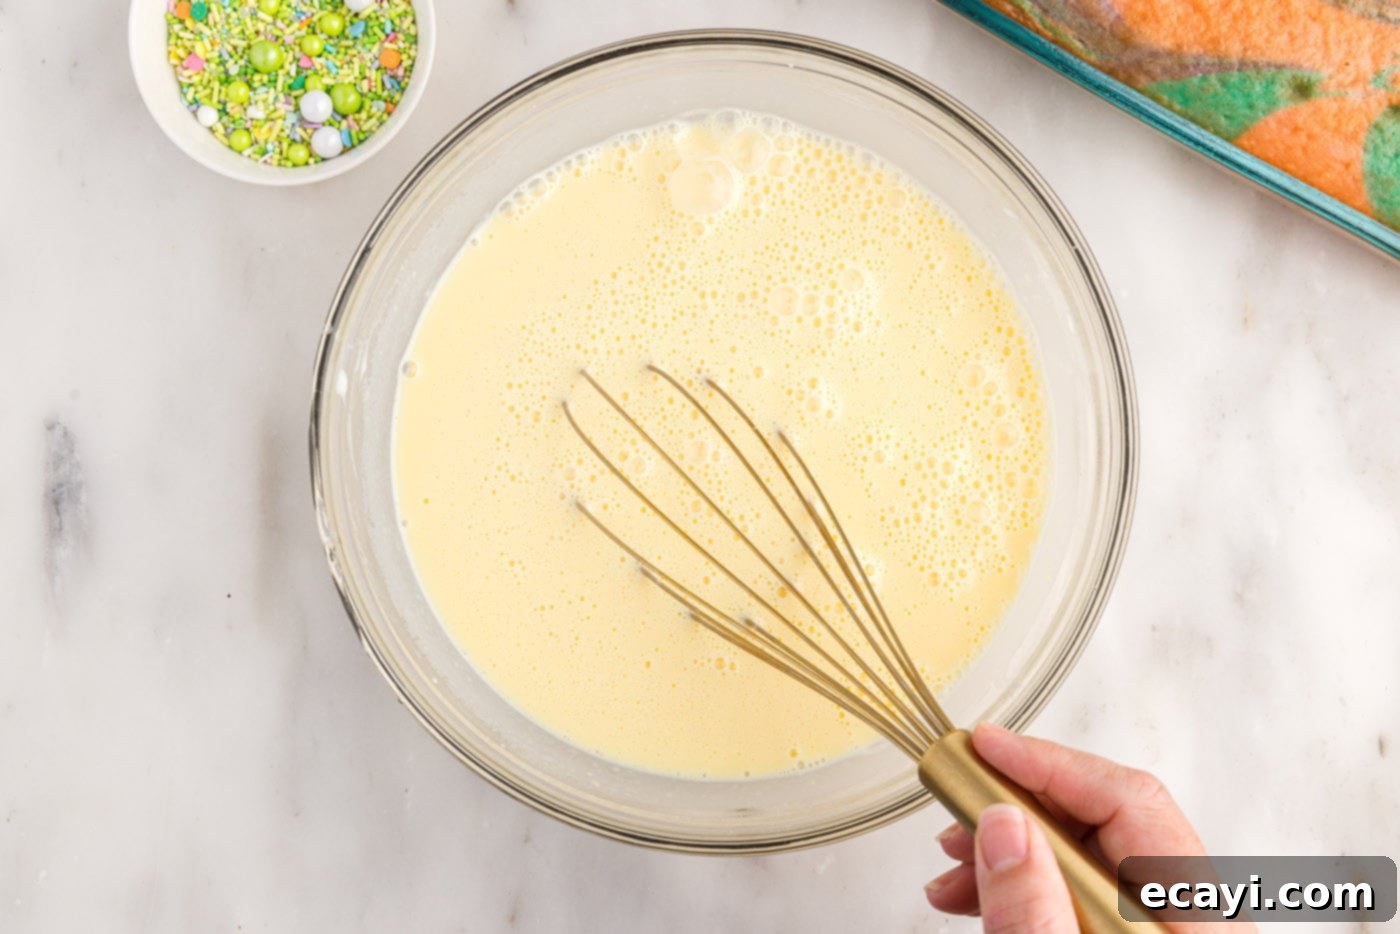
- Prepare the Pudding Mixture: In a separate bowl, whisk together the instant vanilla pudding mix with the remaining 2 cups of milk. Continue to whisk for 1-2 minutes until the mixture is fully combined and just begins to thicken. It should be a pourable, yet slightly viscous consistency.


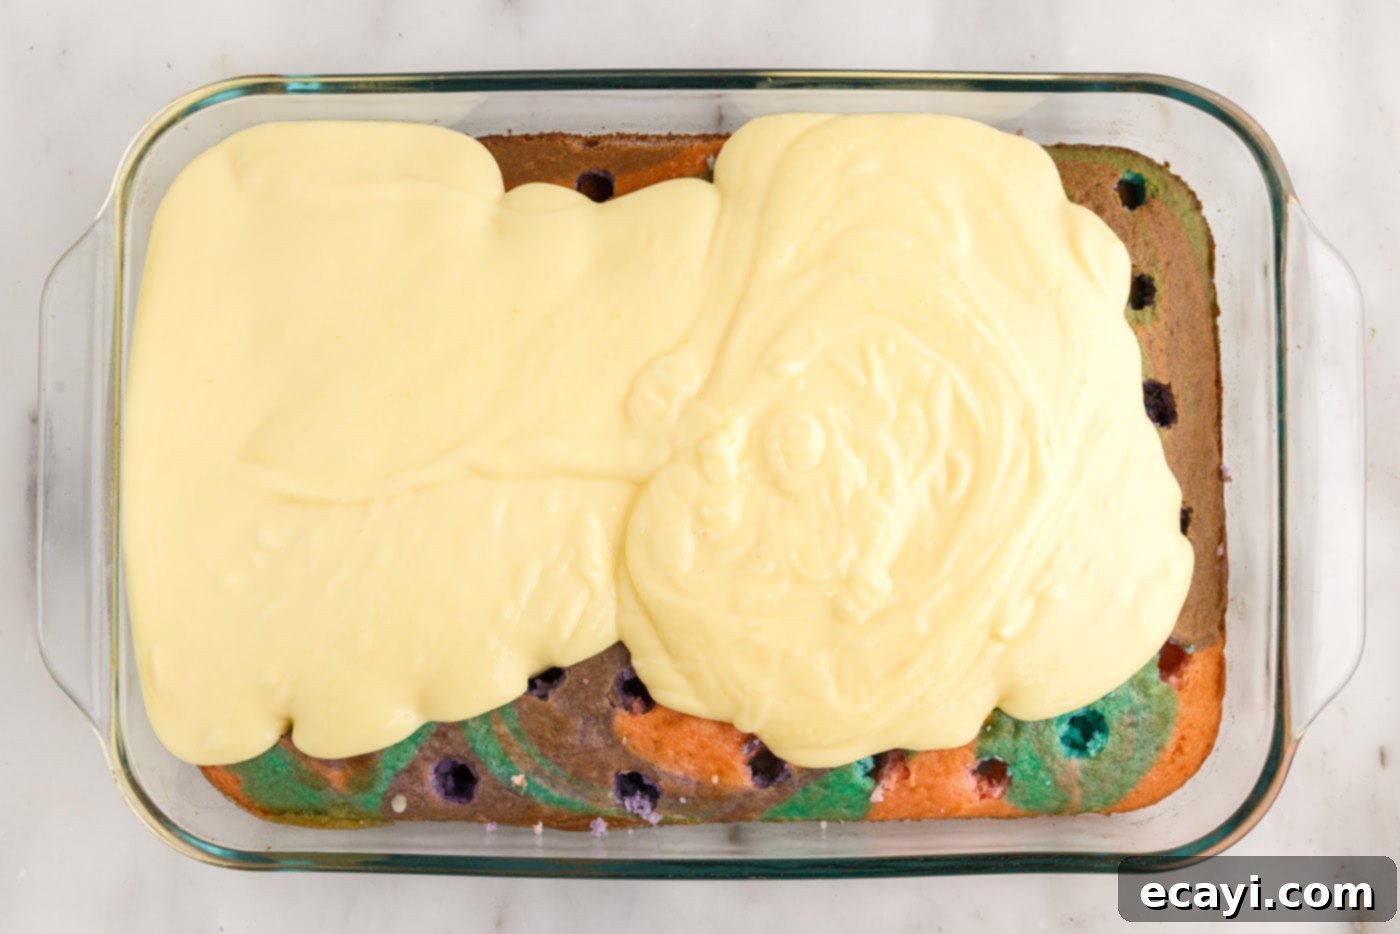
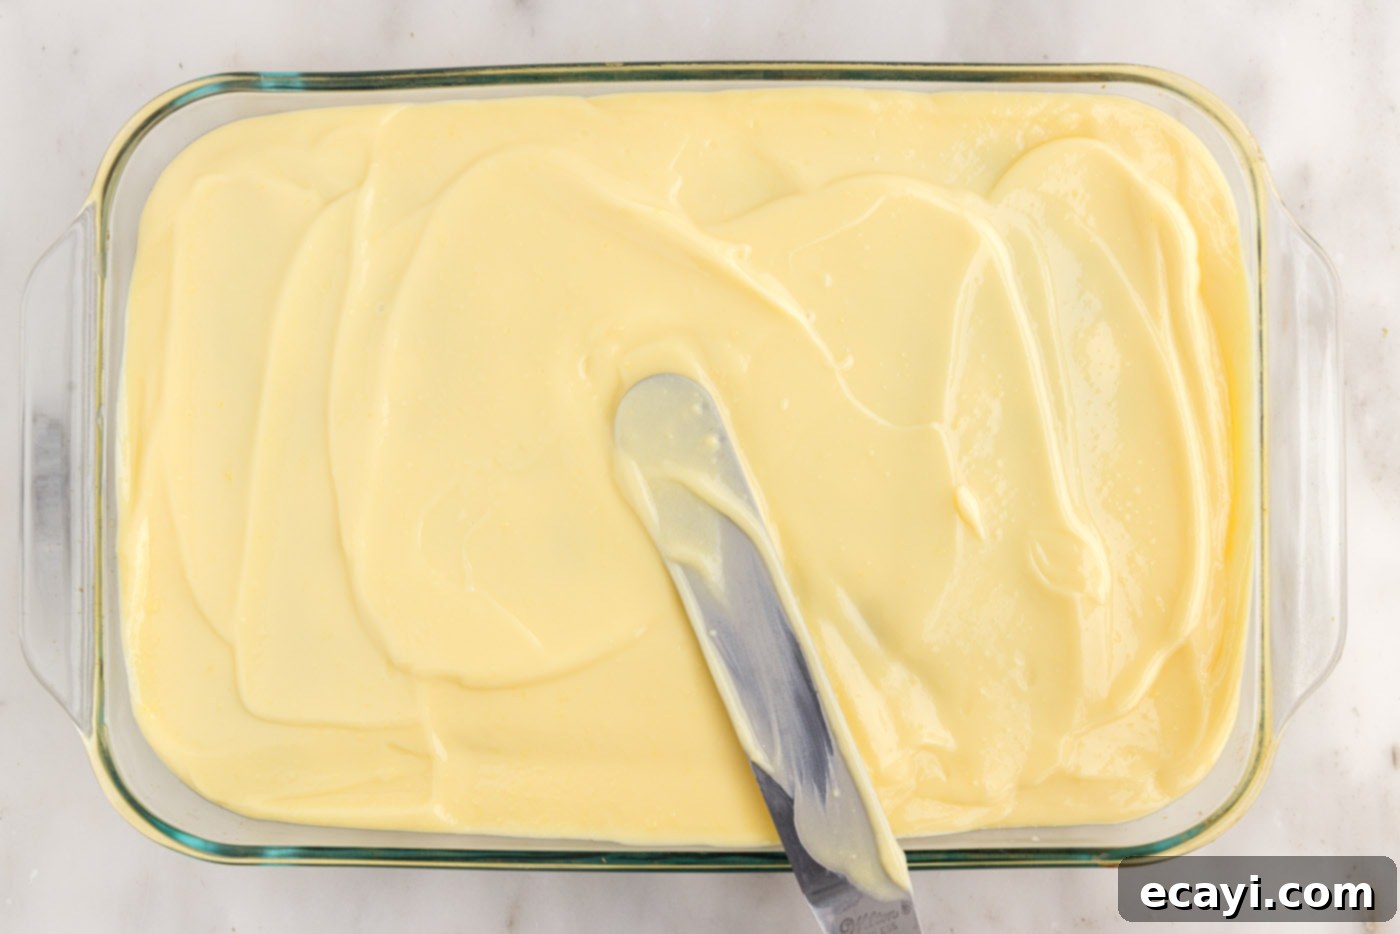
- Pour and Spread the Pudding: Carefully pour the slightly thickened pudding mixture evenly over the entire surface of the cooled, poked cake. Using an offset spatula or the back of a spoon, gently spread the pudding, pressing it down slightly as you go to ensure it fills all the holes. The goal is for the pudding to seep into the cake, creating moist, flavorful streaks.


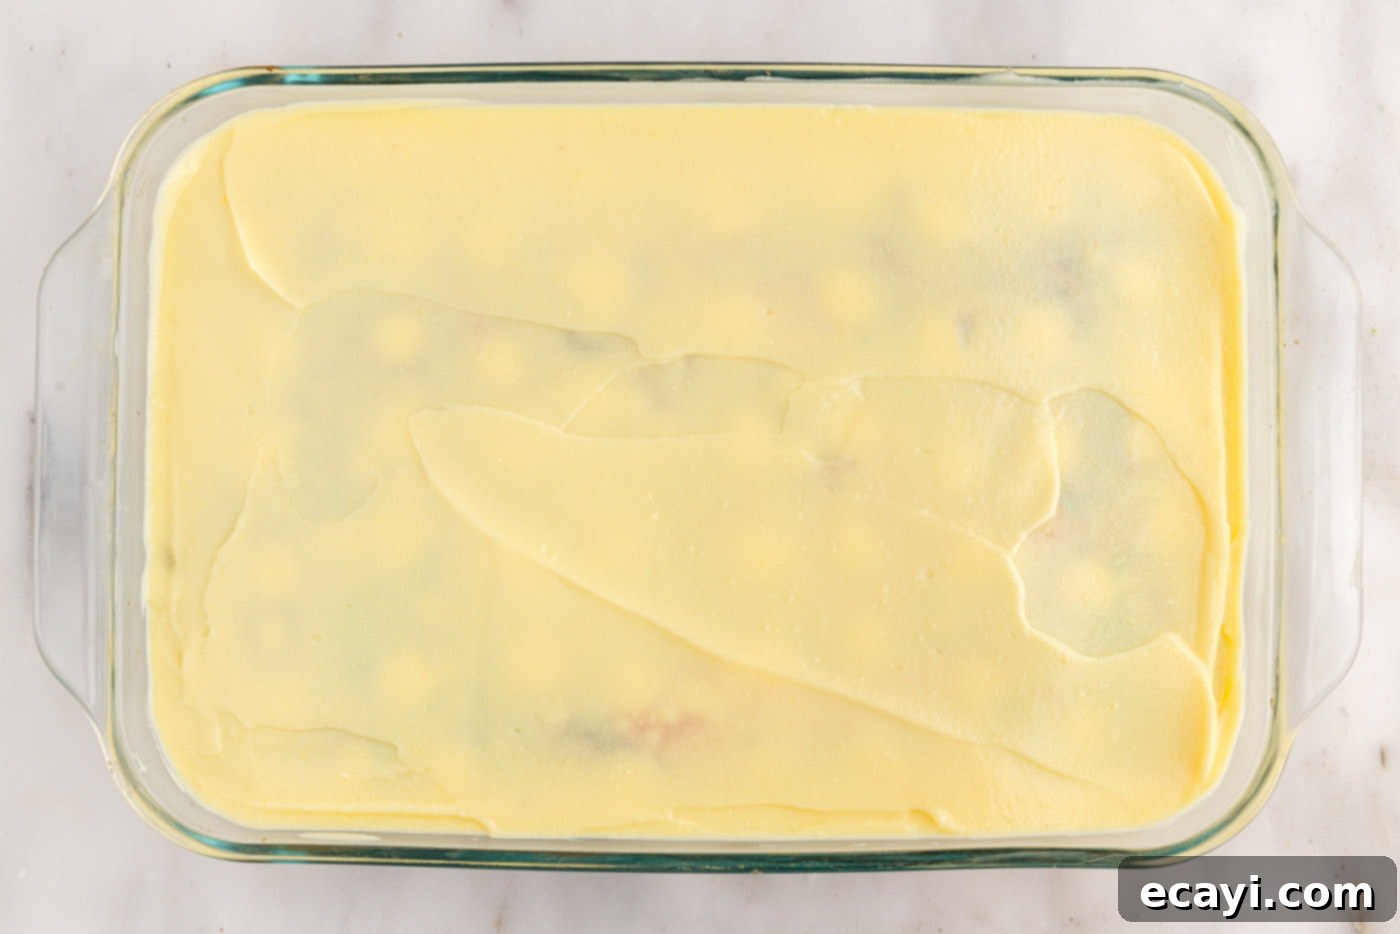
- Chill the Cake: Place the cake in the refrigerator for at least 30 minutes. This chilling time is essential for allowing the pudding to fully set and for the cake to absorb all that delicious moisture, resulting in a perfectly tender and flavorful dessert.
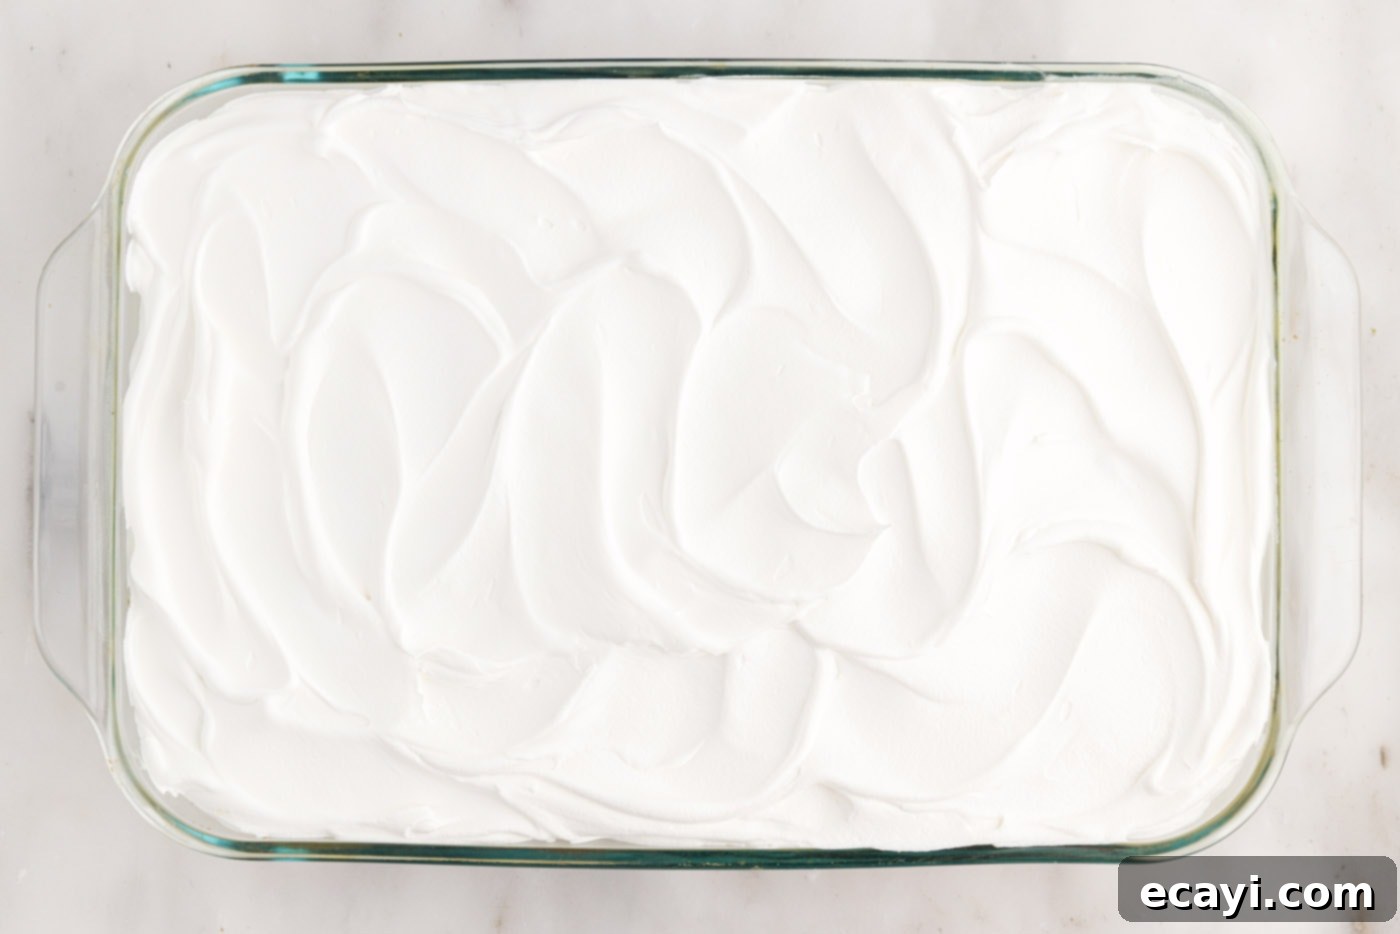
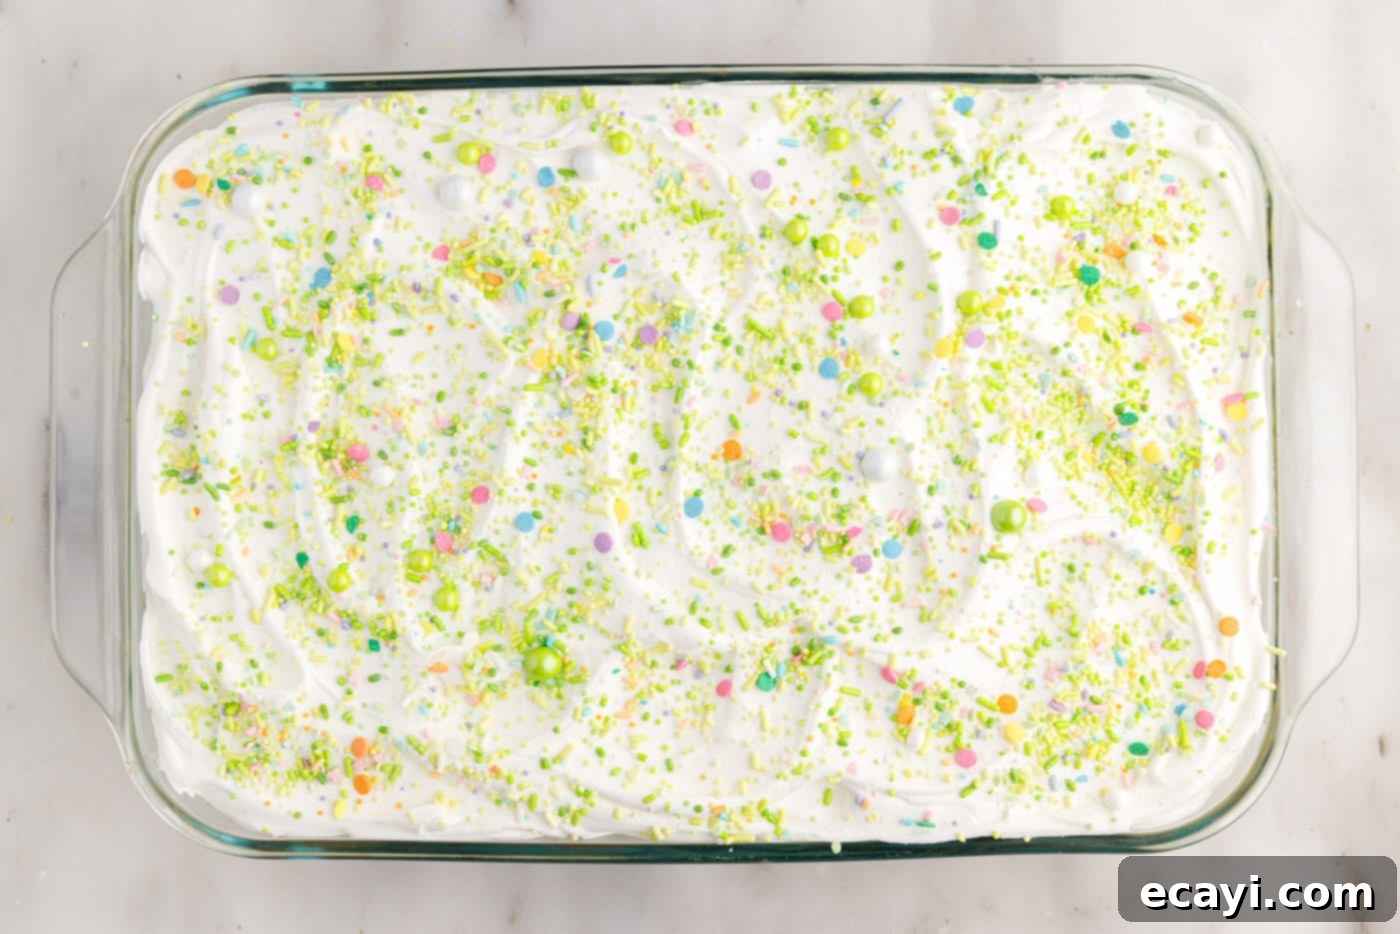
- Frost and Decorate: Once the cake is thoroughly chilled and the pudding has set, take it out of the refrigerator. Gently spread the thawed Cool Whip over the top of the cake, creating soft peaks or a smooth, even layer. Finish by decorating with your favorite colorful sprinkles or festive Easter candies, creating a truly eye-catching dessert that’s ready to serve!


Frequently Asked Questions & Expert Tips for Your Easter Poke Cake
Proper storage is key to keeping your Easter poke cake fresh and delicious. Store this delightful cake, meticulously covered, in the refrigerator for a maximum of 5 days. For longer preservation, this cake can be frozen for up to 3 months. To freeze, ensure it is wrapped extremely well in several layers of plastic wrap and then foil to prevent freezer burn. If you plan to freeze the cake, we highly recommend waiting to add the Cool Whip frosting until you are ready to thaw and serve it. This makes wrapping much easier and ensures the topping remains pristine, without getting squashed or freezer-damaged during storage.
Absolutely, making this poke cake in advance is a fantastic idea, especially for holiday planning. You can prepare the entire cake, including the luscious Cool Whip topping, a day or even two in advance of your Easter festivities. Simply store it covered in the refrigerator. This allows all the flavors to meld beautifully and the pudding to fully absorb into the cake, enhancing its moisture and overall taste, ensuring it’s perfectly chilled and ready to serve when your guests arrive.
The trick to distinct pastel swirls is gentle handling. When dropping the colored batter, try to space out the dollops rather than piling them. When swirling, use a knife or skewer and make only a few broad, S-shaped motions. Over-swirling is the primary culprit for muddy colors. If you prefer more distinct blobs of color, you can skip the swirling step altogether; the smaller scoops will create enough visual variety on their own.
Yes, you absolutely can! For a homemade touch, prepare a batch of stabilized whipped cream. To stabilize, you can add a tablespoon of powdered sugar and a teaspoon of cornstarch per cup of heavy cream, or a small amount of unflavored gelatin. This will help your whipped cream hold its shape longer and prevent it from deflating. Ensure it’s very cold before whipping to stiff peaks.
The most common reason for thin instant pudding is not whisking it long enough, or not using cold enough milk. Ensure your milk is straight from the refrigerator and whisk vigorously for the full 1-2 minutes recommended. Also, make sure you are using *instant* pudding mix, not the ‘cook and serve’ variety, which requires heat to thicken. If it’s still a bit thin, chilling the cake longer in the refrigerator (even an hour or two extra) will help it set further within the cake.
Creative Serving Suggestions for Your Pastel Poke Cake
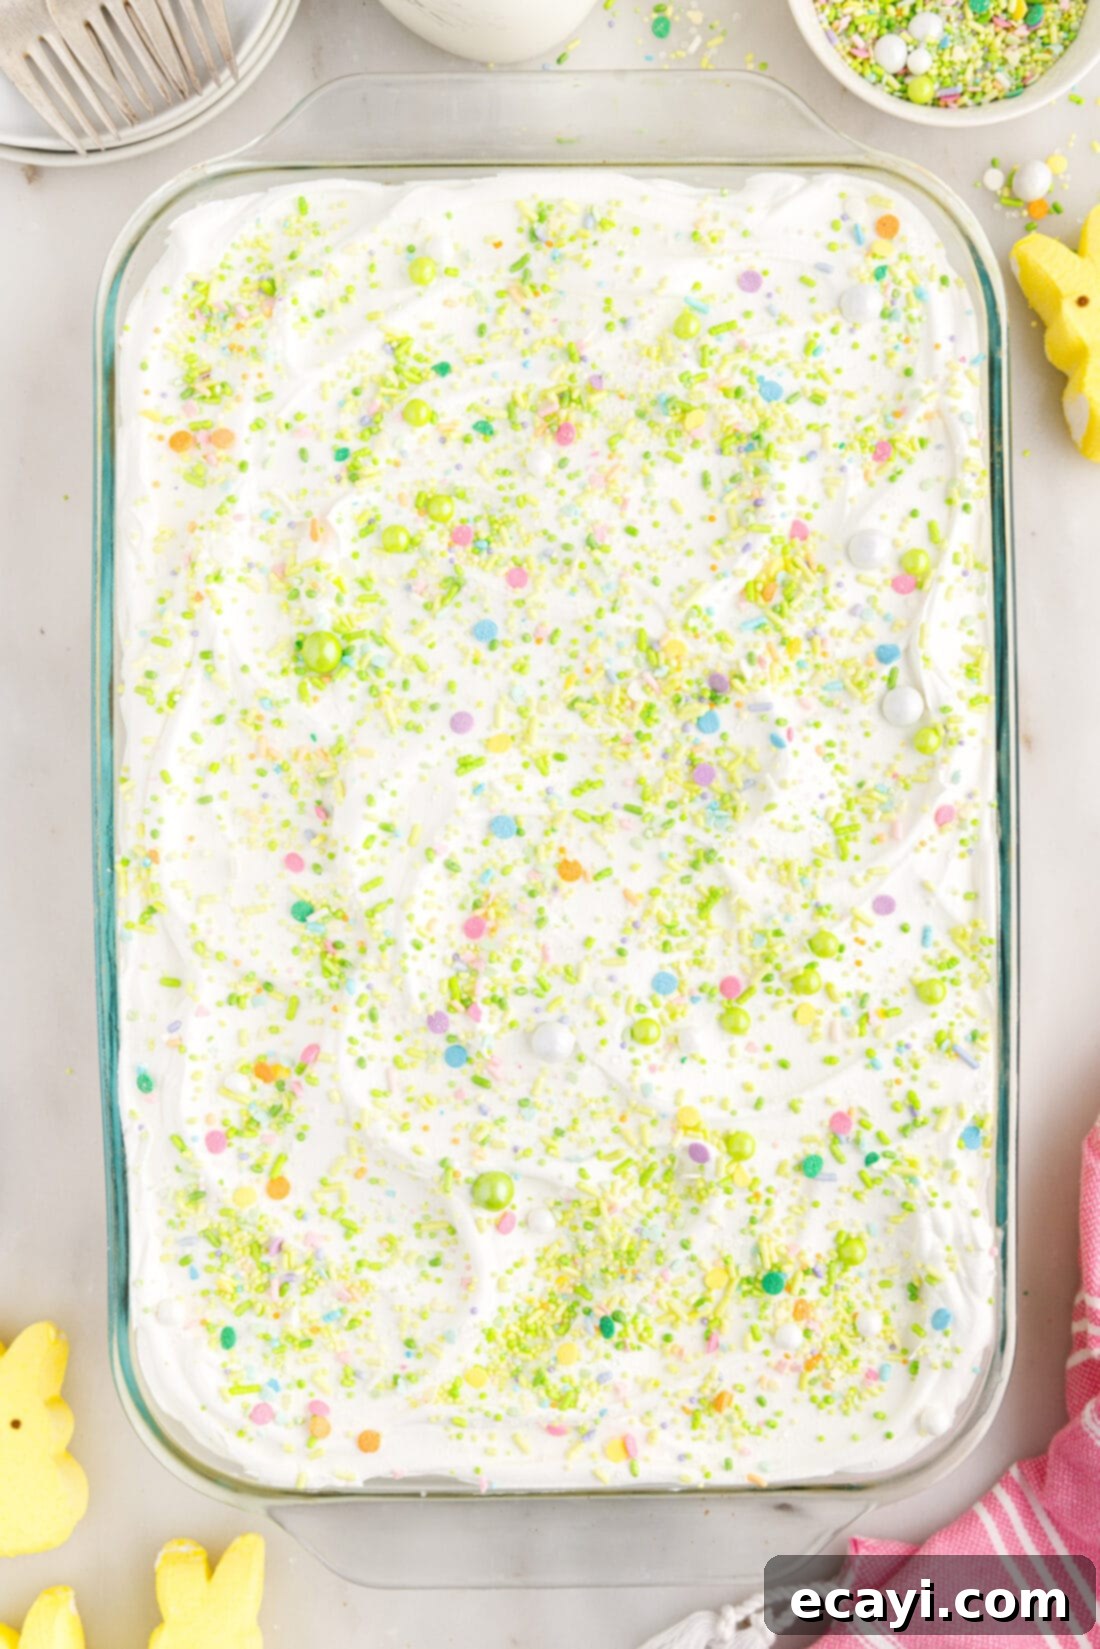
The beauty of this Easter poke cake lies not just in its vibrant interior but also in the endless possibilities for decorating its surface, especially with the abundant array of cute Easter candies available during the season. To elevate your presentation, you can certainly stick with classic themed sprinkles in pastel shades, which instantly add a festive touch. However, don’t hesitate to get creative! Consider arranging pastel-colored Easter candy eggs, miniature chocolate bunnies, or even adorable marshmallow Peeps on top of the Cool Whip frosting. For a truly whimsical look, you could create a “nest” effect with shredded coconut dyed green, adding mini candy eggs as a charming focal point. This cake is versatile and can be enjoyed chilled straight from the refrigerator, where the pudding is firm and refreshing, or at room temperature for a softer, more melt-in-your-mouth experience.
Beyond Easter, this vibrantly colored dessert has fantastic potential for other celebrations. With just a simple change in decoration, this cake can easily transform into a magical Unicorn cake for a themed birthday party! Simply garnish it with dazzling unicorn-themed sprinkles, perhaps some edible glitter, and a fondant horn and ears. Imagine it also as a delightful addition to a baby shower with gender-reveal colors, or a spring garden party with floral edible decorations. Its inherent charm and adaptability make it a go-to recipe for any occasion that calls for a touch of sweetness and visual delight.
More Delightful Easter Recipes to Explore
Looking for more ways to celebrate Easter with delicious homemade treats? Here are some of our other favorite festive recipes that are sure to bring joy to your holiday table:
- Easter Toffee
- Easter Dirt Cake
- Rice Krispie Nests
- Easter Nest Cupcakes
- Bunny Butt Cupcakes
- Easter Bunny Cupcakes
I love to bake and cook and share my kitchen experience with all of you! Remembering to come back each day can be tough, that’s why I offer a convenient newsletter every time a new recipe posts. Simply subscribe and start receiving your free daily recipes!
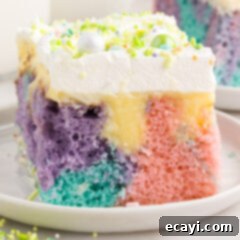
Easter Poke Cake
IMPORTANT – There are often Frequently Asked Questions within the blog post that you may find helpful. Simply scroll back up to read them!
Print It
Pin It
Rate It
Save ItSaved!
Ingredients
- 15.25 ounce package of white cake mix
- 3 large eggs or egg whites, see notes below
- ½ cup vegetable oil
- 3 cups milk divided
- gel food coloring in 3-4 colors. We used pink, purple, and blue
- 3.4 ounces instant vanilla pudding mix
- 8 ounces Cool Whip or frozen whipped topping, thawed
- sprinkles or Easter candy for garnish
Things You’ll Need
-
13×9 baking dish
-
Mixing bowls
-
Wooden spoon or dowel for poking the holes
-
Offset icing spatula
Before You Begin
- For a truly pristine white cake base that enhances the pastel colors, consider using only egg whites instead of whole eggs. While using whole eggs works perfectly well (as we did), egg yolks can impart a slight yellow tint to the batter, which might subtly alter the final pastel hues. The cake will still rise, bake, and taste essentially the same.
- The vanilla instant pudding naturally offers a pale yellow tint, which beautifully complements the other pastel colors in the sliced cake, creating an appealing fourth shade. If, however, you’ve chosen yellow as one of your cake batter colors and desire a clearer contrast, opting for a white chocolate instant pudding mix would provide a truer white layer.
- To maintain its freshness and delightful texture, store this poke cake, fully covered, in the refrigerator for a duration of up to 5 days. Should you wish to prepare it further in advance or save some for later, the cake can be frozen for up to 3 months. For freezing, ensure the cake is exceptionally well-wrapped to prevent freezer burn. A crucial tip for freezing: it’s best to wait until you are ready to serve the cake before adding the Cool Whip frosting. This approach simplifies the wrapping process and protects the delicate topping from being damaged during freezing and thawing.
- This recipe is wonderfully suited for advance preparation. You can assemble and complete the entire cake, including its frosting, one or two days before your event. Store it carefully in the refrigerator, and it will be perfectly set and ready to delight your guests when it’s time to serve.
Instructions
-
Preheat oven to 350°F (175°C). Spray a 9×13 inch glass baking dish with nonstick baking spray and set aside.
-
In a large bowl, beat together cake mix, eggs (or egg whites for a truer white cake), oil, and 1 cup of milk until fully combined and smooth.
-
Divide the cake batter evenly into three separate bowls.
-
Tint each bowl of cake batter with gel food coloring (pink, purple, blue recommended), adding one or two drops at a time and mixing until desired pastel shade is achieved.
-
Drop large spoonfuls of the colored cake batter throughout the prepared baking dish, rotating the colors randomly.
TIP – An ice cream scoop or large cookie dough scoop helps dispense batter easily. If dropping smaller scoops, avoid swirling to maintain distinct colors.
-
Gently swirl the colors slightly with a knife; do not over-swirl to prevent muddying the colors.
-
Bake the cake for 25-30 minutes, or until the center is set and a toothpick inserted comes out with only a few moist crumbs.
-
Remove from oven and allow the cake to cool almost completely on a wire rack.
-
Once mostly cooled, use the round handle of a wooden spoon or a wooden dowel to poke holes about ⅔ of the way down into the cake, spacing them ¾” to 1” apart.
-
Prepare the pudding mixture: whisk together the instant pudding mix with the remaining 2 cups of milk for 1-2 minutes until fully combined and beginning to thicken.
-
Pour the pudding mixture evenly over the cake and spread it over the top, gently pressing down to ensure it fills all the poked holes.
-
Place the cake in the refrigerator for at least 30 minutes to allow the pudding to fully thicken and set within the cake.
-
Once chilled, top the cake with thawed Cool Whip and decorate with sprinkles or desired Easter candies. Slice and serve!
Nutrition
The recipes on this blog are tested with a conventional gas oven and gas stovetop. It’s important to note that some ovens, especially as they age, can cook and bake inconsistently. Using an inexpensive oven thermometer can assure you that your oven is truly heating to the proper temperature. If you use a toaster oven or countertop oven, please keep in mind that they may not distribute heat the same as a conventional full sized oven and you may need to adjust your cooking/baking times. In the case of recipes made with a pressure cooker, air fryer, slow cooker, or other appliance, a link to the appliances we use is listed within each respective recipe. For baking recipes where measurements are given by weight, please note that results may not be the same if cups are used instead, and we can’t guarantee success with that method.
