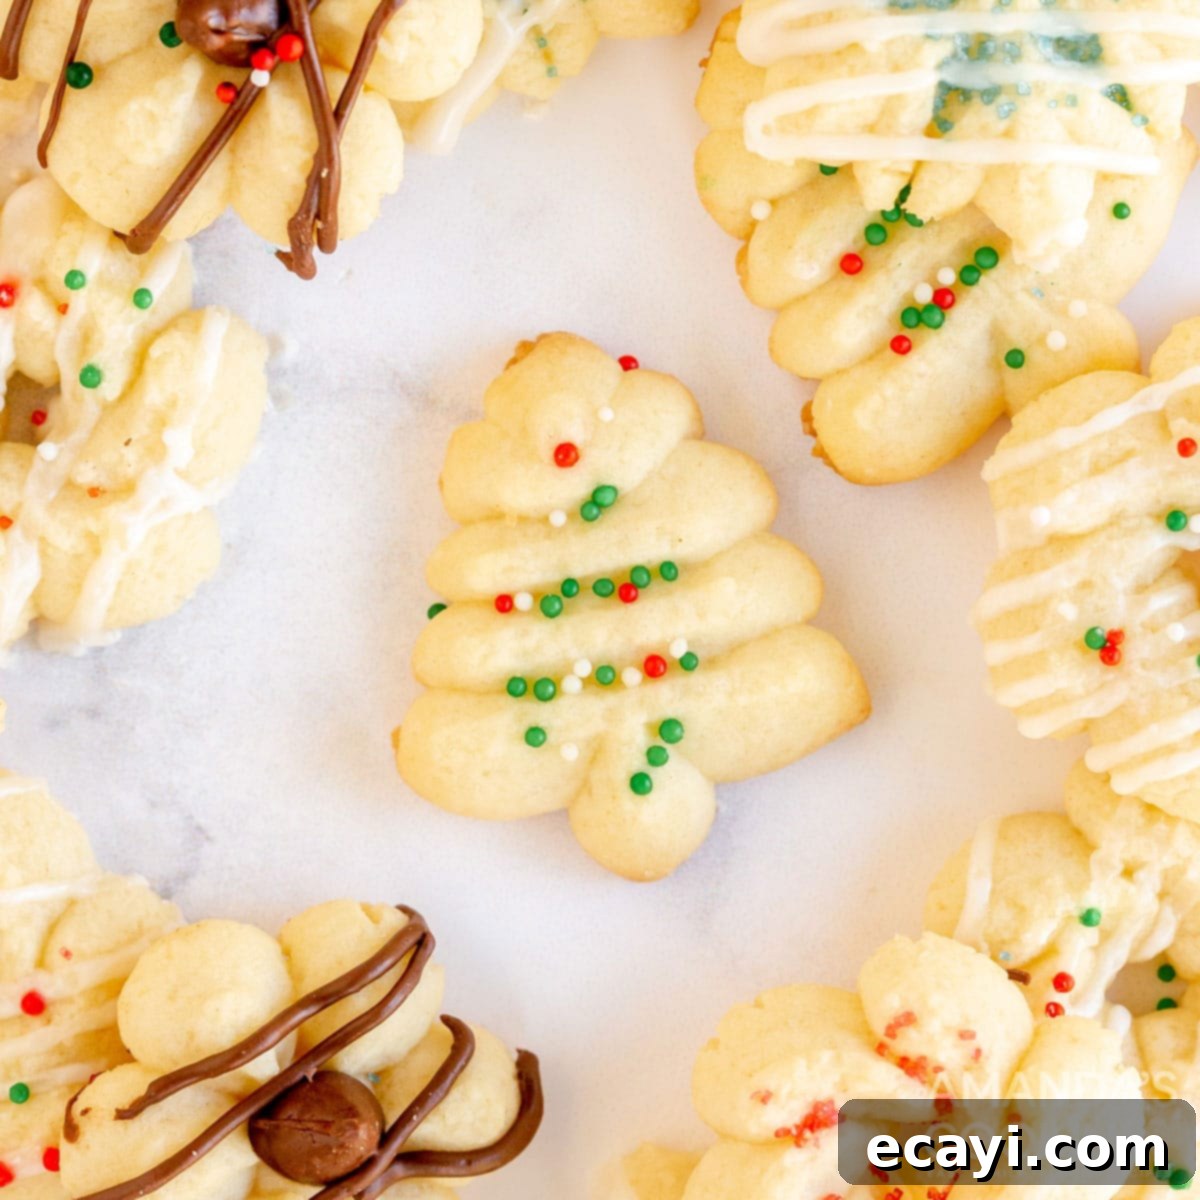
Easy 5-Ingredient Buttery Spritz Cookies: Your Go-To Holiday Recipe
There’s something truly magical about a plate piled high with beautifully shaped Spritz cookies during the holiday season. For me, these delicate, buttery treats instantly conjure cherished memories of festive gatherings, family warmth, and the sweet aroma of Christmas baking filling the air. This particular Spritz cookie recipe holds a special place in my heart, having been a beloved staple in my kitchen for over two decades. It’s a treasured adaptation from my classic thumbprint cookies, simplified to perfection. What makes this recipe even more remarkable is its incredible simplicity: you only need five basic ingredients to create a batch of these stunning, melt-in-your-mouth cookies. Prepare to impress your loved ones and delight your taste buds with minimal effort and maximum charm, making these the perfect addition to your holiday baking list.
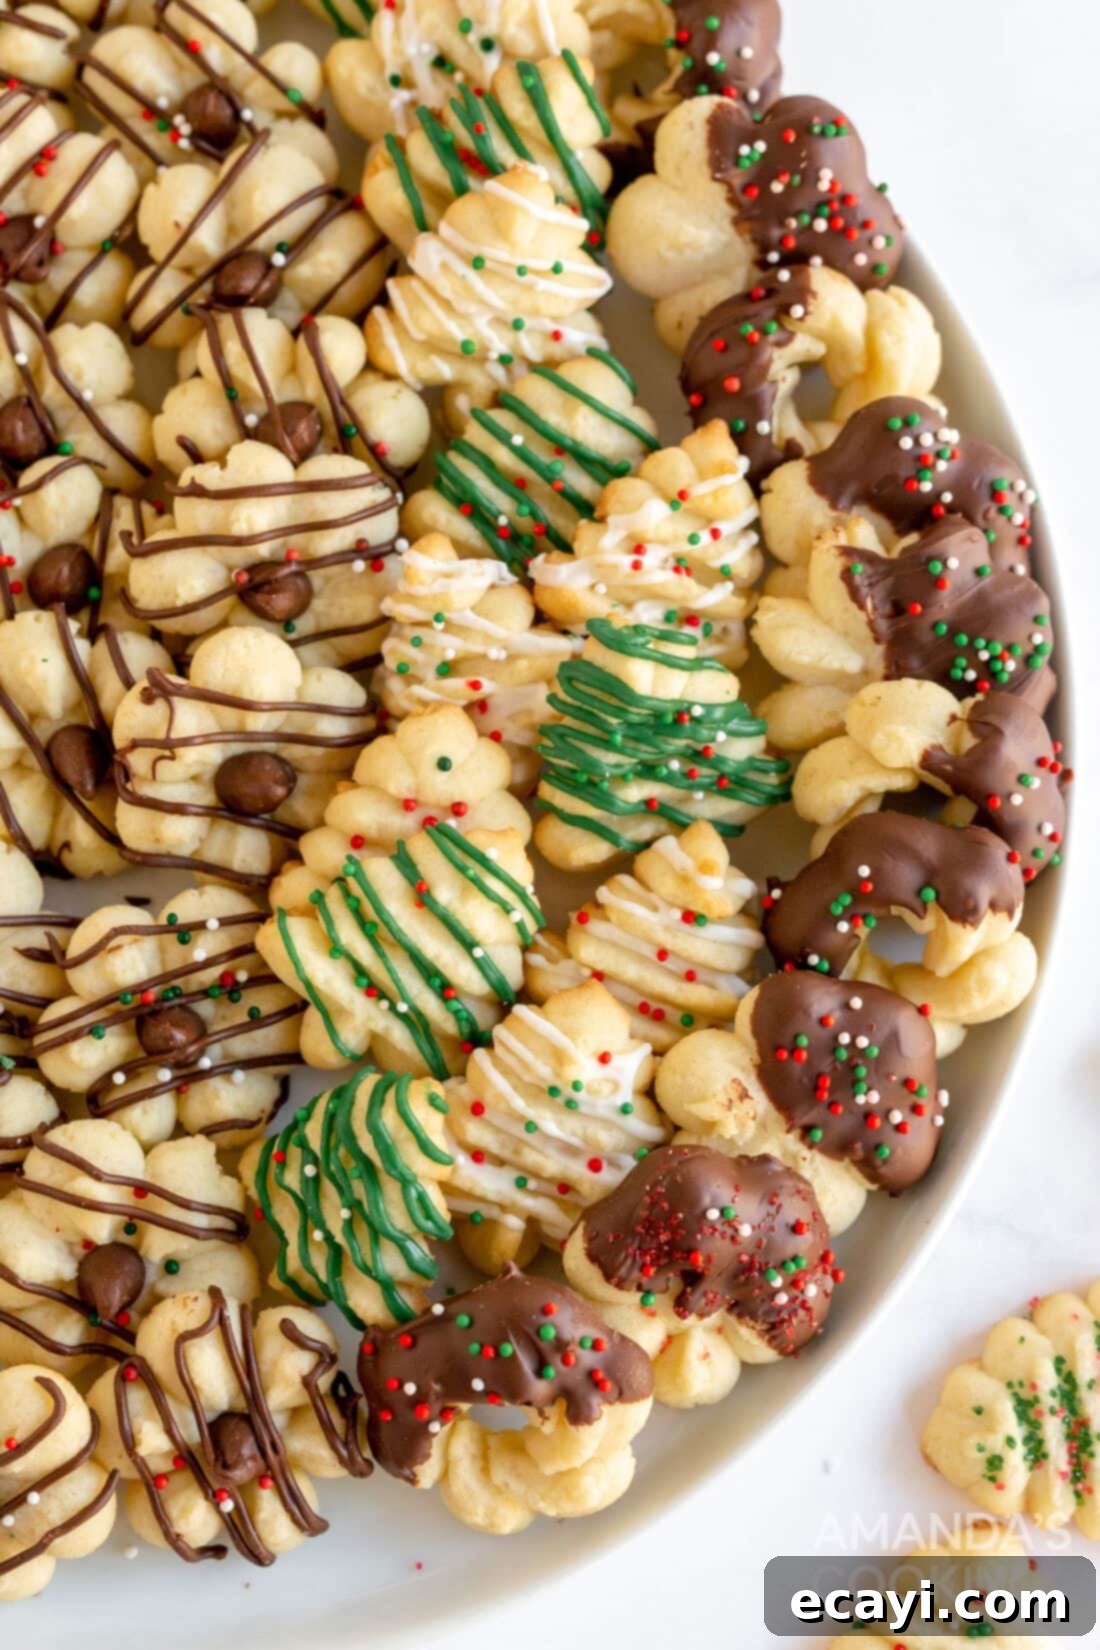
Why This Easy Spritz Cookie Recipe Works
This Spritz cookie recipe isn’t just a holiday tradition; it’s a testament to how effortless delicious baking can be. It consistently delivers perfect results, making it a favorite for both seasoned bakers and beginners. One of the primary reasons this recipe is so effective is its minimal ingredient list. Apart from a splash of orange juice – which adds a delightful subtle citrus note – you likely already have all the necessary components in your pantry. This means less shopping and more baking! The dough itself is incredibly forgiving and comes together with remarkable ease, whether you’re using a stand mixer or mixing by hand. This simplicity translates into a stress-free baking experience, which is particularly valuable during the busy holiday season when time is often at a premium. Beyond the ease of preparation, the real joy of making Spritz cookies lies in the creative process. Using a cookie press allows for an array of intricate and beautiful designs, turning each cookie into a miniature work of art. It’s a wonderfully fun activity, especially if you have little helpers in the kitchen, and the beautiful results are immensely satisfying. These cookies aren’t just a treat; they’re an experience, from mixing the dough to watching the festive shapes emerge from the press, and finally, enjoying their buttery goodness.
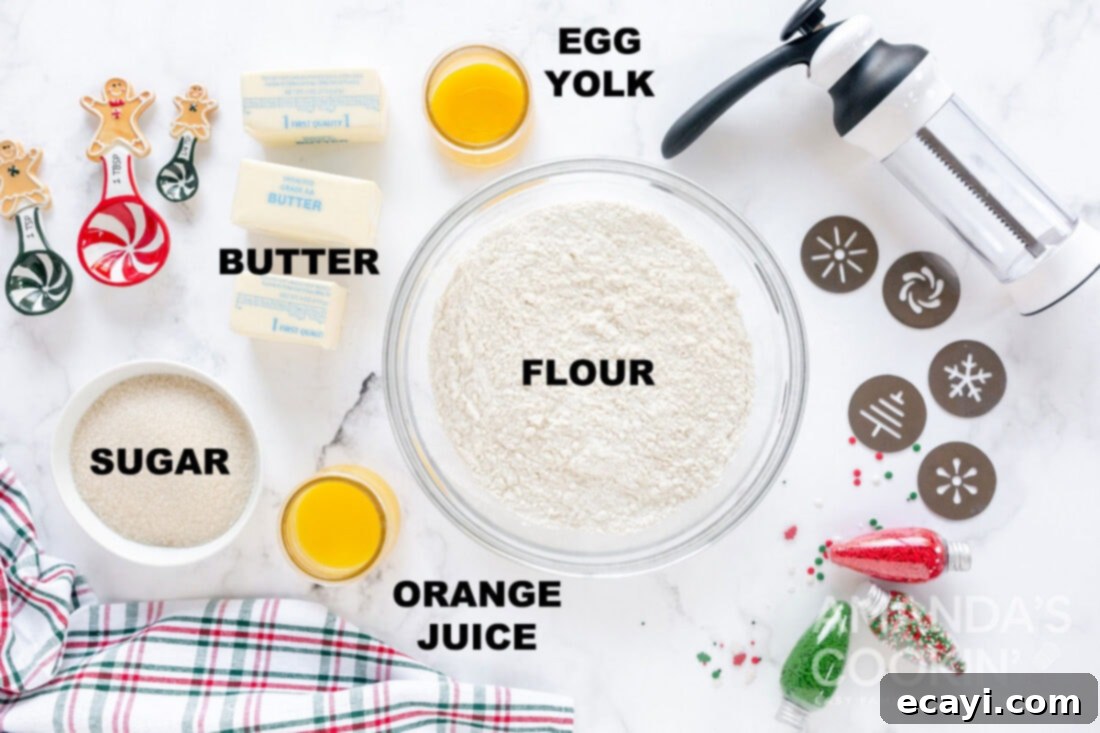
Essential Ingredients for Perfect Spritz Cookies
Crafting the perfect Spritz cookie begins with understanding the role each ingredient plays. This recipe relies on a handful of high-quality, common baking staples that combine to create their signature buttery flavor and tender texture. We use all-purpose flour as the structural base, ensuring a light yet sturdy cookie that holds its shape beautifully through the cookie press. Unsalted butter, softened to the right consistency (not melted!), is crucial for achieving that rich, authentic buttery taste and contributing to the melt-in-your-mouth texture. Granulated sugar provides the perfect amount of sweetness and helps with browning. A single large egg yolk adds richness, binds the dough, and helps create a wonderfully smooth texture. Finally, a touch of orange juice is our secret ingredient, elevating the flavor profile with a bright, subtle tang that complements the butteriness without overpowering it. Using these simple, wholesome ingredients, you’re well on your way to creating a batch of festive and unforgettable Spritz cookies that everyone will adore. Ensure your butter is truly softened, not melted, as this will drastically impact the dough’s consistency and how it performs in the cookie press.
2020: 12 DAYS OF CHRISTMAS COOKIES
12 Christmas cookies you will love, PLUS bonus baking tips and TWO extra recipes you will not find on this blog! See ALL my cookbooks here!
Get the Christmas cookies cookbook! ONLY $9.97!!
How to Make Delicious Spritz Cookies: A Step-by-Step Guide
Crafting these beautiful Spritz cookies is a straightforward and enjoyable process. Follow these detailed steps to ensure perfectly shaped, deliciously buttery cookies every time. Don’t forget that step-by-step photos are available below to guide you through each stage of the recipe, and for a printable version with all precise measurements and instructions, simply jump to the recipe card at the bottom of this post.
- **Cream Butter, Sugar, Egg Yolk, and Orange Juice:** In a large mixing bowl, preferably using an electric mixer with a paddle attachment, cream together the softened unsalted butter and granulated sugar until the mixture is light, fluffy, and pale in color. This creaming process is vital for incorporating air into the dough, which contributes to the cookies’ delicate texture. Next, beat in the single egg yolk until it’s fully incorporated, ensuring the mixture remains smooth. Finally, gradually add the orange juice, mixing just until combined. Be careful not to overmix at this stage; we want a well-blended, uniform base for our dough.
- **Gradually Add Flour:** With your mixer on low speed, or by hand with a sturdy spoon, begin adding the all-purpose flour slowly, about a half-cup at a time, allowing it to incorporate fully before adding more. Continue until all the flour has been added and a cohesive dough forms. It’s crucial not to overmix the flour, as this can develop the gluten too much, resulting in tough rather than tender cookies. Mix just until no dry streaks of flour remain and the dough comes together.
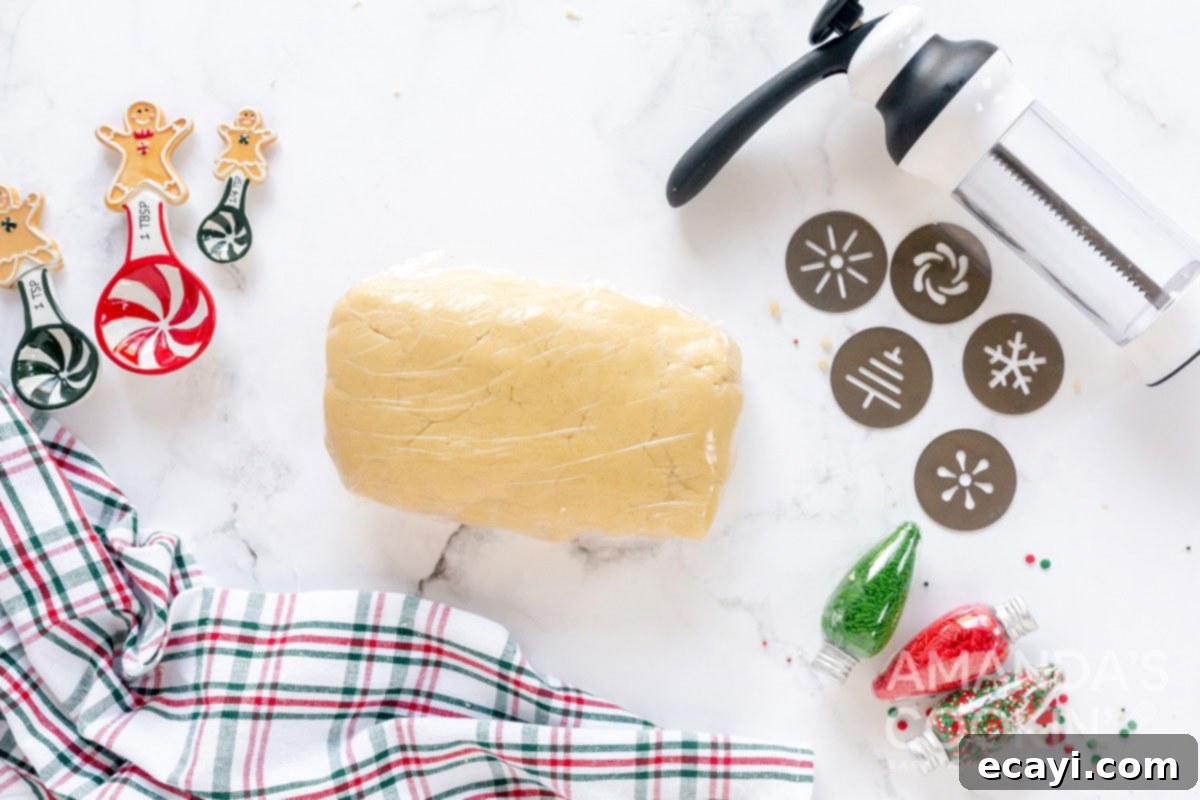
- **Chill the Dough:** Once your dough is perfectly mixed, gently shape it into a disc or log, wrap it tightly in plastic wrap, and place it in the refrigerator for at least one hour. Chilling the dough is an essential step for Spritz cookies. Cold dough is much firmer and easier to work with when using a cookie press, helping the intricate shapes hold their definition during pressing and baking. You can even chill it longer, up to several hours or overnight, if preferred. The colder the dough, the better the results will often be, ensuring those beautiful crisp edges.
- **Preheat Oven and Prepare Baking Sheets:** About 15-20 minutes before you’re ready to bake, preheat your oven to 375 degrees Fahrenheit (190 degrees Celsius). While the oven heats, prepare your baking sheets. For best results, use insulated baking sheets, as they help prevent the bottoms of the cookies from browning too quickly. Line your baking sheets with either parchment paper or silicone baking mats. This not only makes for easy cleanup but also ensures even baking and prevents sticking, guaranteeing beautiful, intact cookies.
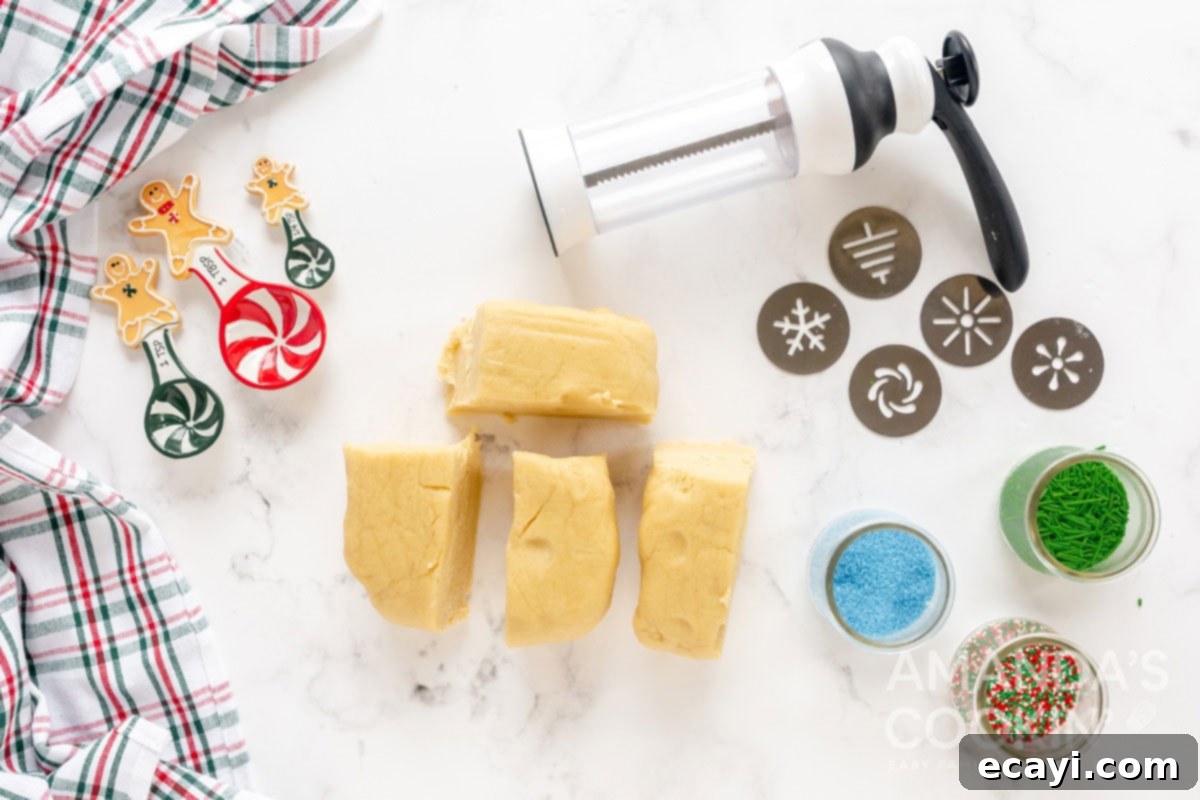
- **Work with Chilled Dough in Portions:** To maintain the optimal texture and shape of your Spritz cookies, it’s important to work with chilled dough. Remove only a portion of the dough from the refrigerator at a time, leaving the remainder wrapped and chilled. If the dough becomes too warm from the warmth of your hands or the room temperature, it will be soft and sticky, making it difficult to press into defined shapes. If you notice the dough warming up and shapes losing their crispness, simply return it to the fridge for 10-15 minutes to firm up again.
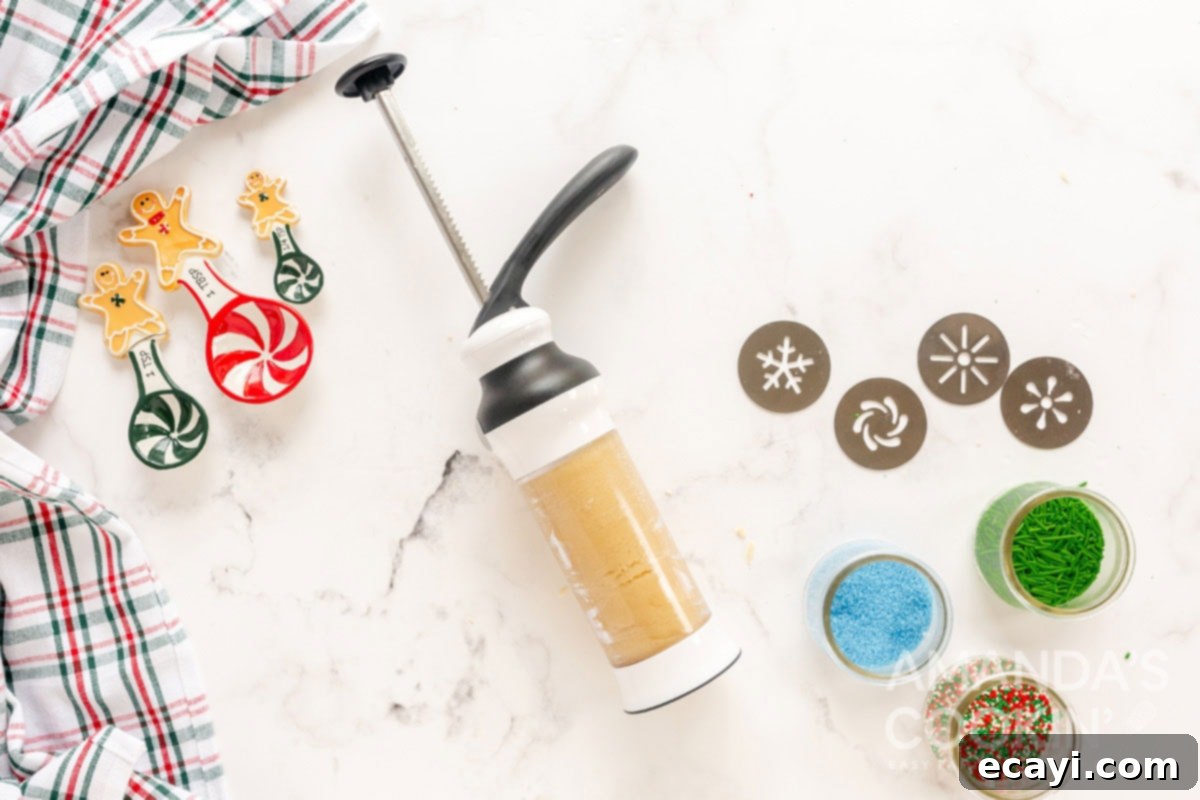
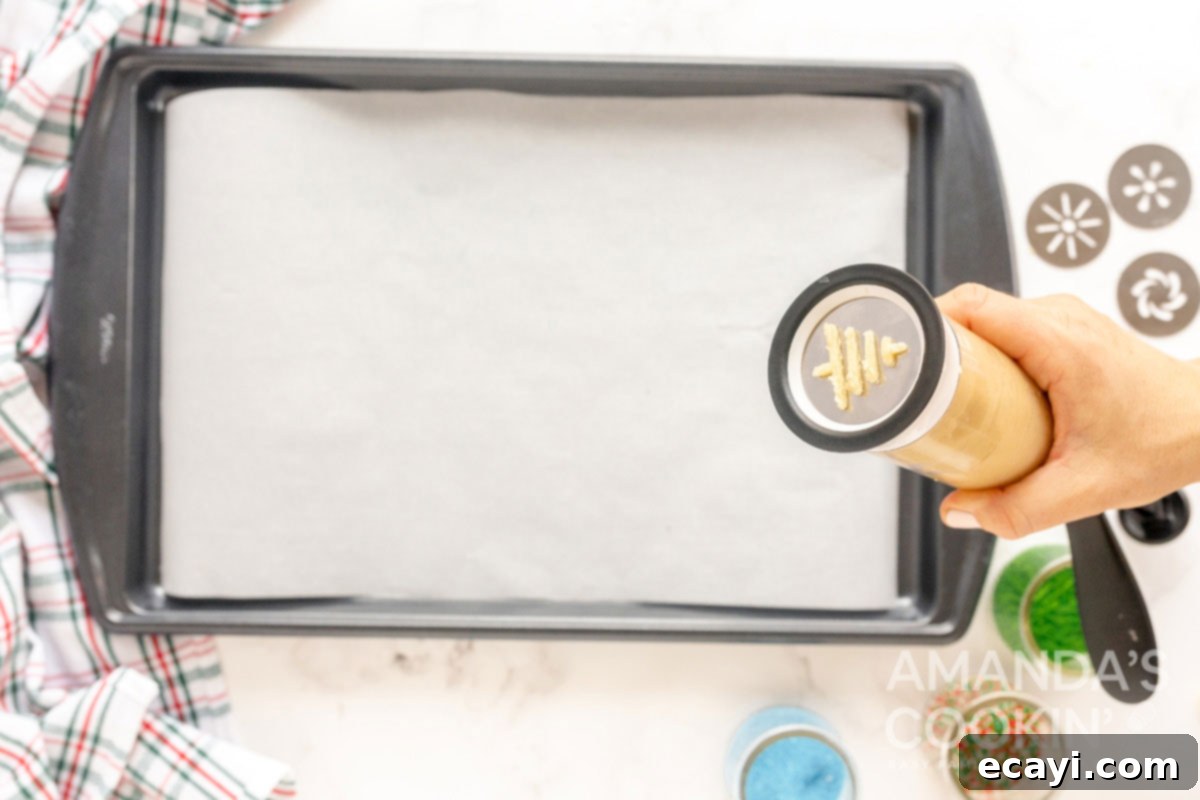
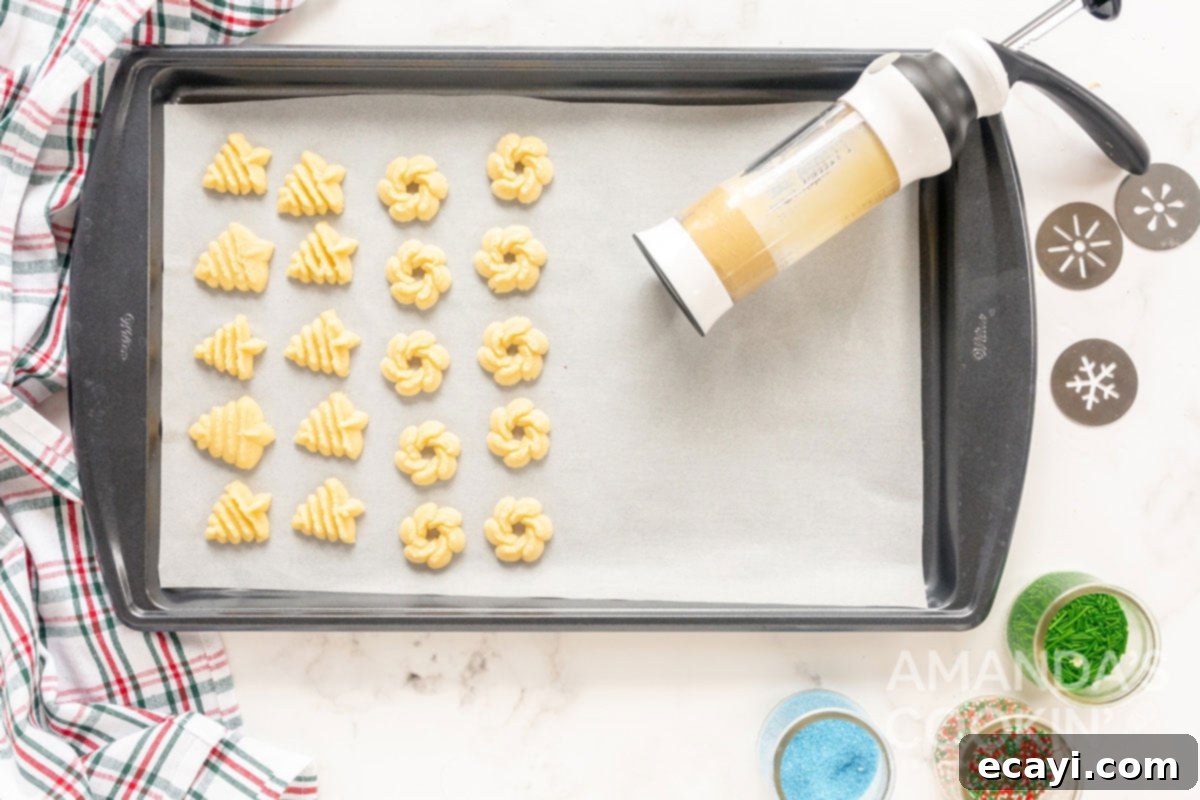
- **Press out Cookies with a Cookie Press:** Now for the fun part: using your cookie press! Attach your desired decorative plate according to the manufacturer’s instructions. A common tip for cookie presses is to ensure the baking sheet is *not* greased, nor should it have parchment paper if your press requires direct contact with the metal to adhere the cookie. However, for this specific recipe, lining with parchment or silicone works well with the dough’s consistency. Fill the barrel of the cookie press with a portion of the chilled dough. Place the base of the press firmly against your prepared baking sheet and press out individual cookies, lifting the press straight up after each one. Maintain a consistent 2-inch spacing between each cookie to allow for even baking and slight expansion. If you’re having trouble getting the dough to stick, try firmly pressing down and holding the press for a second longer before lifting to ensure the cookie adheres.
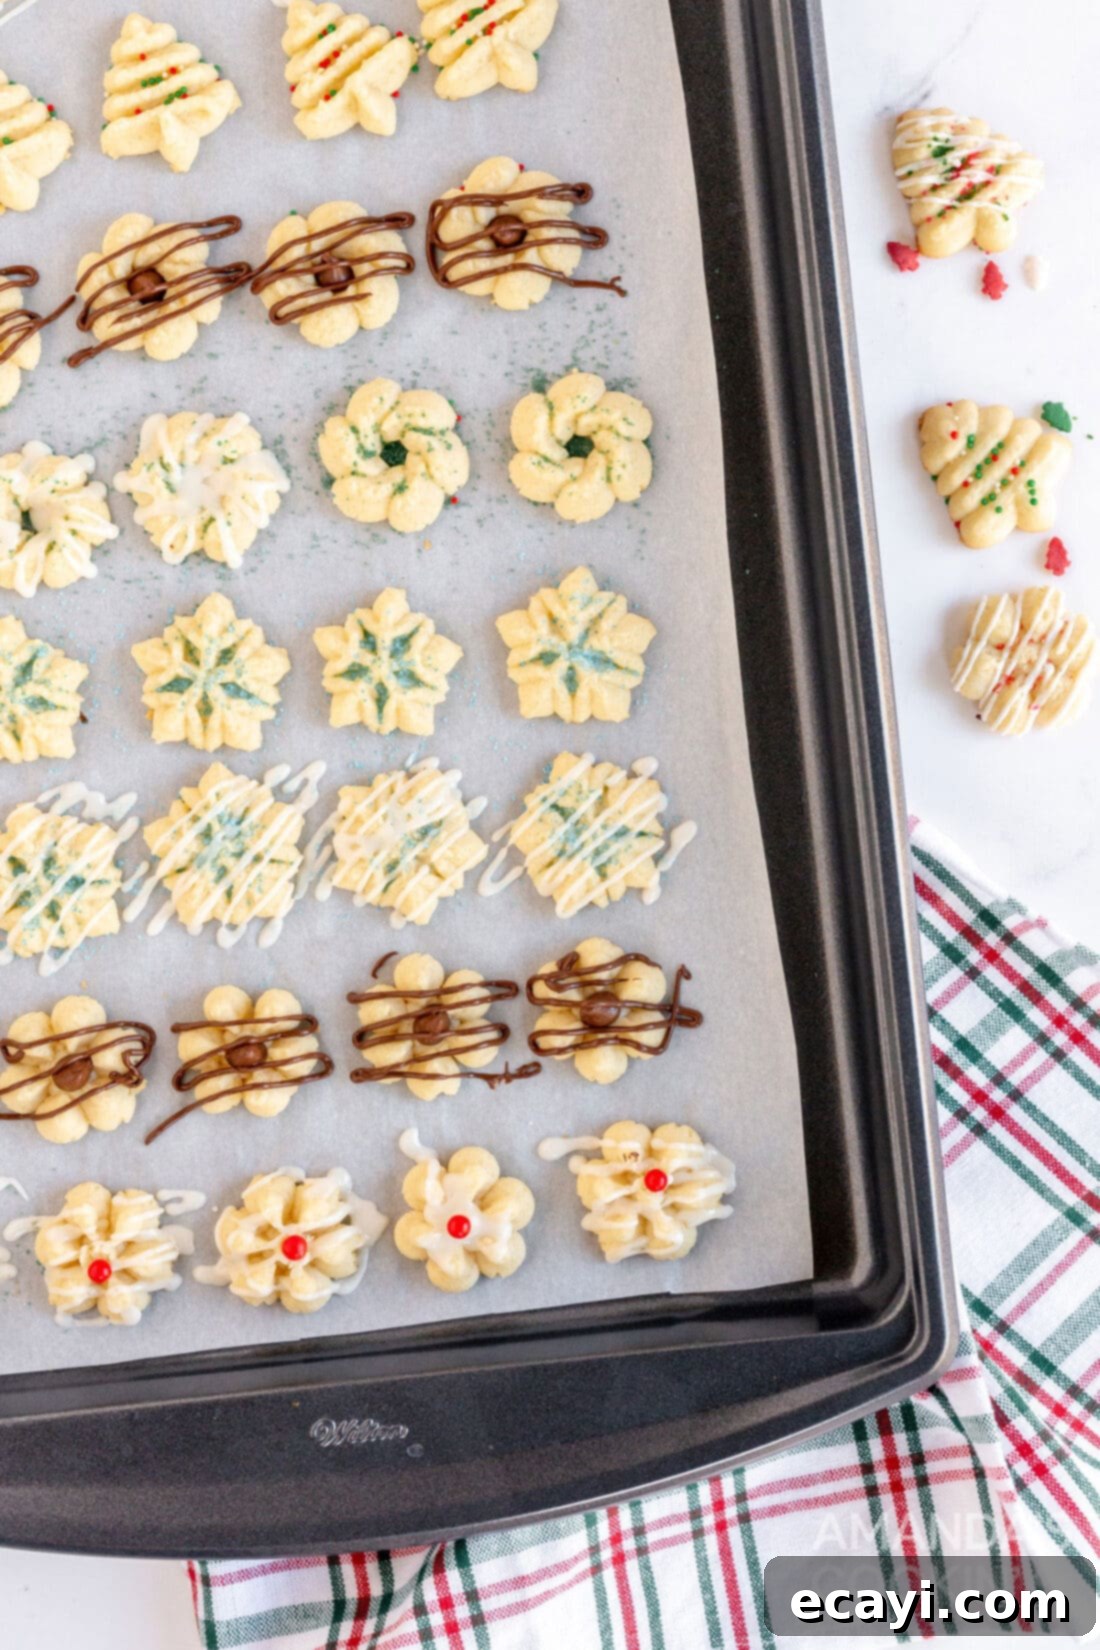
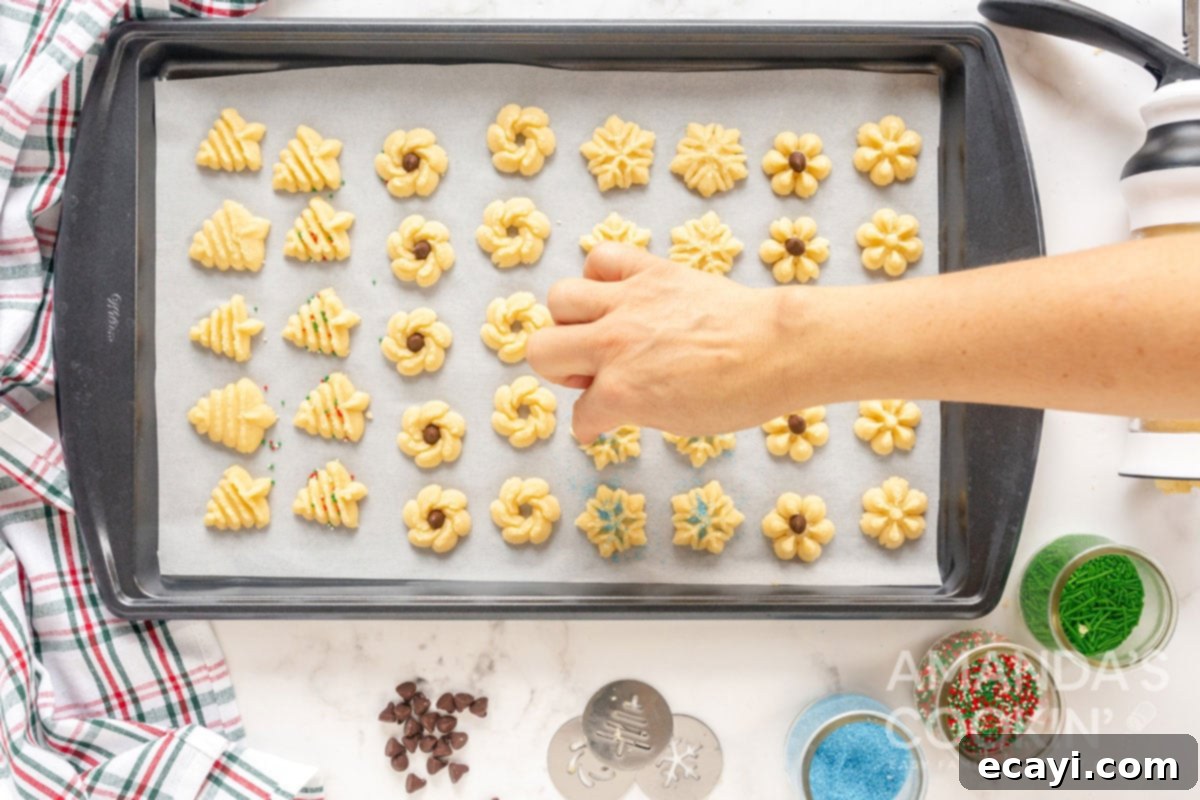
- **Decorate and Bake:** Before baking, adorn your beautiful cookie shapes with festive sprinkles, colored sugar, or any other dry decorations. This is where your creativity can truly shine, adding a vibrant touch to your holiday treats. Once decorated (or left plain for chocolate drizzling later), transfer the baking sheets to the preheated oven. Bake for approximately 8-9 minutes. Keep a close eye on them, as baking times can vary slightly depending on your oven and the thickness of your cookies. It’s important to note: if you plan to drizzle certain cookies with melted chocolate *after* baking, leave those cookies undecorated at this stage to ensure the chocolate adheres smoothly without melting or burning any existing sprinkles.
- **Avoid Overbaking:** Overbaking Spritz cookies can make them dry and crumbly, diminishing their delicate texture. The key to perfect Spritz cookies is to bake them just until the edges are lightly golden brown. The centers should still appear pale, perhaps a tiny bit soft, but will firm up as they cool. This slight browning around the edges indicates they are cooked through while retaining their signature tender, buttery quality.
- **Cool on Wire Racks:** As soon as the cookies are out of the oven, carefully transfer them from the hot baking sheet to wire cooling racks. Cooling cookies on racks allows air to circulate around them from all sides, preventing condensation from forming on the bottoms and ensuring they cool completely and crisp up slightly, maintaining their lovely texture. Allow them to cool entirely before attempting any further decoration.
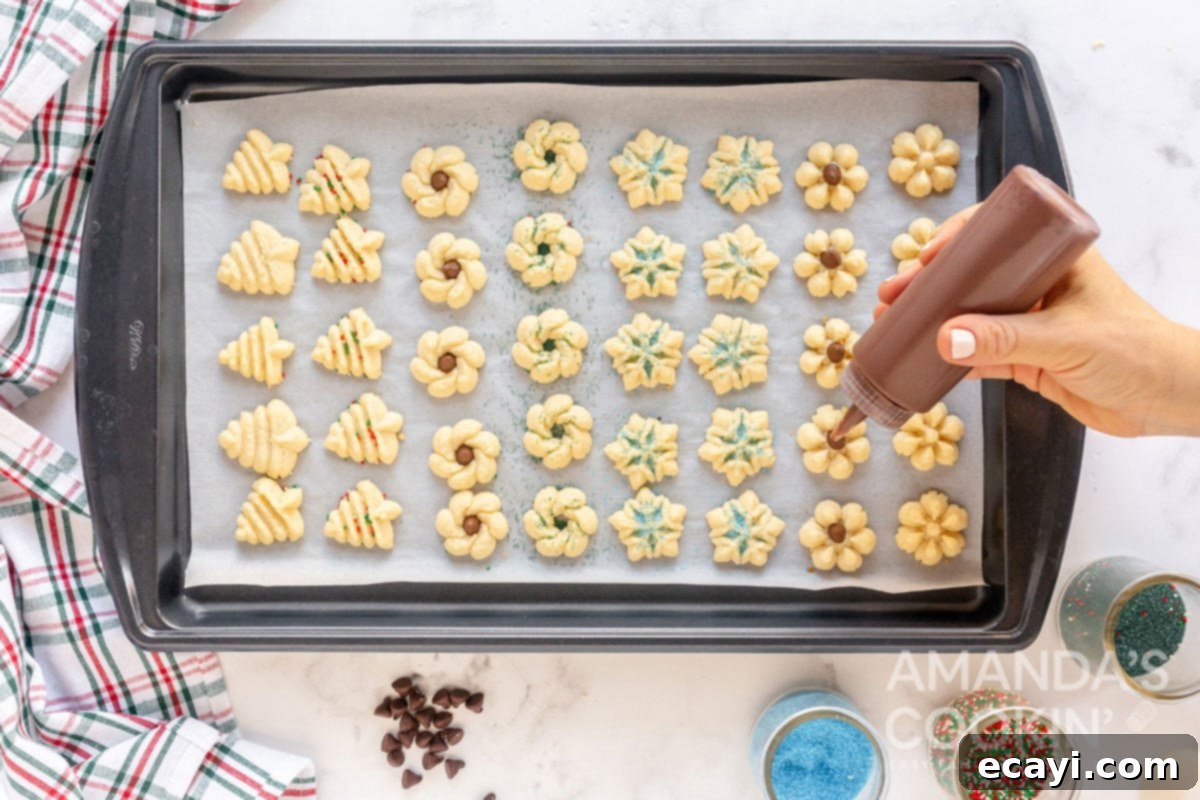
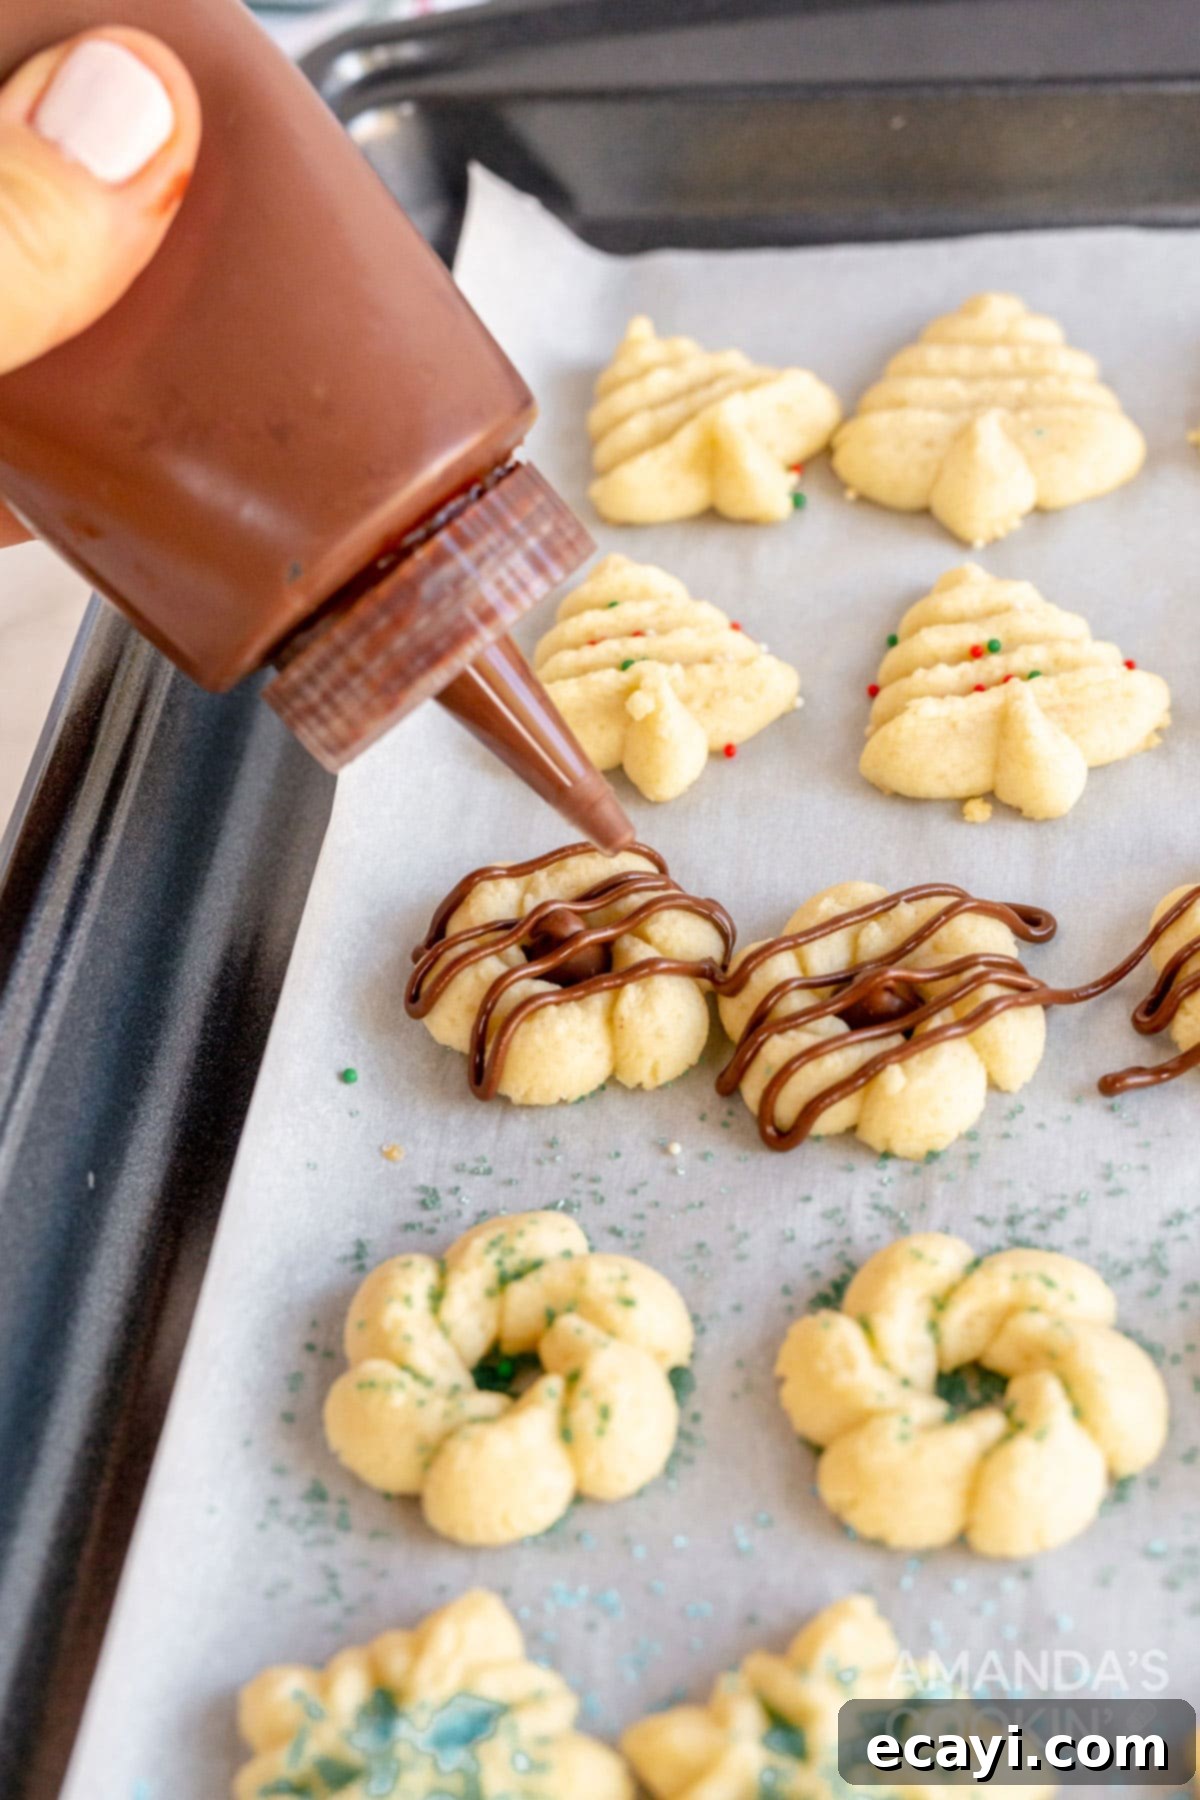
- **Drizzle with Chocolate (Optional):** For those cookies you wisely left undecorated, now is the time to add a luxurious finishing touch. Once completely cooled, melt your favorite chocolate – white, milk, or dark – using a double boiler or microwave in short bursts, stirring until smooth. Using a spoon or a piping bag with a very fine tip, elegantly drizzle the melted chocolate over the plain cookies. You can create artistic patterns or simply a delicate zig-zag. Allow the chocolate to set fully at room temperature or in the refrigerator for a few minutes before storing or serving. This adds an extra layer of flavor and visual appeal, making them even more irresistible for your holiday guests.
Frequently Asked Questions About Spritz Cookies
Absolutely! These Spritz cookies are excellent for make-ahead baking, which is a lifesaver during busy holiday preparations. You have two great options. For short-term planning, prepare the dough as instructed, wrap it tightly in plastic wrap to prevent it from drying out, and store it in the refrigerator for up to 4 days. When you’re ready to bake, simply take it out, let it sit at room temperature for about 10-15 minutes (if it’s too stiff), and then proceed with pressing and baking. For longer storage, you can freeze the dough. After wrapping it tightly in plastic, place the dough in a freezer-safe bag or airtight container and store it in the freezer for up to 3 months. Thaw the dough in the refrigerator overnight before using. This flexibility allows you to spread out your holiday baking tasks, making the process much more enjoyable and less stressful.
Yes, Spritz cookies are remarkably resilient and travel exceptionally well, making them ideal for sharing, gifting, or bringing to potlucks and holiday parties. Once all your decorative elements – whether sprinkles, colored sugar, or chocolate drizzles – have fully set and hardened, these cookies maintain their shape and integrity beautifully. For optimal transport and freshness, layer them carefully in airtight containers with parchment paper between layers to prevent sticking or crushing. They’ll arrive at your destination looking as delightful as they left your kitchen, ready to be displayed on festive cookie trays or presented as thoughtful homemade gifts. Their sturdy yet delicate nature ensures they hold up well, even on longer journeys, making them a perfect portable treat.
Yes, you absolutely can! Spritz cookies are fantastic for adding festive colors, allowing you to create a truly vibrant and personalized cookie assortment. To color the dough, divide it into portions after it’s fully mixed (before chilling). Add a few drops of gel food coloring to each portion and knead it gently until the color is evenly distributed. Gel food coloring is highly recommended over liquid food coloring, as it’s more concentrated and won’t thin out the dough’s consistency, which is crucial for a cookie press. You can create a rainbow of holiday hues like classic red, vibrant green, serene blue, or even delicate pink to make your cookie trays even more appealing and eye-catching. Just remember to handle the dough quickly to keep it chilled and easy to work with.
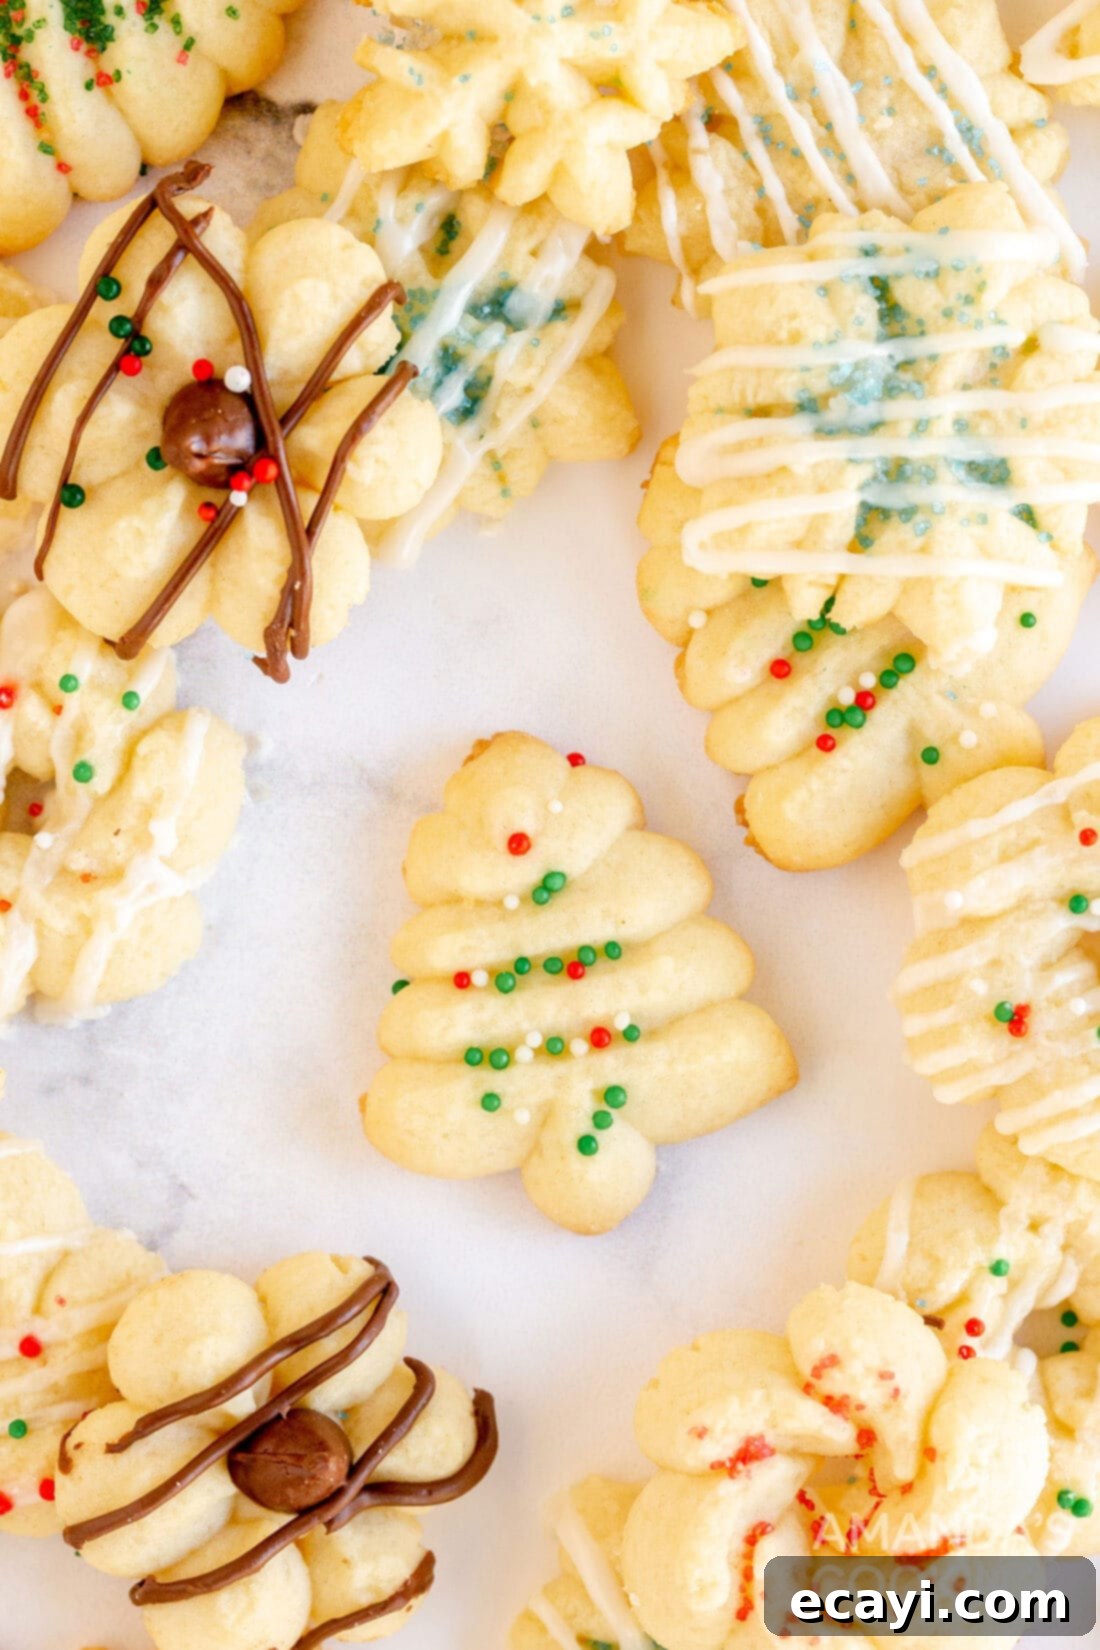
In conclusion, these homemade Spritz cookies are more than just a sweet treat; they’re a celebration of holiday joy and a testament to simple, delightful baking. Their signature buttery flavor, tender crumb, and charming pressed shapes make them an absolute standout on any holiday cookie tray or as thoughtful edible gifts. Easy to make and endlessly customizable with festive decorations, they promise to bring a smile to everyone’s face. Whip up a batch this season and rediscover the magic of these classic Christmas cookies, creating new cherished memories for years to come.
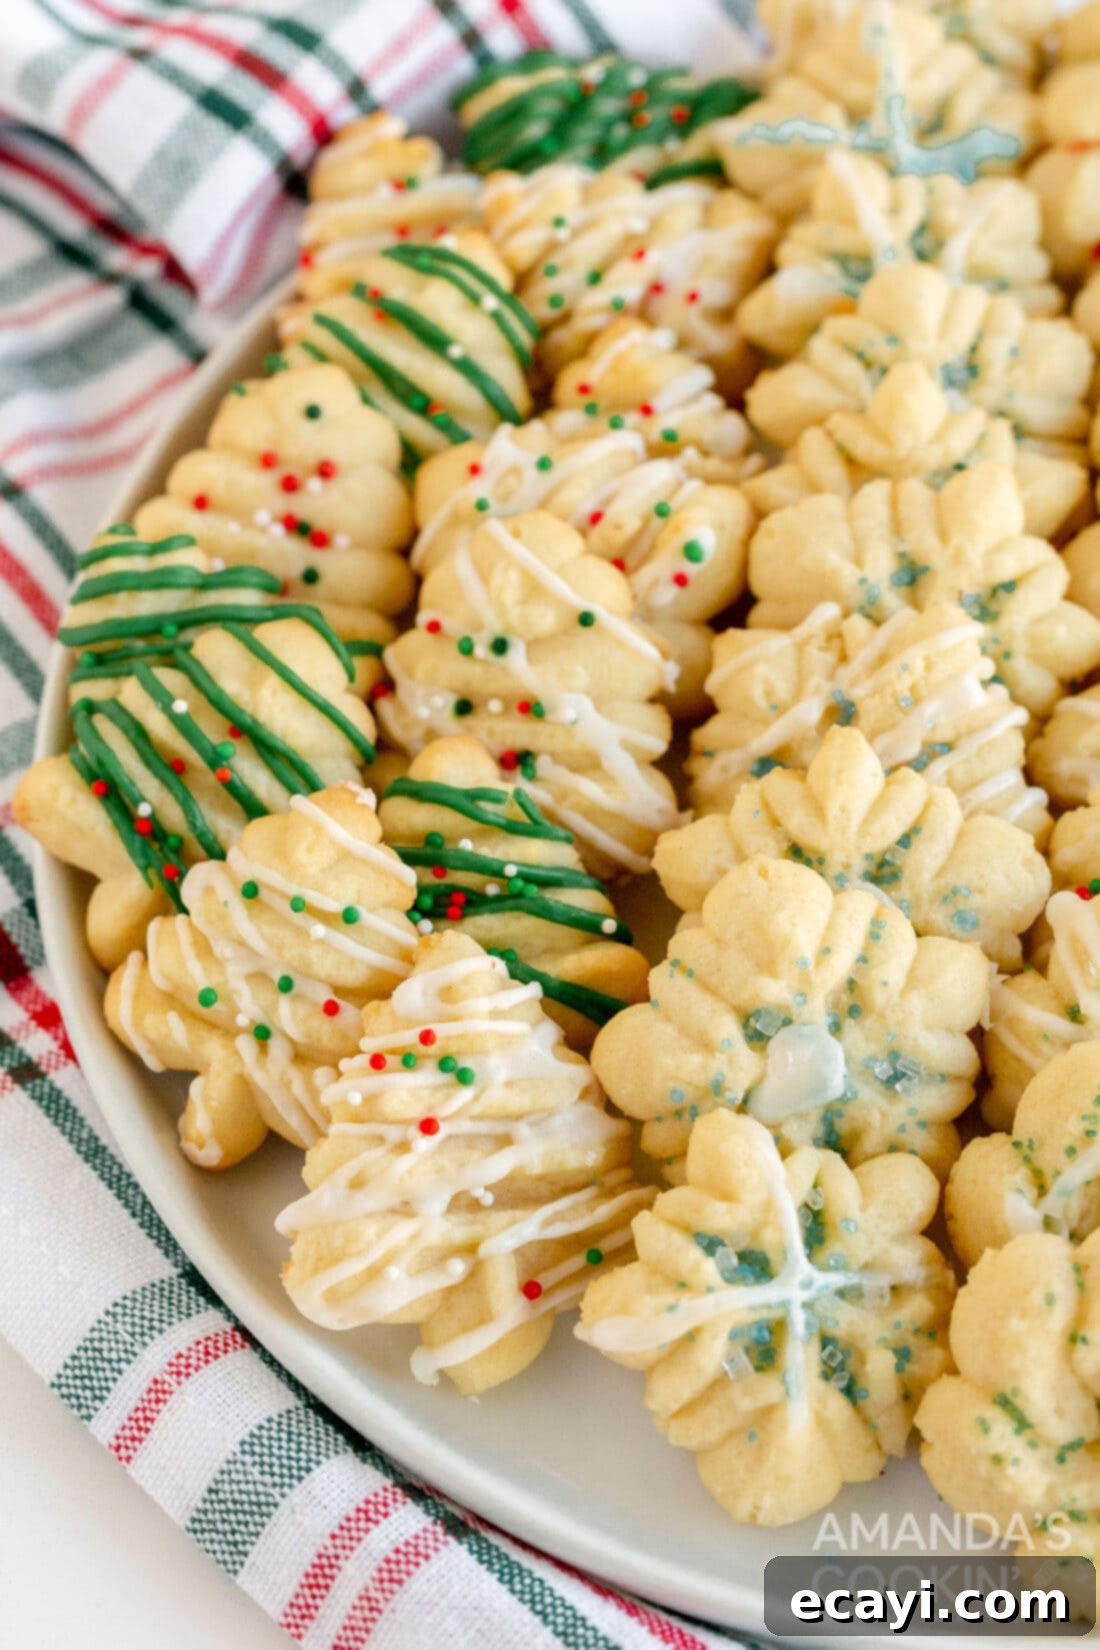
More Irresistible Christmas Cookie Recipes
If you’ve enjoyed making these delightful Spritz cookies and are eager to continue your holiday baking adventure, I have plenty more festive cookie recipes to share! My passion lies in exploring new culinary creations and sharing trusted, easy-to-follow recipes with my wonderful community of home cooks and bakers. The holiday season is a perfect time to experiment with new flavors and traditions, filling your home with comforting aromas and delicious treats. Below, you’ll find a handpicked selection of other beloved Christmas cookie recipes that are sure to become new favorites in your repertoire. From spiced gingerbread to elegant Linzer cookies, there’s something for every taste and skill level, ensuring your holiday cookie tray is diverse and delightful. Don’t miss out on future deliciousness – it can be tricky to remember to check back daily for new content. That’s why I invite you to simply subscribe to my convenient newsletter! You’ll receive free daily recipes directly in your inbox, ensuring you never miss a chance to bake something amazing. Happy baking and joyous holiday feasting!
- Apple Pie Cookies
- Classic Gingerbread Cookies
- Elegant Linzer Cookies
- Grandma’s Best Sugar Cookies
- Traditional Italian Anisette Cookies
- Colorful Neapolitan Cookies
I love to bake and cook and share my kitchen experience with all of you! Remembering to come back each day can be tough, that’s why I offer a convenient newsletter every time a new recipe posts. Simply subscribe and start receiving your free daily recipes!

Spritz Cookies
IMPORTANT – There are often Frequently Asked Questions within the blog post that you may find helpful. Simply scroll back up to read them!
Print It
Pin It
Rate It
Save ItSaved!
Ingredients
- 3 ¾ cups all purpose flour
- 1 ⅓ cups unsalted butter softened, not melted
- ¾ cup granulated sugar
- ¼ cup orange juice
- 1 large egg yolk
Things You’ll Need
-
Cookie press
-
Wire cooling racks
-
Insulated baking sheets
-
Electric mixer
Before You Begin
- For optimal freshness and travel, store cooled Spritz cookies in airtight containers. They’re perfect for holiday gatherings or edible gifts.
- The dough can be prepared ahead of time. Wrap it tightly in plastic wrap and refrigerate for up to 4 days. For longer storage, freeze the tightly wrapped dough in a freezer bag for up to 3 months. Thaw in the refrigerator before use.
- Feel free to add festive colors to your dough! Divide the mixed dough into portions, add a few drops of gel food coloring to each, and knead gently until evenly colored before chilling.
Instructions
-
In a large mixing bowl, preferably using an electric mixer with a paddle attachment, cream together the softened unsalted butter and granulated sugar until the mixture is light, fluffy, and pale in color. Next, beat in the single egg yolk until it’s fully incorporated, ensuring the mixture remains smooth. Finally, gradually add the orange juice, mixing just until combined.
-
With your mixer on low speed, or by hand with a sturdy spoon, begin adding the all-purpose flour slowly, about a half-cup at a time, allowing it to incorporate fully before adding more. Continue until all the flour has been added and a cohesive dough forms, with no dry streaks remaining.
-
Once your dough is perfectly mixed, gently shape it into a disc or log, wrap it tightly in plastic wrap, and place it in the refrigerator for at least one hour. This chilling step is essential for the dough to firm up and hold its shape.
-
About 15-20 minutes before baking, preheat your oven to 375 degrees F. (190 degrees C.). Line insulated baking sheets with parchment paper or silicone baking mats to ensure even baking and prevent sticking.
-
To maintain optimal dough consistency, remove only a portion of the chilled dough from the refrigerator at a time, keeping the rest wrapped and chilled until ready to use.
-
Following your cookie press manufacturer’s directions, attach a decorative plate. Fill the barrel with a portion of the dough. Press out cookies onto the prepared baking sheet, ensuring they are about 2 inches apart to allow for proper airflow and expansion during baking.
-
Add decorative sprinkles or colored sugar to the pressed cookies. If you plan to drizzle some cookies with melted chocolate after baking, leave those cookies plain at this stage. Bake for 8-9 minutes.
-
Do not overbake the cookies. They are ready when their edges are lightly golden brown, while the centers remain pale and tender.
-
Carefully transfer the baked cookies from the hot baking sheet to wire racks and allow them to cool completely.
-
Once fully cooled, melt your preferred chocolate and drizzle it over the cookies that were not decorated with sprinkles or colored sugar before baking. Allow the chocolate to set before storing or serving.
Nutrition
The recipes on this blog are tested with a conventional gas oven and gas stovetop. It’s important to note that some ovens, especially as they age, can cook and bake inconsistently. Using an inexpensive oven thermometer can assure you that your oven is truly heating to the proper temperature. If you use a toaster oven or countertop oven, please keep in mind that they may not distribute heat the same as a conventional full sized oven and you may need to adjust your cooking/baking times. In the case of recipes made with a pressure cooker, air fryer, slow cooker, or other appliance, a link to the appliances we use is listed within each respective recipe. For baking recipes where measurements are given by weight, please note that results may not be the same if cups are used instead, and we can’t guarantee success with that method.
2020: 12 DAYS OF CHRISTMAS COOKIES
12 Christmas cookies you will love, PLUS bonus baking tips and TWO extra recipes you will not find on this blog! See ALL my cookbooks here!
Get the Christmas cookies cookbook! ONLY $9.97!!
