Easy Patriotic Mini Cheesecakes: Your Ultimate Fourth of July Dessert!
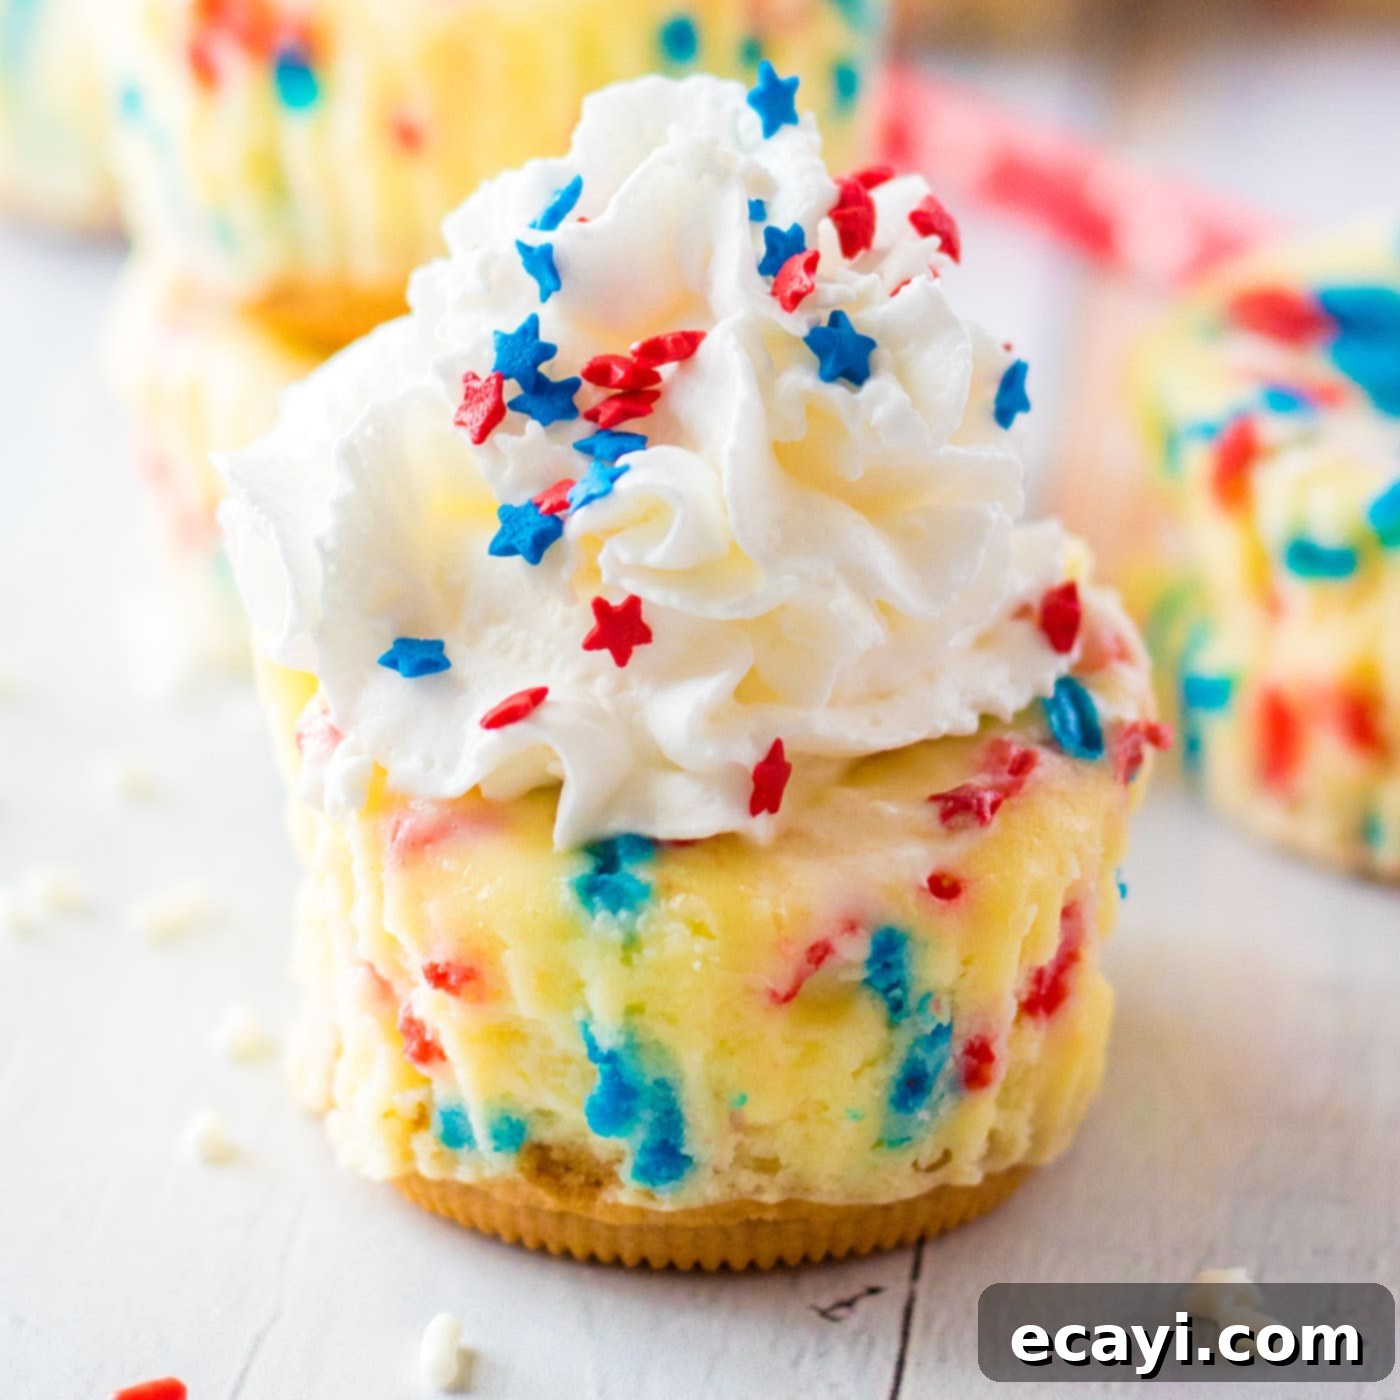
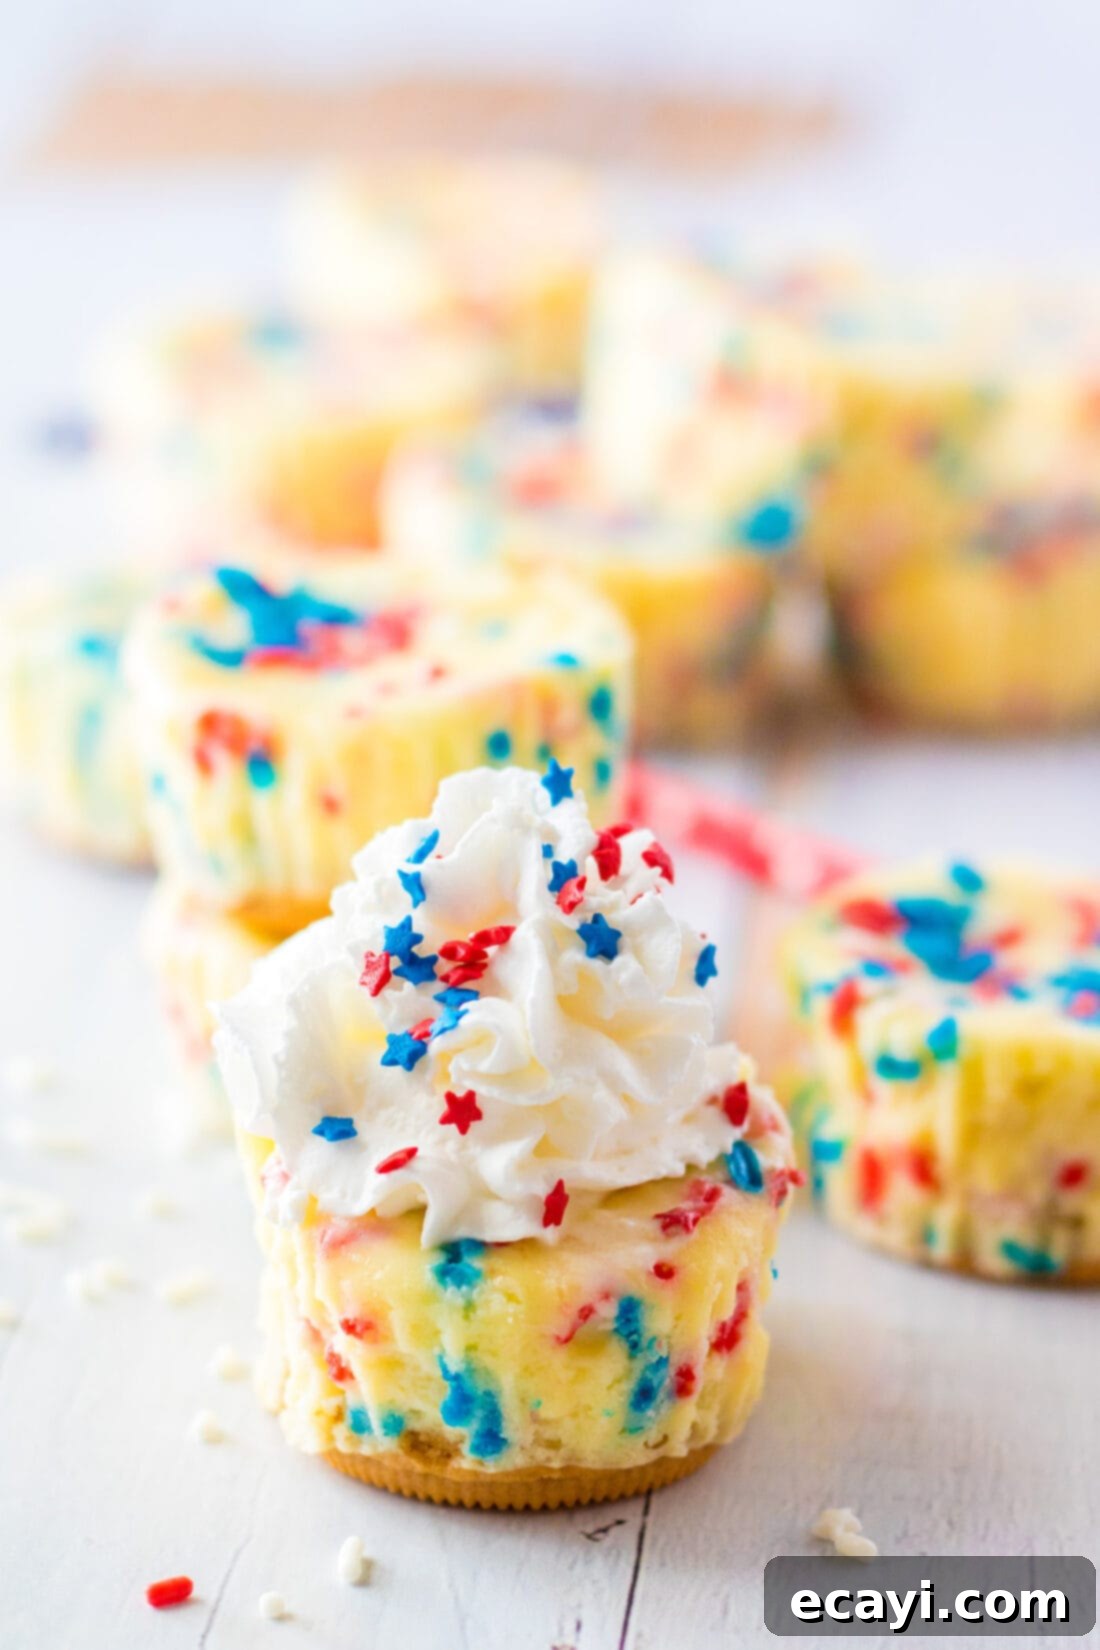
Prepare for your red, white, and blue celebrations with these adorable and incredibly easy patriotic mini cheesecakes! These delightful treats are not only visually stunning, dotted with festive sprinkles, but they also come together with just a handful of simple ingredients. Perfect for any gathering, from casual backyard BBQs to elegant holiday parties, these individual cheesecakes offer a hassle-free dessert solution that everyone will love.
Mini cheesecakes are a game-changer when it comes to entertaining. They eliminate the need for cutting and serving, making them ideal for potlucks and dessert tables. Each guest gets their own perfectly portioned, creamy, and flavorful treat, ensuring a delightful experience without any mess. And with their vibrant red, white, and blue hues, these cheesecakes are sure to be a show-stopping centerpiece at your Independence Day festivities or any patriotic event.
Why This Easy Recipe Will Be Your Go-To Dessert
When planning your Fourth of July party menu, you want dishes that are both delicious and easy to prepare, leaving you more time to enjoy the festivities. These patriotic mini cheesecakes are exactly that – a fun, effortless, and crowd-pleasing choice. Their simplicity lies in using readily available ingredients like softened cream cheese, crunchy golden Oreos for the crust, and vibrant sprinkles, all topped off with a dollop of fluffy whipped cream.
One of the greatest advantages of mini cheesecakes is their convenience. Unlike a large cheesecake that requires careful slicing and serving, these individual portions are grab-and-go, making them perfect for buffets or outdoor events. There’s no need for a messy water bath, which often intimidates novice bakers, and their smaller size means quicker baking and chilling times.
Beyond their patriotic appeal, these mini cheesecakes are incredibly versatile. The concept of a simple cheesecake base with a customizable sprinkle addition means you can adapt this recipe for virtually any holiday or celebration. Imagine vibrant red and green sprinkles for a festive Christmas dessert, spooky black and orange for Halloween, or soft pastels for an Easter brunch. The possibilities are endless, making this a truly adaptable recipe that you’ll revisit throughout the year.
The combination of a crisp cookie crust, a rich and creamy cheesecake filling, and a light, airy topping creates a textural symphony that’s hard to resist. This recipe proves that you don’t need a lengthy ingredient list or complicated techniques to create an impressive dessert. It’s a testament to simple ingredients coming together to create something truly special, ensuring your dessert table is both memorable and delicious without requiring hours of effort in the kitchen.
Essential Ingredients for Your Festive Mini Cheesecakes
Before diving into the fun part of assembling these patriotic delights, let’s take a closer look at the key ingredients. You’ll find all precise measurements and detailed instructions in the printable recipe card at the very end of this post.
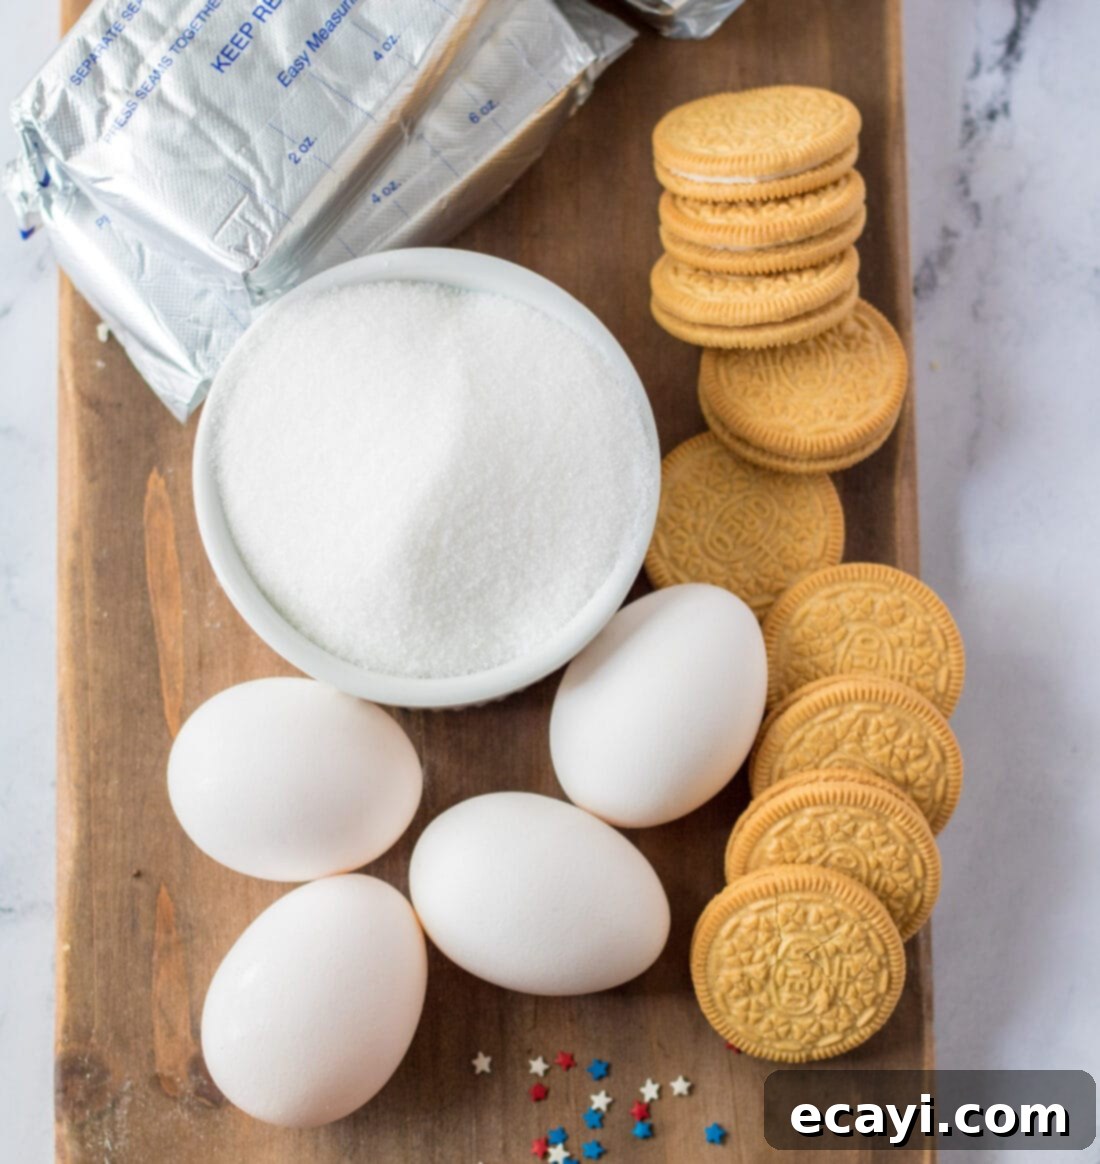
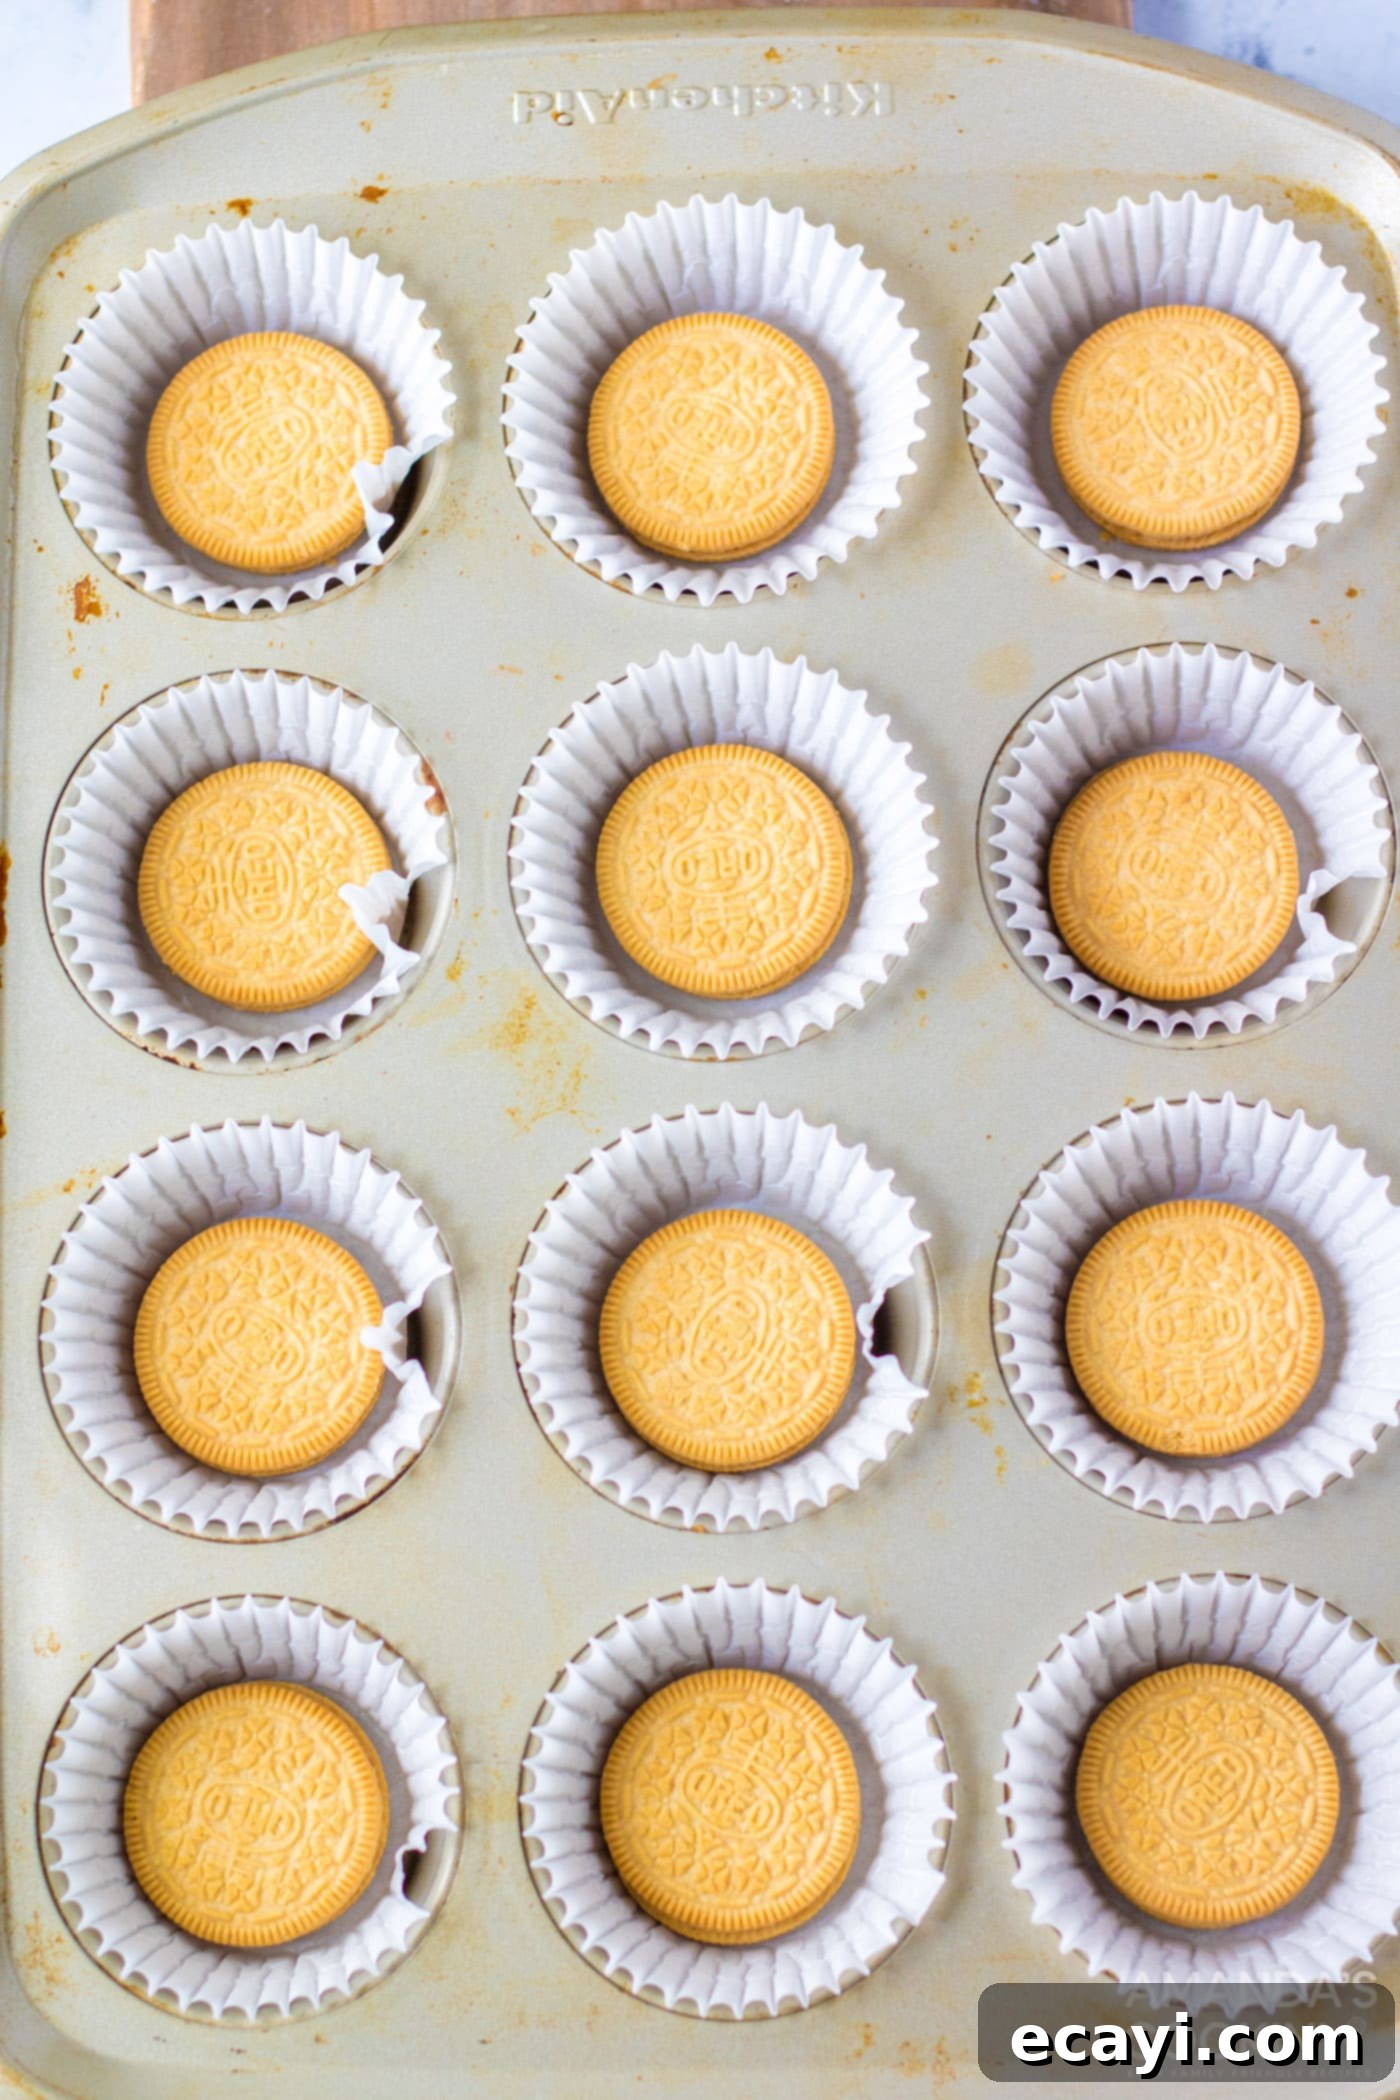
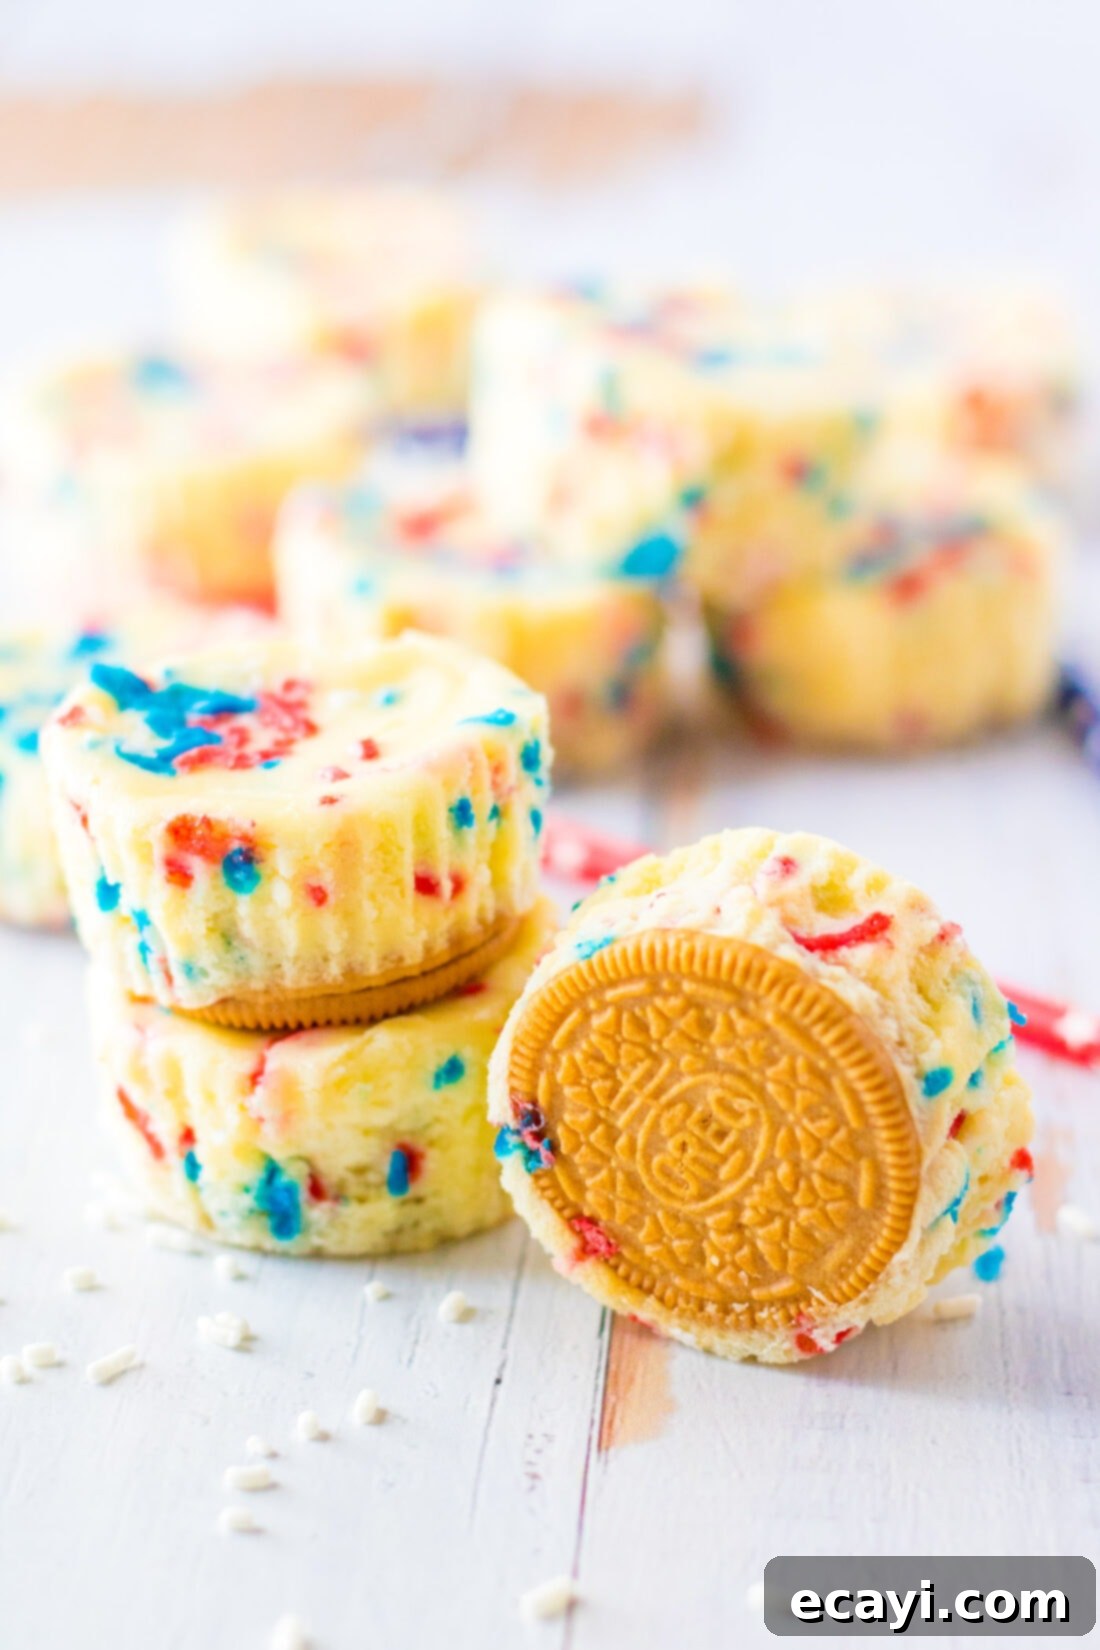
CRUST – The crust for these mini cheesecakes couldn’t be simpler, or more ingenious! We utilize whole golden Oreos as the base for each cheesecake. This method is incredibly time-saving, as it bypasses the need for crushing cookies in a food processor or dealing with melted butter. Simply place one whole Golden Oreo into each cupcake liner, and you have a perfectly portioned, sweet, and sturdy foundation for your cheesecake. The golden Oreos offer a delightful vanilla flavor that complements the creamy cheesecake filling beautifully. However, if you prefer, you can certainly crush them first to form a more traditional crumb crust (perhaps mixed with a touch of melted butter), or explore other delightful alternatives like vanilla wafers for a classic taste, chocolate Oreos for a richer flavor profile, or even crushed graham crackers for a more traditional cheesecake experience.
FILLING – The heart of any great cheesecake is its rich and creamy filling, and ours is no exception. Like most classic cheesecake recipes, the filling is primarily made with high-quality cream cheese. The single most crucial step when working with cream cheese is to ensure it is properly softened to room temperature. This means taking your cream cheese out of the refrigerator at least 20-30 minutes before you plan to bake. You can speed up this process by cubing the cream cheese and spreading the pieces on a plate. Using cold cream cheese will inevitably lead to a lumpy batter, no matter how much you beat it, and can result in an unevenly baked cheesecake. Softened cream cheese, on the other hand, beats into a perfectly smooth, velvety batter that bakes up beautifully. We also incorporate granulated white sugar for sweetness and vanilla extract to enhance the overall flavor, creating a harmonious balance that truly shines. Eggs are added for structure and richness, binding the ingredients together. Remember to mix them in gently to avoid incorporating too much air, which can lead to cracks in your finished cheesecakes.
SPRINKLES – What makes these cheesecakes truly patriotic are the festive red, white, and blue sprinkles! We use them both in the batter and as a decorative topping. Choose a good quality sprinkle mix that holds its color well during baking. The sprinkles folded into the batter create a delightful pop of color throughout the cheesecake, while those on top add extra visual appeal and a fun texture.
Step-by-Step Guide: Crafting Your Own Patriotic Mini Cheesecakes
These step-by-step photos and detailed instructions are designed to help you visualize each stage of making this delightful recipe. For a quick reference to the complete printable version of this recipe, including exact measurements and a concise instruction list, you can Jump to Recipe at the bottom of the page.
- Preheat Your Oven: Begin by preheating your oven to 350°F (175°C). Ensuring your oven is at the correct temperature before baking is crucial for even cooking and preventing your cheesecakes from over-browning or sinking.
- Prepare the Cheesecake Batter: In a large mixing bowl, combine your softened cream cheese, granulated white sugar, and vanilla extract. Beat these ingredients together with a hand mixer (or a stand mixer) on medium speed until the mixture is completely smooth and wonderfully creamy. Make sure there are no lumps of cream cheese remaining, as this will affect the texture of your finished cheesecakes. Scrape down the sides of the bowl as needed to ensure everything is thoroughly incorporated.
- Incorporate the Eggs: Reduce the mixer speed to low. Add the large eggs one at a time, mixing gently after each addition just until blended. It’s important not to overmix the eggs, as incorporating too much air can cause the cheesecakes to puff up excessively during baking and then crack as they cool. The goal is just to combine them until no streaks of egg yolk are visible.
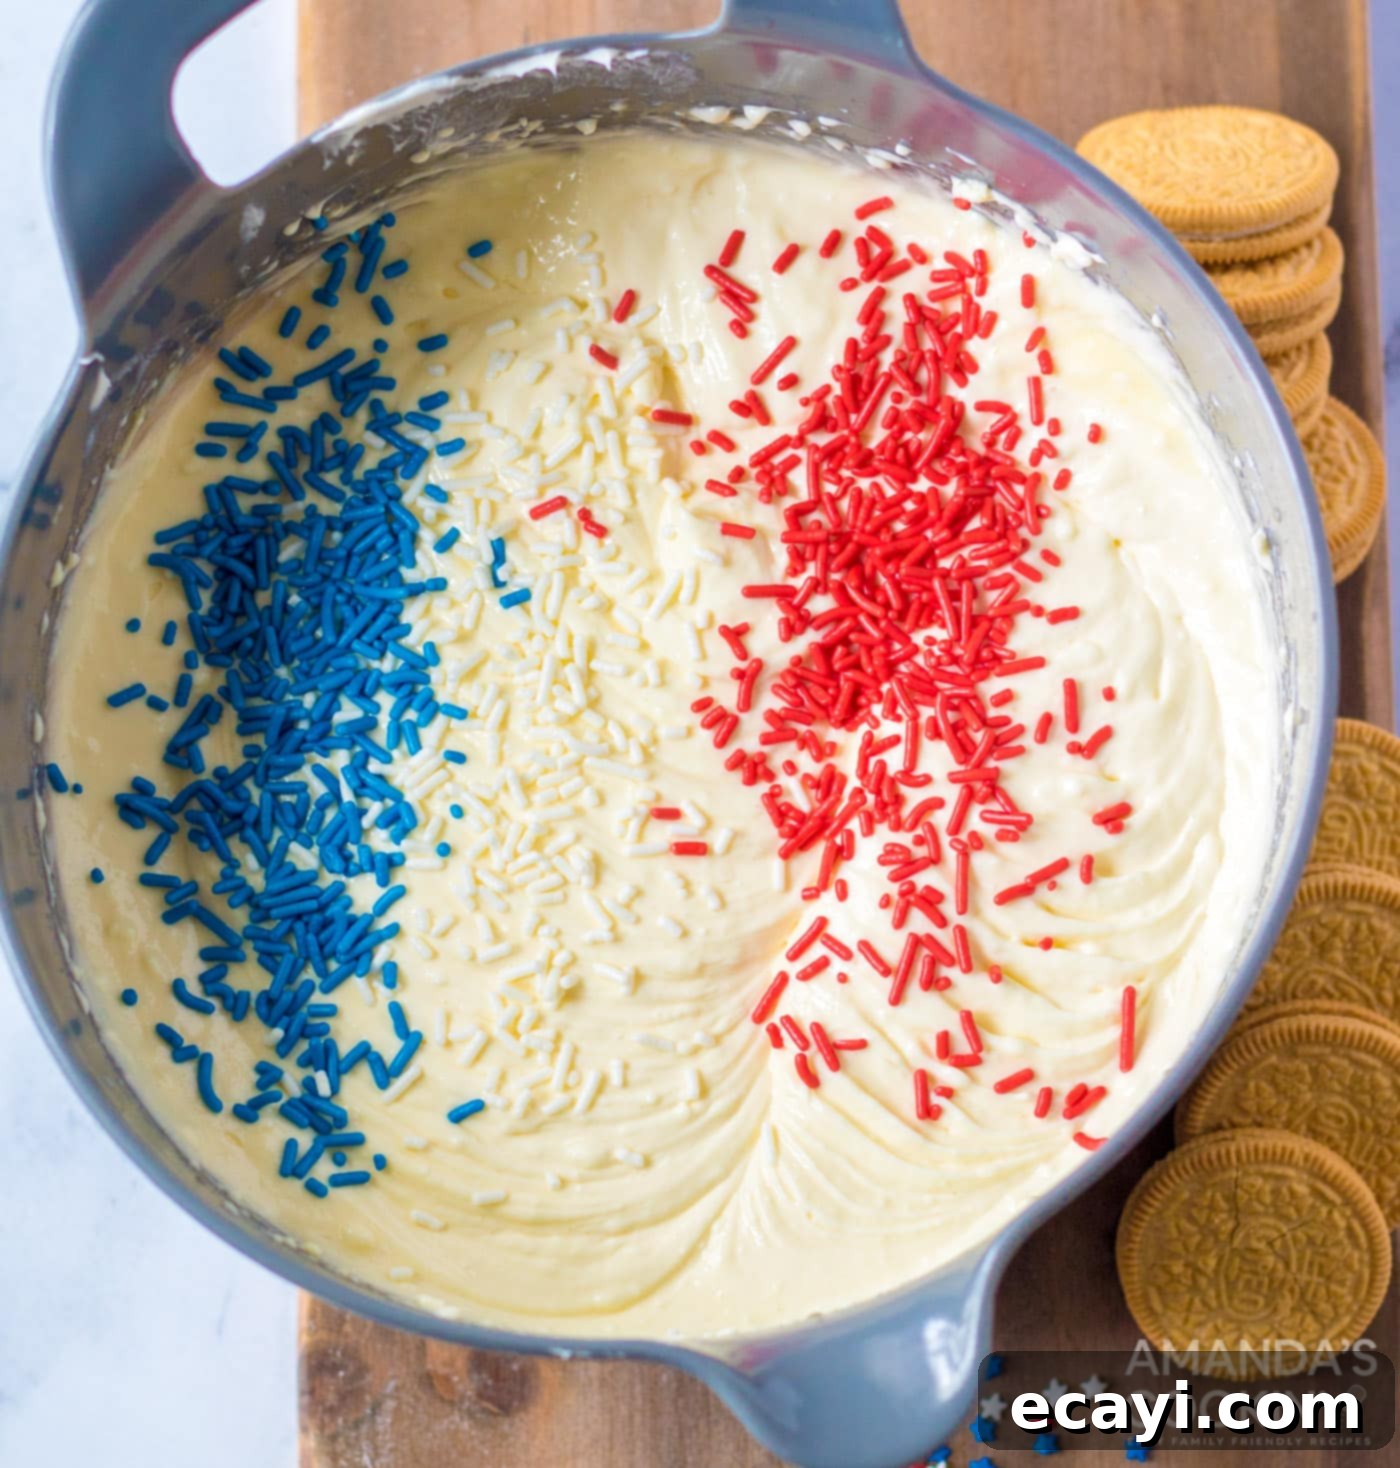
- Fold in the Sprinkles: Take 1/3 cup of your red, white, and blue sprinkles and gently fold them into the cheesecake batter using a spatula. Be careful not to overmix, as vigorous stirring can cause the colors to bleed and dissolve into the batter, losing their distinct festive appearance. A gentle fold will distribute them nicely, ensuring vibrant pops of color in every bite.

- Prepare the Muffin Tin: Line a regular 12-cup muffin tin with cupcake liners. Ensure you’re using a standard-sized muffin tin, not a mini one, to achieve the perfect mini cheesecake size. Into the bottom of each cupcake liner, place 1 whole Golden Oreo. This forms the convenient and delicious crust for your cheesecakes, eliminating the need for separate crust preparation.

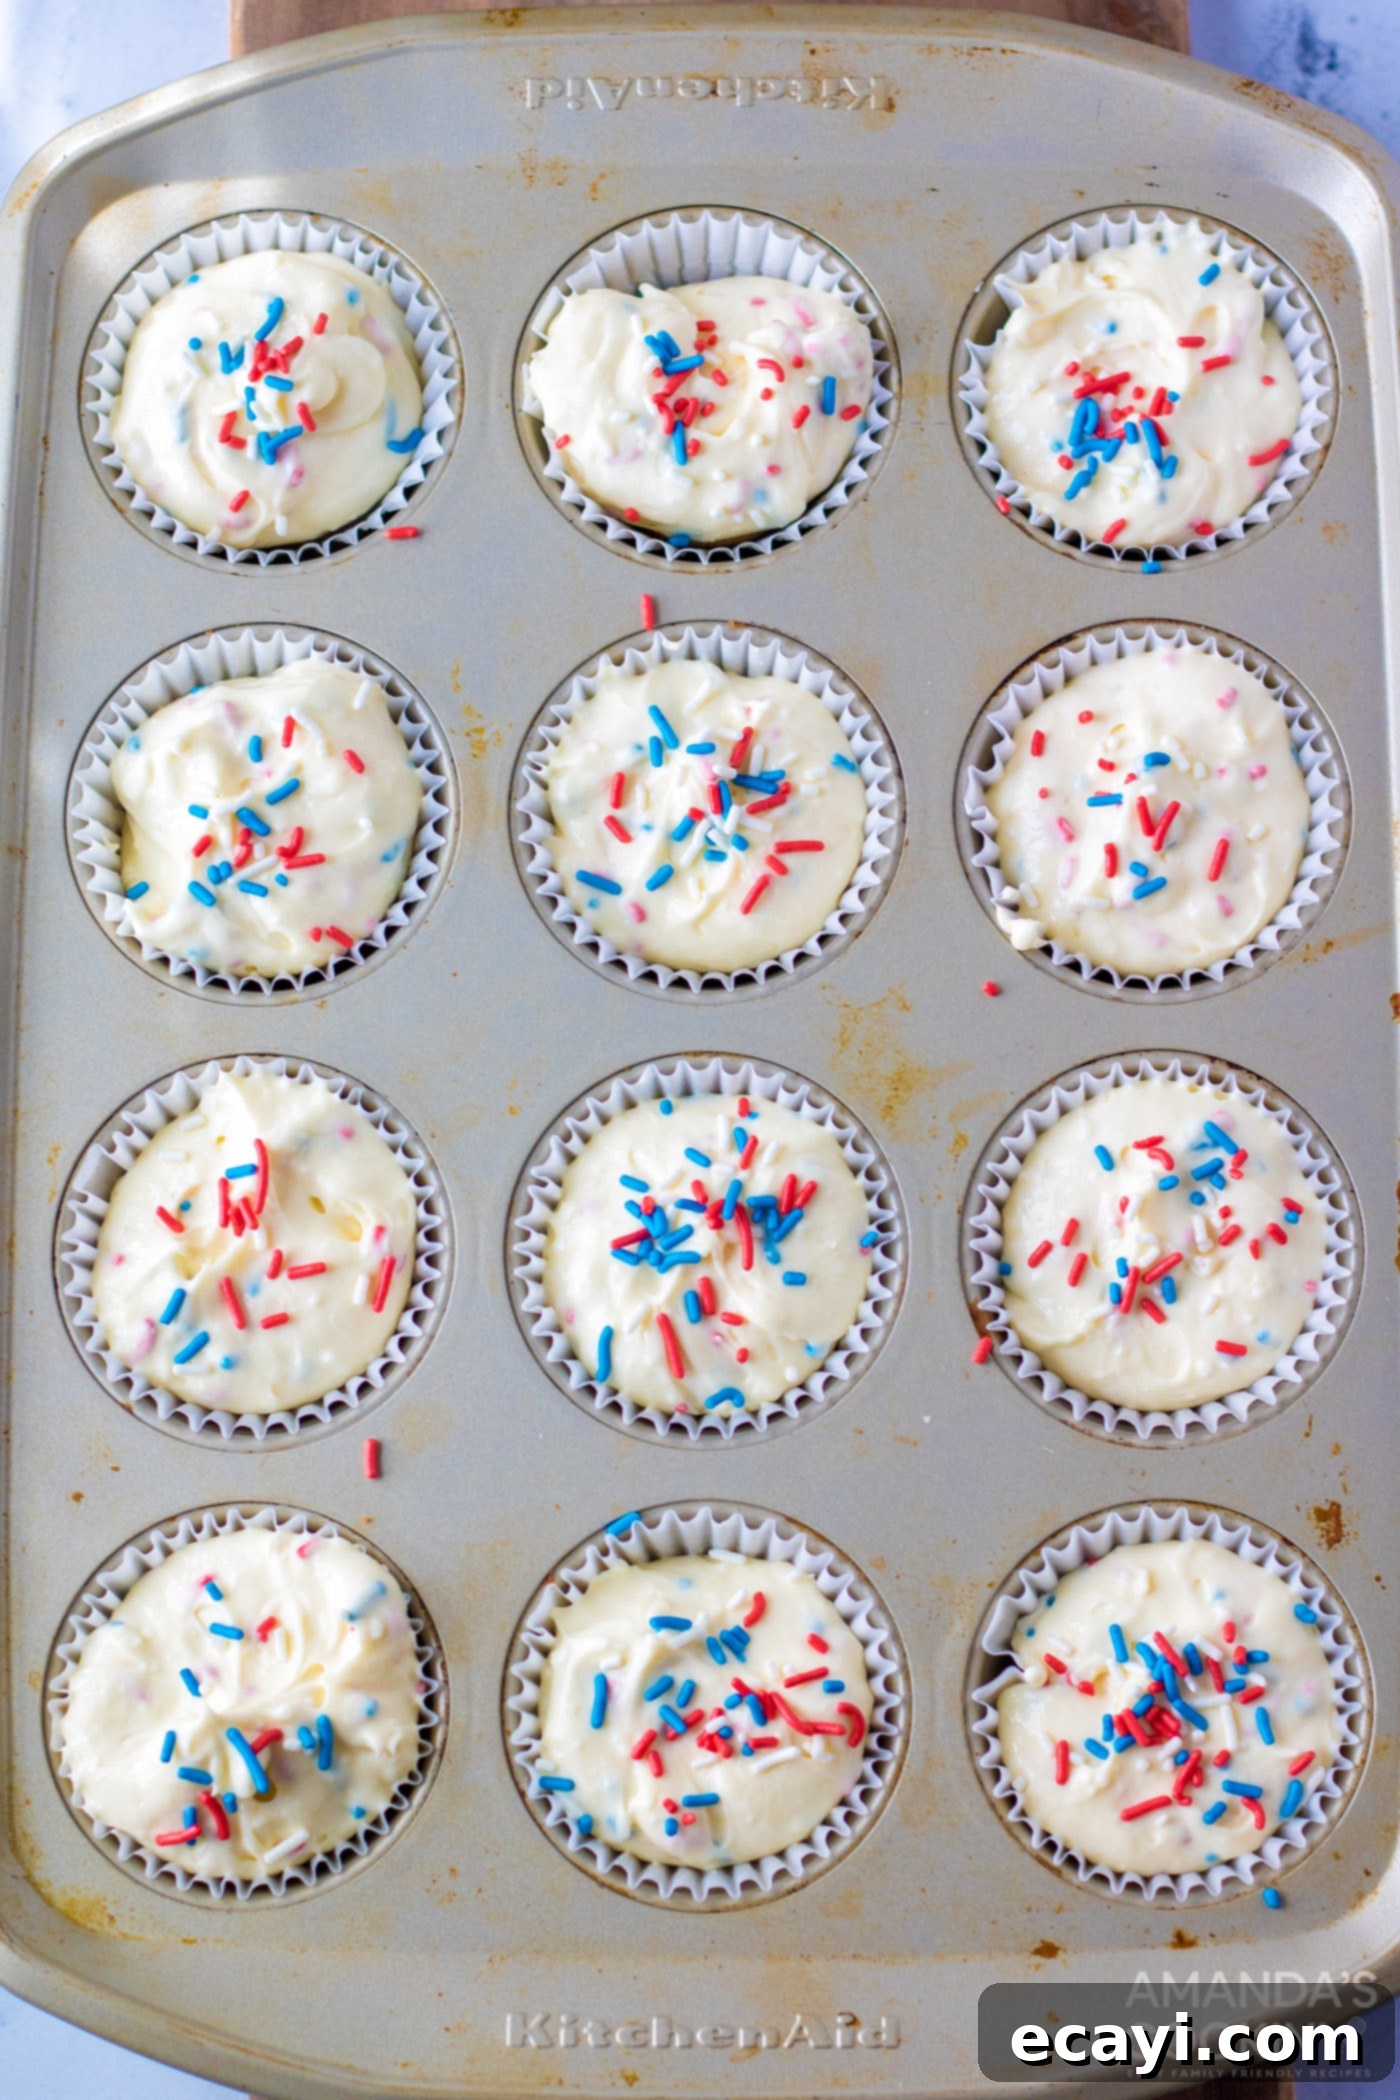
- Fill the Liners: Carefully pour the cheesecake batter into each prepared cupcake liner, filling them approximately 3/4 of the way full. This allows room for the cheesecakes to rise slightly during baking without overflowing.
- Add More Sprinkles: For an extra festive touch, add a scattering of additional sprinkles to the top of each mini cheesecake. This ensures a beautiful presentation once baked and served. You may not use all of the reserved sprinkles for this step, depending on how generously you apply them.

- Bake to Perfection: Transfer the muffin tin to your preheated oven and bake for 15-20 minutes. The cheesecakes are done when the edges are set and appear slightly firm, but the centers still have a slight jiggle when gently shaken. This slight jiggle indicates they are cooked through but will remain creamy. Avoid overbaking, as this can lead to dry cheesecakes and potential cracking.
- Cool and Chill: Once baked, remove the muffin tin from the oven and let the mini cheesecakes cool completely at room temperature. This gradual cooling helps prevent cracks. After they have reached room temperature, transfer the muffin tin to the refrigerator to chill for at least 2 hours. Chilling is essential for the cheesecakes to firm up properly, develop their full flavor, and be easily removed from the liners.
- Serve with Style: Once thoroughly chilled, gently remove the mini cheesecakes from their liners. Serve them topped with a generous dollop of fresh whipped cream and a final flourish of additional patriotic sprinkles for that ultimate red, white, and blue dessert experience!
Frequently Asked Questions About Patriotic Mini Cheesecakes
Absolutely! In fact, making these mini cheesecakes a day in advance is highly recommended. Not only does it help alleviate stress on the day of your event, but it also allows the flavors to meld beautifully and the cheesecakes to set perfectly, resulting in an even creamier and more flavorful dessert. Once baked and cooled, store the cheesecakes in an airtight container in the refrigerator. For best results and presentation, hold off on adding any additional toppings like whipped cream or fresh fruit until just before you are ready to serve them. This prevents the toppings from becoming soggy or losing their fresh appeal.
When stored properly in an airtight container in the refrigerator, these delicious mini cheesecakes will maintain their freshness, creamy texture, and wonderful flavor for up to 4 days. This makes them an excellent make-ahead option for various celebrations throughout the week. If you plan to keep them longer, consider freezing them (see next FAQ).
While a simple dollop of whipped cream keeps them light and airy, these mini cheesecakes are incredibly versatile when it comes to toppings! For a classic patriotic look, you can add fresh strawberries and blueberries. Other delicious ideas include a drizzle of melted white chocolate or dark chocolate, a dusting of powdered sugar, crushed pieces of additional Golden Oreos, a homemade fruit compote (berry, cherry, or peach), or even a swirl of lemon curd for a tangy contrast. Don’t forget that extra sprinkle of red, white, and blue for a burst of festive color!
Yes, these mini cheesecakes freeze beautifully! Once completely cooled and chilled, place them on a baking sheet and freeze until firm (about 1-2 hours). Then, transfer the frozen cheesecakes to an airtight freezer-safe container or a heavy-duty freezer bag, separating layers with parchment paper to prevent sticking. They can be stored in the freezer for up to 1 month. Thaw them in the refrigerator overnight before serving. Add toppings after thawing for the best results.
No problem at all! As mentioned in the ingredient section, you have several excellent alternatives. Vanilla wafers offer a similar mild, sweet base. Chocolate Oreos will provide a rich, contrasting flavor and darker crust. You can also use crushed graham crackers mixed with a tablespoon or two of melted butter for a traditional cheesecake crust. Simply press the crumb mixture firmly into the bottom of each cupcake liner before adding the cheesecake batter.
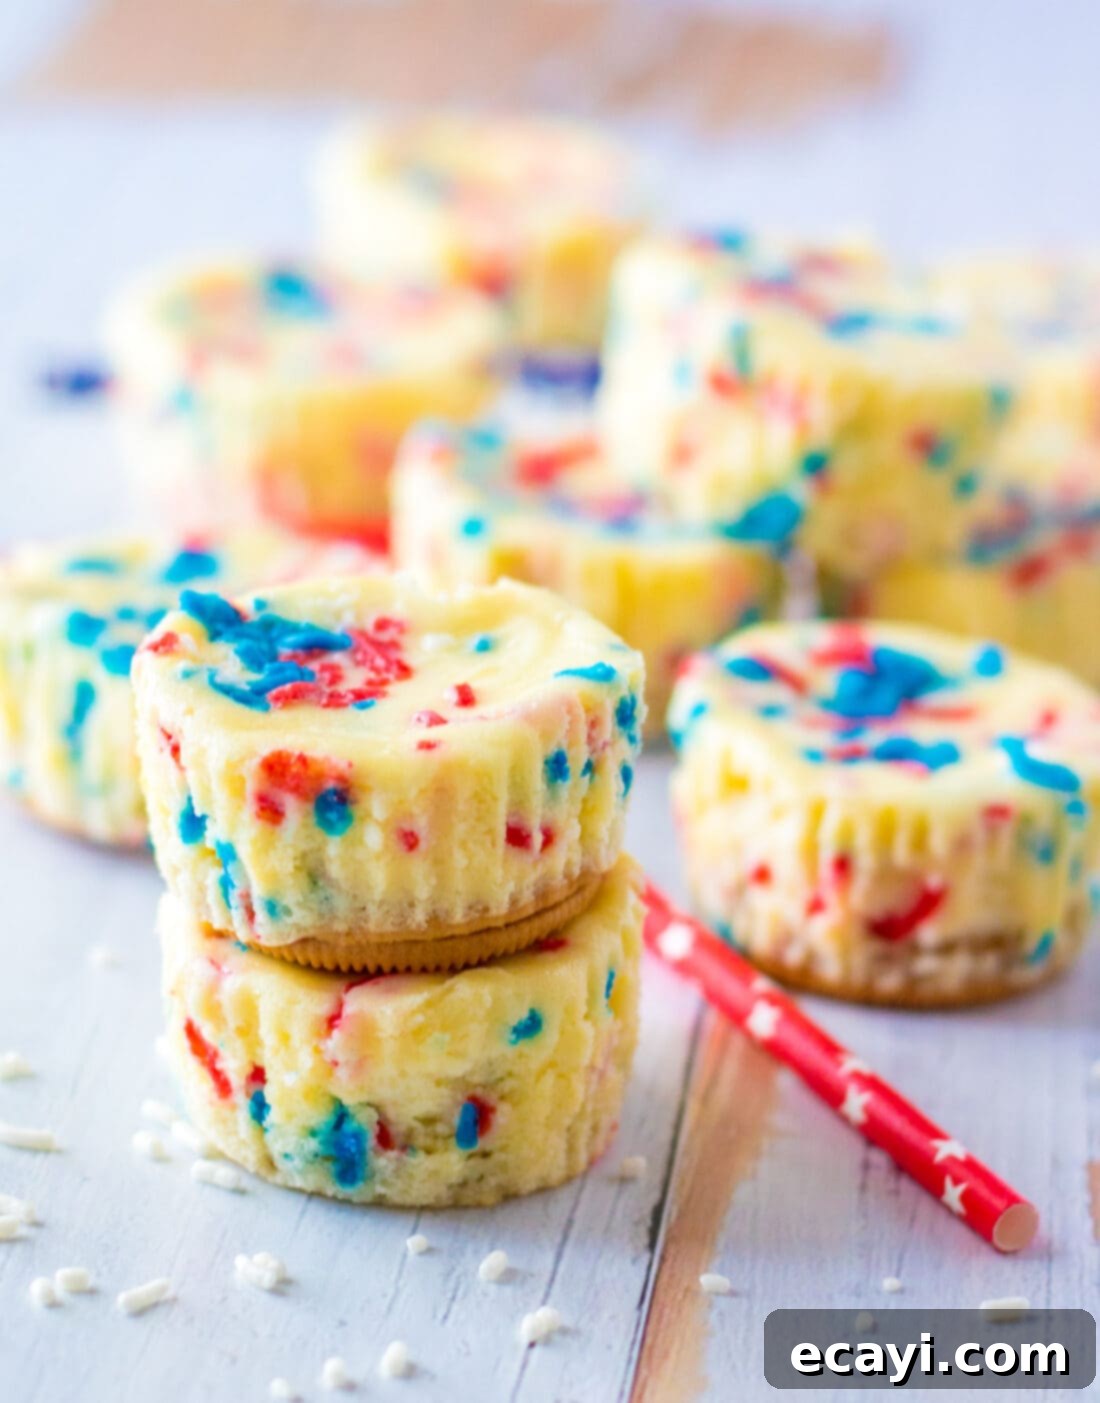
This recipe yields approximately 32-36 perfectly bite-sized treats when utilizing a standard 12-cup muffin pan. These easy patriotic mini cheesecakes are not just a dessert; they are a statement piece for your Fourth of July potluck, Memorial Day gathering, or any occasion that calls for a touch of American spirit. Your friends and family will undoubtedly be impressed by their festive appearance and delighted by their creamy, delicious taste. They’re a testament to how simple ingredients and minimal effort can create something truly spectacular!
More Festive Patriotic Recipes to Try
Looking to round out your red, white, and blue celebration menu? Explore these other fantastic patriotic recipes that are sure to impress and add even more color to your spread:
- Patriotic Punch: A refreshing and colorful beverage for all ages.
- Taco Salad Flag: A savory and creative flag design, perfect for a main dish.
- American Flag Cupcakes: Easy-to-make cupcakes decorated to look like the flag.
- Patriotic Charcuterie Board: A stunning display of themed snacks and treats.
- Red White and Blue Poke Cake: A moist cake infused with festive colors.
- Patriotic Candy Bark: A quick and easy sweet treat with vibrant layers.
- Mini Shortcake Cups: Individual desserts with berries and cream.
- No Bake Berry Cheesecake Trifles: Layered delights that require no oven time.
- Patriotic Ice Cream Cone Cupcake: A fun, whimsical dessert perfect for kids and adults alike.
- 4th of July Jello Shots: For the adults, a festive and fun party starter.
- Patriotic Vodka Lemonade Slushie: Another refreshing adult beverage for your celebration.
I absolutely adore sharing my culinary adventures and kitchen wisdom with all of you! To make sure you never miss a new recipe, I offer a convenient newsletter delivered straight to your inbox every time a fresh post goes live. Simply subscribe today and start receiving your free daily recipes – a delightful way to keep your cooking inspiration flowing!
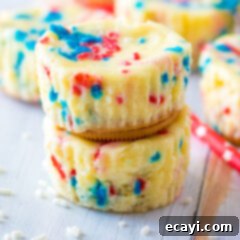
Patriotic Mini Cheesecakes
IMPORTANT – Don’t forget to check out the Frequently Asked Questions (FAQs) section within the blog post above. You’ll find helpful tips and answers to common queries there!
Print It
Pin It
Rate It
Save ItSaved!
Ingredients
- 32 oz cream cheese 4 (8oz) blocks, softened
- 1 cup granulated white sugar
- 1 teaspoon vanilla extract
- 4 large eggs
- ⅓ cup red, white, and blue sprinkles for the batter
- 36 Golden oreos
- ⅓ cup red, white, and blue sprinkles for the tops
Garnish
- whipped cream
- red, white, and blue sprinkles
Things You’ll Need
-
cupcake liners
-
Muffin pan
Before You Begin
- Store leftover mini cheesecakes in an air-tight container kept in the refrigerator for up to 4 days.
- This recipe uses a regular 12-cup muffin tin, not a mini muffin pan, to achieve perfectly sized individual cheesecakes.
Instructions
-
Preheat oven to 350F (175°C).
-
In a large bowl, beat the softened cream cheese, vanilla extract, and granulated sugar with a hand mixer until the mixture is completely smooth and creamy. Ensure all lumps are removed for a perfect texture.32 oz cream cheese, 1 teaspoon vanilla extract, 1 cup granulated white sugar
-
Reduce mixer speed to low. Add the eggs one at a time, mixing only until just blended after each addition. Avoid overmixing once the eggs are in.4 large eggs
-
Gently fold in 1/3 cup of the red, white, and blue sprinkles into the cheesecake batter with a spatula, ensuring not to overmix to prevent color bleeding.1/3 cup red, white, and blue sprinkles
-
Line a regular 12-cup muffin tin with cupcake liners. Place 1 whole Golden Oreo into the bottom of each liner to form the crust.36 Golden oreos
-
Carefully pour the cheesecake batter into each cupcake liner, filling them approximately 3/4 of the way full.
-
Sprinkle additional red, white, and blue sprinkles generously on top of each mini cheesecake for an appealing finish.1/3 cup red, white, and blue sprinkles
-
Bake for 15-20 minutes, or until the edges are set and the centers still have a slight jiggle.
-
Allow the cheesecakes to cool completely to room temperature in the muffin tin. Once cooled, place them in the refrigerator to chill for a minimum of 2 hours, or until thoroughly set.
-
Serve your perfectly chilled mini cheesecakes topped with a dollop of whipped cream and a final festive flourish of additional red, white, and blue sprinkles.whipped cream, red, white, and blue sprinkles
Nutrition
The recipes on this blog are tested with a conventional gas oven and gas stovetop. It’s important to note that some ovens, especially as they age, can cook and bake inconsistently. Using an inexpensive oven thermometer can assure you that your oven is truly heating to the proper temperature. If you use a toaster oven or countertop oven, please keep in mind that they may not distribute heat the same as a conventional full sized oven and you may need to adjust your cooking/baking times. In the case of recipes made with a pressure cooker, air fryer, slow cooker, or other appliance, a link to the appliances we use is listed within each respective recipe. For baking recipes where measurements are given by weight, please note that results may not be the same if cups are used instead, and we can’t guarantee success with that method.
This post was originally published on this blog on June 15, 2021, and has since been updated with additional tips and content to enhance your baking experience.
