Patriotic Taco Salad Flag: Your Ultimate Fourth of July Appetizer & Crowd-Pleasing Dip
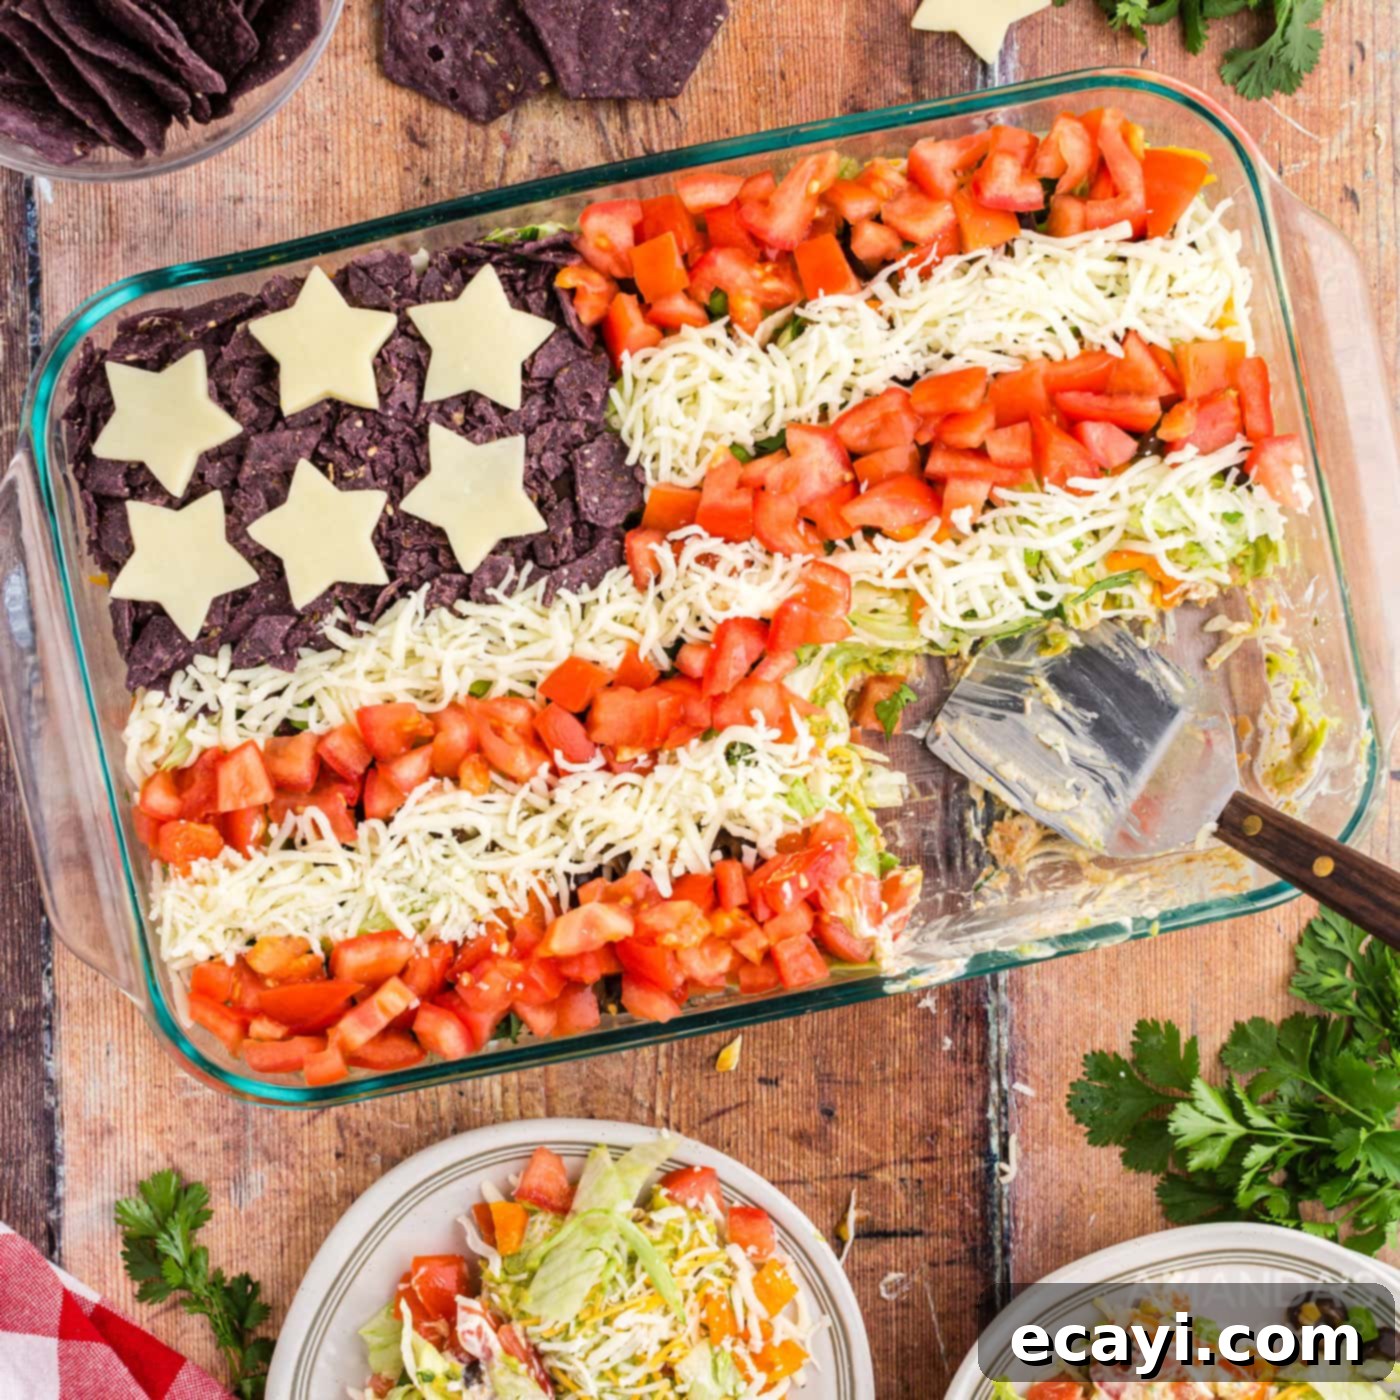
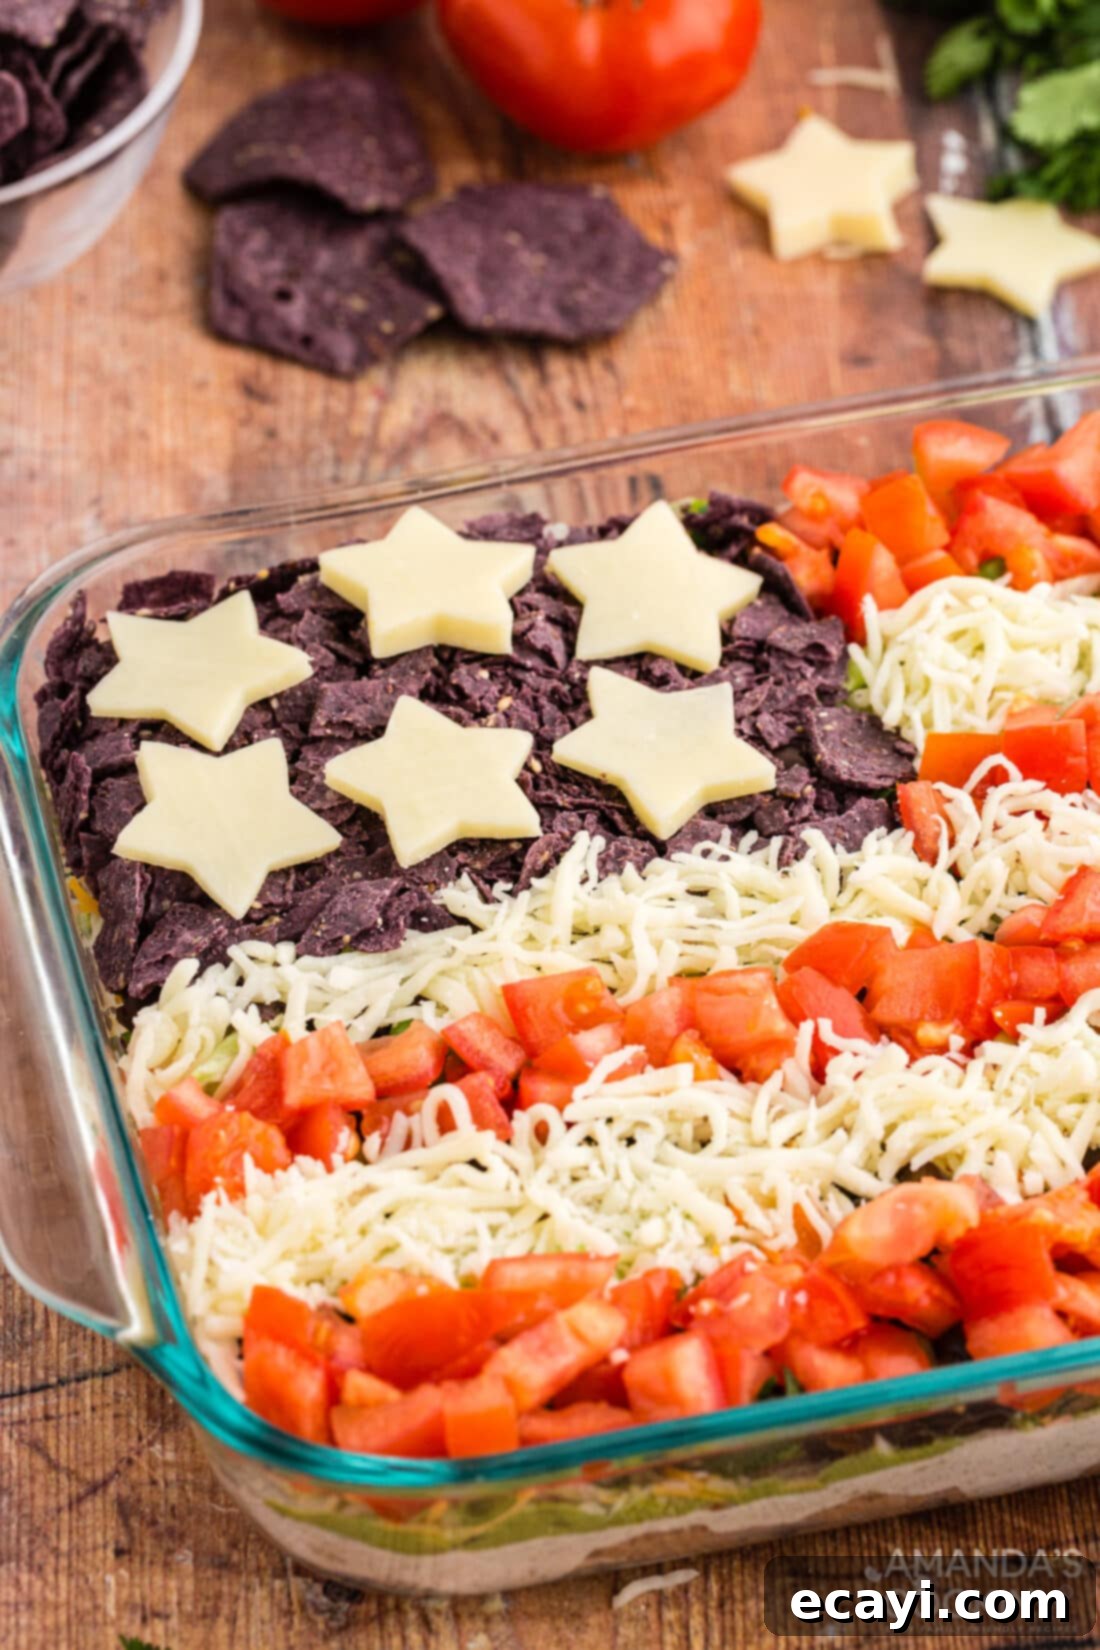
Prepare to impress your guests this Fourth of July with a show-stopping appetizer that’s as delicious as it is visually spectacular: the Festive Taco Salad Flag! This vibrant and flavorful taco dip is more than just a dish; it’s a patriotic centerpiece, meticulously layered with fresh ingredients to resemble the American flag. Perfect for potlucks, backyard barbecues, or any summer gathering, this taco salad flag offers a delightful combination of creamy textures, zesty flavors, and satisfying crunch. It’s designed not just for dipping tortilla chips, but for creating memorable moments and celebrating with a dish that embodies the spirit of the holiday. Easy to assemble and always a hit, this recipe will quickly become a cherished tradition for your Independence Day festivities, inviting everyone to dig in and enjoy the vibrant taste of freedom.
Why This Patriotic Taco Salad Flag Recipe Works So Well
The Fourth of July is a time for spirited celebrations, and what better way to enhance the festivities than with patriotic-themed dishes? While many gravitate towards desserts like a red, white, and blue poke cake, a delicious and eye-catching appetizer is equally essential for any celebration. This Taco Salad Flag is a brilliant adaptation of our beloved taco dip recipe, transformed into a visually stunning, edible American flag that’s guaranteed to be the star of your snack table.
This recipe truly shines for several reasons:
- Unbeatable Visual Appeal: The layered design, mimicking the Stars and Stripes, makes it an instant conversation starter and a festive focal point. It’s a fun and creative way to showcase your patriotic spirit without sacrificing flavor.
- Crowd-Pleasing Flavors: Taco dip is a universal favorite, combining rich, savory, and fresh flavors that appeal to almost everyone. This version takes those classic tastes and presents them in an exciting new way, ensuring there’s something for every palate.
- Fresh and Flavorful Ingredients: We emphasize fresh, crisp vegetables and high-quality dairy and bean layers, ensuring every bite is bursting with vibrant taste and satisfying texture. From the creamy bean base to the zesty guacamole and crisp toppings, each element contributes to a harmonious culinary experience.
- Effortless Preparation: Despite its impressive appearance, this taco salad flag is surprisingly easy to assemble. With simple layering steps and minimal cooking, you can create a spectacular dish without spending hours in the kitchen, leaving you more time to enjoy the celebration.
- Perfect for Potlucks and Parties: Its large-format design makes it ideal for feeding a crowd, and it travels well, making it the ultimate potluck contribution. Just cover and go!
- Customizable to Your Taste: The base recipe is fantastic, but it also serves as a canvas for customization. You can easily add more spice, incorporate different vegetables, or even include ground taco meat for a heartier option, making it truly your own.
RELATED: You might also love this classic recipe – 7 Layer Taco Dip
Ingredients You Will Need for Your Festive Flag
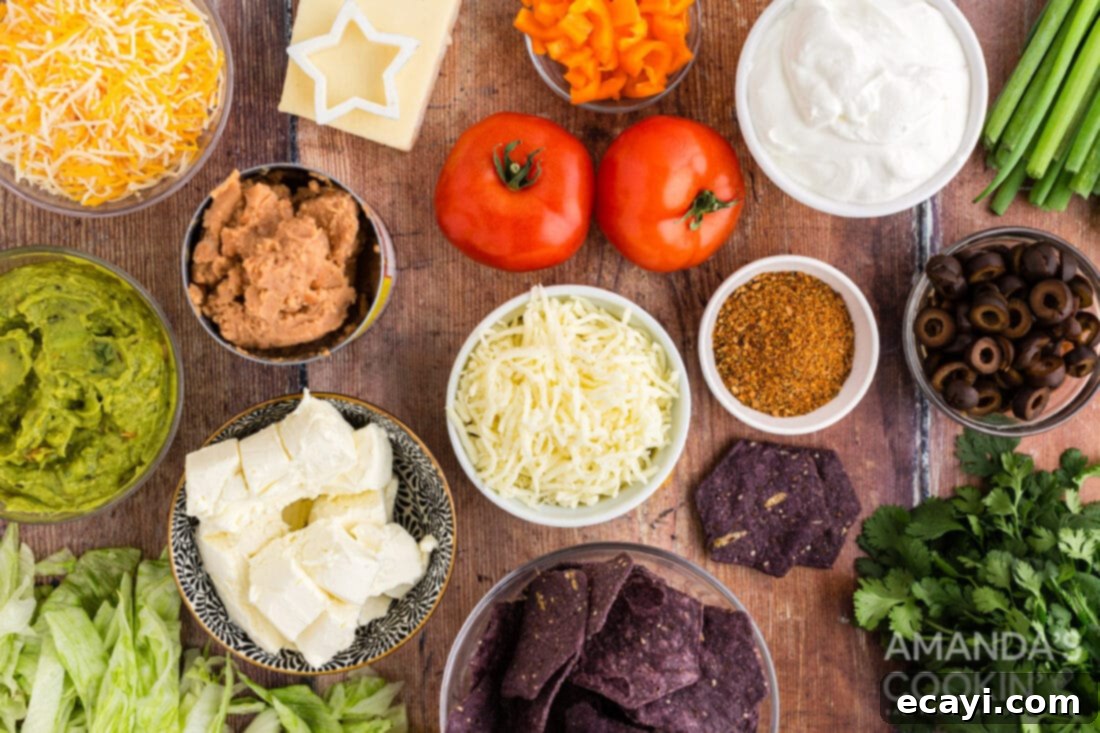
Crafting this patriotic appetizer requires a selection of fresh and pantry-staple ingredients. Each component plays a vital role in both the flavor and visual appeal of your Taco Salad Flag. You’ll find a complete list of all measurements, ingredients, and detailed instructions in the printable version of the recipe at the end of this post, ensuring you have everything you need to create this show-stopping dip.
Ingredient Information and Smart Substitutions
Let’s dive deeper into the ingredients, offering tips for selection and suggestions for substitutions to make this recipe perfectly suited to your taste and pantry.
The Foundation Layers:
- Refried Beans: The base layer provides a hearty and flavorful foundation. You can use traditional pinto refried beans or opt for black refried beans for a slightly different flavor and darker color. For a richer taste, consider spiced refried beans. If you prefer to skip this layer entirely, the dip will still be delicious and layered, just a bit lighter.
- Cream Cheese & Sour Cream Mixture: This layer is essential for the dip’s signature creaminess. Ensure your cream cheese is softened to room temperature for easier beating and a smoother consistency. Full-fat versions offer the richest flavor, but you can use reduced-fat cream cheese and sour cream if you prefer. Greek yogurt can be a fantastic substitute for sour cream, offering a similar tangy profile with added protein.
- Taco Seasoning: A packet of taco seasoning is a convenient way to infuse authentic Tex-Mex flavor. You can adjust the amount to your preference for mild or bold taste. Alternatively, create your own blend using chili powder, cumin, paprika, garlic powder, onion powder, and a pinch of cayenne for homemade freshness and control over spice levels.
- Guacamole: The vibrant green layer of guacamole adds freshness and healthy fats. While store-bought guacamole is a time-saver, homemade guacamole (made from ripe avocados, lime juice, cilantro, onion, and a touch of salt) is often superior in flavor. To prevent browning if making ahead, press plastic wrap directly onto the surface of the guacamole before refrigerating.
The Crisp & Flavorful Toppings:
- Cheddar Jack or Mexican Cheese Blend: This shredded cheese adds a melty, savory element. A pre-shredded Mexican blend is convenient, or you can shred your own cheddar, Monterey Jack, or a combination for superior flavor and texture.
- Iceberg Lettuce: Finely shredded iceberg lettuce provides a refreshing crunch and vibrant green color. Other crisp lettuces like romaine or even a mixed spring greens blend (for a slightly more gourmet touch) can be used, though iceberg holds its texture best in a layered dip.
- Green Onion: Sliced green onions add a mild, fresh onion flavor and a delicate bite. Chives or finely diced red onion could be used as alternatives, depending on your preference for a stronger onion kick.
- Bell Pepper: Diced orange or red bell pepper adds sweetness, crunch, and a beautiful pop of color. Feel free to use yellow or green bell pepper as well, or a mix for an even more colorful spread.
- Black Olives: Sliced black olives contribute a briny, savory note that complements the other taco flavors. If you’re not an olive fan, you can easily omit them.
- Cilantro: Freshly chopped cilantro offers a bright, herbaceous finish. If you’re not a fan of cilantro (the “soap gene”), feel free to skip it or substitute with fresh parsley for a milder green garnish.
The Patriotic Flag Design Elements:
- Blue Corn Tortilla Chips: Crushed blue corn tortilla chips form the “blue field” of the flag. Their distinct color is perfect for the patriotic theme. Ensure they are crushed finely enough to create a cohesive background for the cheese stars.
- Mozzarella Cheese (Shredded and Sliced): Shredded mozzarella provides the white stripes, offering a mild, creamy contrast to the tomatoes. For the star cutouts, you can use pre-sliced provolone or Monterey Jack cheese for ease, or slice from a block of mozzarella or white cheddar. The size and number of stars can be adjusted based on your cookie cutter and the area you need to fill.
- Tomatoes: Finely diced tomatoes create the red stripes of the flag. Opt for ripe, firm tomatoes for the best color and texture. Alternatively, halved cherry tomatoes or grape tomatoes can be used for the red stripes, or even finely diced red bell pepper if you prefer less moisture.
Optional Additions for Customization:
Feel free to personalize your taco salad flag with extra ingredients! Consider adding seasoned ground beef or turkey for a protein boost, diced jalapeños for heat, corn kernels for sweetness and crunch, or a drizzle of your favorite hot sauce for an extra kick. The beauty of this dip is its adaptability!
How to Assemble Your Festive Taco Salad Flag
These step-by-step photos and instructions are designed to help you visualize each stage of making this incredible recipe. For a convenient printable version, complete with precise measurements and instructions, simply Jump to Recipe at the bottom of this post.
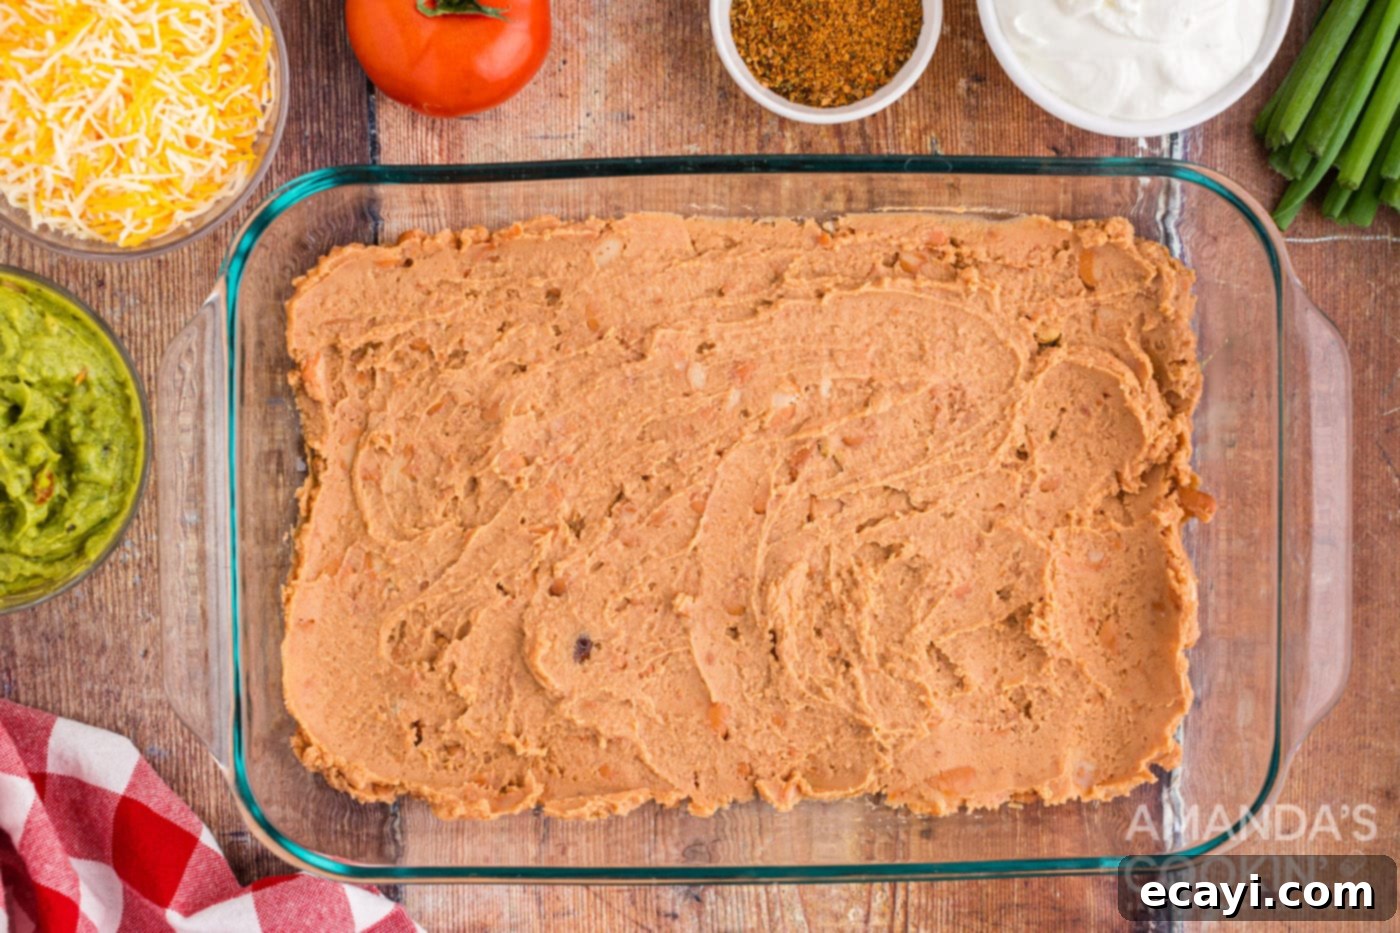
- First, prepare your base: Spread the entire can of refried beans evenly into the bottom of a 9×13 baking dish. Use the back of a spoon or a spatula to ensure a smooth, consistent layer that covers the entire bottom. This forms the solid foundation of your dip.

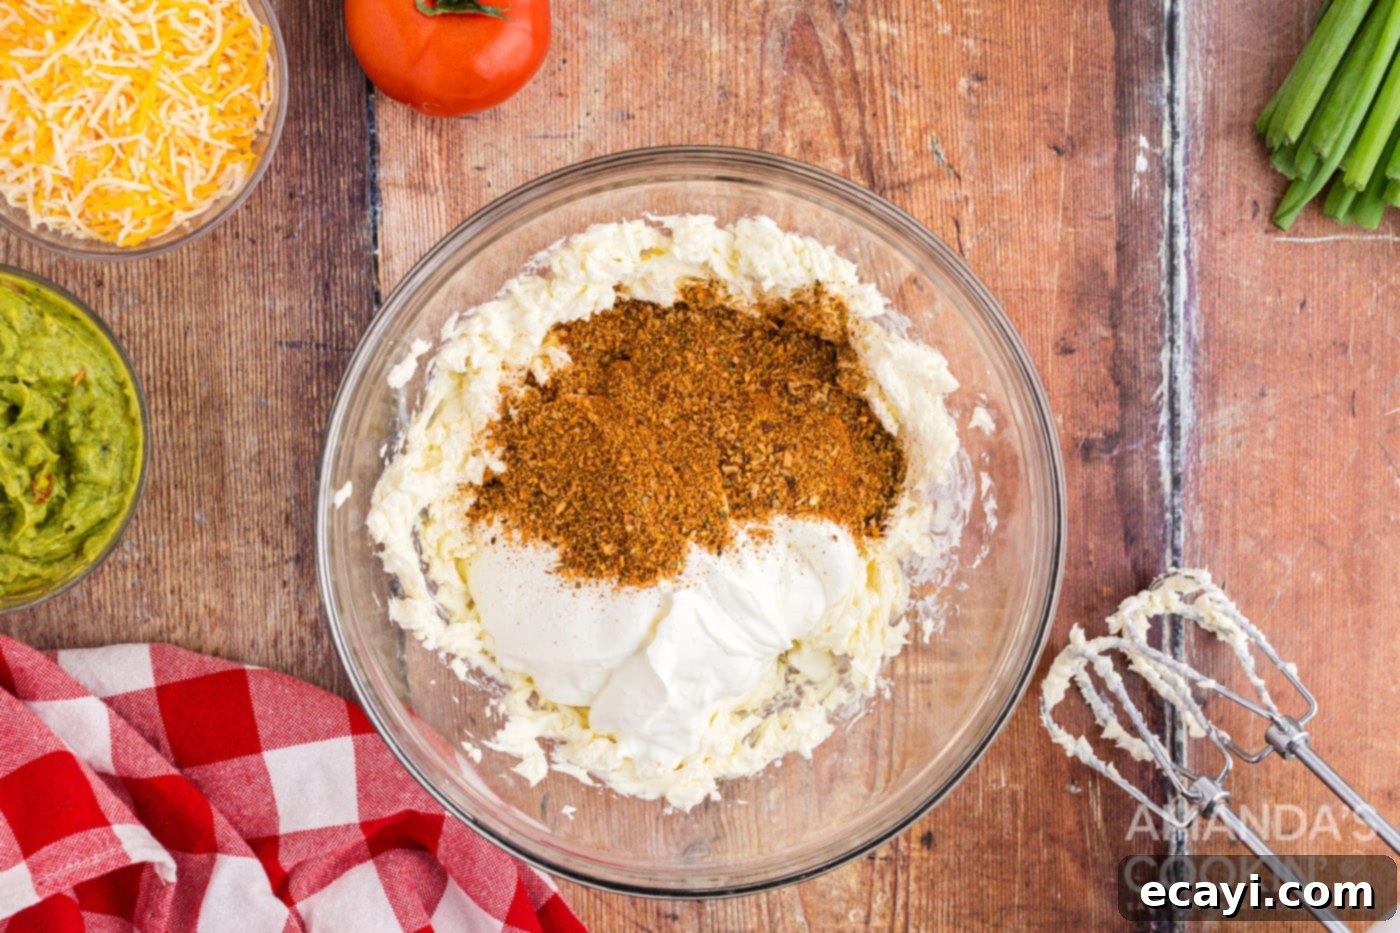
- Next, prepare the creamy layer: In a separate mixing bowl, use a hand mixer to beat the softened cream cheese until it’s light and fluffy. This makes it easier to combine. Gradually add the sour cream and taco seasoning, continuing to beat until the mixture is completely smooth and all ingredients are fully incorporated. Carefully spread this creamy mixture over the refried bean layer, taking care not to disturb the layer beneath.

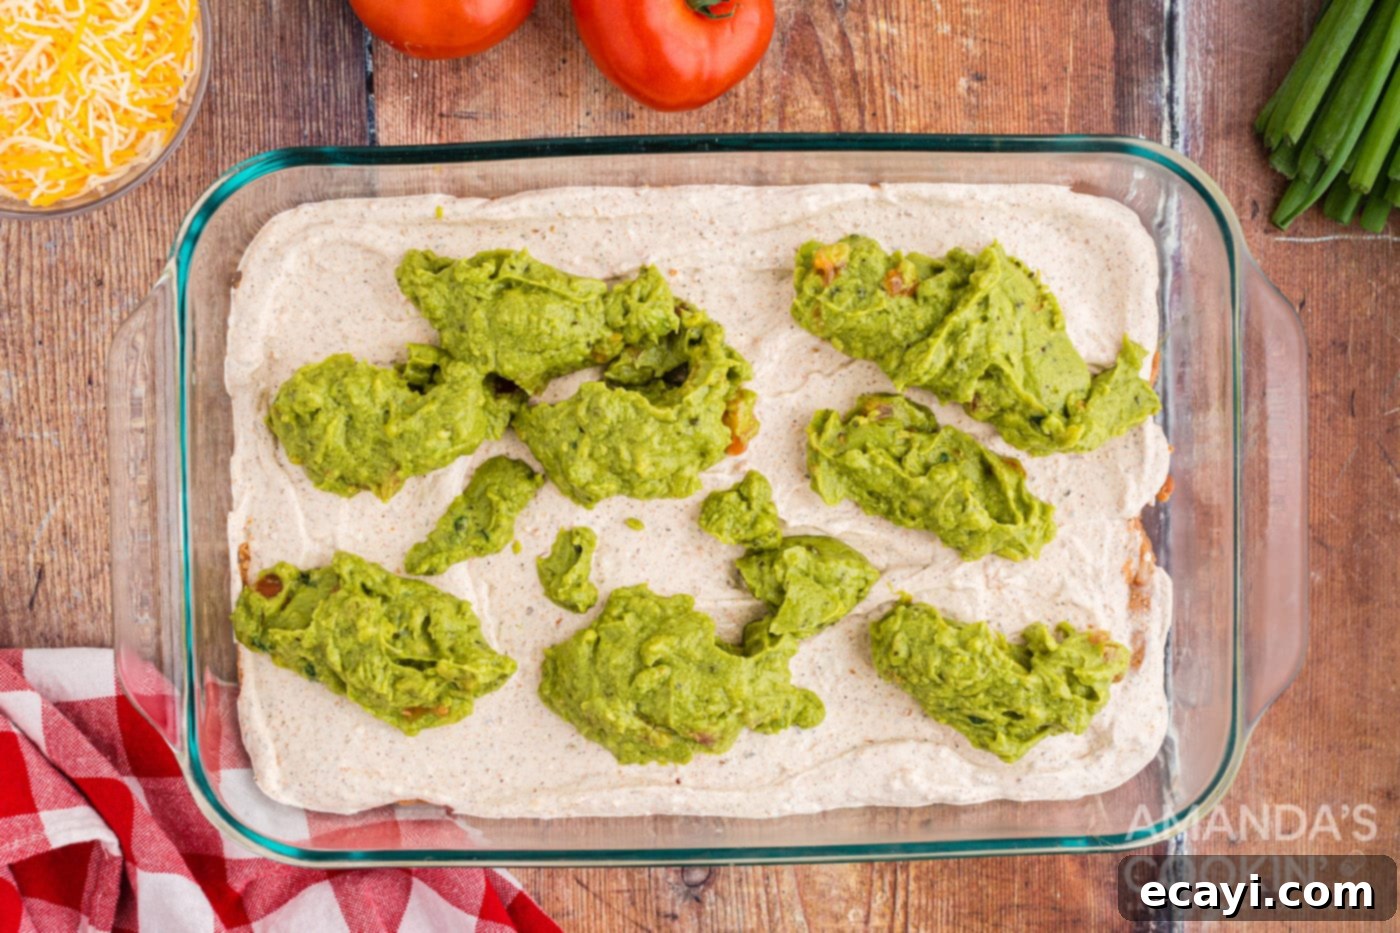
- Now, for the guacamole layer: If your guacamole is thick, give it a good stir to make it more pliable. Drop small dollops of guacamole evenly over the surface of the cream cheese layer. Using gentle motions, carefully spread the guacamole into an even, vibrant green layer. Work slowly to prevent mixing the green and white layers.

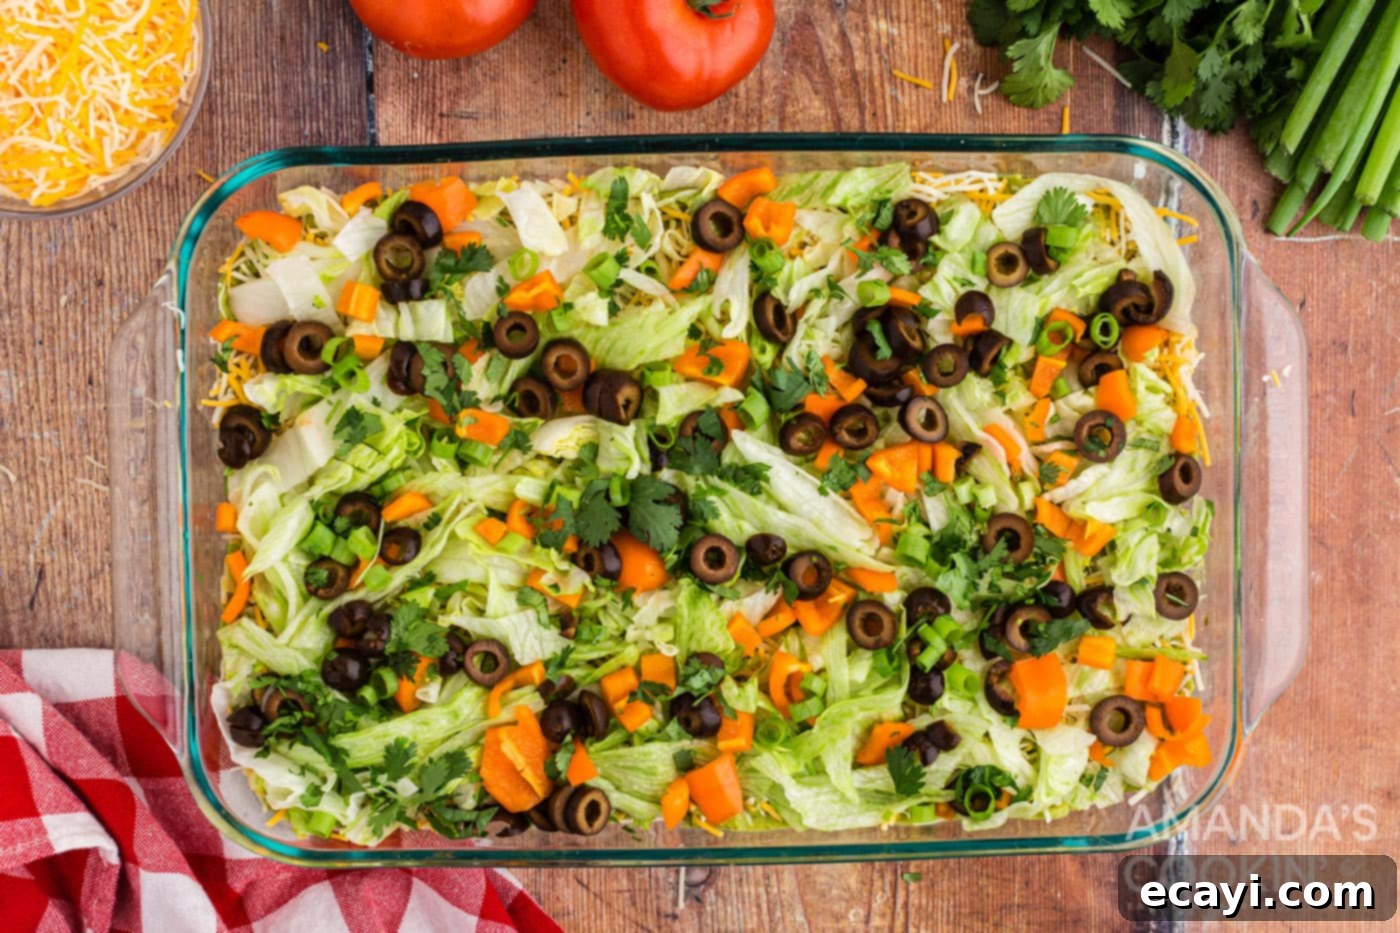
- Add the fresh vegetable toppings: Generously sprinkle the cheddar jack cheese, followed by the shredded lettuce, sliced green onion, diced bell pepper, sliced black olives, and chopped cilantro over the guacamole layer. Distribute them evenly to ensure a consistent blend of flavors and textures in every scoop.

- Gently press down on all the toppings. This step helps to slightly compact the ingredients, creating a relatively smooth and stable “surface” on the taco salad, which is ideal for arranging your flag design.
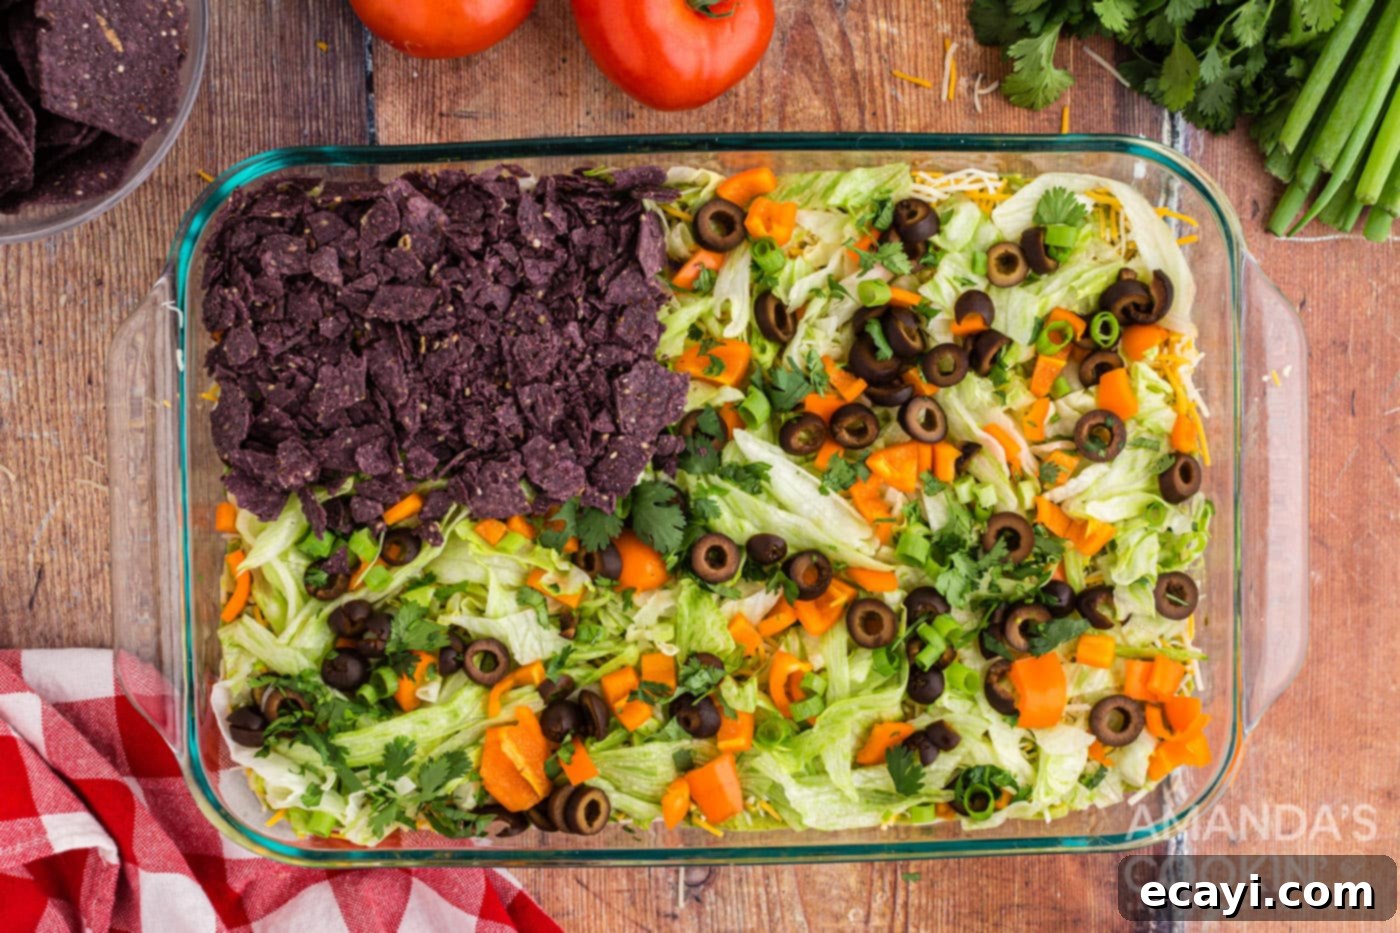
- Time for the flag design – start with the blue field: In the upper left-hand corner of the dish, carefully sprinkle the crushed blue tortilla chips. This area will represent the “union” or blue field of the American flag. Aim for a distinct rectangle or square shape.

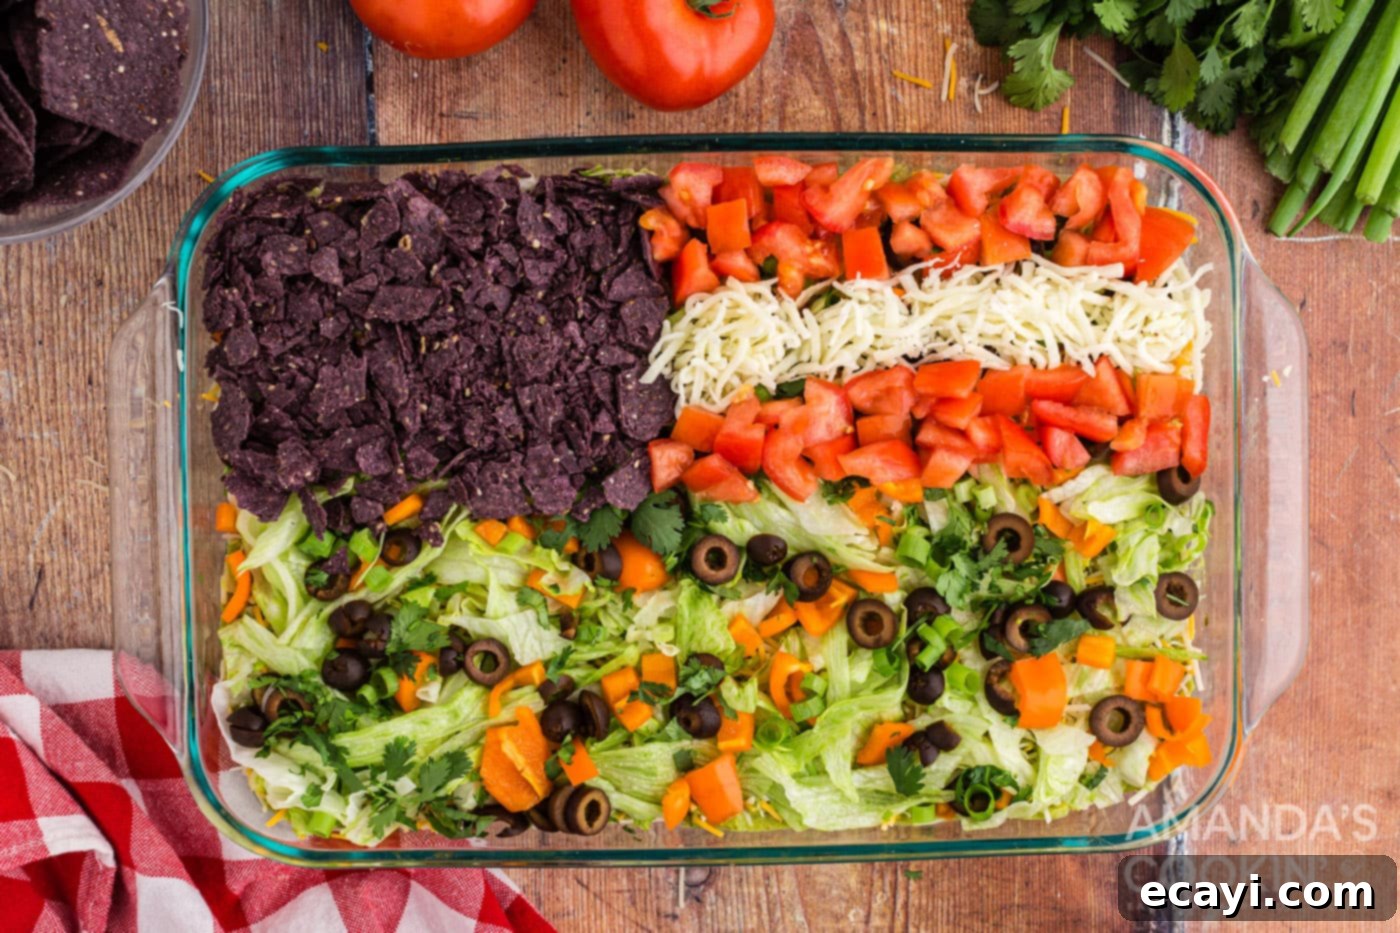
- Create the red and white stripes: To form the iconic stripes, arrange alternating rows of chopped tomatoes (red) and shredded mozzarella cheese (white) across the remaining surface of the dip. Start and end with tomatoes to mimic the classic flag design. Ensure the stripes are relatively even in width for the best visual effect.

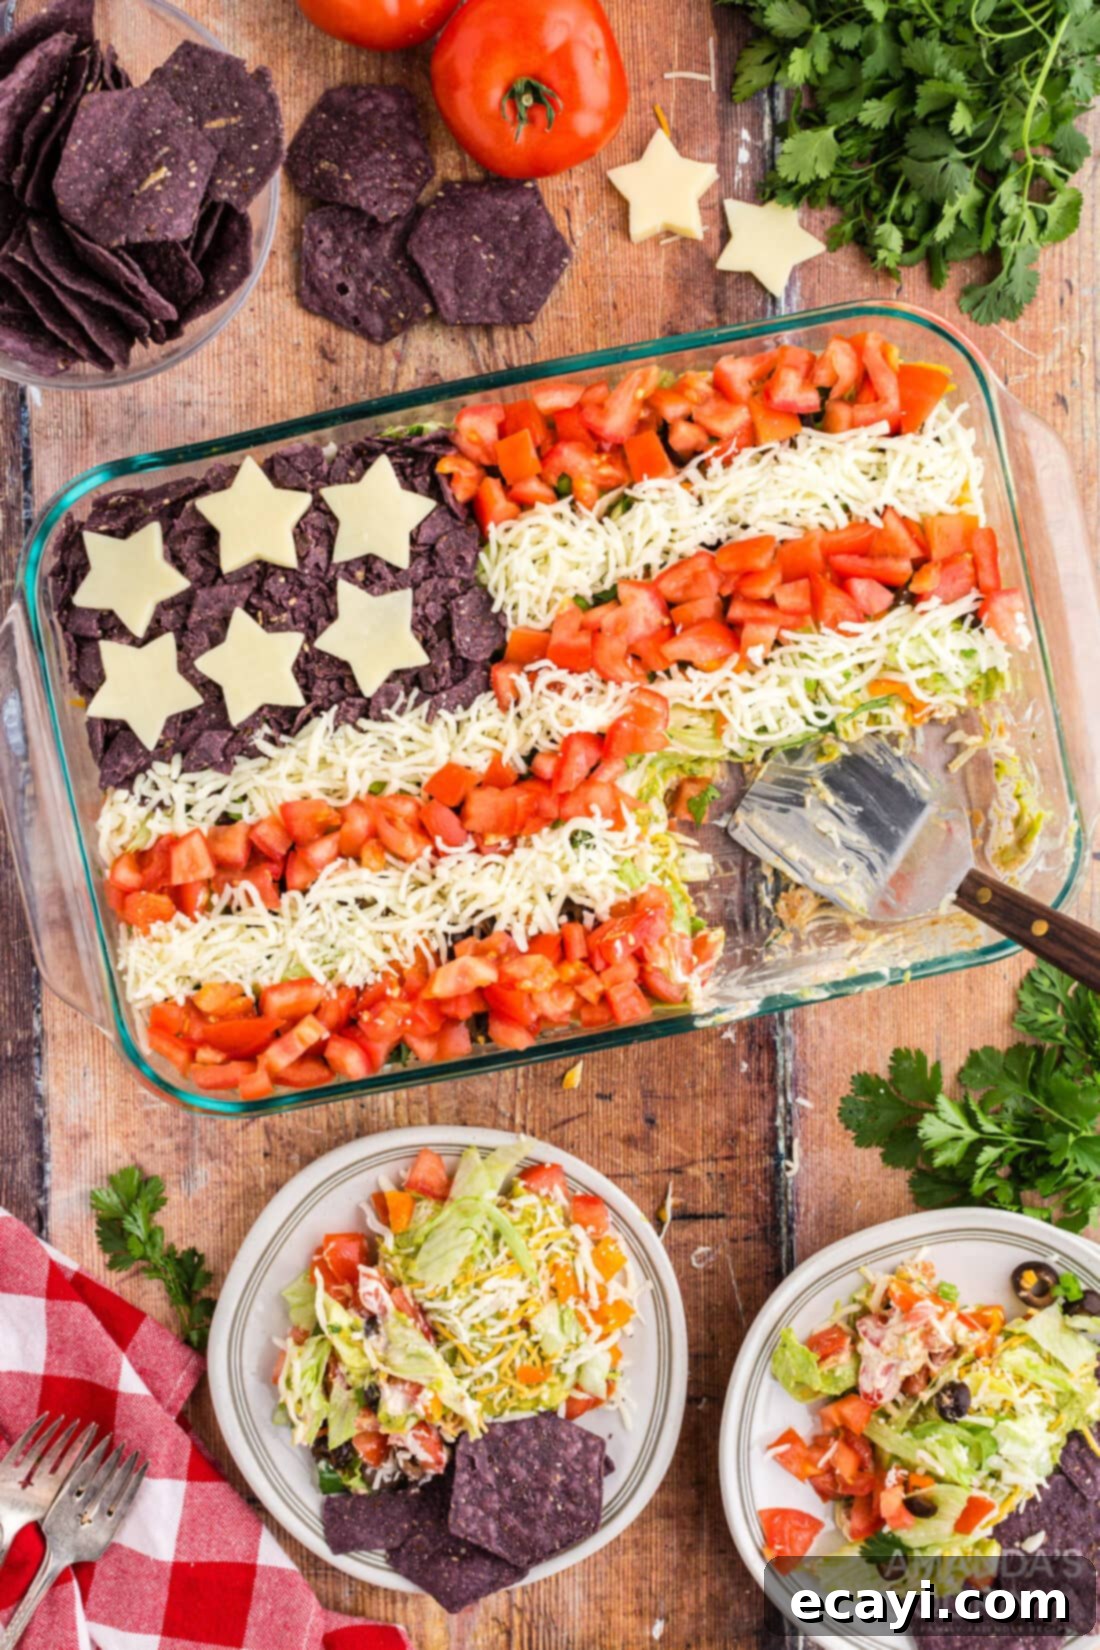
- Add the stars: Using a star cookie cutter, carefully cut out star shapes from your cheese slices (Jack or mozzarella). Thoughtfully arrange these cheese stars on top of the crushed blue corn chips in the upper left-hand corner. The number of stars can vary based on their size and the space available, but aim for a visually balanced arrangement.

- Serve your magnificent Taco Salad Flag immediately with plenty of tortilla chips and enjoy the admiration of your guests!
Frequently Asked Questions & Expert Tips for Your Taco Salad Flag
Absolutely! This dip is an excellent make-ahead appetizer, which is perfect for holiday planning. You can prepare all the underlying layers of the dip (refried beans, cream cheese mixture, guacamole, and the main vegetable toppings) up to a full day in advance. Assemble these layers in your dish, cover it tightly with plastic wrap, and refrigerate. However, we strongly recommend waiting to add the delicate flag design elements – the crushed blue tortilla chips, tomato stripes, mozzarella stripes, and cheese stars – until just a few hours before serving. This ensures the chips remain crisp and the lettuce and tomatoes stay fresh, preventing them from becoming soggy after prolonged sitting in the refrigerator.
To store any leftovers, cover the dish tightly with plastic wrap or an air-tight lid and refrigerate. The dip will remain delicious for 2-3 days. Be aware that the tortilla chips and shredded lettuce in the flag design might become softer and lose some of their crispness by the next day. While the visual appeal might diminish slightly, the flavors of the layered dip will still be fantastic and perfectly enjoyable. Just give it a good stir before serving if the top layers have softened.
Yes, personalization is key! This taco dip is incredibly versatile, allowing you to add or remove ingredients to perfectly match your preferences. For a spicier kick, consider mixing in diced jalapeños or a dash of hot sauce into the cream cheese layer, or sprinkling them on top. For a heartier dip, you can add a layer of seasoned ground taco meat (beef, turkey, or even a plant-based alternative) after the refried beans. Other great additions include corn kernels, black beans (in addition to or instead of refried beans), or diced red onion. If refried beans aren’t your favorite, feel free to omit that layer entirely; you’ll still have a wonderfully flavorful and layered dip. Don’t hesitate to experiment with your favorite taco fillings!
Expert Tips for a Flawless Flag Dip:
- Room Temperature Cream Cheese: For the smoothest and easiest-to-spread cream cheese layer, make sure your cream cheese is completely softened to room temperature. This prevents lumps and ensures an even coating.
- Gentle Spreading: When spreading the cream cheese mixture and especially the guacamole, use a light hand and a soft spatula. This helps maintain distinct layers, which is crucial for the flag’s appearance.
- Keep it Chilled: For the best flavor and food safety, ensure your taco salad flag is well-chilled before serving. A couple of hours in the refrigerator allows the flavors to meld beautifully.
- Colorful Chips: While blue chips are essential for the flag, consider serving with a mix of red, white, and classic yellow tortilla chips on the side for an extra festive touch and variety.
- Transporting Your Dip: If you’re bringing this to a potluck, assemble the base layers and main toppings beforehand. Transport it in a cooler, and then add the delicate flag design elements just before the party starts to ensure maximum freshness and visual appeal.
- Even Stripes and Stars: For the most impactful flag design, try to keep your tomato and mozzarella stripes of similar width. For the stars, a small to medium-sized cookie cutter works best to create noticeable shapes without overpowering the blue field.
Serving Your Festive Taco Salad Flag
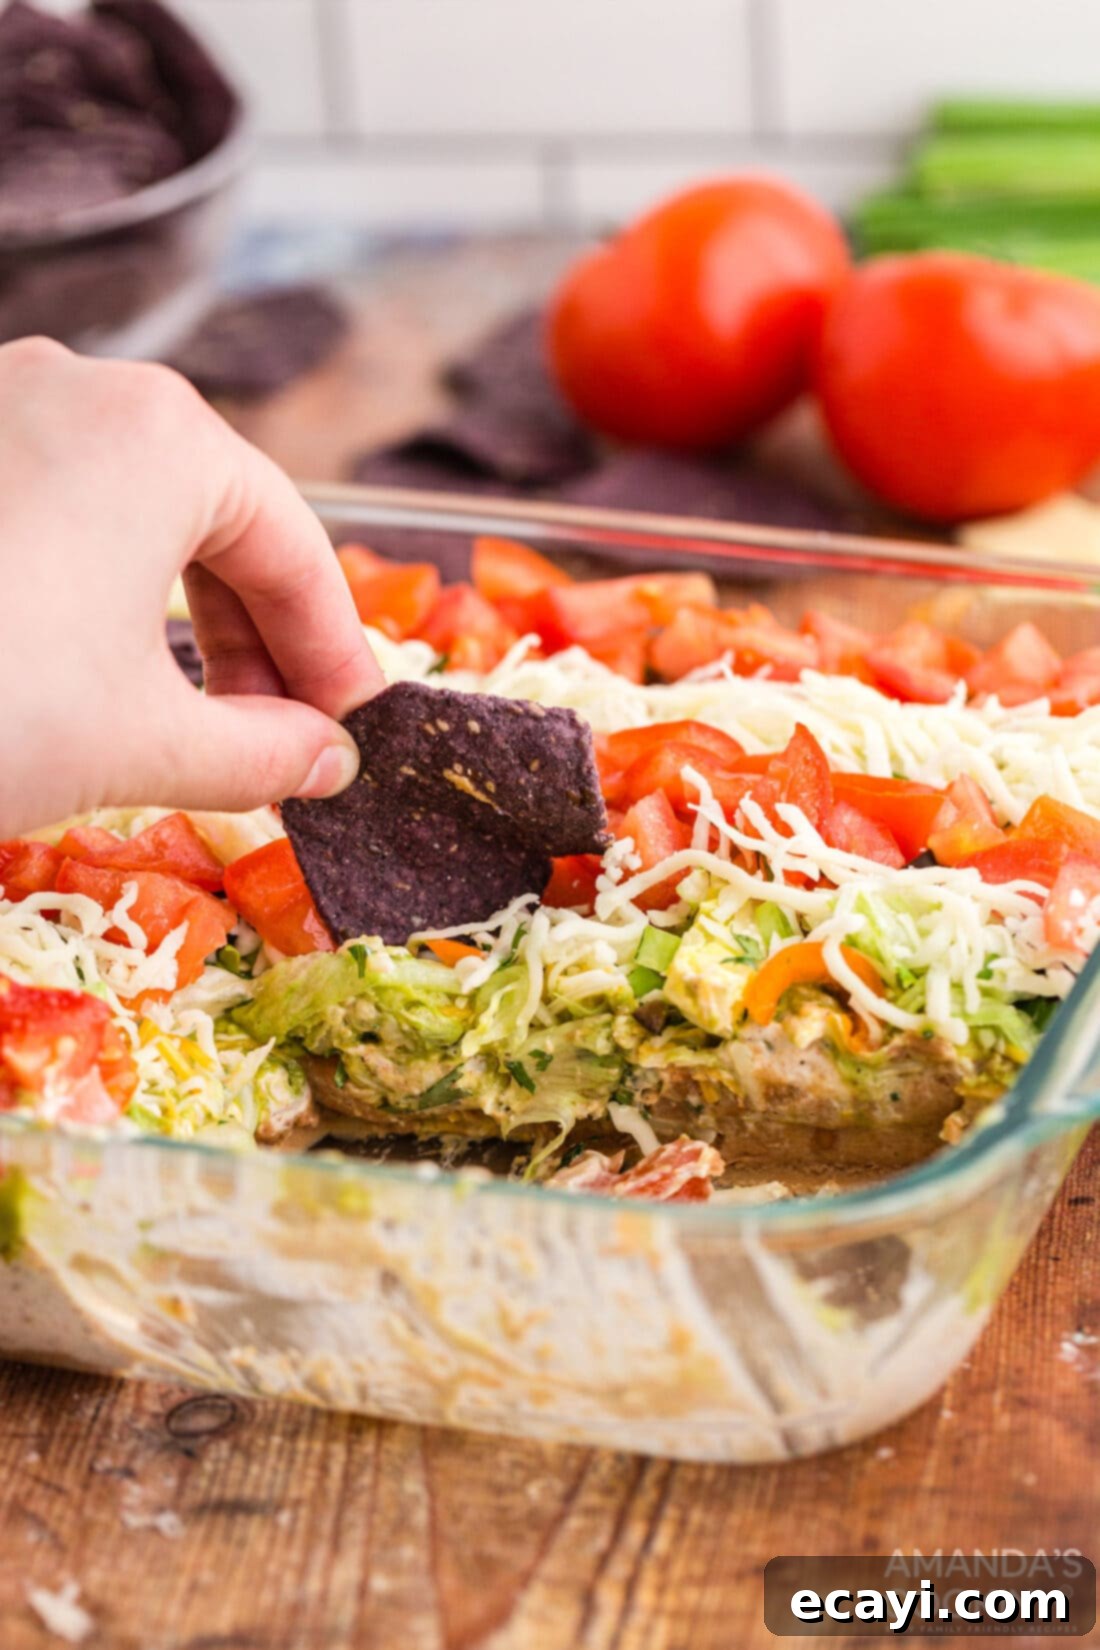
This Taco Salad Flag is at its absolute best when served fresh, ideally on the same day it’s prepared. The crispness of the lettuce and chips, combined with the vibrant flavors, makes for an unparalleled appetizer experience. We recommend serving it straight from the dish with an abundance of sturdy tortilla chips. To truly enhance the patriotic theme, blue tortilla chips are a fantastic choice, complementing the “blue field” of the flag and adding an extra layer of visual cohesion.
For those who prefer a less crunchy experience or want to enjoy the dip without chips, it’s also wonderfully delicious eaten with a spoon, almost like a hearty, deconstructed salad. You can also offer additional condiments on the side, such as extra salsa, hot sauce, or even a dollop of fresh sour cream, allowing guests to customize their perfect bite.
If you happen to have any leftovers – which is a rare occurrence with this popular dish! – they can be repurposed in a surprisingly delightful way. The leftover taco dip makes for an incredibly tasty filling when wrapped in a soft tortilla, transforming it into a quick and satisfying burrito. This gives your delicious flag dip a second life, ensuring no deliciousness goes to waste. Just make sure to warm it slightly for the best experience.
More Patriotic Recipes to Celebrate With
- Patriotic Mini Cheesecakes
- American Flag Brownies
- American Flag Cupcakes
- Patriotic Charcuterie Board
- Red White and Blue Poke Cake
- 4th of July Jello Shots
I love to bake and cook and share my kitchen experience with all of you! Remembering to come back each day can be tough, that’s why I offer a convenient newsletter every time a new recipe posts. Simply subscribe and start receiving your free daily recipes!
Taco Salad Flag
IMPORTANT – There are often Frequently Asked Questions within the blog post that you may find helpful. Simply scroll back up to read them!
Print It
Pin It
Rate It
Save ItSaved!
Ingredients
- 15 oz refried beans 1 can
- 8 oz cream cheese 1 block, cubed and softened
- 1 ½ cups sour cream
- 1.25 oz taco seasoning 1 packet
- 16 oz guacamole
Toppings
- 1 cup mexican cheese or cheddar jack, grated/shredded
- 2 cups iceburg lettuce shredded
- ½ cup green onion sliced
- ¼ cup orange bell pepper diced, or red bell pepper
- ½ cup black olives sliced
- 1 Tbsp cilantro chopped
Flag Design
- ½ cup blue corn tortilla chips crushed
- 1 cup mozzarella grated/shredded
- 1 ½ cup tomato finely diced, about 4 medium tomatoes
- sliced jack or mozzarella cheese for star cut outs – amount will vary depending on the size of your cookie cutter
Things You’ll Need
-
13×9 baking dish
-
Hand mixer
-
Star cookie cutter
Before You Begin
- For the star cutouts, you can use pre-sliced cheese or cut slices from a block of cheese. Use any size star-shaped cookie cutter that you’d like. Alter the number of stars based on the size of the cookie cutter to fill in the area over the corn chips.
- You could also use diced red pepper or halved cherry tomatoes in place of the chopped tomatoes for the stripes.
Instructions
-
Spread refried beans into the bottom of a 9×13 baking dish.
-
Beat cream cheese with a hand mixer until creamy. Add sour cream and taco seasoning and beat until fully combined. Spread cream cheese mixture over refried beans.
-
Stir guacamole to make it easier to spread. Drop dollops of the guacamole over the surface of the cream cheese layer and carefully spread into an even layer.
-
Top with cheddar jack cheese, lettuce, green onion, bell pepper, olives, and cilantro.
-
Press down the toppings gently to create a relatively smooth “surface” on the salad.
-
Sprinkle crushed blue tortilla chips in the upper left-hand corner of the dish.
-
Beginning and ending with the tomatoes, rotate rows of chopped tomatoes and mozzarella cheese to form the stripes of the “flag.”
-
Cut out star shapes from the cheese slices and place them on top of the blue corn chips.
Expert Tips & FAQs
- Store leftovers covered with plastic wrap or an air-tight lid in the refrigerator for 2-3 days. Chips and lettuce will become soggy by the next day, but the dip will still be tasty.
- For optimal freshness and crispness, add the blue tortilla chips, tomato and mozzarella stripes, and cheese stars just a few hours before serving.
- Ensure cream cheese is softened for a lump-free, easy-to-spread layer.
- Use a gentle hand when spreading layers to keep them distinct for a clean flag design.
- This dip tastes best chilled, allowing flavors to meld beautifully.
- Feel free to customize with extra spice (jalapeños), protein (seasoned ground meat), or other favorite taco veggies.
Nutrition
The recipes on this blog are tested with a conventional gas oven and gas stovetop. It’s important to note that some ovens, especially as they age, can cook and bake inconsistently. Using an inexpensive oven thermometer can assure you that your oven is truly heating to the proper temperature. If you use a toaster oven or countertop oven, please keep in mind that they may not distribute heat the same as a conventional full sized oven and you may need to adjust your cooking/baking times. In the case of recipes made with a pressure cooker, air fryer, slow cooker, or other appliance, a link to the appliances we use is listed within each respective recipe. For baking recipes where measurements are given by weight, please note that results may not be the same if cups are used instead, and we can’t guarantee success with that method.
This post originally appeared here on June 8, 2021.
