Homemade Stabilized Whipped Cream: Your Secret to Long-Lasting, Fluffy Dessert Toppings
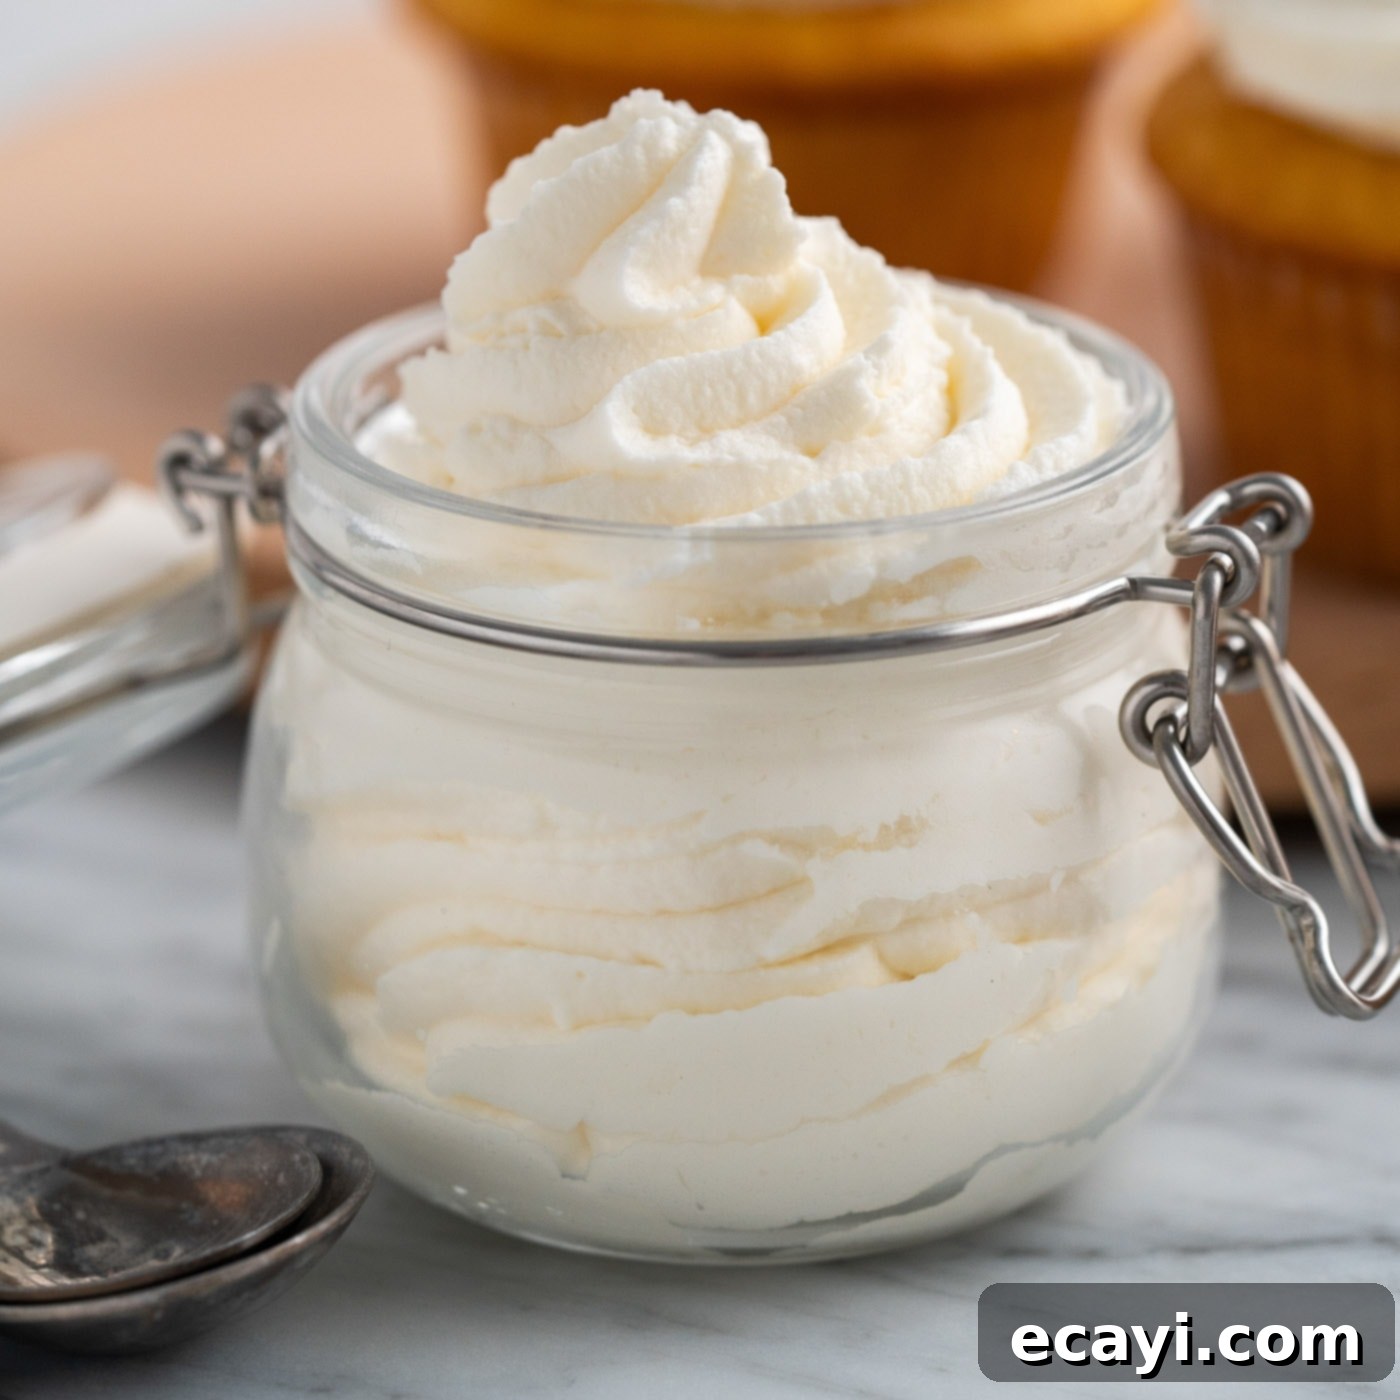
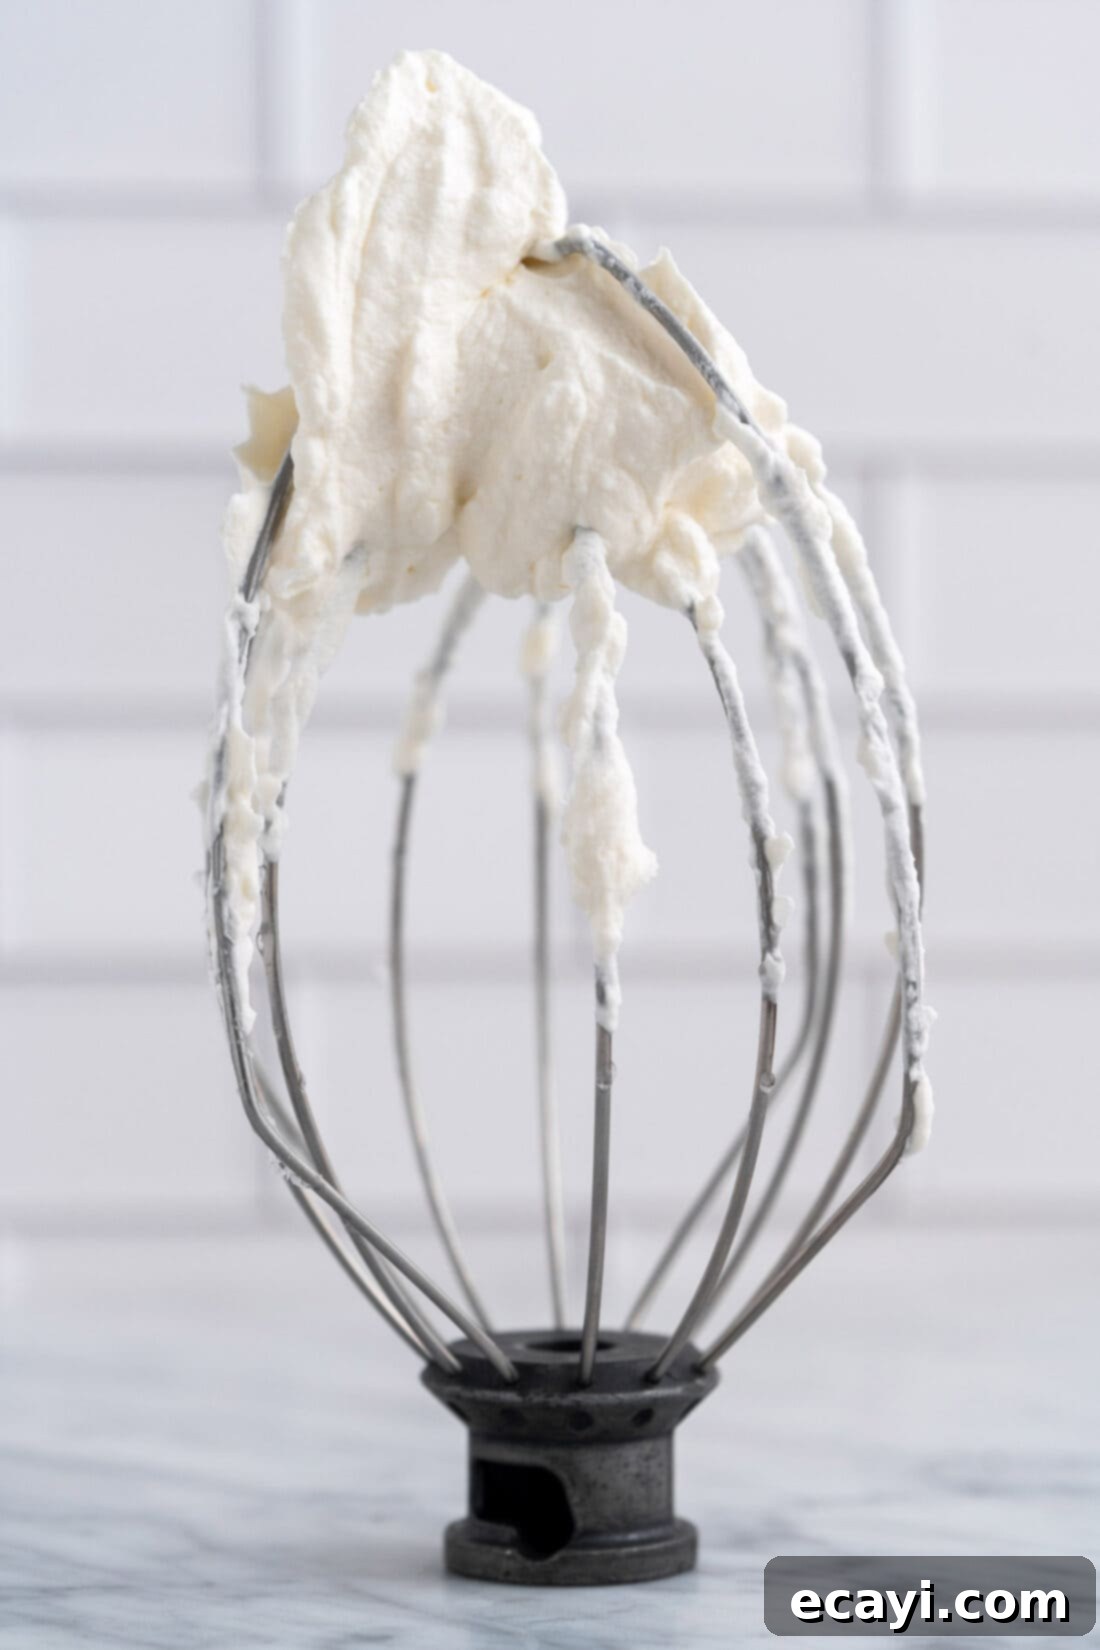
Say goodbye to runny, deflated whipped cream! In just 10 minutes, you can learn how to make perfectly smooth and delightfully fluffy stabilized whipped cream that holds its shape beautifully on all your favorite baked goods. The secret lies in one simple, extra ingredient that transforms ordinary whipped cream into a dessert hero, ensuring it stays sturdy and fresh far longer than traditional versions.
Why This Stabilized Whipped Cream Recipe Works So Well
Are you tired of your beautiful whipped cream melting into a sad puddle on your desserts? This recipe is a game-changer! With a few expert tips and the addition of one extra ingredient – gelatin – you’ll be crafting stabilized whipped cream that rivals professional bakeries. Gelatin acts as a natural binding agent, preventing the cream from weeping and deflating, which means your delicious whipped topping will maintain its light, airy texture and impressive volume for much longer than a single day. No more rushed serving or concerns about your topping losing its charm!
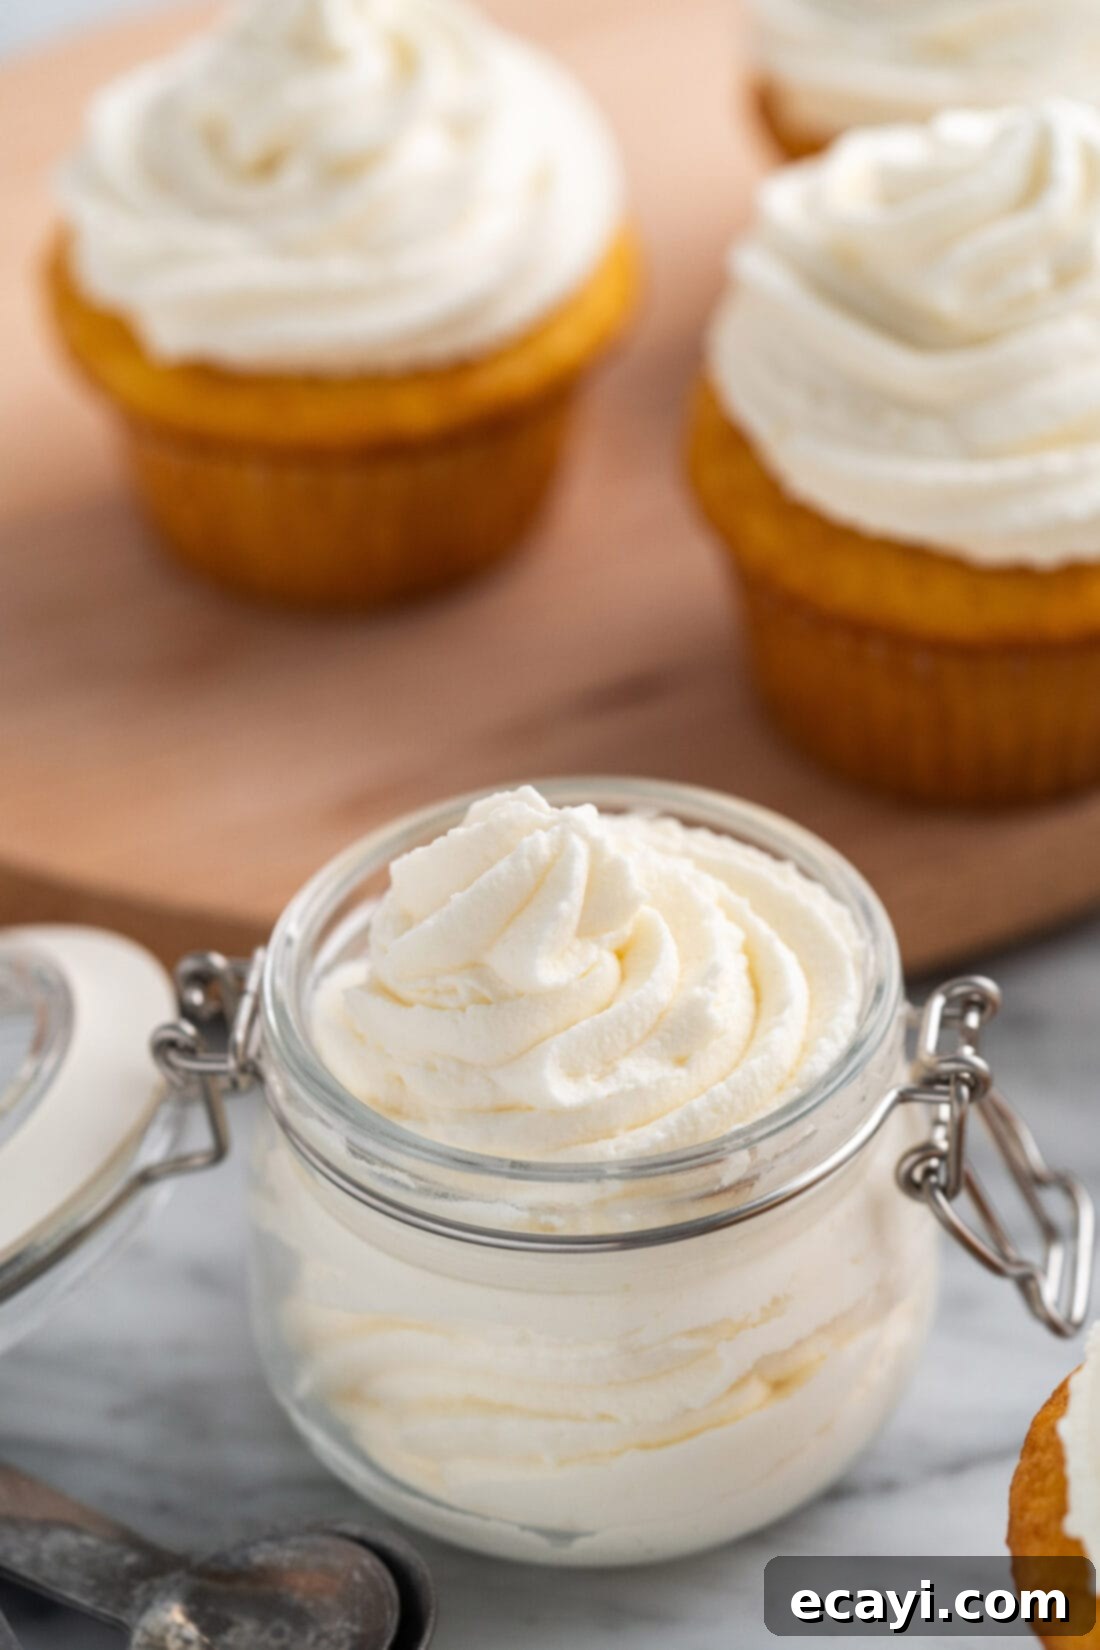
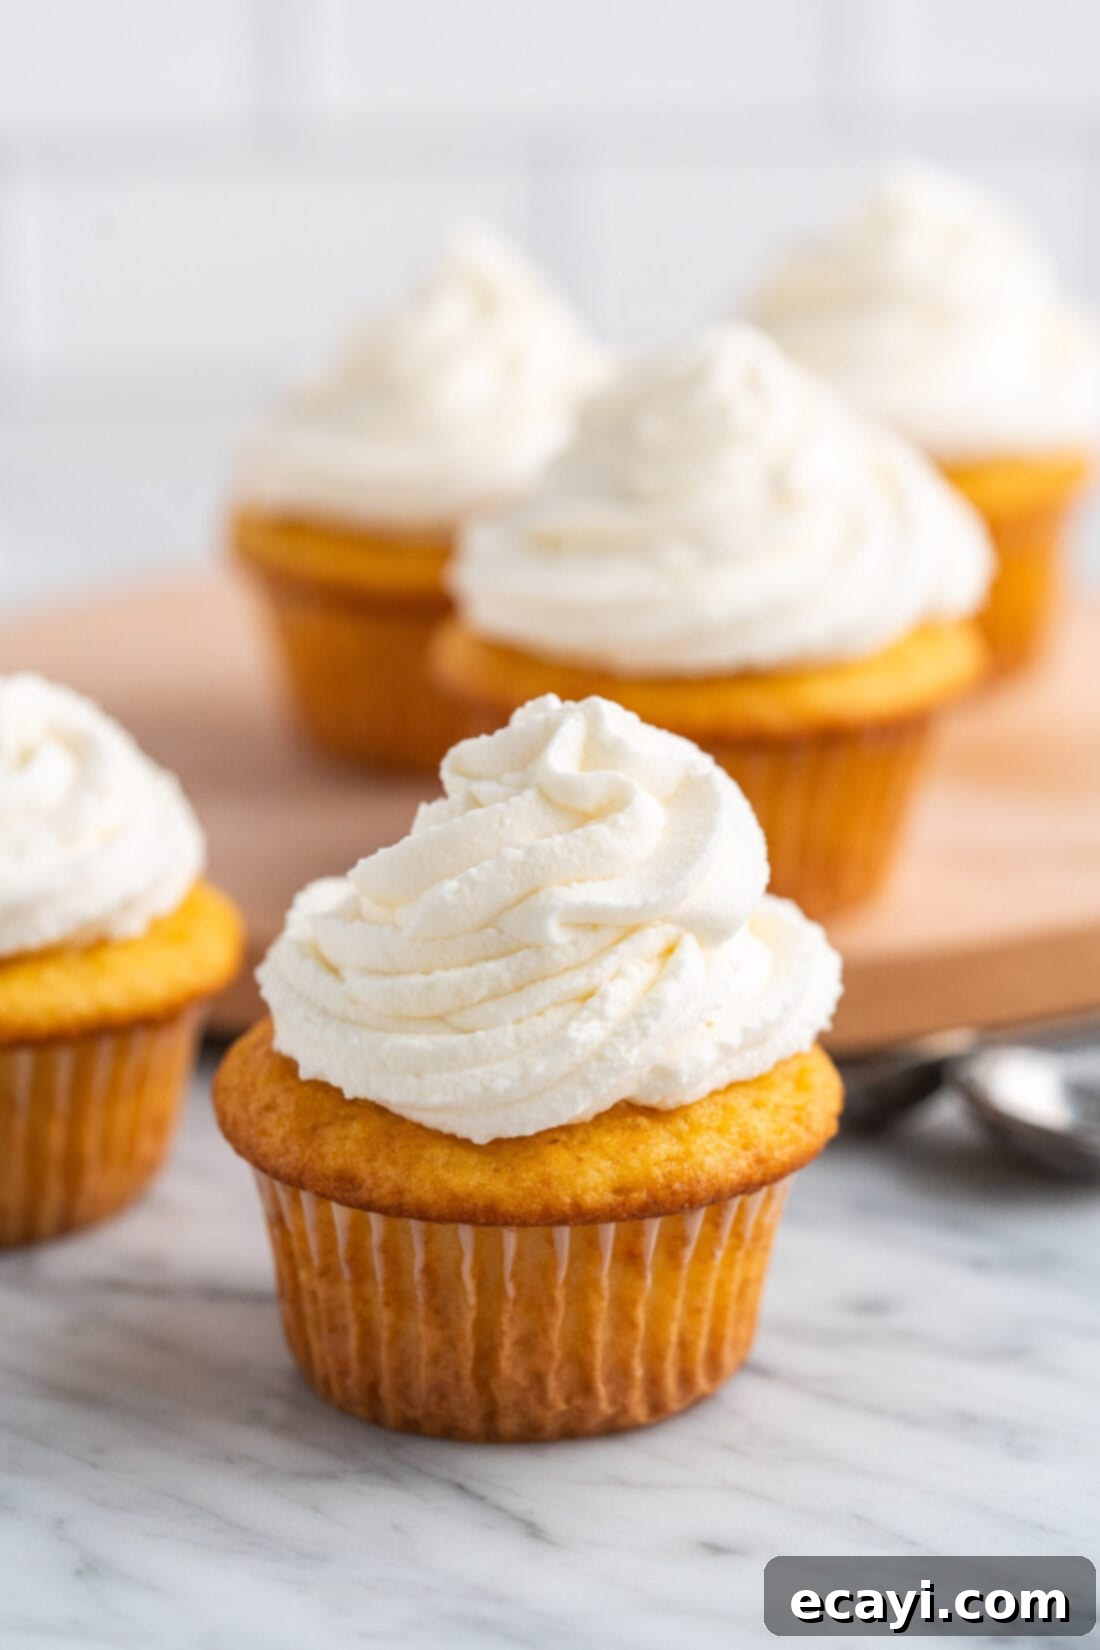
The magic of stabilized whipped cream extends its usability dramatically. Whether you’re piping elegant swirls onto pound cake cupcakes, layering it generously inside classic strawberry shortcakes, or decorating a multi-tiered cake, this homemade stabilized whipped cream is incredibly versatile. It’s perfectly pipeable, wonderfully spreadable, and can be layered without fear of it falling flat or becoming soupy. This opens up a whole new world of dessert possibilities, allowing you to prepare impressive treats ahead of time or transport them without worry.
Unlike unstabilized whipped cream, which relies solely on the fat content and aeration to hold its structure, the gelatin in this recipe provides a robust framework. This makes it ideal for desserts that need to sit out for a while at room temperature, such as during a party, or for anything requiring intricate piping designs that demand lasting definition. Enjoy peace of mind knowing your whipped cream will stay firm, fluffy, and fabulous!
Simple Ingredients You Will Need
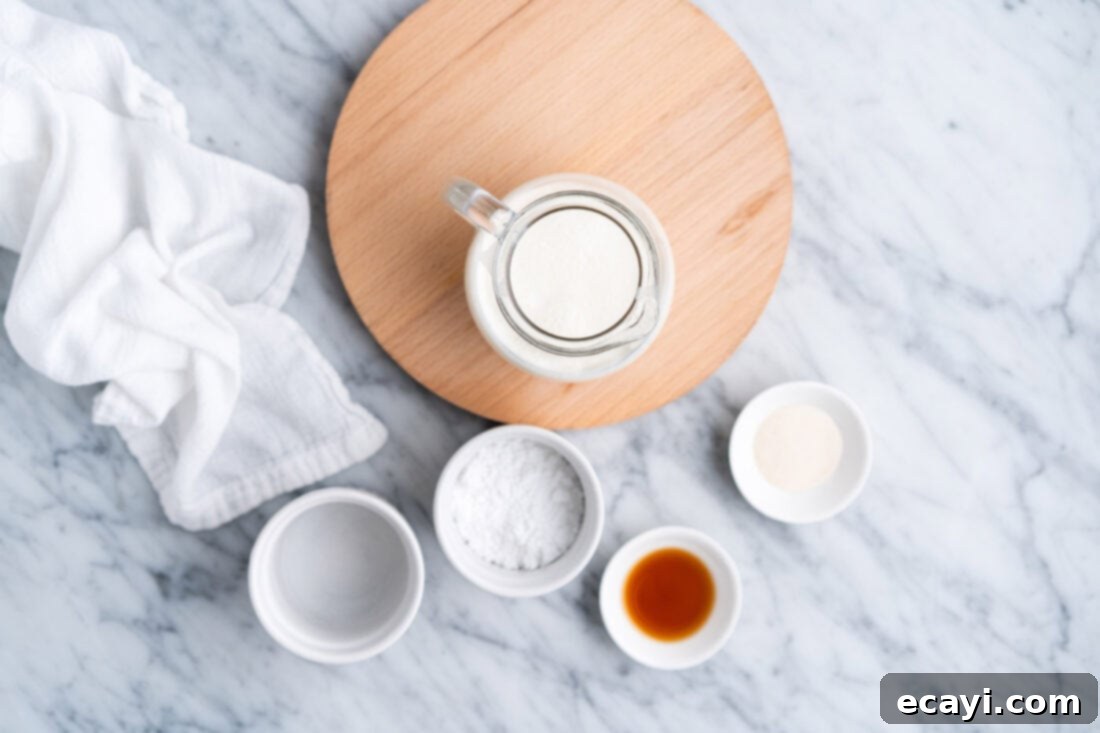
To whip up this perfect topping, you’ll only need a handful of common ingredients, most of which you likely already have in your pantry or refrigerator. For exact measurements, ingredient details, and comprehensive instructions, be sure to check out the printable recipe card available at the end of this blog post.
Ingredient Info and Helpful Substitution Suggestions
HEAVY WHIPPING CREAM – The quality and temperature of your cream are paramount for success. Always use heavy whipping cream, not half-and-half or light cream, as the higher fat content is crucial for achieving volume and stability. Ensure your heavy whipping cream is thoroughly chilled before you begin. If the cream isn’t cold enough, it simply won’t whip properly or reach the desired thickness, leading to a runny result. For an extra boost, you can even chill the bowl of your stand mixer and the whisk attachment in the freezer for 10-15 minutes before starting. This helps keep the cream colder longer, aiding in faster and more stable whipping.
UNFLAVORED GELATIN POWDER – This is our star stabilizing agent! Gelatin is what gives this whipped cream its incredible staying power, preventing it from weeping and collapsing. It dissolves into the cream and forms a delicate matrix that traps air and liquid, ensuring your topping remains firm and fluffy. Make sure to use unflavored gelatin powder, as flavored varieties will alter the taste of your whipped cream. While other stabilizers like cornstarch or cream of tartar can be used, gelatin provides the most reliable and long-lasting stability for a truly professional finish. Always follow the blooming and dissolving steps carefully to ensure a smooth, lump-free texture.
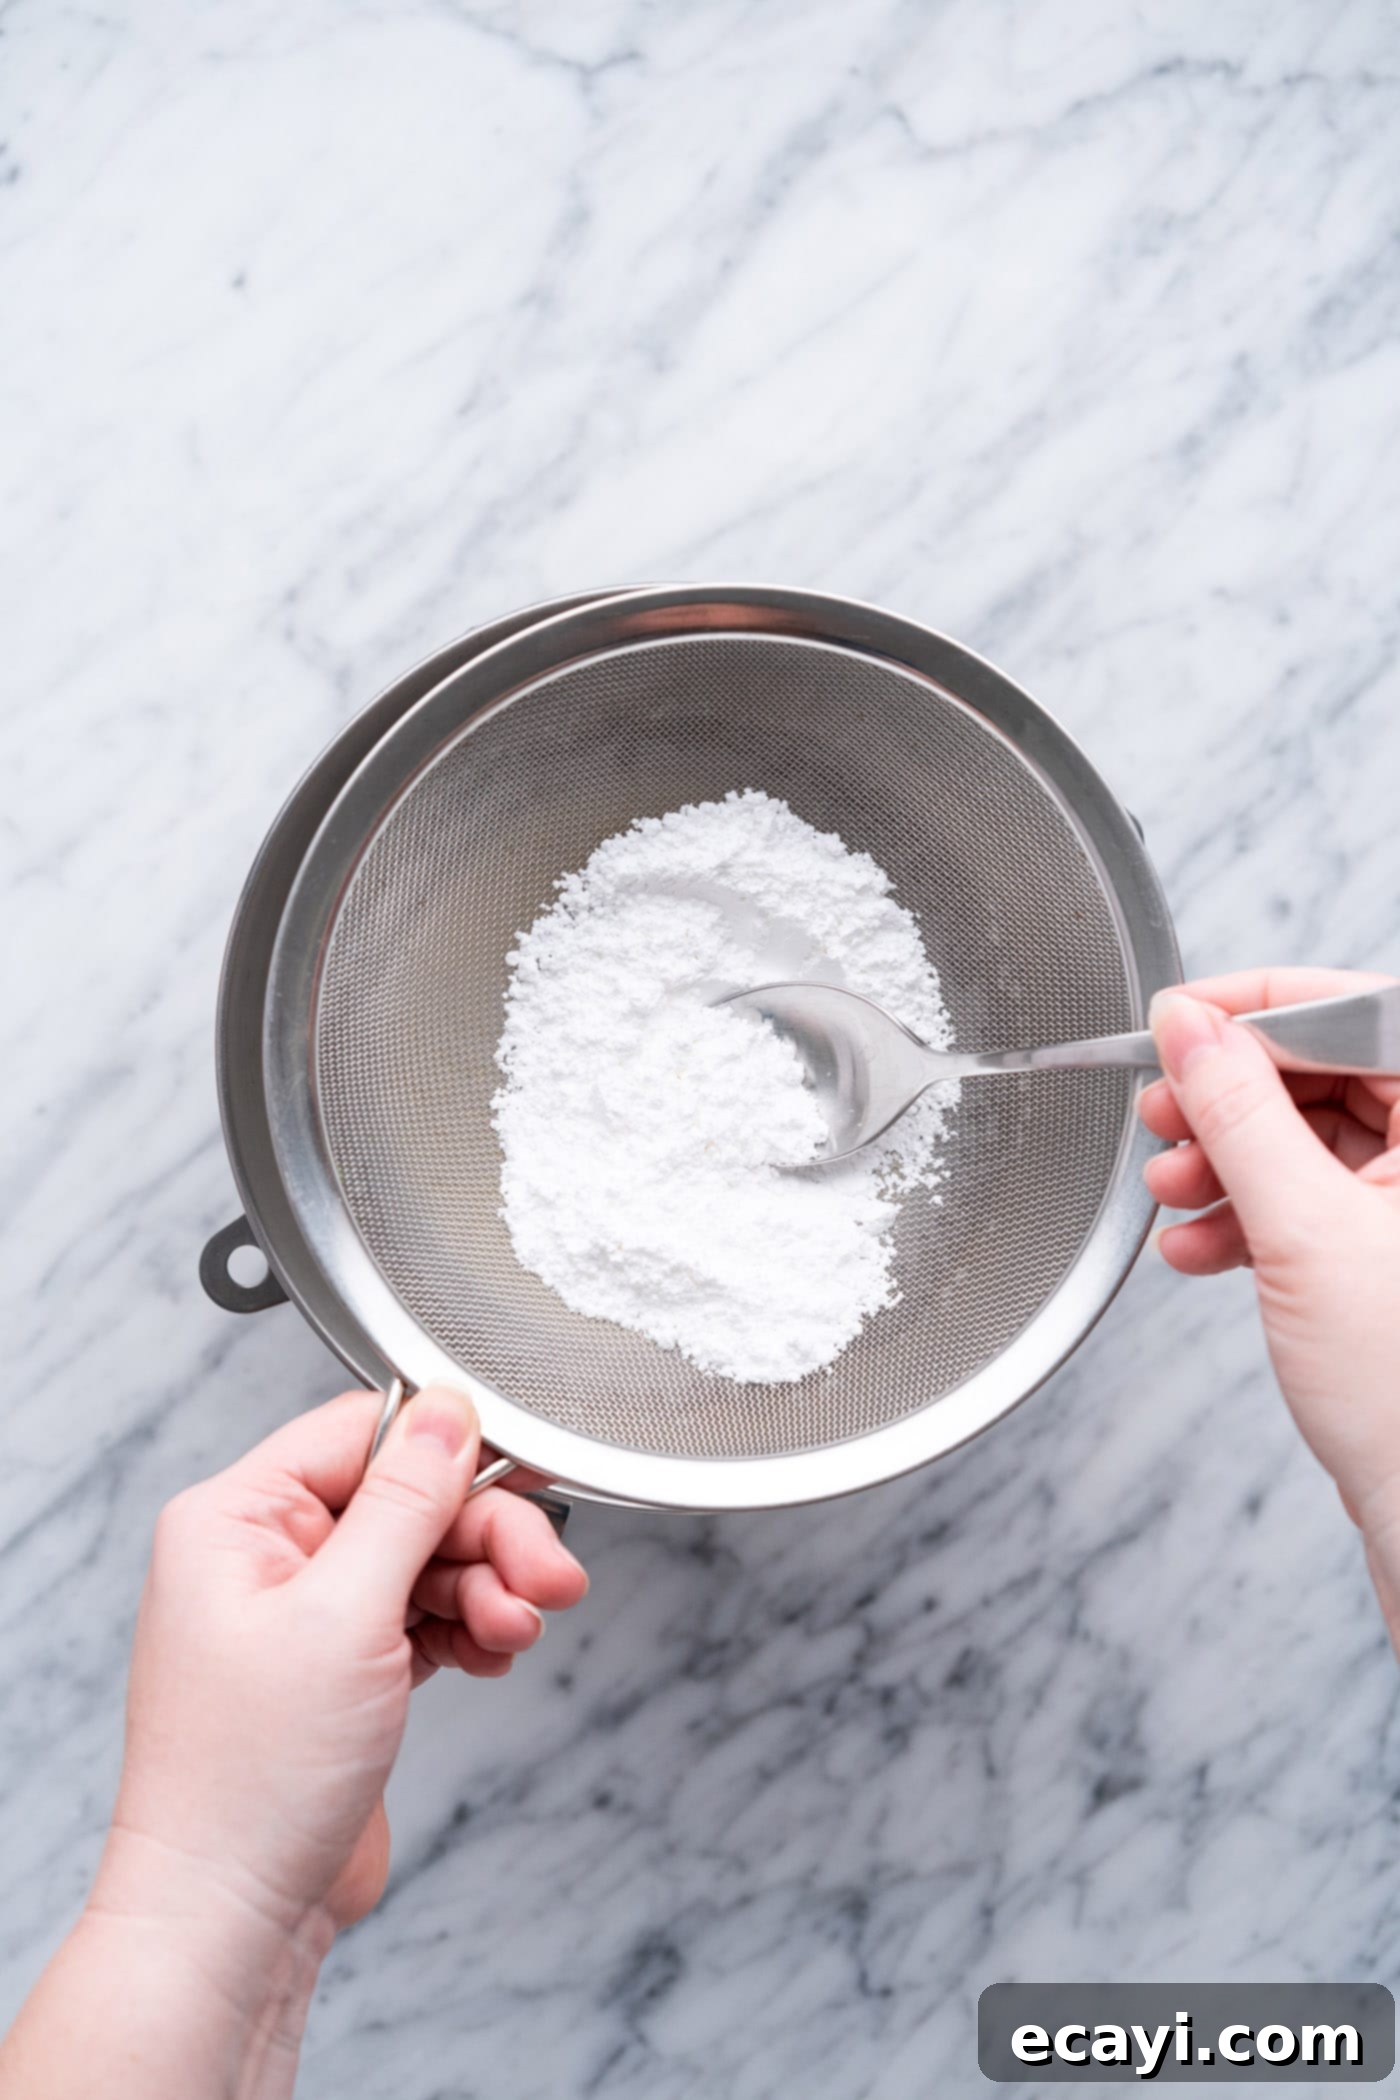
POWDERED SUGAR – Also known as confectioners’ sugar, powdered sugar is preferred over granulated sugar for whipped cream because its fine texture dissolves instantly, preventing a gritty mouthfeel. It also contains a small amount of cornstarch, which adds a tiny bit of extra stability. Sifting your powdered sugar is highly recommended to eliminate any lumps and ensure a perfectly smooth whipped cream. Adjust the amount to your personal taste preference; for a less sweet topping, you can reduce the quantity slightly.
PURE VANILLA EXTRACT – Vanilla extract enhances the overall flavor profile, adding a classic sweetness and warmth. For the best taste, use a good quality pure vanilla extract. However, feel free to experiment with other extracts to complement your dessert! Almond extract pairs wonderfully with cherry or berry desserts, while a touch of peppermint extract can elevate chocolate treats. Coconut extract is fantastic for tropical-inspired desserts, and even a hint of citrus zest can add a bright, fresh note.
How to Make Stabilized Whipped Cream: Step-by-Step Guide
These step-by-step photos and detailed instructions are provided to help you visualize each stage of making this recipe. For a convenient printable version of this recipe, complete with precise measurements and comprehensive instructions, simply Jump to Recipe at the bottom of this post.
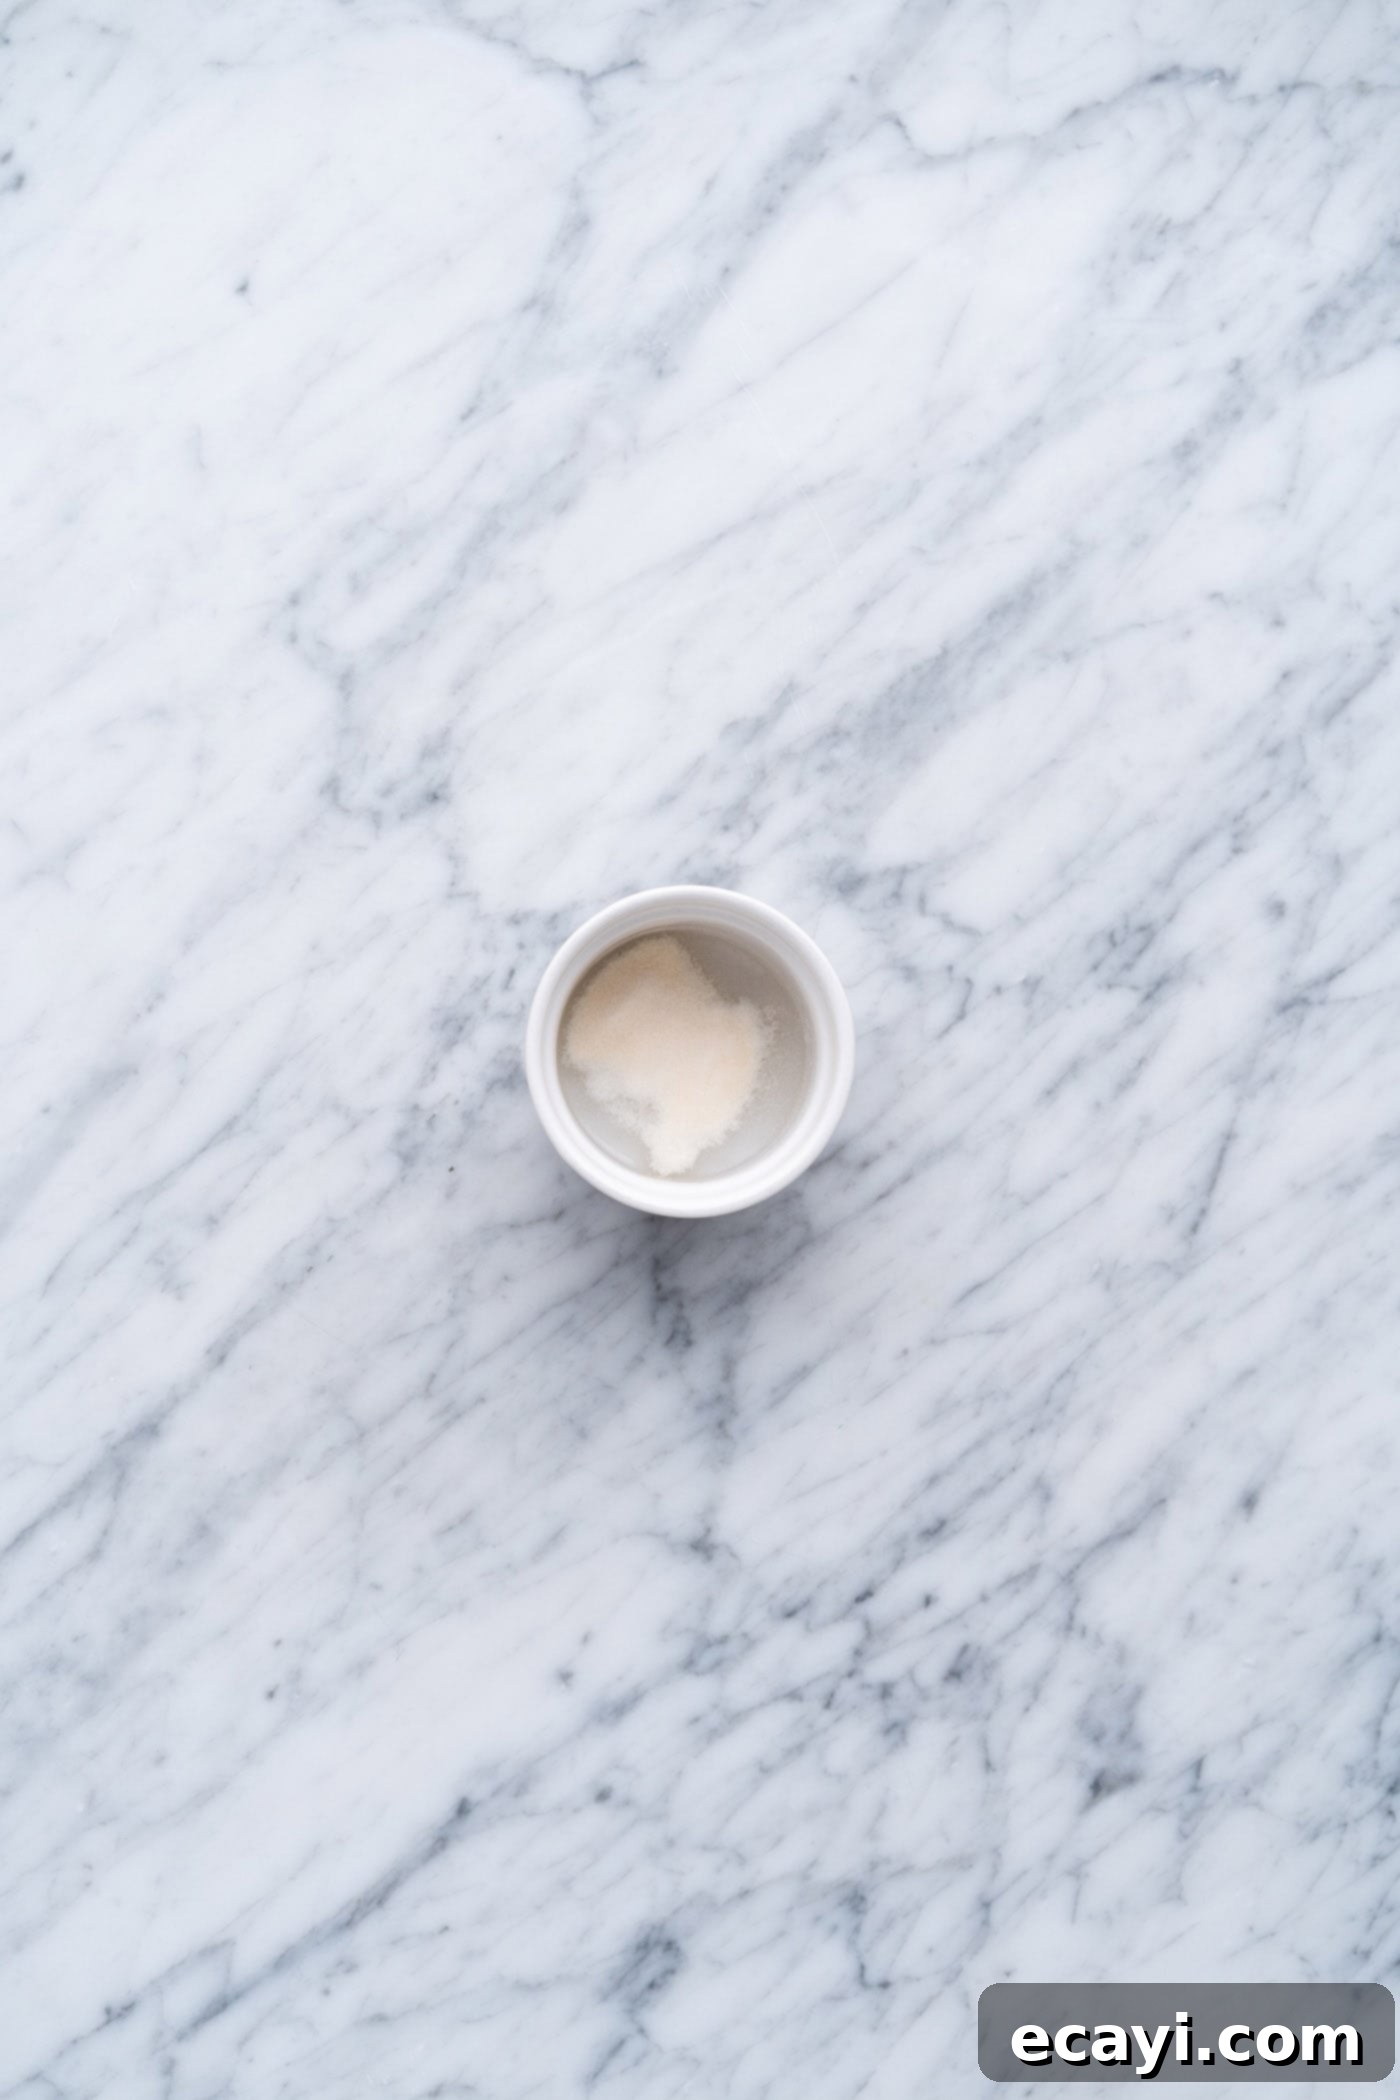
- **Bloom the Gelatin:** Begin by adding the specified amount of cold water to a small, microwave-safe bowl. Evenly sprinkle the unflavored gelatin powder over the surface of the cold water. It’s crucial to sprinkle it rather than dump it in a single clump, as this allows the gelatin to absorb the water more uniformly. Let the mixture sit undisturbed for at least 5 minutes. This process is called “blooming,” and it allows the gelatin granules to absorb the liquid and soften, thickening into a gel-like consistency. This step is essential for ensuring the gelatin dissolves smoothly later on.

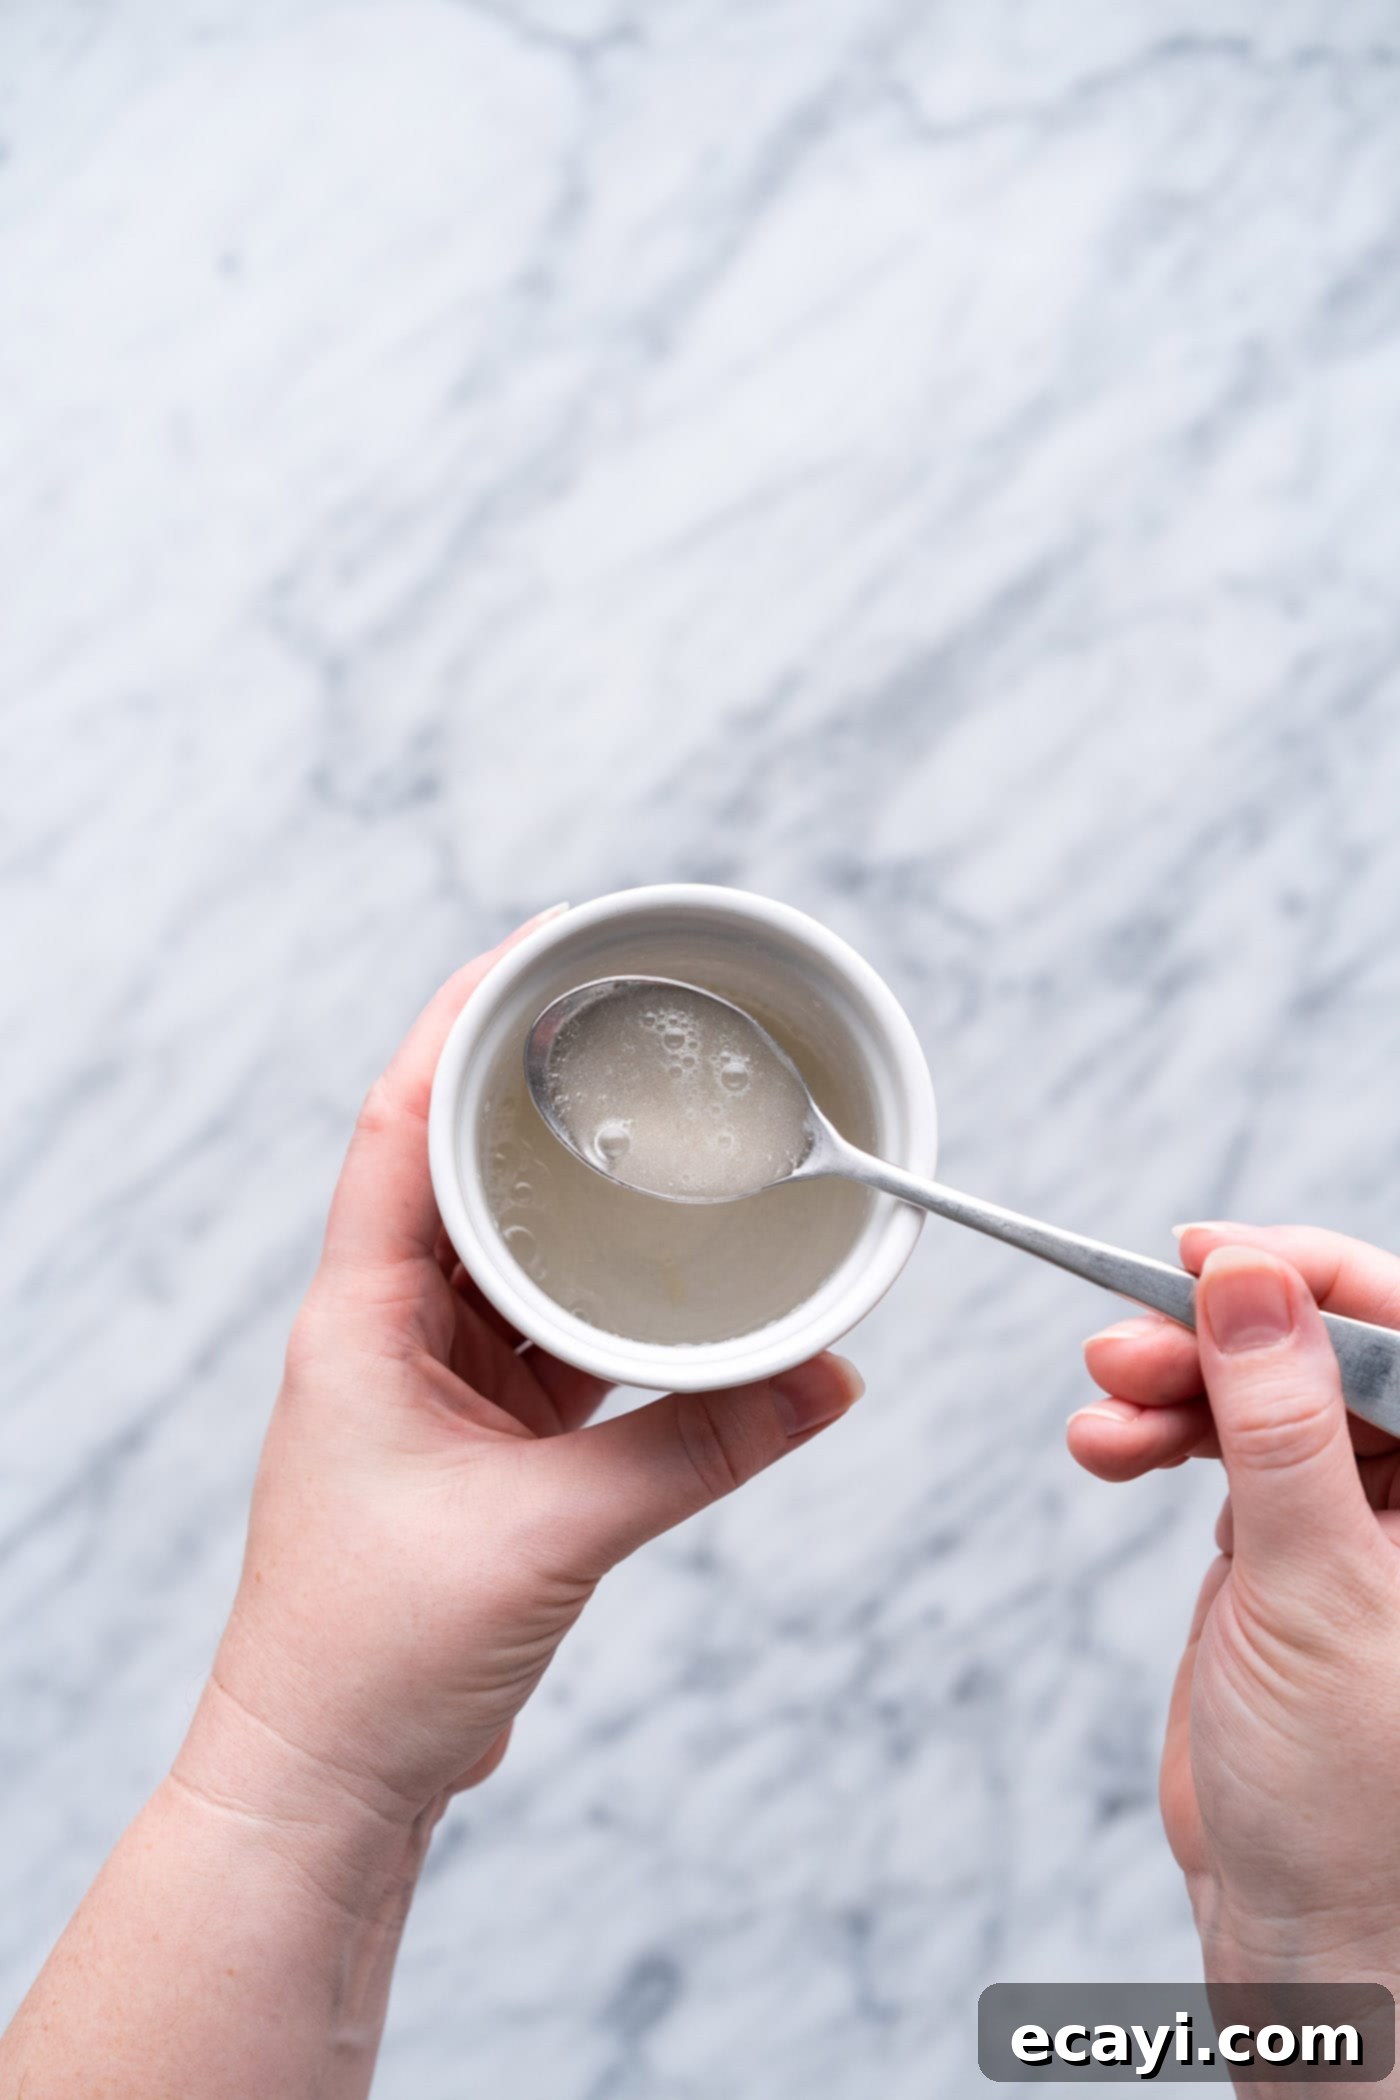
- **Dissolve the Gelatin:** After the gelatin has bloomed for 5 minutes, place the bowl into the microwave and heat it for just 5 seconds. Immediately remove it and stir thoroughly with a spoon or small whisk. The goal is for the gelatin to completely dissolve into a clear, liquid state. If you still see any lumps or undissolved granules after stirring, microwave it for another 5 seconds and stir again. Repeat this short heating and stirring process until the gelatin is fully dissolved and the liquid is smooth and transparent. Be careful not to overheat the gelatin, as this can weaken its setting power. Set it aside to cool slightly, but don’t let it set completely before using.

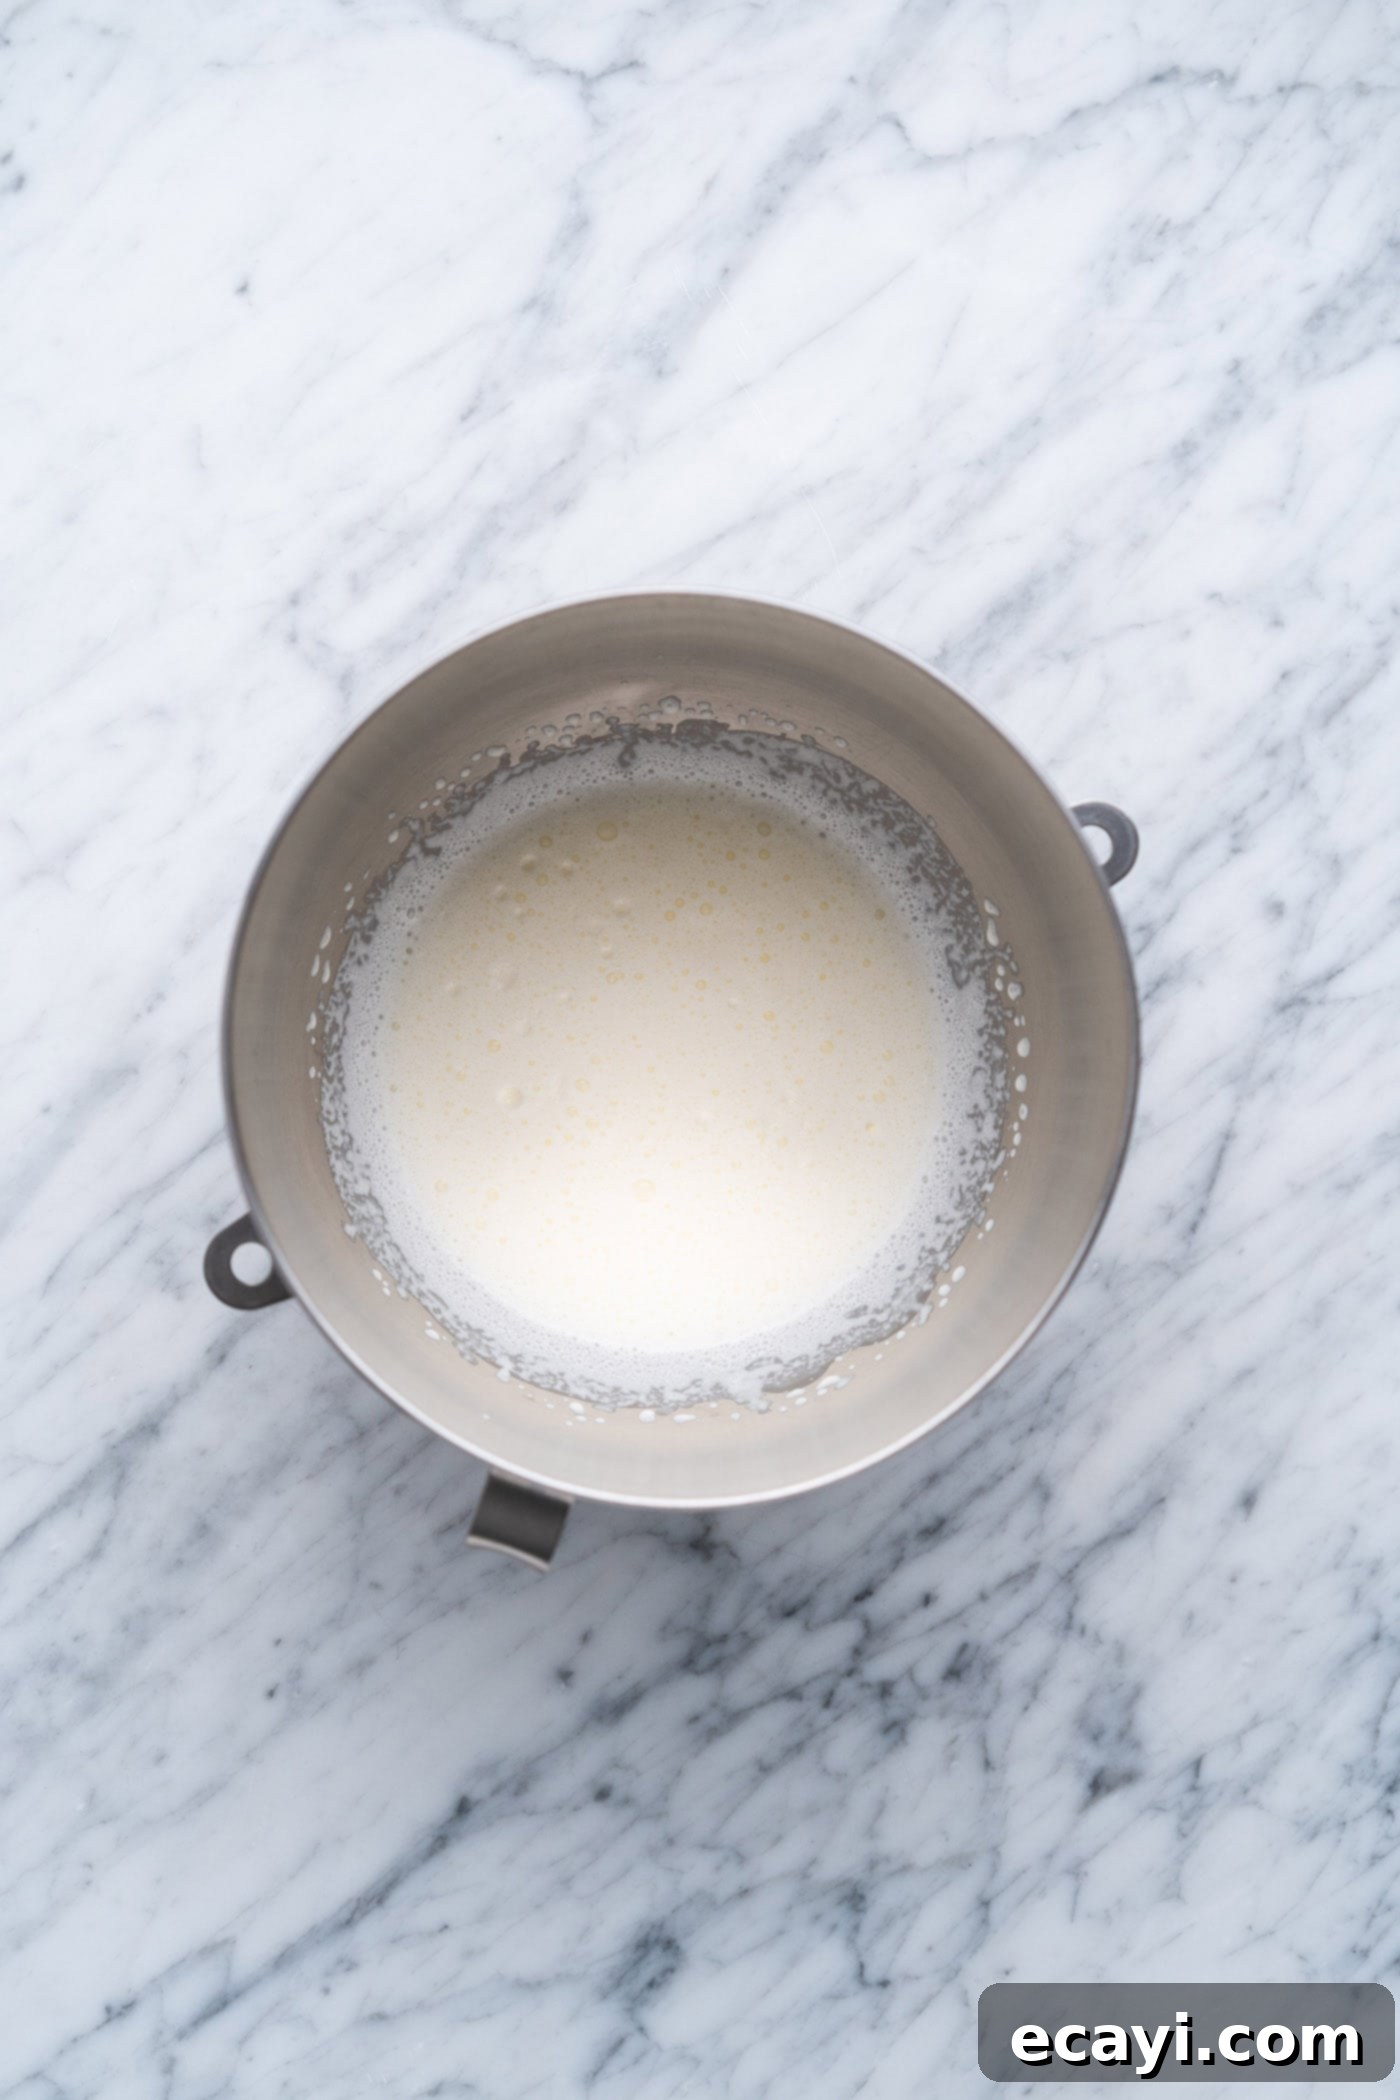
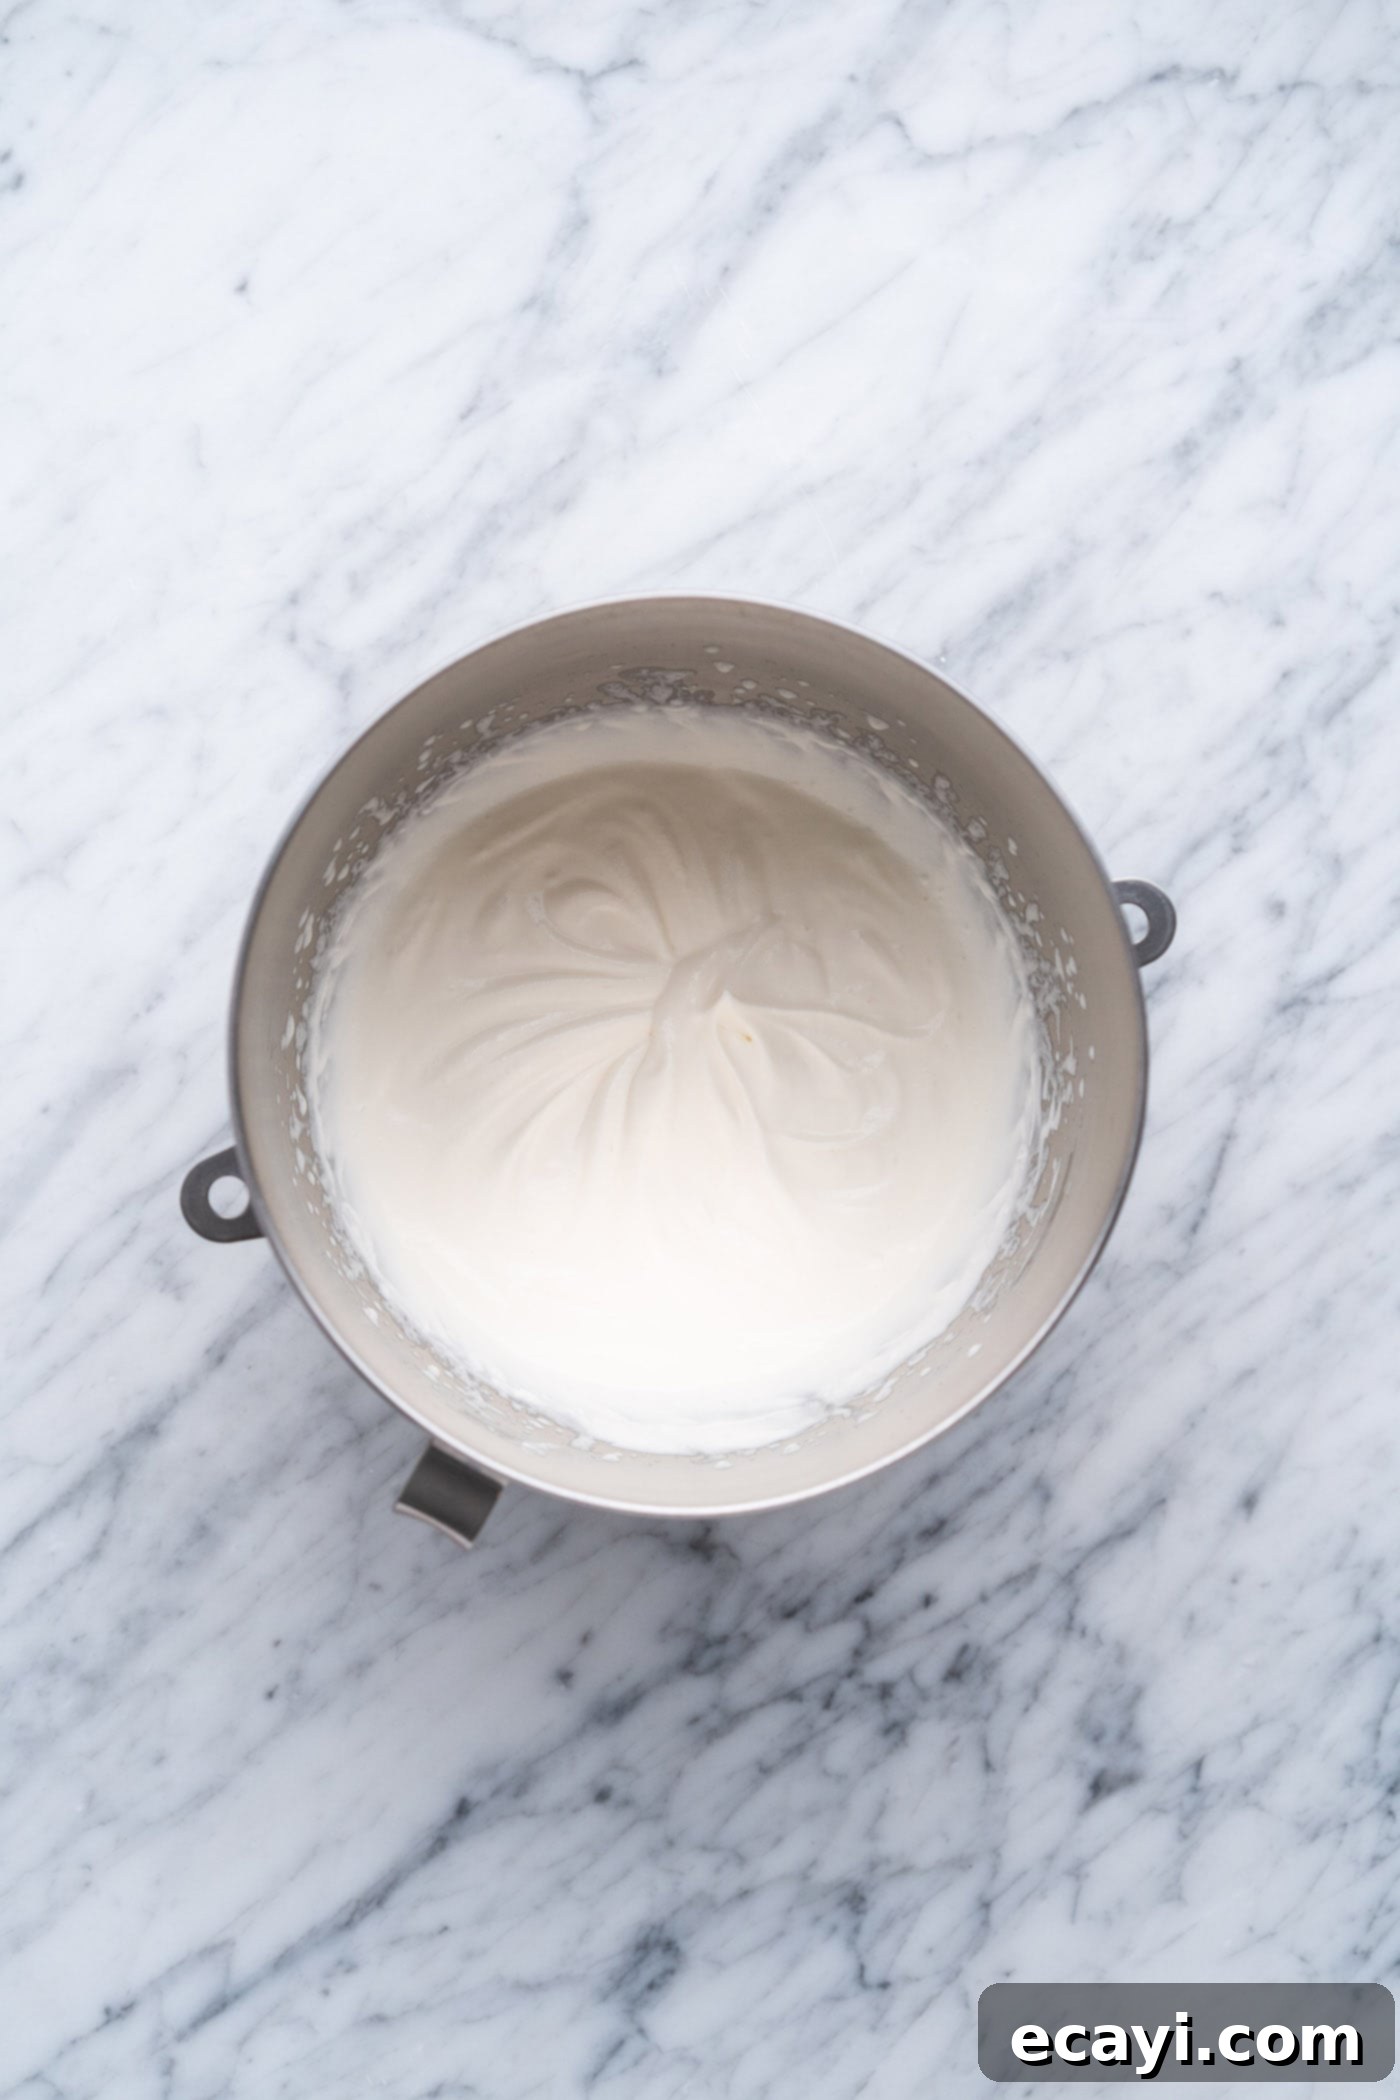
- **Whip the Cream to Foamy:** Pour your thoroughly chilled heavy whipping cream into the bowl of a stand mixer (or use a large bowl with a hand mixer). Attach the whisk attachment and begin whisking the cream on medium-high speed. Continue to whisk until the cream becomes noticeably foamy and starts to thicken slightly. This usually takes a couple of minutes and is the initial stage of aeration, preparing the cream for further whipping.

- **Add Sweetener and Flavor:** With the mixer still running on medium speed, gradually add the sifted powdered sugar and the pure vanilla extract. Continue whisking. At this stage, the cream will continue to thicken and become smoother. Whip until the mixture forms soft peaks. Soft peaks are characterized by the cream holding its shape somewhat but still curling over at the tip when you lift the whisk. It should look light, airy, and luscious.


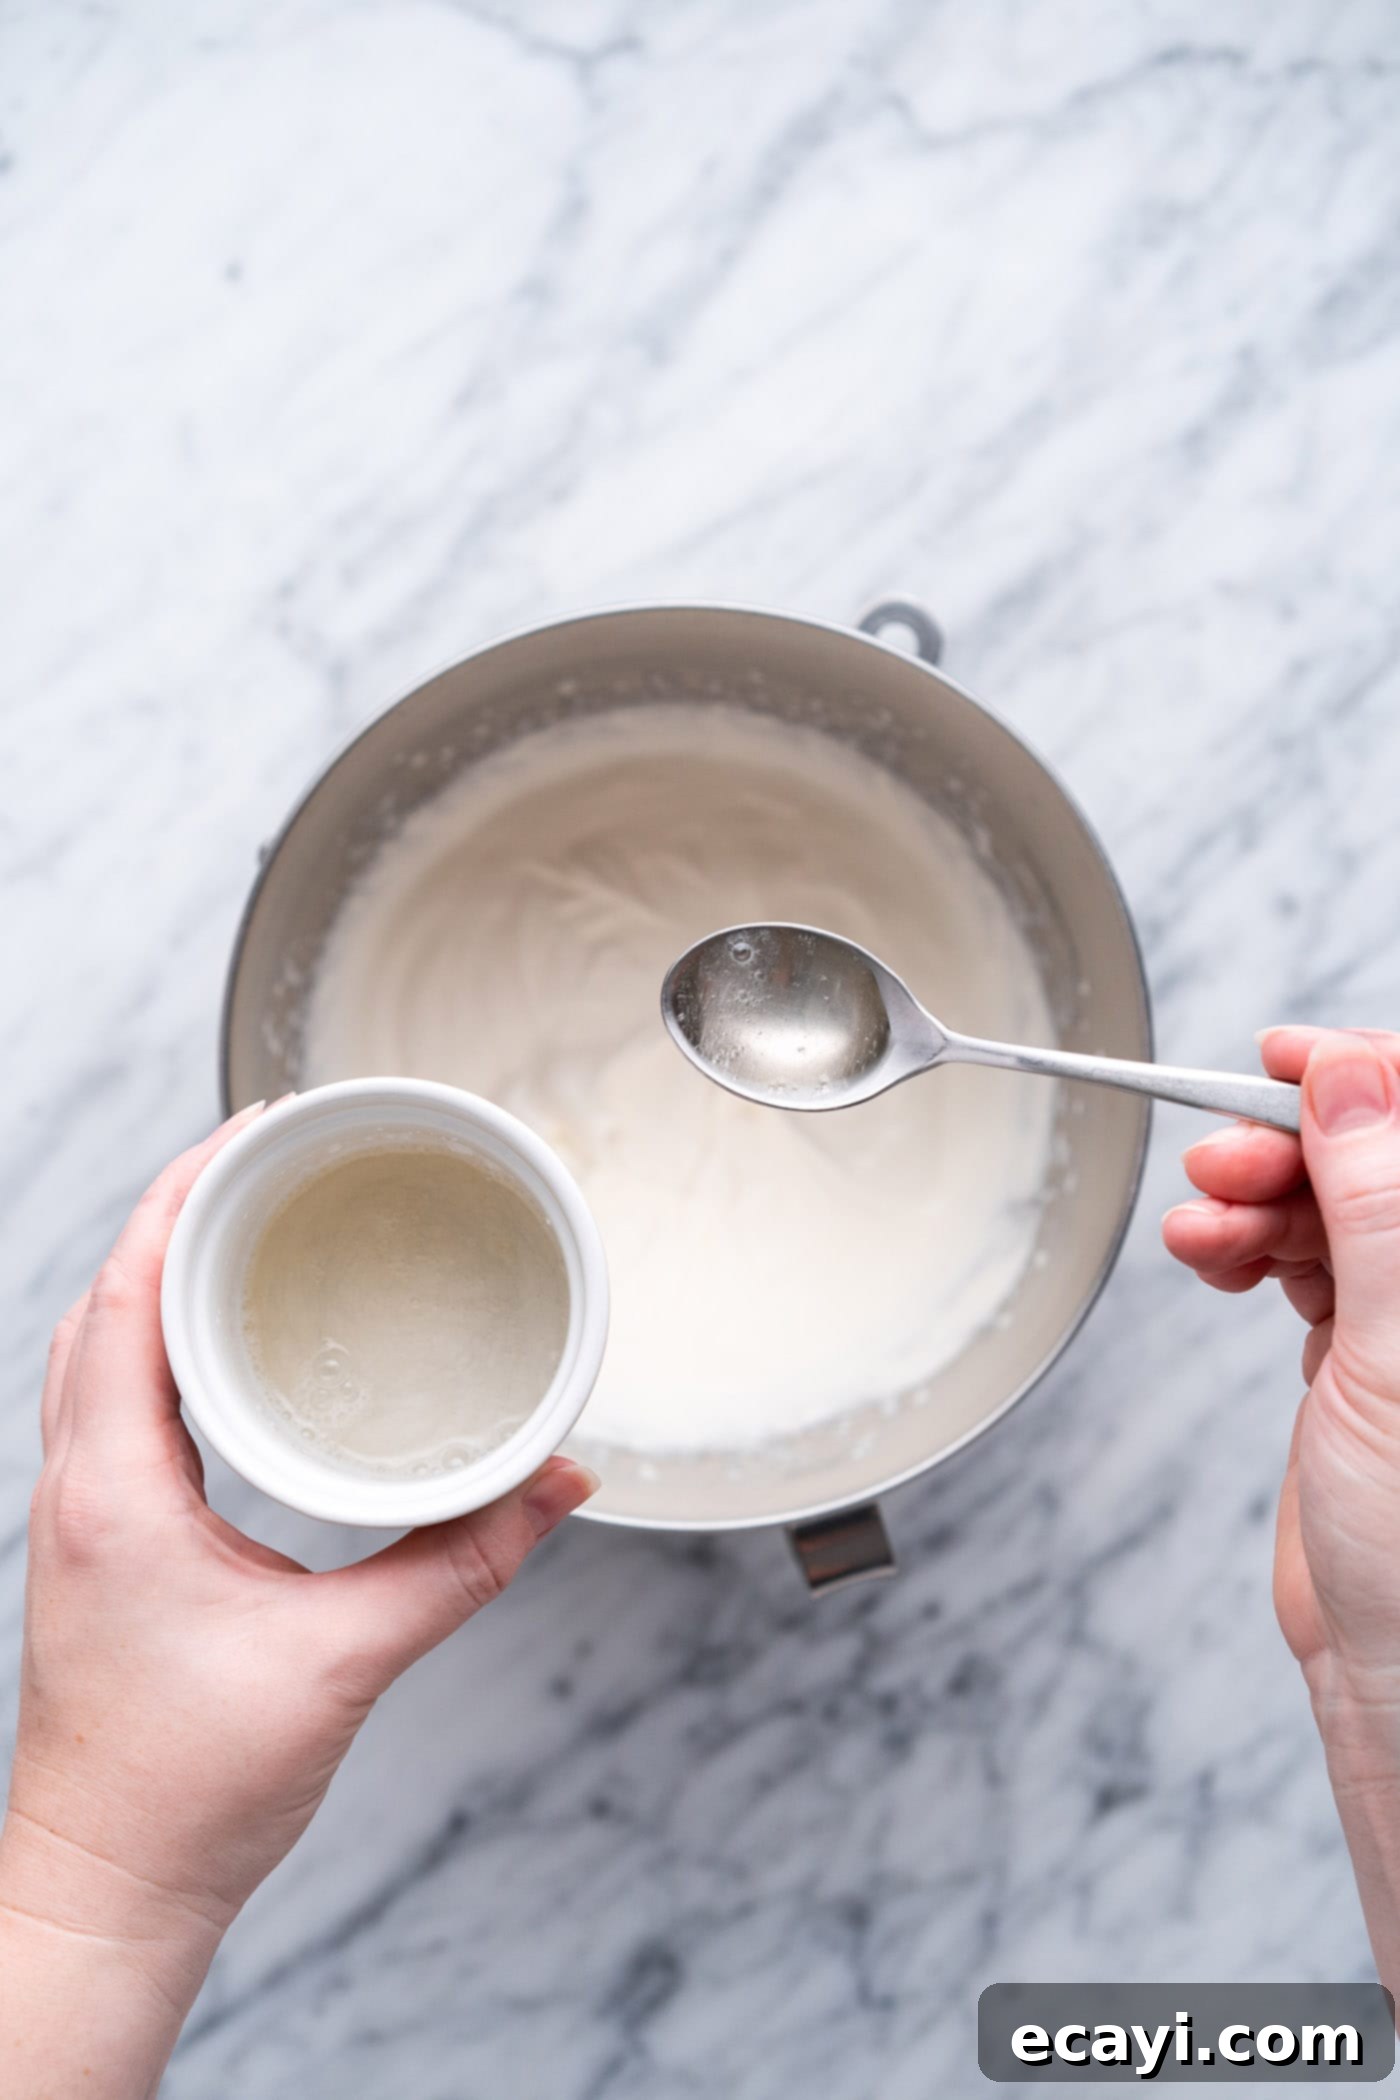
- **Incorporate the Gelatin:** Reduce the mixer speed to low. While the mixer is running slowly, gradually drizzle in the dissolved and slightly cooled gelatin mixture. Pour it in a thin, steady stream to ensure it incorporates evenly into the whipped cream without forming strands or lumps. This gradual addition helps distribute the gelatin thoroughly throughout the cream.

- **Whip to Stiff Peaks:** Once the gelatin has been fully incorporated, increase the mixer speed back to medium-high. Continue whipping just until the cream forms stiff peaks. Stiff peaks mean that when you lift the whisk, the cream stands straight up without collapsing. Be very careful not to overmix at this stage; overmixing can cause the whipped cream to become grainy or even turn into butter. The moment it reaches stiff peaks, stop whipping.
- **Serve Immediately or Decorate:** Your stabilized whipped cream is now ready to use! For best results and easiest application, use it immediately to frost a cake, pipe onto cupcakes, or layer into your favorite dessert. If you plan to pipe, transfer the cream to a piping bag fitted with your desired tip right away, as the gelatin will cause it to firm up as it cools, making it slightly harder to work with over time.
Frequently Asked Questions & Expert Tips for Success
Homemade stabilized whipped cream boasts impressive longevity compared to its unstabilized counterpart. When stored correctly in an airtight container or a sealed zip-top bag in the refrigerator, it will remain fresh and stable for 3-4 days. This makes it perfect for make-ahead desserts! Similarly, cakes or cupcakes that have been elegantly frosted with stabilized whipped cream can be safely stored in the fridge for up to 3 days, maintaining their perfect appearance and delicious texture.
For optimal results when piping or frosting a cake, we highly recommend working with the stabilized whipped cream somewhat quickly after it reaches stiff peaks. The gelatin in the cream will continue to set as it cools, meaning it will gradually stiffen. While it won’t become completely unworkable, it will be much easier to pipe intricate designs or smoothly spread onto surfaces when it is freshly made and at its most pliable. If you must save it for a short period, store it in an airtight container in the fridge and give it a quick whisk by hand (don’t re-whip with a mixer!) to loosen it slightly before piping.
Expert Tips for a Flawless Batch Every Time:
- **Chill Everything:** Beyond the cream itself, chilling your mixing bowl and whisk attachment for 15-20 minutes in the freezer before you begin will significantly help the cream whip up faster and achieve a firmer, more stable consistency.
- **Don’t Overheat Gelatin:** When dissolving the bloomed gelatin, only microwave in very short bursts (5 seconds at a time) and stir well. Overheating can reduce the gelatin’s setting power, making your whipped cream less stable.
- **Avoid Overmixing:** This is crucial! Once the whipped cream reaches stiff peaks, stop immediately. Overmixing can cause the cream to separate and become grainy, ultimately turning into butter. Keep a close eye on it during the final whipping stage.
- **Gradual Gelatin Addition:** Drizzle the dissolved gelatin into the whipping cream slowly while the mixer is on low speed. This ensures even distribution and prevents the gelatin from clumping or creating streaks in your final product.
- **Flavor Variations:** Get creative! Instead of just vanilla, try adding other flavor extracts like almond, lemon, or even a touch of coffee or chocolate extract to complement your specific dessert. Always use pure extracts for the best flavor.
- **Quality Ingredients:** Using high-quality heavy whipping cream will always yield the best results in terms of texture and taste.
Versatile Serving Suggestions
Stabilized whipped cream is an incredibly versatile topping, perfect for a wide array of desserts, especially those you plan to prepare in advance or serve at an event where extended stability is key. Its robust nature makes it an excellent substitute for store-bought whipped toppings like Cool Whip, offering a fresh, homemade taste with superior hold. You can elegantly pipe or lovingly spread this cream onto celebratory cakes, fruit tarts, creamy pies, and cupcakes for a beautiful finish that lasts. It’s also fantastic for layered desserts such as luscious chocolate or lemon lasagnas, parfaits, and classic trifles, where its ability to maintain structure prevents soggy layers. Don’t forget to serve it chilled for the ultimate refreshing experience!
Delicious Recipes To Use Stabilized Whipped Cream On
Unlock endless dessert possibilities with this sturdy whipped cream. Here are some fantastic recipes where stabilized whipped cream truly shines:
- Cream Puffs
- French Silk Pie
- Chocolate Lasagna
- Perfect Pumpkin Pie
- 4th of July Jello Shots
- Strawberry Shortcake Trifle
- 3 Ingredient Apple Pie Cupcakes
I love to bake and cook and share my kitchen experience with all of you! Remembering to come back each day can be tough, that’s why I offer a convenient newsletter every time a new recipe posts. Simply subscribe and start receiving your free daily recipes!
Stabilized Whipped Cream
IMPORTANT – There are often Frequently Asked Questions within the blog post that you may find helpful. Simply scroll back up to read them!
Print It
Pin It
Rate It
Save ItSaved!
Ingredients
- 1 ½ tablespoons cold water
- 1 teaspoon unflavored gelatin powder
- 1 ¼ cups heavy whipping cream chilled
- 5 tablespoons powdered sugar sifted
- 1 ¼ teaspoon pure vanilla extract
Things You’ll Need
-
Stand mixer or hand mixer
Before You Begin
- Be sure that you are using chilled heavy whipping cream. If your whipping cream is warm or not cold enough it will not whip properly or thicken. You can also chill the bowl of your stand mixer before beginning to help with this.
- Instead of vanilla, you can use whatever extract or flavoring you like, such as coconut, almond, etc.
- Once the stabilized whipped cream is made, work somewhat quickly to frost a cake or cupcakes with it as the gelatin in it will make the cream stiffen and set.
- Cakes or cupcakes that have been frosted with stabilized whipped cream can be stored in the fridge for up to 3 days.
- The tip used to pipe the cream onto the cupcakes in these photos was an Ateco 824.
Instructions
-
Add the cold water to a small bowl and sprinkle the gelatin on top. Let it sit for 5 minutes so the gelatin can bloom (essentially, the gelatin will absorb the water and the mixture will thicken).
-
After 5 minutes, microwave the gelatin for 5 seconds, and then stir it. If all the gelatin dissolves, it’s ready to use, but if there are still lumps, microwave it for another 5 seconds and then stir it again.
-
Add the cream to the bowl of a stand mixer. Use the whisk attachment to whisk the cream until it’s foamy.
-
Add the powdered sugar and vanilla, and whisk until it forms soft peaks.
-
While mixing on low speed, gradually drizzle in the dissolved gelatin a little at a time.
-
Continue whipping just until it forms stiff peaks, being careful not to overmix.
-
Immediately use the stabilized whipped cream to frost a cake, or transfer it to a piping bag fitted with whatever tip you want and pipe the cream on cupcakes.
Nutrition
The recipes on this blog are tested with a conventional gas oven and gas stovetop. It’s important to note that some ovens, especially as they age, can cook and bake inconsistently. Using an inexpensive oven thermometer can assure you that your oven is truly heating to the proper temperature. If you use a toaster oven or countertop oven, please keep in mind that they may not distribute heat the same as a conventional full sized oven and you may need to adjust your cooking/baking times. In the case of recipes made with a pressure cooker, air fryer, slow cooker, or other appliance, a link to the appliances we use is listed within each respective recipe. For baking recipes where measurements are given by weight, please note that results may not be the same if cups are used instead, and we can’t guarantee success with that method.
