The Ultimate Guide to Crispy Baked Honey Garlic Chicken Wings: Sweet, Sticky, and Irresistible
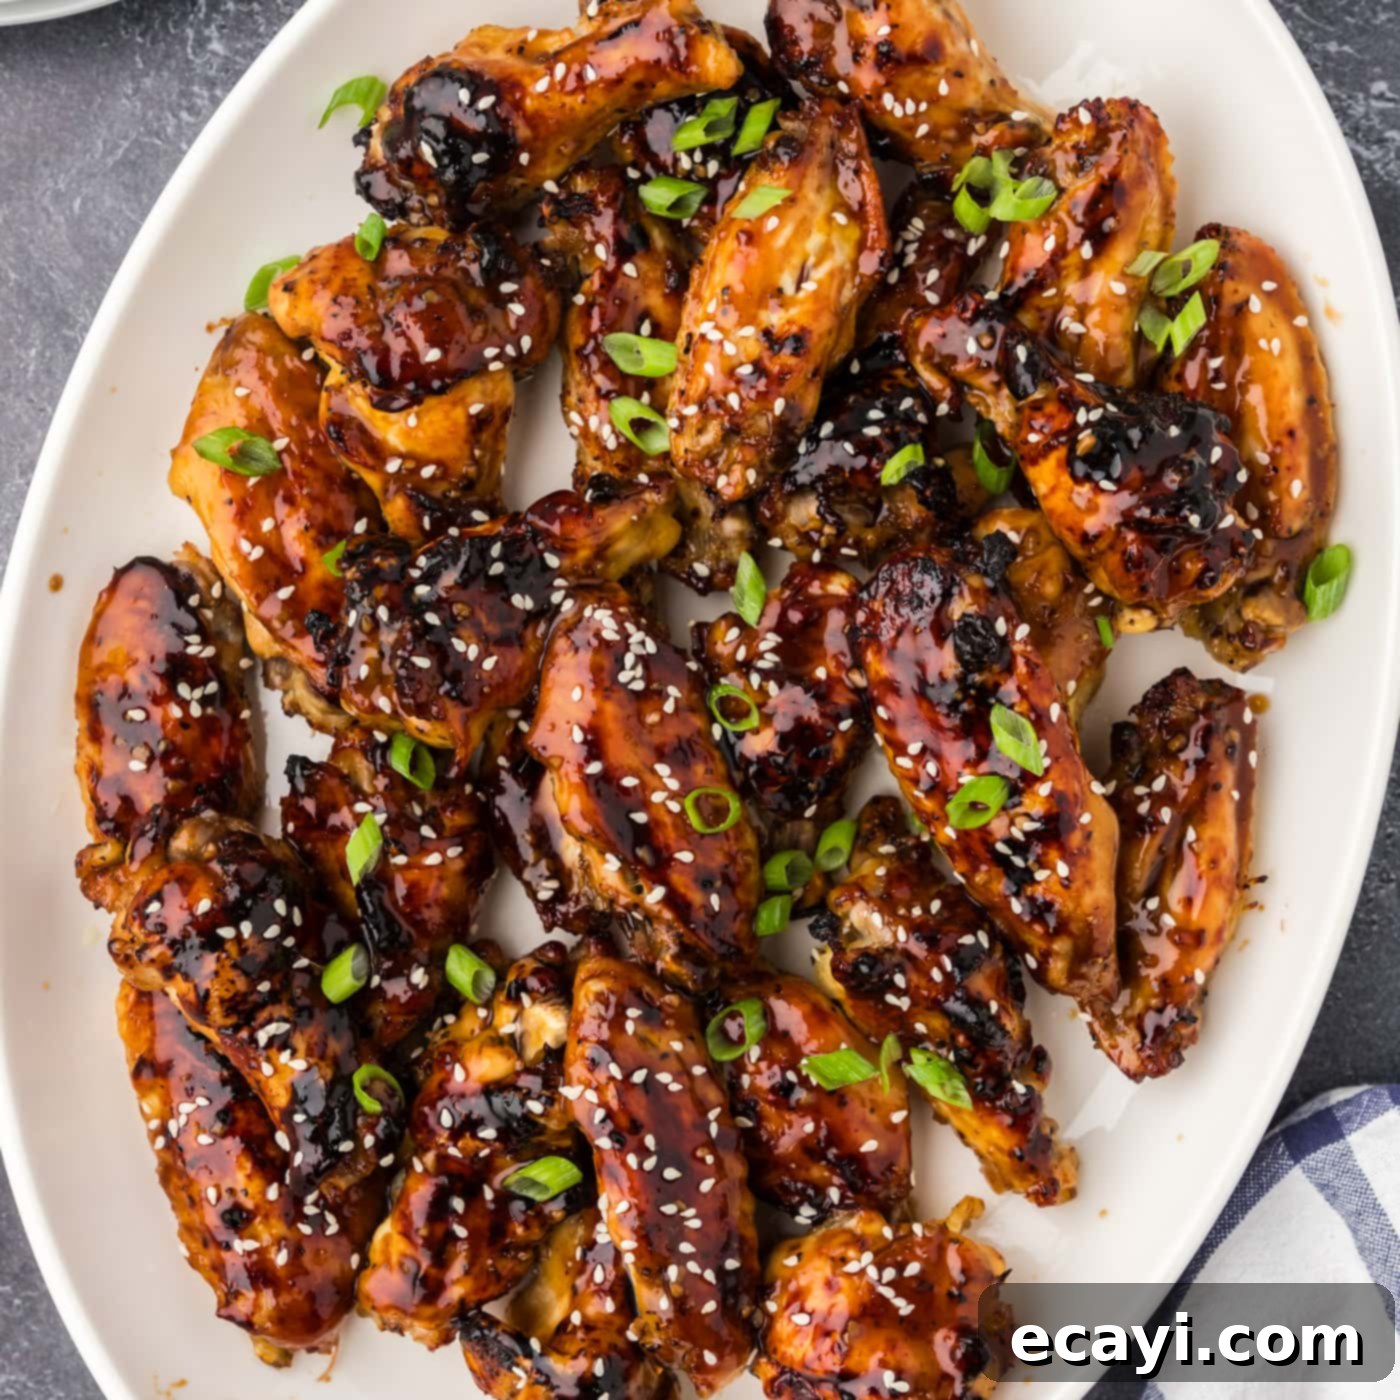
Prepare to tantalize your taste buds with these incredibly easy honey garlic chicken wings. Baked to absolute perfection until gloriously crispy, each wing is then generously tossed in a luscious, sticky, savory-sweet sauce that’s simply irresistible. Whether you’re gearing up for a thrilling game day, hosting a casual gathering, or simply craving a satisfying meal, these wings are guaranteed to be a show-stopping appetizer or a delightful main course all on their own!
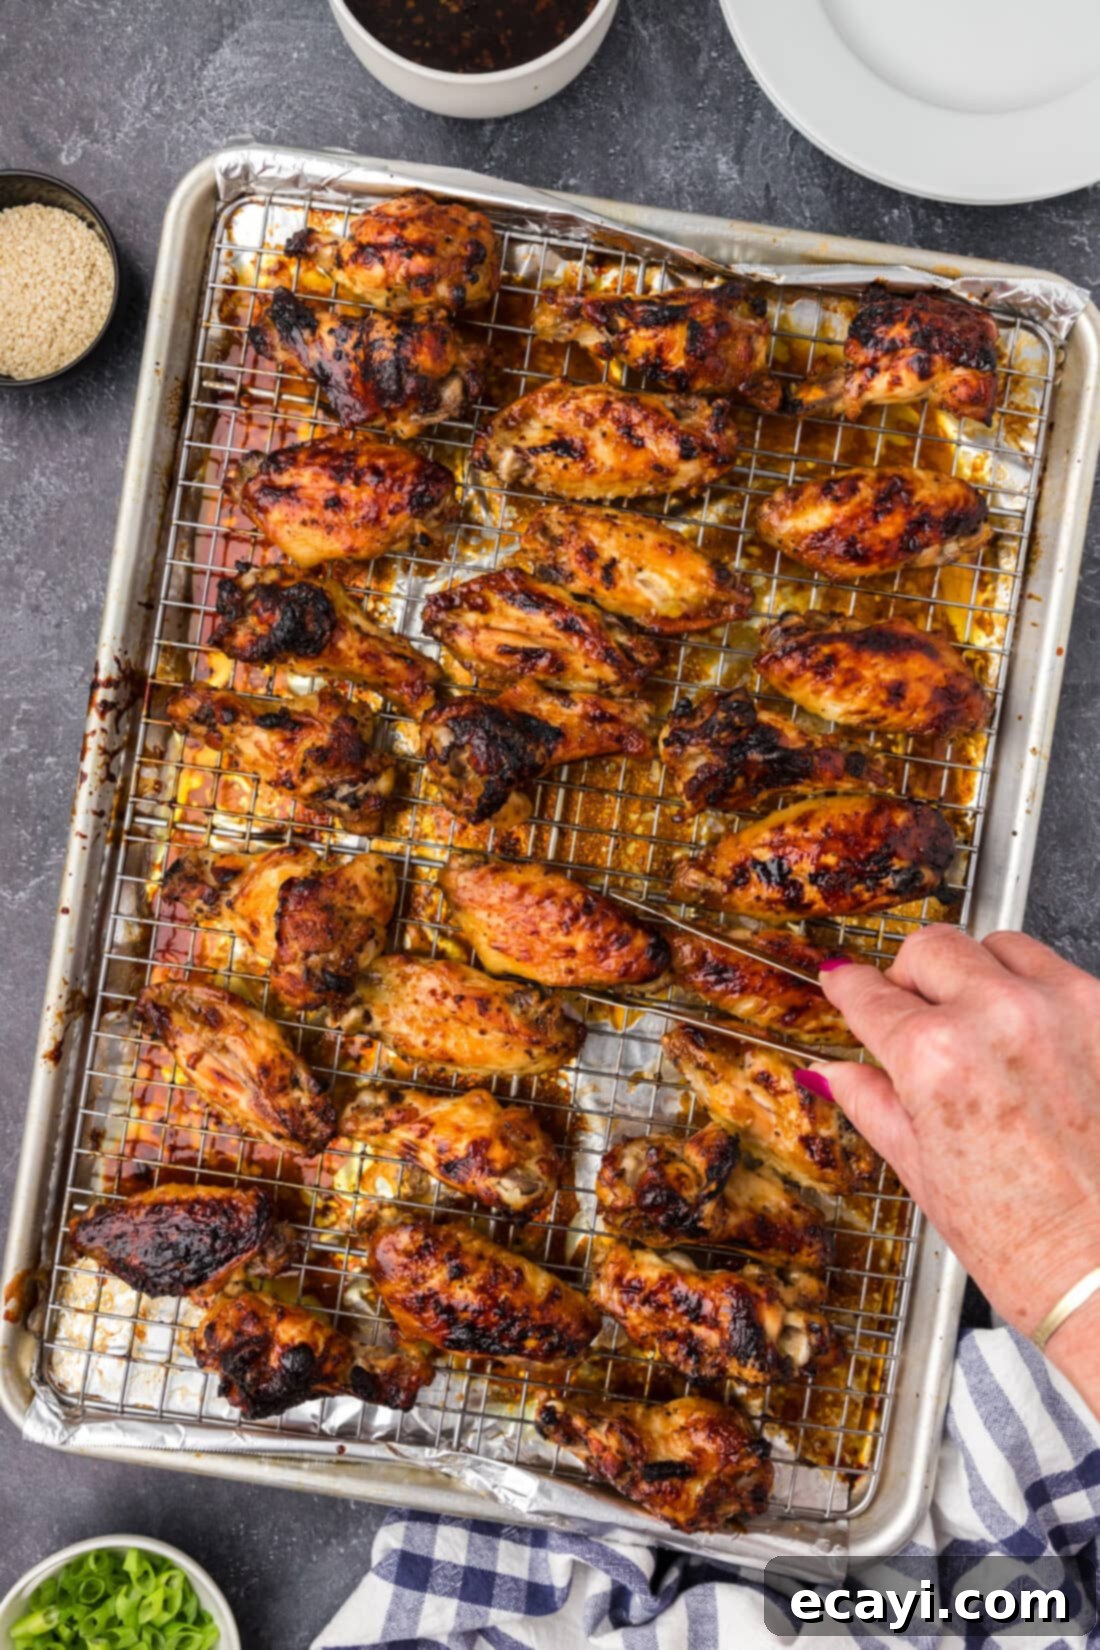
Why This Baked Honey Garlic Chicken Wing Recipe Is a Winner
There’s a reason why this particular recipe for honey garlic chicken wings stands out. We opt for baking them in the oven, which completely eliminates the messy, oily cleanup often associated with deep-frying. This method not only makes preparation simpler but also results in chicken wings that are wonderfully crispy on the outside and incredibly juicy on the inside, without the added grease.
The magic truly happens with our quick and flavorful garlic-honey-soy sauce. It comes together effortlessly in a single saucepan, building layers of umami, sweetness, tang, and a pungent garlic kick that perfectly complements the rich chicken. This exquisite balance of flavors is what transforms ordinary chicken wings into an extraordinary culinary experience. Chicken wings, with their ideal skin-to-meat ratio, provide the perfect canvas for absorbing this glorious sauce, ensuring every bite is bursting with flavor. But the versatility doesn’t stop there; this dynamic sauce base is so good, you can easily transform it into a honey garlic marinade for various cuts of chicken or even incorporate it into a vibrant chicken stir-fry for a quick and delicious weeknight meal.
Essential Ingredients for Your Honey Garlic Wings
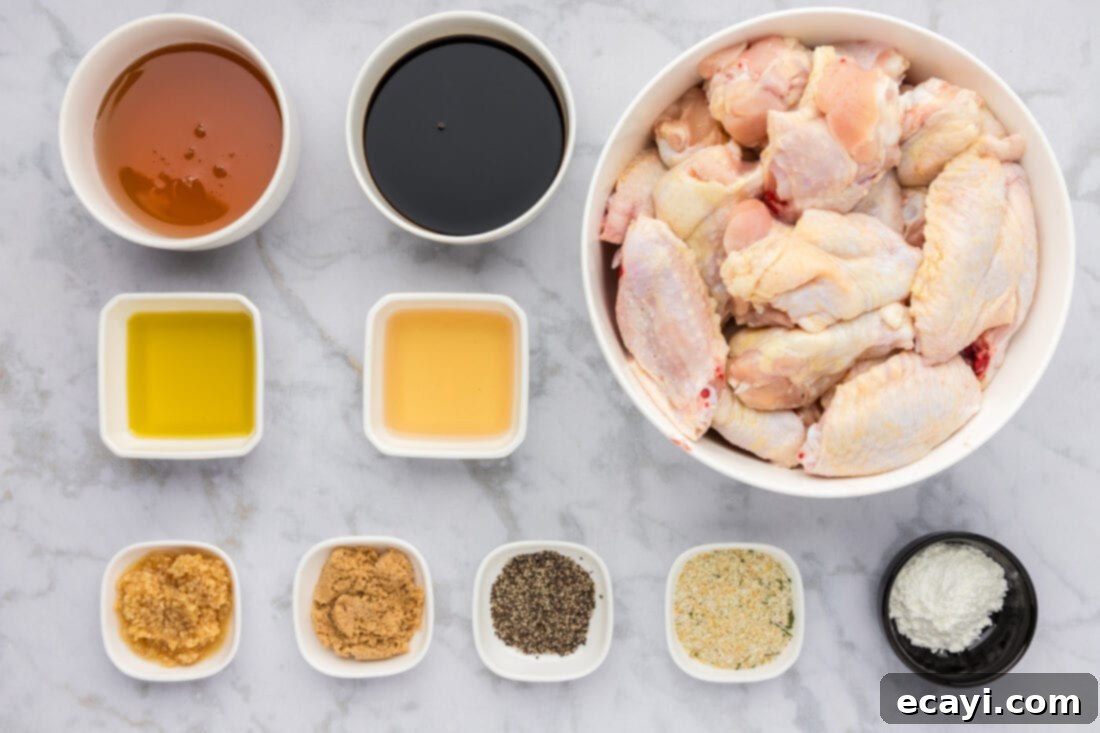
Crafting these delectable honey garlic chicken wings requires a handful of accessible ingredients that come together to create a symphony of flavors. While the full list with precise measurements and detailed instructions can be found in the printable recipe card at the end of this post, let’s explore the key components that make this dish so special.
Ingredient Spotlight: Tips for Best Results & Easy Substitutions
Understanding each ingredient and its role is key to mastering these crispy, sticky honey garlic chicken wings. Here’s a closer look at what you’ll need and how you can adapt it to your pantry and preferences.
CHICKEN WINGS – You will need approximately 4 pounds of skin-on chicken wings. For the best texture and ease of eating, it’s recommended to use wings that have been cut into drumettes and flats (also known as wingettes). If you purchase whole wings, you can easily prepare them by using a sharp chef’s knife to carefully slice through the joint that connects the drumette to the flat, and then separating the flat from the tip (discarding the tip or saving it for stock). Ensuring the wings are thoroughly patted dry with paper towels before seasoning is a crucial step for achieving that coveted crispy skin during baking. Moisture on the skin prevents it from crisping up effectively.
SEASONING – Before baking, the wings are lightly coated with olive oil, garlic salt, and black pepper. The olive oil helps the seasonings adhere and promotes crisping. Garlic salt provides a foundational savory garlic flavor that will be enhanced by the fresh garlic in the sauce. If you only have regular salt and garlic powder, use 1 teaspoon of each. Freshly cracked black pepper adds a subtle warmth and aroma. Feel free to adjust these seasonings to your liking or add a pinch of paprika for color.
HONEY GARLIC SAUCE – This incredible sauce is the heart of the dish, delivering that signature sweet and savory sticky glaze.
- Soy Sauce: We recommend using low-sodium soy sauce to control the overall saltiness of the dish, as the garlic salt also contributes flavor. If you use regular soy sauce, you might want to slightly reduce the amount of garlic salt on the wings. For a gluten-free option, tamari is an excellent substitute that maintains the savory umami depth.
- White Wine Vinegar: This ingredient provides a bright, acidic tang that cuts through the richness of the chicken and balances the sweetness of the honey and brown sugar. Rice vinegar or apple cider vinegar can be used as alternatives if white wine vinegar isn’t available, offering a slightly different but still pleasant acidity.
- Minced Garlic: Freshly minced garlic is absolutely essential for the robust, aromatic foundation of this sauce. While pre-minced garlic from a jar can be used for convenience, fresh garlic always delivers a more vibrant and potent flavor. Don’t be shy with the garlic – it’s a “honey garlic” recipe after all!
- Brown Sugar: The molasses in brown sugar adds a deep, caramel-like sweetness and contributes to the sticky texture of the glaze. Light brown sugar is generally preferred, but dark brown sugar will work if that’s what you have on hand, yielding a slightly richer flavor profile.
- Honey: Of course, honey is a star! It brings natural sweetness and contributes significantly to the signature stickiness of the glaze. Any type of liquid honey will work beautifully here.
- Cornstarch Slurry: A simple mixture of cornstarch and cold water is used to thicken the sauce to that perfect glossy, clingy consistency. It’s crucial to mix the cornstarch with cold water *before* adding it to the hot sauce to prevent lumps. A general ratio is one part cornstarch to two parts water.
How to Make Perfectly Crispy Honey Garlic Chicken Wings
These step-by-step photos and detailed instructions are here to guide you visually through the process of making this mouthwatering recipe. For a complete printable version of this recipe, including exact measurements and a comprehensive list of ingredients, please refer to the Jump to Recipe section located at the bottom of this post.
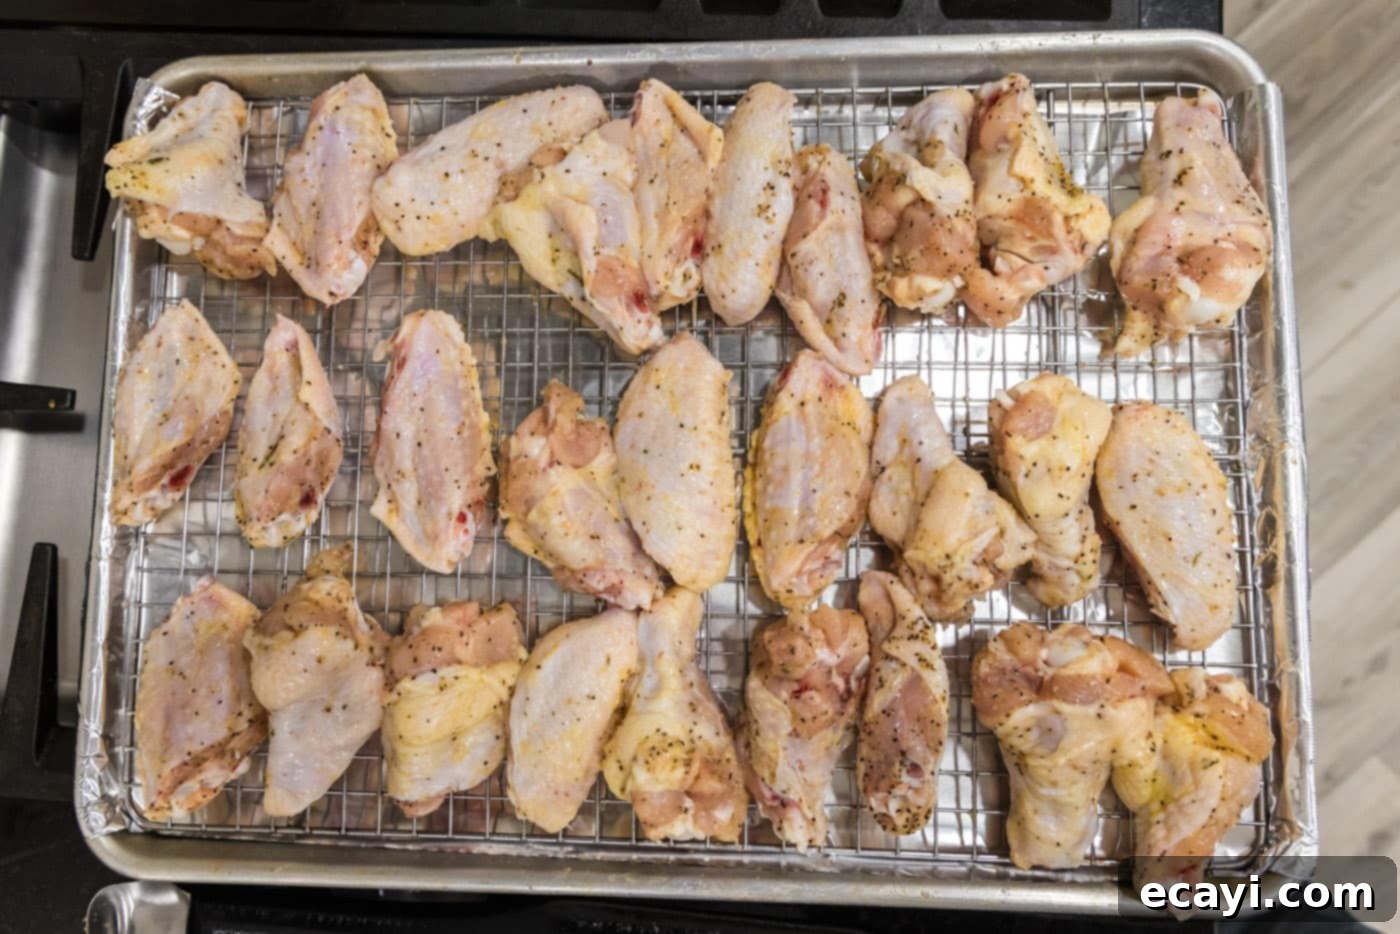
- Prepare Your Oven and Baking Sheet: Begin by preheating your oven to a robust 425°F (220°C). High heat is key to achieving crispy wings. Line a large baking sheet with aluminum foil for easier cleanup. Then, place a wire rack directly on top of the foil-lined baking sheet. This setup is crucial as it allows air to circulate around the entire surface of each wing, ensuring even cooking and maximum crispiness.
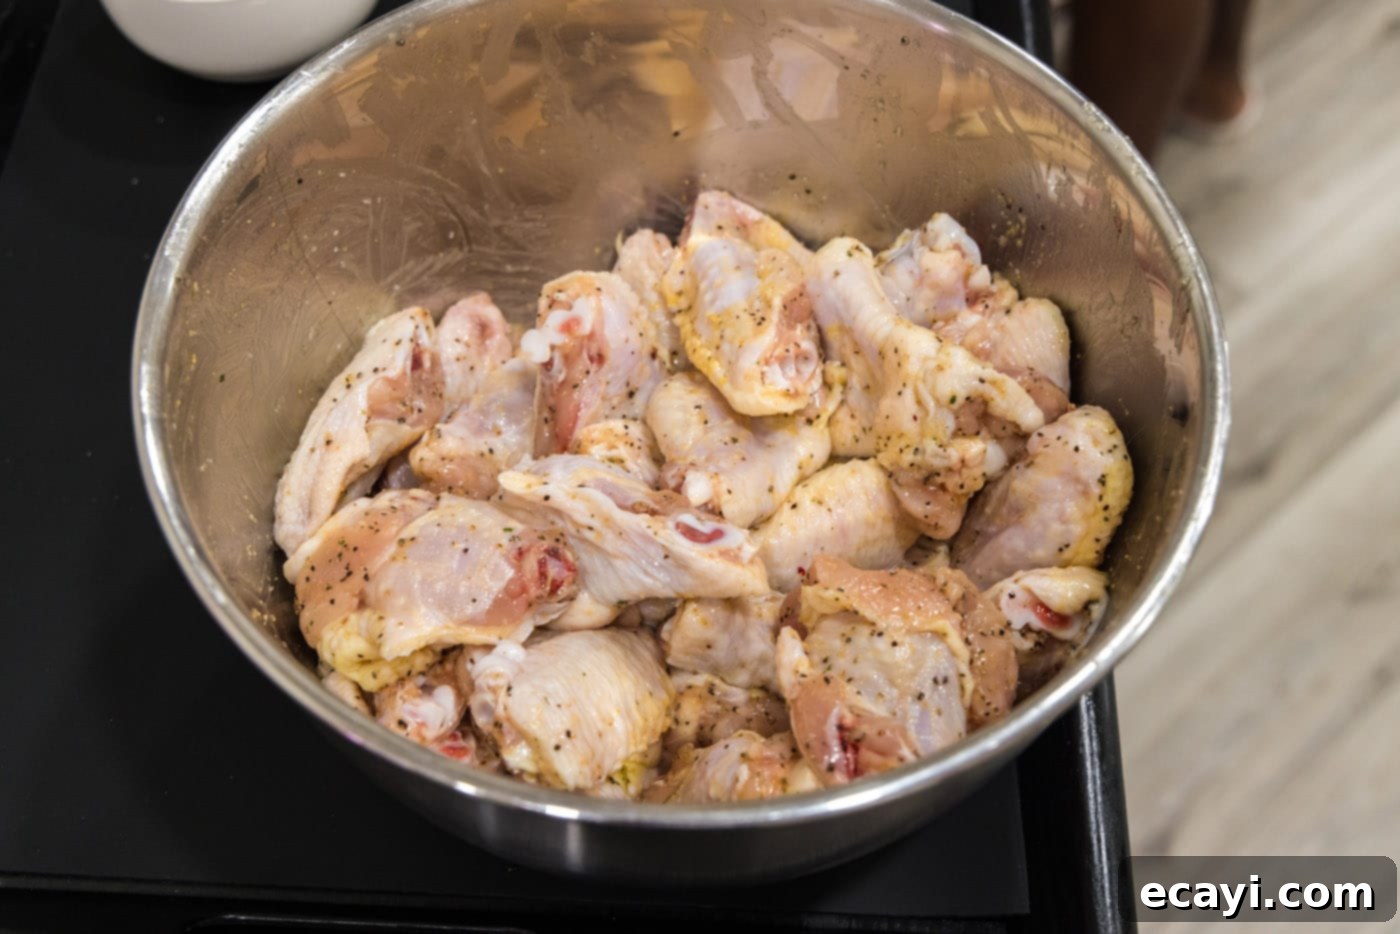
- Season the Wings: Place your prepared chicken wings (drumettes and flats) into a large mixing bowl. In a separate small bowl, whisk together the olive oil, garlic salt, and black pepper until well combined. Pour this oil and seasoning mixture over the wings.
- Coat Thoroughly: Using gloved hands (or clean bare hands if you prefer), toss the chicken wings vigorously to ensure every single piece is evenly coated with the oil and seasonings. This step is vital for flavor distribution and uniform crisping.
- Initial Bake for Crispiness: Arrange the seasoned wings in a single layer on the wire rack over the baking sheet, making sure not to overcrowd the pan. Give them a little space for air circulation. Bake in the preheated oven for 35-40 minutes. During this initial bake, the chicken will cook through, and the skin will begin to render fat and turn golden brown and crispy.


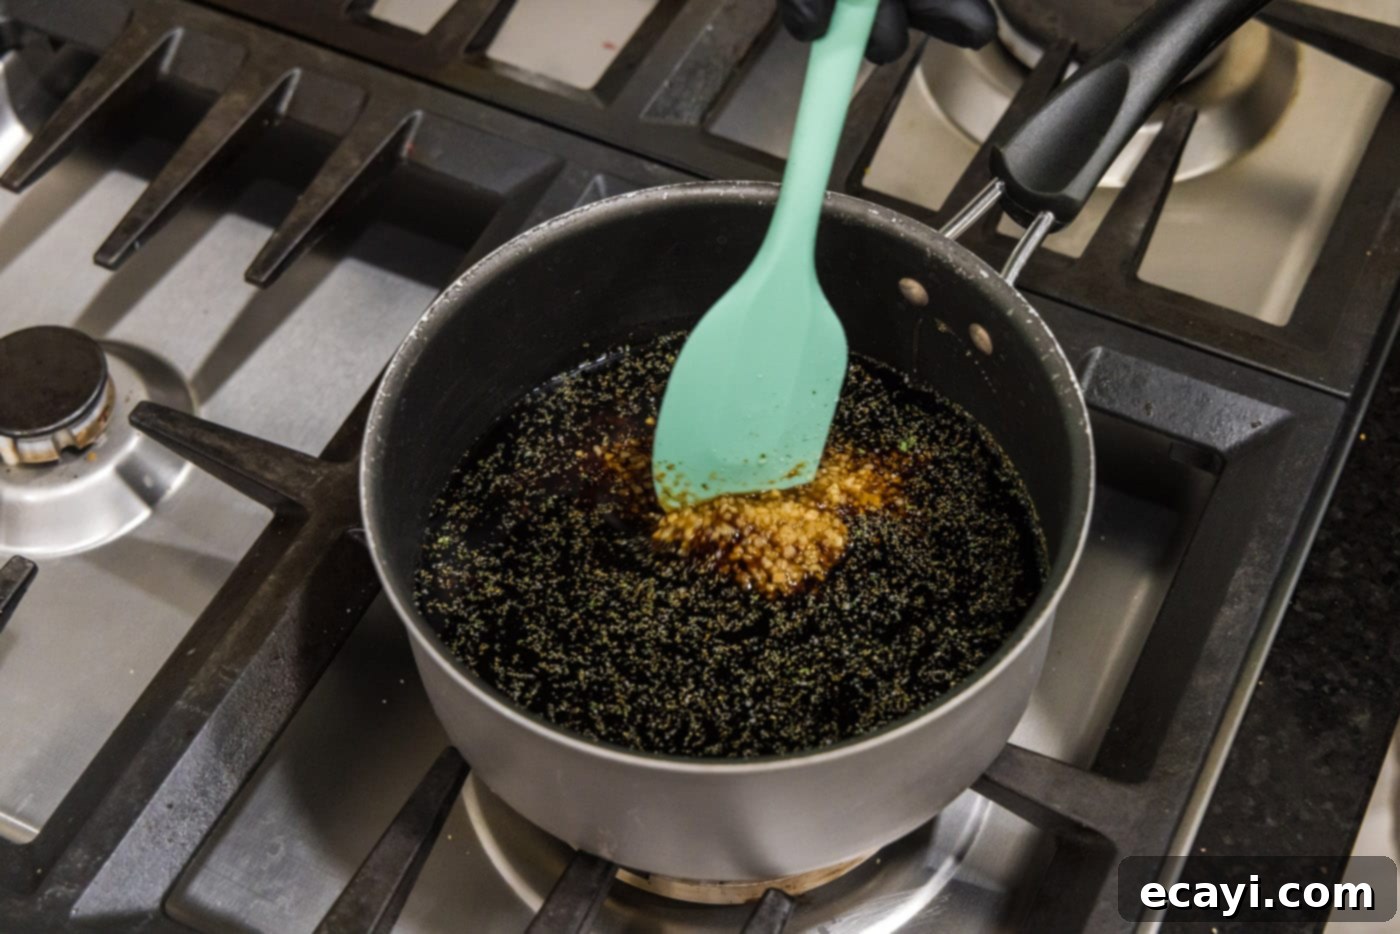
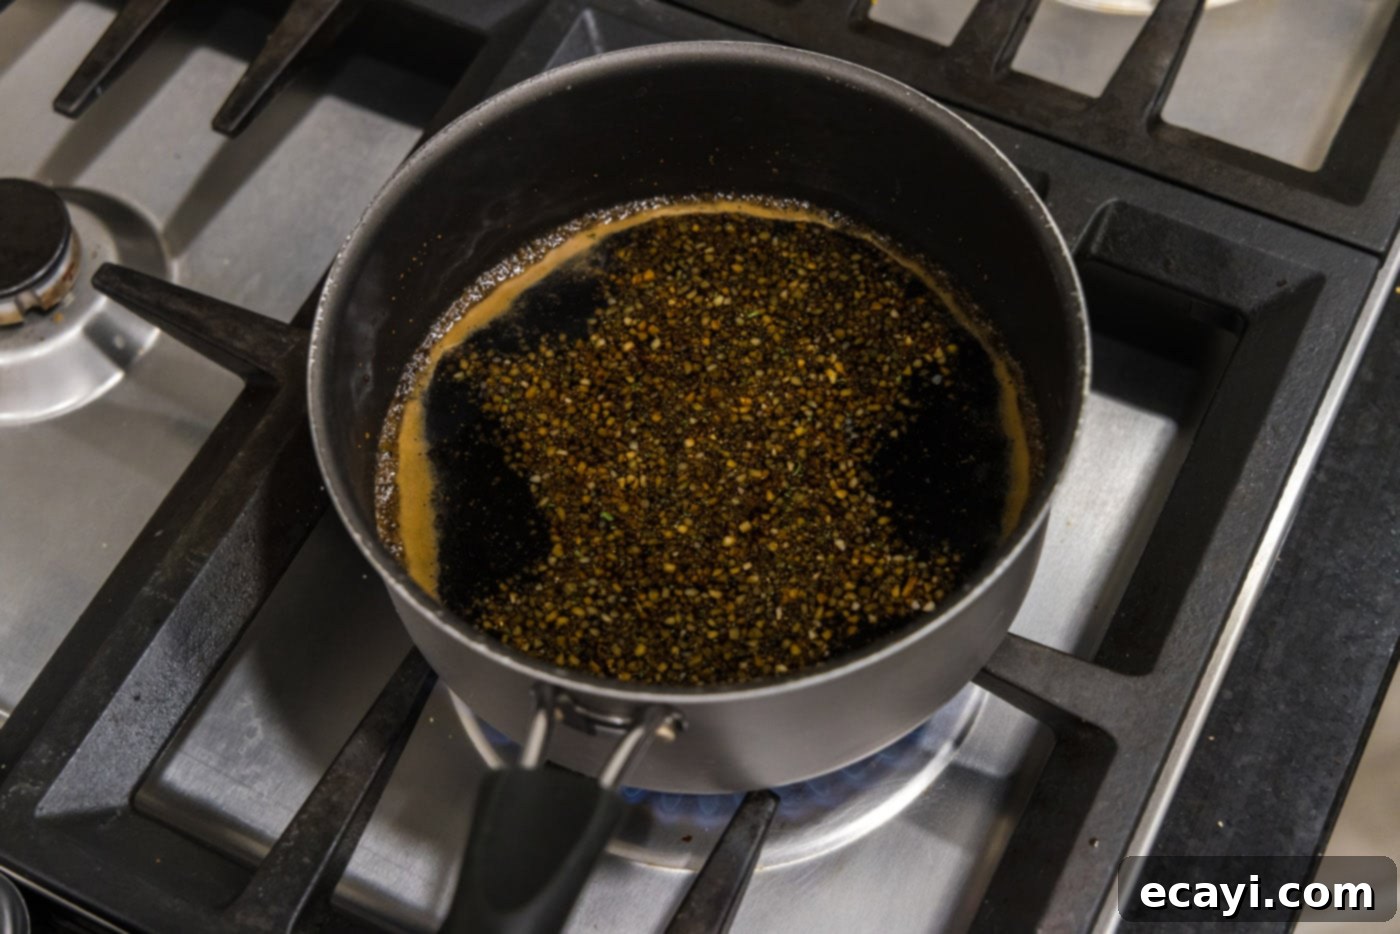
- Prepare the Honey Garlic Sauce: While the wings are in the oven, it’s time to craft the sticky, sweet, and savory sauce. In a medium saucepan, combine all the sauce ingredients EXCEPT the cornstarch and water. Place the saucepan over medium-high heat and bring the mixture to a gentle boil, stirring occasionally to dissolve the brown sugar and honey. Allow it to simmer for a few minutes to let the flavors meld.


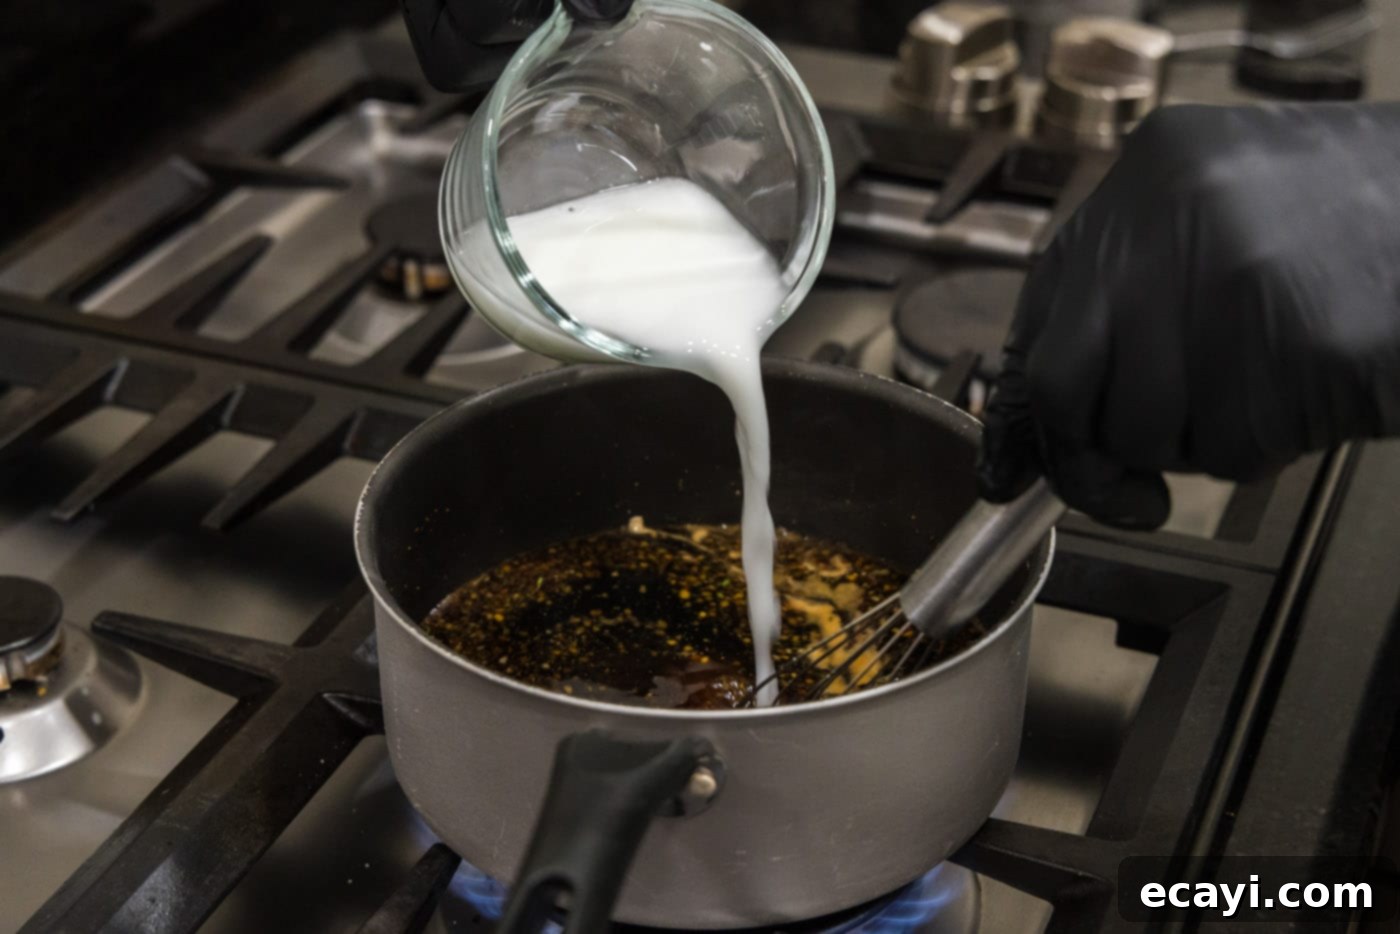
- Thicken the Sauce: In a small bowl, create a cornstarch slurry by whisking together the cornstarch and cold water until no lumps remain. Gradually pour this slurry into the simmering sauce in the saucepan, whisking continuously. Continue to whisk gently until the sauce visibly thickens to a glossy, syrupy consistency that coats the back of a spoon. Once thickened, remove the saucepan from the heat.

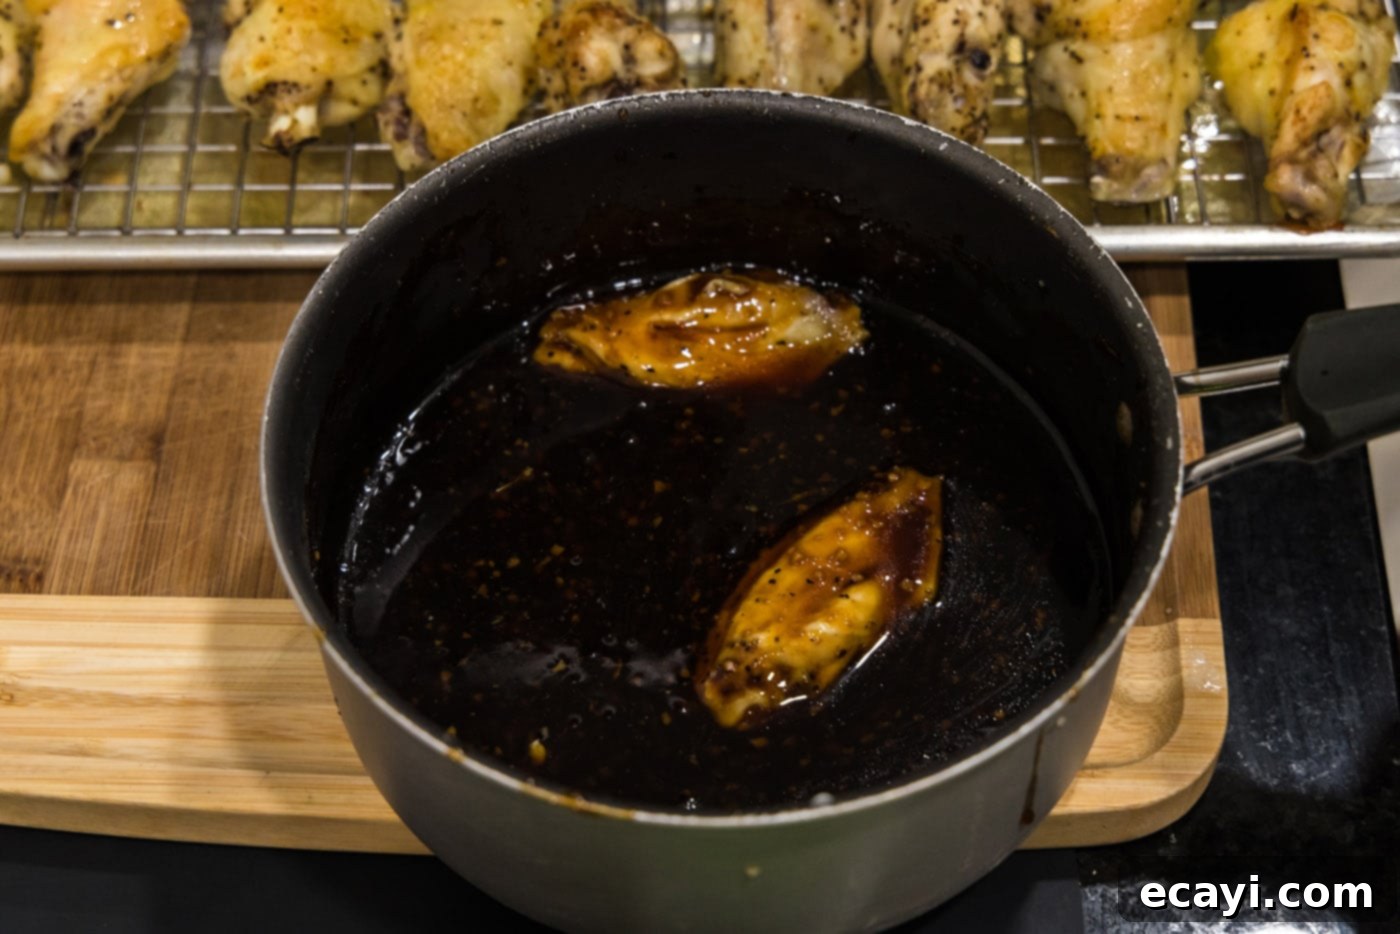
- Coat the Wings in Sauce: Once the wings have completed their initial bake and are wonderfully crispy, carefully remove them from the oven. Using tongs, transfer a few wings at a time into the saucepan with the prepared honey garlic sauce. Toss to coat each wing generously and evenly. Return the coated wings to the wire rack over the baking sheet, ensuring they are again in a single layer. Repeat this process until all the wings are coated.

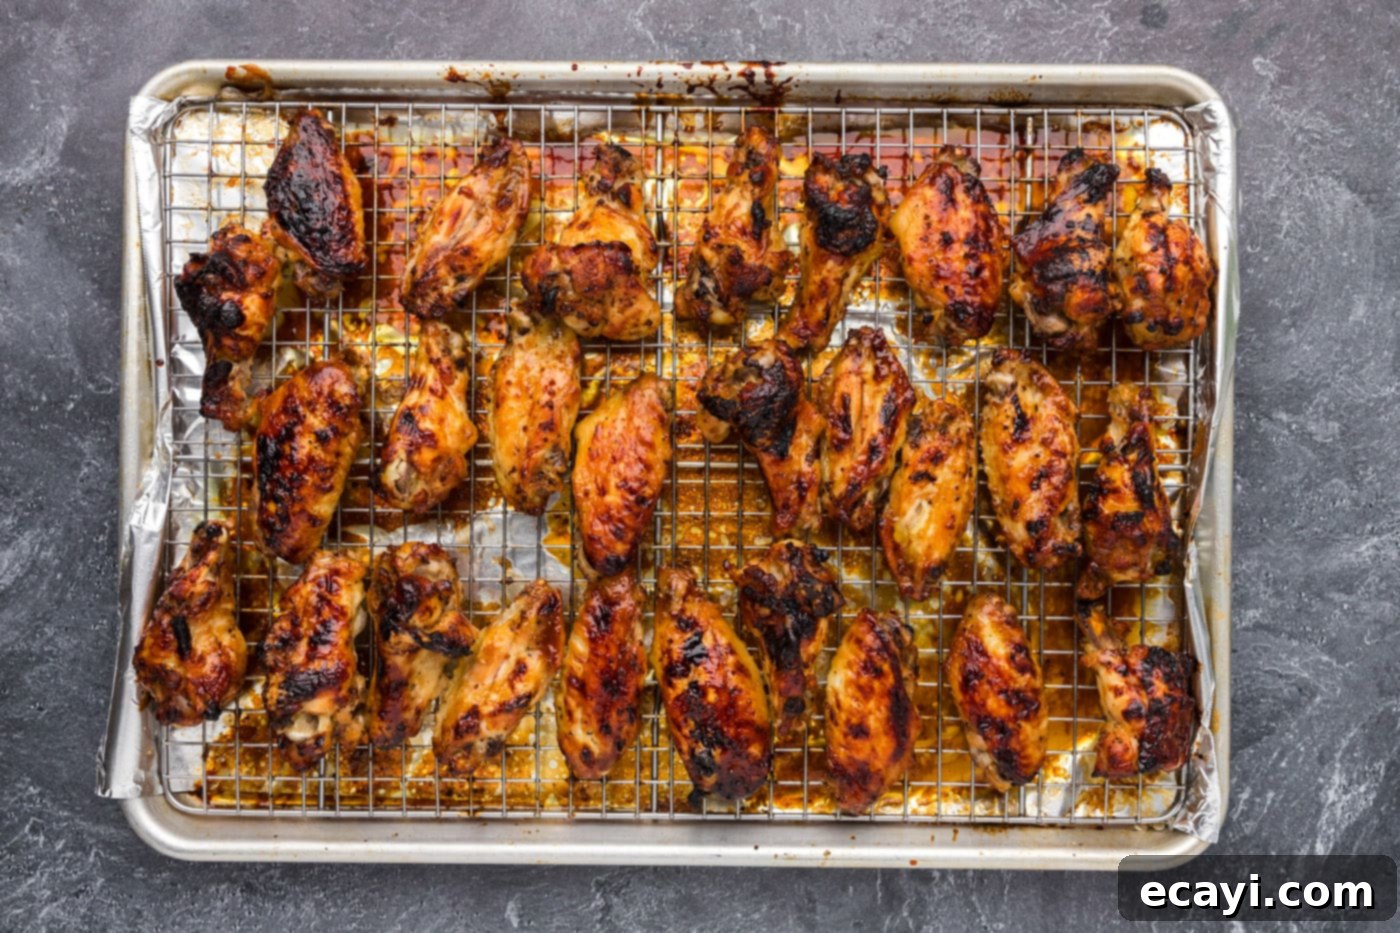
- Final Bake for Glaze: Place the baking sheet with the sauce-coated wings back into the preheated oven for another 15 minutes. This final bake allows the sauce to caramelize and become even stickier and glossier, infusing the wings with its incredible flavor and creating that signature irresistible glaze. Keep an eye on them to prevent burning due to the sugar content in the sauce.

Frequently Asked Questions & Expert Tips for Perfect Honey Garlic Wings
Absolutely! This versatile honey garlic sauce is fantastic with various cuts of chicken. It works wonderfully as a marinade for chicken breasts, thighs, or even drumsticks before baking, grilling, or pan-frying. In fact, we have dedicated recipes for both honey garlic chicken breast and honey garlic chicken thighs that you can refer to for specific cooking instructions tailored to those cuts. Just remember to adjust cooking times based on the size and thickness of the chicken pieces.
To store leftovers, place the cooled honey garlic chicken wings in an air-tight container and keep them in the refrigerator for up to 3-4 days. For reheating, the best method to regain some crispiness is to place them back on a wire rack over a baking sheet in an oven preheated to 350°F (175°C) for 10-15 minutes, or until heated through and slightly crispy again. You can also use an air fryer at 350°F (175°C) for 5-7 minutes for a similar effect. Microwaving is an option for quick reheating, but the wings will lose their crispy texture.
For all parts of the chicken, including legs, wings, thighs, and breasts, they are considered safely cooked and ready to eat when they reach an internal temperature of 165°F (74°C). Always use an instant-read thermometer inserted into the thickest portion of the meat, being careful not to touch any bones, as bones can give a misleadingly high reading.
Absolutely! If you love a little heat, there are several ways to kick up the spice level. You can add a pinch of cayenne pepper or a dash of hot sauce (like Sriracha) to the honey garlic sauce while it simmers. For a more direct heat, sprinkle red pepper flakes over the wings before the initial bake, or even stir them directly into the sauce. Adjust the amount to your personal preference for spice.
The key to extra crispy baked wings lies in several factors. First, ensure your chicken wings are very dry by patting them thoroughly with paper towels before seasoning. Moisture is the enemy of crispiness. Second, using a wire rack over a baking sheet is non-negotiable, as it allows for 360-degree air circulation. Third, don’t overcrowd the baking sheet; leave space between each wing. Lastly, a higher oven temperature (like the 425°F specified) helps render the fat and crisp the skin efficiently. Some chefs also add a tiny bit of baking powder (not baking soda!) to the dry seasoning mixture, which can further enhance crispiness.
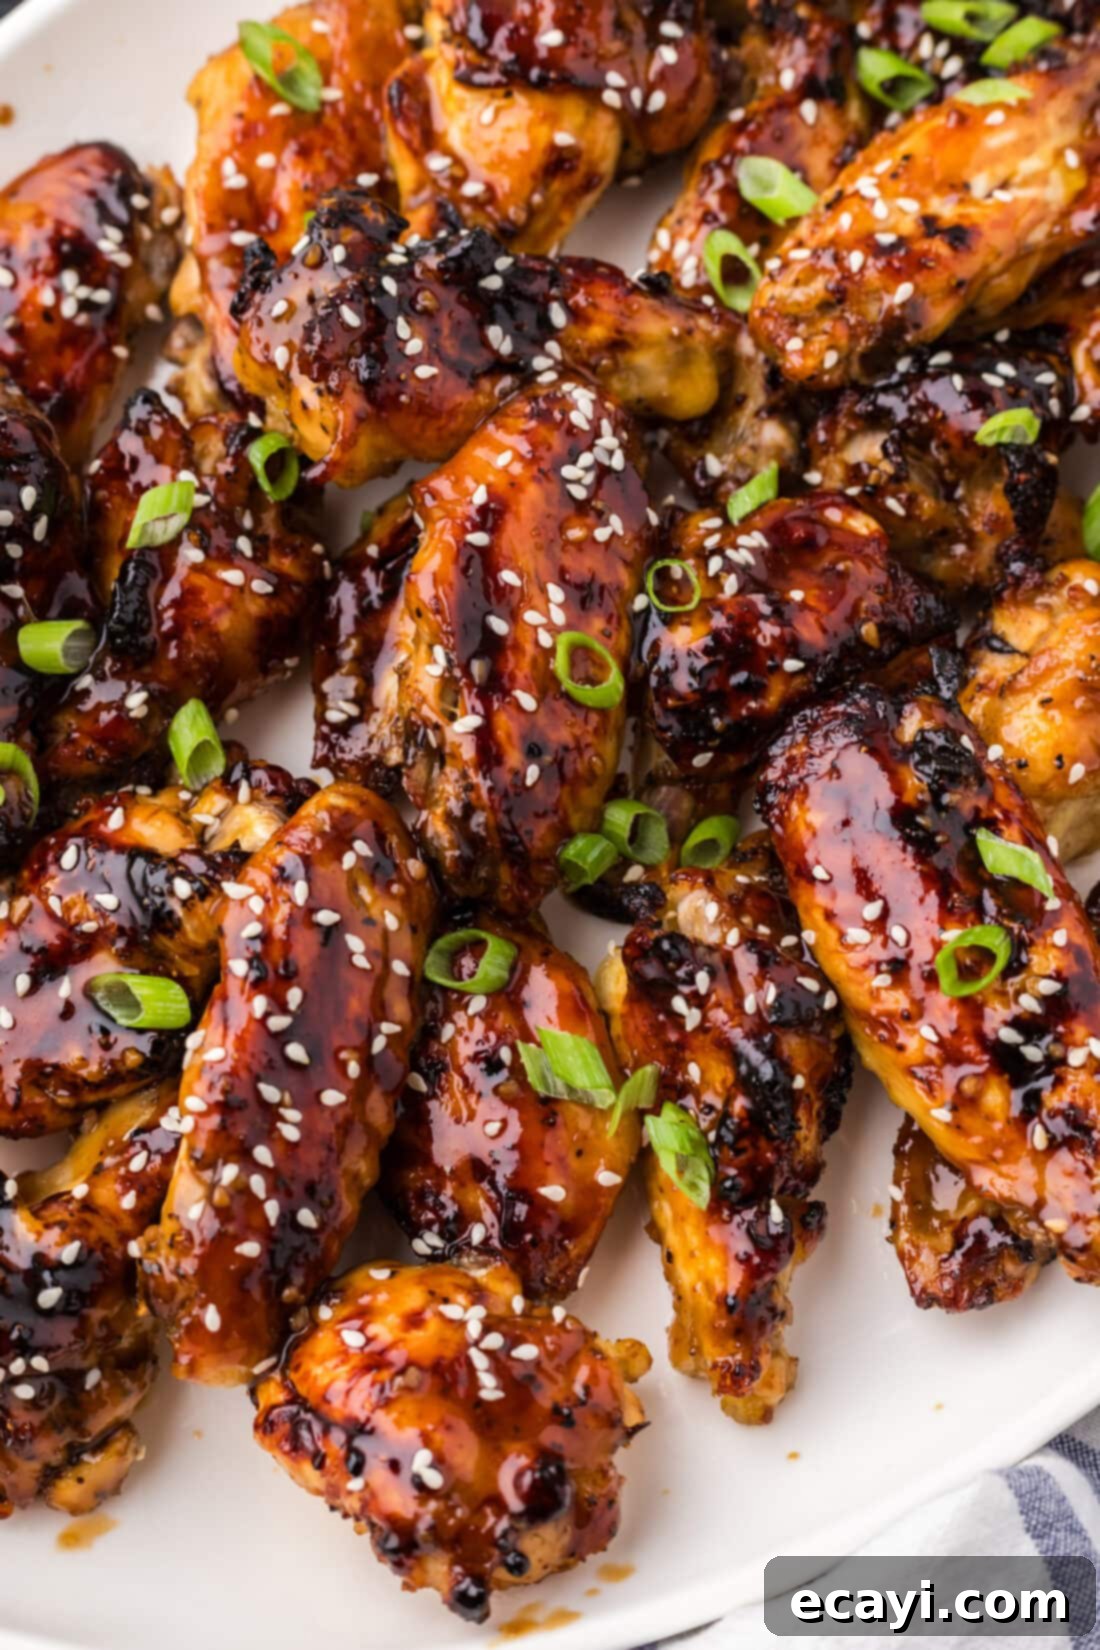
Delicious Serving Suggestions for Your Honey Garlic Wings
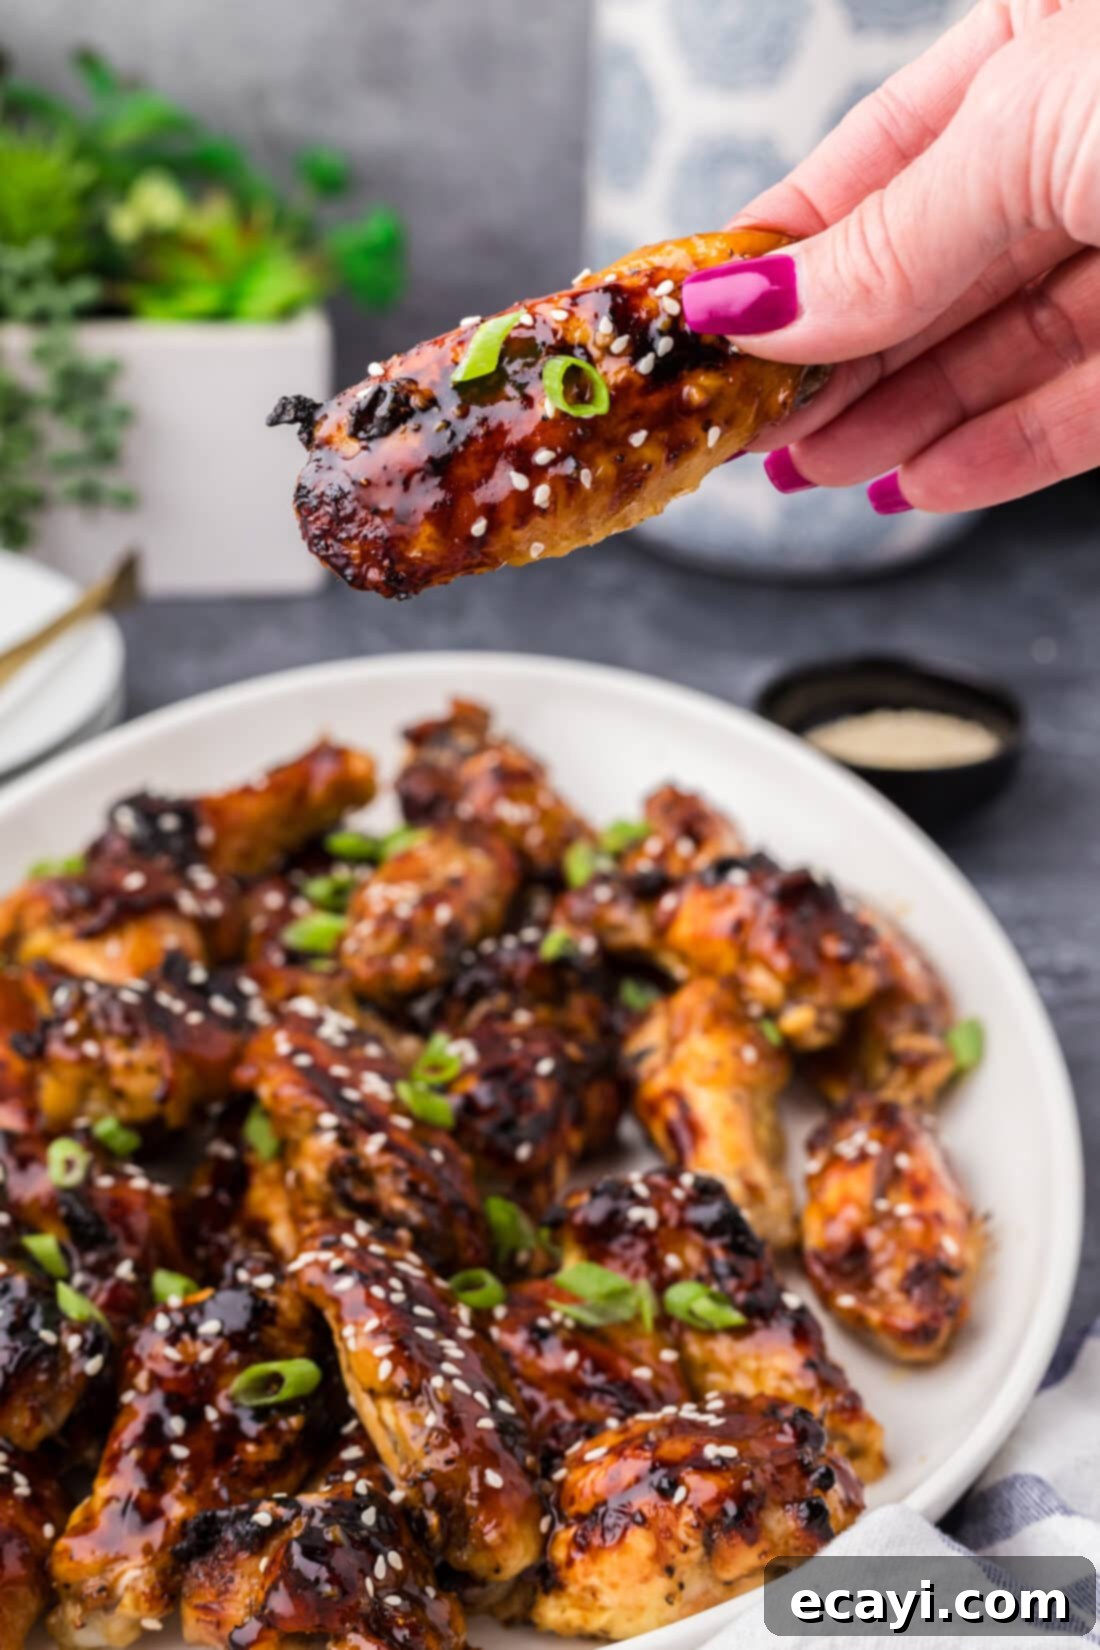
Once your honey garlic chicken wings emerge from the oven, glistening and perfectly glazed, they’re ready to be devoured! You’ll likely have some of that luscious honey garlic sauce left over in the saucepan, which is absolutely perfect for brushing on the finished wings for an extra layer of flavor and shine, or for serving on the side as a dipping sauce. For an added touch of freshness and visual appeal, consider garnishing your wings with a sprinkle of freshly chopped parsley, a generous scattering of toasted sesame seeds, or thinly sliced green onions. These simple additions elevate both the flavor and presentation.
To complement the rich, sticky sweetness of these wings, you can also serve them with classic accompaniments. A cooling side of ranch or bleu cheese dressing offers a creamy contrast, while crisp celery sticks and carrot sticks provide a refreshing crunch. For a more substantial meal, consider pairing them with a light salad, steamed rice, or even some roasted vegetables. Enjoy this delightful dish with your favorite cold beverage, and prepare for rave reviews!
Discover More Irresistible Chicken Wing Recipes
If you’ve fallen in love with these honey garlic chicken wings, you’ll be thrilled to explore other fantastic wing recipes that cater to every craving. From fiery to flavorful, our collection has something for everyone. Expand your chicken wing repertoire with these crowd-pleasing options:
- Spicy Wings
- Classic Crispy Fried Chicken Wings
- Authentic Korean Fried Chicken
- Garlic Parmesan Wings
I love to bake and cook and share my kitchen experience with all of you! Remembering to come back each day can be tough, that’s why I offer a convenient newsletter every time a new recipe posts. Simply subscribe and start receiving your free daily recipes, tips, and culinary inspiration!
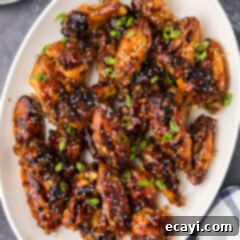
Honey Garlic Chicken Wings
IMPORTANT – There are often Frequently Asked Questions within the blog post that you may find helpful. Simply scroll back up to read them!
Print It
Pin It
Rate It
Save ItSaved!
Ingredients
- 4 pounds skin on chicken wings cut into drummies and flats
- 2 Tablespoons olive oil
- 1 teaspoon garlic salt
- 1 teaspoon black pepper
Sauce Ingredients
- ⅓ cup low sodium soy sauce
- 2 Tablespoons white wine vinegar
- 3 Tablespoons minced garlic
- 1 Tablespoon brown sugar
- ½ cup honey
- 1 ½ Tablespoons cornstarch
- 3 Tablespoons water
Equipment You’ll Need
-
Mixing bowls
-
Wire cooling rack
-
Baking sheet
Before You Begin
- To cut whole wings into drummies and flats, use a sharp knife to slice through the joint that connects the two.
- For maximum crispiness, thoroughly pat chicken wings dry with paper towels before seasoning and baking.
Instructions
-
Preheat oven to 425 F (220°C).
-
Line a large baking sheet with foil and place a wire rack on top.
-
Place wings in a large bowl.
-
In a small bowl, combine olive oil, garlic salt, and pepper.
-
Pour oil mixture onto the wings. Using gloved hands, toss to coat all the wings evenly.
-
Place wings in a single layer on the wire rack over the baking sheet. Bake in the preheated oven for 35-40 minutes.
-
While wings are cooking, combine all the sauce ingredients (except cornstarch and water) in a medium saucepan. Place over medium-high heat and bring to a gentle boil, stirring occasionally.
-
Make a slurry by whisking cornstarch and water in a small bowl. Pour it into the simmering saucepan, whisking occasionally until the sauce begins to thicken to a syrupy consistency. Remove from heat.
-
When wings come out of the oven, use tongs to place a few at a time into the saucepan with the sauce. Toss to coat each wing thoroughly and then return them to the rack over the baking sheet. Repeat for all wings.
-
Place the pan of sauce-coated wings back into the oven for another 15 minutes to allow the sauce to caramelize and become sticky.
Expert Tips & FAQs
- You will have honey garlic chicken wing sauce left over, which is perfect for brushing on the finished wings or to use as a dipping sauce on the side for extra flavor.
- Store leftovers in an air-tight container kept in the refrigerator for 3-4 days. Reheat in the oven or air fryer for best crispiness.
- All parts of the chicken (legs, wings, thighs, breasts) are considered done when they reach an internal temperature of 165F (74°C) on an instant-read thermometer inserted into the thickest portion of the meat. Try not to let the thermometer touch the bone.
- For spicier wings, add red pepper flakes or a dash of hot sauce to the simmering honey garlic sauce.
- Ensure wings are very dry before baking and use a wire rack for maximum crispiness.
Nutrition
The recipes on this blog are tested with a conventional gas oven and gas stovetop. It’s important to note that some ovens, especially as they age, can cook and bake inconsistently. Using an inexpensive oven thermometer can assure you that your oven is truly heating to the proper temperature. If you use a toaster oven or countertop oven, please keep in mind that they may not distribute heat the same as a conventional full sized oven and you may need to adjust your cooking/baking times. In the case of recipes made with a pressure cooker, air fryer, slow cooker, or other appliance, a link to the appliances we use is listed within each respective recipe. For baking recipes where measurements are given by weight, please note that results may not be the same if cups are used instead, and we can’t guarantee success with that method.
