Irresistible No-Bake Strawberry Icebox Cake: Your Ultimate Easy Summer Dessert
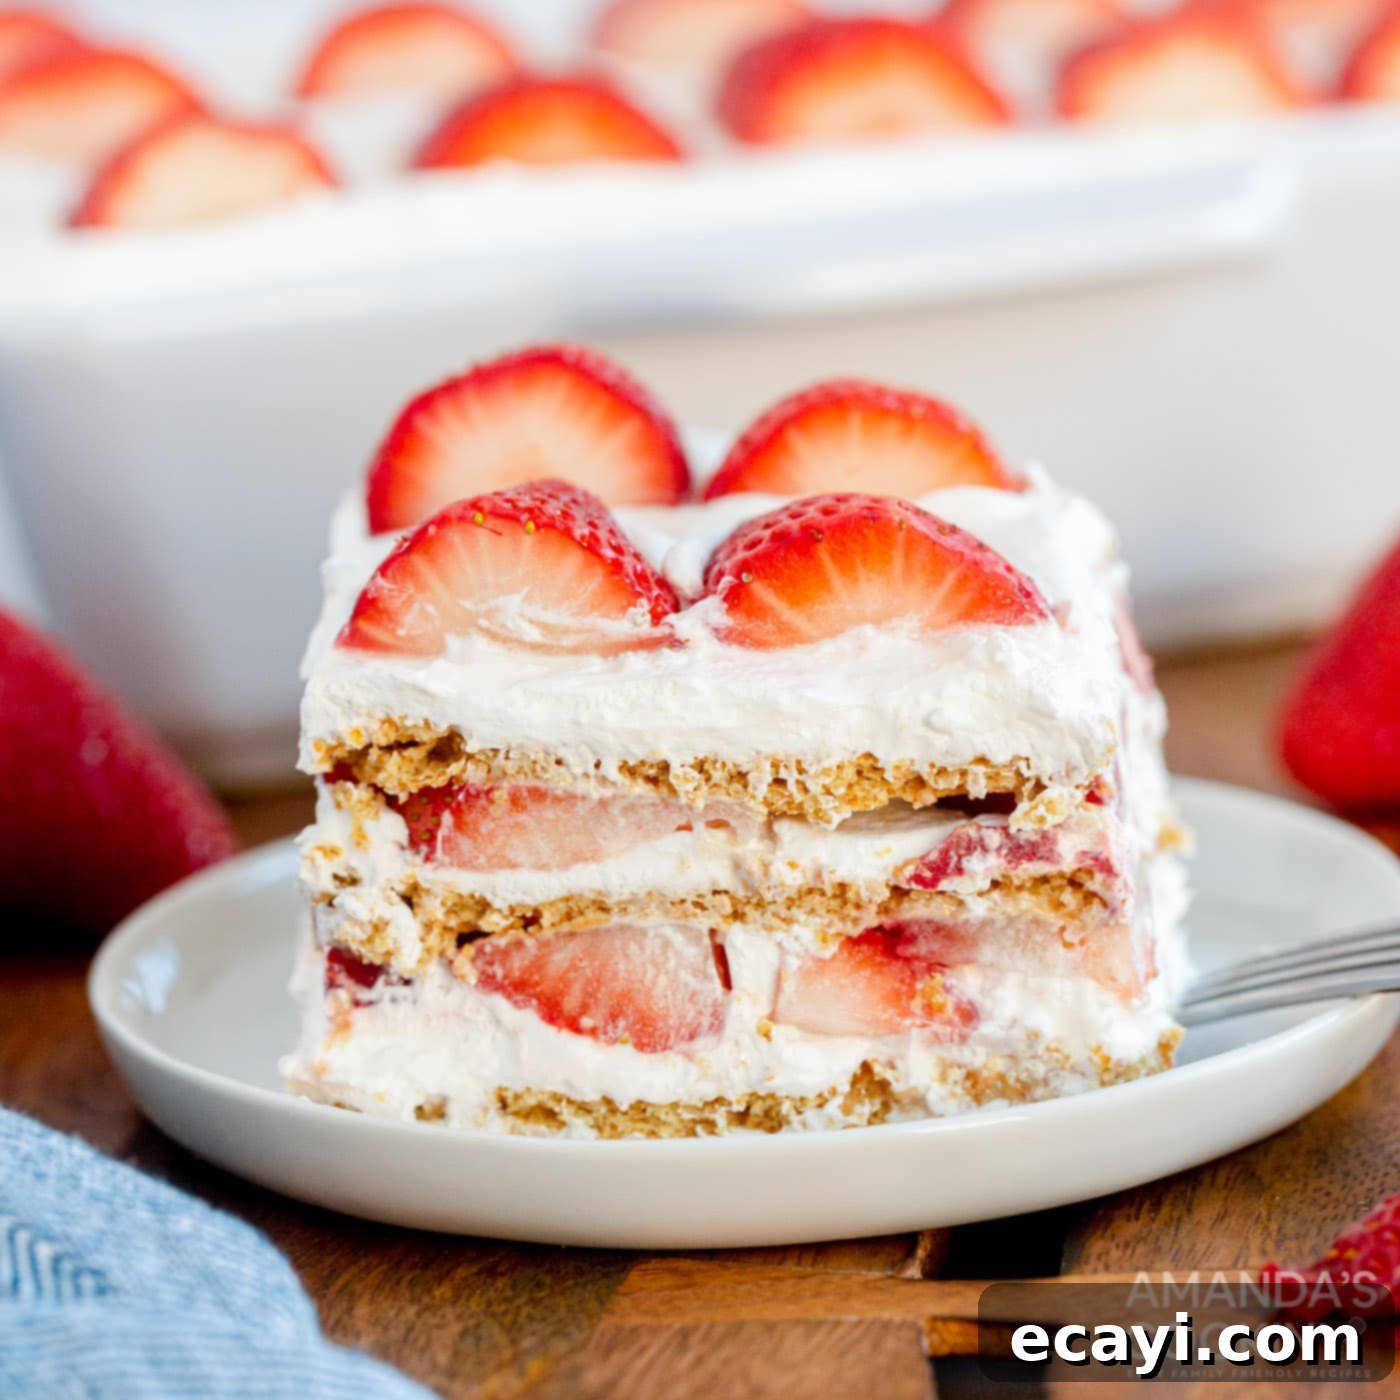
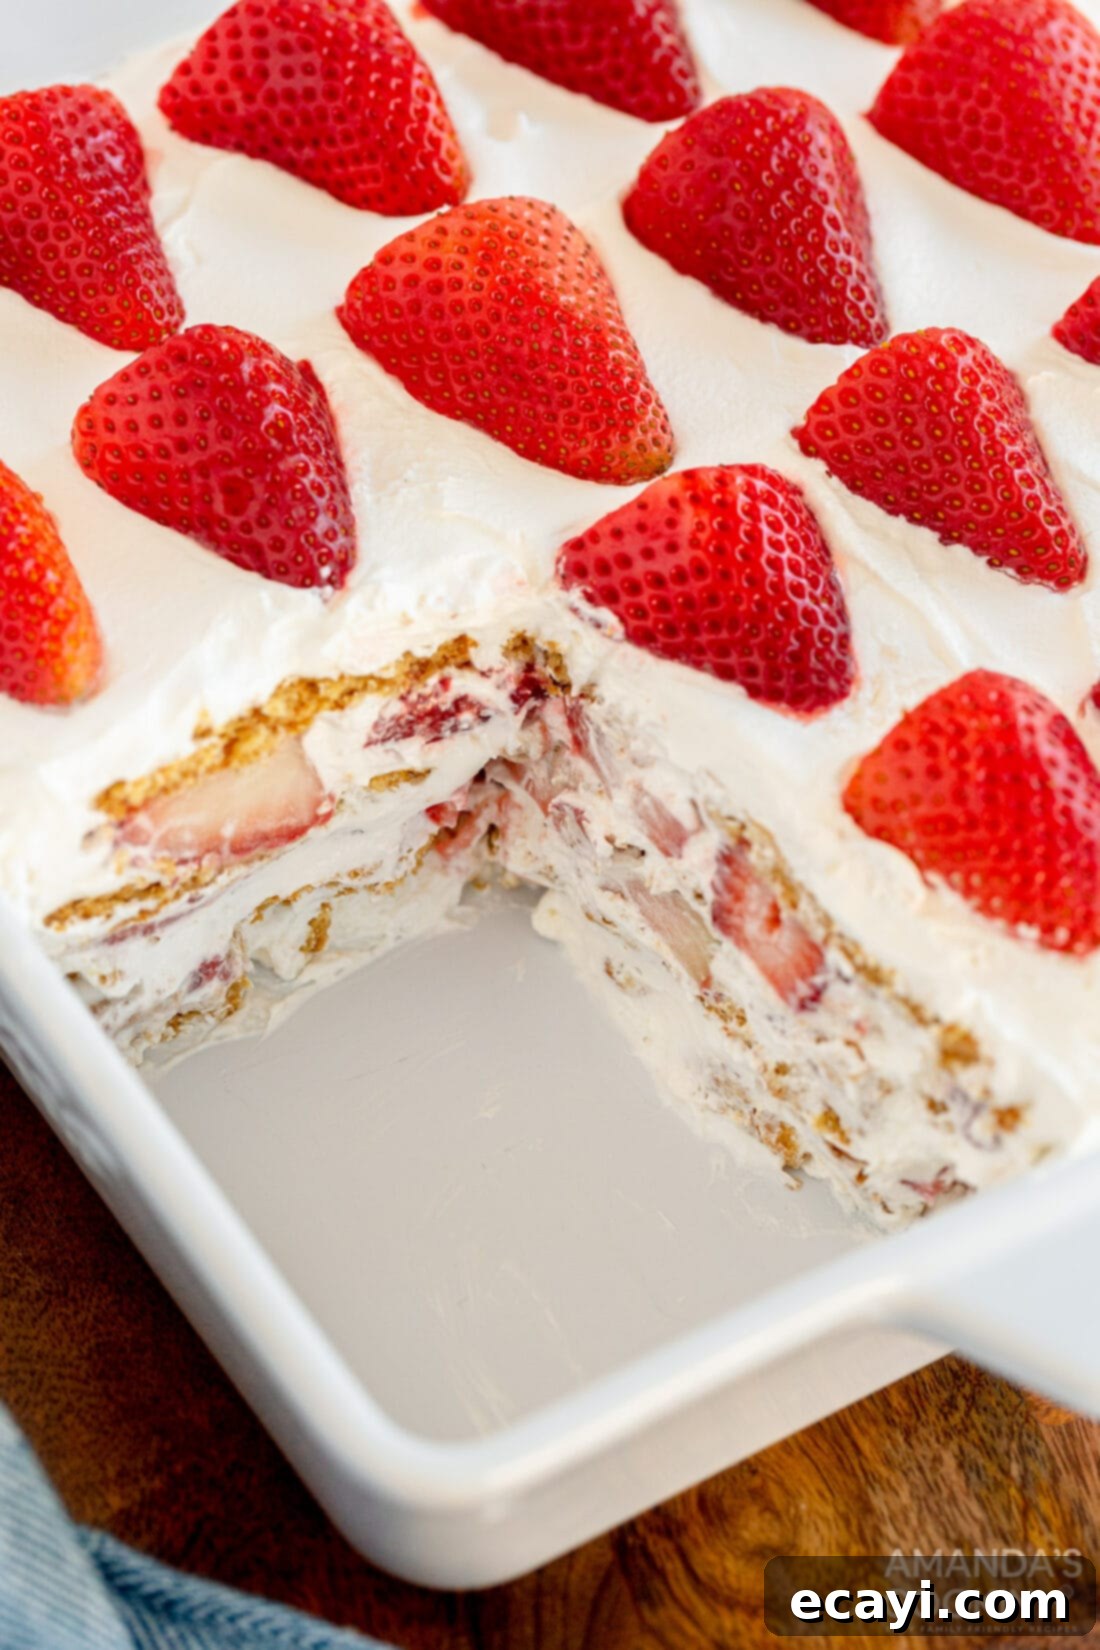
Elevate the classic pairing of fresh strawberries and cream into an extraordinary treat with this delightful no-bake, one-pan Strawberry Icebox Cake. This simple yet sophisticated dessert features layers of light and fluffy whipped cream, sweet and juicy strawberries, and crisp graham crackers that miraculously transform into a tender, cake-like texture. It’s the perfect fuss-free dessert for any occasion, from casual family gatherings to festive potlucks, requiring minimal effort and no oven at all. Prepare to impress your guests with this refreshing and utterly delicious creation!
Why This Strawberry Icebox Cake Recipe is a Must-Try
I truly can’t emphasize enough how incredibly delicious and refreshingly simple this Strawberry Icebox Cake is to prepare. The magic lies in its uncomplicated nature – just three primary ingredients: ripe strawberries, decadent whipped cream, and humble graham crackers. Yet, the synergy of these components creates a dessert that tastes far more intricate than its preparation suggests.
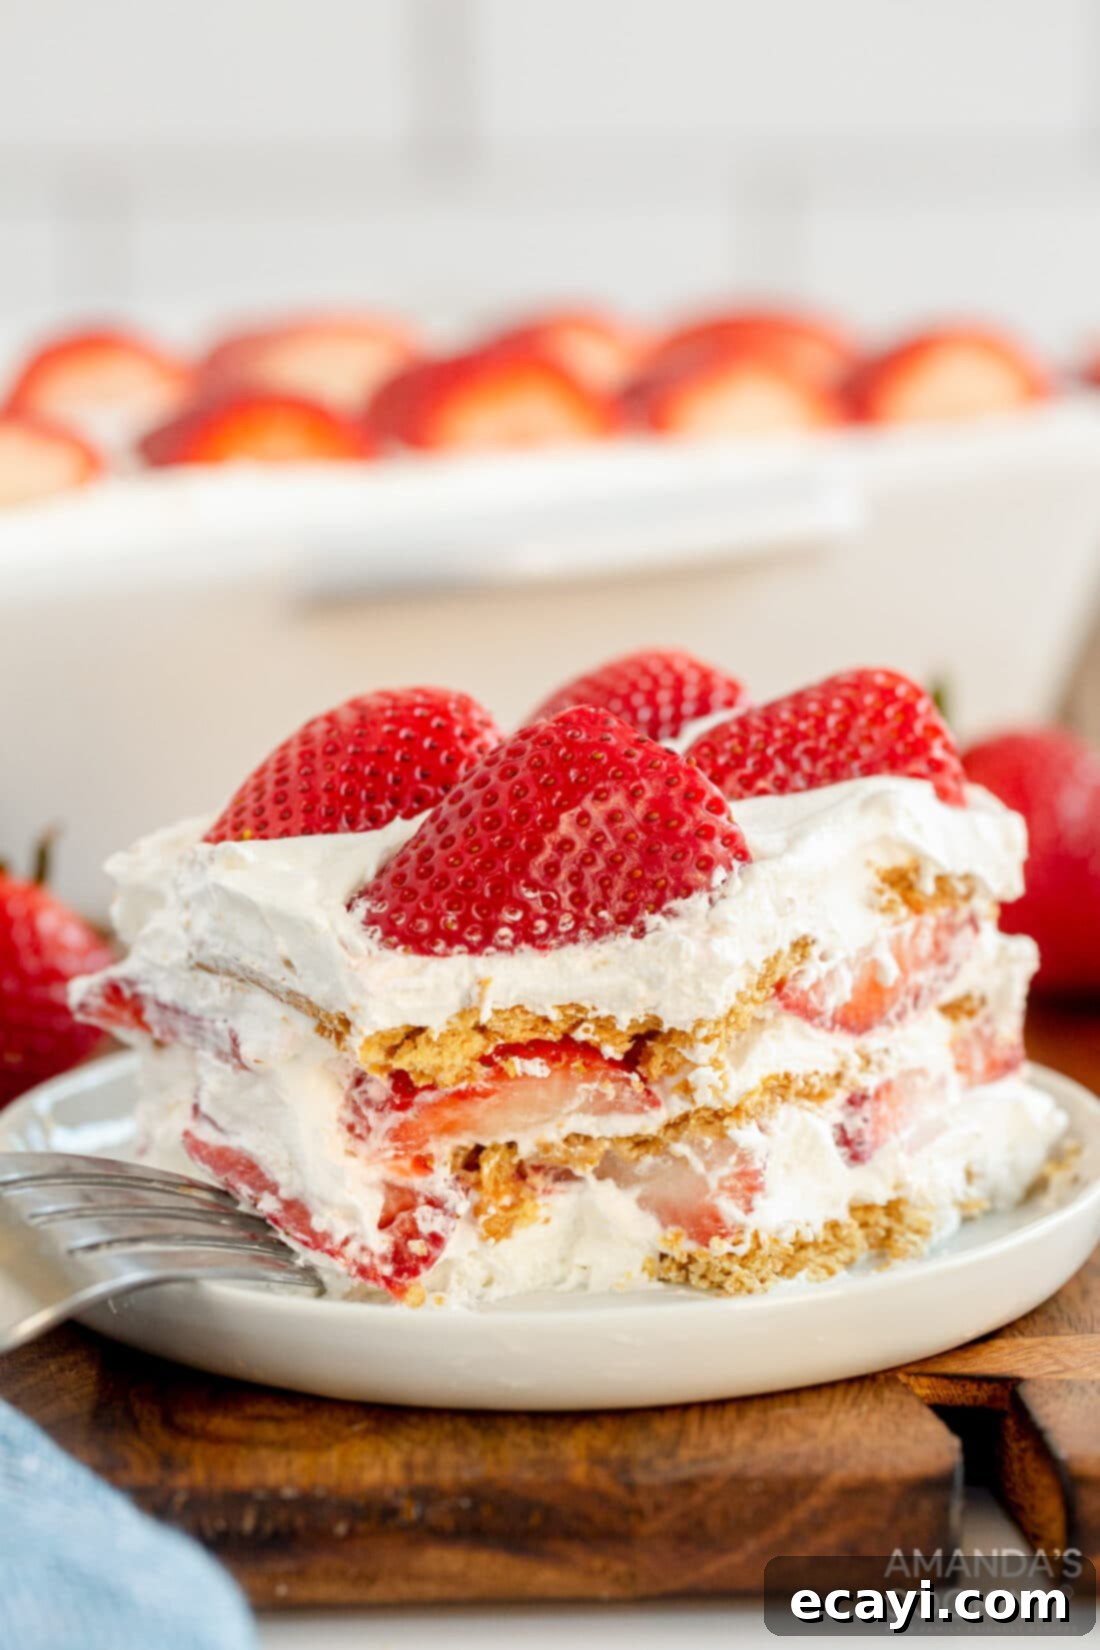
The genius behind an icebox cake is its no-bake assembly. Layers of these simple ingredients are stacked and then allowed to set patiently in the refrigerator. During this chilling period, a wonderful transformation occurs: the crisp graham crackers slowly absorb the moisture and sweetness from the whipped cream, softening to a tender consistency that mimics a traditional baked cake. While the idea of “mushy cookies” might sound unconventional, trust me when I say it’s an utterly delightful texture that melts in your mouth.
What sets this particular recipe apart is its perfect balance of flavors. It’s wonderfully sweet without being cloying, light and airy, and bursts with the fresh taste of summer strawberries. It makes for an ideal dessert when you crave something special but want to avoid turning on the oven, especially during warmer months. This cake is not just a dessert; it’s a refreshing experience that’s consistently a hit wherever it’s served.
RELATED: If you love strawberry desserts, you might also enjoy this Strawberry Shortcake recipe!
The versatility of icebox cakes is another reason to love them. While strawberries shine here, this recipe can be easily adapted with other favorite berries like tart raspberries or sweet blueberries for a delightful twist. If you’re a fan of chocolate and cookies, consider exploring our Oreo Icebox Cake – a classic that delivers a rich, creamy indulgence. When fresh strawberries are in peak season, however, this no-bake strawberry icebox cake remains my absolute go-to for its vibrant flavor and effortless charm.
Essential Ingredients for Your Strawberry Icebox Cake
Creating this stunning Strawberry Icebox Cake requires only a handful of readily available ingredients. For precise measurements, detailed quantities, and comprehensive instructions, please refer to the printable recipe card located at the conclusion of this article.
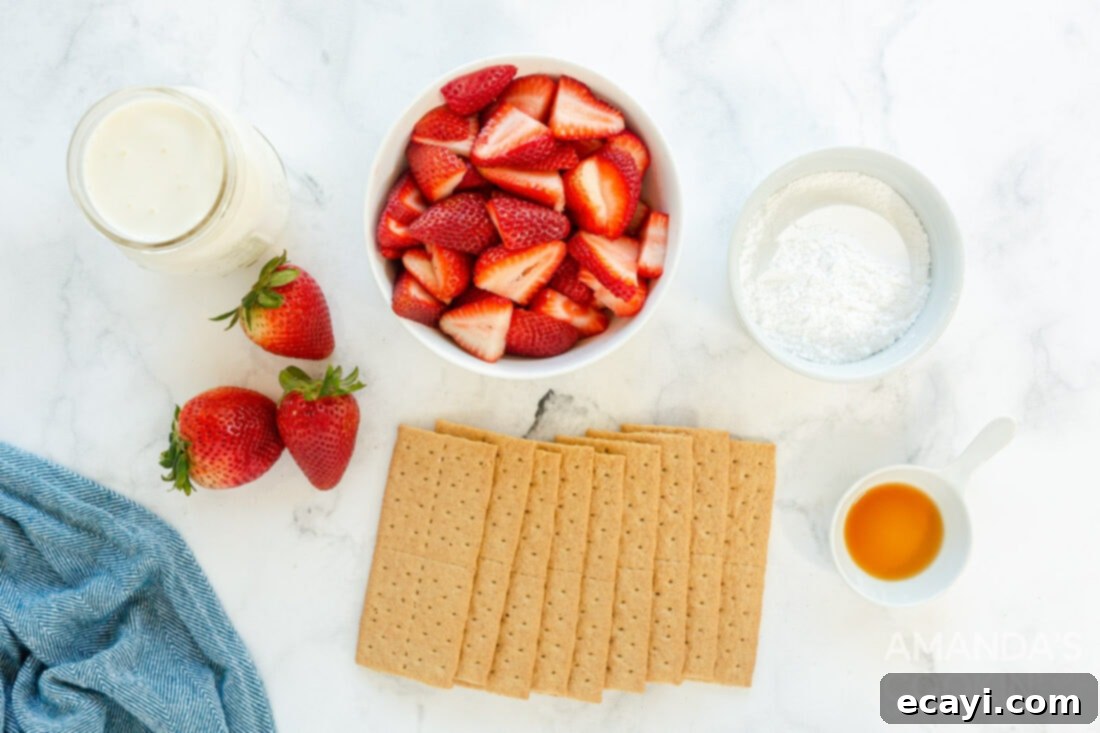
FRESH STRAWBERRIES: The star of this dessert! We highly recommend using fresh, ripe strawberries for the best flavor and texture. Their natural sweetness and slight tartness perfectly complement the creamy layers. While we haven’t extensively tested this recipe with frozen strawberries, if you choose to use them, it’s crucial to thaw them completely on paper towels first. Frozen strawberries release a significant amount of liquid as they thaw, which can make your icebox cake overly soggy and compromise its delicate structure. Patting them dry thoroughly before layering is a must to prevent excess moisture.
WHIPPED CREAM (Homemade or Cool Whip): This forms the rich, airy base that soaks into the graham crackers. For the most superior flavor and a truly luxurious texture, I strongly advocate for making homemade whipped cream. It’s surprisingly easy and the difference in taste is remarkable. However, if convenience is your priority, a high-quality store-bought whipped topping like Cool Whip can be a suitable substitute. Just be aware that the overall flavor profile will be slightly different. Homemade whipped cream is typically made with heavy cream, powdered sugar (confectioners’ sugar), and vanilla extract.
GRAHAM CRACKERS: These unassuming biscuits are the “cake” component of our icebox cake. When layered with the sweetened cream and allowed ample time to chill, they soften beautifully, absorbing the flavors and moisture to create a wonderfully tender, cake-like texture. Regular honey graham crackers work perfectly, but you could experiment with chocolate or cinnamon graham crackers for a different flavor dimension.
POWDERED SUGAR: Also known as confectioners’ sugar, this ingredient is essential for sweetening the whipped cream. Its fine texture ensures it dissolves smoothly, resulting in a silky, lump-free cream. It also helps stabilize the whipped cream, giving it a better structure.
VANILLA EXTRACT: A dash of pure vanilla extract enhances the overall flavor of the whipped cream, adding a warm, aromatic note that beautifully complements the fresh strawberries.
Step-by-Step Guide: How to Make Strawberry Icebox Cake
These step-by-step photos and detailed instructions are provided to help you visualize each stage of making this delectable dessert. For a convenient printable version of this recipe, complete with exact measurements and full instructions, you can Jump to Recipe at the bottom of this post.
- Prepare the Whipped Cream: In the bowl of a stand mixer fitted with a whisk attachment, or using a hand-held electric mixer, combine the cold heavy whipping cream, powdered sugar, and vanilla extract. Beat on medium-high speed until stiff peaks form. Stiff peaks mean that when you lift the whisk, the cream holds its shape firmly without collapsing. Be careful not to overmix, as this can turn the cream grainy.
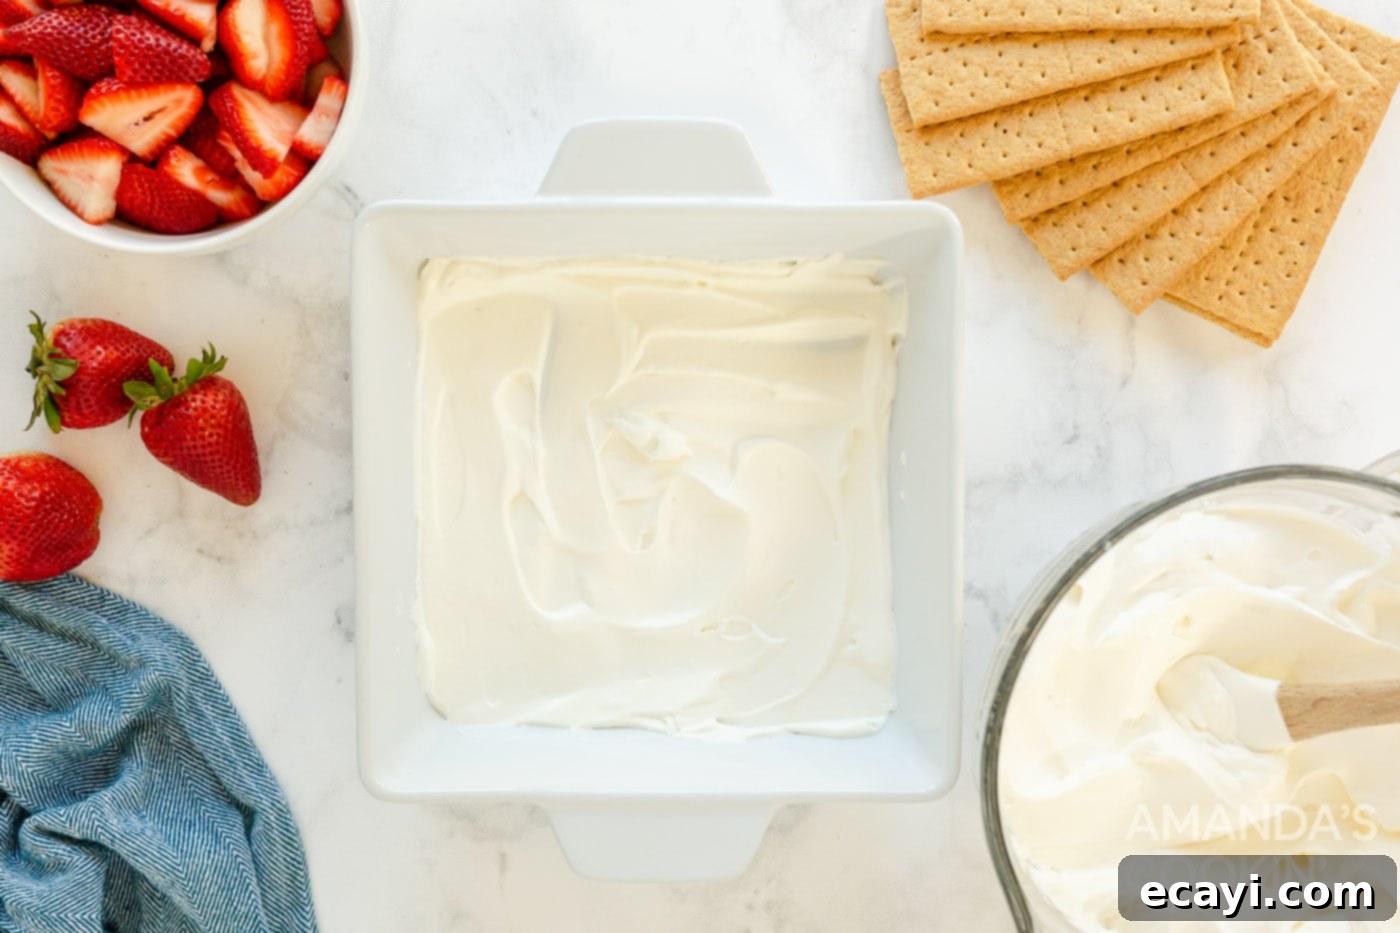
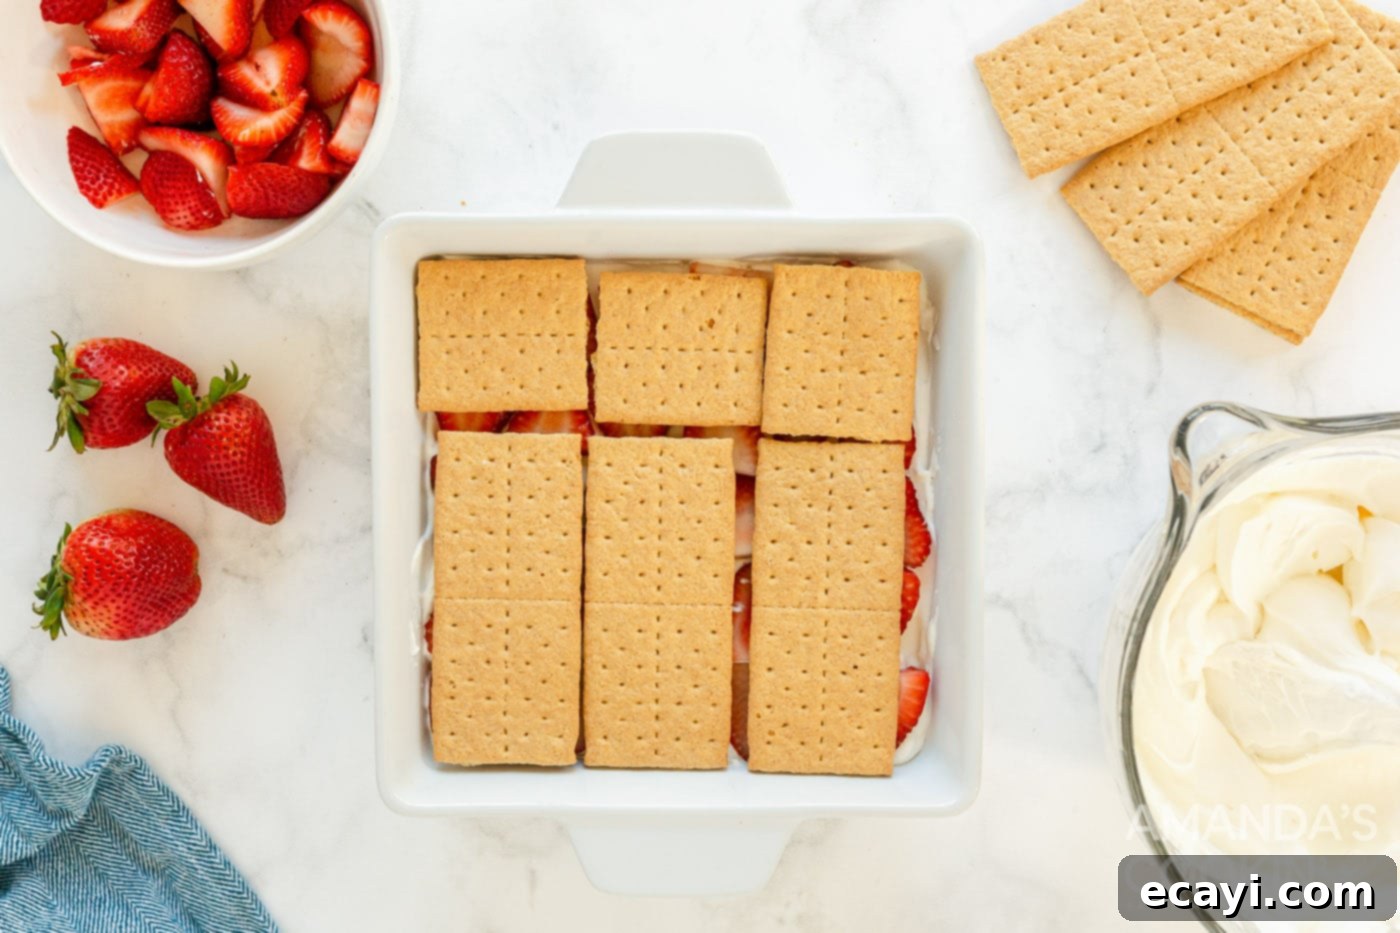
- Lay the Foundation: Spoon a very thin layer of the prepared whipped cream onto the bottom of a 9×9 inch square baking pan. This initial smear acts as an adhesive, preventing your graham cracker layer from shifting while you build the cake.

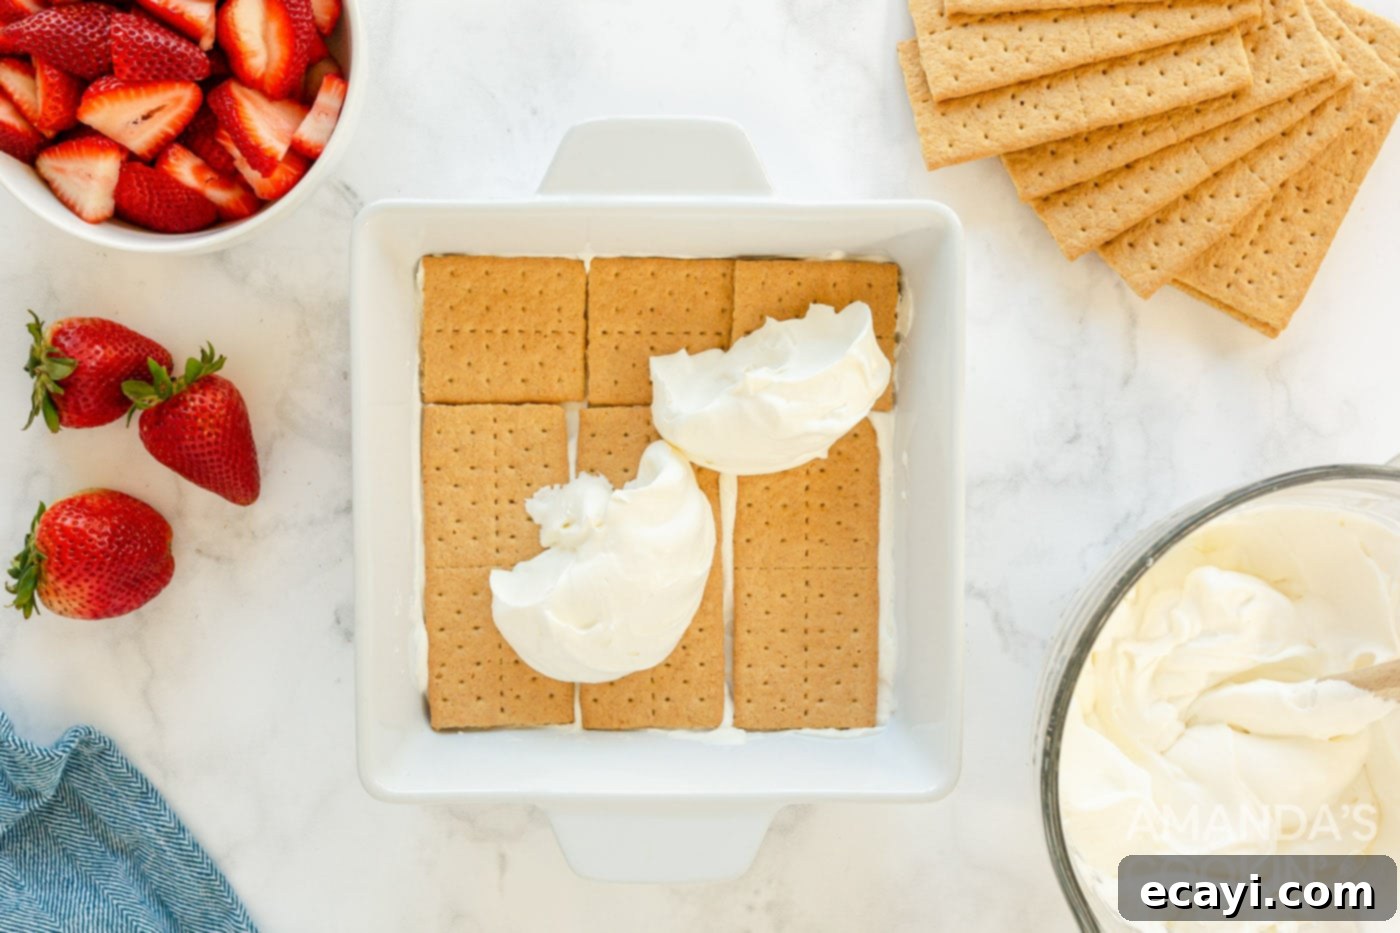
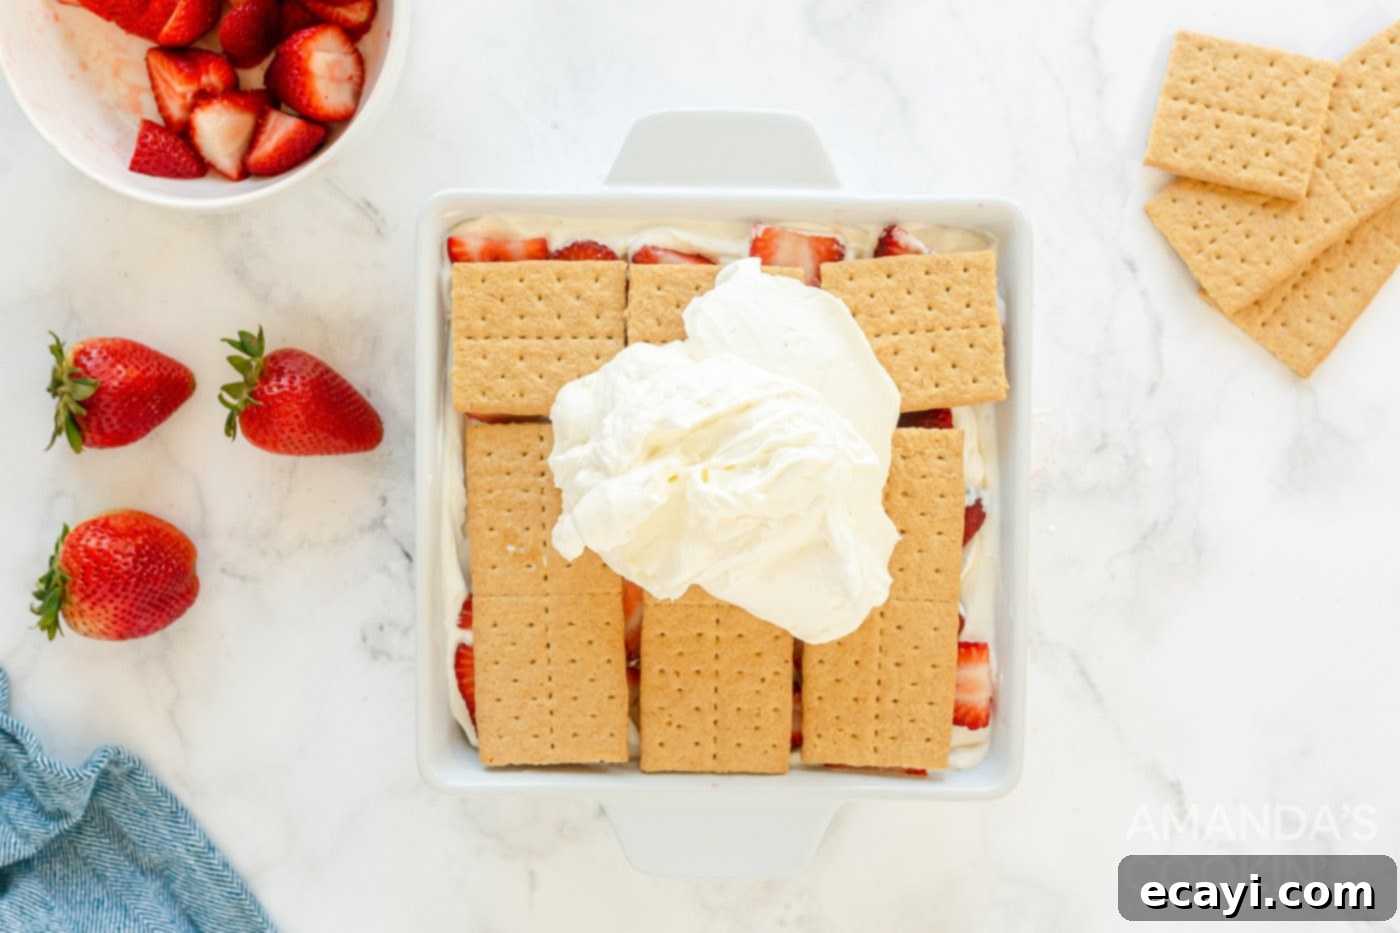
- First Graham Cracker and Cream Layer: Carefully arrange a single layer of graham crackers over the thin layer of cream in the pan. You may need to break or cut some graham crackers to fill in any gaps and ensure a complete, even layer across the bottom of the pan. Once the crackers are in place, generously spread about one-third of your whipped cream evenly over the graham crackers using a rubber spatula, creating a smooth and luscious layer.

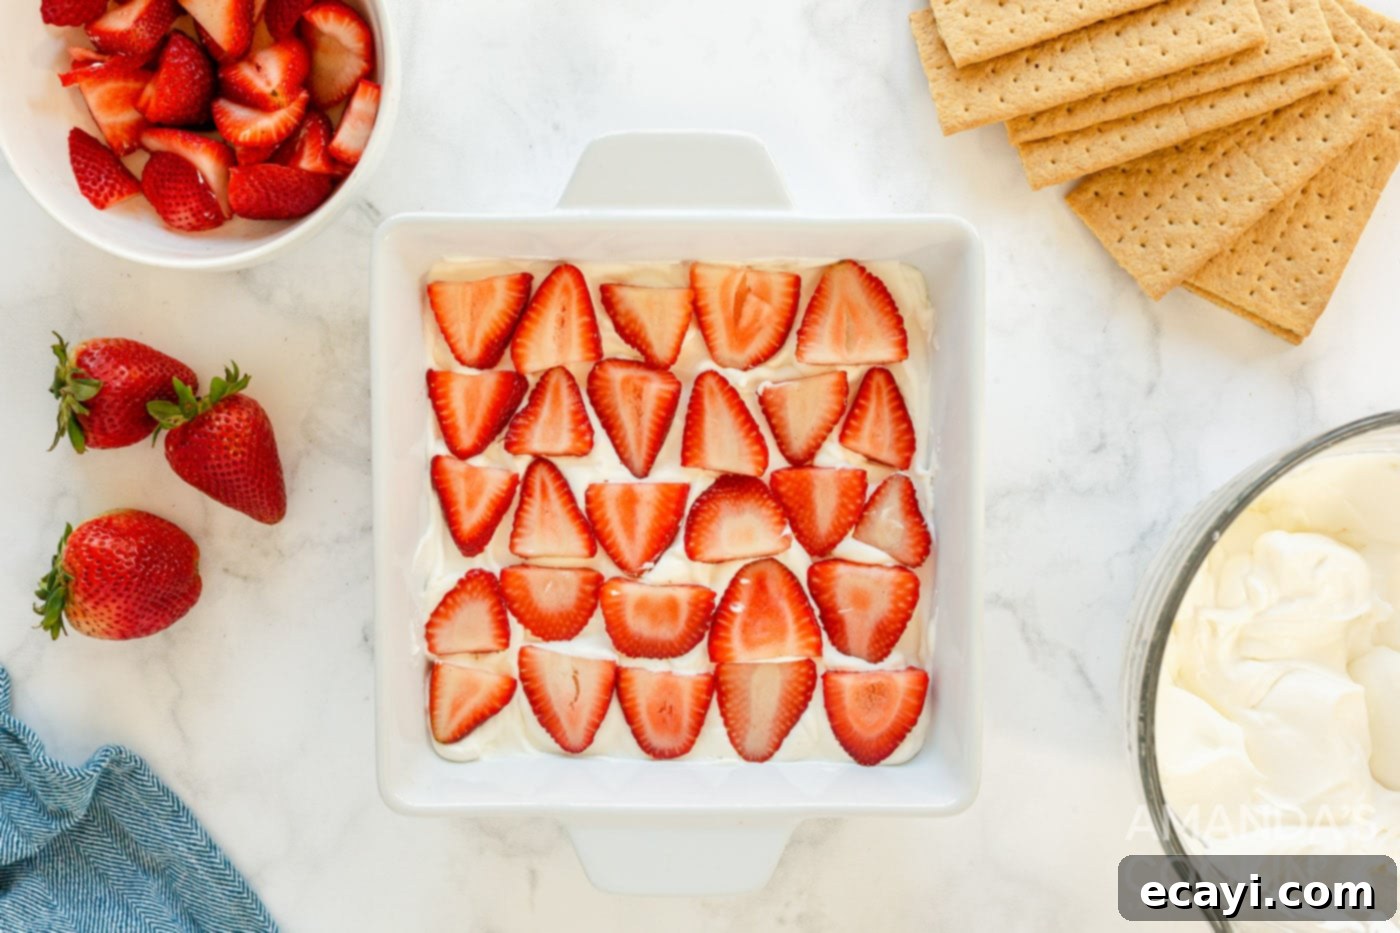
- Add Fresh Strawberries: Over the layer of whipped cream, arrange about one-third of your sliced fresh strawberries in an even layer. Try to distribute them so that each slice of cake will get a good amount of strawberry.

- Repeat and Build Layers: Repeat steps 3 and 4 two more times. This means you will have a total of three layers of graham crackers, three layers of whipped cream, and three layers of strawberries. Ensure you end with a final layer of vibrant strawberries on top.


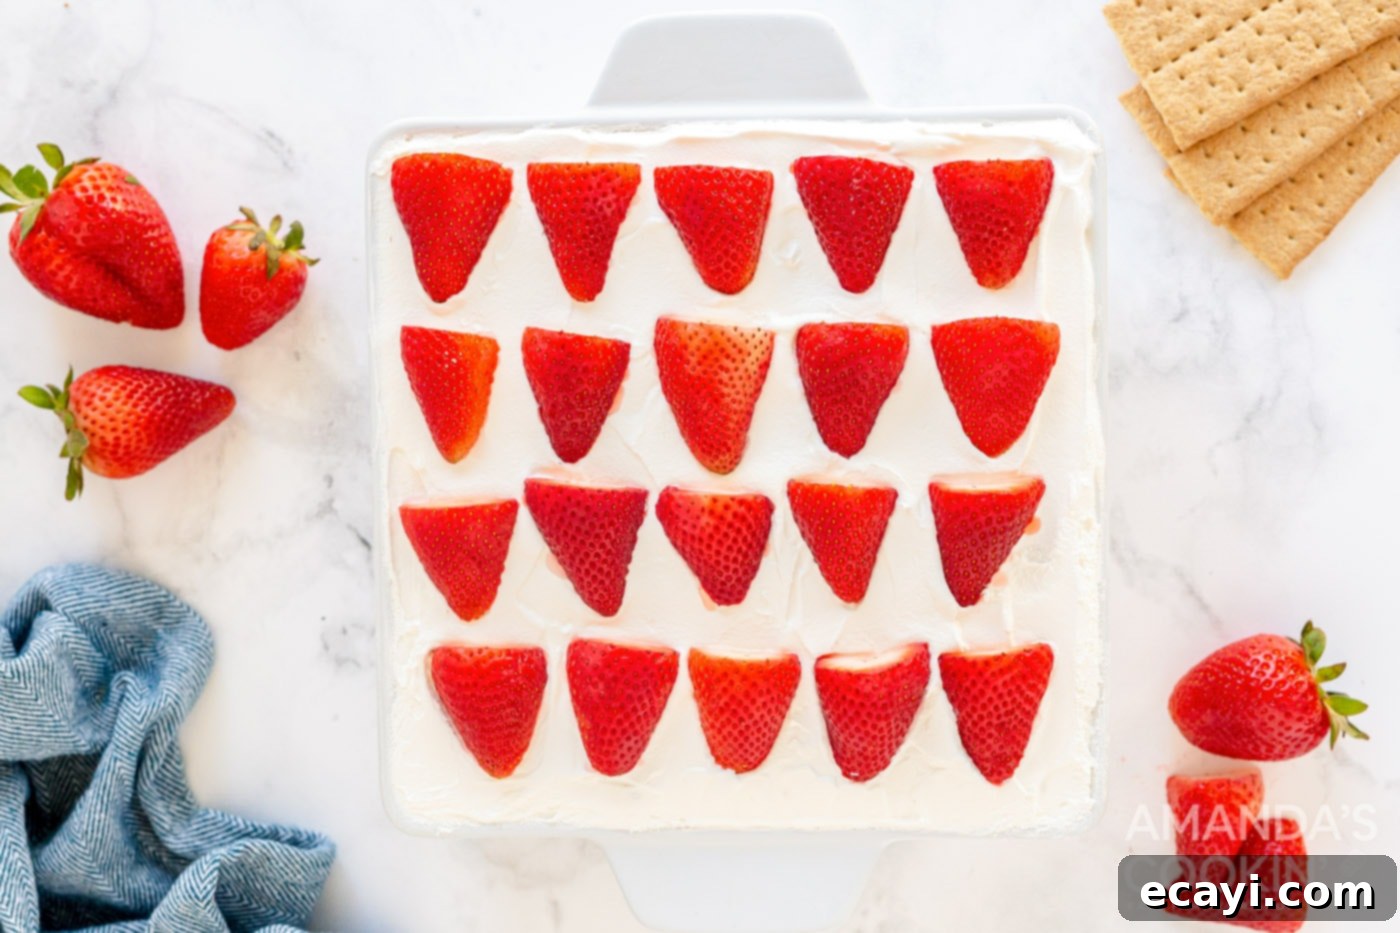
- Garnish and Chill: For an extra touch of elegance, artfully arrange any remaining sliced strawberries on the very top of the cake, creating an appealing pattern if desired. This final touch makes the dessert even more inviting.

Once assembled, cover the pan tightly with plastic wrap. This is crucial to prevent the whipped cream from absorbing refrigerator odors and to help the crackers soften effectively. Refrigerate the Strawberry Icebox Cake for a minimum of 4 hours. For the absolute best results and a fully developed cake-like texture, it’s highly recommended to chill it overnight.
Expert Tips for a Perfect Strawberry Icebox Cake
Achieving a show-stopping strawberry icebox cake is easier than you think with a few key tips:
- Chilled Equipment for Whipped Cream: For the lightest, fluffiest homemade whipped cream, make sure your mixing bowl and whisk attachment (or beater blades) are thoroughly chilled. Pop them in the freezer for 10-15 minutes before you start. This helps the cream whip up faster and hold its stiff peaks better.
- Perfect Strawberries: Always use fresh, ripe strawberries. Wash and hull them thoroughly, then slice them evenly. If using frozen strawberries as a last resort, ensure they are completely thawed and then carefully patted dry with paper towels to remove all excess moisture. This step is critical to prevent a watery or soggy cake.
- Even Graham Cracker Layers: While laying out the graham crackers, don’t be afraid to break or trim them to fit snugly into your pan. A solid, even layer ensures uniform softening and a beautiful presentation when sliced.
- Don’t Rush the Chill Time: The refrigeration period is not just for cooling; it’s when the magic happens! Allow at least 4 hours for the graham crackers to absorb the cream and soften. Overnight chilling is ideal for the most cake-like texture and for flavors to fully meld together. Plan accordingly if you’re making this for a specific event.
- Avoid Overmixing Whipped Cream: Once stiff peaks form, stop beating. Overmixing can cause the whipped cream to separate and become grainy, affecting the overall texture of your icebox cake.
- Pan Size Matters: A 9×9 inch square pan is specified for this recipe, which yields ideal layering and serving sizes. Using a pan that is too large or too small may alter the number of layers or the consistency of the cake.
Frequently Asked Questions About Strawberry Icebox Cake
Yes, absolutely! You can substitute homemade whipped cream with an equal amount of Cool Whip or any other whipped topping for convenience. While homemade whipped cream offers a richer, fresher flavor and a slightly firmer texture, Cool Whip provides a perfectly acceptable and delicious alternative, especially if you’re short on time. Just ensure it’s fully thawed before layering.
This strawberry icebox cake is an excellent make-ahead dessert! In fact, it’s designed to be made ahead. You can prepare it up to 1 day in advance. The minimum chilling time is 4 hours, which allows the graham crackers to soften and the flavors to blend. However, chilling it overnight will yield the best results, creating a perfectly tender, cake-like texture and deeper strawberry-cream flavor.
Yes, this dessert freezes beautifully for up to 3 months. To freeze, first cut the cake into individual serving-sized pieces. Line a plate or a small baking sheet with waxed paper and place the pieces on it, ensuring they are not touching. Freeze for 3-4 hours, or until completely solid. Once frozen, wrap each individual piece tightly with plastic wrap to prevent freezer burn. Store the wrapped pieces in a freezer-safe bag or airtight container. To thaw, simply remove a frozen piece from the freezer, unwrap it immediately (this prevents the plastic wrap from sticking to the thawed dessert), and let it thaw in the refrigerator for a few hours or at room temperature for about 30-60 minutes.
Leftover strawberry icebox cake should be stored in the refrigerator. Cover the pan tightly with an airtight lid or plastic wrap to keep it fresh and prevent it from absorbing other food odors. Properly stored, it will remain delicious for up to 4 days.
Absolutely! While strawberries are classic, this recipe is highly adaptable. You can easily swap them for other fresh berries like raspberries, blueberries, or a mix of berries. Just ensure the fruit is ripe, fresh, and patted dry if it tends to be juicy. For other fruits, choose softer varieties like sliced bananas (add them just before serving to prevent browning) or thinly sliced peaches.
Sogginess is usually caused by excess moisture. To prevent this, always use fresh strawberries and pat them thoroughly dry if they’ve been washed or if using thawed frozen berries. Ensure your whipped cream is properly stiff-peaked, as loose cream can contribute to excess moisture. Finally, covering the cake tightly during chilling helps keep the moisture within the cake’s layers, allowing the graham crackers to soften perfectly without becoming waterlogged.
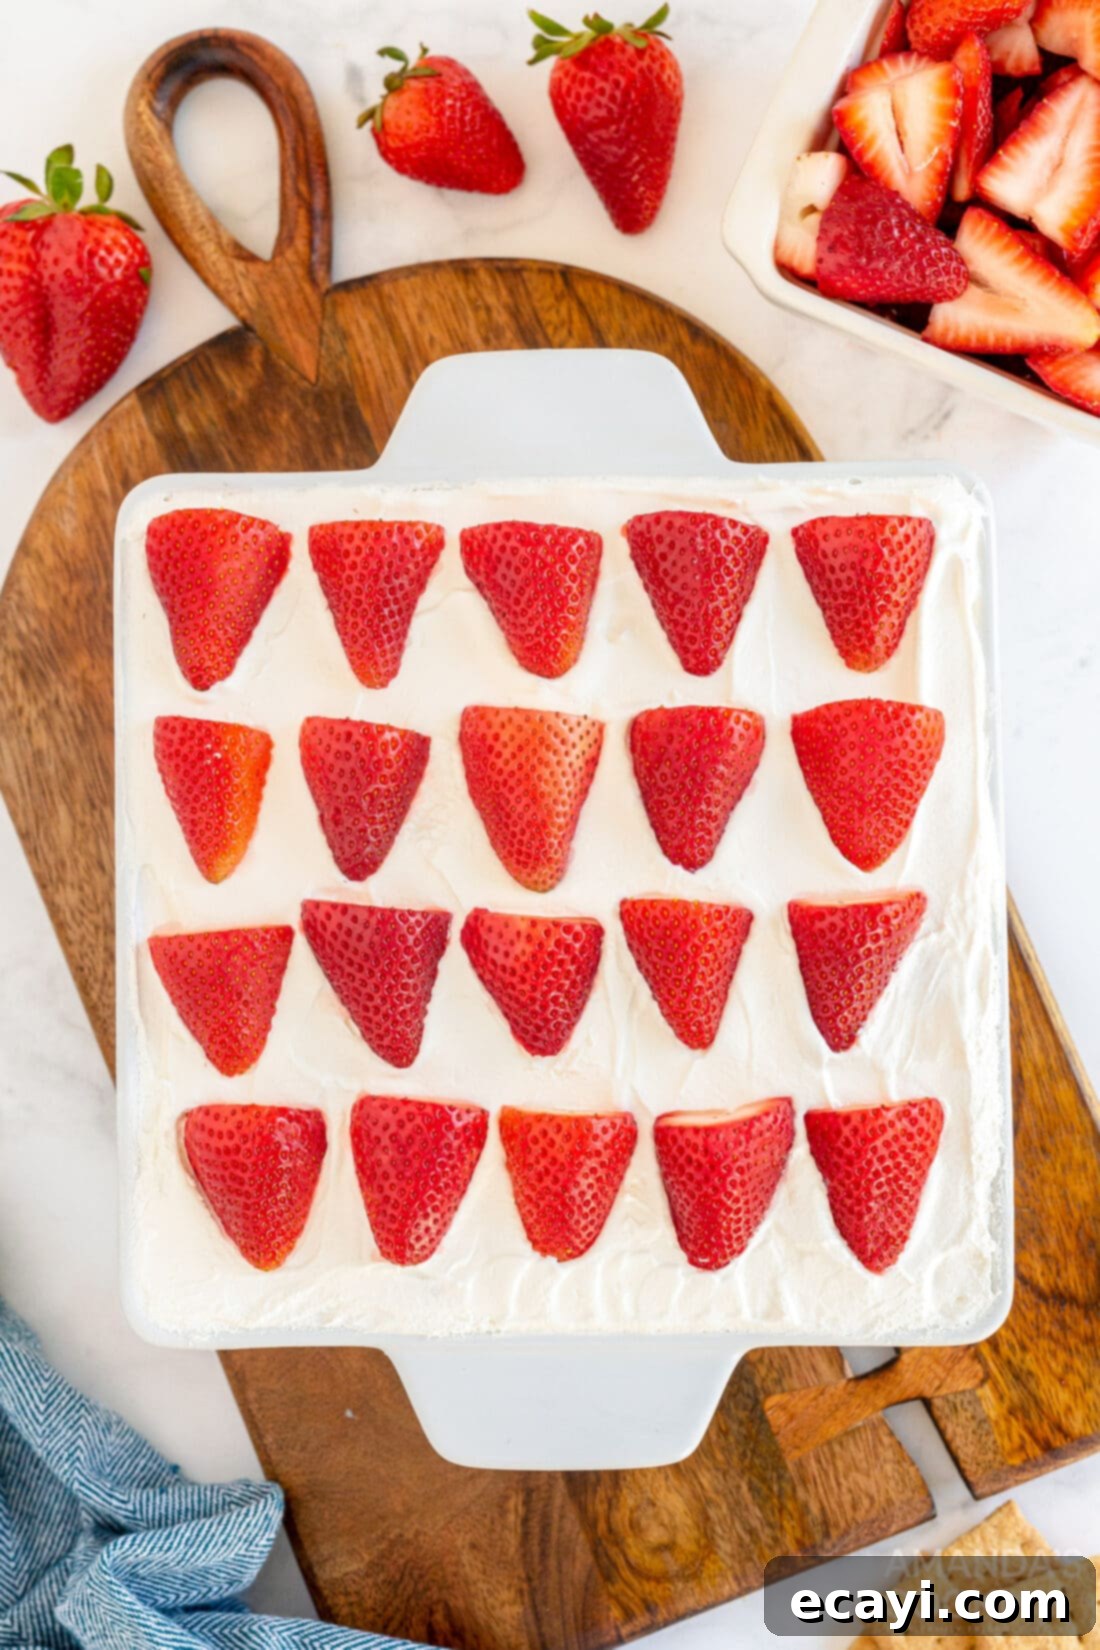
My all-time favorite no-bake dessert typically defaults to Oreo Cake, but when the sweet abundance of strawberry season arrives, this Strawberry Icebox Cake undeniably steals the spotlight. It’s destined to become a beloved staple for spring and summer gatherings, effortlessly charming everyone with its vibrant flavors and gorgeous layered appearance.
This cake is not just delicious; it’s incredibly photogenic, especially when prepared in a glass baking dish where each beautiful layer of cream, crackers, and berries can be admired. Much like my layered Fiesta Bean Dip, which disappears in minutes, this Strawberry Icebox Cake is guaranteed to be a crowd-pleaser at your next potluck, barbecue, or family celebration. Its simple elegance and refreshing taste make it unforgettable!
Explore More Delicious Icebox Cake Recipes
If you love the ease and deliciousness of this no-bake strawberry icebox cake, you’ll be thrilled to discover our other icebox cake creations:
- Bright and Zesty Lemon Icebox Cake
- Celebratory Funfetti Icebox Cake
- Refreshing Lemon Blueberry Icebox Cake
- Indulgent Chocolate Chip Cookie Icebox Cake
- Campfire-Inspired S’mores Icebox Cake
- Classic Oreo Icebox Cake
- Rich and Decadent Chocolate Icebox Cake
I am passionate about baking and cooking, and I love sharing my culinary adventures and tested recipes with all of you! It can be challenging to remember to check back daily for new content, which is why I offer a convenient newsletter every time a new recipe is posted. Simply subscribe here to start receiving your free daily recipes directly in your inbox!
Strawberry Icebox Cake
IMPORTANT – There are often Frequently Asked Questions and Expert Tips within the blog post that you may find helpful. Simply scroll back up to read them!
Print It
Pin It
Rate It
Save ItSaved!
Ingredients
- 2 cups heavy whipping cream
- ½ cup powdered sugar
- 1 teaspoon vanilla extract
- 1 pound fresh strawberries sliced
- 7.2 ounces graham crackers (approx. 1.5 sleeves)
Equipment You’ll Need
-
9×9 inch baking pan
-
Electric mixer (stand or hand-held)
-
Rubber spatula
Before You Begin & Pro Tips
- For optimal results, always use fresh strawberries. If you must use frozen, thaw them completely and pat dry with paper towels to avoid a soggy cake.
- To ensure your homemade whipped cream whips up perfectly, chill your mixing bowl and beaters in the freezer for about 10-15 minutes beforehand. While they’re chilling, you can wash, hull, and slice your fresh strawberries. I always slice extra because they’re so tempting!
- The initial thin layer of whipped cream at the bottom of your pan isn’t just for taste; it acts as an anchor to keep your graham crackers from sliding around during assembly.
- When layering graham crackers, you’ll need to break or cut some pieces to completely fill any gaps in the pan, creating an even foundation for each layer.
- Layer the ingredients evenly: graham crackers, followed by whipped cream, then sliced strawberries. Repeat this sequence two more times, ending with a beautiful layer of strawberries on top.
- Cover the assembled cake tightly with plastic wrap and refrigerate for at least 4 hours. For the best cake-like consistency and enhanced flavors, chilling it overnight is highly recommended. The crackers will fully soften, and the strawberries will infuse their sweet, fruity essence into the cream.
Instructions
-
In a stand mixer or with a hand-held mixer, beat the cold heavy cream, powdered sugar, and vanilla extract until stiff peaks form. Be careful not to overmix.2 cups heavy whipping cream, 1/2 cup powdered sugar, 1 teaspoon vanilla extract
-
Spread a very thin layer of whipped cream on the bottom of a 9×9 inch square pan. Arrange a single layer of graham crackers over the cream, breaking them as needed to fit. Top this with about one-third of the whipped cream, smoothing it with a spatula. Then, add one-third of the sliced strawberries in an even layer. Repeat these cracker, cream, and strawberry layers two more times, ensuring the final layer is strawberries.7.2 ounces graham crackers, 1 pound fresh strawberries
-
If desired, arrange additional fresh berries on top for decoration. Cover the pan tightly with plastic wrap and refrigerate for at least 4 hours, or ideally overnight, before slicing and serving.
Storage and Freezing Instructions
- Store your strawberry icebox cake covered with an airtight lid or tightly wrapped in plastic wrap in the refrigerator for up to 4 days.
- This dessert can be frozen for up to 3 months. To freeze, cut the cake into serving-sized pieces. Place pieces on a plate or small baking sheet lined with waxed paper, ensuring they are not touching. Freeze for 3-4 hours until solid. Once frozen, wrap each individual piece with plastic wrap and store in a freezer-safe bag. To thaw, remove a piece from the freezer, remove the plastic wrap while still frozen (this prevents sticking), and thaw in the refrigerator or at room temperature.
Nutrition Information (Estimated Per Serving)
The recipes on this blog are tested with a conventional gas oven and gas stovetop. It’s important to note that some ovens, especially as they age, can cook and bake inconsistently. Using an inexpensive oven thermometer can assure you that your oven is truly heating to the proper temperature. If you use a toaster oven or countertop oven, please keep in mind that they may not distribute heat the same as a conventional full sized oven and you may need to adjust your cooking/baking times. In the case of recipes made with a pressure cooker, air fryer, slow cooker, or other appliance, a link to the appliances we use is listed within each respective recipe. For baking recipes where measurements are given by weight, please note that results may not be the same if cups are used instead, and we can’t guarantee success with that method.
ONE-PAN DESSERTS COOKBOOK!
The one-pan dessert is ideal for all occasions including potlucks, holidays, barbecues and birthdays. Several of these desserts do not require baking making them perfect for summer. See ALL my cookbooks here!
20 delicious one-pan dessert recipes plus tips for dessert success! ONLY $9.97!!
