Perfectly Grilled Mahi Mahi: A Quick & Flavorful 30-Minute Dinner
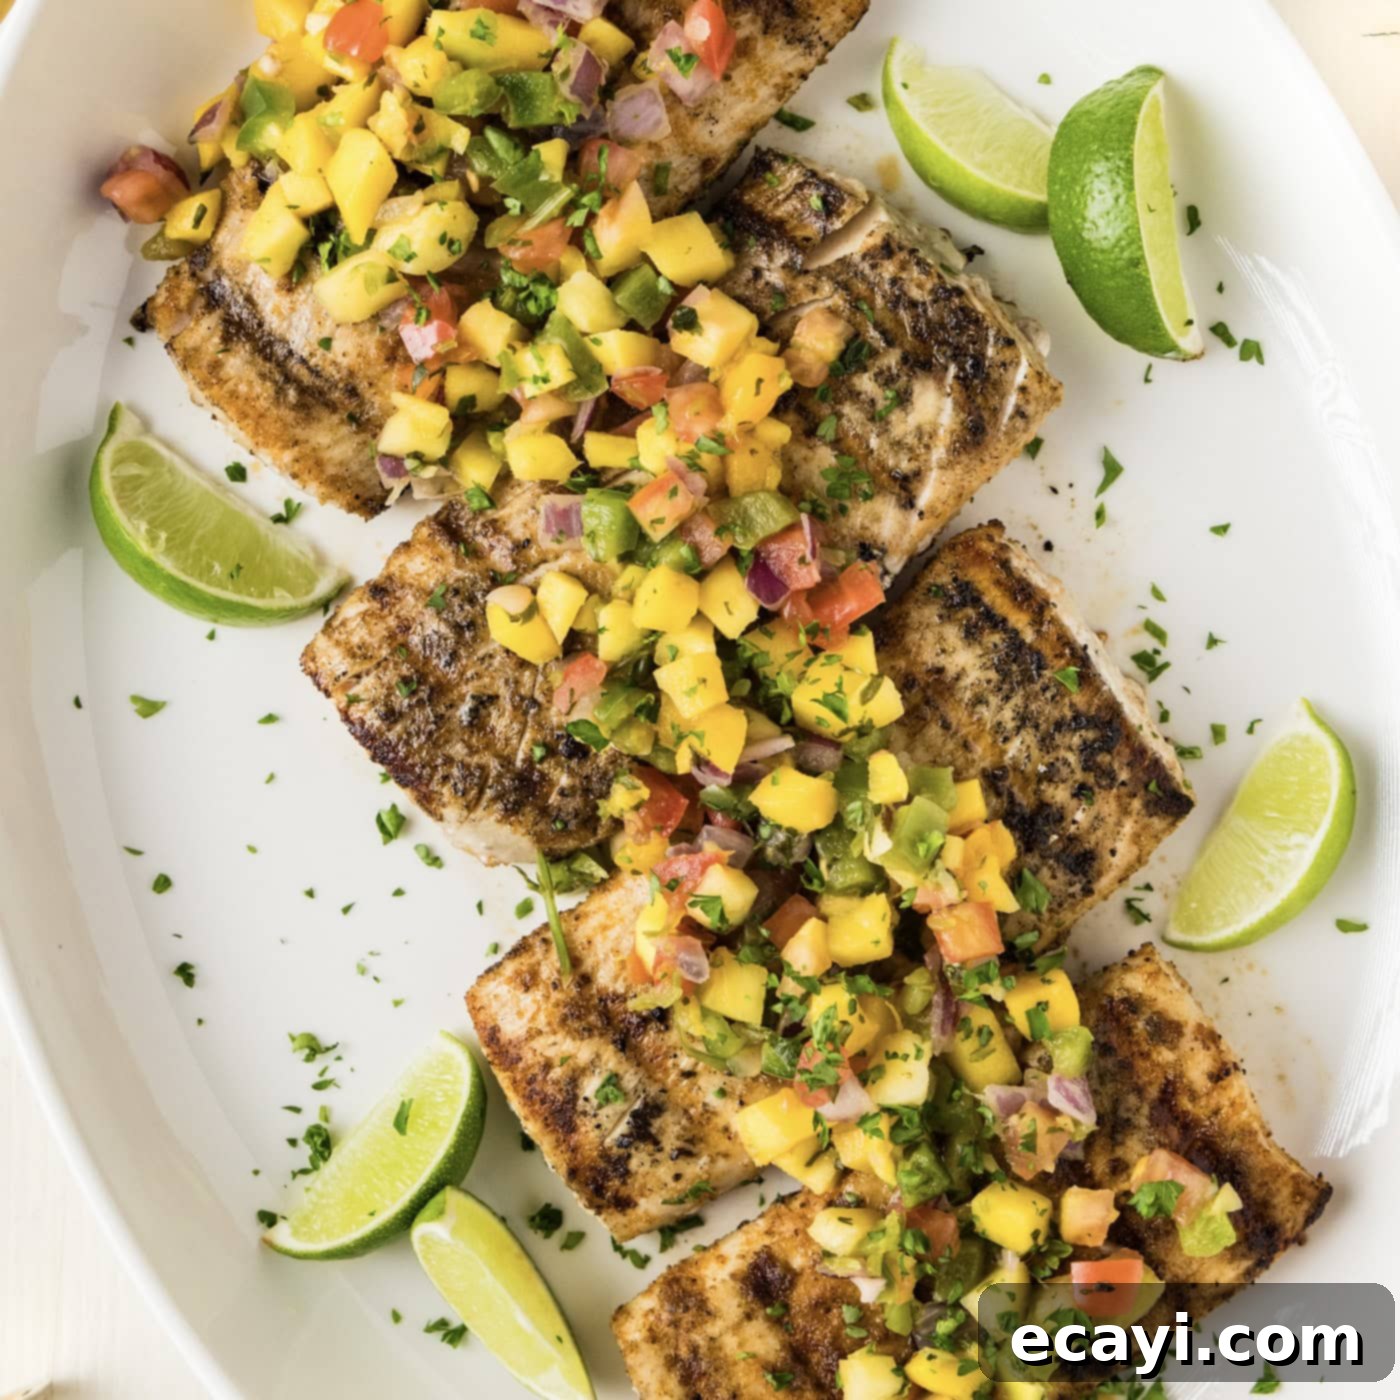
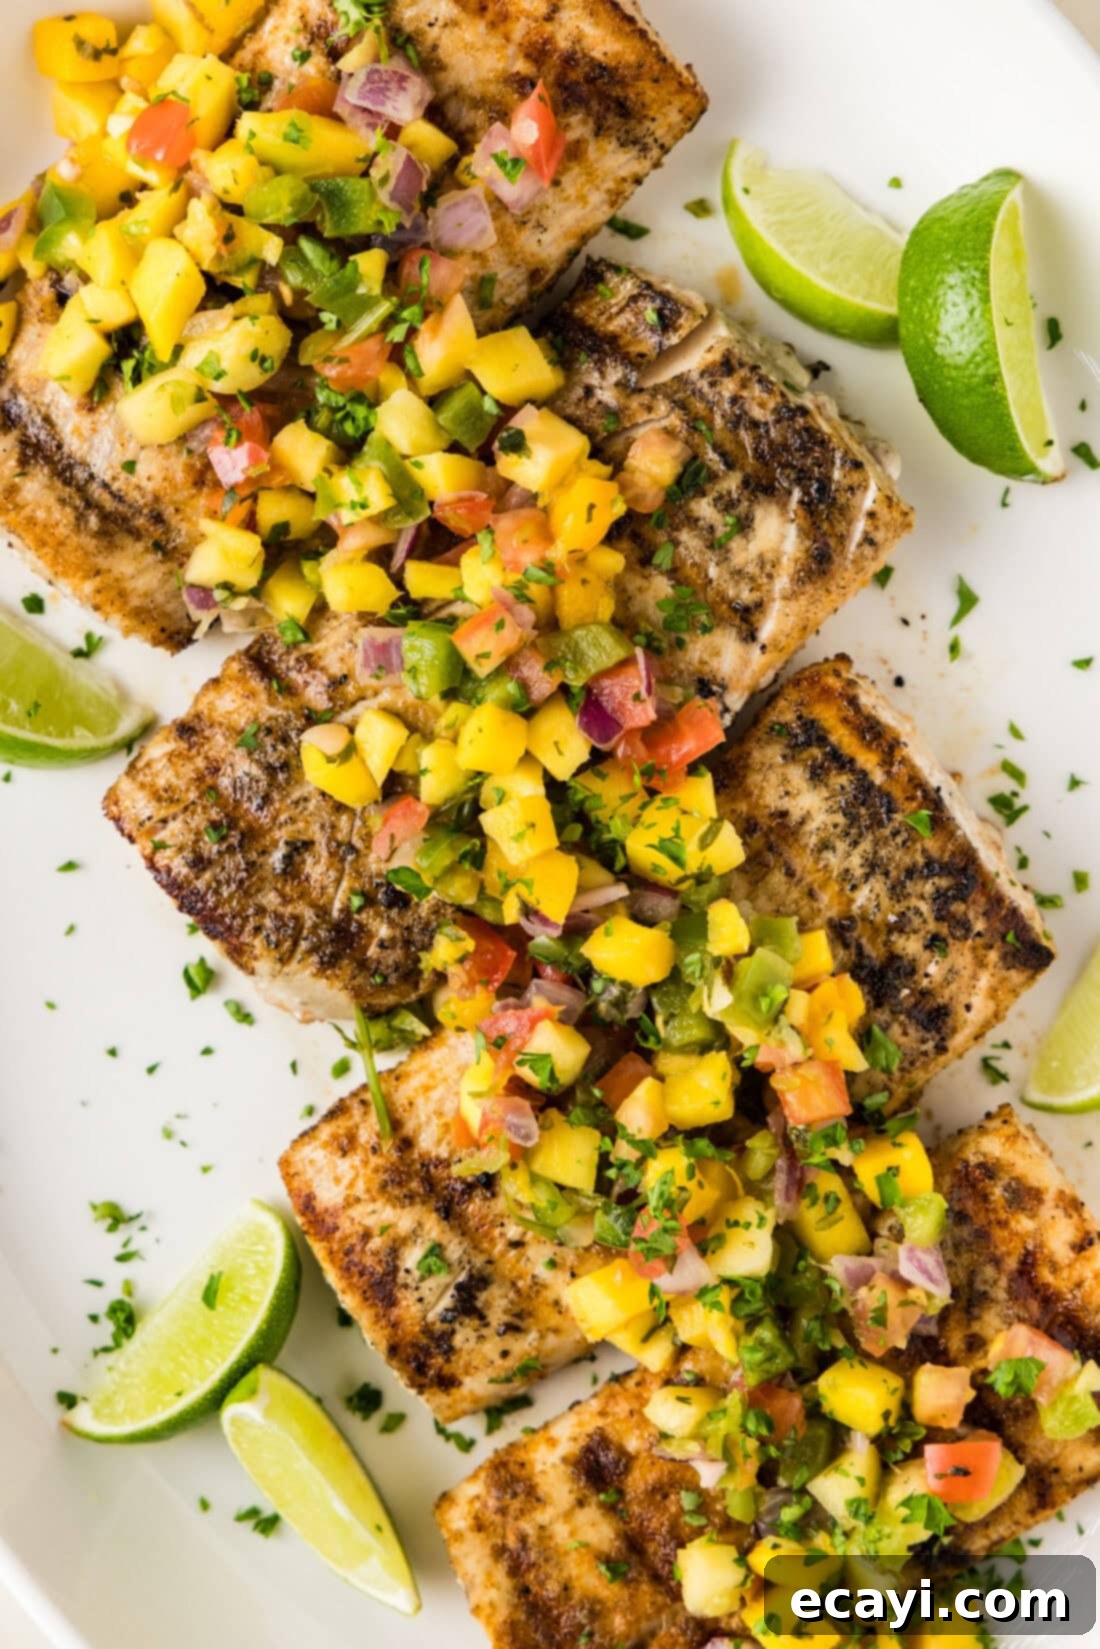
Prepare to savor the incredible taste of tender grilled mahi mahi, cooked to perfection in under 30 minutes. This recipe consistently delivers slightly flaky, mild-flavored fish that practically begs for the vibrant, sweet-and-tangy burst of a fresh mango salsa. It’s an ideal choice for a healthy, satisfying weeknight meal that’s both simple to prepare and impressive on the plate.
Why This Grilled Mahi Mahi Recipe Works So Well
Grilled mahi mahi stands out as one of our most beloved mild, flaky white fish options, and for good reason. Unlike more delicate fish like cod, often used in beer-battered fish, mahi mahi boasts a firmer, meatier texture. This makes it incredibly robust and perfectly suited for grilling, as it won’t fall apart on the grates, ensuring beautiful presentation and a delightful eating experience.
Its naturally mild flavor profile is a huge advantage, as it acts as a versatile canvas for bolder, more exciting tastes. This means you can get creative with your seasonings and accompaniments! It pairs exceptionally well with intense flavors, like a vibrant and juicy mango salsa—a pairing we highly recommend. But its adaptability doesn’t stop there; mahi mahi is also excellent with various marinades, tangy citrus-based sauces, or a simple squeeze of fresh lemon or lime.
Beyond its culinary versatility, grilling mahi mahi offers several practical benefits. Cooking outdoors means minimal cleanup in the kitchen, keeping your stovetop pristine. Moreover, the grill imparts a fantastic smoky flavor and desirable char marks that add depth and visual appeal to the fish. It’s a healthy cooking method that locks in moisture while creating a wonderfully crisp exterior. This recipe is designed to be straightforward and quick, making it a fantastic solution for busy weeknights when you need a delicious, wholesome meal fast.
Key Ingredients for Grilling Mahi Mahi
To prepare this amazing grilled mahi mahi, you’ll need just a few simple ingredients. You can find all specific measurements, quantities, and detailed instructions in the printable recipe card located towards the end of this post.
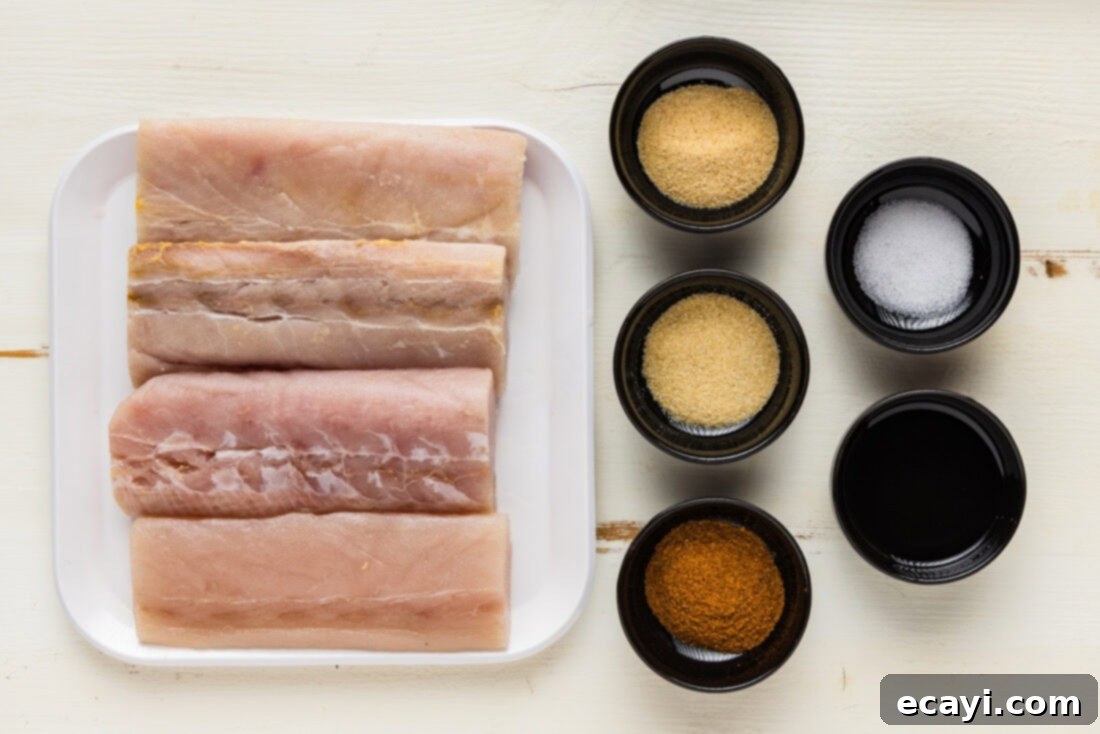
Ingredient Spotlight & Smart Substitutions
MAHI MAHI – Mahi mahi is our star ingredient, prized for its firm texture that maintains its integrity beautifully on the grill. When selecting mahi mahi, you might find it fresh or frozen. Both work wonderfully, but if you’re using frozen fillets, ensure they are fully thawed and patted dry before seasoning. Other excellent choices for grilling that share similar characteristics and can be easily substituted in this recipe include swordfish, halibut, and even thicker cuts of cod. These fish varieties are firm enough to withstand the heat of the grill without falling apart, ensuring a successful cooking experience.
It’s worth noting that the size and thickness of mahi mahi fillets can vary considerably, especially when purchased in packs of frozen fish. For instance, the fillets we used in developing this recipe from one frozen pack were a generous, healthy size, while a subsequent pack from the same brand yielded noticeably smaller fillets. This size difference is important to keep in mind when you’re shopping and, more critically, when you’re grilling, as smaller, thinner fillets will naturally cook faster than thicker ones. Always adjust your cooking time accordingly to prevent overcooking.
SEASONINGS – Our simple yet effective seasoning blend typically includes garlic powder, onion powder, and Old Bay seasoning, complemented by a touch of salt. Old Bay is a classic seafood seasoning that brings a fantastic blend of savory, peppery, and slightly spicy notes, enhancing the natural flavor of the mahi mahi without overpowering it. Feel free to customize this blend to your preference. You could add smoked paprika for a deeper, earthier flavor, a pinch of cayenne pepper for a subtle kick, or a dash of lemon pepper for extra zest. The goal is to create a flavor profile that excites your palate.
OLIVE OIL – Olive oil serves a dual purpose in this recipe. Firstly, it acts as a binder, helping the seasonings adhere evenly to the fish fillets. Secondly, it contributes to a beautiful sear and helps prevent the fish from sticking to the grill grates. You can also use avocado oil or another high-smoke-point oil if you prefer.
GARNISHES – While technically optional, a bright and zesty mango salsa and fresh lime wedges are highly recommended. The sweet and tangy notes of the salsa provide a perfect counterpoint to the mild fish, elevating the dish to a whole new level of deliciousness. Lime wedges offer a refreshing citrus burst that brightens every bite.
How to Perfectly Grill Mahi Mahi
These step-by-step photos and detailed instructions are designed to help you visualize each stage of making this delectable grilled mahi mahi. For a concise, printable version of this recipe, complete with precise measurements and instructions, simply Jump to Recipe at the bottom of the post.
- Prepare Your Grill: Begin by preheating your grill to a medium-high heat. It’s crucial that your grill grates are thoroughly clean and nice and hot before you place the fish on them. This ensures a beautiful sear and prevents sticking.
CHEF TIP – Once the grill is sufficiently preheated, you can enhance its non-stick properties by lightly oiling the grates. A dedicated grill spray works wonders, creating a barrier that ensures your delicate protein, like mahi mahi, won’t stick and will release easily when it’s time to flip.
- Pat Dry the Fish: Take your mahi mahi fillets and gently pat them completely dry on all sides using paper towels. Removing excess moisture from the surface is a crucial step; it promotes a better sear, resulting in that desirable golden-brown crust and prevents steaming.
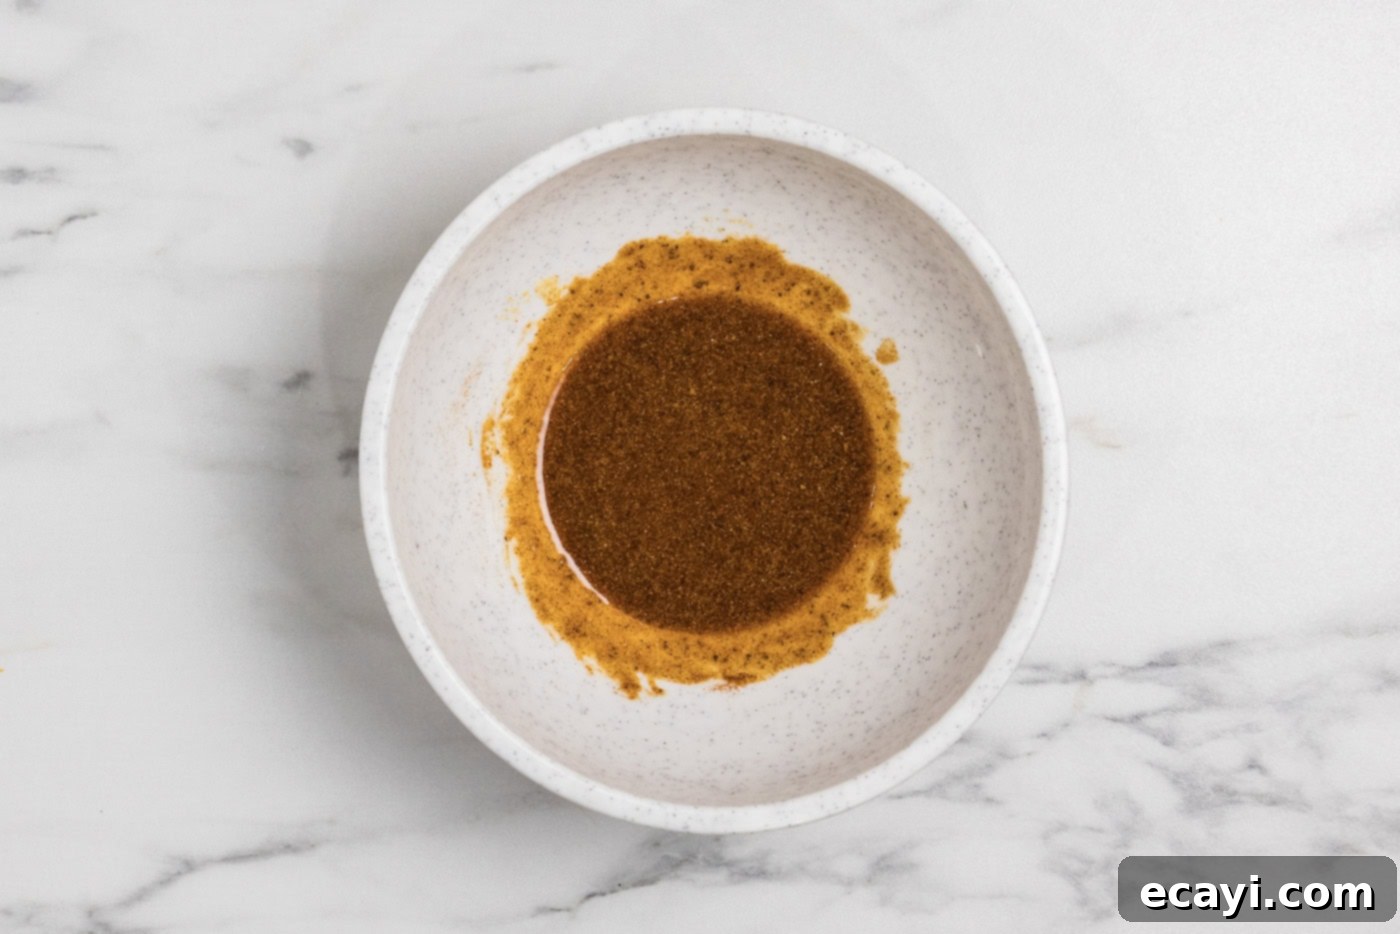
- Create the Seasoning Blend: In a small bowl, combine your chosen seasonings – garlic powder, onion powder, Old Bay seasoning, and salt – with the olive oil. Whisk everything together thoroughly until you have a smooth, well-mixed paste. This ensures even flavor distribution.

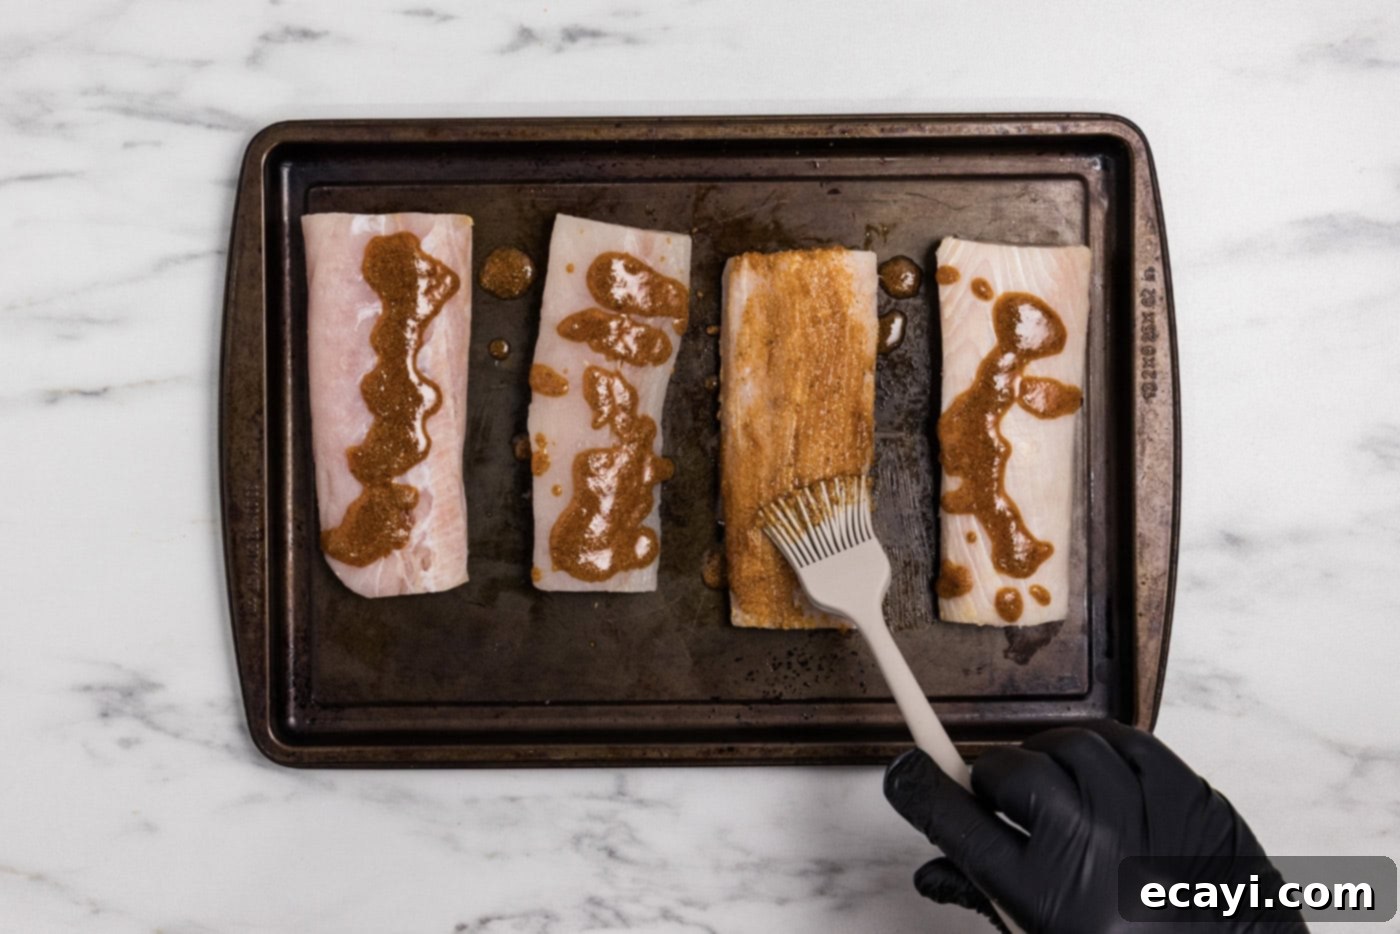
- Season the Fillets: Don a pair of clean gloves (this keeps your hands clean and ensures even application) and either brush the oil and seasoning mixture generously over both sides of the mahi mahi fillets or use your gloved hands to rub the mixture onto the fish. Make sure each fillet is thoroughly coated.

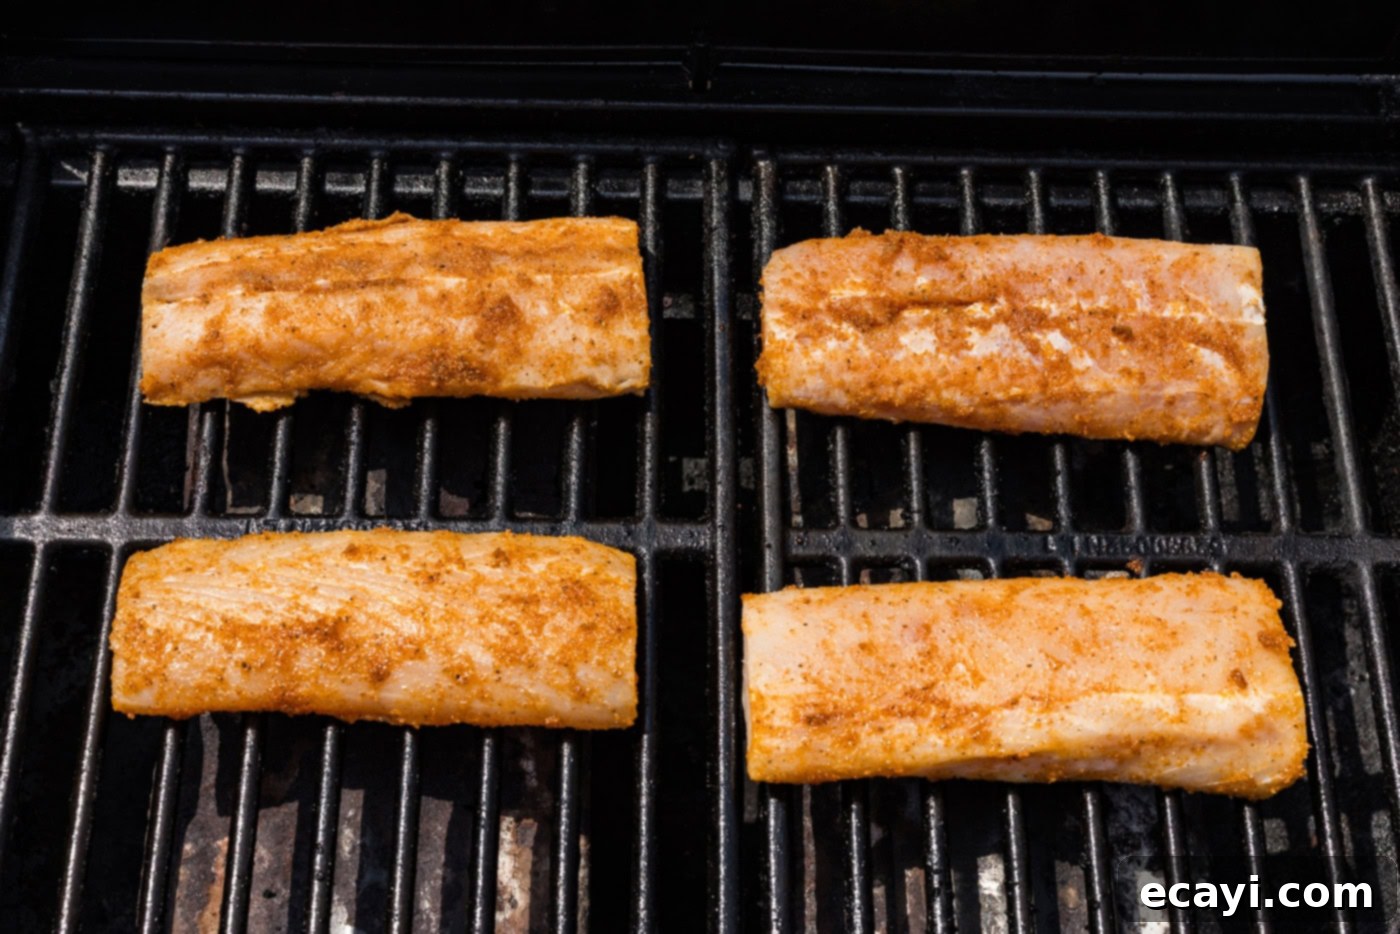
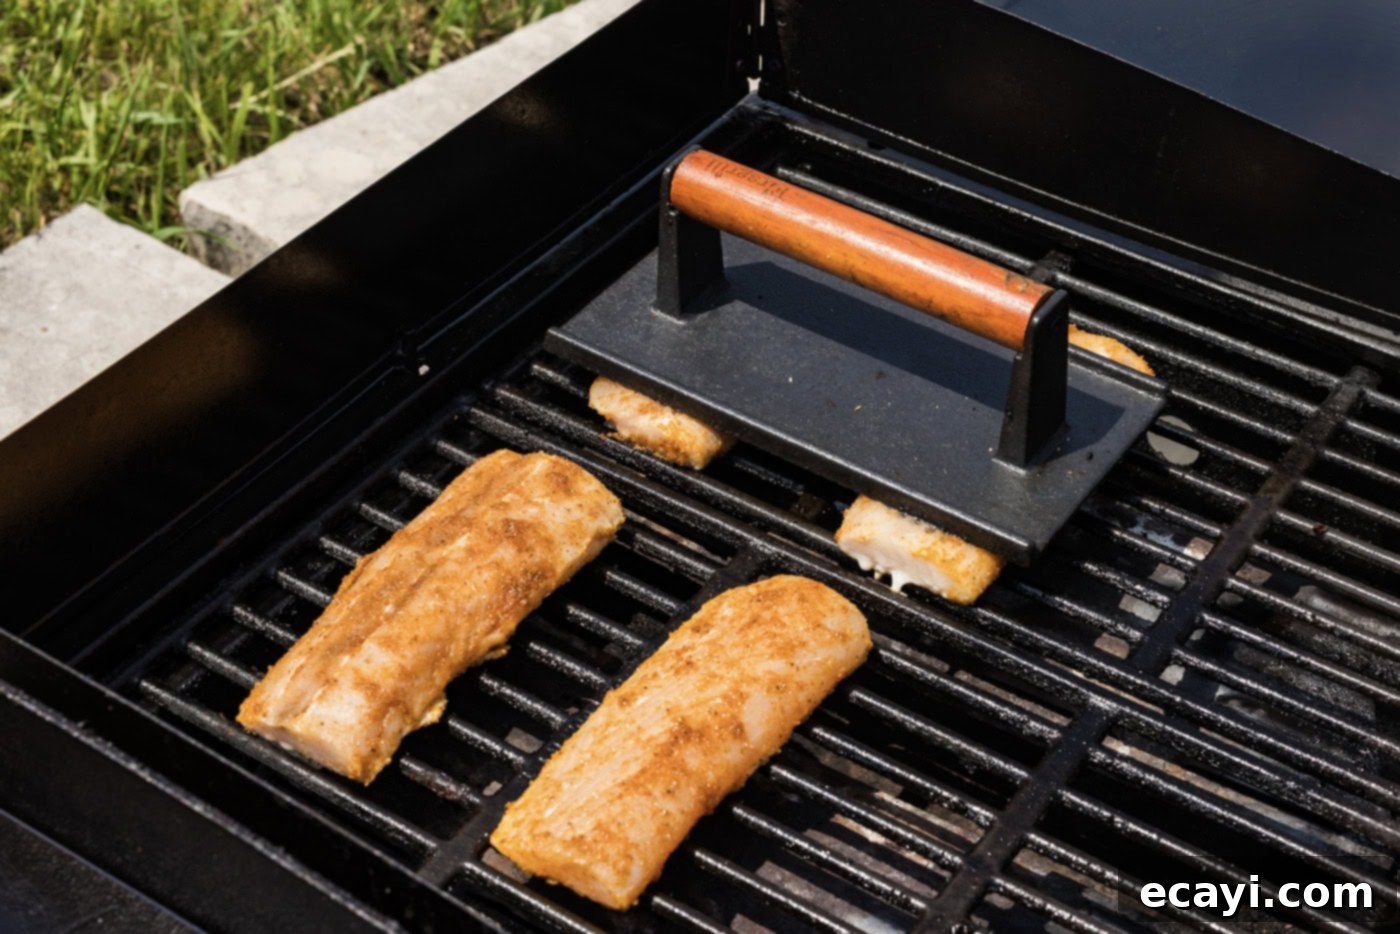
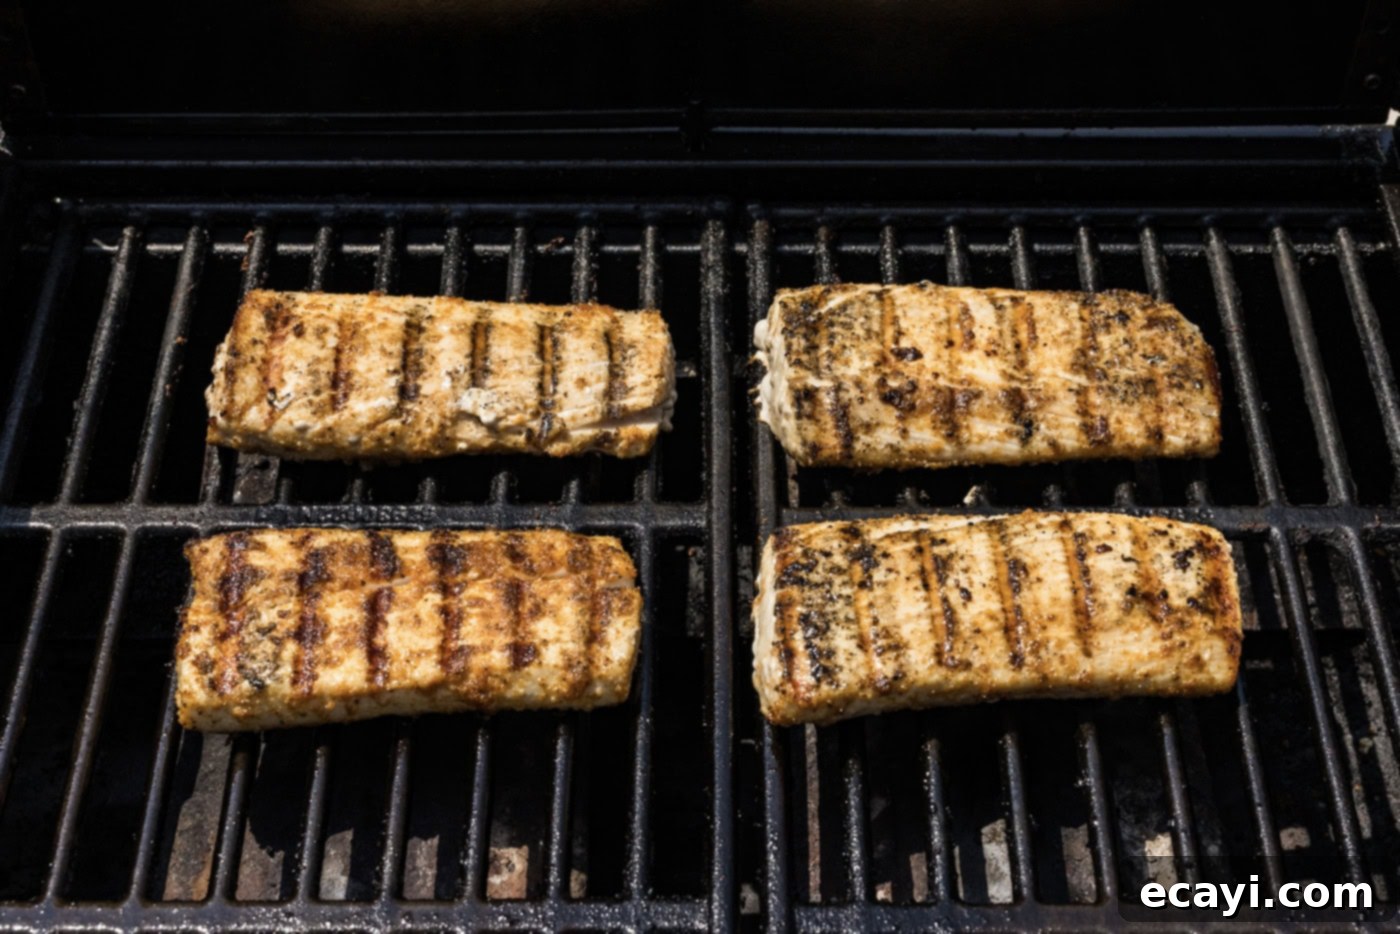
- Grill the Mahi Mahi: Carefully place the seasoned mahi mahi fillets directly onto the hot, oiled grill grates. Allow them to cook undisturbed for approximately 6 minutes. During this time, the fish will begin to cook through and develop beautiful grill marks. After 6 minutes, use a fish spatula – its thin, flexible blade is perfect for delicate fish – to gently turn the fillets over. Continue cooking for another 6 minutes on the second side. The exact cooking time may vary slightly depending on the thickness of your fillets. The fish is cooked when it’s opaque throughout and flakes easily with a fork, or reaches an internal temperature of 145°F (63°C).

- Achieve Perfect Grill Marks (Optional): For those coveted, restaurant-quality grill marks and to ensure even cooking, Chef Antoine has a brilliant tip: gently place a cast iron hamburger press on top of the fillets during grilling. Apply a very light amount of pressure – the key is *light* pressure, just enough to ensure maximum contact with the grates without squeezing out the fish’s precious juices. This technique helps achieve those beautiful marks and ensures uniform cooking.


- Rest and Serve: Once cooked, transfer the grilled mahi mahi to a platter and let it rest for a few minutes. This allows the juices to redistribute, ensuring a tender and moist fillet.
Frequently Asked Questions & Expert Tips for Grilling Mahi Mahi
Absolutely! Frozen mahi mahi is a convenient option. However, it’s crucial to thaw the fillets completely before cooking. You can do this by placing them in the refrigerator overnight or by submerging them in a sealed bag under cold running water for a quicker thaw. Once thawed, very gently press them with paper towels to remove any excess surface water. Be gentle; you don’t want to dry out the fish, just the surface moisture to ensure a good sear.
For optimal flavor and safety, store any cooled leftover grilled mahi mahi in an airtight container in the refrigerator for up to 3 days. While it’s best enjoyed fresh, leftovers can also be frozen for up to 3 months. To freeze, wrap individual fillets tightly in plastic wrap and then aluminum foil, or place them in a freezer-safe bag. Thaw in the refrigerator before reheating gently. Cooked mahi mahi reheats well in a skillet or oven, but be careful not to overcook it, as it can dry out quickly.
Mahi mahi is done when its flesh becomes opaque throughout and flakes easily with a fork. The most accurate way to check for doneness is by using an instant-read meat thermometer. Insert it into the thickest part of the fillet; the internal temperature should reach 145°F (63°C). Overcooking will result in dry, tough fish, so keep a close eye on it!
Yes, you can! While grilling imparts a unique smoky flavor, you can achieve delicious results indoors. You can pan-sear mahi mahi in a hot, oiled skillet (preferably cast iron) for a similar crust, cooking for about 4-6 minutes per side depending on thickness. Alternatively, baking mahi mahi in the oven at 400°F (200°C) for 10-15 minutes is another excellent option for a hands-off approach. Adjust cooking times based on fillet thickness.
Preventing sticking is key to grilling fish successfully. Firstly, ensure your grill grates are spotlessly clean; leftover food residue is a major culprit for sticking. Secondly, preheat your grill thoroughly until it’s nice and hot. Thirdly, oil your hot grates right before placing the fish, as demonstrated in our instructions. Lastly, and very importantly, resist the urge to move the fish too soon. Let it cook undisturbed for the initial 6 minutes; this allows a crust to form, making it easier to release and flip without tearing.
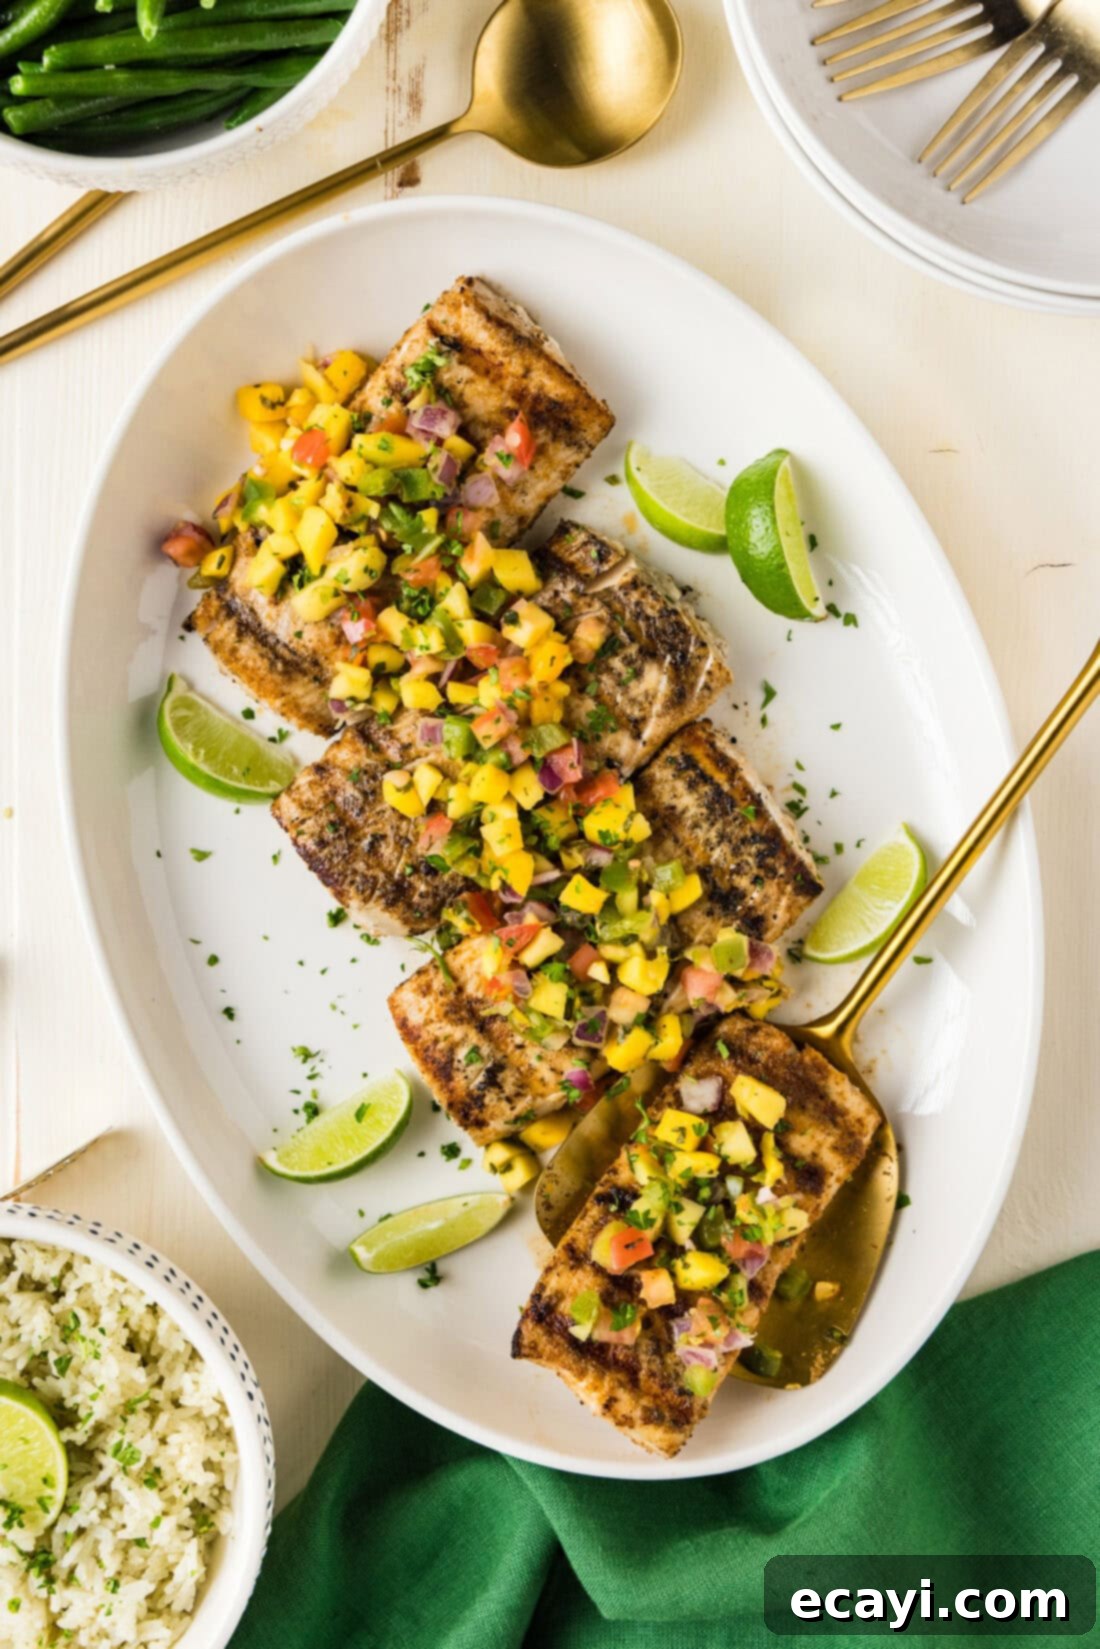
Serving Suggestions for Grilled Mahi Mahi
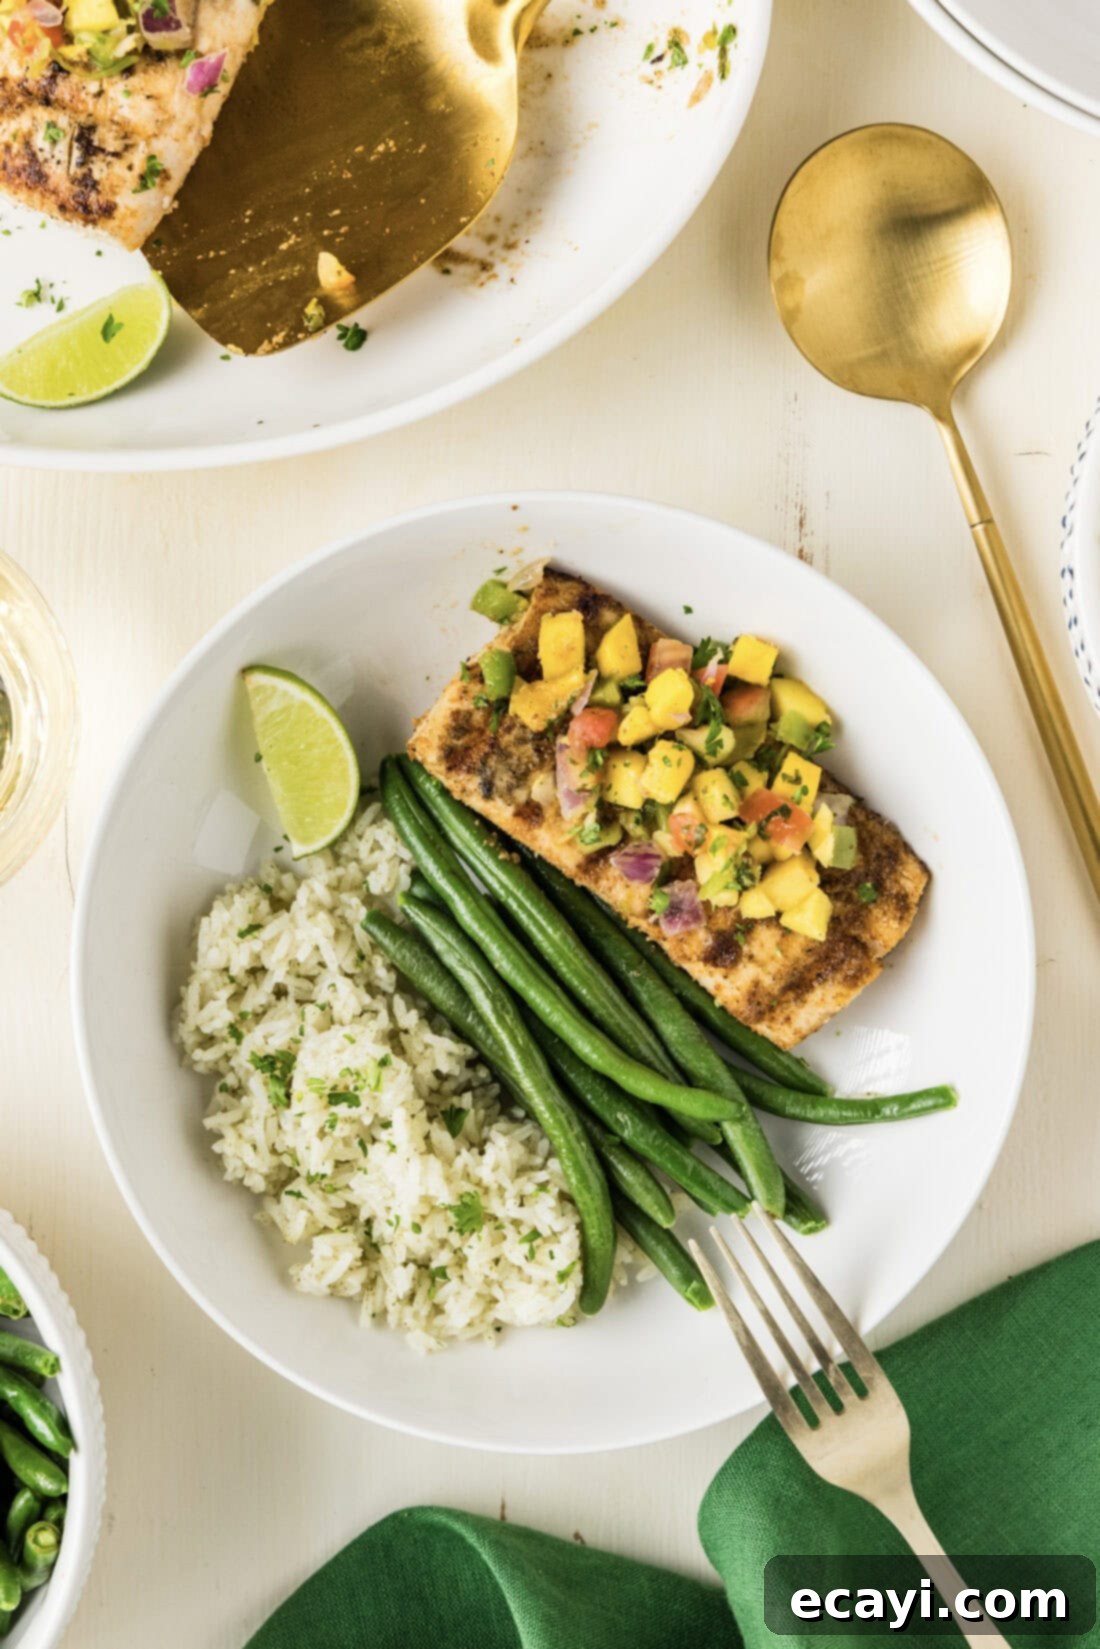
This versatile grilled mahi mahi pairs wonderfully with a variety of side dishes, making it perfect for any occasion. We particularly love serving ours with a refreshing mango salsa, alongside aromatic cilantro rice and crisp green beans. Other fantastic options include steamed asparagus, roasted broccoli, a vibrant quinoa salad, couscous, or creamy mashed potatoes. For a lighter meal, consider a fresh garden salad or grilled corn on the cob.
Should you have any delicious leftovers, chilled cooked mahi mahi is absolutely fantastic! Flake it into a fresh green salad for a light lunch, layer it into a sandwich, or use it as the star protein in flavorful fish tacos or wraps for a quick and inventive meal the next day.
More Delicious Fish Recipes to Explore
- Smoked Trout
- Baked Orange Roughy
- Fried Whiting Fish
- Baked Chilean Sea Bass
I love to bake and cook and share my kitchen experience with all of you! Remembering to come back each day can be tough, that’s why I offer a convenient newsletter every time a new recipe posts. Simply subscribe and start receiving your free daily recipes!
Grilled Mahi Mahi
IMPORTANT – There are often Frequently Asked Questions within the blog post that you may find helpful. Simply scroll back up to read them!
Print It
Pin It
Rate It
Save ItSaved!
Course: Dinner
Cuisine: American
Ingredients
- 1 ½ pounds mahi mahi fillets about 4 fillets
- 2 teaspoons garlic powder
- 2 teaspoons onion powder
- 2 teaspoons Old Bay seasoning
- ½ teaspoon salt
- 1 Tablespoon olive oil
Garnish
- mango salsa
- lime wedges
Things You’ll Need
-
Mixing bowls
-
Grill
-
Fish turner
Before You Begin
- If using frozen fillets, thaw them first and very gently press them to remove excess surface water with paper towels. Be gentle; you don’t want to dry them out, just dry the surface.
- We’ve found that the fillets inside packs of frozen mahi mahi can really vary in size. The fillets used in this recipe were from a frozen pack and were a nice healthy size. A second pack we purchased (same brand) had considerably smaller fillets. Keep this in mind when shopping and when grilling, as smaller fillets will take less time to cook.
Instructions
-
Preheat grill to medium-high heat, ensuring grates are clean and hot. Optionally, oil the grates with a grill spray to prevent sticking.
-
Pat mahi mahi fillets completely dry with paper towels to ensure a good sear.1 1/2 pounds mahi mahi fillets
-
Combine garlic powder, onion powder, Old Bay seasoning, salt, and olive oil in a bowl. Whisk until thoroughly mixed to form a paste.2 teaspoons garlic powder, 2 teaspoons onion powder, 2 teaspoons Old Bay seasoning, 1/2 teaspoon salt, 1 Tablespoon olive oil
-
Using gloved hands, brush or rub the oil and seasoning mixture evenly over both sides of the fish fillets.
-
Place seasoned fillets onto the hot grill. Cook for 6 minutes, then carefully turn them over with a fish spatula. Cook for another 6 minutes on the other side, or until fish is opaque and flakes easily (internal temp 145°F).
TIP – For beautiful grill marks and even cooking, gently place a cast iron hamburger press on top of the fillets, applying very light pressure.
Expert Tips & FAQs
- Grilled mahi mahi can be stored in a covered container in the refrigerator for up to 3 days or frozen for up to 3 months. For best taste and texture, it’s ideal when freshly cooked.
Nutrition
Tried this Recipe? Pin it for Later!Follow on Pinterest @AmandasCookin or tag #AmandasCookin!
The recipes on this blog are tested with a conventional gas oven and gas stovetop. It’s important to note that some ovens, especially as they age, can cook and bake inconsistently. Using an inexpensive oven thermometer can assure you that your oven is truly heating to the proper temperature. If you use a toaster oven or countertop oven, please keep in mind that they may not distribute heat the same as a conventional full sized oven and you may need to adjust your cooking/baking times. In the case of recipes made with a pressure cooker, air fryer, slow cooker, or other appliance, a link to the appliances we use is listed within each respective recipe. For baking recipes where measurements are given by weight, please note that results may not be the same if cups are used instead, and we can’t guarantee success with that method.
