Perfect Pan-Seared Scallops: An Easy 10-Minute Recipe for Golden, Tender Seafood
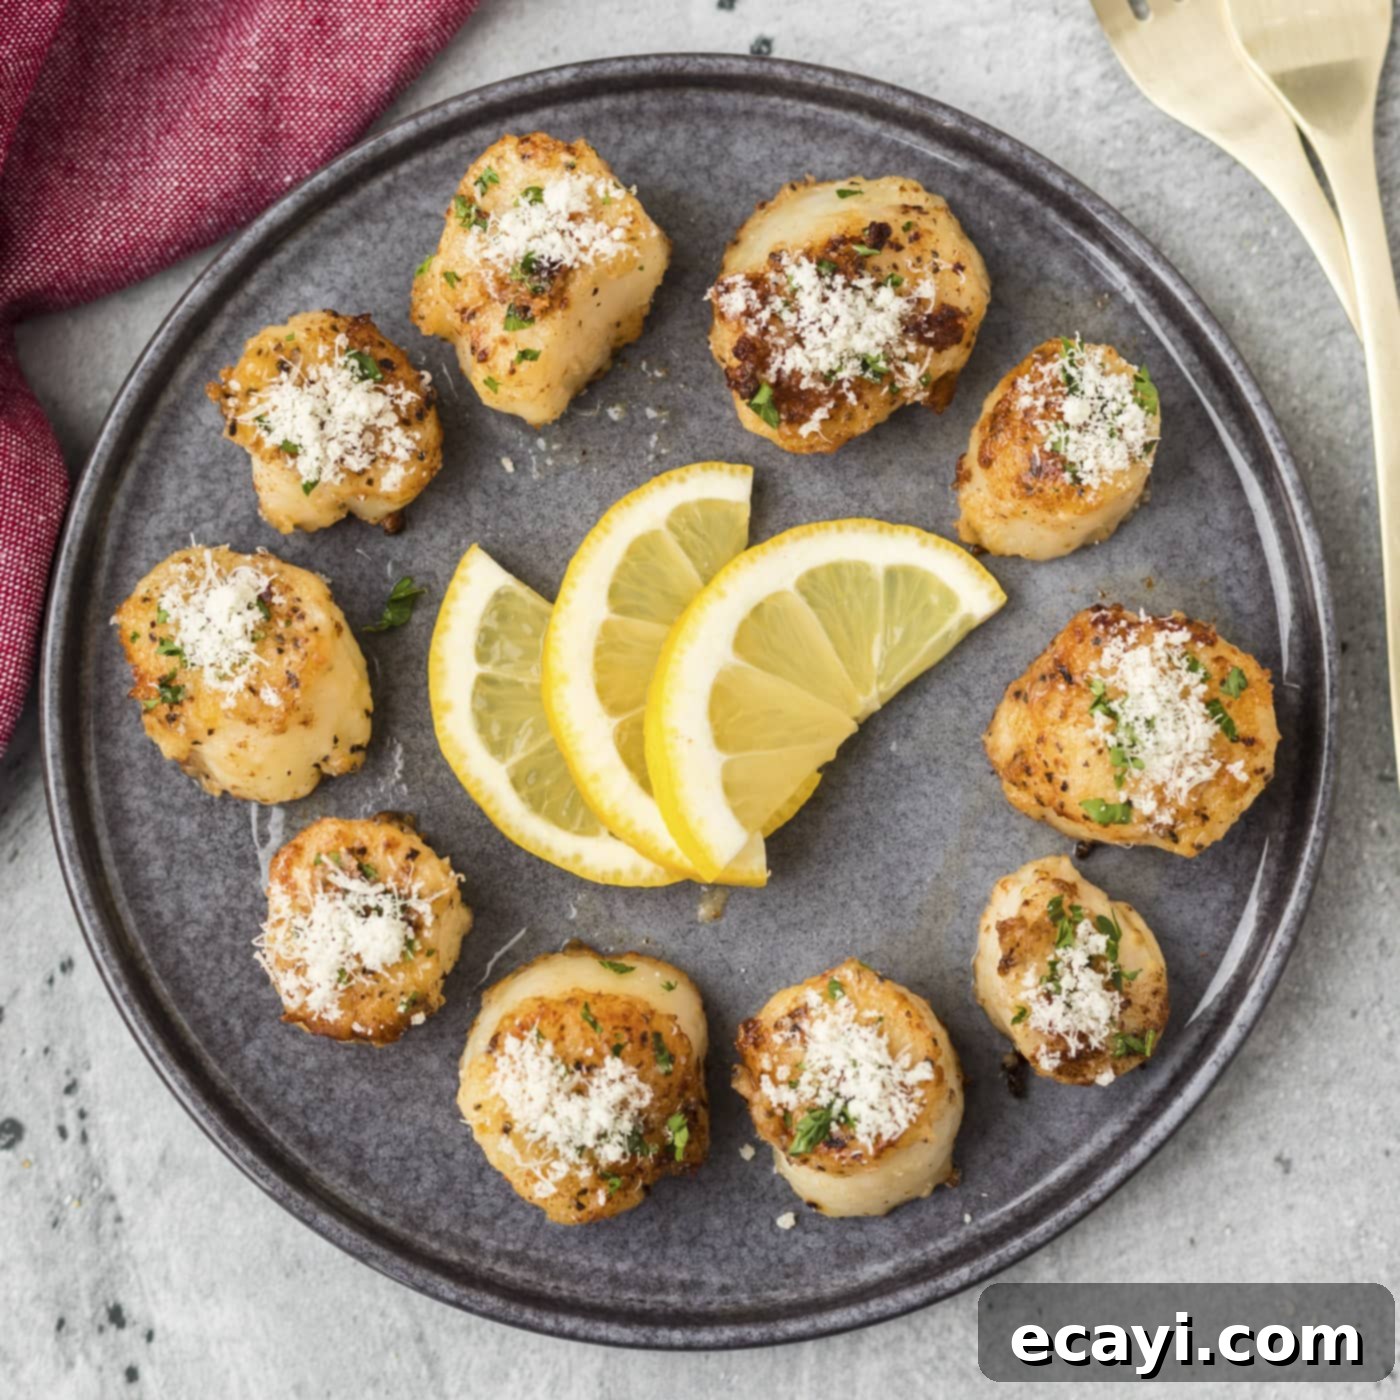
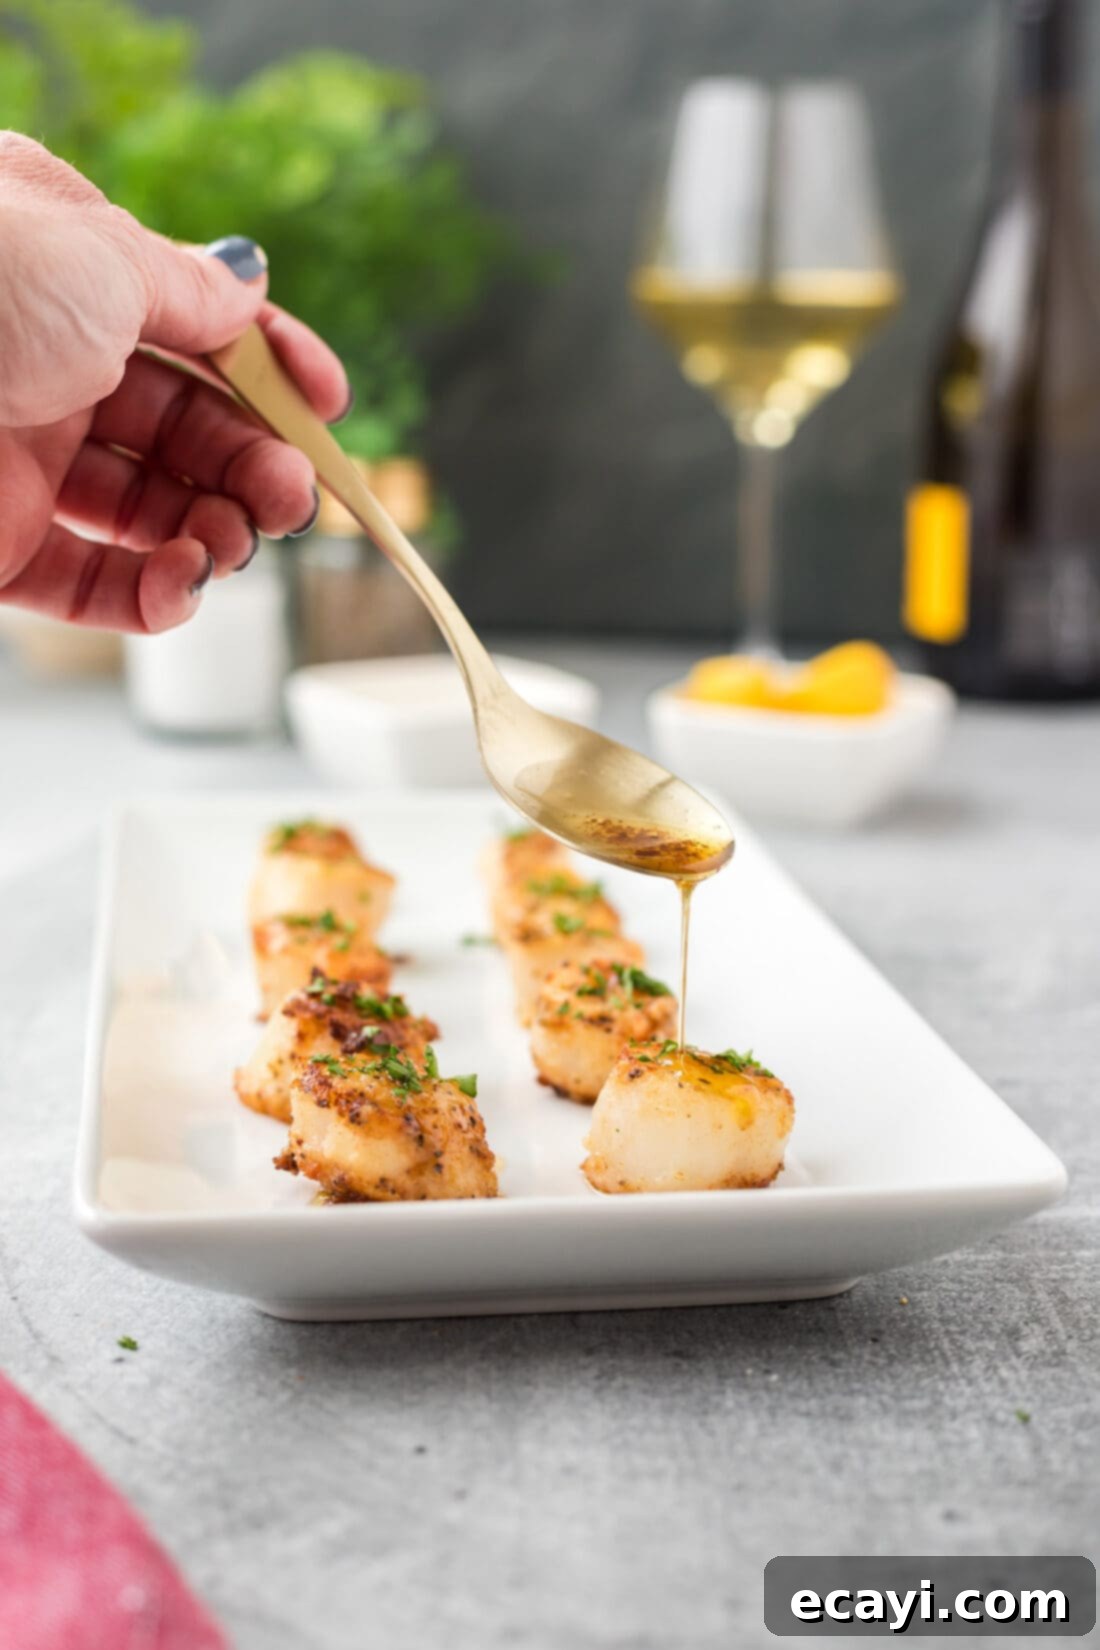
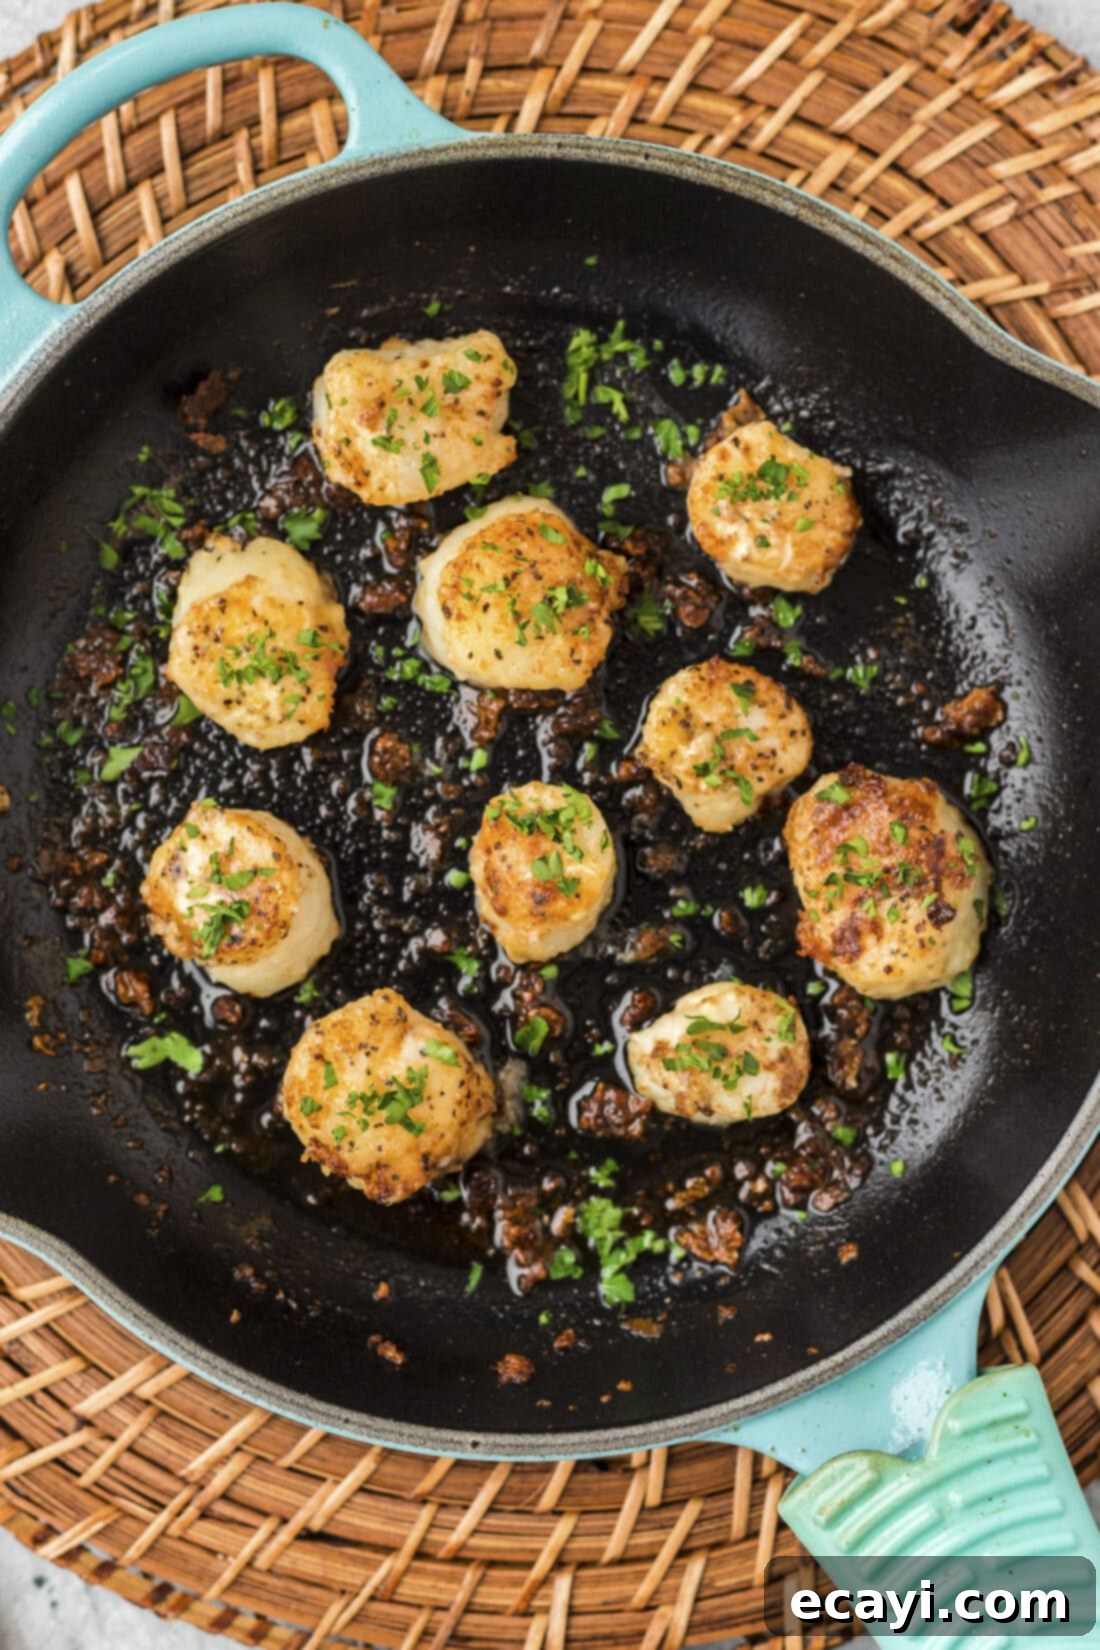
Classic pan-seared scallops are a truly exquisite culinary delight that you can master at home in just about 10 minutes. These tender, succulent morsels are quickly pan-fried to achieve a beautiful golden-brown exterior, thanks to a delicate coating of flour and parmesan cheese. The result is a wonderfully flavorful, crispy crust that perfectly complements the naturally sweet and briny interior of the scallop, transforming a simple ingredient into a gourmet experience.
Why This Easy Scallop Recipe is a Must-Try
Imagine indulging in a luxurious fine dining experience right in your own kitchen. This pan-seared scallop recipe makes that dream a reality, effortlessly bringing gourmet quality to your table. Requiring only 6 simple ingredients and a mere 10 minutes of cooking time, it’s a testament to how quick and easy seafood can be. Many people consider scallops a dish exclusively for high-end restaurants, much like perfectly seared lamb chops or delicately steamed lobster tail. However, preparing tender, golden scallops is surprisingly straightforward and incredibly rewarding for any home cook.
The secret to achieving that irresistible texture and flavor lies in a quick dredge through a seasoned flour and parmesan cheese mixture, followed by a swift sear in a hot skillet. This simple step creates an incredible, golden-brown crust that not only adds a delightful crunch but also locks in the scallops’ inherent sweetness and delicate briny flavors. This method ensures each scallop is cooked to perfection – tender and juicy on the inside, with a beautiful crisp exterior. It’s a foolproof technique that guarantees restaurant-quality results every time, making it an ideal choice for both weeknight dinners and special occasions.
Essential Ingredients for Pan-Seared Scallops
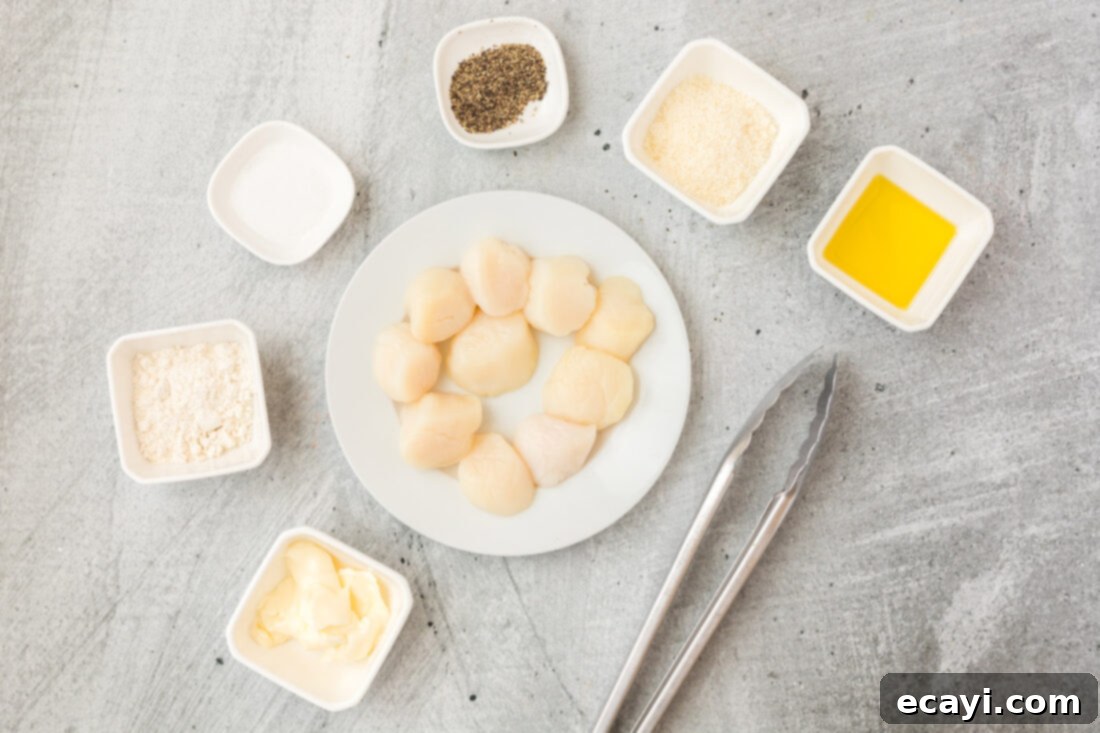
You’ll find a comprehensive list of all measurements, ingredients, and detailed instructions in the printable recipe card located at the end of this post. For this quick and elegant dish, you’ll need just a handful of quality ingredients:
- Fresh Sea Scallops
- Salt & Black Pepper
- Butter
- All-Purpose Flour
- Grated Parmesan Cheese
- Fresh Parsley (for garnish, optional)
Ingredient Spotlight: Tips for Best Results
Understanding your ingredients is key to creating the perfect pan-seared scallops. Here’s a deeper dive into what to look for and potential substitutions:
SCALLOPS – The star of our dish! When selecting scallops, prioritize those that are plump and evenly sized. This consistency is crucial for uniform cooking, ensuring all scallops are tender and perfectly seared at the same time. For this recipe, always opt for sea scallops over bay scallops, as their larger size makes them ideal for searing. At the grocery store, you might encounter scallops labeled “wet” or “dry.” Wet scallops have been soaked in a phosphate solution, a preservative that extends their shelf life but causes them to retain excess moisture. This extra water can prevent a good sear and dilute their natural flavor. Therefore, we highly recommend using dry sea scallops for this recipe. Dry scallops will caramelize beautifully and develop that coveted golden-brown crust much more effectively.
BUTTER – Butter is essential for achieving a rich, golden sear and contributing to the incredible flavor of the crust. Using good quality unsalted butter allows you to control the seasoning. If you’re looking for an alternative, ghee (clarified butter) is an excellent choice as it has a higher smoke point. Olive oil can also be used, though it will impart a slightly different flavor profile.
FLOUR & PARMESAN CHEESE – This duo creates the magical crust. The flour provides a fine coating that helps the scallops brown and protects them from drying out, while the parmesan adds a savory, nutty depth and a fantastic crispy texture. For a gluten-free option, you can experiment with gluten-free all-purpose flour blends. If parmesan isn’t available or preferred, other hard, aged cheeses like Pecorino Romano could offer a similar salty, umami kick, though the flavor will differ slightly.
SALT & BLACK PEPPER – Simple yet indispensable. These seasonings enhance the natural flavors of the scallops. Always use freshly ground black pepper for the best aroma and taste.
CHOPPED PARSLEY – An optional but highly recommended garnish. Fresh parsley adds a burst of color and a touch of fresh, herbaceous flavor that brightens the entire dish. Feel free to experiment with other fresh herbs like chives or a hint of dill for a different twist.
Mastering the Pan-Seared Scallops Technique
These step-by-step photos and detailed instructions are here to guide you visually through the process of making this recipe. For a concise, printable version of this recipe, complete with precise measurements and instructions, you can Jump to Recipe at the bottom of this page.
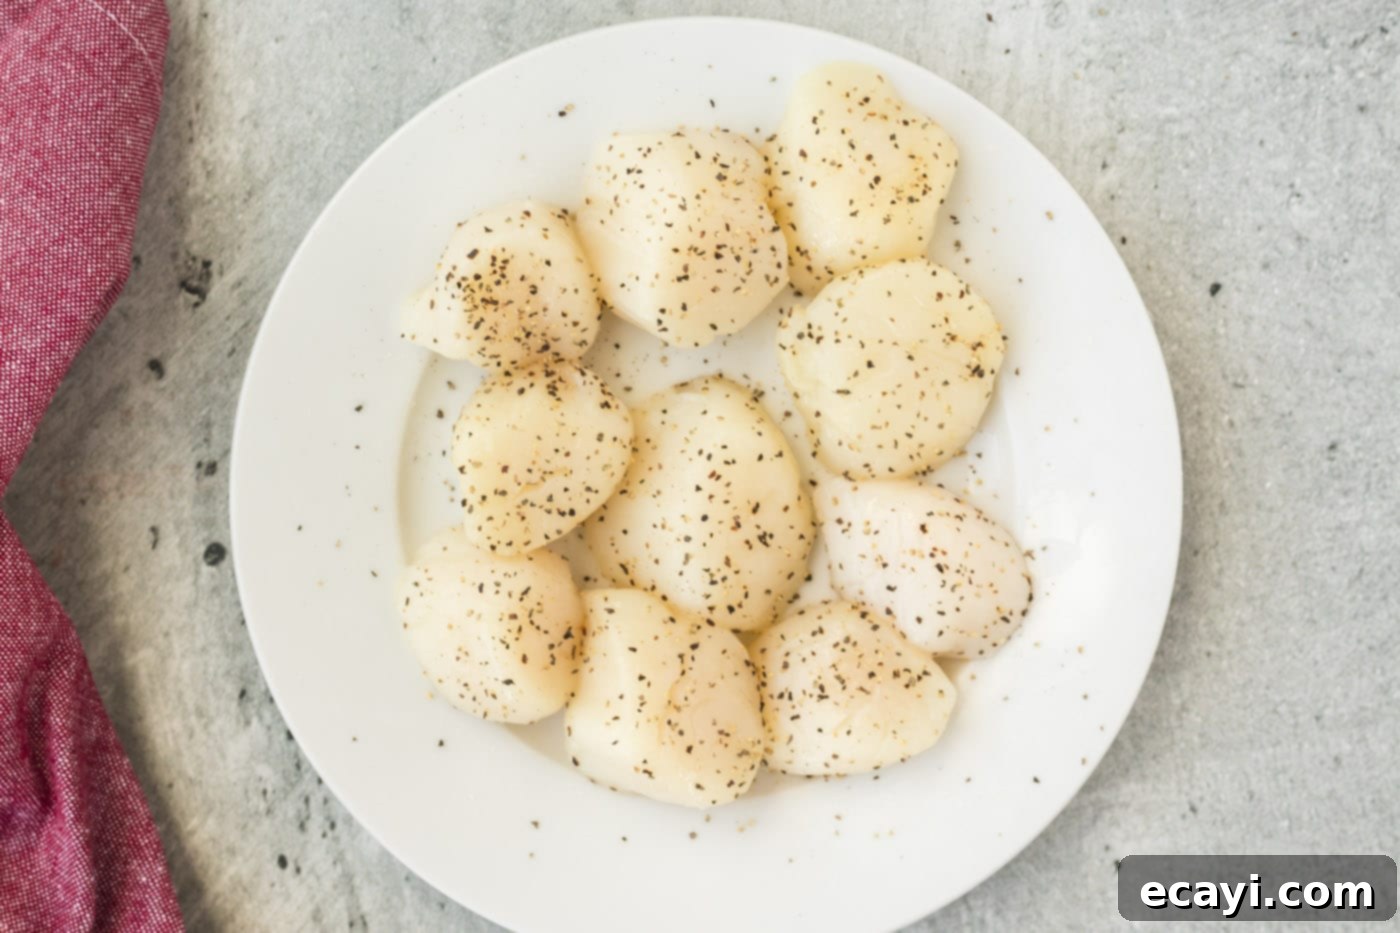
- Prepare the Scallops: Begin by thoroughly rinsing your scallops under cold water. This helps remove any grit or sand. The most crucial step for a perfect sear is to pat them *extremely dry* with paper towels. Excess moisture will steam the scallops instead of searing them, preventing that beautiful golden crust. Once dry, season both sides generously with salt and black pepper.

- Heat the Skillet: Heat 2 tablespoons of butter in a large, heavy-bottomed skillet (cast iron or stainless steel works best) over medium-high heat. You want the butter to melt and become foamy, but not brown or burn. This indicates the pan is hot enough for a good sear.
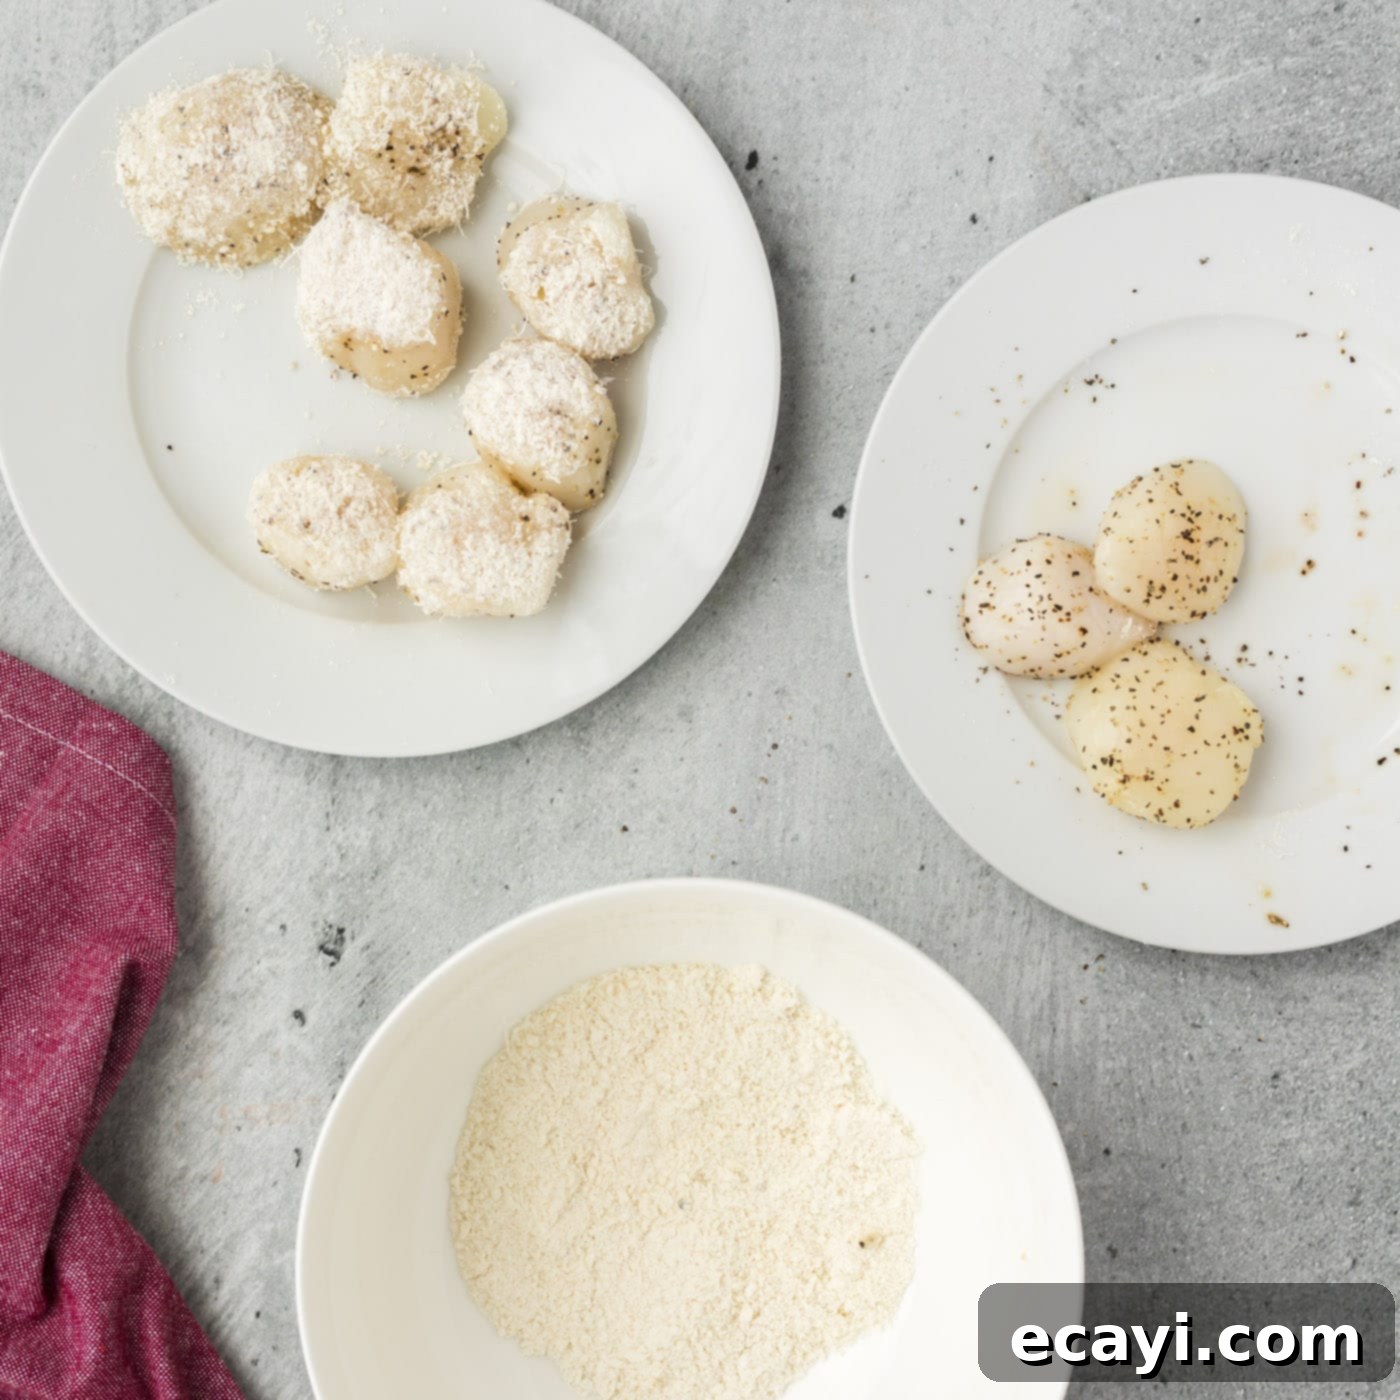
- Prepare the Coating Mixture: In a shallow, medium bowl, combine the all-purpose flour and grated parmesan cheese. Mix them well to ensure an even distribution.
- Coat the Scallops: Take each scallop and dip one flat side into the flour and parmesan mixture, pressing gently to adhere. Turn it over and coat the other flat side. Lightly shake off any excess. This coating is key to developing that desirable flavorful and crispy crust.

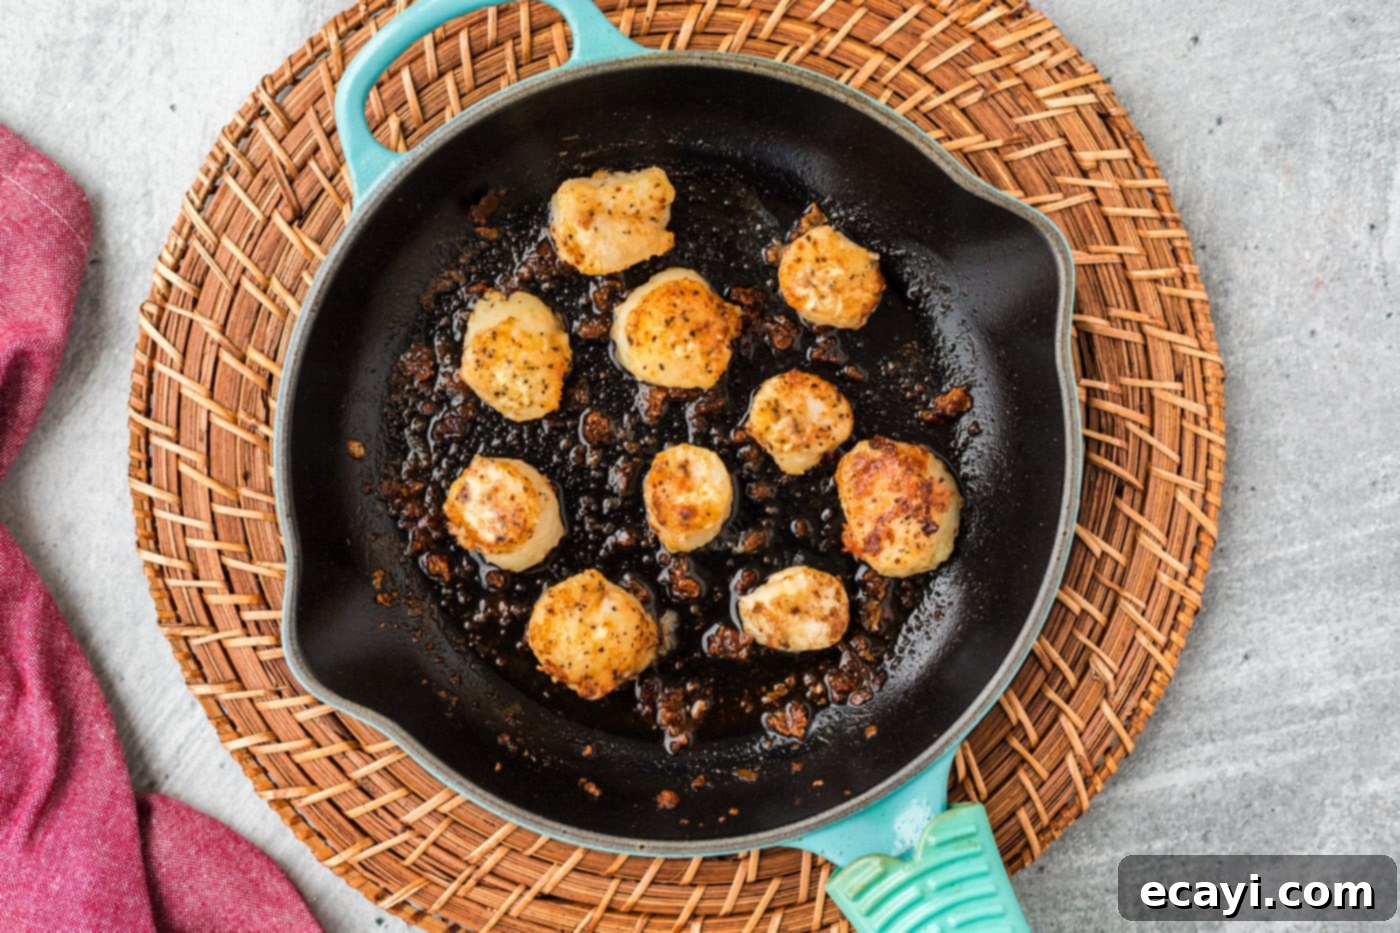
- Sear to Perfection: Carefully place the coated scallops, flat side down, into the hot skillet. Ensure there’s enough space between each scallop; do not overcrowd the pan, as this will lower the pan temperature and lead to steaming instead of searing. Cook for 2-3 minutes per side. You’ll know they’re ready when they develop a deep, golden-brown crust and the edges appear opaque. Use tongs to gently flip them and cook the other side for another 2-3 minutes until golden and opaque throughout. Avoid overcooking, as scallops can quickly become rubbery.

- Garnish and Serve: Once cooked, immediately remove the scallops from the skillet. Arrange them on a platter and garnish generously with freshly chopped parsley and an additional sprinkle of grated parmesan cheese, if desired. For an extra touch of richness, you can spoon some of the melted butter and pan drippings over the scallops before serving. A squeeze of fresh lemon juice also works wonders to brighten the flavors.
Frequently Asked Questions & Expert Tips for Scallop Success
Store any leftover cooked scallops in an airtight container and refrigerate for up to two days. However, for the best flavor and texture, scallops are truly best enjoyed immediately after cooking, as they tend to spoil and lose their delicate texture quite quickly.
Perfectly cooked scallops will have an opaque, creamy white center and be firm to the touch. The edges should be golden brown and slightly caramelized. Avoid overcooking, as this is the most common reason for rubbery scallops.
Yes, you can! If using frozen scallops, ensure they are thoroughly thawed in the refrigerator overnight. Once thawed, it’s even more crucial to pat them extremely dry with paper towels to remove all excess moisture before seasoning and coating. This will help you achieve the best possible sear.
A heavy-bottomed skillet is ideal for searing as it retains heat evenly. Cast iron or stainless steel skillets are excellent choices. Non-stick pans can work, but a well-seasoned cast iron or quality stainless steel pan often yields a superior crust.
The key to tender scallops is proper preparation and precise cooking time. Always pat them bone-dry before cooking, don’t overcrowd the pan (cook in batches if necessary), and cook for only 2-3 minutes per side. Scallops cook very quickly, so vigilance is important!
Expert Tips for Flawless Pan-Seared Scallops:
- Pat Dry, Pat Dry, Pat Dry: This cannot be stressed enough. Moisture is the enemy of a good sear. Get those scallops as dry as possible!
- Don’t Overcrowd the Pan: Give your scallops space. If you have too many, cook them in batches. Overcrowding lowers the pan’s temperature and prevents proper caramelization.
- High Heat, Quick Cook: Scallops thrive on high heat for a short amount of time. This ensures a beautiful sear without overcooking the delicate interior.
- Use a Good Quality Skillet: A heavy-bottomed pan will distribute heat evenly and maintain temperature, which is crucial for searing.
- Serve Immediately: Scallops are best enjoyed fresh off the pan. Their texture and flavor are at their peak when hot.
- Deglaze the Pan: After removing the scallops, you can add a splash of white wine, chicken broth, or lemon juice to the hot pan to scrape up any browned bits. This flavorful liquid can be drizzled over the scallops for an extra layer of taste.
Elegant Serving Suggestions for Your Scallops
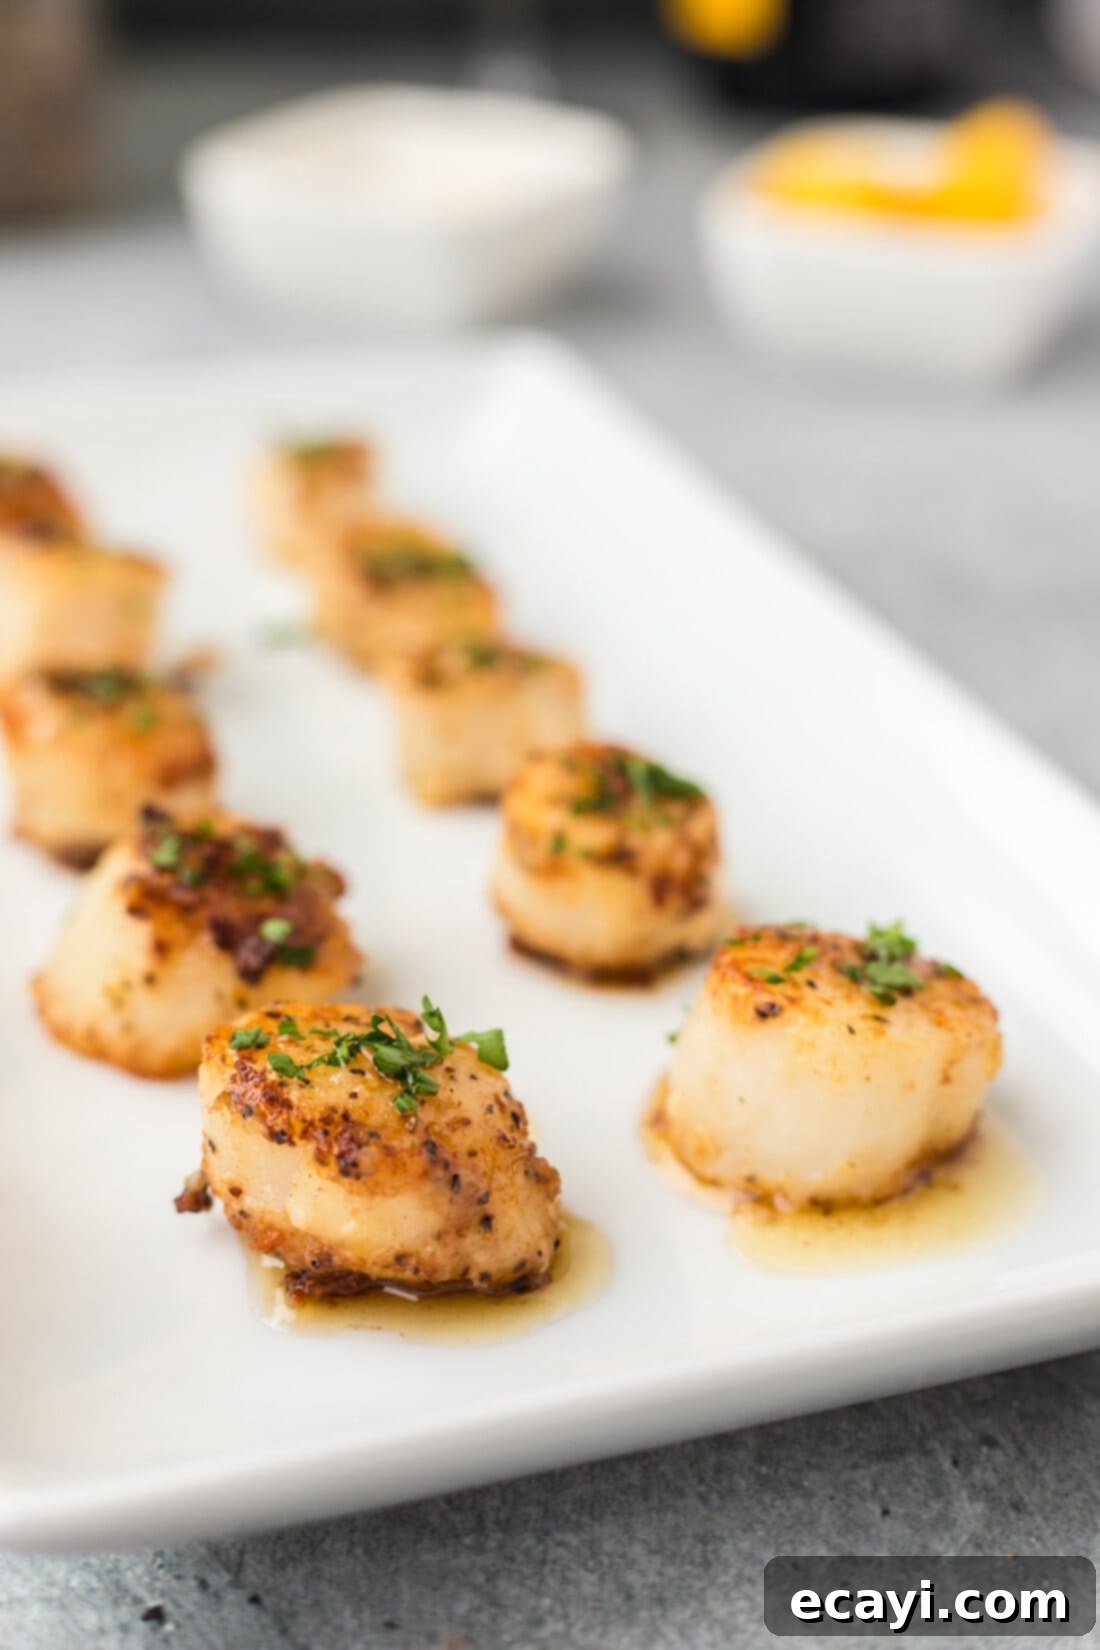
Pan-seared scallops are incredibly versatile and can elevate any meal. They shine beautifully on their own as a sophisticated appetizer or form the star component of an impressive main course. For a delightful culinary pairing, consider tossing them into a rich pasta dish with a garlic-infused olive oil or a velvety butter sauce. They also pair wonderfully with classic sides such as fluffy rice, light and zesty lemon couscous, creamy mashed potatoes, or roasted vegetables like crisp green beans and tender asparagus. The natural sweetness of the scallops also complements a simple, fresh garden salad.
To enhance their presentation and flavor, don’t forget the optional garnishes: a sprinkle of finely chopped fresh parsley adds vibrant color and a herbaceous note, while additional grated parmesan cheese provides an extra layer of savory goodness. For an extra touch of decadence, feel free to spoon some of the flavorful browned butter from the pan directly over the cooked scallops. Pair this dish with a crisp white wine, such as Sauvignon Blanc or Pinot Grigio, to truly complete the fine dining experience at home. Enjoy every tender, golden bite!
Explore More Delicious Seafood Recipes
If you’re a fan of seafood, we have plenty more delectable recipes for you to try. Expand your culinary repertoire with these fresh and flavorful options:
- Crab Dip
- Baked Scallops
- Dungeness Crab Legs
- Air Fryer Scallops
- Fried Crab Legs
- Scallop Pasta
I love to bake and cook and share my kitchen experience with all of you! Remembering to come back each day can be tough, that’s why I offer a convenient newsletter every time a new recipe posts. Simply subscribe and start receiving your free daily recipes!
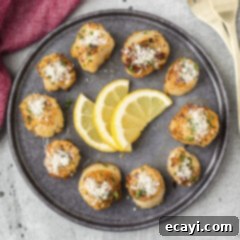
Pan Seared Scallops
IMPORTANT – There are often Frequently Asked Questions within the blog post that you may find helpful. Simply scroll back up to read them!
Print It
Pin It
Rate It
Save ItSaved!
Ingredients
- ½ pound sea scallops about 10 scallops
- ½ teaspoon salt
- ½ teaspoon black pepper
- 3 Tablespoons butter divided
- 2 Tablespoons all-purpose flour
- 2 Tablespoons grated parmesan cheese
- chopped parsley optional as garnish
- additional grated parmesan optional as garnish
Things You’ll Need
-
Large skillet
-
Tongs
Before You Begin
- Use a large, heavy-bottomed pan (like cast iron or stainless steel) so there is ample room for the scallops without overcrowding. This ensures a proper sear and not steaming.
- Always look for plump, evenly sized sea scallops. For the best sear and flavor, ensure they are “dry” scallops, not “wet” scallops which are soaked in preservatives and retain excess moisture.
- Pat the scallops extremely dry with paper towels before seasoning and coating. This is the most important step for achieving a golden, crispy crust.
- Avoid overcooking the scallops; they cook very quickly (2-3 minutes per side) and can become rubbery if left on the heat for too long.
- You can spoon some of the flavorful browned butter from the pan over the cooked scallops for extra richness, if desired.
- Store leftover cooked scallops in an airtight container in the refrigerator for up to two days. However, scallops are always best served immediately after cooking for optimal texture and flavor.
Instructions
-
Rinse scallops thoroughly and pat them extremely dry with paper towels to ensure a perfect sear. Season both sides with salt and black pepper.
-
Heat 2 tablespoons of butter in a large, heavy-bottomed skillet over medium-high heat until the butter is melted and foamy, indicating it’s ready for searing.
-
In a shallow bowl, mix the all-purpose flour and grated parmesan cheese together until well combined.
-
Dip each scallop into the flour and parmesan mixture, coating both flat sides. Gently shake off any excess to ensure a light, even crust.
-
Carefully place the coated scallops, flat side down, into the hot skillet. Cook for 2-3 minutes per side until they develop a rich, golden-brown crust and are opaque throughout. Do not overcrowd the pan.
-
Remove the perfectly seared scallops from the skillet immediately. Garnish with freshly chopped parsley and an additional sprinkle of parmesan cheese, if desired, and serve hot.
Nutrition
The recipes on this blog are tested with a conventional gas oven and gas stovetop. It’s important to note that some ovens, especially as they age, can cook and bake inconsistently. Using an inexpensive oven thermometer can assure you that your oven is truly heating to the proper temperature. If you use a toaster oven or countertop oven, please keep in mind that they may not distribute heat the same as a conventional full sized oven and you may need to adjust your cooking/baking times. In the case of recipes made with a pressure cooker, air fryer, slow cooker, or other appliance, a link to the appliances we use is listed within each respective recipe. For baking recipes where measurements are given by weight, please note that results may not be the same if cups are used instead, and we can’t guarantee success with that method.
