Homemade Rhubarb Crisp in Cast Iron Skillet: The Ultimate Tart & Sweet Dessert Recipe
This delightful rhubarb crisp, baked to perfection in a trusty cast iron skillet, offers a symphony of flavors and textures that will captivate your taste buds. It masterfully balances the vibrant tartness of fresh rhubarb with just the right amount of sweetness, all crowned by a gloriously crunchy oat topping. More than just a dessert, it’s an experience – incredibly simple to prepare, yet yielding results that taste like they came straight from a gourmet kitchen. Perfect for any occasion, from a comforting weeknight treat to a show-stopping potluck contribution, this recipe promises ease, flavor, and an unforgettable crunch. Prepare to fall in love with this classic dessert, elevated by the unique charm of cast iron baking.
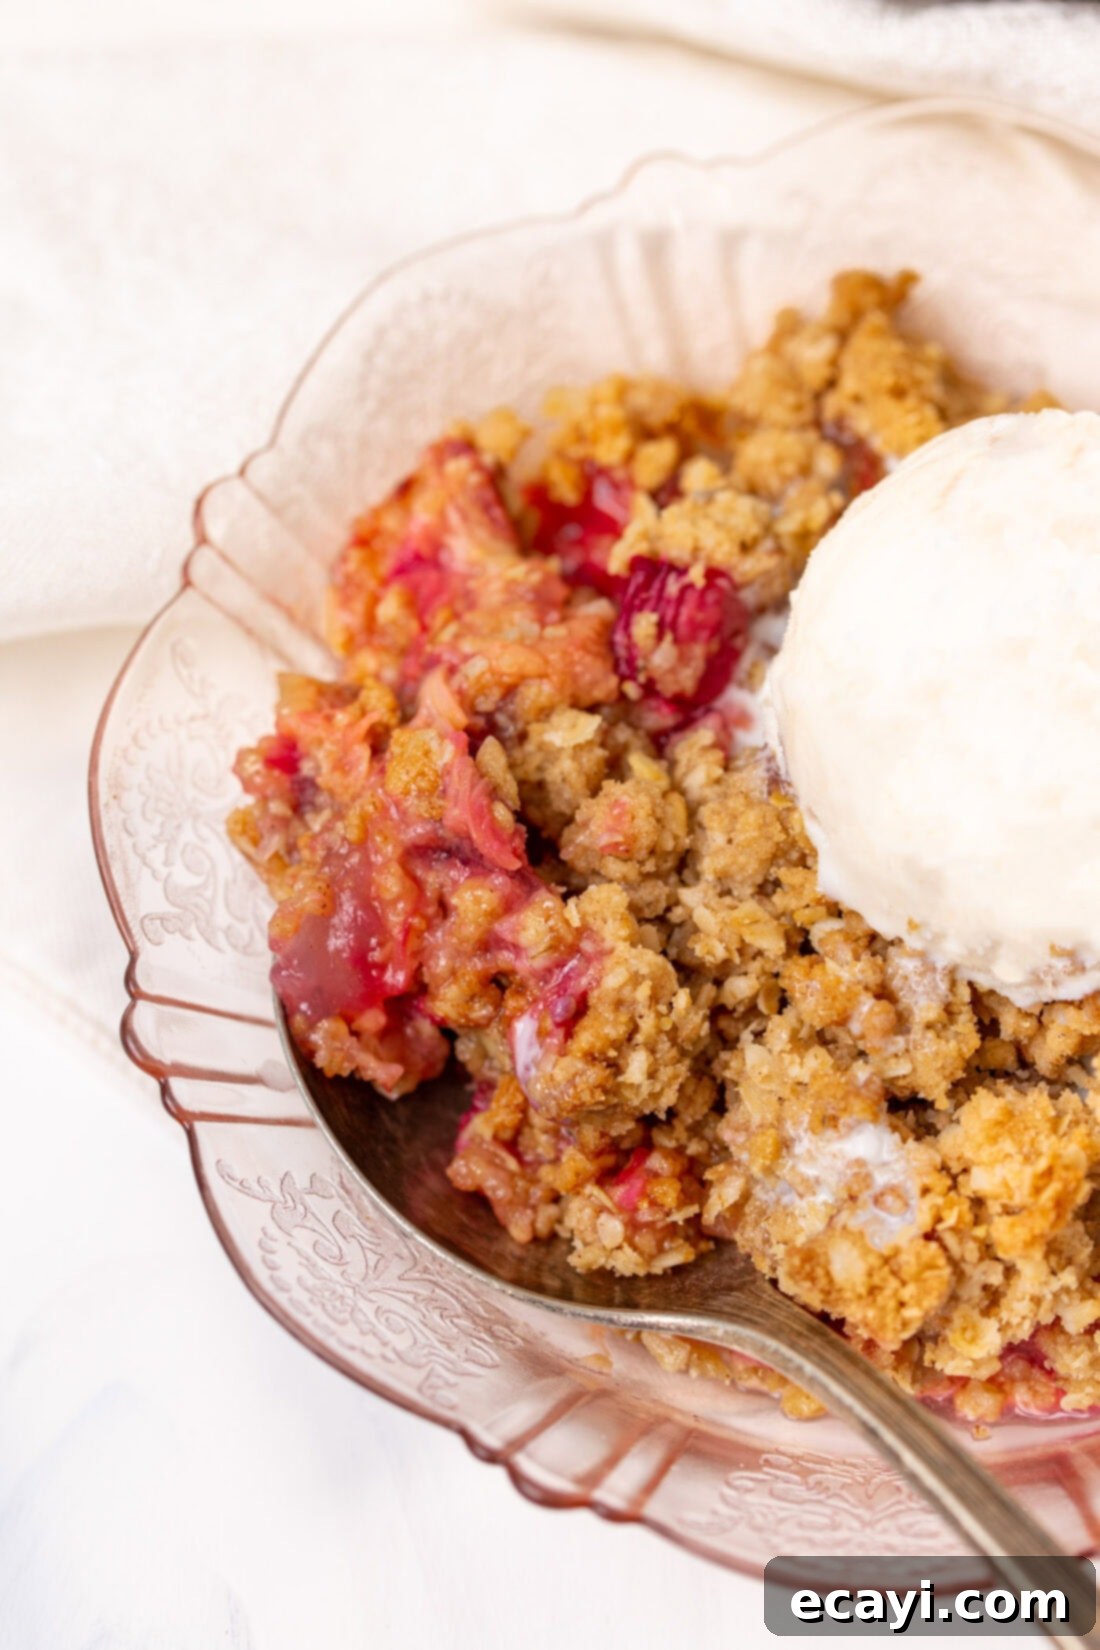
Why This Simple Rhubarb Crisp Recipe is a Must-Try
While many fruit crumbles and crisps vie for attention, our beloved prize-winning rhubarb crumble has a special place, but this simple, old-fashioned rhubarb crisp holds an equally cherished spot in our culinary hearts. What makes this recipe truly stand out is its unwavering focus on the star ingredient: rhubarb. Unlike many variations that incorporate strawberries or other fruits, this recipe allows the unique, tangy flavor of pure rhubarb to shine through, creating a truly authentic and satisfying taste experience.
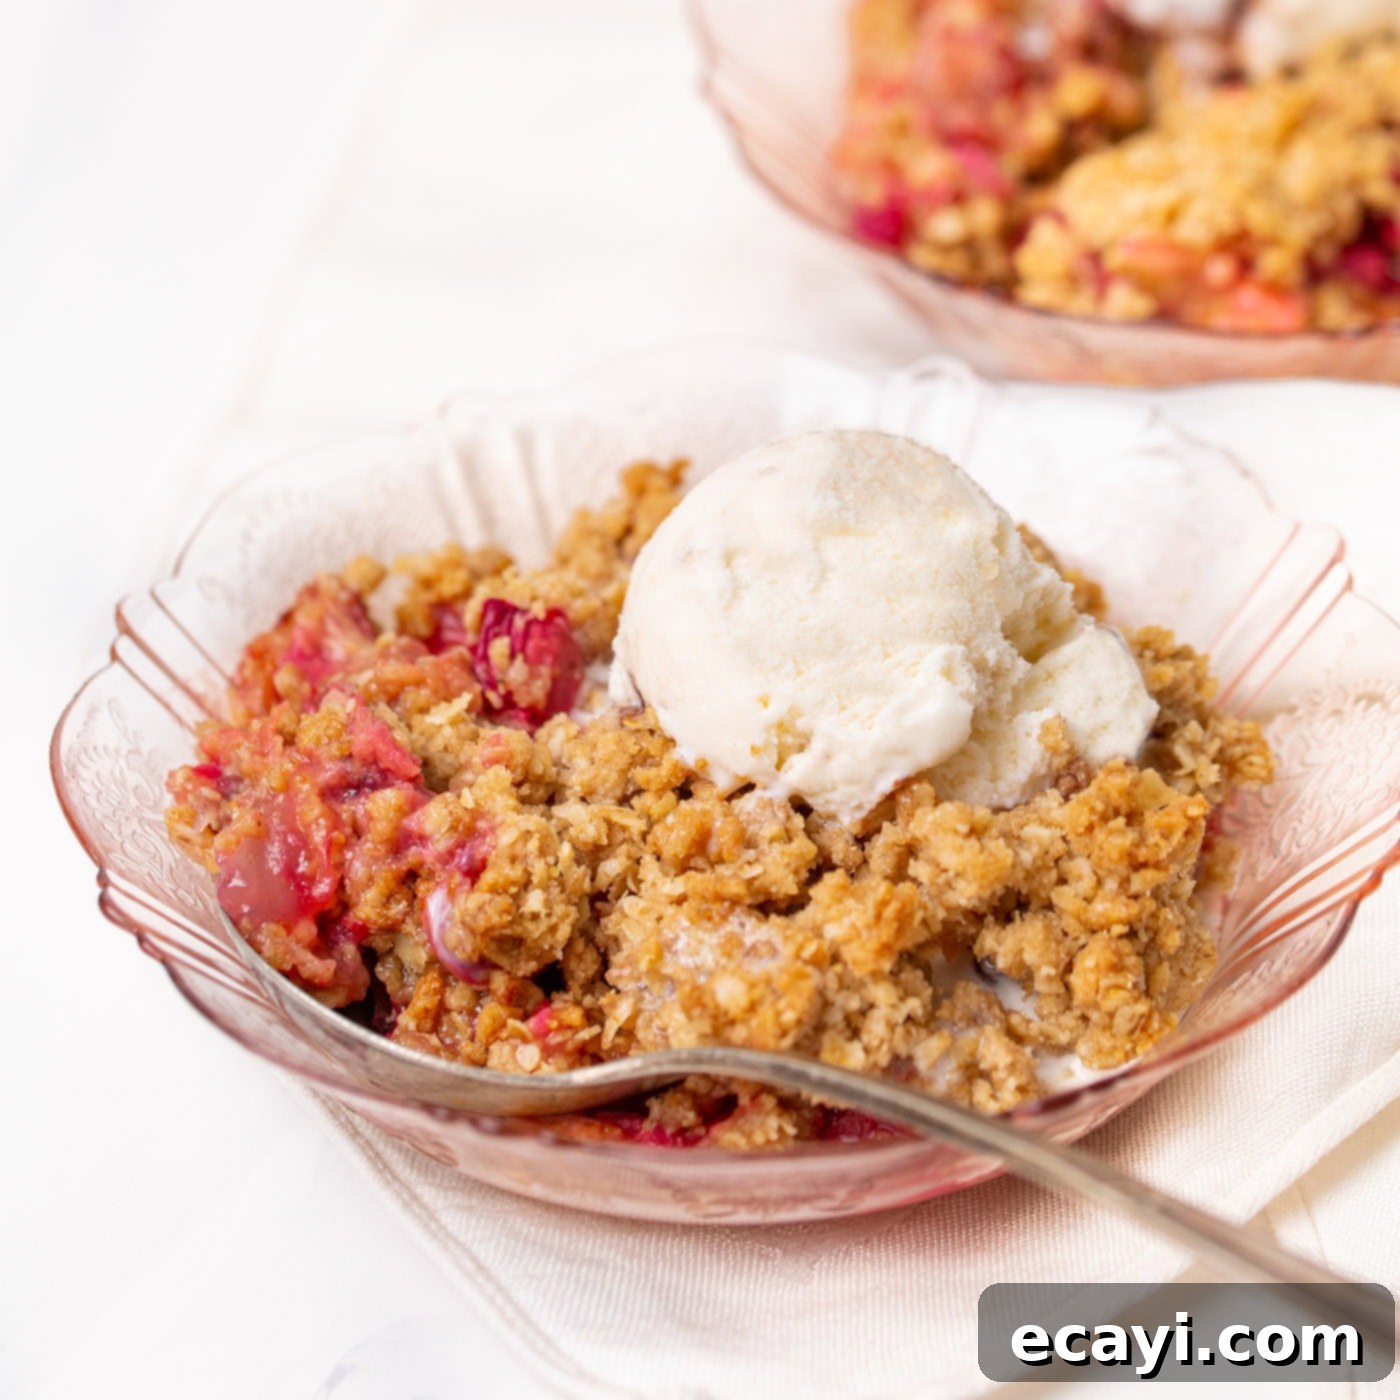
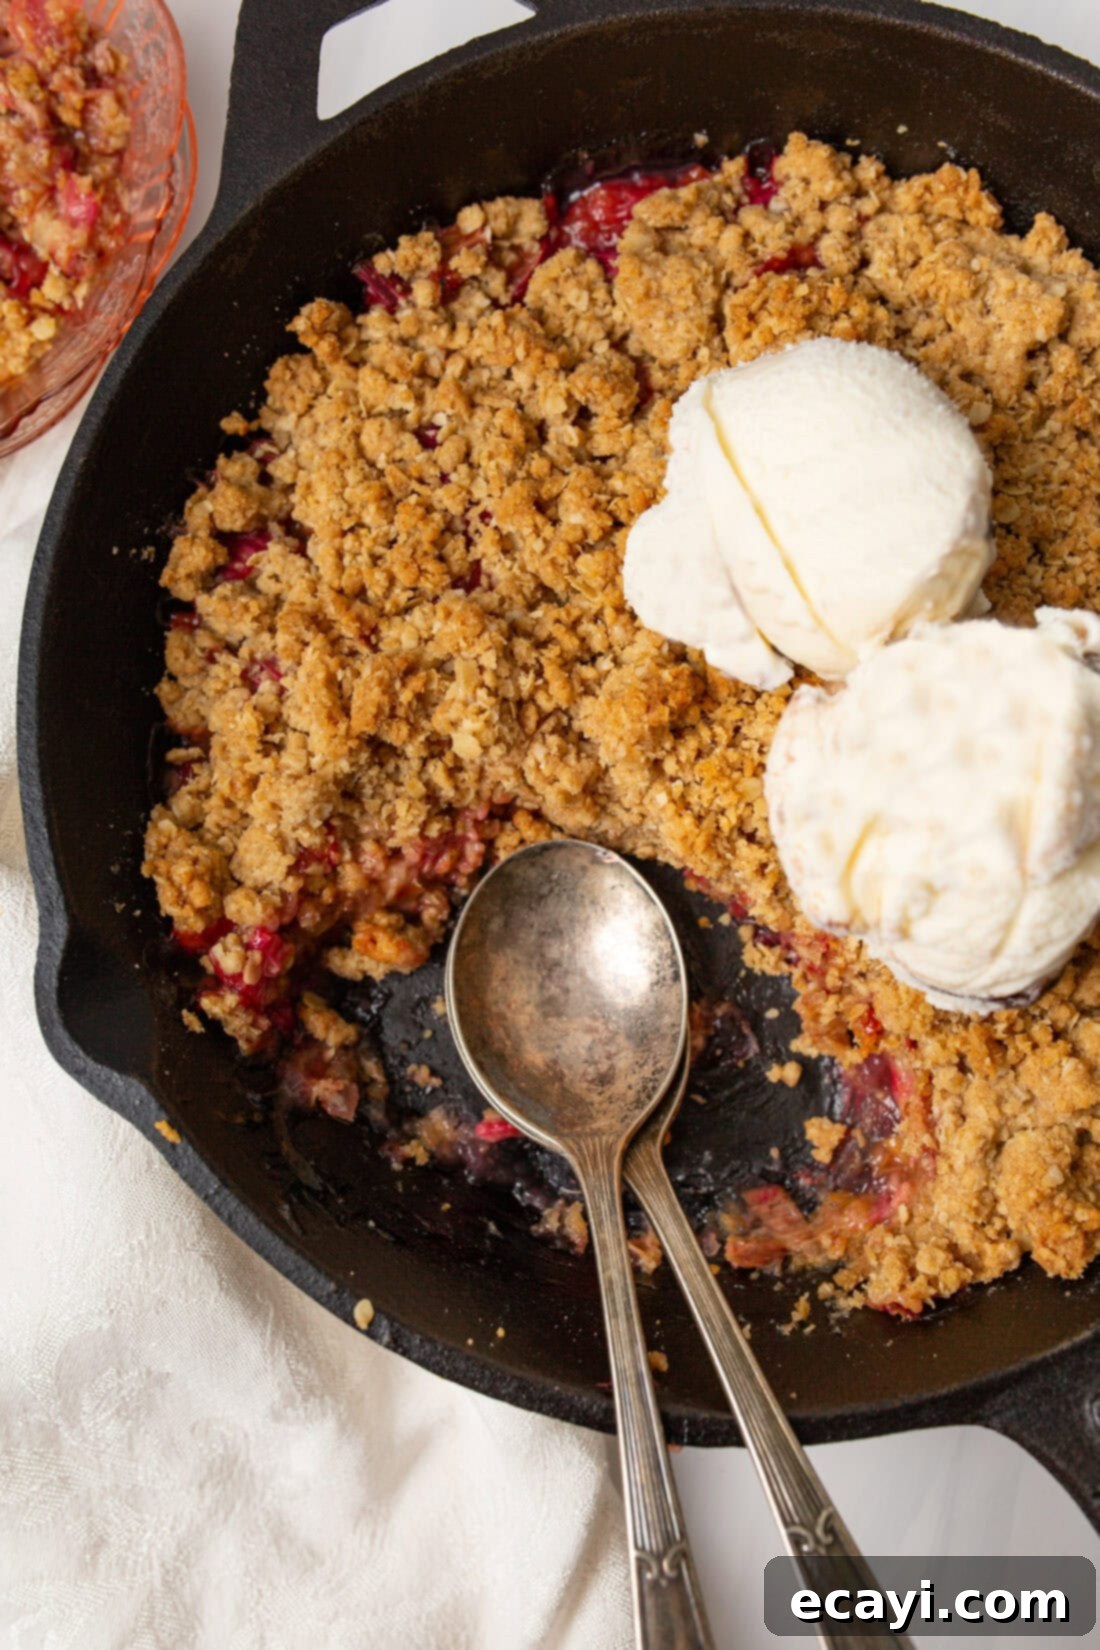
Imagine a warm bowl filled with tender, sweet-tart rhubarb, perfectly cooked to a soft consistency, generously topped with a golden, crunchy oat topping. The contrast between the soft fruit filling and the crispy streusel is simply irresistible. This comforting dessert is particularly divine when served with a melting scoop of creamy vanilla ice cream, which beautifully complements the rhubarb’s tanginess. The cast iron skillet not only adds a rustic charm to your presentation but also ensures even heat distribution, resulting in a perfectly baked crisp every time. It’s an easy, foolproof dessert that quickly becomes a family favorite, perfect for spring gatherings, summer evenings, or any time you crave a taste of homemade comfort.
Key Ingredients for Your Perfect Rhubarb Crisp
Crafting this incredible rhubarb crisp requires a handful of common pantry staples and, of course, fresh rhubarb. You’ll find all precise measurements, specific ingredients, and detailed instructions conveniently laid out in the printable recipe card located at the end of this comprehensive guide. Here, we’ll delve deeper into each component and offer helpful insights to ensure your crisp is nothing short of spectacular.
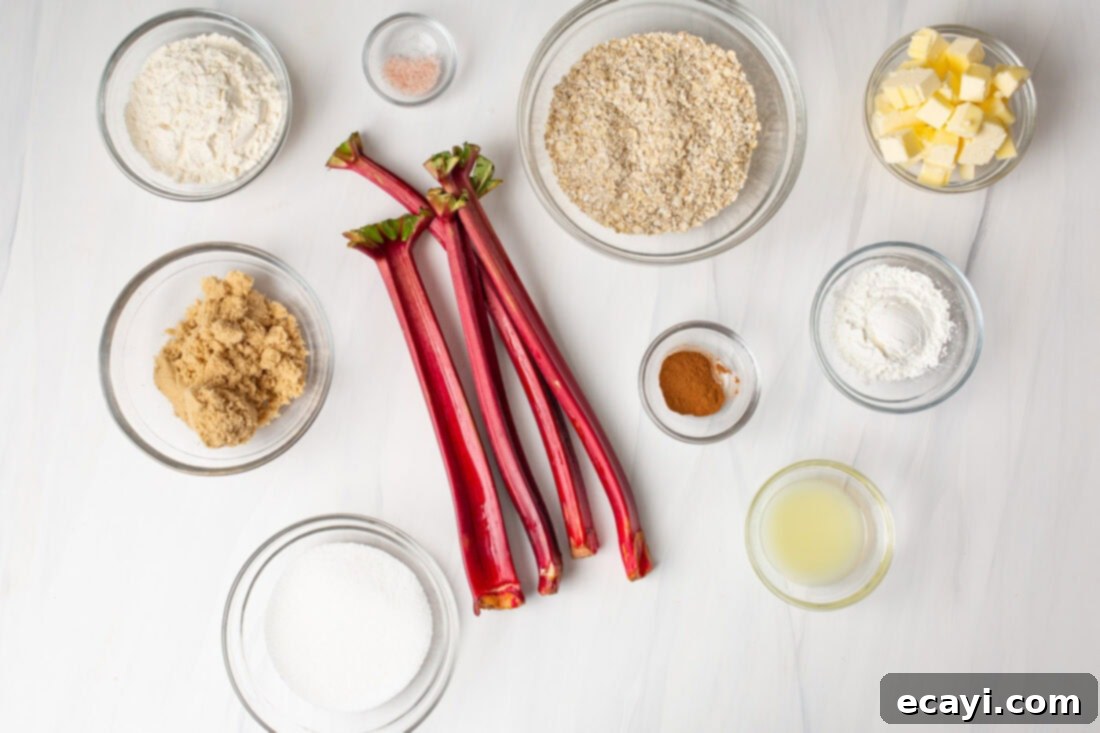
Ingredient Information and Smart Substitution Suggestions
Understanding each ingredient’s role is key to mastering this recipe. Here’s a deeper look:
RHUBARB – Rhubarb, often called the “pie plant,” is a perennial vegetable known for its striking red and green stalks and wonderfully tart flavor. While its peak season is typically from April to June, you can often find it in grocery stores year-round or harvest it fresh from your garden. When selecting rhubarb, always look for firm, crisp stalks that show no signs of wilting, discoloration, or speckles. The color can range from vibrant ruby red to pale green, with redder stalks generally being sweeter. Remember, only the stalks are edible; the leaves are poisonous and should always be discarded. If fresh rhubarb isn’t available, frozen rhubarb is a perfectly acceptable alternative. Simply ensure you preserve any juices that release during thawing, as these add crucial moisture and flavor to your filling.
FOR THE FILLING: Lemon Juice, Granulated Sugar, and Cornstarch – These three ingredients are essential for creating a perfectly balanced and thick rhubarb filling. Lemon juice enhances the rhubarb’s natural tartness while adding a bright, fresh note. Granulated sugar balances the acidity, transforming the intense tartness into a delightful sweet-tart profile. Cornstarch acts as a thickening agent, ensuring your filling is luscious and holds together beautifully, preventing a watery crisp. Adjusting the amount of sugar can tailor the sweetness to your preference, making it more or less tart.
FOR THE CRISP TOPPING – The crowning glory of this dessert! Our crunchy oat topping is made from a harmonious blend of instant oats, all-purpose flour, packed brown sugar, ground cinnamon, salt, and cold butter.
- Instant Oats: Provide a delightful chewiness and hearty texture, forming the base of our crisp. For a gluten-free option, ensure you use certified gluten-free oats.
- All-Purpose Flour: Helps bind the topping ingredients together, creating that signature crumbly texture. A good gluten-free all-purpose flour blend (one that contains xanthan gum) can be used for dietary needs.
- Brown Sugar: Adds a rich, caramel-like sweetness and a touch of moisture that granulated sugar alone cannot provide, contributing to the topping’s golden color.
- Ground Cinnamon: Infuses the crisp with a warm, comforting aroma and flavor that perfectly complements the tart rhubarb.
- Salt: A pinch of salt is crucial for balancing the sweetness and enhancing all the other flavors in the topping.
- Cold Butter: Cut into cubes, cold butter is vital for creating a crumbly, not cake-like, topping. Blending it with the dry ingredients using your hands or a pastry cutter ensures that delicious, uneven texture as it bakes. For a dairy-free alternative, use a high-quality plant-based butter substitute.
This topping bakes into a golden-brown, irresistible crust, especially when paired with a heaping scoop of vanilla ice cream.
How to Master This Easy Rhubarb Crisp
These step-by-step photos and instructions are here to help you visualize how to make this recipe with ease. For a direct jump to the printable version, complete with precise measurements and comprehensive instructions, simply Jump to Recipe at the bottom of this post.
- Prepare Your Oven: Begin by preheating your oven to 350°F (175°C). This ensures your crisp starts baking immediately at the correct temperature, leading to a perfectly golden crust and tender filling.
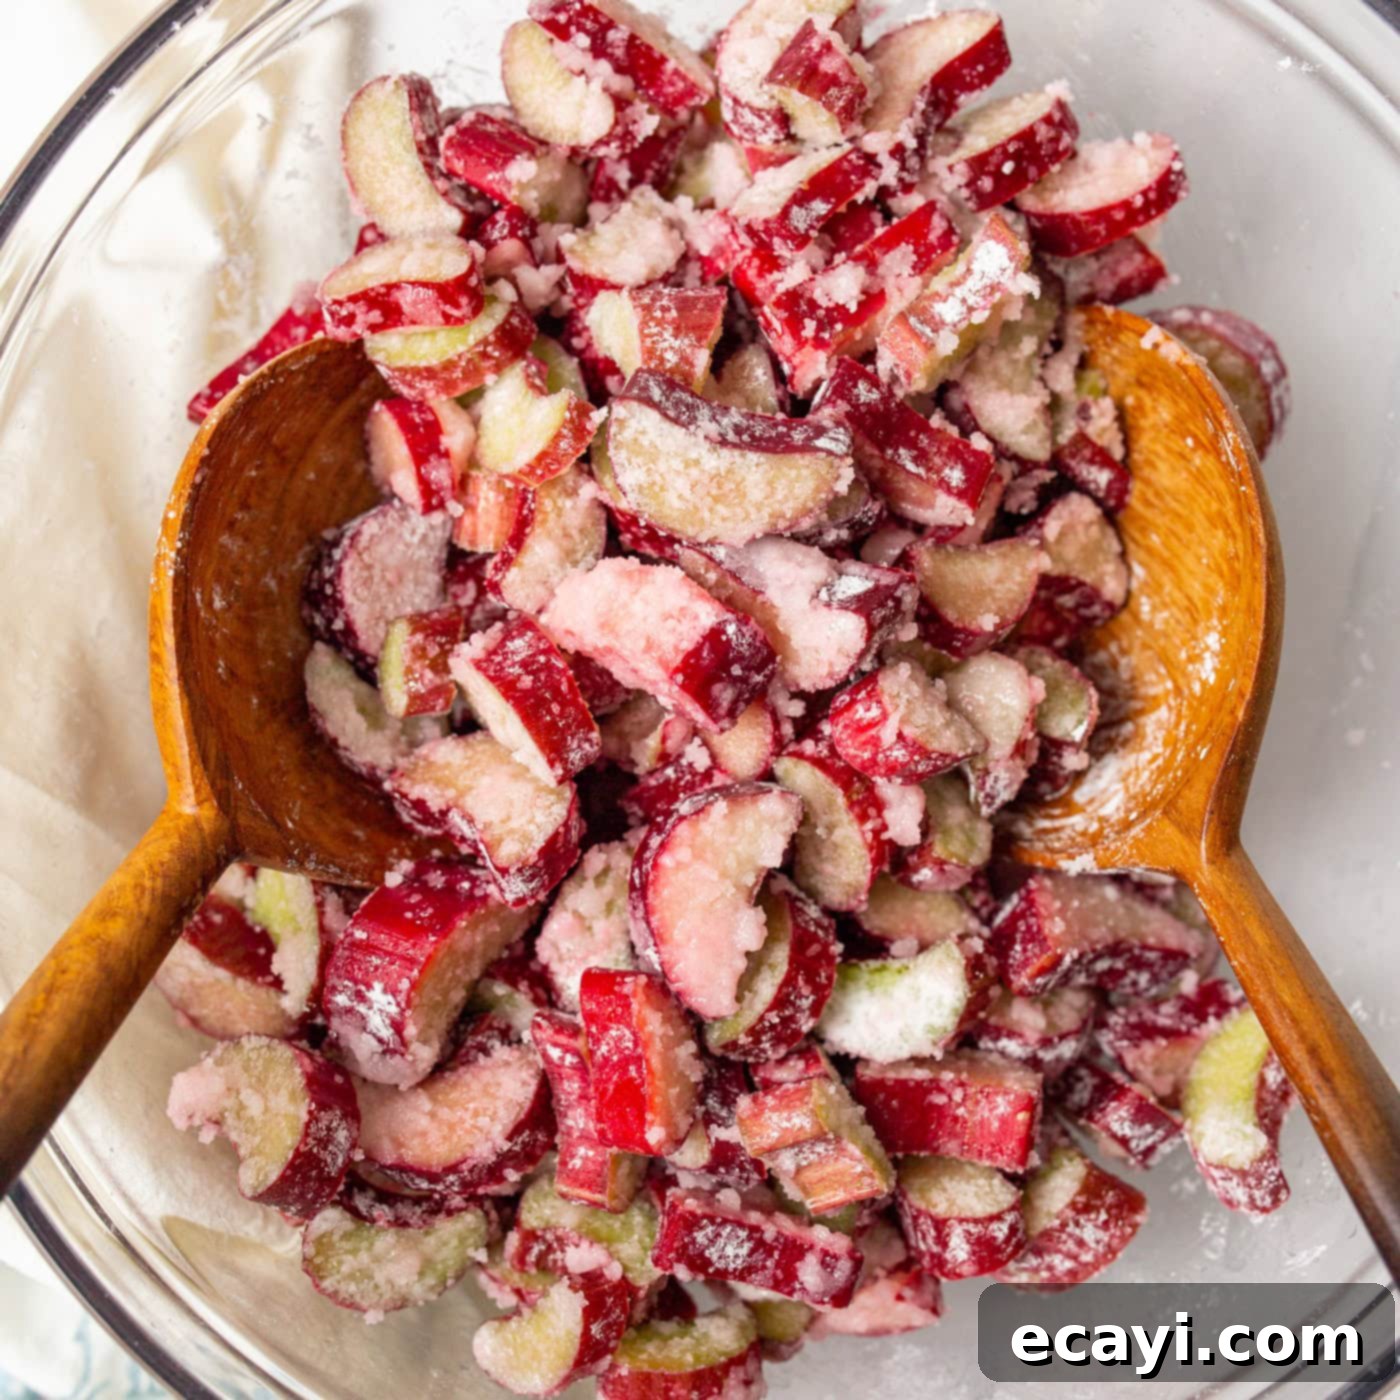
- Assemble the Rhubarb Filling: Start by thoroughly cleaning your rhubarb stalks and chopping them into uniform 1-inch pieces. Consistency in size ensures even cooking. Transfer the chopped rhubarb to a large mixing bowl. Add the lemon juice, granulated sugar, and cornstarch. Toss these ingredients together until every piece of rhubarb is thoroughly coated. The sugar will begin to draw out moisture, while the cornstarch will thicken the juices during baking. Carefully pour this vibrant rhubarb mixture into a 10-inch cast iron skillet. The cast iron skillet is ideal for this dessert, as it provides excellent heat retention and a beautiful rustic presentation straight from the oven to the table.

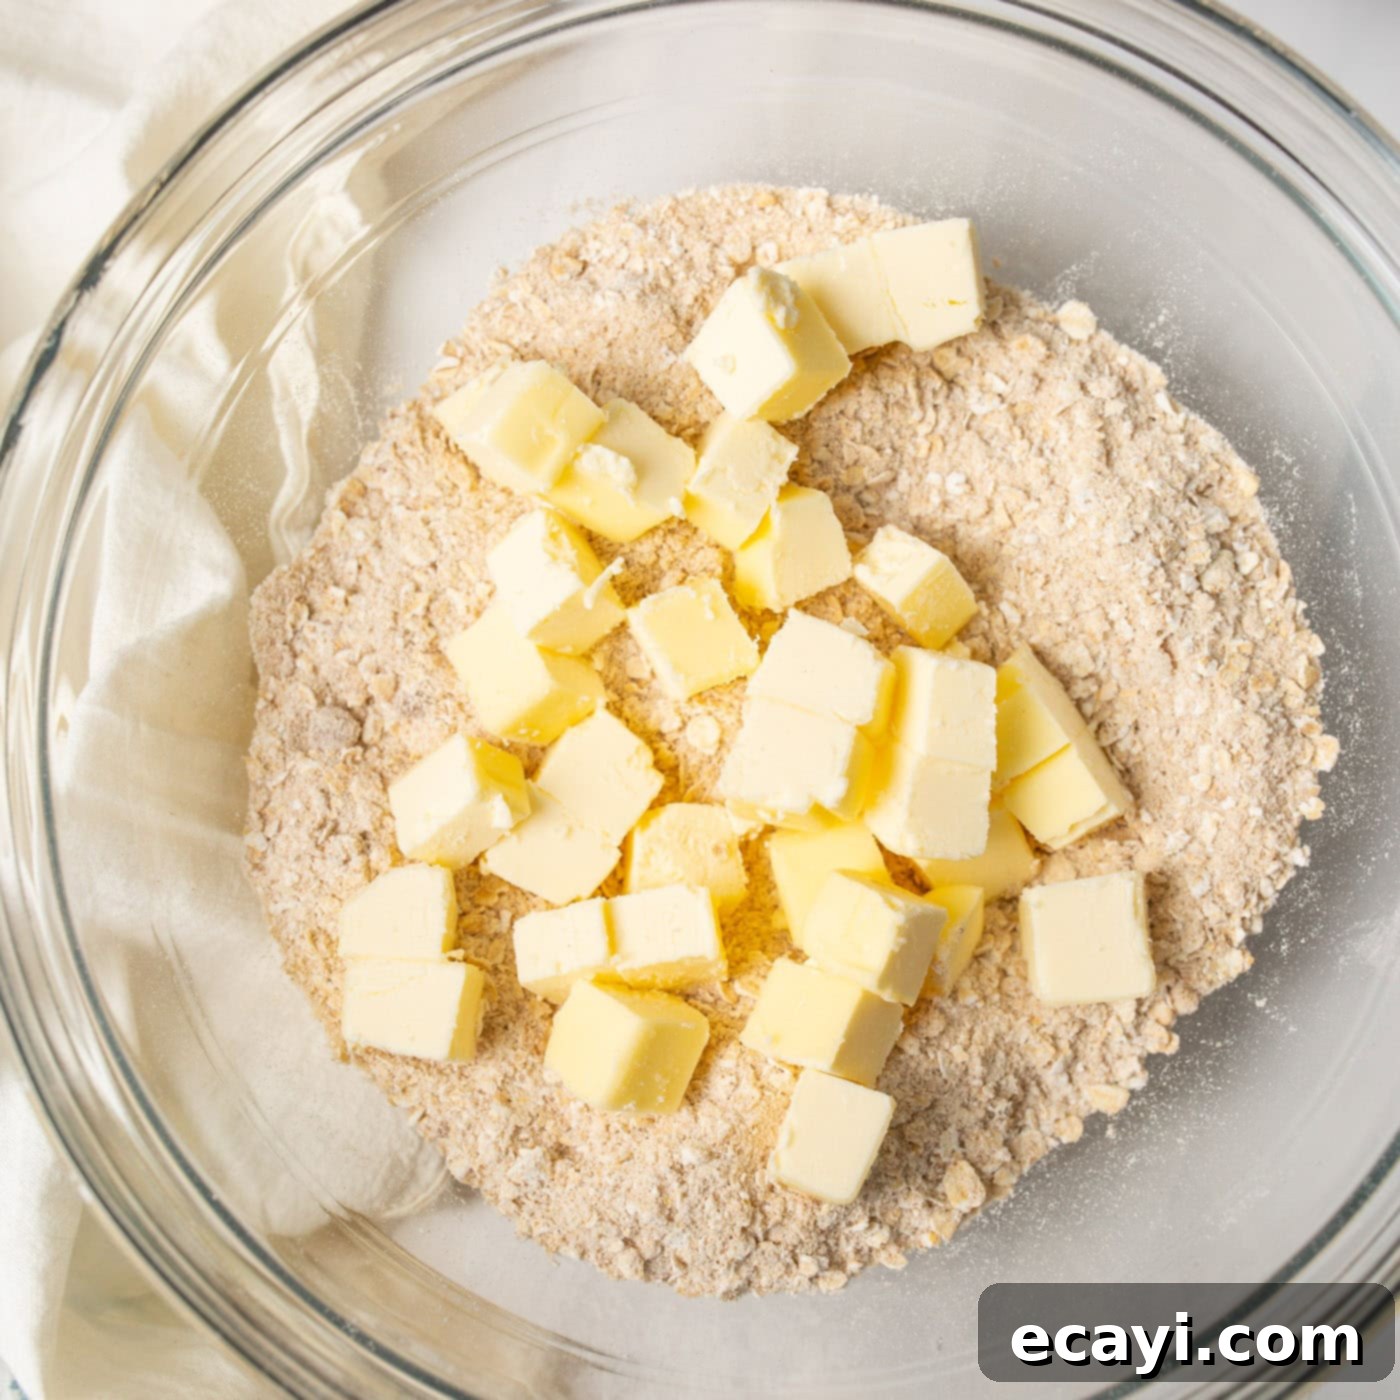
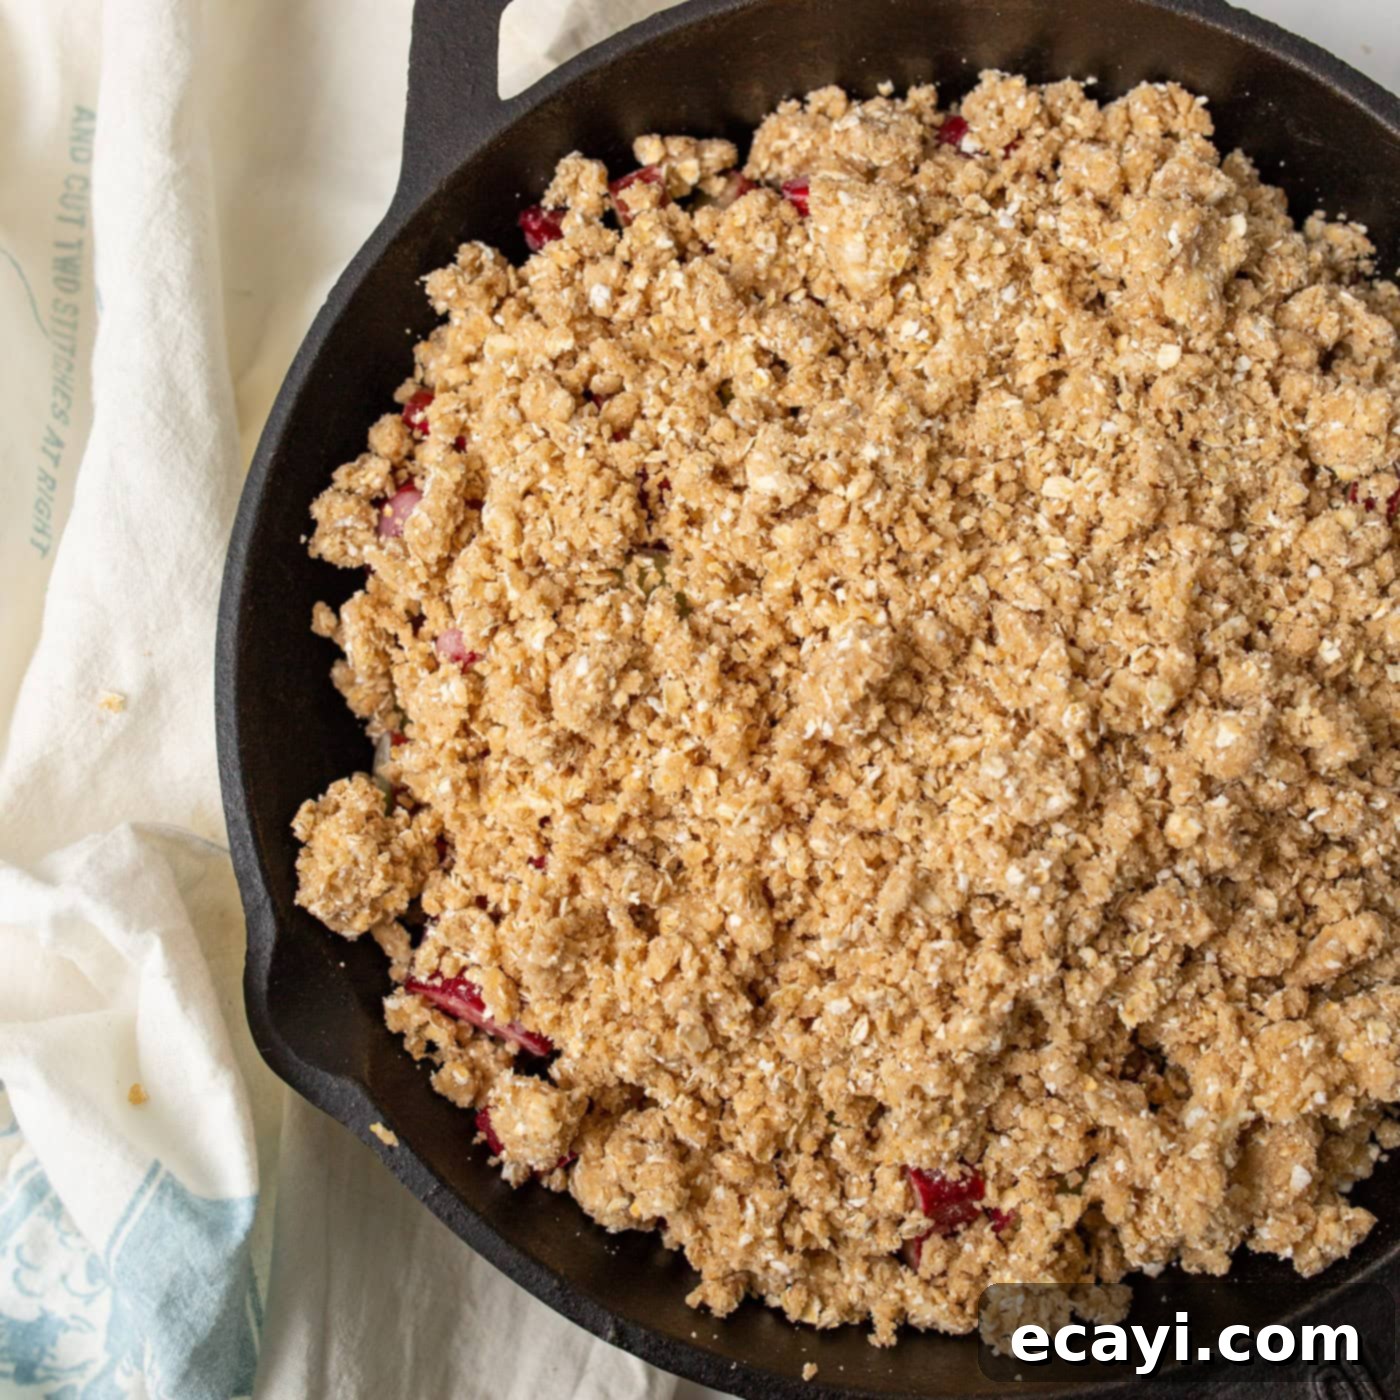
- Create the Perfect Crisp Topping: In a separate large bowl, combine the dry ingredients for your topping: instant oats, all-purpose flour, packed brown sugar, ground cinnamon, and salt. Mix them well to ensure they are evenly distributed. Now, add the cold, cubed butter. Using your fingertips or a pastry blender, work the butter into the dry ingredients. The goal is to create a coarse, crumbly mixture, resembling wet sand or small peas. Avoid overmixing; you want bits of butter to remain, as these will melt and create pockets of crispness. Once the topping is ready, evenly sprinkle it over the unbaked rhubarb mixture in the cast iron skillet.

- Bake and Serve: Place the skillet into your preheated oven and bake for approximately 40 minutes. You’ll know it’s ready when the topping is beautifully golden brown and the rhubarb filling is bubbling invitingly around the edges. Carefully remove the crisp from the oven and allow it to cool for about 10 minutes. This resting time allows the filling to set slightly and intensifies the flavors. Serve this warm, comforting dessert with a generous scoop of vanilla ice cream, either directly from the skillet for a communal experience or in individual dishes for a refined touch. Enjoy the perfect harmony of tart rhubarb and sweet, crunchy topping!

Frequently Asked Questions & Expert Tips for Rhubarb Crisp
Absolutely, using frozen rhubarb is a convenient option! You have two main approaches:
1. Thaw Completely: For best results, thaw your rhubarb completely in a colander set over a bowl. This allows excess moisture to drain. Make sure to reserve any juices that leak from the rhubarb as it thaws and incorporate these into your filling mixture. This preserves flavor and ensures the filling isn’t too dry.
2. Bake from Frozen: You can also bake frozen rhubarb directly from the freezer. If you choose this method, you might need to adjust the cook time, potentially adding an extra 10-15 minutes, as the frozen rhubarb will lower the temperature of the filling and require more time to soften and bubble. Keep an eye on the crispness of the topping to prevent over-browning.
No matter which method you choose, ensure your rhubarb pieces are uniform in size.
While this recipe celebrates pure rhubarb, it’s also wonderfully versatile if you want to experiment! You can add a variety of fruits to complement rhubarb’s tartness. Popular choices include blueberries, strawberries, raspberries, or blackberries. Apples also make a fantastic addition, especially Granny Smith for continued tartness. When adding other fruits, aim for a 1:1 ratio of rhubarb to the additional fruit (e.g., if using 5 cups of rhubarb, add 5 cups of strawberries). If combining more than two fruits, aim for a roughly 1/3 ratio for each component to ensure a balanced flavor profile. Consider a pinch of nutmeg or a dash of ginger for an extra layer of spice.
Yes, with a few smart steps, you can prepare components of your rhubarb crisp in advance!
1. Crisp Topping: You can make the oat crisp topping ahead of time and store it in an airtight container in the freezer for up to 2-3 months. This is a great time-saver!
2. Chopped Rhubarb: Freshly chopped rhubarb can be stored in an airtight container in the refrigerator for 2-3 days, or frozen for up to 1 year. If freezing, spread it in a single layer on a baking sheet before transferring to a freezer bag to prevent clumping.
3. Assembly: While components can be prepped, for the absolute best results (crispest topping and freshest flavor), we highly recommend assembling and baking the crisp on the day you plan to serve it. This prevents the topping from becoming soggy from the fruit juices.
To keep your rhubarb crisp fresh, allow it to cool completely after baking. Then, cover it tightly with plastic wrap or transfer it to an airtight container. Store it in the refrigerator for 2-3 days. While it’s best enjoyed warm, leftovers are still delicious cold or gently reheated. To reheat, you can warm individual servings in the microwave or place the entire skillet (if oven-safe) in a 300°F (150°C) oven for 15-20 minutes, or until warmed through, to help crisp up the topping again.
Choosing quality rhubarb is paramount for a delicious crisp. Look for nice, firm stalks that are crisp to the touch and snap easily. Avoid any stalks that appear mushy, limp, or have speckled spots or significant damage. While the color can vary from deep red to light green, the color doesn’t necessarily indicate ripeness or sweetness as much as it does the variety. Garden-fresh rhubarb is typically at its peak in the spring or early summer, generally from April through June, offering the best flavor and texture. A crucial reminder: never consume rhubarb leaves, as they are poisonous to both pets and humans due to their oxalic acid content. Always discard the leaves safely. To enjoy rhubarb year-round, chop harvested stalks into 1-inch pieces and store them in the freezer in an airtight bag for up to 1 year.
In most cases, especially with fresh, in-season rhubarb, peeling is not necessary. The skin contributes to the color and a bit of texture. However, if your rhubarb stalks are particularly large, older, or a bit past their prime, their outer layer might be very fibrous and tough. In such instances, peeling them can significantly improve the texture and overall eating experience of your crisp. You can use a vegetable peeler to gently remove the stringy outer layer if needed, much like you would celery.
Baking in a cast iron skillet offers several advantages that contribute to a superior crisp. Firstly, cast iron retains and distributes heat incredibly evenly, ensuring that your rhubarb filling cooks uniformly without hot spots. This results in perfectly tender rhubarb and a wonderfully crisp bottom crust. Secondly, cast iron goes directly from oven to table, providing a charming, rustic presentation that’s perfect for family meals or entertaining. It also makes cleanup easier with fewer dishes! Lastly, the seasoned surface of a cast iron skillet can impart a subtle, unique flavor that enhances the overall depth of the dessert.
Yes, adapting this recipe to be gluten-free is quite straightforward! For the crisp topping, simply substitute the all-purpose flour with a high-quality, cup-for-cup gluten-free all-purpose flour blend (one that ideally contains xanthan gum for binding). For the oats, ensure you use certified gluten-free rolled oats. While oats are naturally gluten-free, they are often processed in facilities that also handle wheat, leading to cross-contamination. Look for labels specifically stating “certified gluten-free” to ensure safety for those with celiac disease or gluten sensitivities. The rest of the ingredients in the recipe are naturally gluten-free.
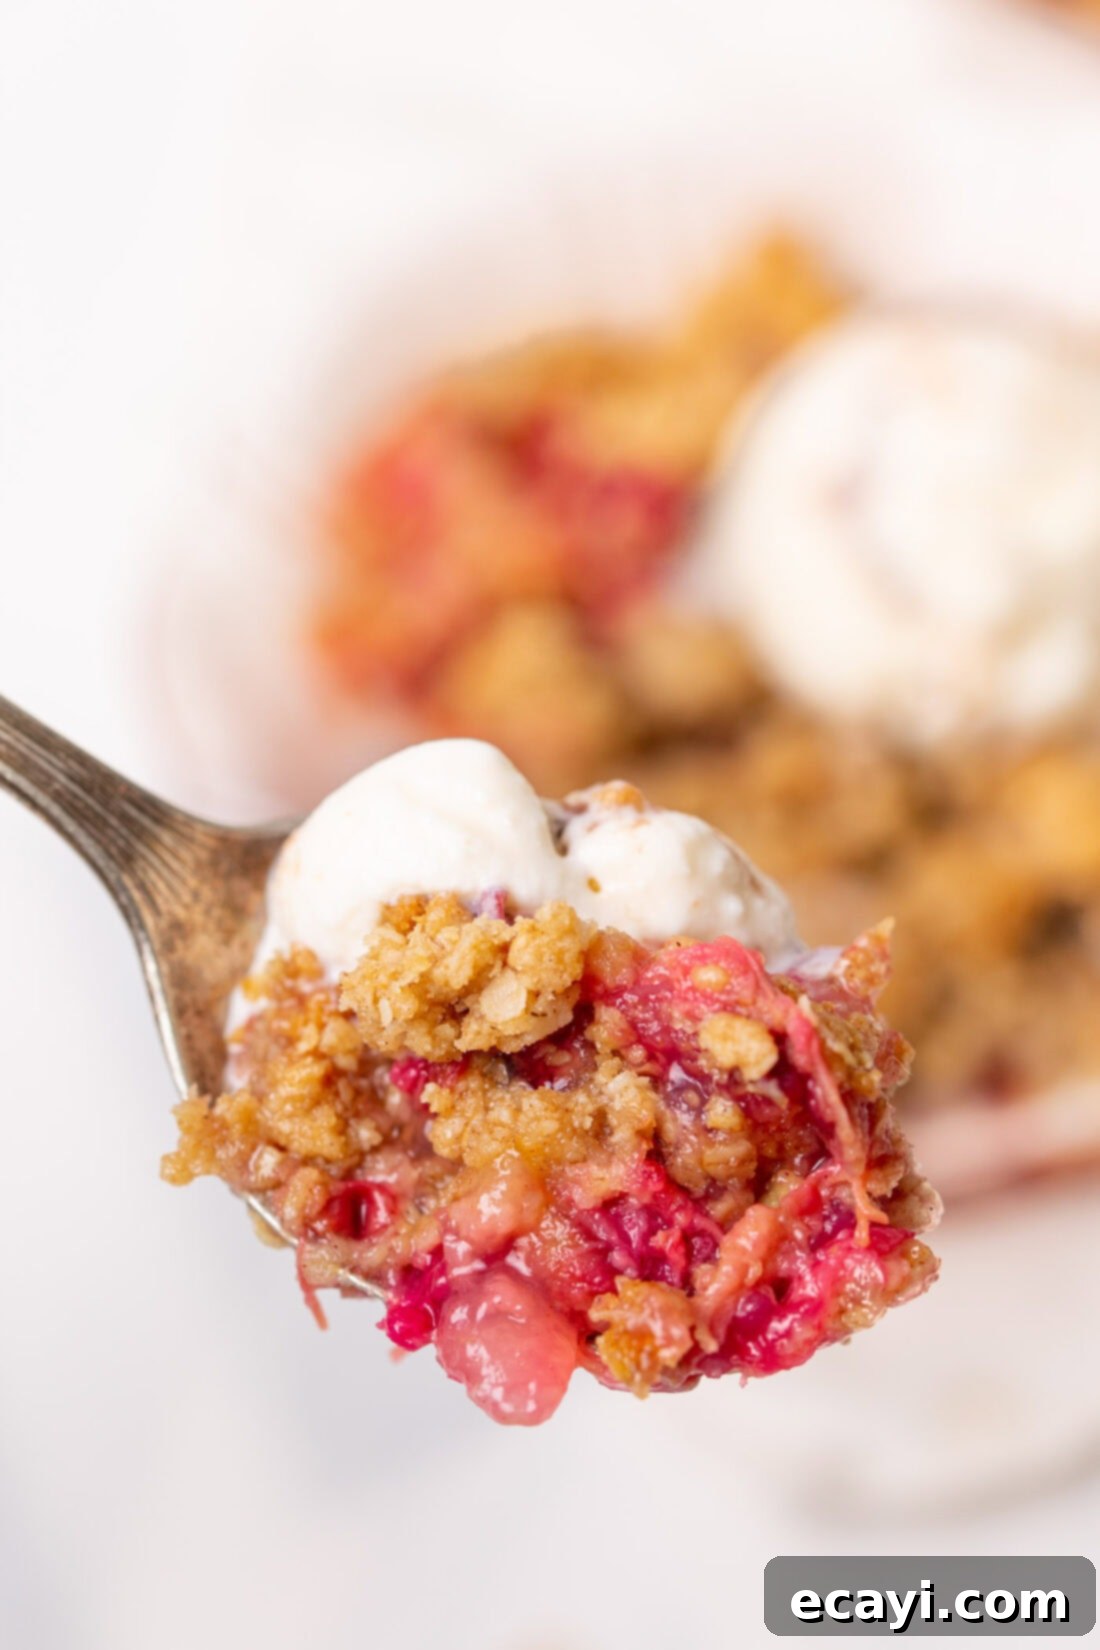
Serving Suggestions for Your Delicious Rhubarb Crisp
Rhubarb crisp is a dessert that truly shines when served warm, fresh from the oven. The classic and most beloved pairing is with a generous, melting scoop of rich vanilla ice cream. The cool creaminess of the ice cream provides a heavenly contrast to the warm, sweet-tart filling and crunchy topping. Beyond ice cream, you can elevate your crisp with other delightful additions. Consider a dollop of freshly whipped cream, a sprinkle of toasted nuts (like pecans or walnuts), or even a light drizzle of caramel sauce for an extra touch of indulgence. Fresh berries, such as raspberries or blueberries, can also add a burst of color and a complementary fruity note. This versatile dessert is perfect for any occasion, whether it’s a comforting family dessert after dinner, a highlight at a weekend brunch, or a delightful contribution to a potluck.
Discover More Delicious Crisp and Cobbler Recipes
- Blueberry Cobbler
- Summer Fruit Crisp
- Crockpot Apple Cobbler
- Apple Cranberry Crisp
- Crockpot Chocolate Cherry Cobbler
- Peach Cobbler Dump Cake
I love to bake and cook and share my kitchen experience with all of you! Remembering to come back each day can be tough, that’s why I offer a convenient newsletter every time a new recipe posts. Simply subscribe and start receiving your free daily recipes!
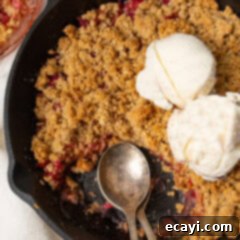
Rhubarb Crisp
IMPORTANT – There are often Frequently Asked Questions within the blog post that you may find helpful. Simply scroll back up to read them!
Print It
Pin It
Rate It
Save ItSaved!
Ingredients
- 5 cups rhubarb chopped into 1-inch x 1/2-inch pieces
- 1 Tablespoon lemon juice
- 1 cup granulated sugar
- 3 Tablespoons cornstarch
- 1 cup instant oats
- ½ cup all-purpose flour
- ½ cup brown sugar packed
- ½ teaspoon ground cinnamon
- ¼ teaspoon salt
- ½ cup butter 1 stick, cold and cubed
Things You’ll Need
-
10 inch cast iron skillet
-
Mixing bowls
Before You Begin
- You can make your crisp topping ahead of time and store in the freezer for 2-3 months. You can also freeze your chopped rhubarb for up to 1 year. However, I would recommend assembling the crisp the day of.
Instructions
-
Preheat the oven to 350F.
-
Clean and chop the rhubarb. Add to a large bowl with lemon juice, sugar, and cornstarch. Toss until well coated. Pour contents into a 10 inch skillet.
-
In another large bowl, mix together the oats, flour, brown sugar, cinnamon, and salt. Add the cubed butter and blend well with hands until the butter is fully incorporated, but not melted. Pour the topping over the unbaked rhubarb.
-
Bake for 40 minutes at 350F. Remove from the oven and allow to cool for 10 minutes. Top with vanilla ice cream either in the skillet or individual dishes.
Expert Tips & FAQs
- Store your rhubarb crisp tightly covered with plastic wrap or an air-tight lid in the refrigerator for 2-3 days.
Nutrition
The recipes on this blog are tested with a conventional gas oven and gas stovetop. It’s important to note that some ovens, especially as they age, can cook and bake inconsistently. Using an inexpensive oven thermometer can assure you that your oven is truly heating to the proper temperature. If you use a toaster oven or countertop oven, please keep in mind that they may not distribute heat the same as a conventional full sized oven and you may need to adjust your cooking/baking times. In the case of recipes made with a pressure cooker, air fryer, slow cooker, or other appliance, a link to the appliances we use is listed within each respective recipe. For baking recipes where measurements are given by weight, please note that results may not be the same if cups are used instead, and we can’t guarantee success with that method.
This post was originally published here on May 14, 2021.
