Irresistible Valentine Muddy Buddies: The Ultimate Easy & Festive Treat
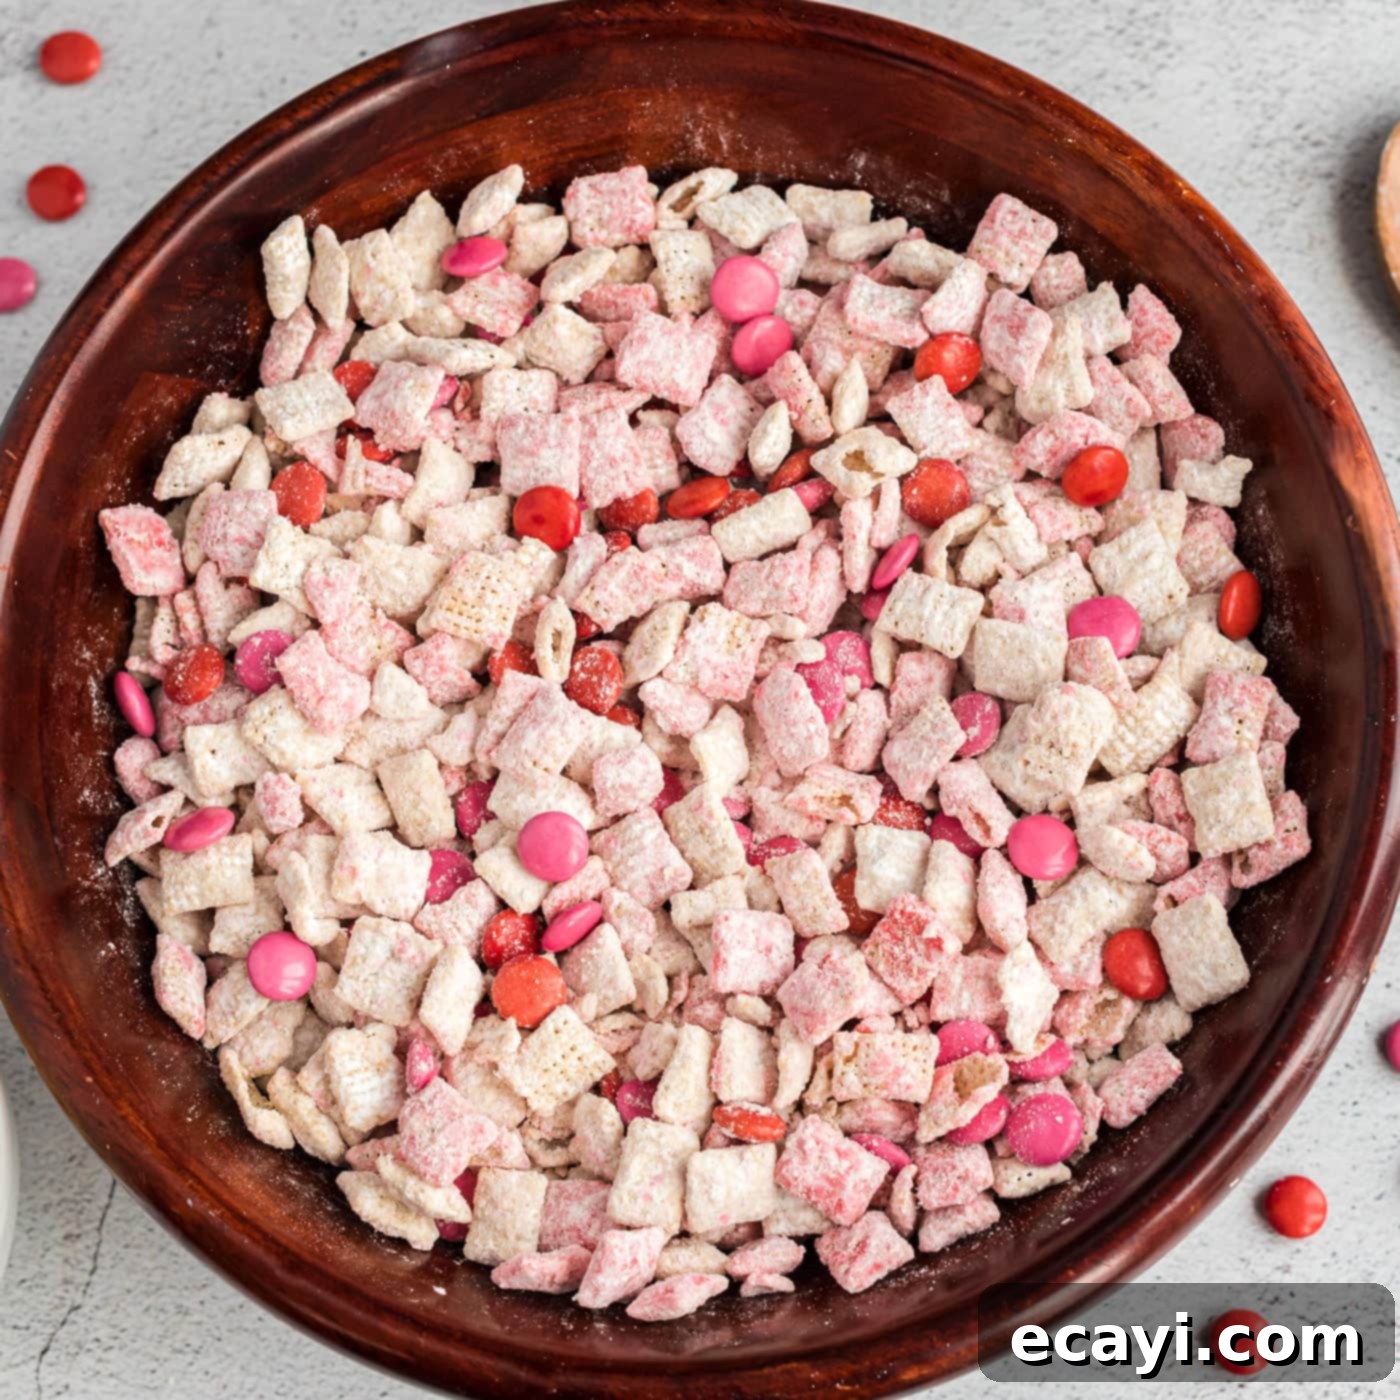
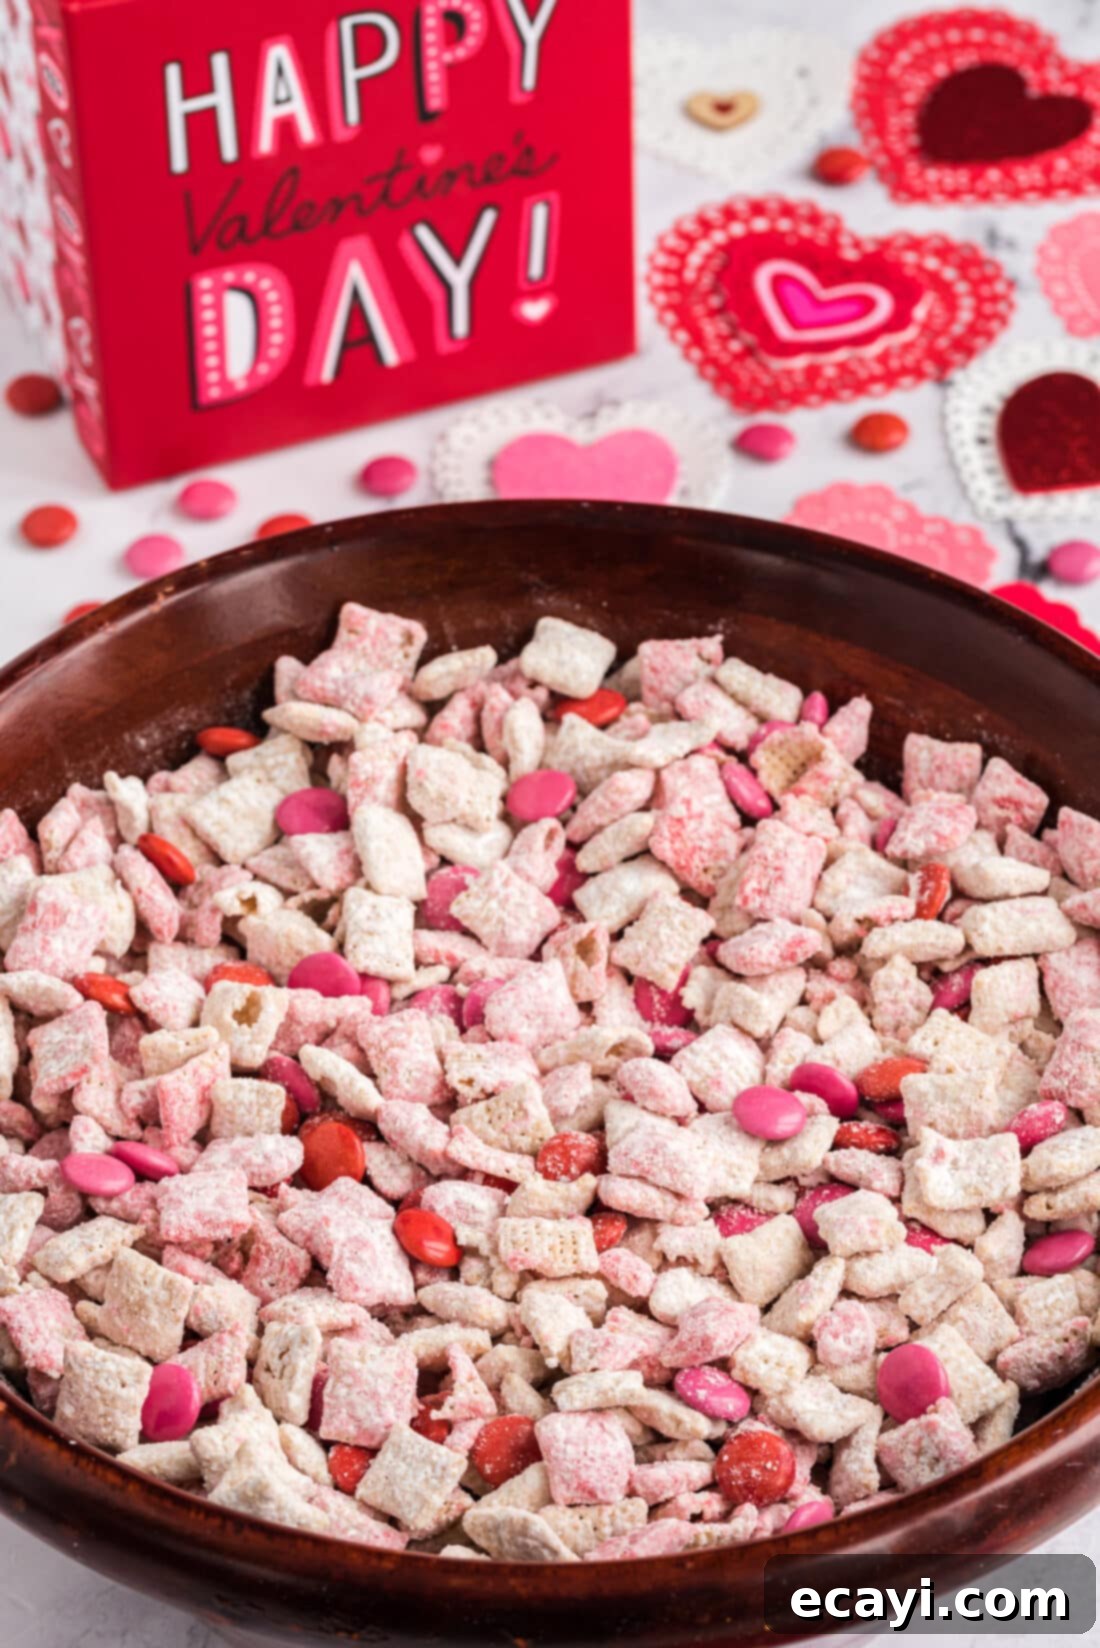
Valentine Muddy Buddies are the epitome of an adorable and delicious edible gift, perfect for sharing with that special someone, friends, or simply treating yourself! This beloved sweet snack, also known as puppy chow, transforms classic ingredients into a festive, Valentine’s Day delight. Each bite delivers a satisfying crunch of cereal, generously coated in creamy white chocolate and peanut butter, then dusted in a cloud of powdered sugar, and finally studded with vibrant pink and red candies. It’s a simple yet incredibly satisfying confection that embodies the spirit of love and celebration.
Why This Valentine Muddy Buddies Recipe Is a Must-Make
Muddy buddies, universally cherished as puppy chow, have consistently been one of my all-time favorite sweet treats due to their irresistible combination of textures and flavors. The beauty of this recipe lies in its simplicity and versatility. Every single morsel of cereal is enveloped in a rich, velvety blend of chocolate and peanut butter, then tossed until perfectly coated in powdered sugar. The truly exciting part? You can customize it to suit any occasion, making it a truly adaptable dessert.
For this special Valentine’s edition of muddy buddies, we’ve taken the classic concept and infused it with romantic flair. We opted for a delightful combination of white chocolate and a festive pink (or red, if you prefer) chocolate, creating a visually stunning contrast that screams Valentine’s Day. The addition of red and pink M&M candies further enhances the holiday theme, adding bursts of color and extra sweetness. Imagine how even cuter these would be with a generous sprinkle of heart-shaped sprinkles, adding an extra touch of charm! This recipe isn’t just a snack; it’s an expression of affection, easy to make, and guaranteed to bring smiles.
Beyond its festive appeal, this Valentine muddy buddies recipe works exceptionally well because it’s a no-bake dessert, meaning less time in the kitchen and more time enjoying. It’s incredibly quick to prepare, making it ideal for last-minute Valentine’s Day gifts or a spontaneous sweet craving. The crunchy Chex cereal holds up beautifully to the rich coating, ensuring every bite is texturally perfect. Plus, making two separate batches – one white and one pink – not only adds to the aesthetic appeal but also allows for a subtle variation in flavor if you choose different types of candy melts. It’s a truly versatile and foolproof recipe for a delicious and memorable Valentine’s Day treat.
Key Ingredients for Your Valentine Muddy Buddies
Crafting these delicious Valentine Muddy Buddies requires just a handful of readily available ingredients, transforming simple pantry staples into a truly festive creation. For the precise measurements and a complete list of ingredients, along with detailed instructions, please refer to the printable recipe card conveniently located at the end of this post. Gather your components, and let’s get ready to make some magic!
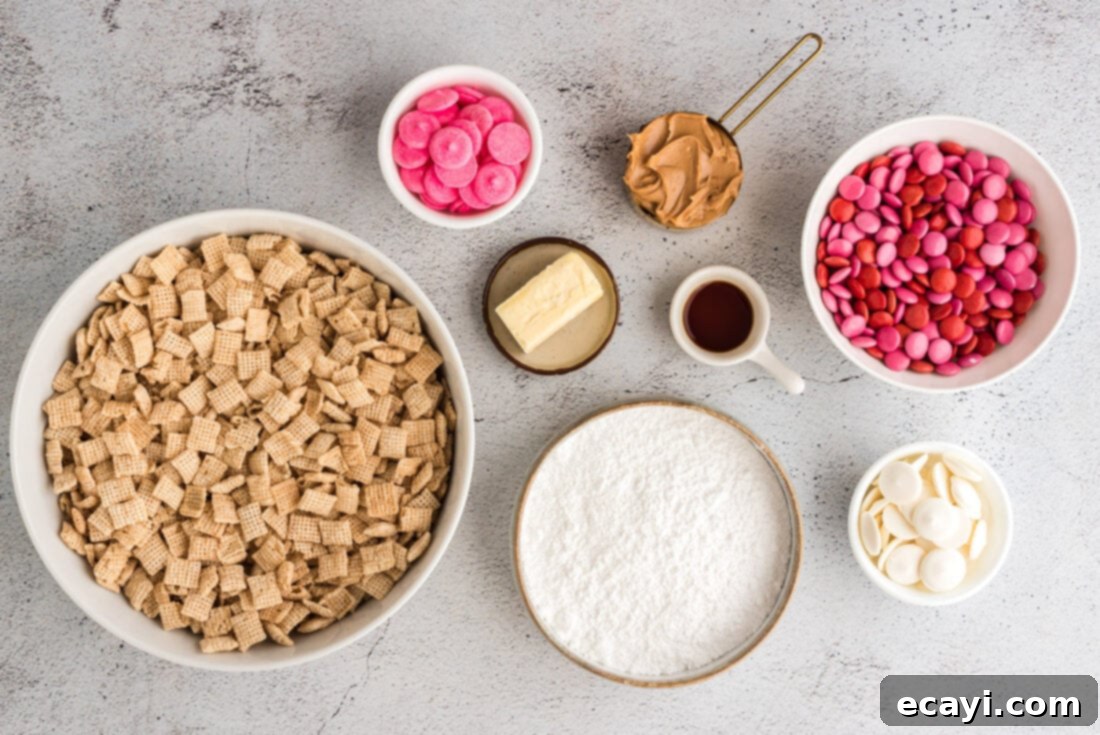
Ingredient Spotlight & Smart Substitutions for the Perfect Puppy Chow
Let’s dive deeper into the ingredients that make these Valentine Muddy Buddies so special, along with some helpful tips and substitution suggestions to ensure your success in the kitchen.
Cereal: The base of any good muddy buddy recipe is a light, crispy cereal, and Rice Chex cereal is the undisputed champion. Its square shape and porous texture are ideal for soaking up the chocolate-peanut butter coating and holding onto the powdered sugar. While other Chex varieties (like Corn Chex) can work, Rice Chex offers the most neutral flavor profile, allowing the chocolate and peanut butter to truly shine. Avoid overly sweet or flavored cereals, as they might clash with the overall taste.
CHOCOLATE: To achieve the beautiful Valentine’s aesthetic, you will need both white and pink candy melts. Candy melts are specifically designed for easy melting and provide a smooth, vibrant finish. If pink candy melts aren’t available, feel free to use red candy melts for an equally striking result, or even purple for a unique twist. Alternatively, you can use 1 cup of high-quality white chocolate chips or baking chocolate. If you opt for white chocolate chips or baking chocolate, simply add a few drops of pink (or red) gel food coloring to one half of the chocolate mixture after it’s melted, following the instructions in the recipe below. Gel food coloring is recommended over liquid food coloring as it won’t seize the chocolate. This flexibility allows you to easily adapt the recipe to what you have on hand.
Peanut Butter: Smooth peanut butter is crucial for creating the creamy, cohesive coating. It adds a delicious nutty flavor that perfectly complements the chocolate and helps the mixture adhere to the cereal. While crunchy peanut butter might sound appealing, its texture can make coating the cereal evenly more challenging. For those with peanut allergies, sunflower seed butter (like SunButter) can be a fantastic alternative, providing a similar creamy texture and nutty flavor profile. Just ensure it’s a smooth variety.
Unsalted Butter: Butter adds richness and helps create a smooth, pliable coating that evenly spreads over the cereal. Unsalted butter is preferred as it gives you control over the overall saltiness of the dish. If you only have salted butter, you can still use it, but consider slightly reducing any additional salt in other components, though typically, no extra salt is added to this recipe.
Pure Vanilla Extract: A touch of pure vanilla extract enhances all the sweet flavors, adding depth and warmth to the chocolate and peanut butter coating. Don’t skip this ingredient, as it truly elevates the taste. Ensure you use pure vanilla extract for the best flavor; imitation vanilla can sometimes have an artificial aftertaste.
Confectioners’ Sugar: This is the magic ingredient that gives muddy buddies their signature “powdery” look and melts-in-your-mouth texture. Also known as powdered sugar or icing sugar, it creates that iconic snow-dusted finish and adds an extra layer of sweetness. There’s no real substitute for confectioners’ sugar in this recipe to achieve the traditional muddy buddy coating.
M&M Candies (Red, Pink, or White): These candies are the perfect festive addition, providing a delightful crunch and bursts of color that align with the Valentine’s theme. You can use a mix of red, pink, and white M&M’s, or even special Valentine’s M&M’s if available. Feel free to get creative with other Valentine’s Day-themed candies, such as conversation hearts (though their texture will be different), small heart-shaped sprinkles, or even chopped white chocolate covered pretzels for extra crunch and saltiness. The key is to choose candies that enhance the visual appeal and add to the holiday spirit.
Crafting Your Valentine Muddy Buddies: A Step-by-Step Guide
These step-by-step photos and detailed instructions are provided to guide you visually through the process of making this delightful recipe. For your convenience, you can Jump to Recipe to access the printable version of this recipe, complete with precise measurements and comprehensive instructions at the bottom of the page.
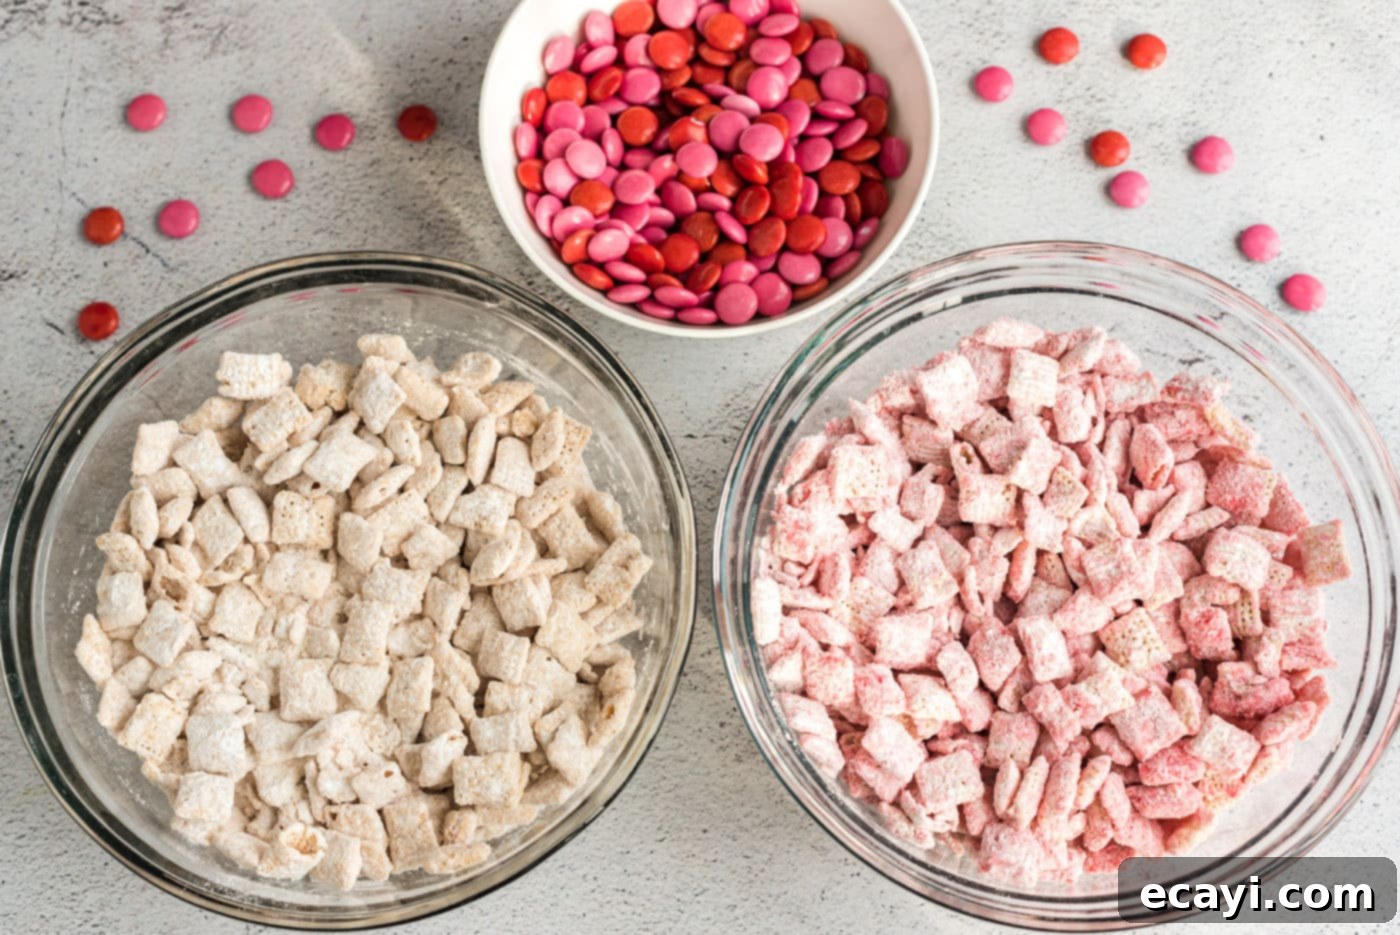
- **Prepare Your Cereal:** Begin by dividing 9 cups of Rice Chex cereal evenly into two large mixing bowls. This ensures you’ll have separate batches for your white and pink chocolate coatings, maintaining distinct colors and making the coating process more manageable. Set these bowls aside.
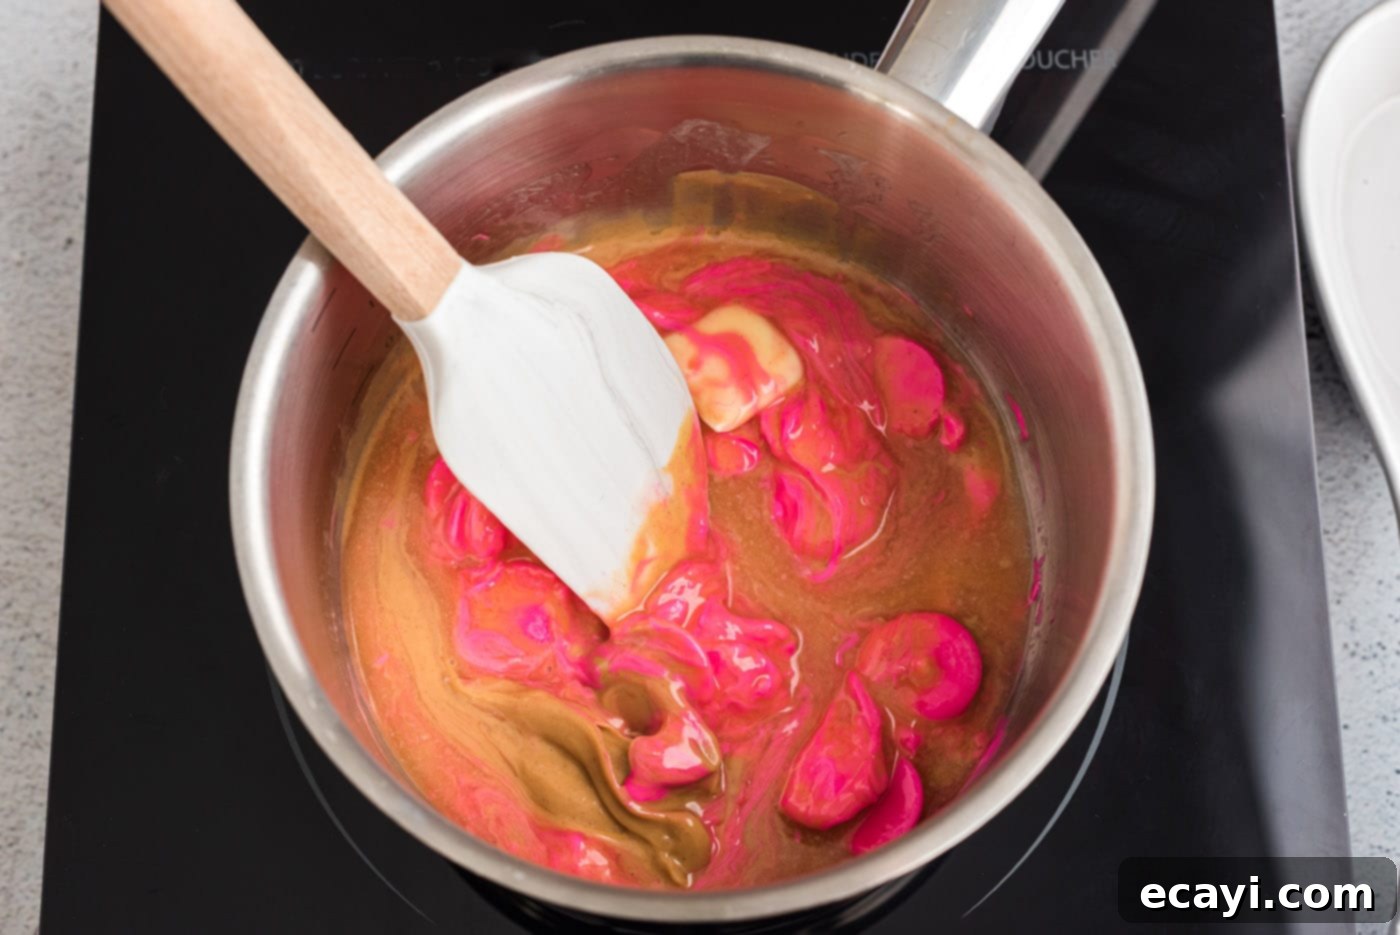
- **Melt the Chocolate Coating:** In two separate medium saucepans (or by working in batches if you only have one), combine the unsalted butter, smooth peanut butter, and candy melts over low heat. It’s crucial to keep the heat low to prevent the chocolate from burning. Designate one saucepan for the white candy melts and the other for the pink candy melts. Each saucepan should contain 2 tablespoons of butter, 1/4 cup of peanut butter, and 1/2 cup of either white or pink candy melts. Stir the mixture continuously with a spoon until everything is smooth, completely melted, and thoroughly combined. This slow melting process ensures a perfectly smooth and lump-free coating.

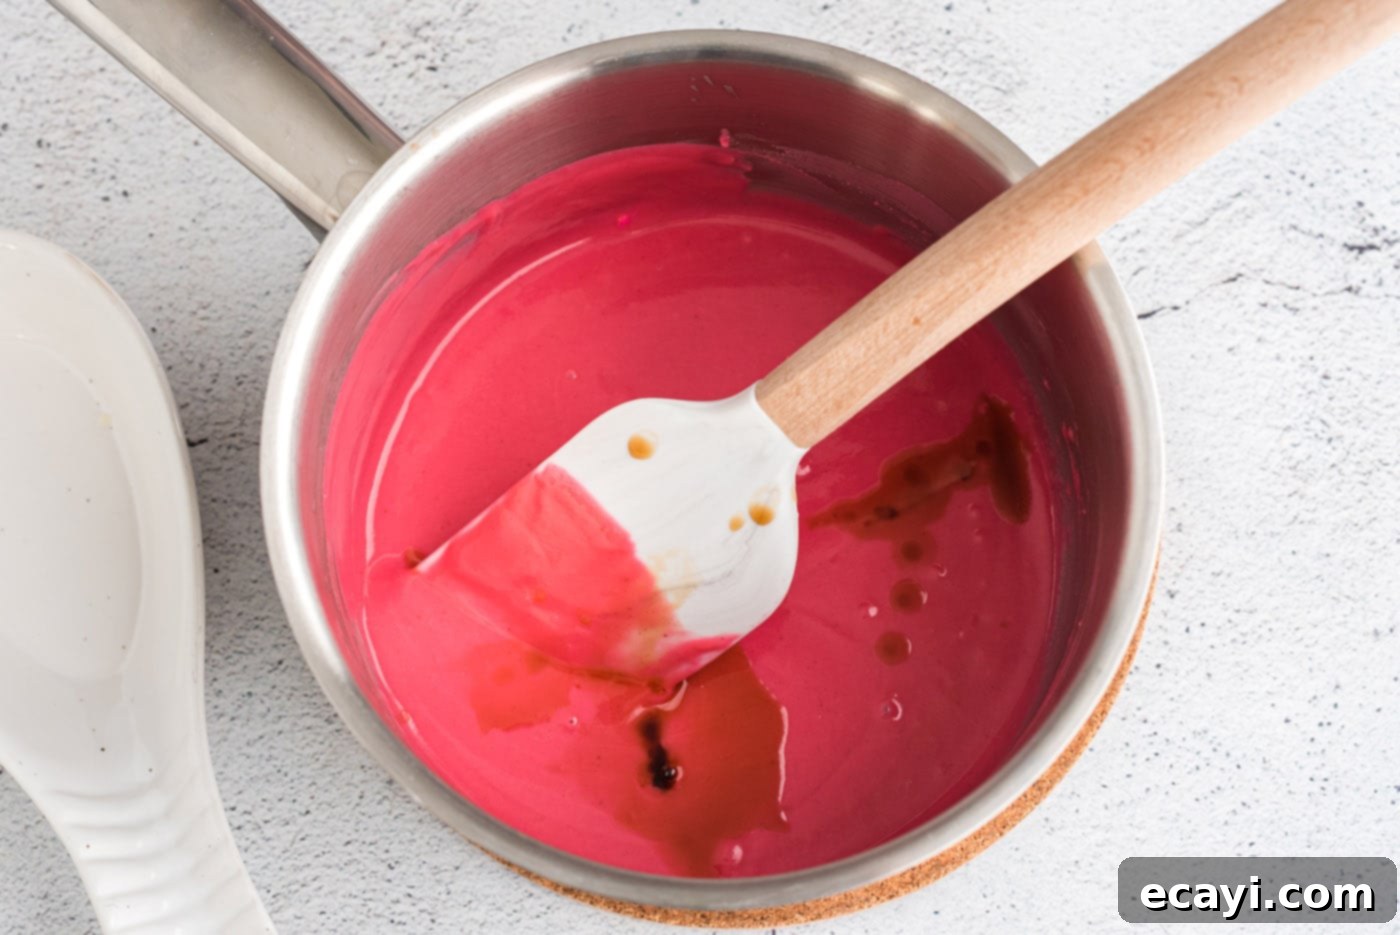
- **Infuse with Vanilla:** Once your chocolate and peanut butter mixtures are smooth and melted, remove the saucepans from the heat. Stir 1/2 teaspoon of pure vanilla extract into each mixture. The vanilla adds a wonderful depth of flavor that complements the sweetness and richness of the chocolate and peanut butter.

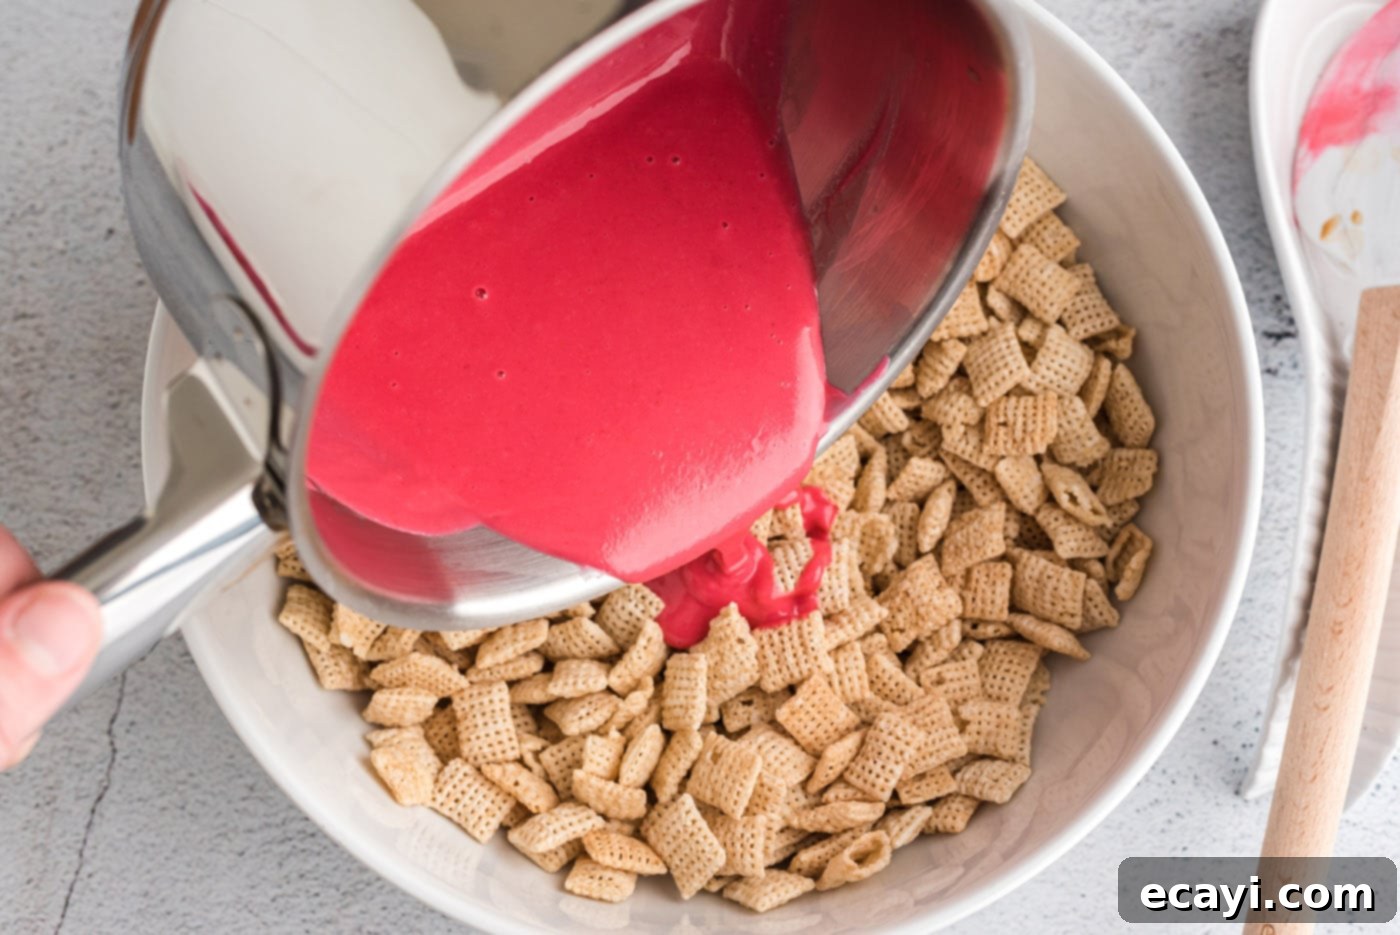
- **Coat the Cereal:** Carefully pour each warm chocolate mixture over its individual batch of Chex cereal in the separate mixing bowls. Using a rubber spatula, gently stir the cereal until every piece is completely coated. Be patient and gentle to avoid crushing the delicate cereal squares. The goal is an even, glossy coat on all sides.

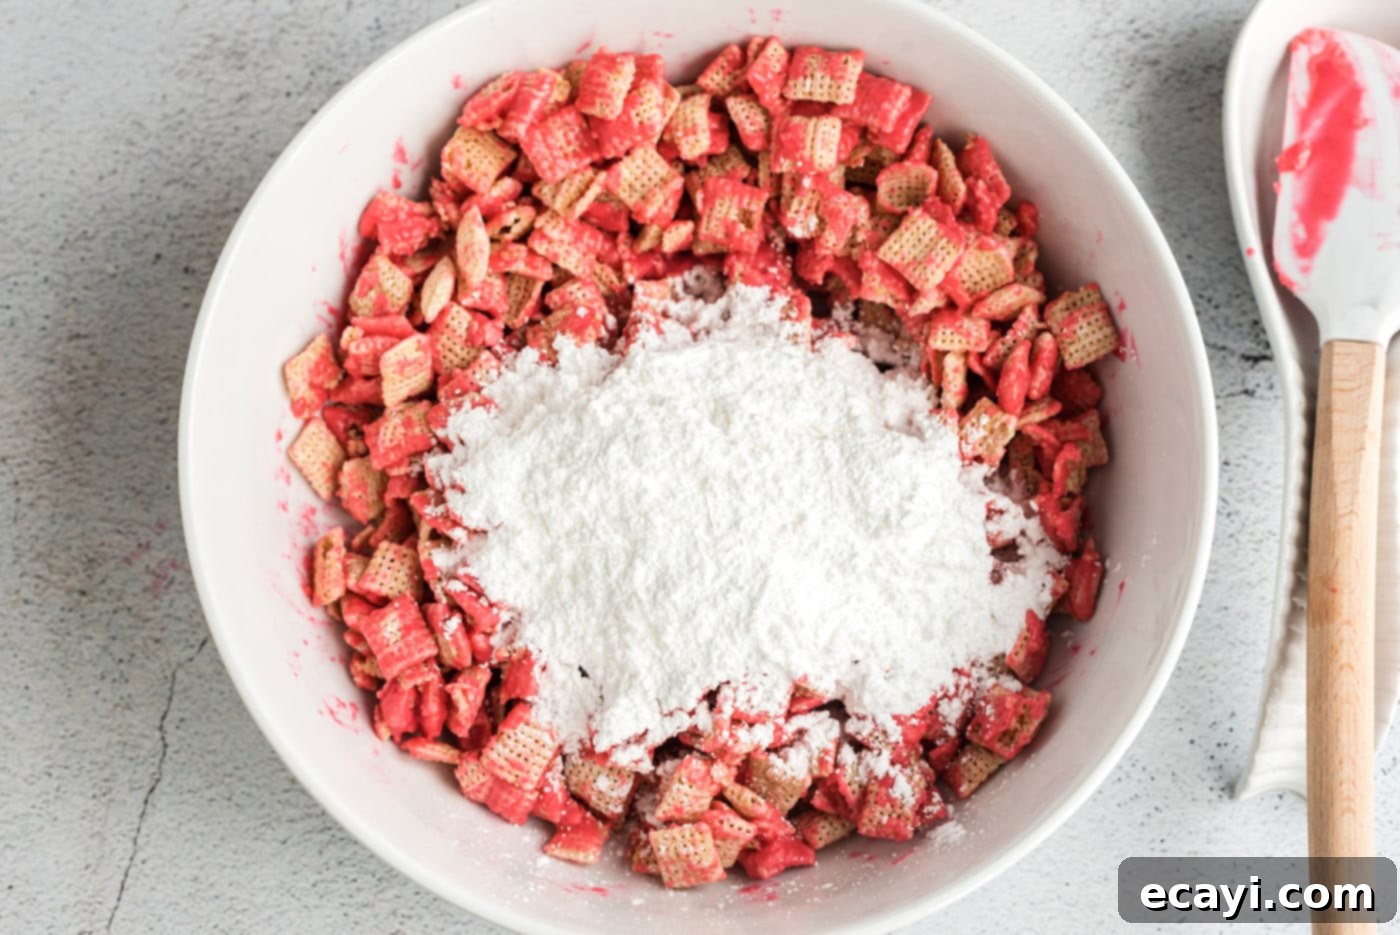
- **Add the Powdered Sugar:** To each bowl of chocolate-coated cereal, add 1 cup of confectioners’ sugar. Gently mix until all the cereal is thoroughly coated and has that signature “muddy” or “puppy chow” powdered look. This step creates the characteristic texture and sweetness.
EXPERT TIP – For an even easier and more thorough coating, transfer the chocolate-coated cereal into a large, sturdy zip-top bag. Add the confectioners’ sugar, seal the bag tightly (leaving some air for shaking), and shake it vigorously until the cereal is completely covered in the sugar. This method ensures a perfectly even distribution without crushing the cereal.


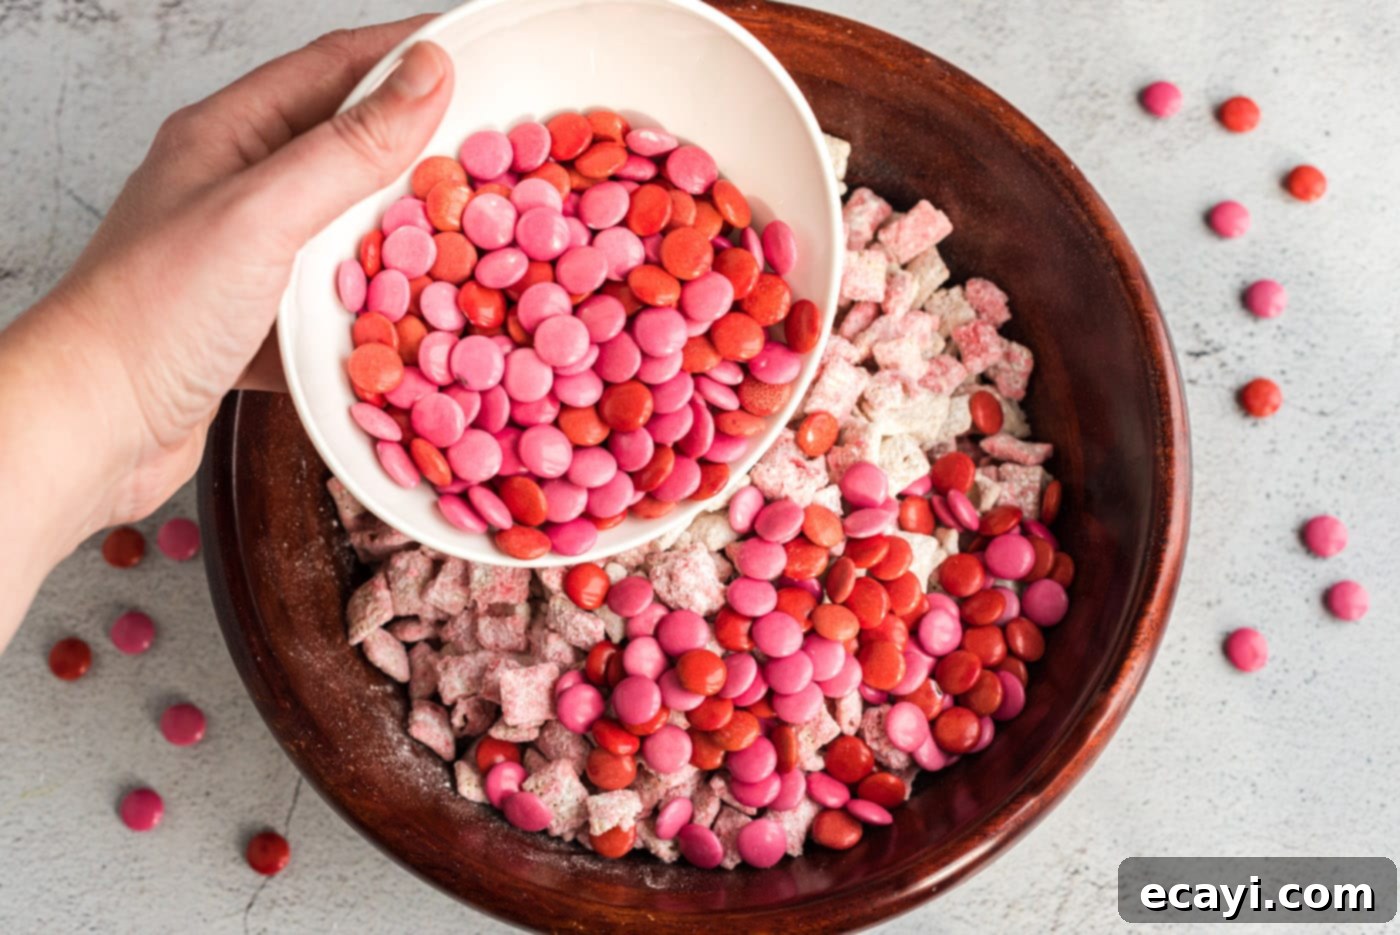
- **Combine and Garnish:** At this stage, you can combine the two batches (the white and the pink muddy buddies) into one large serving bowl or container. Stir in 2 cups of your chosen red, pink, or white Valentine M&M’s. These add a delightful pop of color and an extra layer of texture. Your Valentine Muddy Buddies are now ready to serve, package as delightful edible gifts, or simply enjoy all on your own!
Frequently Asked Questions & Expert Tips for Perfect Valentine Muddy Buddies
Here are some common questions and expert advice to help you master your Valentine Muddy Buddies and ensure they turn out perfectly every time.
Absolutely! You can certainly use milk chocolate or semi-sweet chocolate chips as you would in a classic muddy buddy recipe. The main difference will be in the visual appeal: you won’t be able to mix in pink or red food coloring to achieve the vibrant contrast seen with white or pink candy melts. Milk chocolate’s dark color will mask any added food coloring. However, the red and pink M&M’s (or other colorful candies) will still contribute significantly to the festive Valentine’s color palette, ensuring your treat looks celebratory and tastes delicious.
To maintain their freshness and delightful crunch, you’ll want to store your Valentine Muddy Buddies in an airtight container or a securely sealed zip-top bag. Keep them at room temperature, ideally in a cool, dry place away from direct sunlight. Stored this way, they will remain delicious for up to 4 days, though they often disappear much quicker! For extended freshness, you may also store them in the refrigerator for 5-7 days. If storing in the fridge, allow them to come to room temperature for a few minutes before serving for the best texture, as the chocolate can firm up quite a bit when chilled.
Expert Tip: Prevent Cereal Crushing: When coating the cereal with the chocolate mixture and later with powdered sugar, always use a gentle hand and a rubber spatula. Chex cereal can be quite delicate, and aggressive stirring can lead to crushed pieces, affecting the texture. If using a zip-top bag for the powdered sugar, try to shake it rather than mash it. Alternatively, spread the chocolate-coated cereal on a baking sheet, sprinkle with powdered sugar, and gently toss it with two spatulas or your hands.
Expert Tip: Achieve Perfect Color with Food Coloring: If you’re using white chocolate chips and adding food coloring, make sure to use gel-based food coloring. Liquid food coloring contains water, which can cause melted chocolate to seize and become thick and grainy. A few drops of gel coloring will give you vibrant hues without compromising the chocolate’s smooth texture.
Expert Tip: Batch Control: While the recipe calls for two saucepans, if you only have one, you can easily work in batches. Melt the white chocolate mixture first, coat one batch of cereal, and then clean the saucepan to melt the pink chocolate mixture. This ensures clean, distinct colors for your Valentine Muddy Buddies.
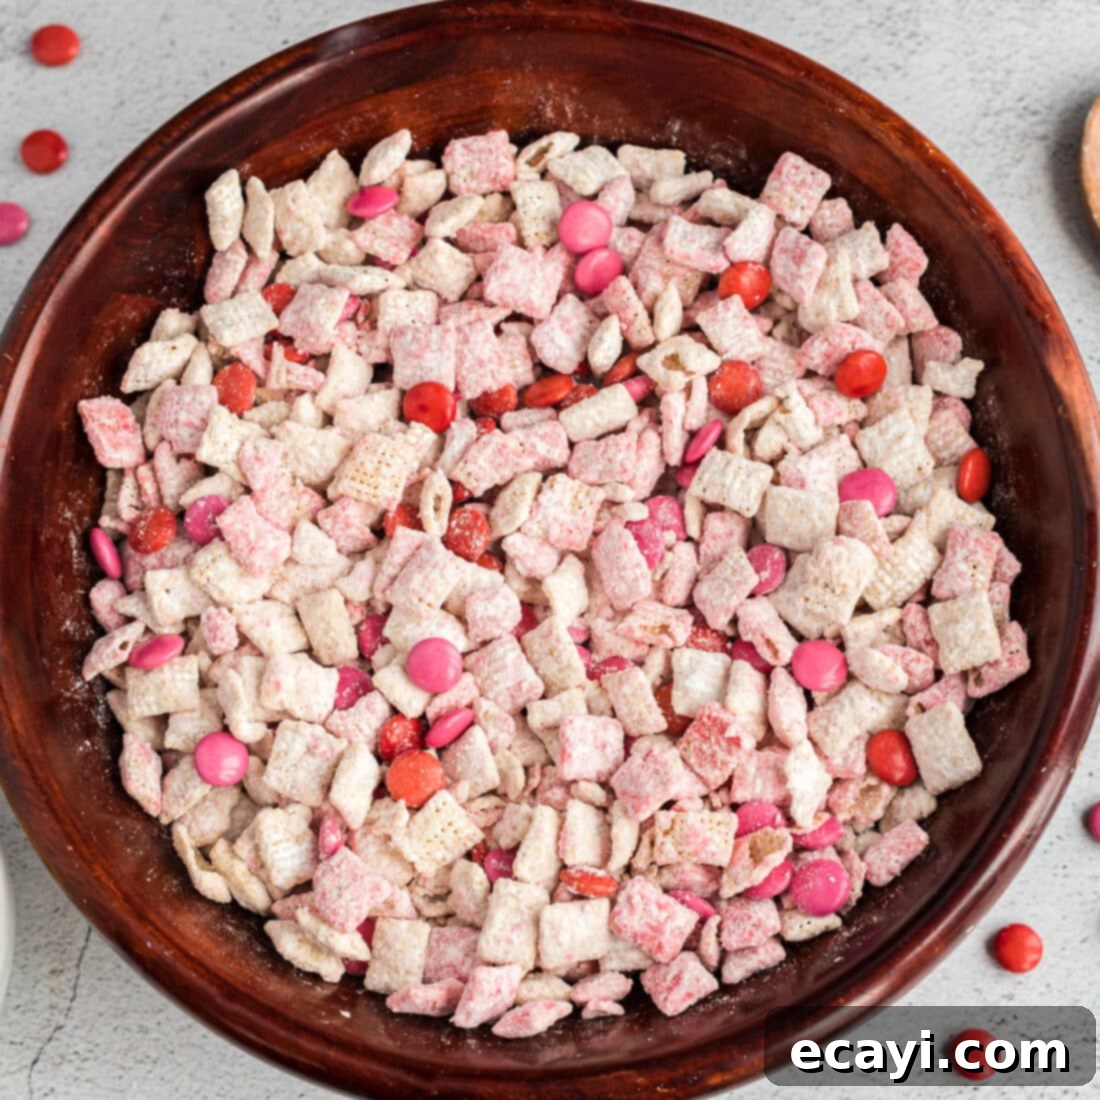
Creative Serving & Gifting Ideas for Your Valentine Muddy Buddies
These delightful Valentine Muddy Buddies aren’t just for eating straight out of the bowl; they make fantastic gifts and festive additions to any celebration. Their vibrant colors and delicious taste are perfect for sharing the love!
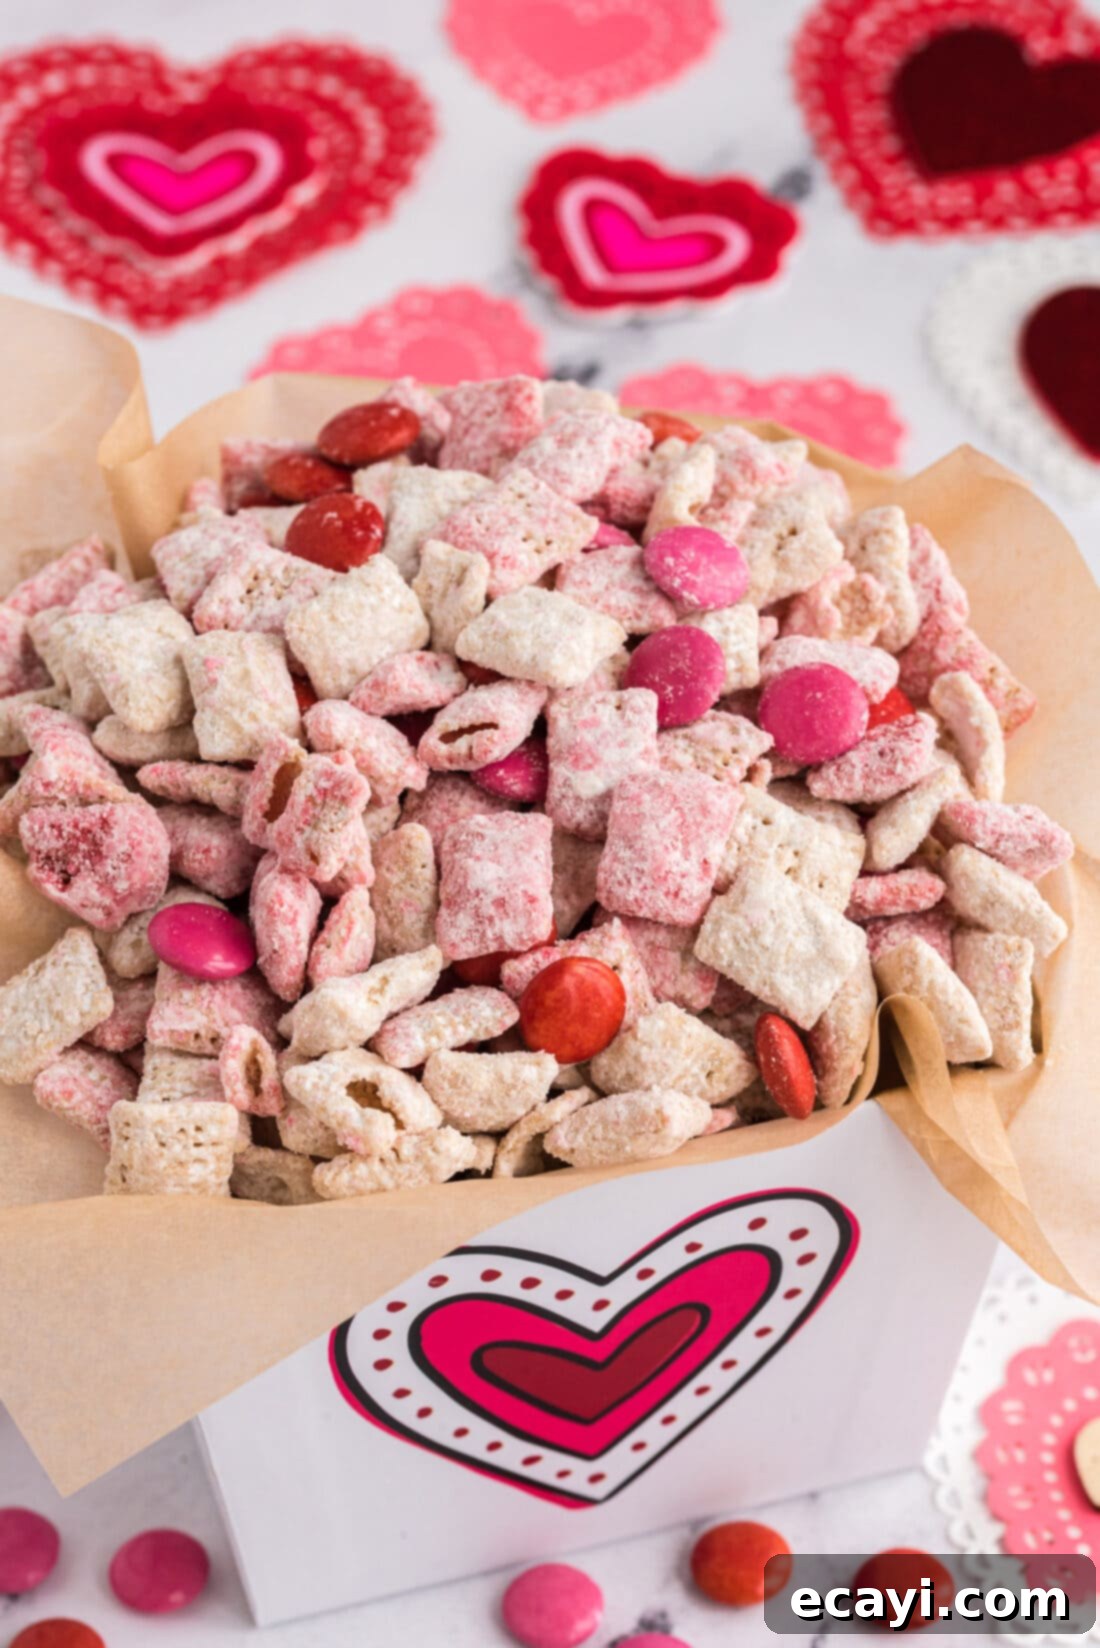
For a charming and thoughtful gift, portion your Valentine Muddy Buddies into adorable cellophane Valentine treat bags. Tie them with a festive ribbon and add a small, personalized tag for an extra touch. They are perfect for classmates, teachers, coworkers, or as party favors. Another wonderful idea is to layer them in a large mason jar, tied with a beautiful bow and a sweet, handwritten note. This presentation makes for an impressive yet simple homemade edible gift.
Beyond traditional gift-giving, these muddy buddies are incredibly versatile. They are, of course, a quintessential treat for Valentine’s Day, but their appeal extends far beyond February 14th. Consider them a perfect snack for Galentine’s Day celebrations with your best friends, a sweet indulgence for a movie night, or simply a delightful treat to enjoy all on your own with a cup of coffee or hot cocoa. You can also add them to dessert boards, mix them into trail mix for a sweet and salty crunch, or even sprinkle them over ice cream for an extra festive topping. Their festive colors also make them suitable for baby showers, bridal showers, or any event where pink and red are part of the theme. No matter how you choose to serve them, these Valentine Muddy Buddies are sure to be a hit!
More Delightful Valentine’s Day Recipes to Love
If you’re looking to spread even more love through baking and cooking this Valentine’s Day, explore some of our other cherished recipes that are perfect for the occasion:
- Conversation Heart Cookies
- Valentine Cherry Hand Pies
- Conversation Heart Brownies
- Valentine’s Day Heart Cupcakes
- Chocolate Covered Fruit Truffles
- Valentine Play Dough Cookie Pops
- Valentine Muddy Buddies (because you can never have enough!)
I love to bake and cook and share my kitchen experience with all of you! Remembering to come back each day can be tough, that’s why I offer a convenient newsletter every time a new recipe posts. Simply subscribe and start receiving your free daily recipes!
We hope you enjoy making and sharing these festive Valentine Muddy Buddies as much as we do. They’re a testament to how simple ingredients can create extraordinary happiness and make any occasion feel a little more special. Happy Valentine’s Day, and happy snacking!
Valentine Muddy Buddies
IMPORTANT – There are often Frequently Asked Questions within the blog post that you may find helpful. Simply scroll back up to read them!
Print It
Pin It
Rate It
Save ItSaved!
Ingredients
- 9 cups Rice Chex cereal divided
- ½ cup white candy melts
- ½ cup pink candy melts
- ½ cup smooth peanut butter divided
- ¼ cup unsalted butter divided
- 1 tsp pure vanilla extract divided
- 2 cups confectioners sugar divided
- 1 cup M&M candies in red, pink, or white colors
Things You’ll Need
-
Mixing bowls
-
Saucepan
-
Rubber spatula
Before You Begin
- You may also use 1 cup of white chocolate chips in place of the candy melts. If doing so, simply follow the instructions – but add in a few drops of pink food coloring to one of the batches while in the saucepan.
- Store in an air-tight container or sealed ziptop bag at room temperature for 4 days or in the refrigerator for 5-7 days.
Instructions
-
Into 2 large mixing bowls, add 4 1/2 cups of rice Chex cereal to each and set aside.
-
In 2 medium saucepans (or work in batches), over low heat, divide between the two the unsalted butter, peanut butter, and candy melts. One saucepan should have the white candy melts and the other should have the pink.
*This means each saucepan should have 2 Tbsp butter, 1/4 cup peanut butter, and 1/2 cup of either white or pink candy melts. Stir with a spoon until smooth, melted, and combined.
-
Remove the saucepans from heat and stir in the vanilla extract (1/2 tsp to each mixture).
-
Pour each mixture over their individual batches of Chex cereal and gently stir with a rubber spatula until completely coated.
-
To each bowl of chocolate coated cereal, add 1 cup confectioners sugar and mix gently until coated. TIP: You can also add the chocolate coated cereal to a large ziptop bag along with the confectioners sugar and shake it vigorously to combine.
-
At this point, you can combine the two batches into one and add 2 cups of red, pink, or white Valentine M&M’s. Serve, package as edible gifts and enjoy!
Nutrition
The recipes on this blog are tested with a conventional gas oven and gas stovetop. It’s important to note that some ovens, especially as they age, can cook and bake inconsistently. Using an inexpensive oven thermometer can assure you that your oven is truly heating to the proper temperature. If you use a toaster oven or countertop oven, please keep in mind that they may not distribute heat the same as a conventional full sized oven and you may need to adjust your cooking/baking times. In the case of recipes made with a pressure cooker, air fryer, slow cooker, or other appliance, a link to the appliances we use is listed within each respective recipe. For baking recipes where measurements are given by weight, please note that results may not be the same if cups are used instead, and we can’t guarantee success with that method.
