Irresistibly Tangy & Sweet Key Lime Slab Pie: The Ultimate Crowd-Pleasing Dessert
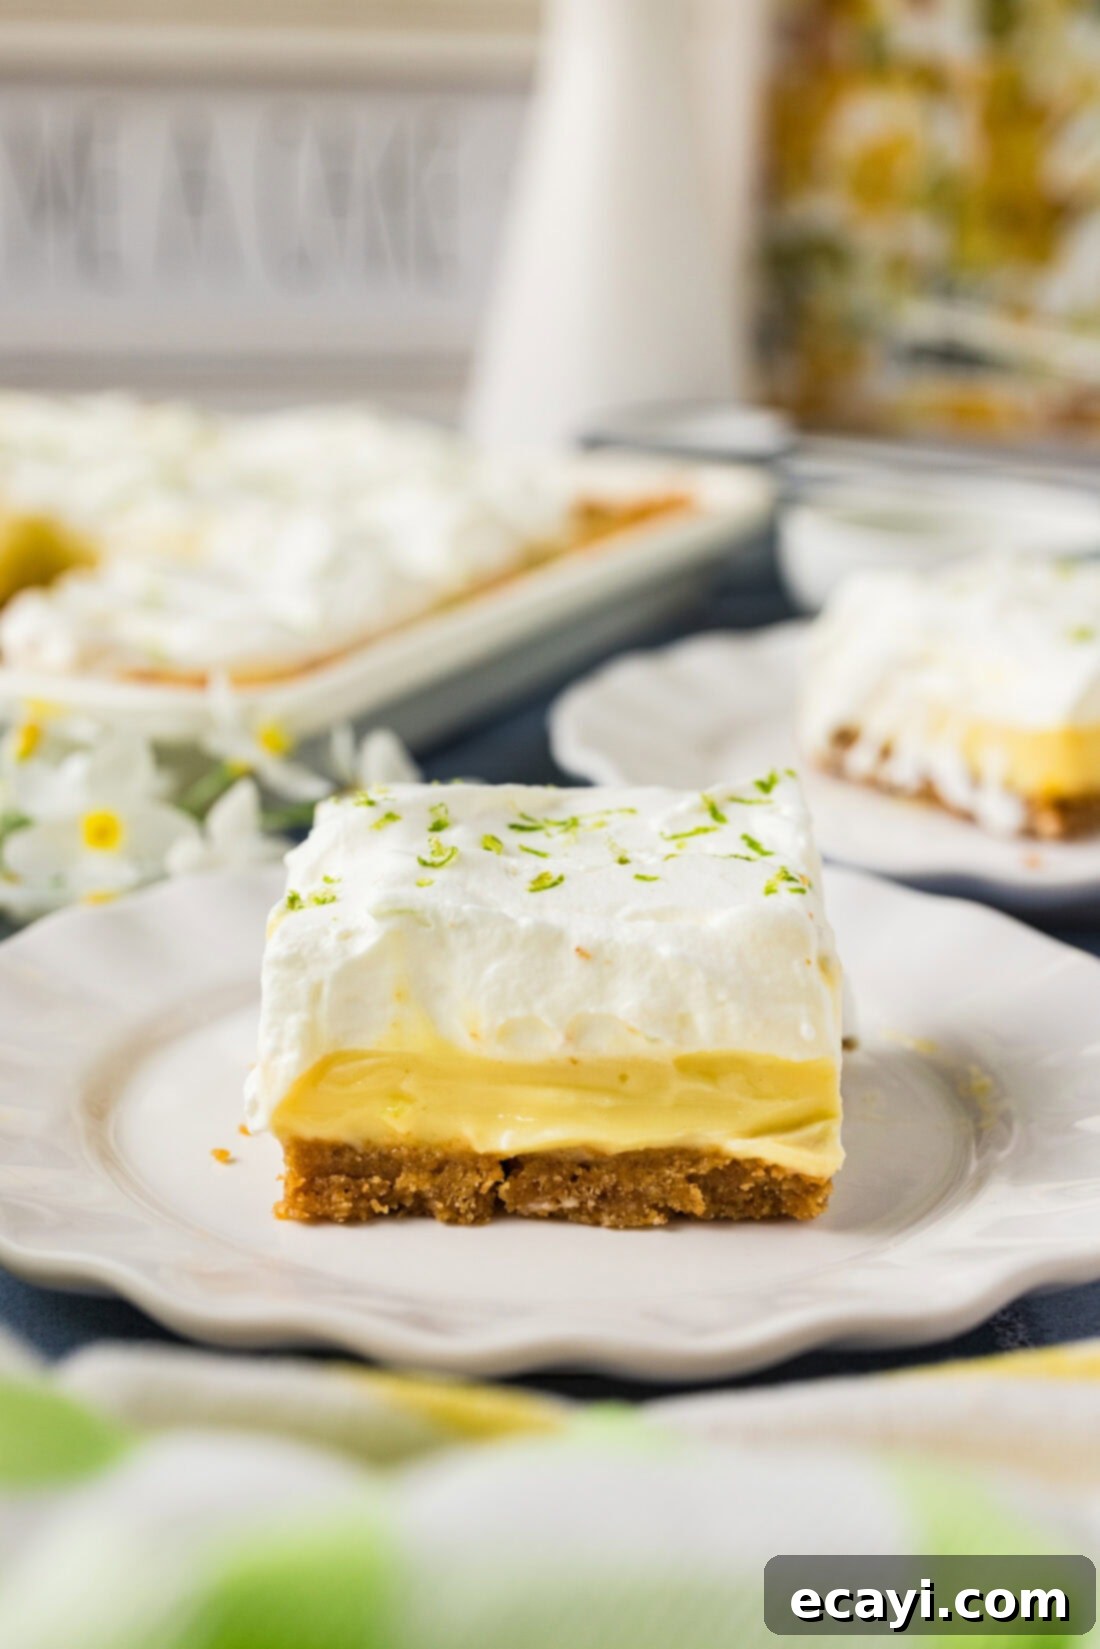
Imagine the vibrant, zesty punch of key lime, perfectly balanced by a sweet, creamy custard, all nestled within a rich, buttery graham cracker crust. This Key Lime Slab Pie is more than just a dessert; it’s a celebration of bright flavors, designed to delight a crowd and bring sunshine to any gathering. It’s an absolute dream to sink your teeth into, offering a perfect blend of tartness and sweetness in every generous slice.
Why This Key Lime Slab Pie Will Be Your New Favorite
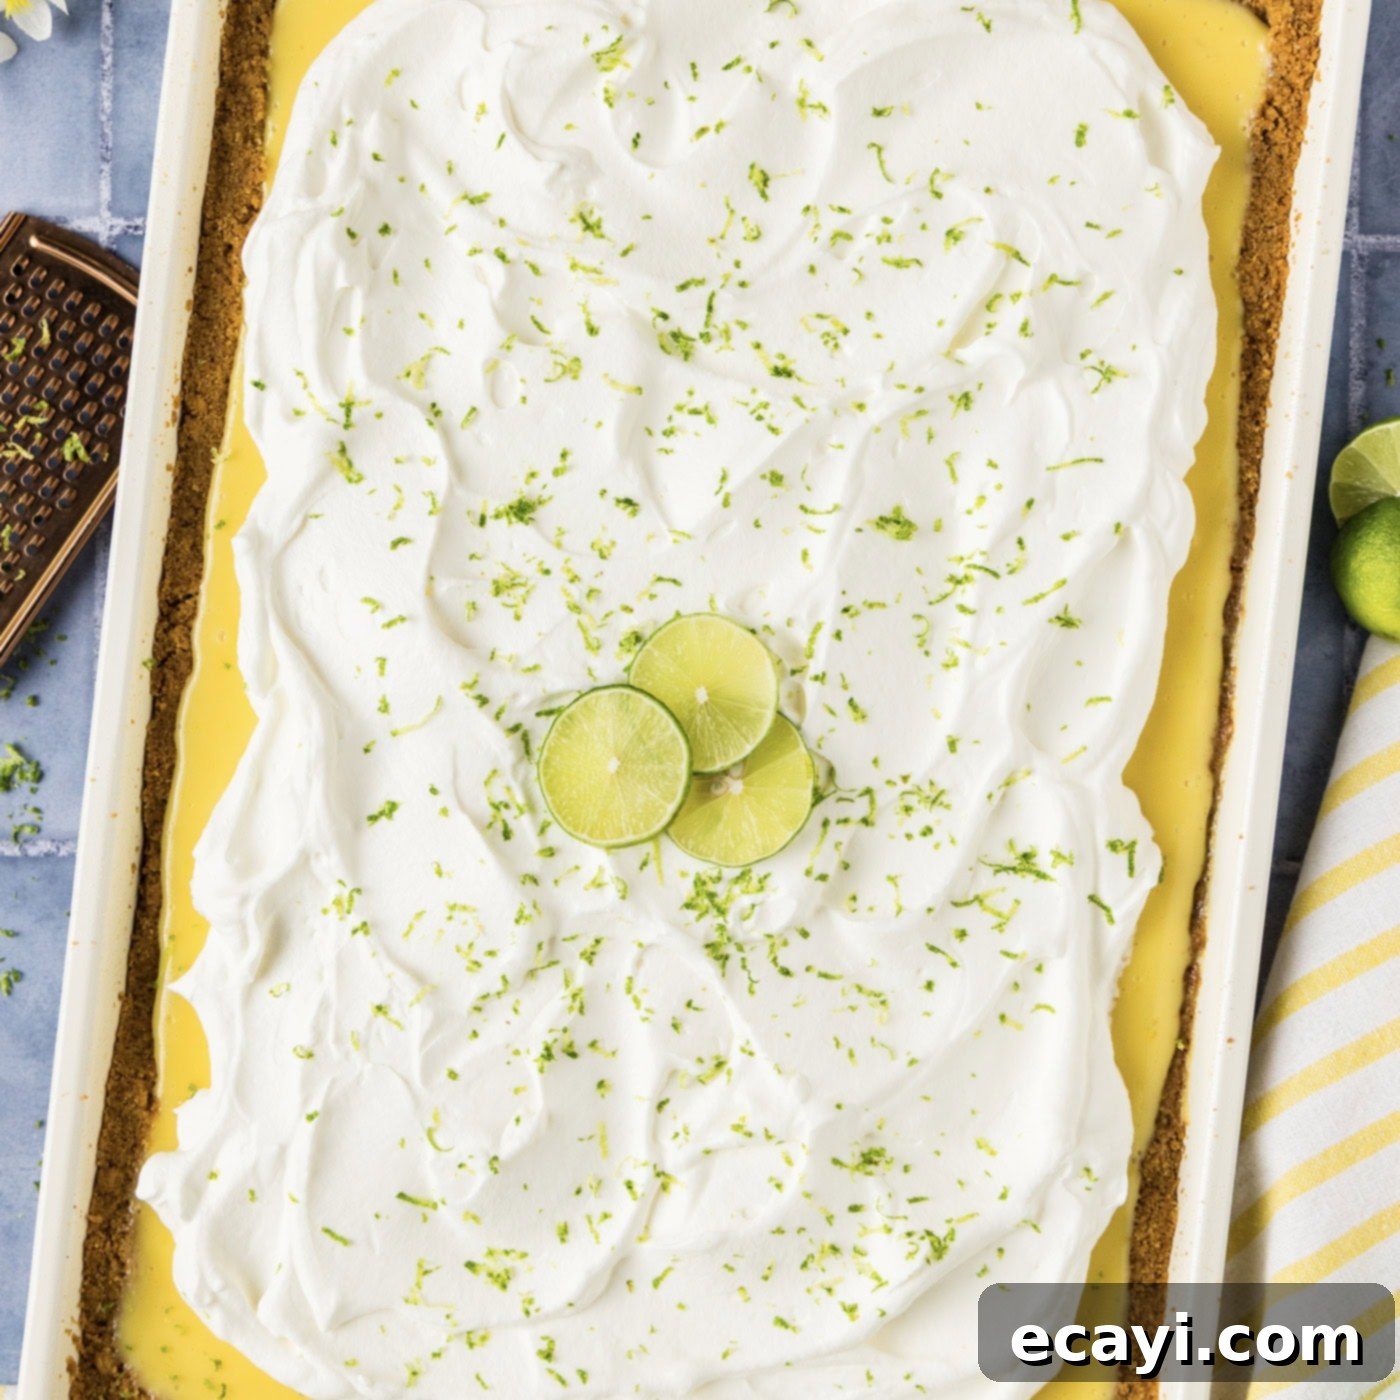
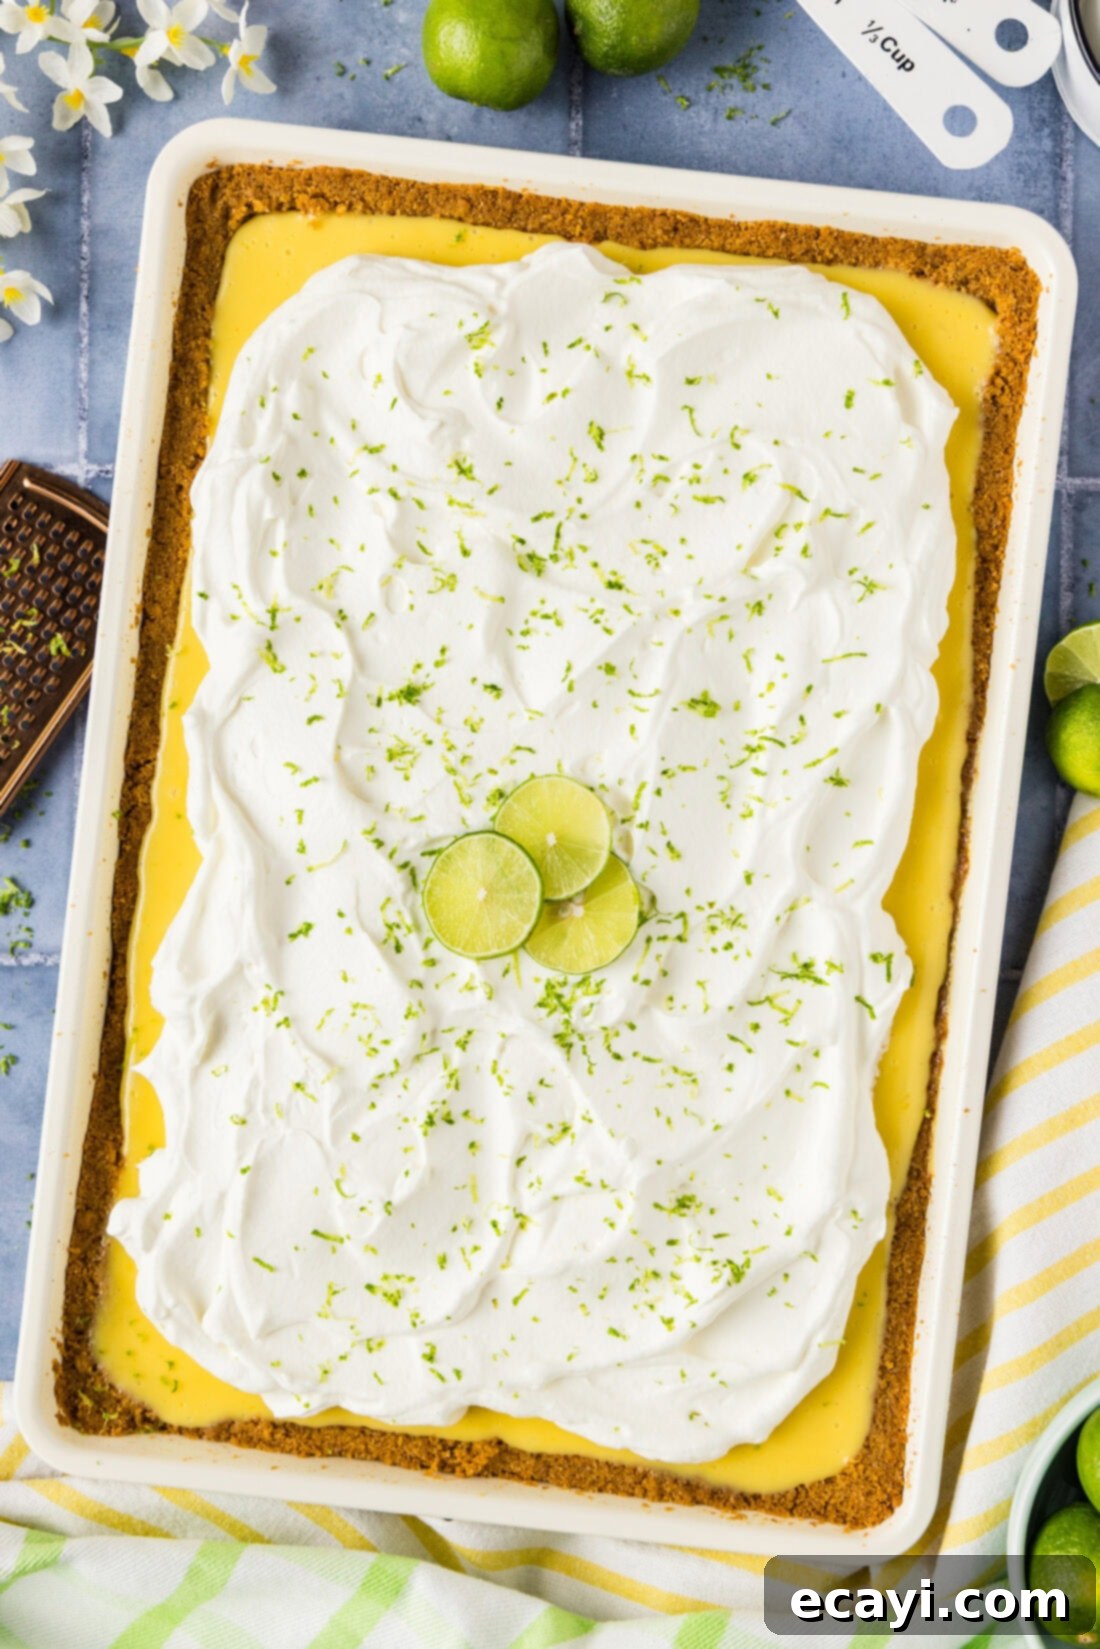
This easy key lime slab pie recipe truly stands out. It’s a harmonious blend of tangy, sweet, and utterly refreshing, making it the quintessential dessert to welcome warm, sunny days and festive occasions. The magic begins with a robust graham cracker crust, carefully pressed to climb the edges of your baking pan, creating a sturdy vessel for the luscious key lime custard. Once baked to perfection, it’s crowned with generous dollops of fresh, fluffy whipped cream and a sprinkle of bright lime zest. The result? A stunning dessert that’s as beautiful to behold as it is delicious to eat.
One of the best features of this Key Lime Slab Pie is its convenience for entertaining. Unlike traditional round pies, a slab pie is designed to feed a larger group with ease, offering more servings and simpler portioning. It’s also incredibly forgiving and benefits greatly from being prepped in advance. Allowing it ample time to chill and firm up in the refrigerator ensures that all the flavors meld beautifully, creating a more profound taste experience. While the wait for something so tantalizingly good can be challenging, every peek into the fridge will confirm that the anticipation is well worth it. Your guests will undoubtedly rave about it, but frankly, we wouldn’t blame you if you wanted to keep more than half of this delectable pie all to yourself!
Essential Ingredients for Your Key Lime Slab Pie
Crafting this delightful Key Lime Slab Pie requires a few simple yet crucial ingredients, each playing a vital role in achieving that perfect balance of flavor and texture. For precise measurements, detailed quantities, and comprehensive instructions, please refer to the printable recipe card located at the very end of this post. This section will delve deeper into each component, offering valuable insights and potential substitution suggestions to ensure your pie is a resounding success.
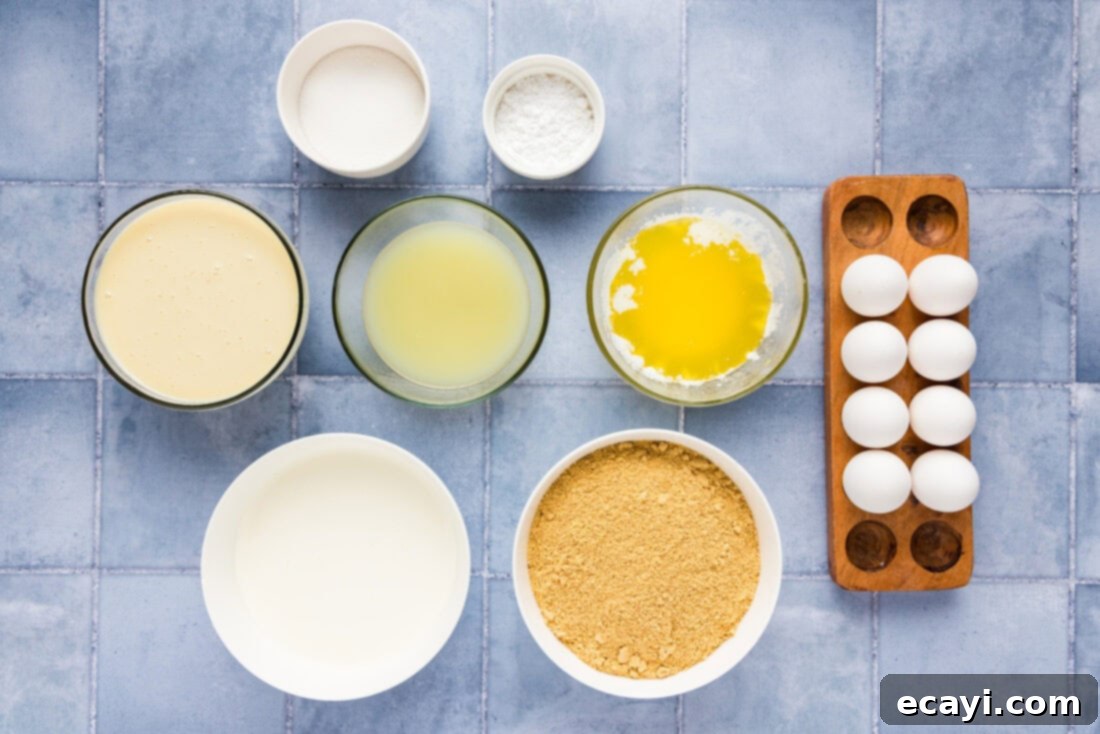
Ingredient Spotlight: Tips for Perfect Key Lime Flavor and Texture
Let’s take a closer look at the key players in this recipe and how to get the most out of them, along with some helpful substitution advice.
CRUST Perfection: The foundation of our Key Lime Slab Pie is a classic graham cracker crust. You have a couple of options here: using pre-packaged graham cracker crumbs for ultimate convenience, or grinding whole graham crackers yourself for a fresher taste. If you opt for whole crackers, you’ll need approximately 3.5 sleeves, which translates to about 30-32 individual crackers. Keep in mind that cracker sizes can vary between brands, so for the most accurate and consistent results, we highly recommend measuring the crumbs by weight (you’ll find the specific weight in grams and ounces in the recipe card). This ensures your crust has the ideal texture and thickness, providing the perfect counterpoint to the creamy filling. For an adventurous twist, you could also experiment with vanilla wafer crumbs or shortbread cookies for a slightly different flavor profile.
The LIME Dilemma: Key vs. Regular: For an authentic “Key Lime Pie” experience, the juice from genuine Key Limes is traditionally used. These small, intensely aromatic limes deliver a distinct floral and tart flavor. You’ll need quite a few of them—around 30 limes, which typically weigh about 2 pounds—to yield enough juice. However, their diminutive size means they can be a bit of a hassle to juice. The good news is that you can absolutely use regular Persian limes (the common green limes found in most grocery stores) with excellent results. They offer a wonderful tartness and are much easier to juice. If you find yourself in a real bind, bottled lime juice can work, but we strongly encourage juicing fresh limes yourself; the difference in flavor and brightness is truly incomparable and makes the pie sing. To maximize juice extraction, roll the limes firmly on your countertop before slicing and squeezing.
EGGS-pert Separation: The filling for this pie relies solely on egg yolks for its rich texture and custard-like consistency. Separating eggs is a task made much simpler when the eggs are cold. Our top tip is to use three separate bowls for this process: one bowl over which to separate each egg (to catch any accidental yolk breaks), one bowl specifically for the egg yolks, and a third bowl for the egg whites. This method is a safeguard, preventing a broken yolk from contaminating an entire batch of whites, especially if you plan to save those whites for another culinary creation, such as a delicate meringue or our fluffy homemade angel food cake.
Sweetened Condensed Milk: This ingredient is the unsung hero of many no-bake and custard-based desserts, including our Key Lime Slab Pie. It provides the essential sweetness and thick, creamy body that makes the filling so irresistible without requiring additional sugar or extensive cooking. Its unique caramel notes also complement the tartness of the lime beautifully.
Customizable TOPPING: While fresh whipped cream offers a light and airy contrast to the rich filling, you can certainly elevate this pie with a homemade meringue topping using your leftover egg whites. To create a beautiful meringue, place your room-temperature egg whites into a large, impeccably clean bowl. Using an electric mixer, whip the whites until they become glossy and frothy. Then, incorporate about 1/2 teaspoon of cream of tartar, which helps stabilize the meringue. Gradually add 1/2 cup of granulated sugar, continuing to beat until stiff, shiny peaks form. Carefully spread this meringue over your chilled pie, using a spoon or rubber spatula to gently create decorative peaks. You can then lightly brown the meringue in a hot oven (watch it very closely as it can burn quickly!) or achieve a beautiful toasted finish with a kitchen torch for a dramatic effect and a delightful texture contrast.
Step-by-Step Guide: Crafting Your Perfect Key Lime Slab Pie
These step-by-step photos and instructions are here to help you visualize how to make this recipe. For a quick jump to the comprehensive, printable version of this recipe, complete with precise measurements and detailed instructions, simply Jump to Recipe at the bottom of the page.
- Preheat your oven to 350°F (175°C). Lightly spray a 10×15 inch baking pan (also known as a jelly roll pan) with non-stick cooking spray, ensuring all surfaces are lightly coated.
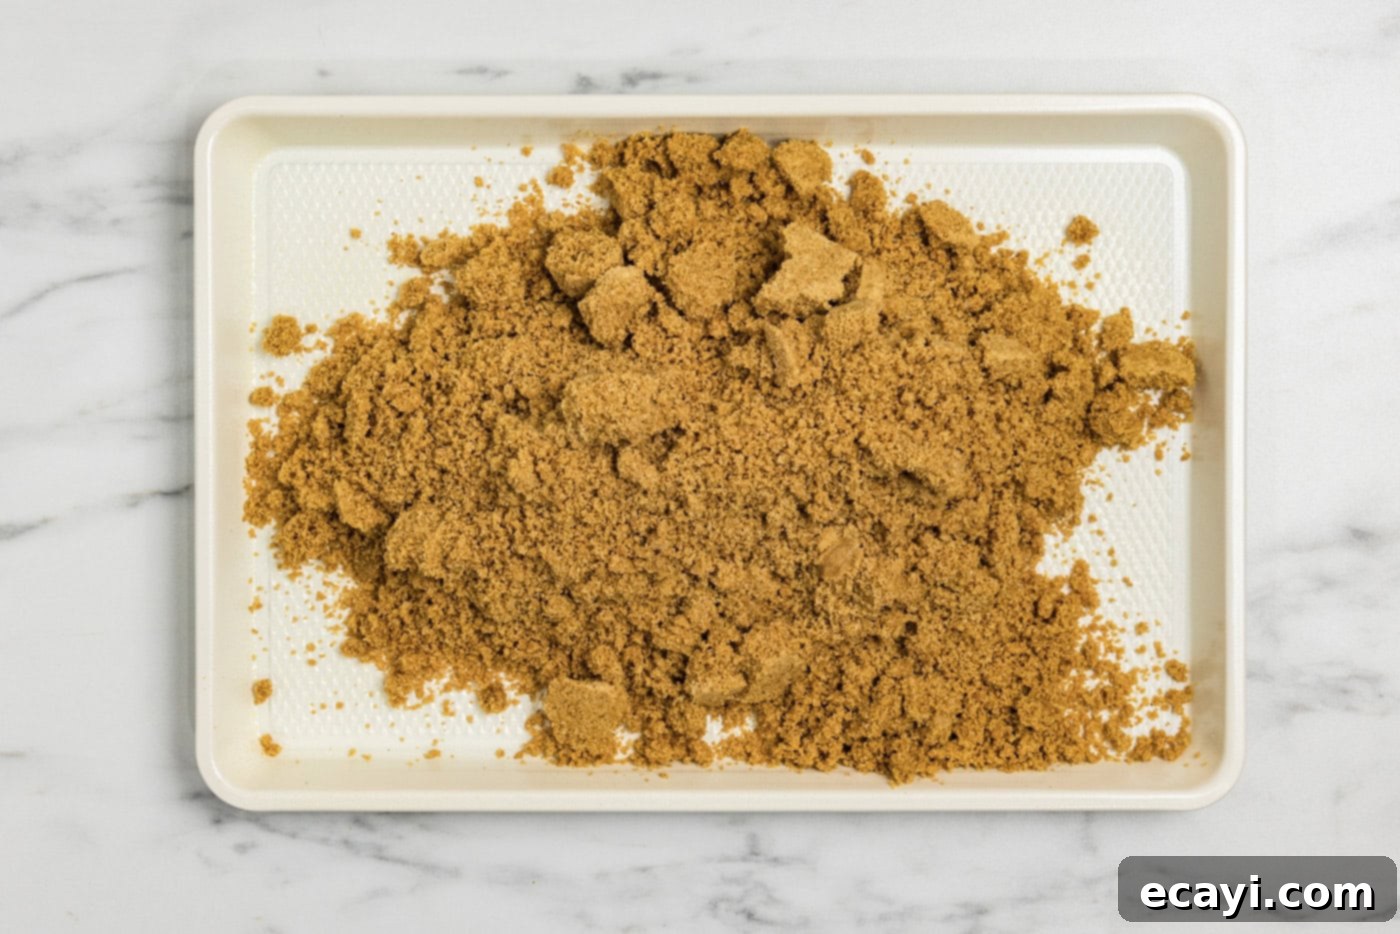
- In a medium-sized bowl, combine all the crust ingredients: graham cracker crumbs, granulated sugar, and melted unsalted butter. Mix thoroughly until the crumbs are uniformly moistened and resemble wet sand.
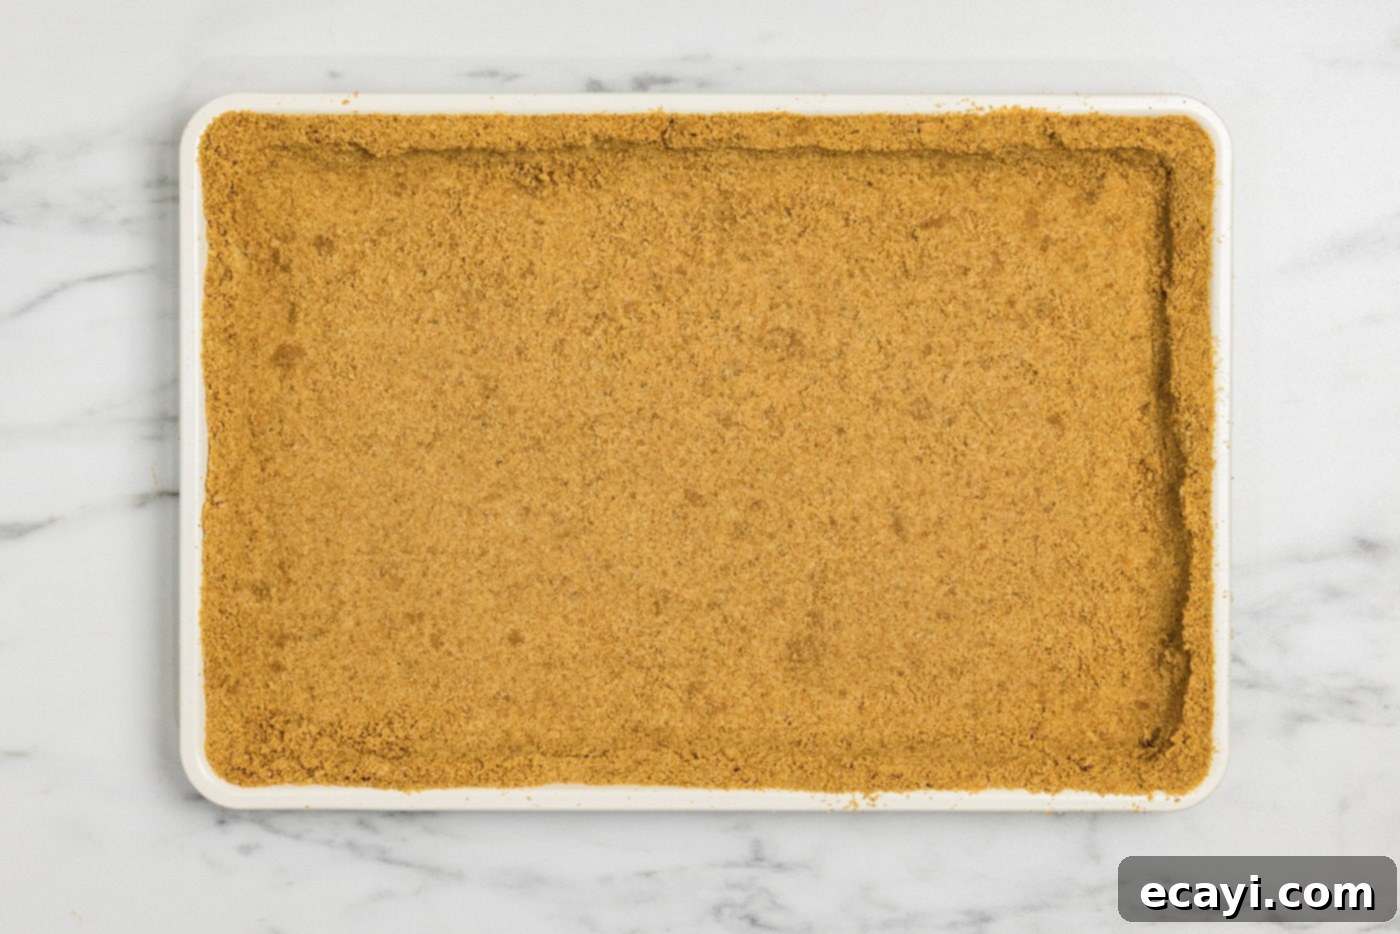
- Carefully press the crumb mixture evenly into the bottom and up the sides of your prepared baking pan. Use the back of a spoon or your clean hands to create a firm, compact crust. This ensures it won’t crumble when sliced.


- Bake the crust in the preheated oven for 10 minutes. This pre-baking step helps to set the crust and prevents it from becoming soggy. Once baked, remove from the oven and allow it to cool completely on a wire rack.
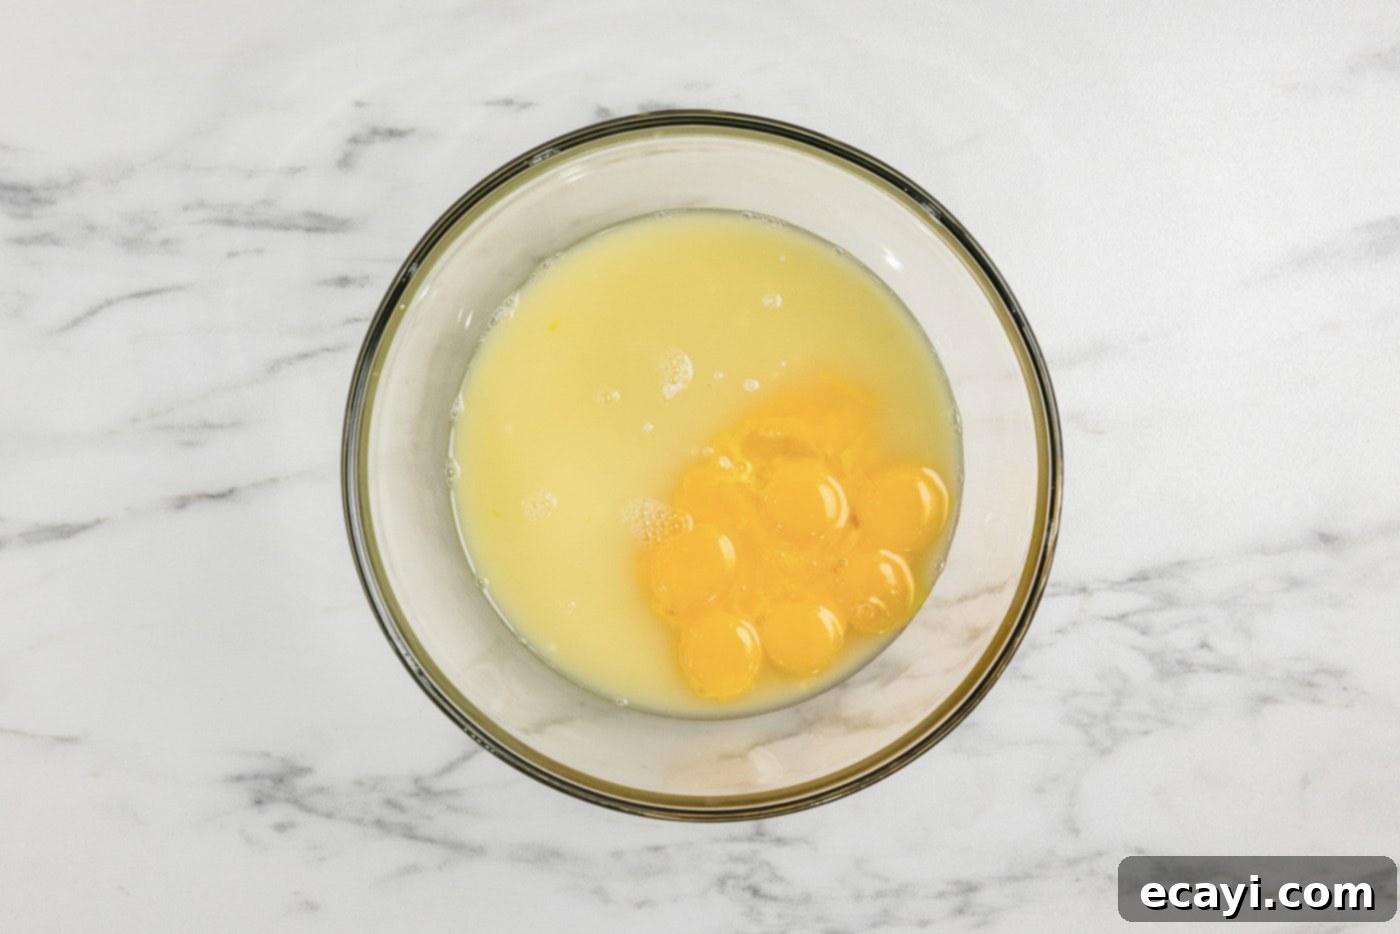
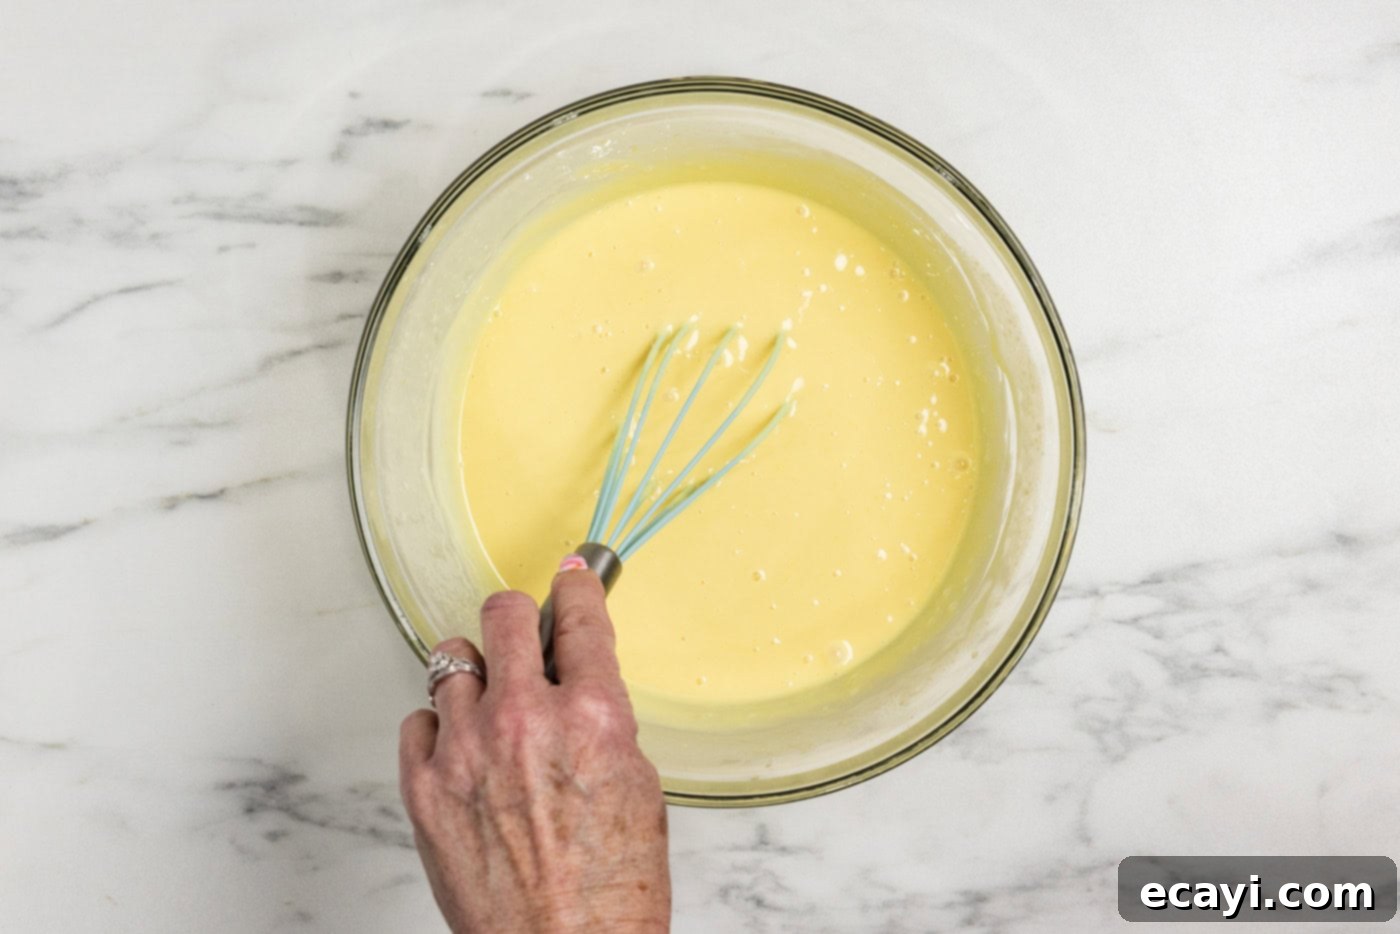
- While the crust cools, prepare the luscious filling. In a large bowl, whisk together the sweetened condensed milk, fresh lime juice, and egg yolks. Continue whisking vigorously until the mixture becomes noticeably thicker and well combined. The acidity of the lime juice will react with the milk and yolks, causing it to naturally thicken.


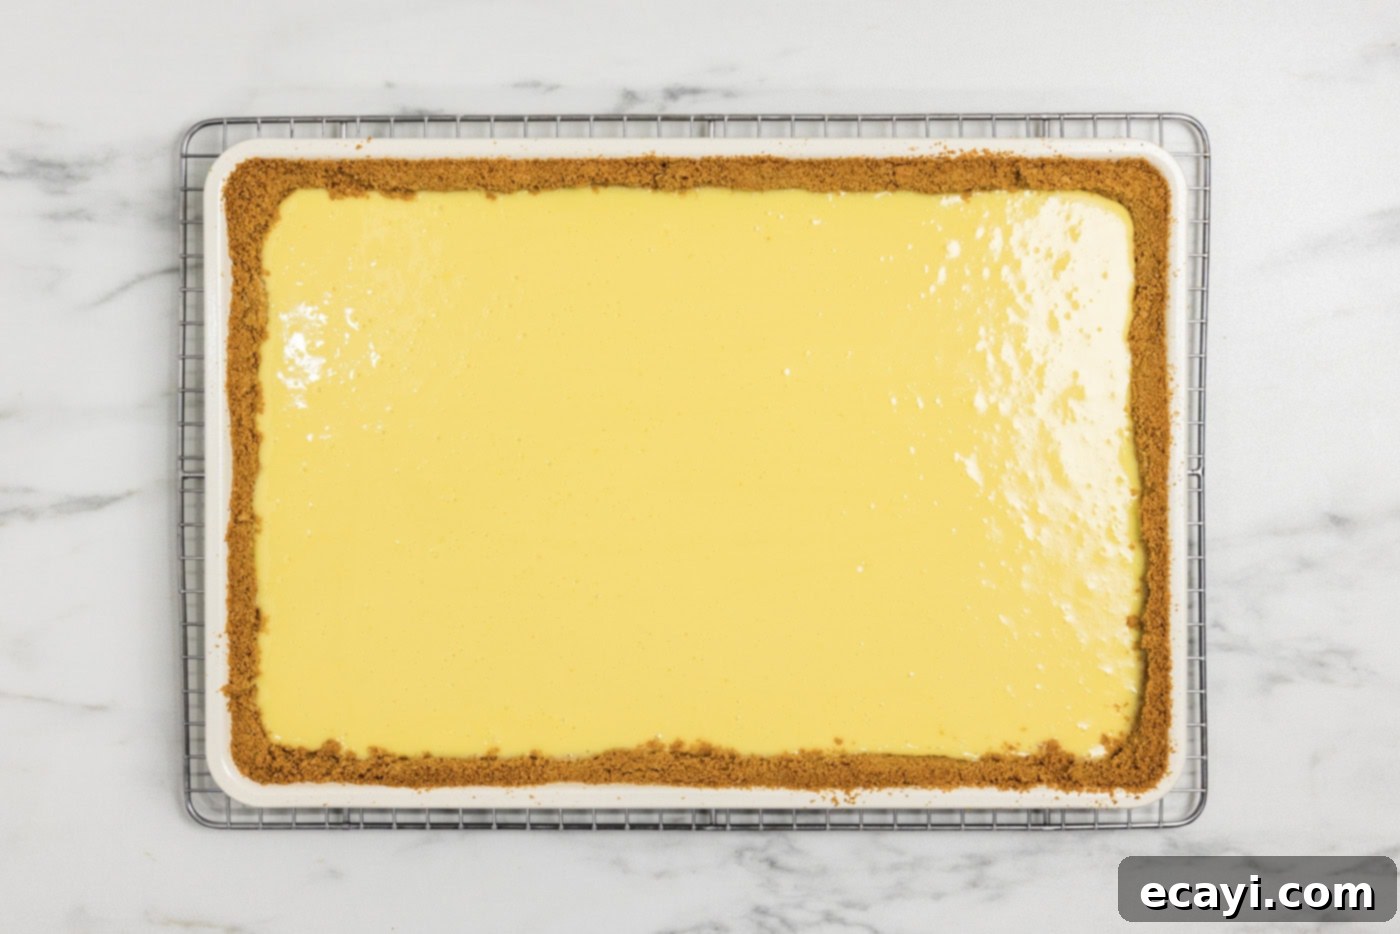
- Pour the prepared key lime filling into the cooled graham cracker crust. Use a rubber spatula to gently spread the filling evenly across the entire surface.
- Return the pie to the oven and bake for approximately 10 minutes, or until the filling is set. You can check for doneness by gently nudging the pan; the center of the pie should jiggle slightly but not be liquid. Be careful not to overbake, as this can make the filling rubbery.

- Remove the baked pie from the oven and allow it to cool completely at room temperature on a wire rack. This is a crucial step to prevent condensation.
- Once completely cool, transfer the slab pie to the refrigerator. Chill for at least 4 hours, but ideally for 24 hours. This extended chilling time allows the flavors to fully develop and the pie to firm up, making for cleaner slices and a superior texture.
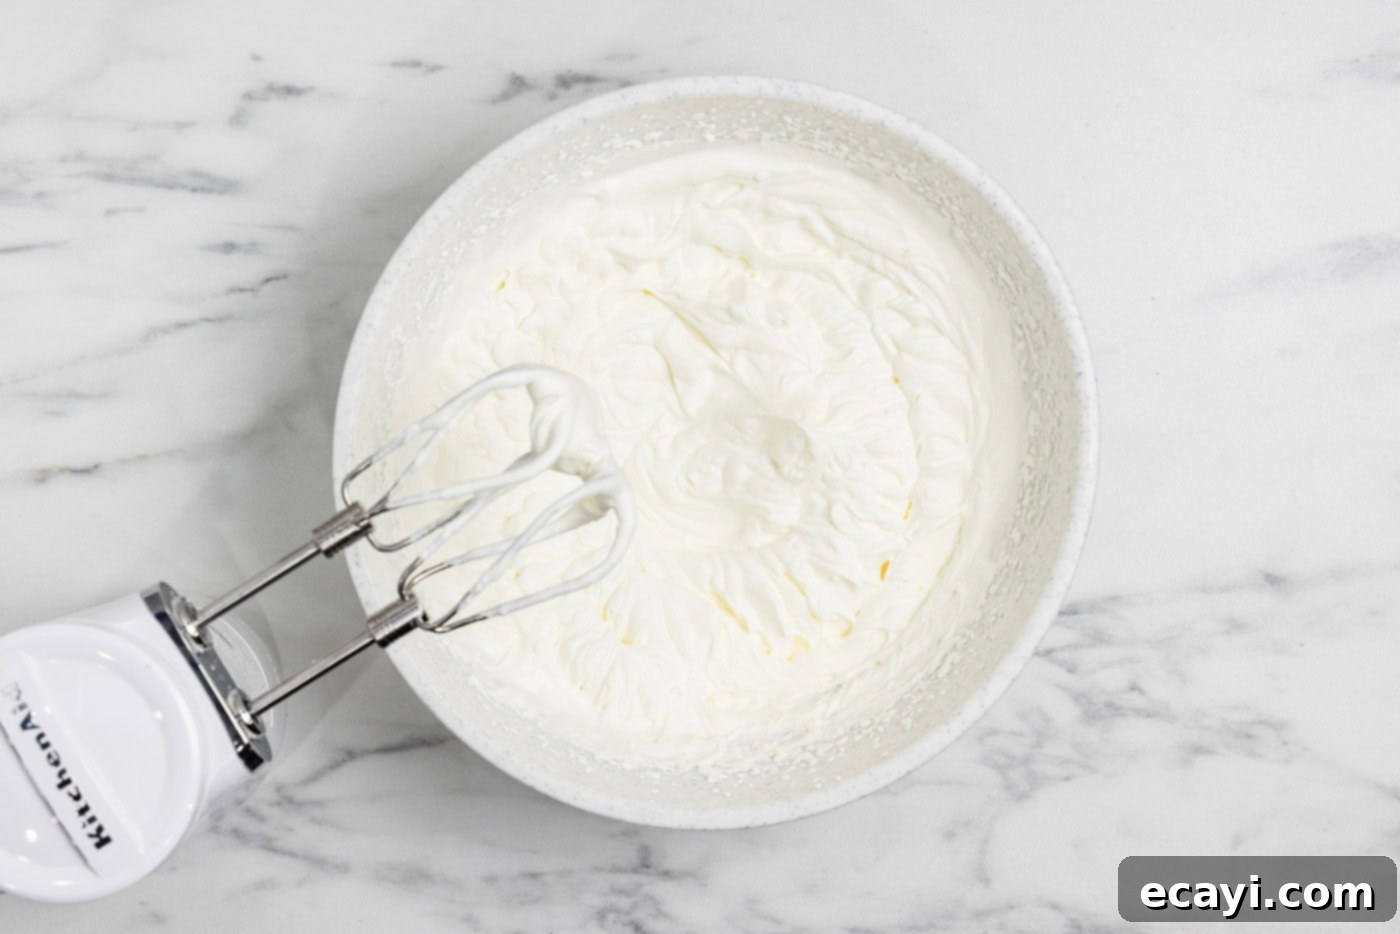
- To make the light and airy topping, pour heavy whipping cream and powdered sugar into a large mixing bowl. Begin whisking with an electric mixer at a low speed until the powdered sugar is fully incorporated and no longer visible. This prevents a cloud of sugar from erupting!
- Increase the mixer speed to medium and continue beating until the cream mixture begins to thicken. Then, raise the speed to high and whip until firm, soft peaks form. Be careful not to overmix, as it can quickly turn into butter.

- Just before serving, generously spread the freshly whipped cream over the thoroughly chilled key lime slab pie.
- For an elegant finishing touch, garnish your pie with fresh lime zest and thin lime slices, if desired. This adds both visual appeal and an extra burst of fresh citrus aroma.
Frequently Asked Questions & Expert Tips for Key Lime Slab Pie Success
Yes, this delightful slab pie freezes exceptionally well, making it a fantastic make-ahead option! You have the flexibility to freeze it with or without the whipped topping. However, based on our extensive testing, the pie tends to hold its quality and texture for a longer period if frozen without the whipped topping, as whipped cream can sometimes become watery upon thawing. To freeze, first flash freeze the entire slab pie (in its pan or on a cutting board) until it is mostly solid. This prevents the topping from sticking. Then, if you plan to store it in the baking pan, wrap it tightly with at least two layers of heavy-duty aluminum foil to prevent freezer burn. Alternatively, for easier portioning, you can slice the pie into individual servings after flash freezing, then wrap each slice individually and store them in an airtight freezer-safe container. Thaw in the refrigerator overnight before serving.
Absolutely, making this pie in advance is highly recommended and actually improves its flavor and texture! This pie is at its absolute best when prepared a day ahead of time, or at the very least, on the morning you plan to serve it. This extended timeframe allows for thorough cooling and crucial refrigeration, which are essential for the custard to fully set and for all the vibrant flavors to beautifully meld together. If you’re preparing it ahead, we strongly advise waiting to add the whipped topping until just before you’re ready to serve. This ensures the topping remains fresh, light, and perfectly textured.
Any leftover Key Lime Slab Pie should be stored promptly in an airtight container. Keep it refrigerated, and it will remain fresh and delicious for 2 to 3 days. For best results, press a piece of plastic wrap directly onto the surface of the pie (if not topped with whipped cream) to prevent a skin from forming and keep it from absorbing refrigerator odors.
Elevate Your Serving Experience: Perfect Pairings and Presentation
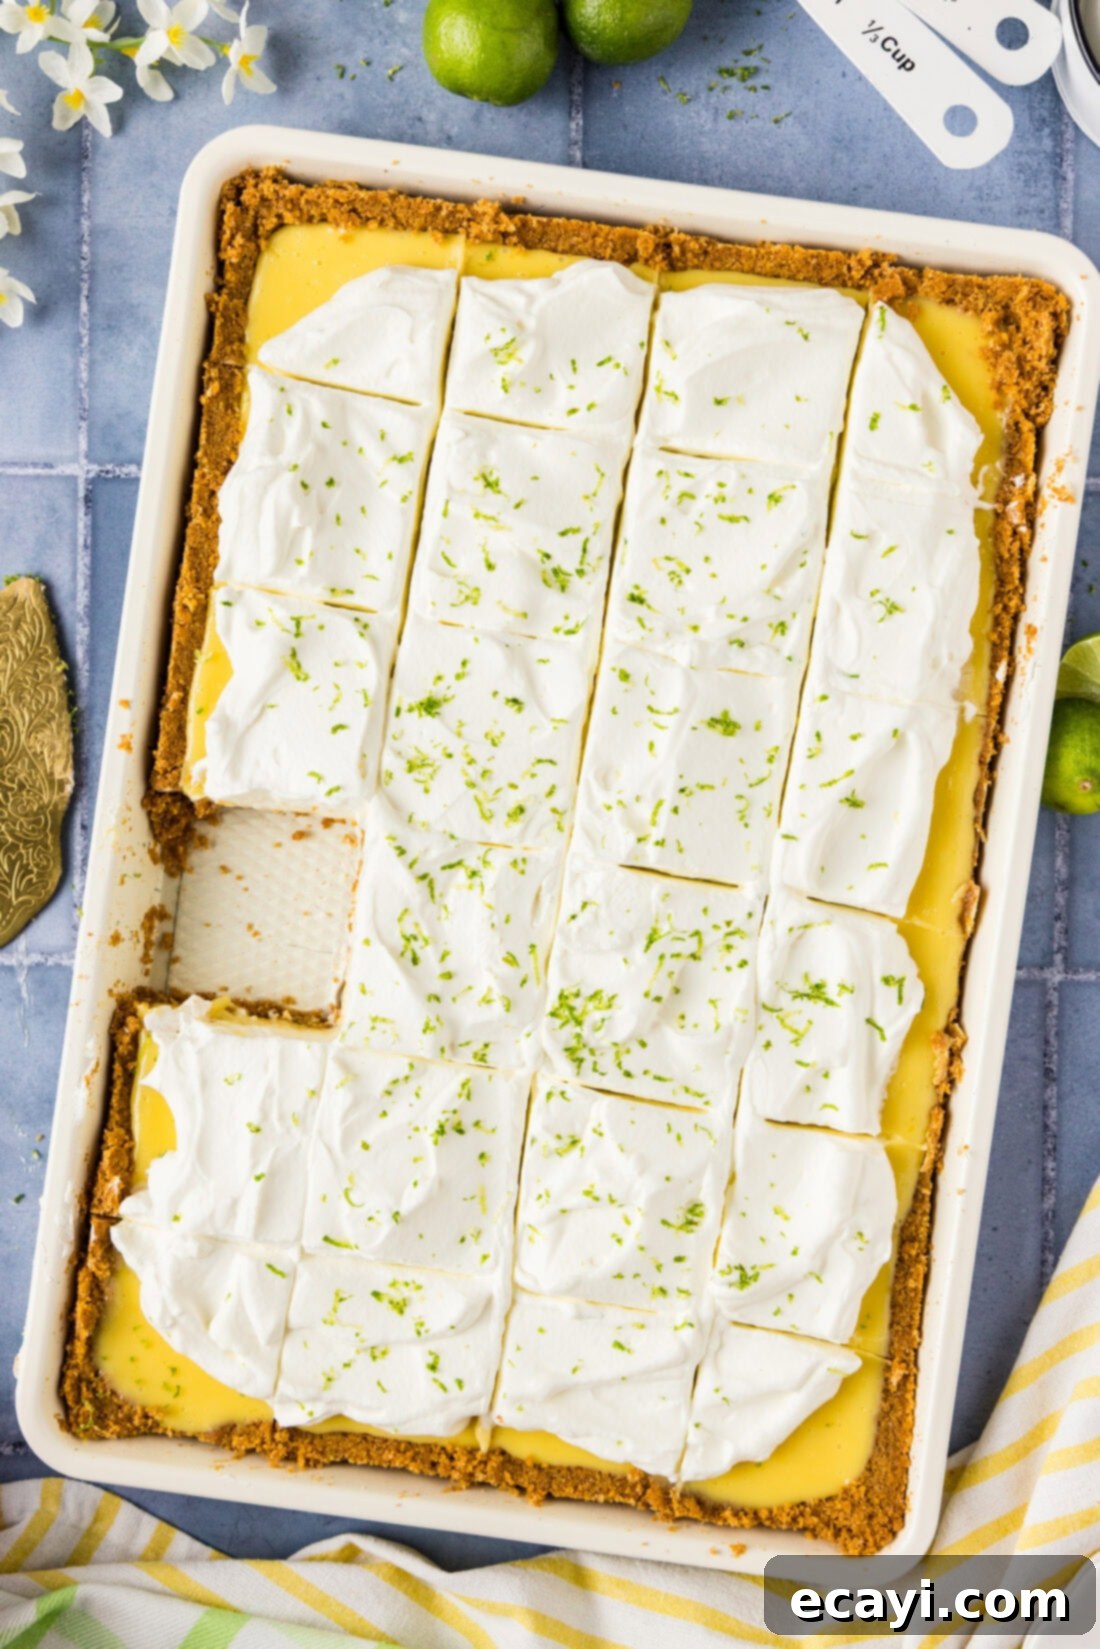
To truly showcase your magnificent Key Lime Slab Pie, presentation is key! Generously garnish it with a fluffy layer of freshly whipped cream or a beautifully toasted homemade meringue topping. A final sprinkle of bright green lime zest and a few thin, elegant lime slices will add both a pop of color and an enticing aroma. This pie is undeniably best enjoyed thoroughly chilled, allowing its refreshing tang to truly shine. And if you understand the sheer delight of dessert, you know it’s best savored in giant, satisfying spoonfuls!
Slab pies are specifically designed for convenience when feeding a crowd, making them an unparalleled choice for large parties, family gatherings, potlucks, and holiday events. Their rectangular shape and larger surface area mean they yield significantly more servings compared to a traditional circular pie, often double the amount. This makes serving a breeze and ensures there’s enough of this irresistible dessert for everyone to enjoy. Pair it with a cup of hot coffee or a refreshing iced tea for a perfect end to any meal.
Explore More Delicious Slab Pie Recipes
If you’ve fallen in love with the convenience and generous servings of slab pies, you’re in luck! We have a delightful collection of other slab pie recipes, perfect for any season or occasion. Expand your baking repertoire with these crowd-pleasing options:
- Apple Slab Pie
- Cherry Slab Pie
- Pumpkin Slab Pie
- Strawberry Slab Pie
- French Silk Slab Pie
I absolutely adore baking and cooking, and it brings me so much joy to share my kitchen adventures and tested recipes with all of you! Remembering to check back daily for new inspiration can sometimes be tricky, which is why I offer a convenient newsletter delivered straight to your inbox every time a new recipe is published. Simply subscribe today and start receiving your free daily recipes, ensuring you never miss out on a delicious idea!
Key Lime Slab Pie
IMPORTANT – There are often Frequently Asked Questions within the blog post that you may find helpful. Simply scroll back up to read them!
Print It
Pin It
Rate It
Save ItSaved!
Ingredients
Crust
- 3 ½ cups graham cracker crumbs 16.8 ounces, 476g
- ½ cup granulated sugar 4 ounces, 117g
- 1 cup unsalted butter melted, 16 tablespoons or 226g
Filling
- 28 ounces sweetened condensed milk two 14 ounce cans, 2.5 cups, 763g
- 1 cup lime juice 8 ounces, 237g
- 8 large egg yolks
Topping
- 2 cups heavy whipping cream 16 ounces, 450g
- 2 Tablespoons powdered sugar
- lime zest and lime slices as garnish
Things You’ll Need
-
15×10 jelly roll pan
-
Mixing bowls
-
Whisk
-
Electric mixer
Before You Begin
- Separating eggs is easiest when the eggs are cold. We recommend using 3 bowls: 1 for separating each egg over (to catch any breaks), 1 for the yolks, and 1 for the whites. This technique prevents a broken yolk from contaminating your separated whites, especially if you plan to use them for other recipes like meringue or our angel food cake.
- For the most authentic key lime flavor, use fresh Key Limes. You’ll need about 30 small limes (roughly 2 pounds) to yield enough juice. While Key Limes can be tedious to juice due to their size, the flavor is worth the effort. Alternatively, regular Persian limes work wonderfully, and as a last resort, bottled lime juice can be used, though fresh is always superior in taste.
- For the crust, you can use pre-packaged graham cracker crumbs for convenience, or grind whole crackers yourself. If grinding, aim for approximately 3.5 sleeves, or 30-32 crackers. Always measure by weight if possible, as cracker sizes can vary by brand, ensuring a consistent and perfectly textured crust.
Instructions
Make the Crust
-
Preheat oven to 350 F (175°C). Spray a 10×15 inch baking pan with non-stick cooking spray.
-
In a bowl, combine graham cracker crumbs, granulated sugar, and melted unsalted butter. Mix well until all crumbs are moistened.3 1/2 cups graham cracker crumbs, 1/2 cup granulated sugar, 1 cup unsalted butter
-
Press the crust mixture evenly into the bottom and up the sides of the prepared baking pan.
-
Bake the crust for 10 minutes in the preheated oven. Remove and cool completely on a wire rack.
Make the Filling
-
In a large bowl, whisk together the sweetened condensed milk, lime juice, and egg yolks until the mixture thickens and is well combined.28 ounces sweetened condensed milk, 1 cup lime juice, 8 large egg yolks
-
Pour the filling into the cooled crust and spread evenly with a rubber spatula.
-
Bake until set, approximately 10 minutes. The center should jiggle slightly when the pan is gently nudged, indicating it’s done.
-
Cool completely at room temperature on a wire rack.
-
Refrigerate the pie until it is thoroughly cold and firm, for at least 4 hours, or ideally up to 24 hours.
Make the Topping
-
Using an electric mixer at low speed, combine heavy whipping cream and powdered sugar. Mix until the sugar is no longer visible.2 cups heavy whipping cream, 2 Tablespoons powdered sugar
-
Increase the mixer speed to medium until the mixture begins to thicken, then switch to high speed. Whip until firm, soft peaks form.
-
Generously spread the whipped cream on top of the thoroughly chilled pie just before serving.
-
Garnish with fresh lime zest and/or thin lime slices for an extra touch of flavor and visual appeal, if desired.
Expert Tips & FAQs
- Storage: Store any leftover Key Lime Slab Pie in an airtight container in the refrigerator for 2-3 days to maintain its freshness and flavor.
- Make Ahead: This pie is actually best prepared a day in advance or on the morning you plan to serve it. This allows sufficient time for the pie to cool completely and chill in the refrigerator, which is crucial for the filling to properly set and for the flavors to fully develop. If prepping ahead, we strongly recommend adding the whipped topping just before serving to ensure it’s fresh and perfectly textured.
- Freezing: This slab pie freezes beautifully! You can freeze it either with or without the whipped topping. Based on our tests, the pie tends to hold up better and longer if frozen without the topping. To freeze, flash freeze the entire slab pie until mostly solid. Then, if storing in the pan, wrap it tightly with a couple of layers of aluminum foil to prevent freezer burn. Alternatively, you can slice the pie after flash freezing, individually wrap each slice, and store them in an airtight container for convenient single servings.
- Don’t Overbake: The key lime filling bakes quickly, typically around 10 minutes. Overbaking can result in a rubbery texture. The center should still have a slight jiggle when gently nudged.
- Clean Slices: For perfectly clean slices, make sure the pie is thoroughly chilled. Use a sharp, thin knife and wipe it clean between each cut.
- Zest Wisely: When zesting limes, only remove the bright green outer layer. The white pith underneath can be bitter. A microplane zester works best for fine, aromatic zest.
Nutrition Information
The recipes on this blog are tested with a conventional gas oven and gas stovetop. It’s important to note that some ovens, especially as they age, can cook and bake inconsistently. Using an inexpensive oven thermometer can assure you that your oven is truly heating to the proper temperature. If you use a toaster oven or countertop oven, please keep in mind that they may not distribute heat the same as a conventional full sized oven and you may need to adjust your cooking/baking times. In the case of recipes made with a pressure cooker, air fryer, slow cooker, or other appliance, a link to the appliances we use is listed within each respective recipe. For baking recipes where measurements are given by weight, please note that results may not be the same if cups are used instead, and we can’t guarantee success with that method.
