Irresistibly Tangy & Sweet: The Ultimate Homemade Lemon Meringue Pie Bars Recipe
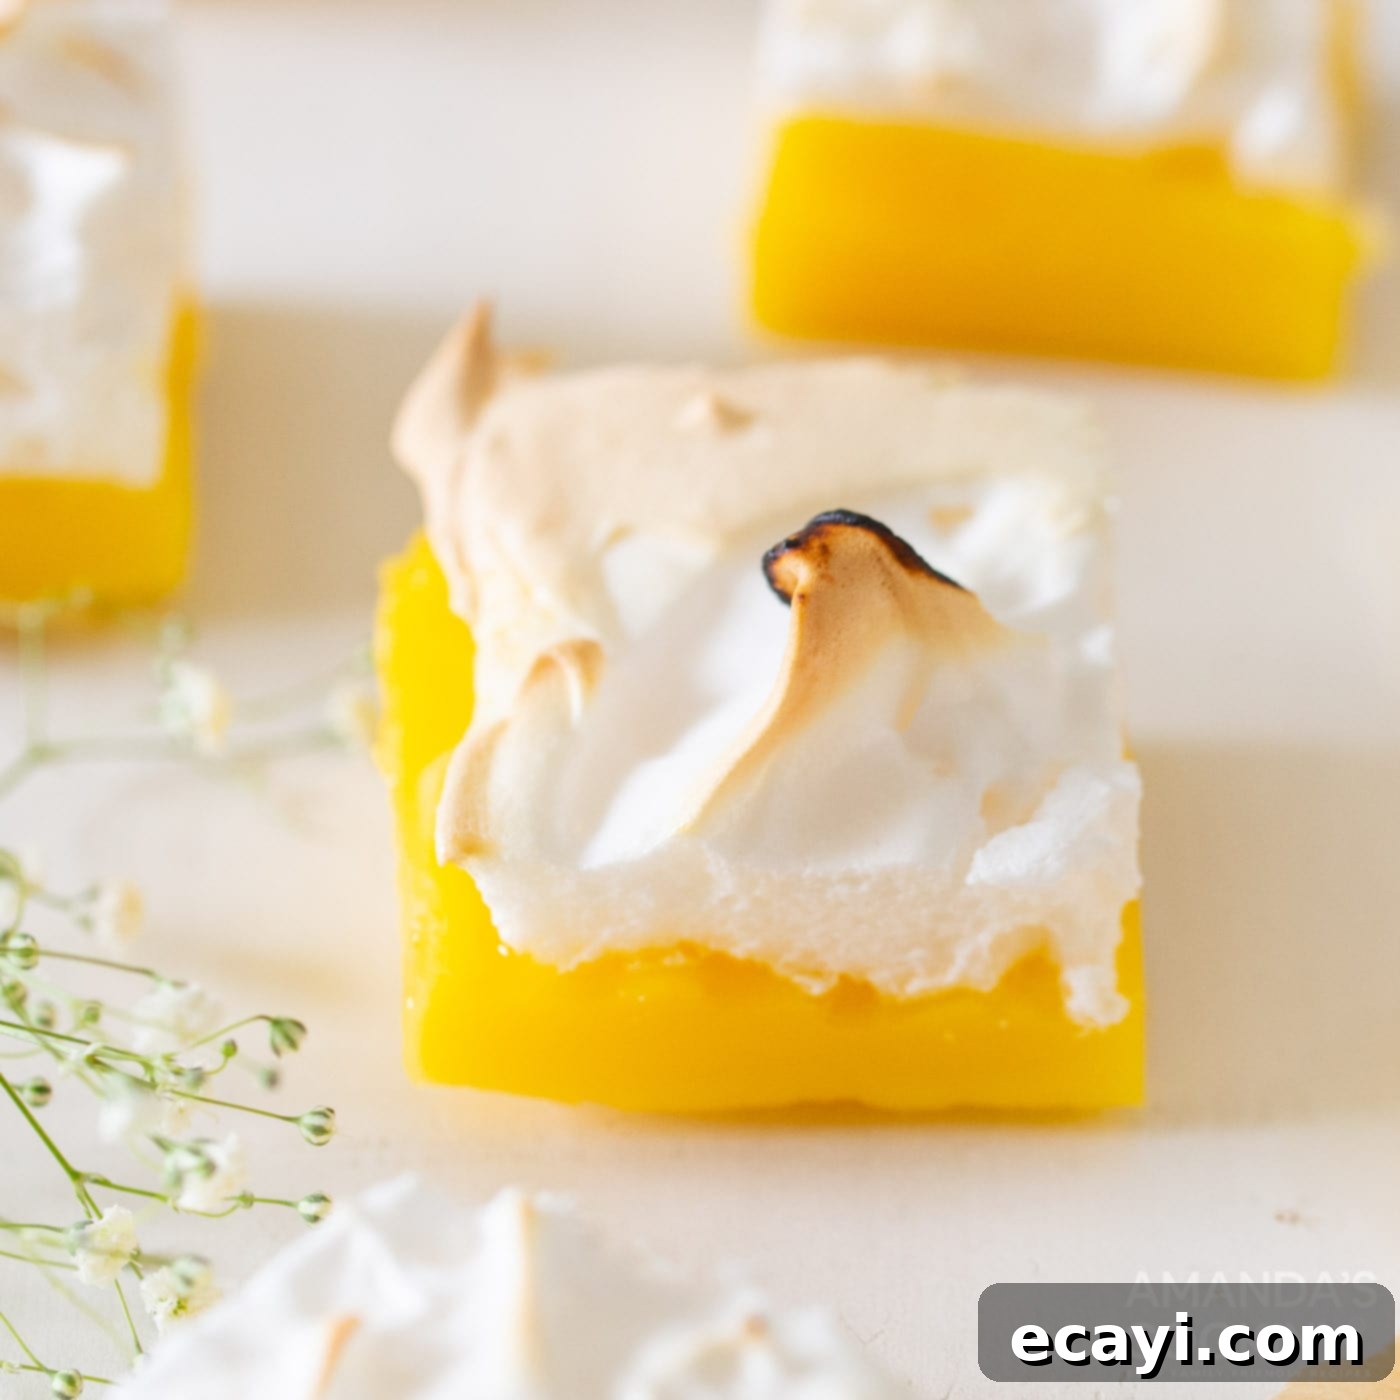
Prepare to delight your taste buds with these sensational **Lemon Meringue Pie Bars**! They capture all the zesty, sweet, and wonderfully nostalgic flavors of a classic lemon meringue pie, but in a convenient, easy-to-serve bar form. Featuring a buttery crust, a vibrant homemade lemon curd filling, and a towering layer of fluffy, toasted meringue, these bars are not just a dessert—they’re an experience. Perfect for entertaining, holiday gatherings, or simply brightening any day, these pie bars are destined to become a new family favorite. Get ready for a refreshing dessert that perfectly balances a delightful tang with exquisite sweetness.
Why This Lemon Meringue Pie Bars Recipe Works
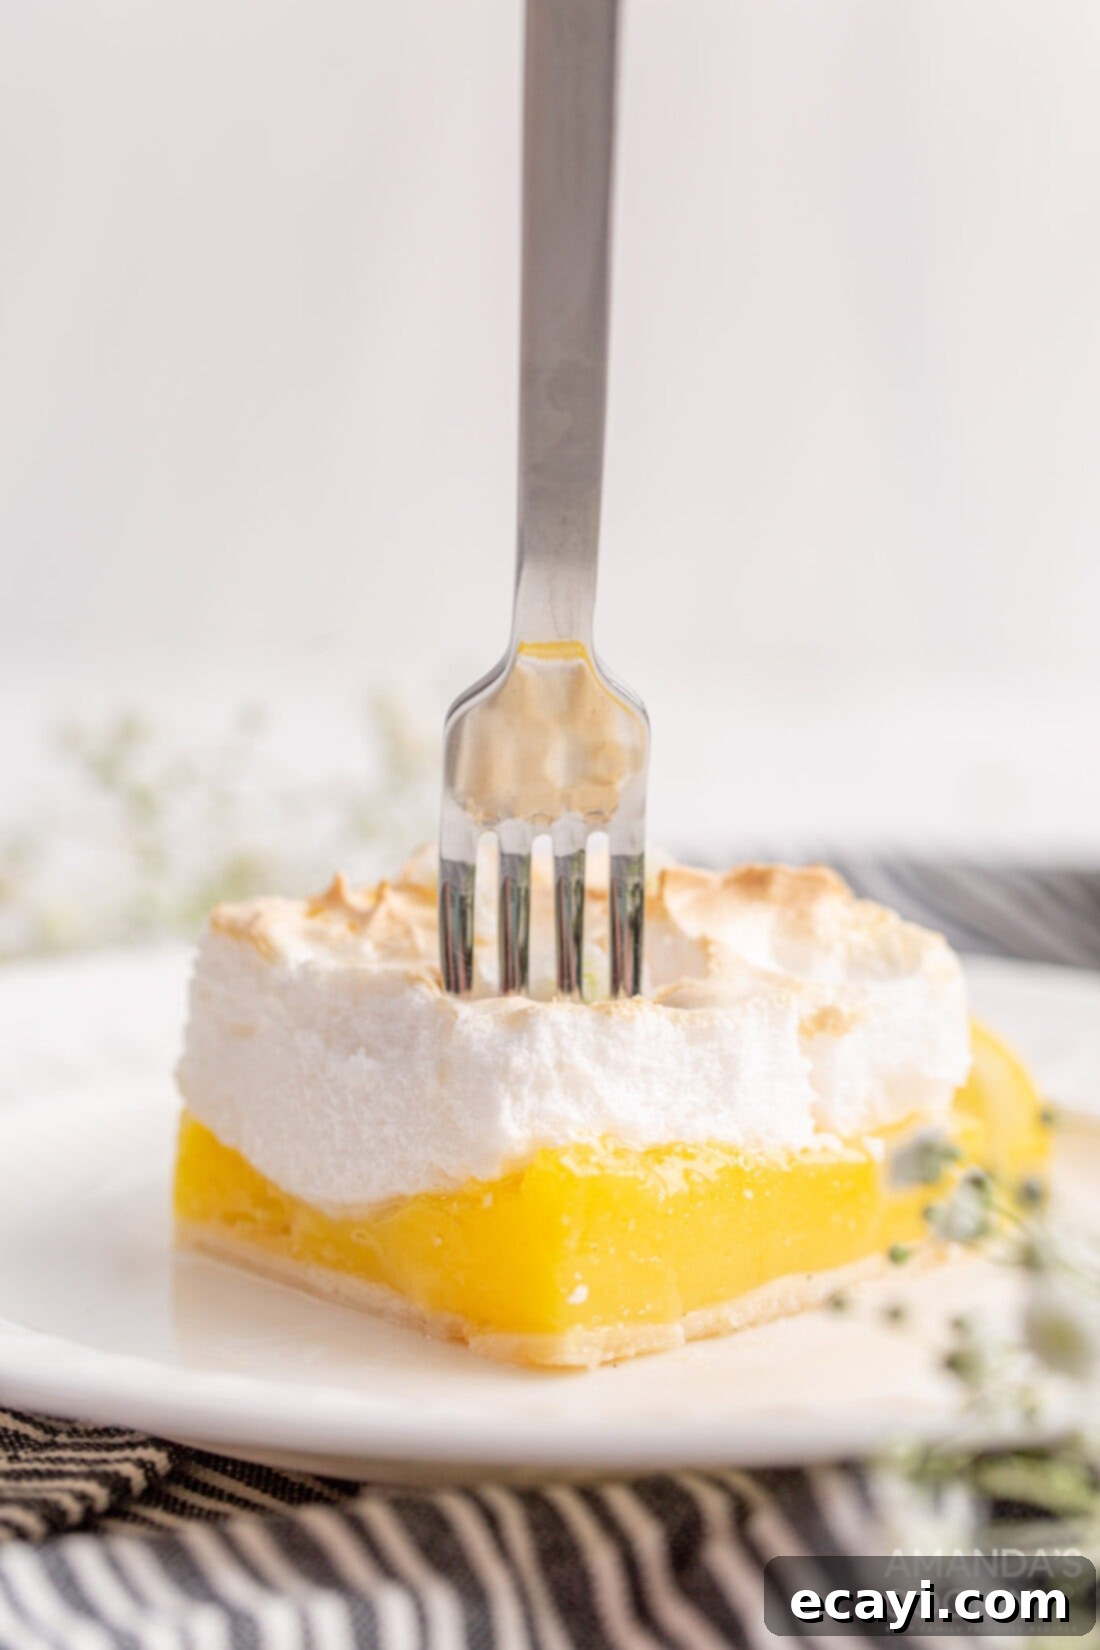
There’s a reason why these **lemon meringue pie bars** are a game-changer compared to their traditional pie counterpart. While classic lemon meringue pie is undeniably delicious, serving it can sometimes be a challenge, especially at larger gatherings. This bar adaptation solves those problems and offers several advantages:
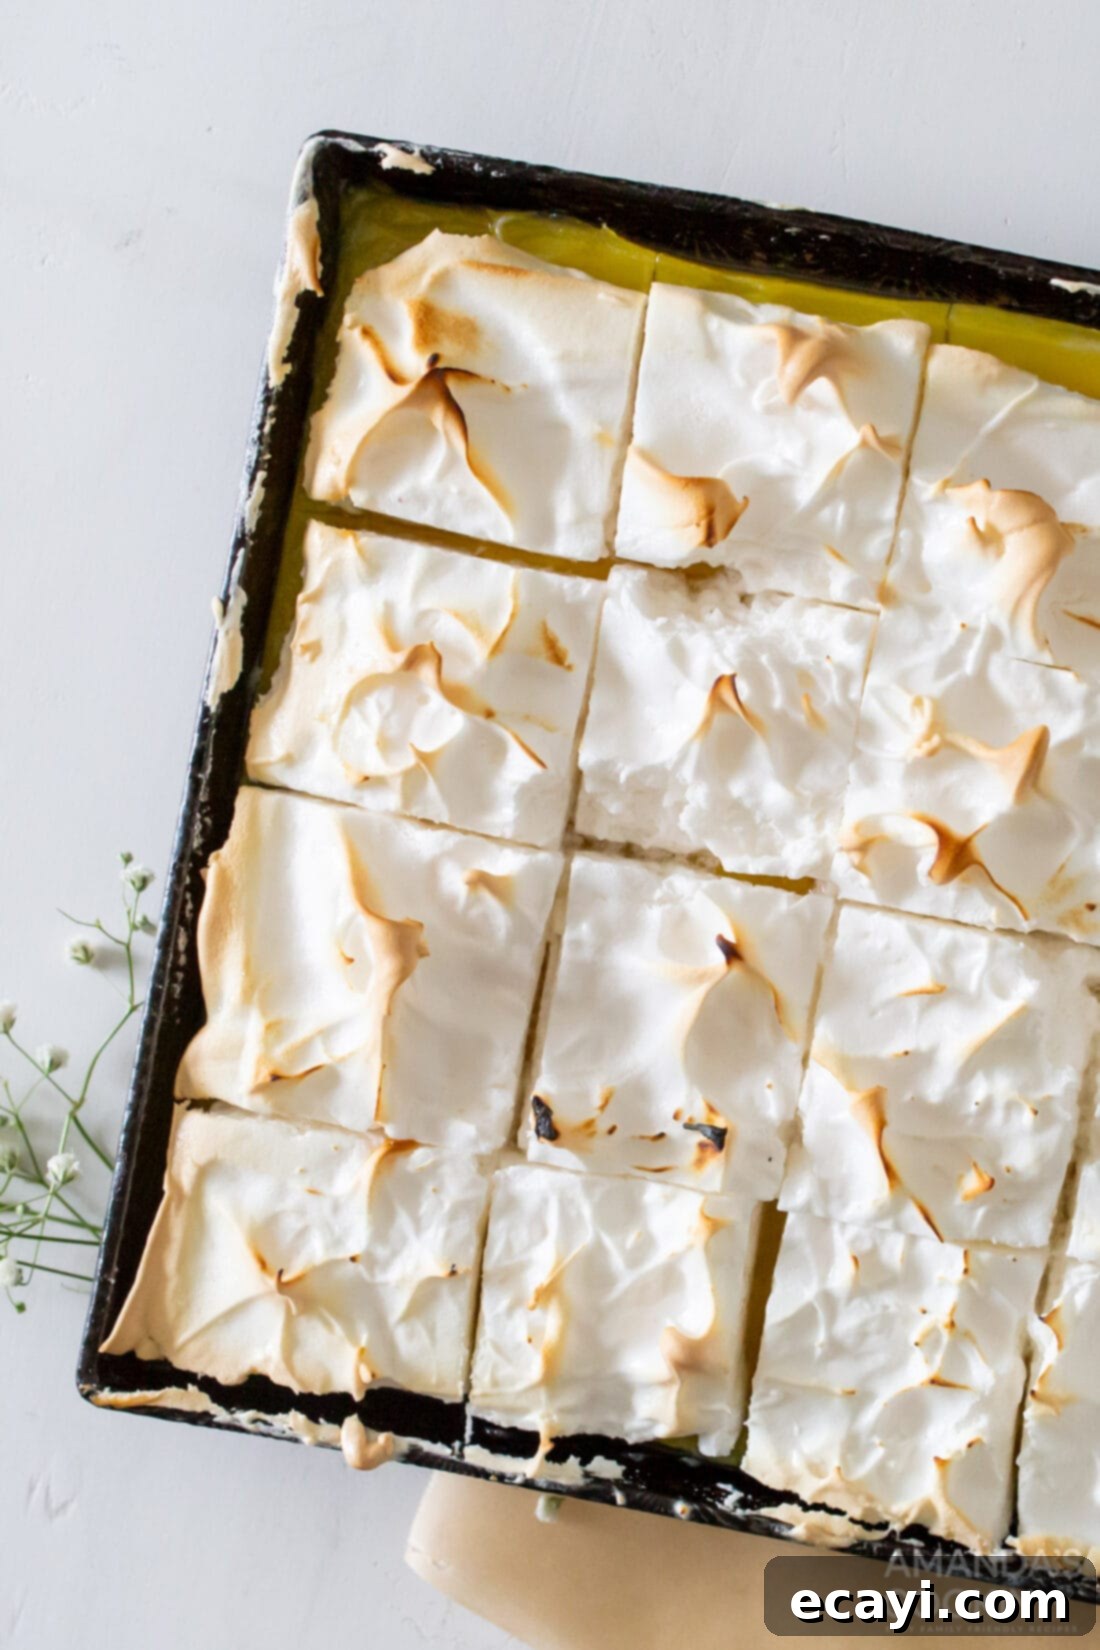
- Effortless Serving & Portability: Forget the struggle of slicing a perfect pie wedge! These bars are incredibly easy to cut into neat squares, making them ideal for potlucks, picnics, BBQs, or any event where finger foods are preferred. Their sturdy form also makes them much easier to transport.
- Increased Yield: An 8×8 inch pan of these bars typically yields 16 generous servings, often more than a standard pie, making it a fantastic option when you need to feed a crowd without baking multiple desserts.
- Perfect Portion Control: Each bar offers a consistent portion of all three delightful layers: the crisp crust, the luscious lemon curd, and the airy meringue. This ensures everyone gets to enjoy the full flavor and texture profile in every bite.
- Simplified Preparation: While the homemade lemon curd and meringue might sound intricate, the recipe is broken down into straightforward steps. Plus, using a premade pie dough significantly cuts down on prep time, making this a more approachable baking project.
- Irresistible Texture Contrast: From the flaky base to the silky, tart lemon filling and the cloud-like, toasted meringue, each bite delivers an exciting interplay of textures that is truly addictive.
These benefits combined ensure that this **lemon meringue pie bars recipe** is not just delicious but also practical and perfect for any occasion where you want to impress without added stress.
Key Ingredients for Lemon Meringue Pie Bars
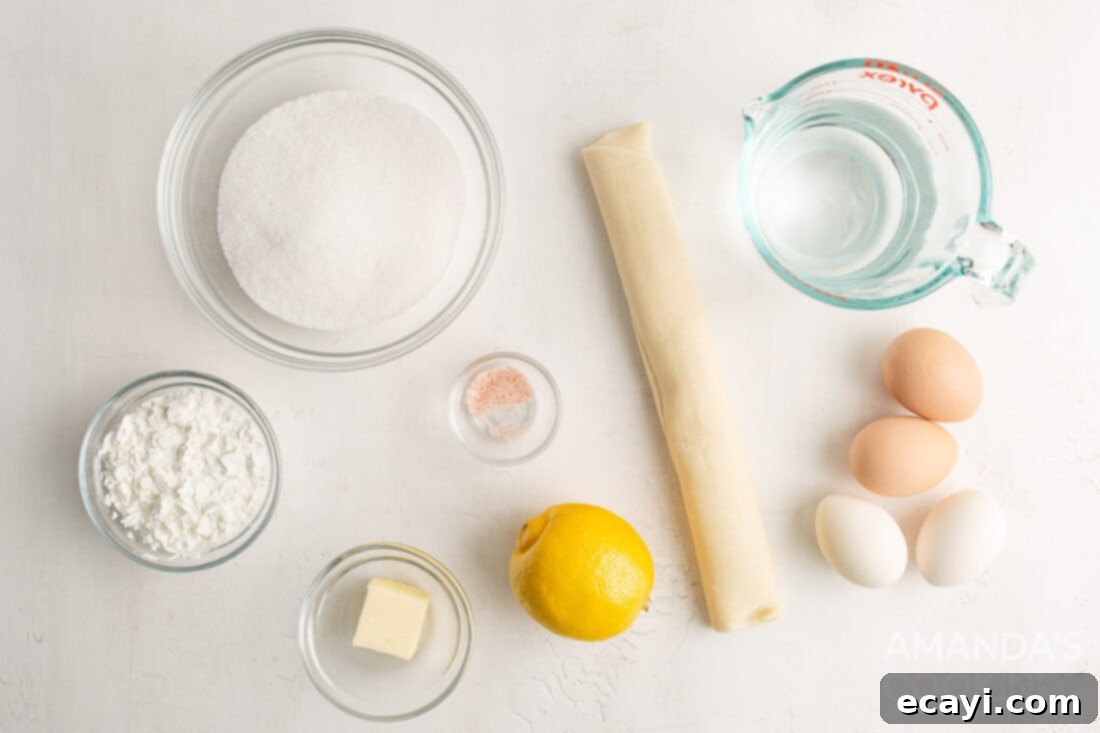
Crafting the perfect **lemon meringue pie bar** requires a few key components, each playing a crucial role in the final delicious outcome. You’ll find a complete list of measurements and detailed instructions in the printable recipe card at the very end of this post, but let’s dive into what makes each layer special:
CRUST: The Foundation of Flavor
To keep this **lemon dessert recipe** quick and accessible, we utilize a premade 9-inch pie dough. This is a fantastic shortcut that saves considerable time and effort without compromising on taste. However, don’t feel limited! If you prefer a homemade touch or a different flavor profile, you have several options:
- Homemade Pie Dough: For a truly from-scratch experience, a classic butter pie crust provides a rich, flaky base.
- Shortbread Crust: A sweet, crumbly shortbread crust can add a delightful textural contrast and buttery richness.
- Graham Cracker Crust: For an even simpler no-bake alternative (though it would require pre-baking here), a graham cracker crust offers a pleasant sweetness and crunch.
Whichever crust you choose, ensure it’s pressed firmly and evenly into your baking pan to create a stable foundation for the lemon curd.
FILLING: The Zesty Lemon Curd Heart
The star of these **lemon bars** is undoubtedly the homemade lemon curd. This layer is an exquisite balance of sweet and tangy, bursting with fresh citrus flavor. Our recipe ensures a thick, luscious consistency that holds its shape beautifully when cut, thanks to the inclusion of cornstarch. The cornstarch acts as a thickening agent, allowing the curd to set perfectly without being overly gelatinous. Using freshly squeezed lemon juice and fresh lemon zest is paramount here; it provides the vibrant, authentic lemon flavor that truly distinguishes this dessert.
TOPPING: The Pillowy Meringue Cloud
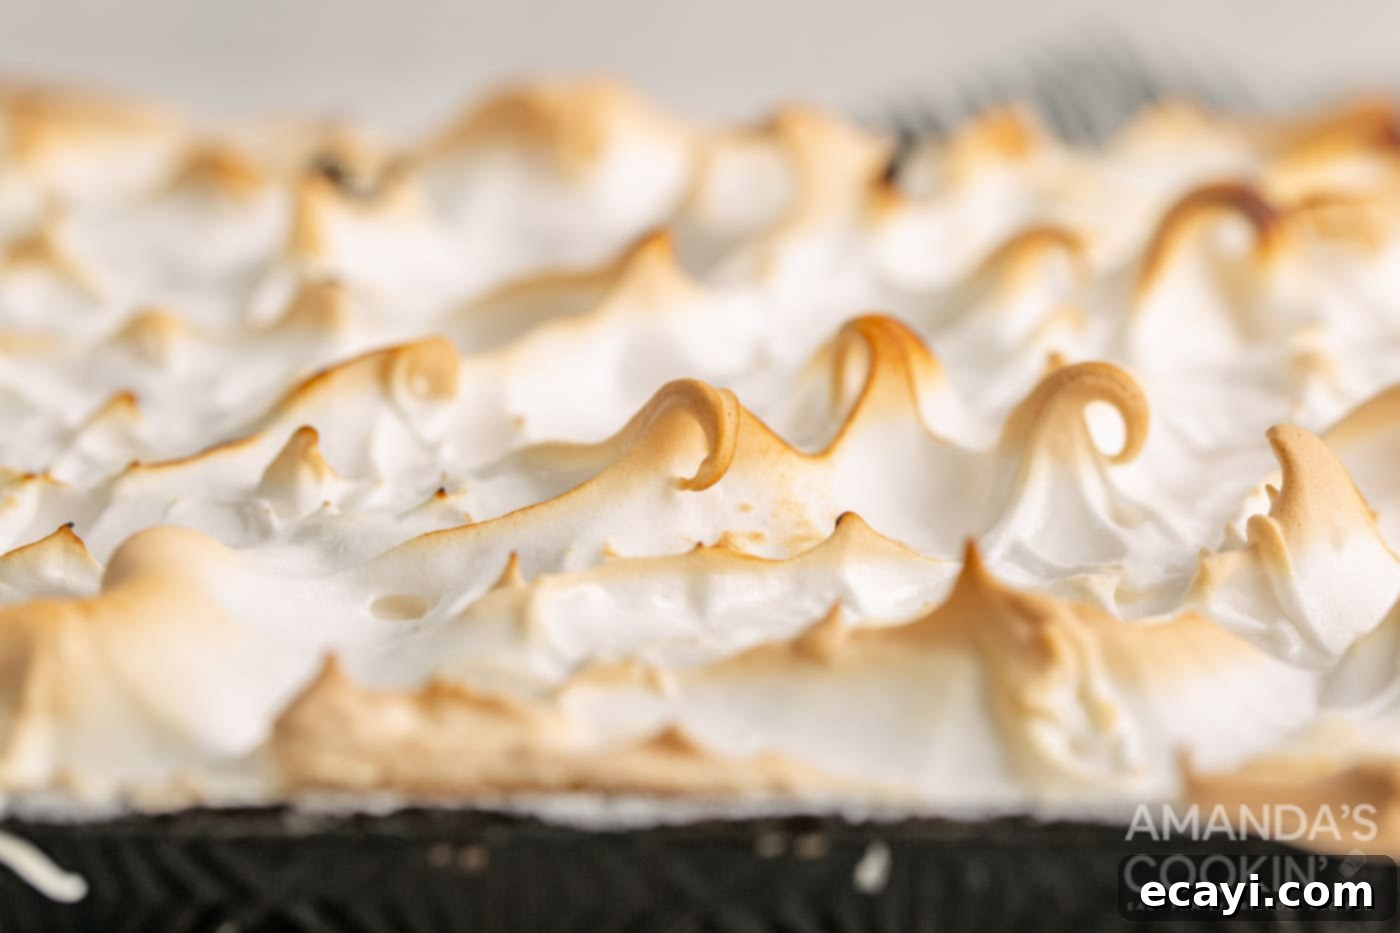
Don’t let the thought of making meringue intimidate you! This particular meringue recipe is surprisingly straightforward and only requires three basic ingredients: egg whites, a pinch of salt, and granulated sugar. When whipped correctly, it transforms into a pillowy, stable cloud with a consistency similar to marshmallow fluff. The key is to beat the egg whites until they form stiff, glossy peaks that hold their shape. If you have a tried-and-true method for making meringue that you prefer, feel free to substitute it. The goal is a light, airy topping that perfectly complements the rich lemon curd and bakes to a beautiful golden-brown finish.
How to Make Homemade Lemon Meringue Pie Bars
These step-by-step photos and detailed instructions are here to help you visualize how to make this delightful recipe. For a quick overview and the printable version of this recipe, complete with precise measurements and instructions, you can Jump to Recipe at the bottom of this post.
- Prepare the Crust: Preheat your oven to 400°F (200°C). Lightly grease an 8×8 inch baking pan with non-stick cooking spray. Carefully unroll your premade pie crust dough. Lay it over the pan and gently press it into the bottom, trimming any excess dough. It’s wise to cut the dough slightly larger than the base of the pan, as pie crusts tend to shrink a little during baking. Ensure it fits snugly and forms a solid base.
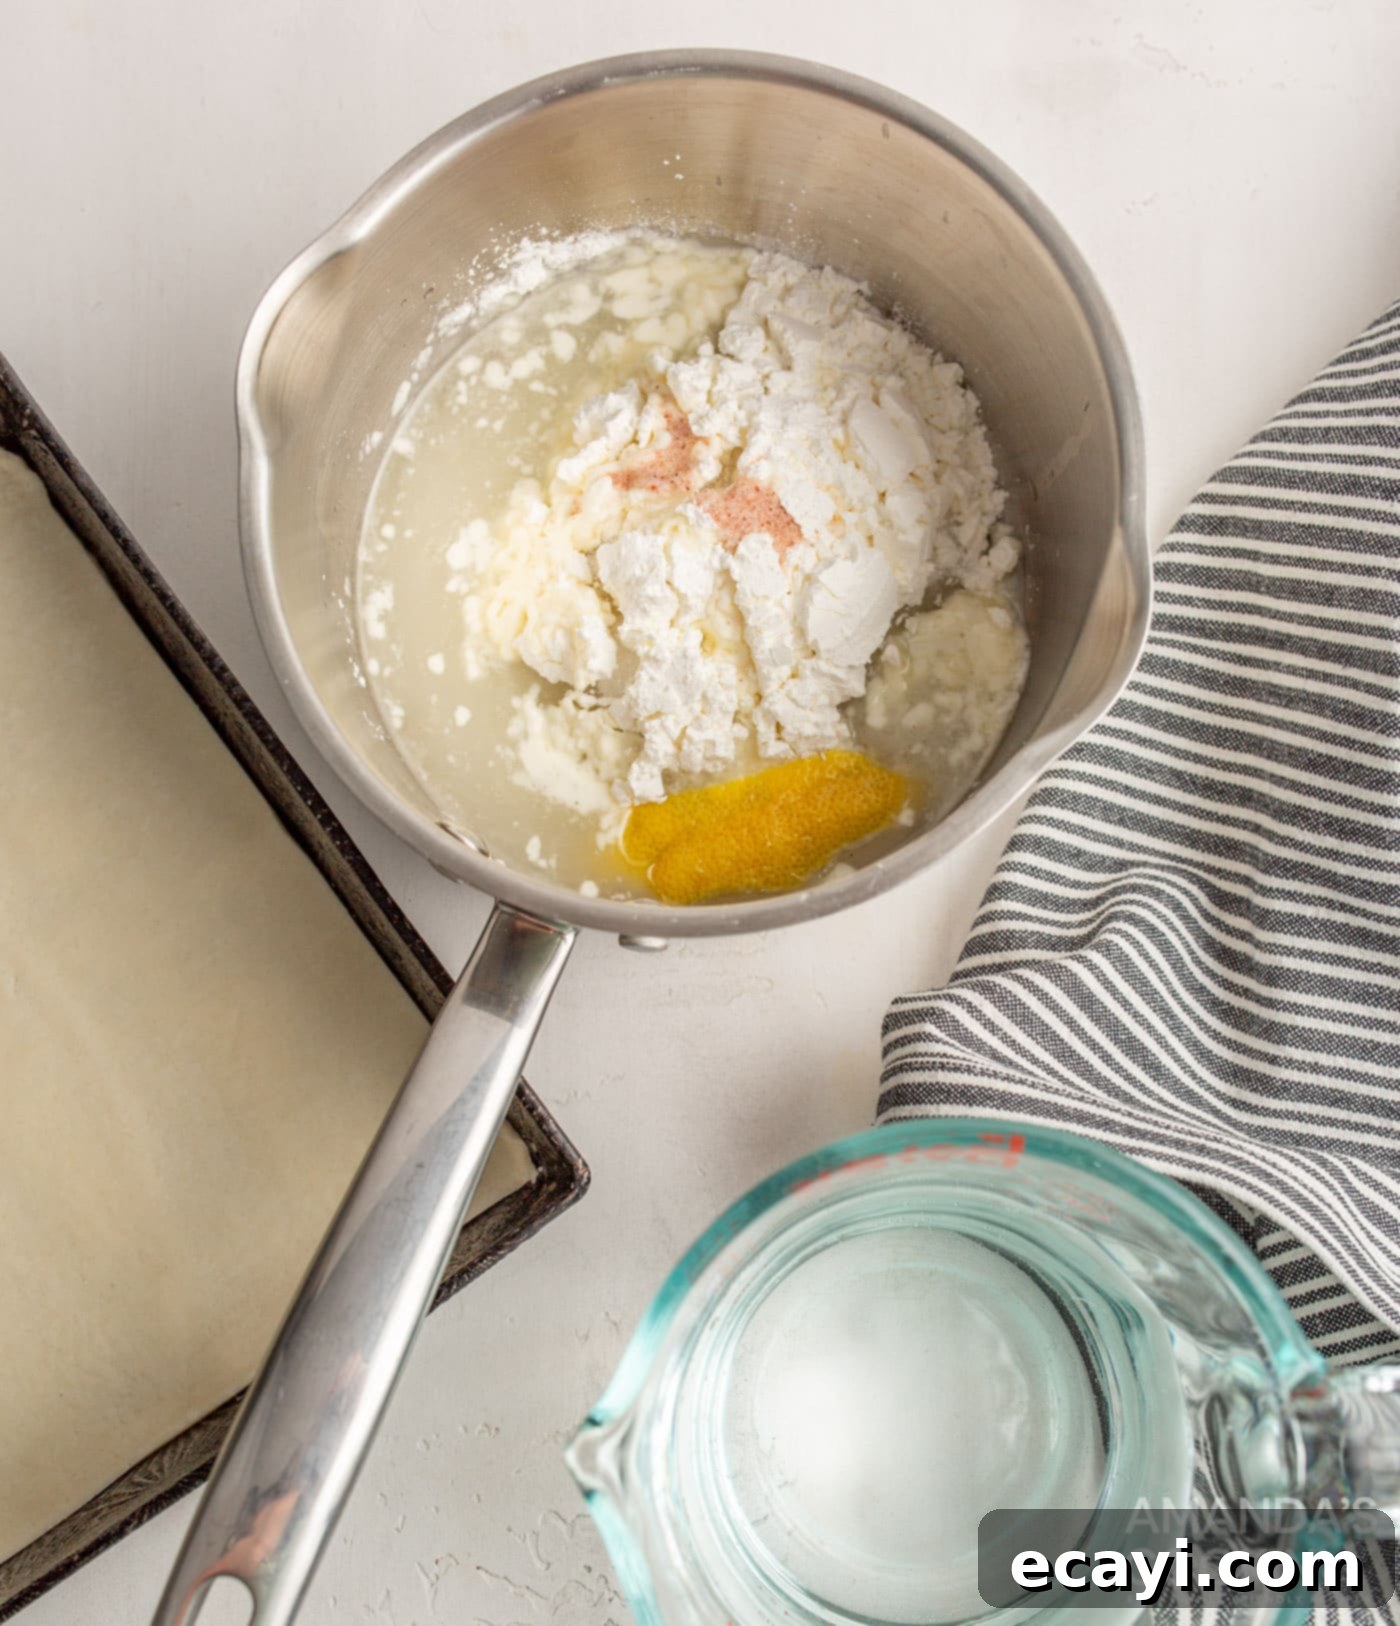
- Begin the Lemon Curd: In a 2-quart saucepan, combine the cornstarch, granulated sugar, and a pinch of salt. Whisk these dry ingredients together thoroughly to prevent lumps. Next, gradually whisk in the warm water, fresh lemon juice, and finely grated lemon zest. Place the saucepan over medium-low heat. Continue to stir constantly with a whisk until the mixture begins to thicken and reaches a gentle boil. As soon as it boils, remove the saucepan from the heat to prevent over-thickening or scorching.

- Temper the Egg Yolks: In a separate small bowl, lightly whisk the four egg yolks until smooth. This step is crucial for achieving a creamy curd without scrambled egg pieces. Slowly drizzle about five tablespoons of the hot cornstarch mixture into the whisked egg yolks, one tablespoon at a time, continuously whisking the yolks vigorously. This process, called tempering, gradually raises the temperature of the egg yolks, preventing them from cooking instantly when added to the hot mixture.
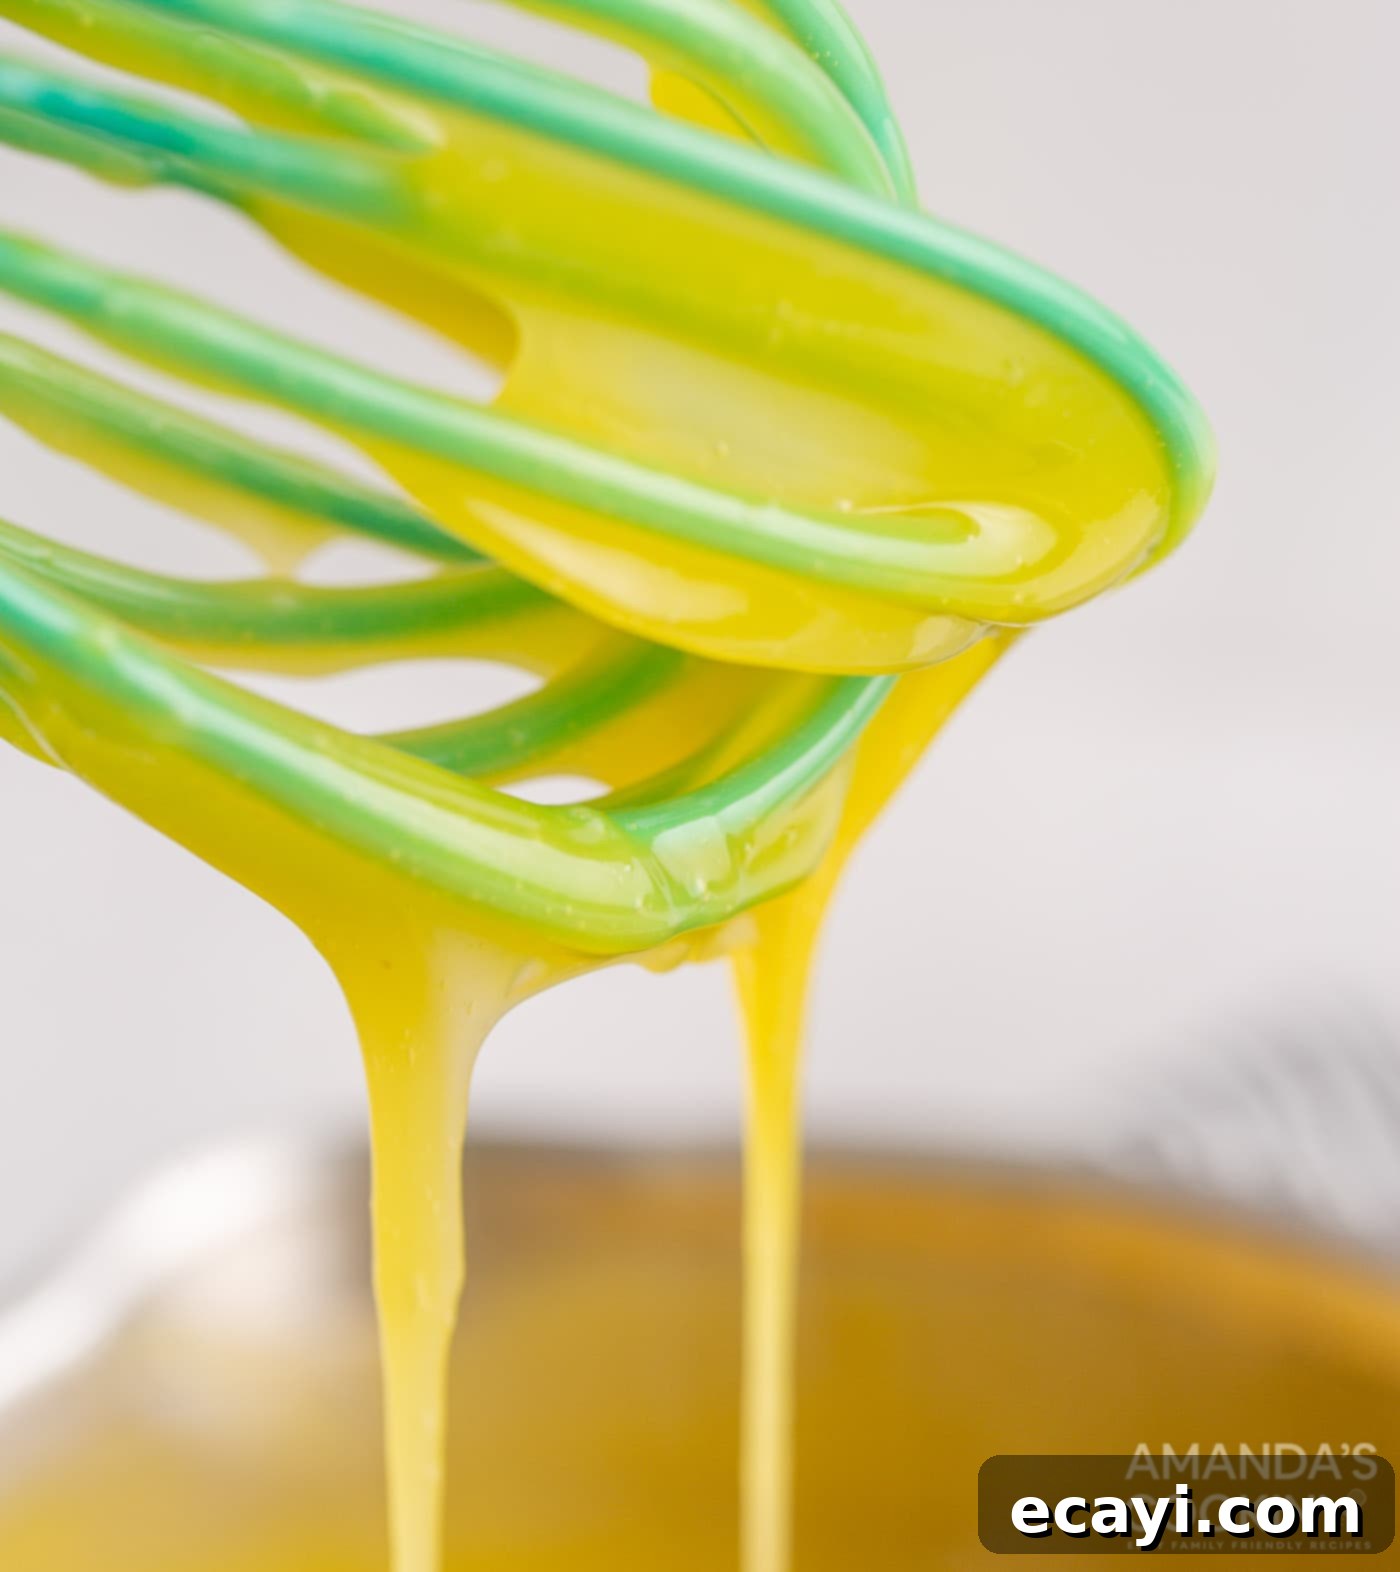
- Finish the Lemon Curd: Once the egg yolks are tempered, slowly drizzle the warmed egg yolk mixture back into the saucepan with the remaining cornstarch mixture, whisking constantly to ensure everything is fully incorporated. Return the saucepan to medium-low heat. Continue whisking and cooking until the curd thickens considerably, taking about 10 minutes. It should coat the back of a spoon and hold its shape. Be careful not to let it boil at this stage, as it can cause the eggs to curdle. Once thick, remove from heat and stir in the tablespoon of butter until it is completely melted and incorporated, adding a lovely richness and sheen to the curd.

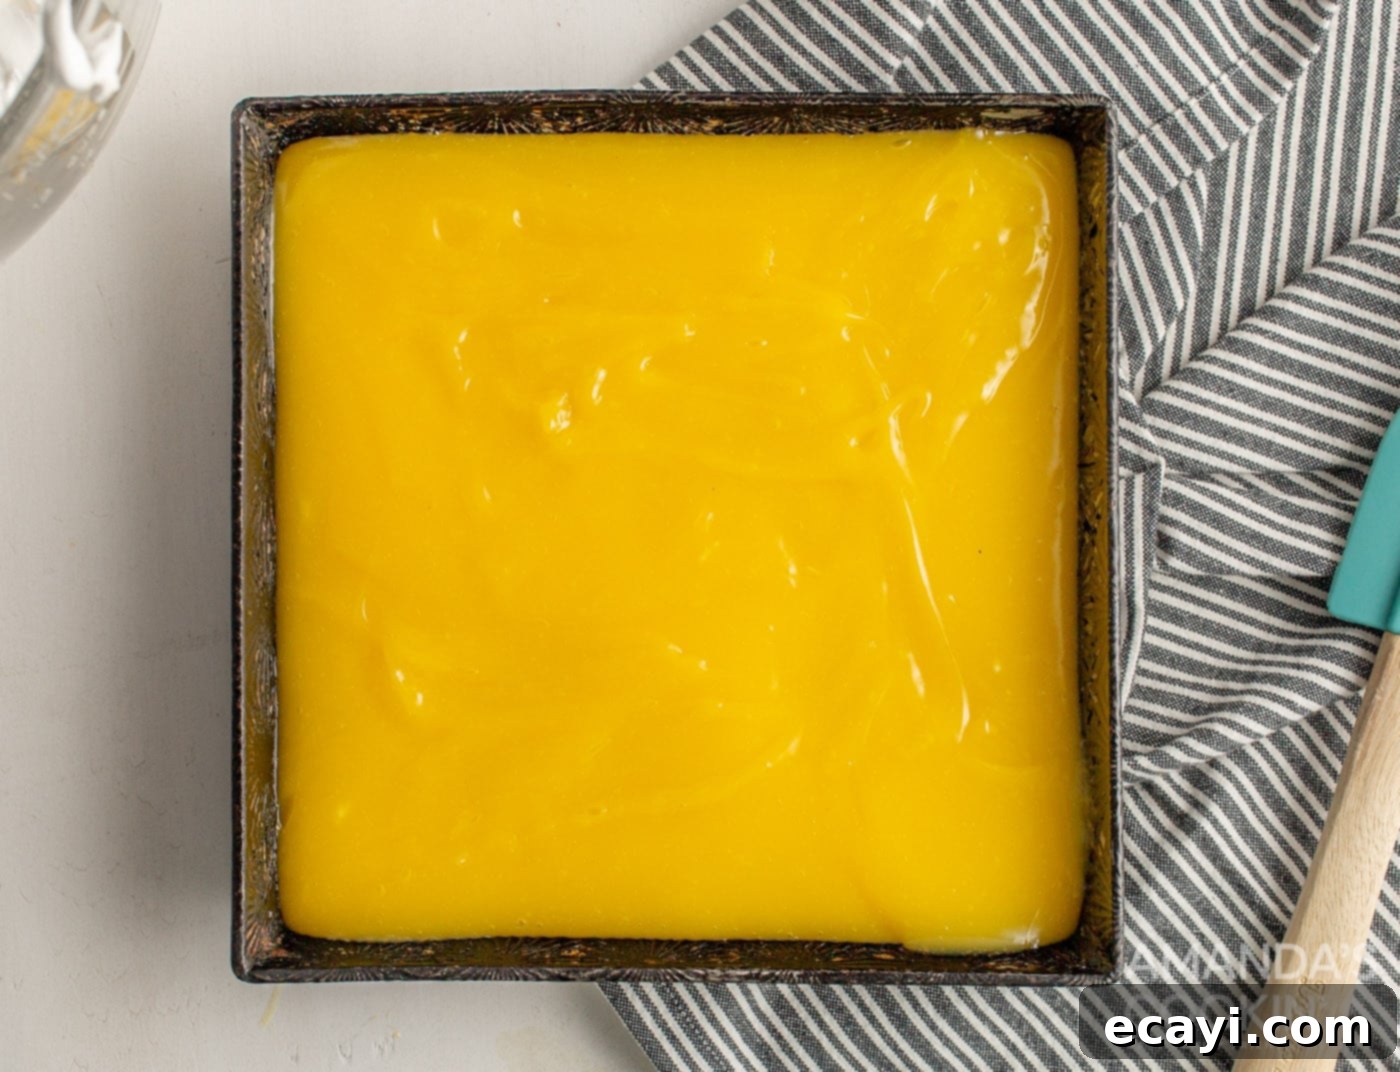
- Assemble the Base Layers: Pour the warm, thickened lemon curd mixture evenly over the unbaked pie crust in your prepared 8×8 inch pan. Gently spread it to the edges.

- Prepare the Meringue Topping: In a large, impeccably clean bowl (any trace of fat can prevent egg whites from whipping), or the bowl of a stand mixer fitted with the whisk attachment, add the four egg whites and a pinch of salt. Begin beating on high speed. Continue beating until soft white peaks begin to form – this is when the meringue is starting to gain volume but is still somewhat loose.
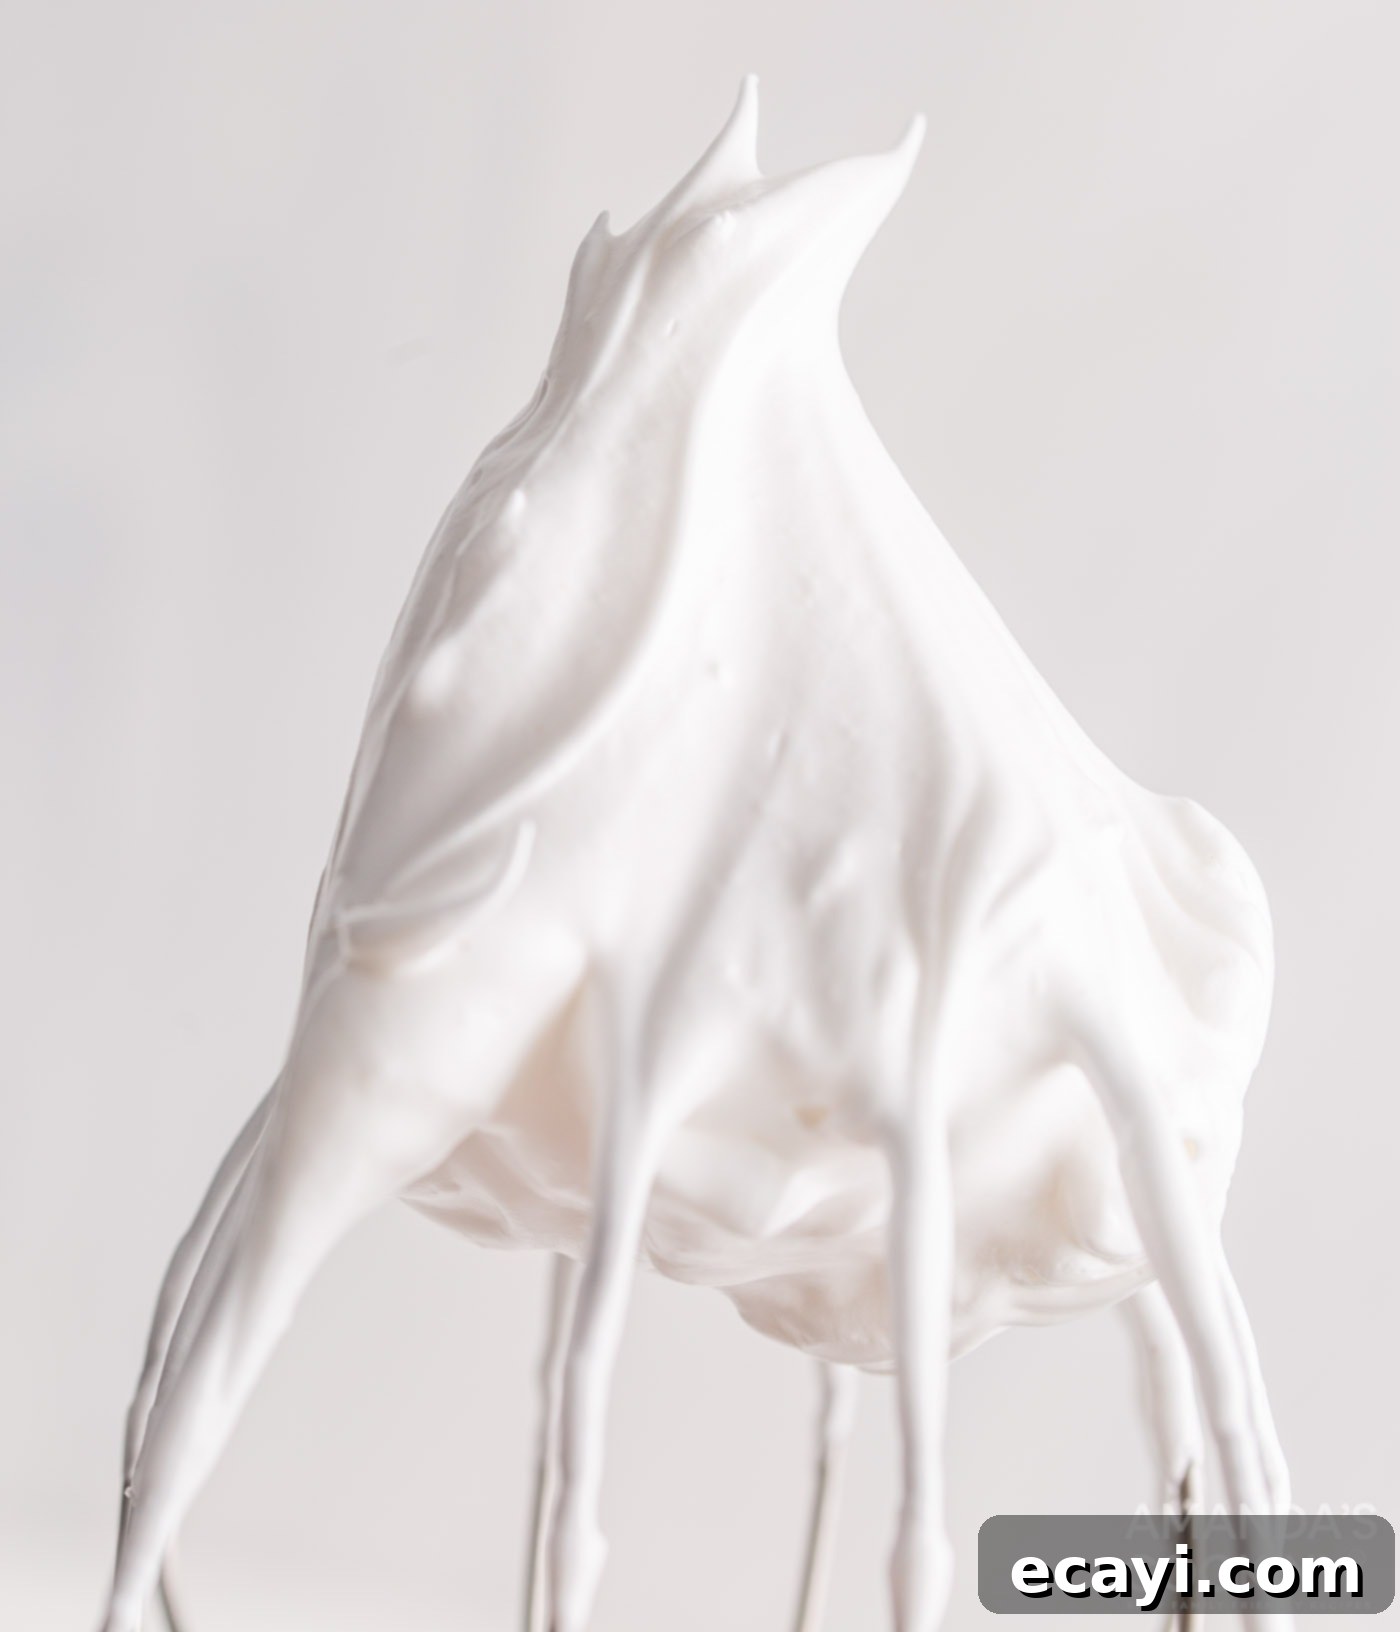
- Achieve Stiff Meringue Peaks: Keep the mixer speed on high. Slowly add the ½ cup of granulated sugar, one tablespoon at a time, ensuring each addition is fully incorporated before adding the next. This gradual addition helps the sugar dissolve and creates a stable, glossy meringue. Continue beating until very stiff white peaks have formed. The meringue should look glossy, smooth, and when you lift the beater, the peaks should stand upright without drooping. The texture will be akin to fluffy marshmallow creme, pulling away from the bowl in beautiful, ribbon-like strands.

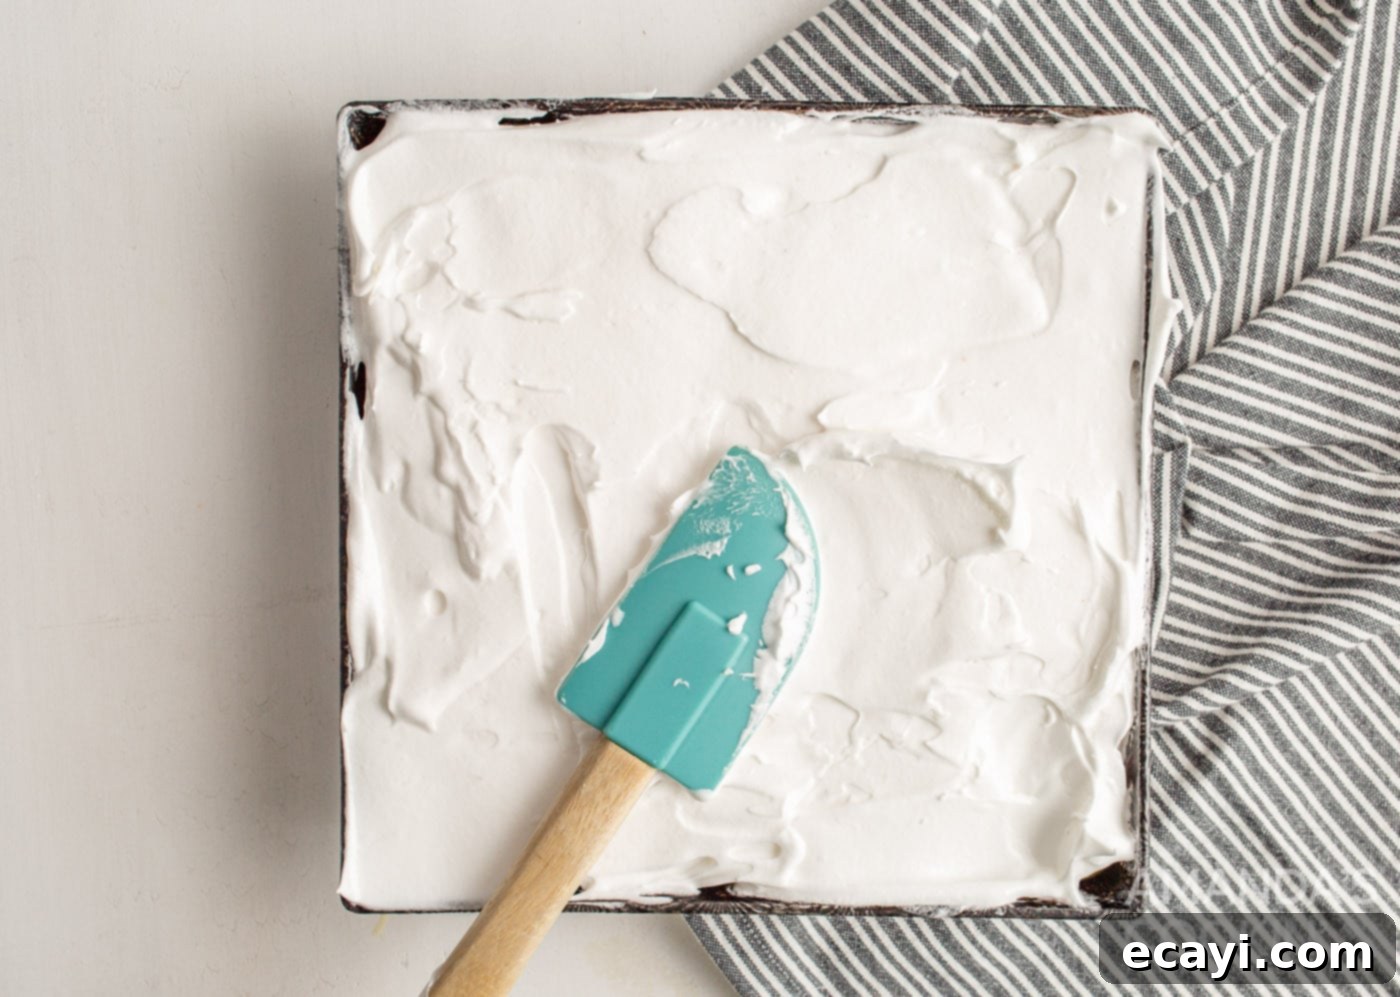
- Top with Meringue: Carefully spoon the meringue topping onto the still-warm lemon curd filling. The warmth from the curd helps to slightly set the base of the meringue, preventing “weeping” later on.

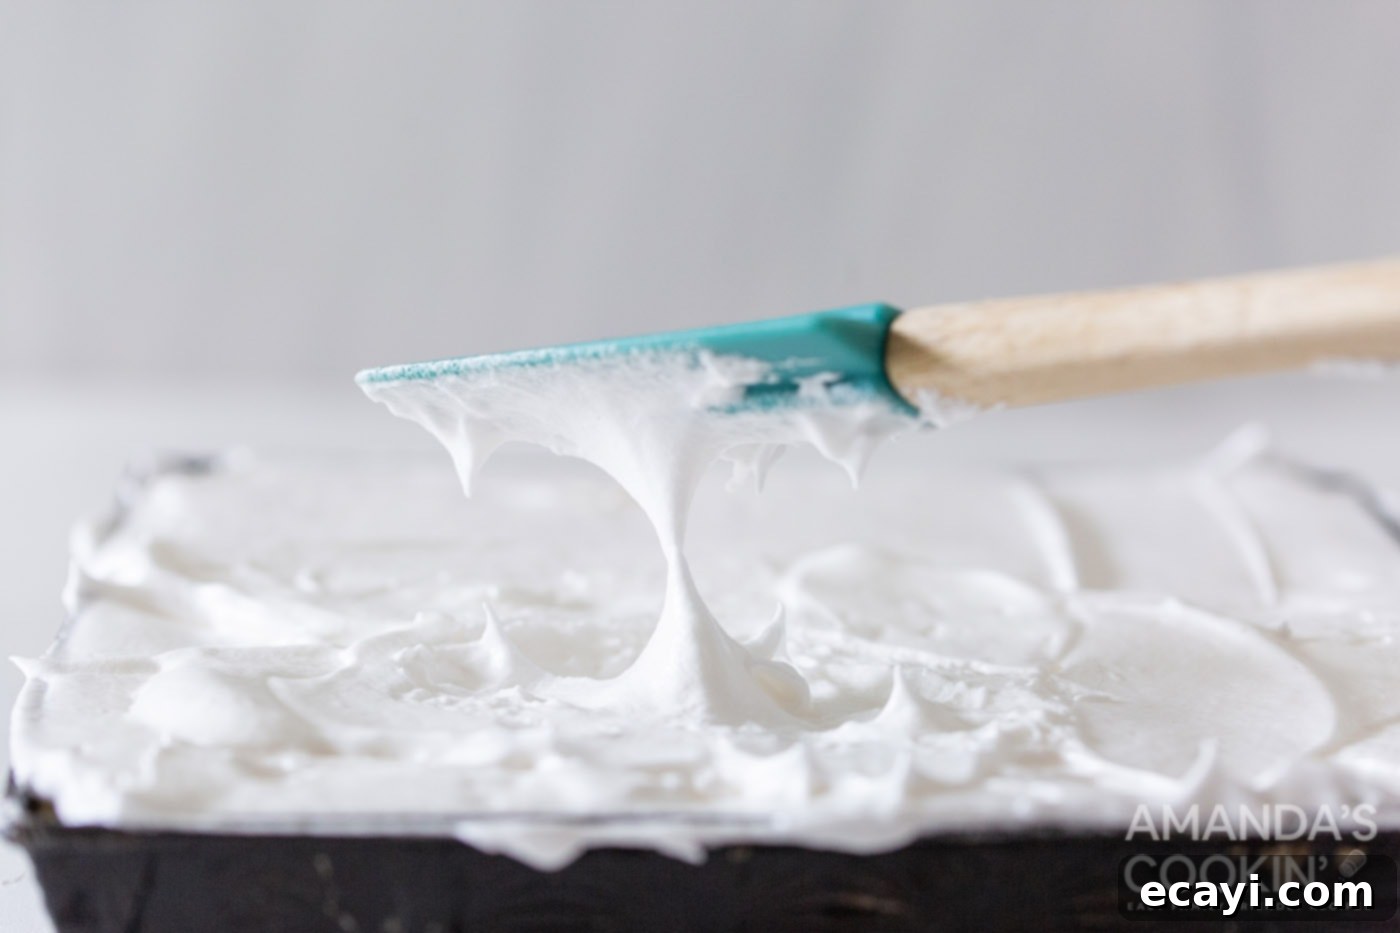
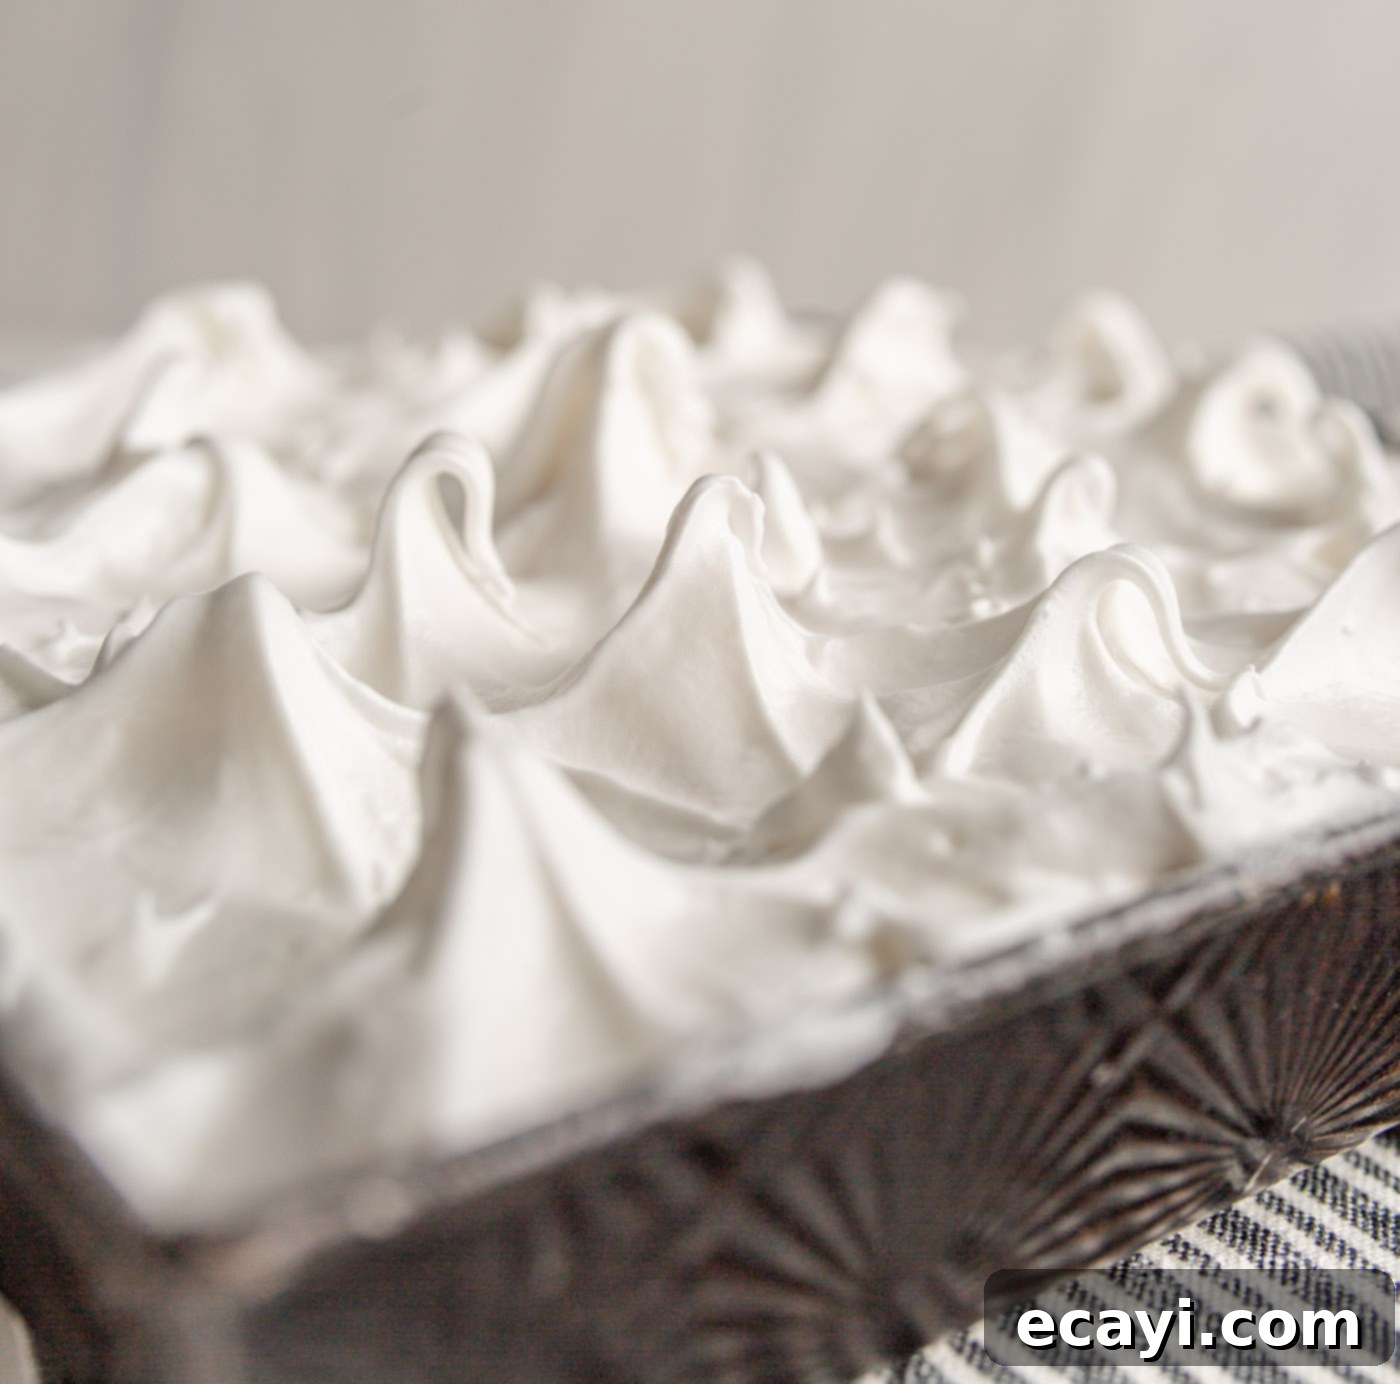
- Create Meringue Peaks: Using the back of a spoon or a rubber spatula, gently swirl and pat the meringue, creating those iconic, picturesque peaks that characterize a classic lemon meringue dessert. These peaks will toast beautifully in the oven.


- Bake to Golden Perfection: Place the pan on the center rack of your preheated 400°F (200°C) oven. Bake for approximately 10-15 minutes, or until the meringue is beautifully set and the tips turn a lovely golden brown. Keep a close eye on it, as meringue can brown quickly.

- Cool and Chill: Once baked, remove the **lemon meringue pie bars** from the oven. Allow them to cool completely at room temperature for at least 1 hour. This initial cooling helps the curd begin to set. After that, transfer them to the refrigerator and chill for a minimum of 4-8 hours, or preferably overnight, before slicing and serving. Proper chilling is essential for the bars to fully set, making them easier to cut and ensuring the perfect texture.
Frequently Asked Questions & Expert Tips
Absolutely! These **lemon meringue pie bars** are an excellent make-ahead dessert. We highly recommend preparing them one day in advance. Allowing them to chill thoroughly in the refrigerator overnight (for at least 8 hours) not only helps the lemon curd fully set to a perfect sliceable consistency but also allows the flavors to meld beautifully, enhancing the overall taste experience. Simply cover them loosely with plastic wrap once cooled.
To maintain their freshness and texture, store your **lemon meringue pie bars** in an airtight container or a baking dish covered tightly with a lid. They should always be kept refrigerated. When stored properly, they will remain delicious for up to 4 days. The meringue is best enjoyed fresh, but it holds up surprisingly well for a few days.
Yes, these **lemon meringue bars** can be frozen! After they have completely cooled down and chilled, transfer them to an airtight, freezer-safe container. You can layer them with parchment paper if stacking. They will keep well in the freezer for 2-3 months. To serve, thaw them in the refrigerator overnight. While the meringue might slightly alter in texture after freezing and thawing, the lemon curd remains wonderfully delicious.
Meringue weeping, where clear liquid forms between the meringue and the lemon curd, is a common issue. It usually happens when the sugar isn’t fully dissolved in the egg whites, or the meringue is undercooked. To prevent this, ensure you add the sugar slowly and beat the meringue until it’s very stiff and glossy, indicating the sugar has dissolved. Baking the meringue over a warm filling (as in this recipe) and ensuring it’s properly browned helps to seal it, reducing the chance of weeping. Also, avoid refrigerating meringue too quickly after baking.
For perfectly clean slices of your **lemon meringue pie bars**, ensure they are thoroughly chilled for at least 4-8 hours. Before cutting, run a sharp knife under hot water, wipe it clean, and then make a slice. Repeat this process for each cut. This warming of the blade helps it glide smoothly through the meringue and curd without sticking or tearing.
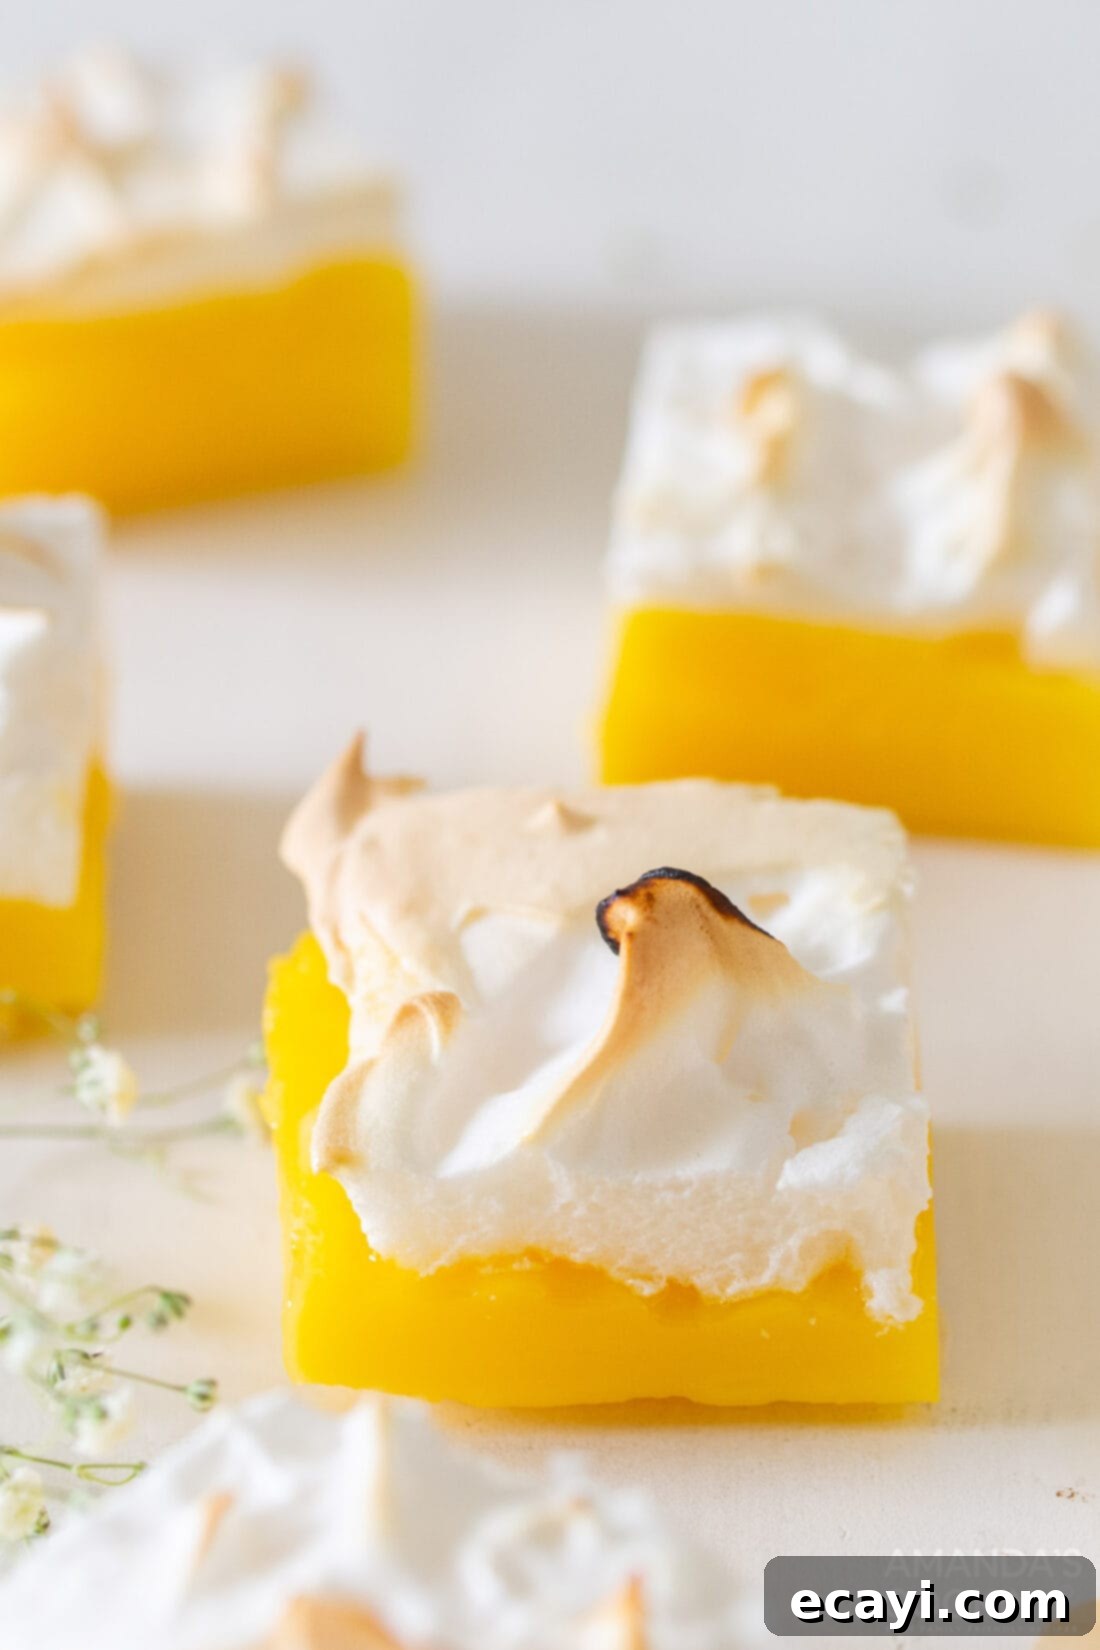
Serving Suggestions for Your Lemon Meringue Pie Bars
These **lemon meringue pie bars** are incredibly versatile and suitable for a wide array of occasions. Their elegant appearance and delightful flavor make them a standout dessert.
- Party Perfect: Bring them to potlucks, garden parties, or summer barbecues. They’re a refreshing alternative to heavier desserts and their bar form makes self-serving a breeze.
- Holiday Cheer: While often associated with spring and summer, the bright citrus notes are also a welcome contrast to richer holiday meals, making them a fantastic addition to Easter and Thanksgiving gatherings.
- Celebratory Events: Elevate bridal showers, baby showers, or birthday celebrations with these beautiful bars. A dusting of powdered sugar or a fresh raspberry on top of each bar can add an extra touch of sophistication.
- Simple Pleasure: Don’t wait for a special occasion! Enjoy them chilled on individual plates with a fork, or even straight from the pan for a casual, comforting treat.
The combination of citrusy sweet lemon curd with pillowy, soft, and lightly toasted meringue makes these **lemon meringue pie bars** an absolutely refreshing and unforgettable dessert for any season, especially perfect for spring or summer parties!
More Irresistible Dessert Recipes
If you loved these **lemon meringue pie bars**, you’re in for a treat! Explore more delightful dessert creations that are perfect for satisfying your sweet tooth:
- Blueberry Delight: A refreshing layered dessert with a creamy, fruity flavor.
- Lemon Icebox Cake: Another easy no-bake lemon dessert perfect for warm weather.
- Strawberry Pretzel Salad: The perfect sweet and salty combination that’s a crowd-pleaser.
- Lemon Blueberry Icebox Cake: A delightful fusion of zesty lemon and sweet blueberries in a cool cake.
- Cream Puff Chocolate Eclair Cake: Indulgent and decadent, yet surprisingly simple to make.
- Classic Cream Puffs: Light, airy pastry shells ready to be filled with your favorite creams.
- Delicious Lemon Cake: For those who can’t get enough of bright lemon flavors.
- Nanaimo Bars: A Canadian classic no-bake dessert with three delicious layers.
I love to bake and cook and share my kitchen experience with all of you! Remembering to come back each day can be tough, that’s why I offer a convenient newsletter every time a new recipe posts. Simply subscribe and start receiving your free daily recipes!
Lemon Meringue Pie Bars
IMPORTANT – There are often Frequently Asked Questions within the blog post that you may find helpful. Simply scroll back up to read them!
Print It
Pin It
Rate It
Save It
Saved!
Prevent your screen from going dark
Course:
Dessert
Cuisine:
American
16
bars
2 hours
45 minutes
163
Amanda Davis
Ingredients
-
1
pie crust
9 inch -
½
cup
cornstarch -
1
cup
granulated sugar -
¼
teaspoon
salt -
1-1/2
cup
warm water -
zest of one lemon -
½
cup
lemon juice
freshly squeezed, about 3-4 lemons -
4
egg yolks -
1
Tablespoon
butter
Meringue Topping
-
4
egg whites -
a pinch of salt -
½
cup
granulated sugar
Things You’ll Need
-
Stand mixer -
Saucepan -
Rubber spatula -
8×8 baking pan
Before You Begin
- These pie bars can be stored in the refrigerator in an air tighter container for up to 3 days.
Instructions
-
Preheat the oven to 400F. Using an 8×8 inch pan, roll out the pie crust and cut to fit the bottom of the dish. Cut to be slightly bigger than the bottom since it will shrink as it cooks. Spray the 8×8 pan with non-stick spray and lay the pie crust dough into the bottom.
-
Into a 2 quart saucepan add the cornstarch, sugar, and salt. Give a quick whisk. Whisk the warm water, lemon juice, and zest into the saucepan. Turn the burner on medium-low. Stir until the mixture begins to boil. Remove from the heat.
-
In a small bowl, whisk the egg yolks. One Tablespoon at a time, drizzle five Tablespoons of the cornstarch mixture into the egg yolks, whisking to avoid clumping.
-
Next drizzle the warmed egg yolk mixture into the saucepan with the cornstarch to fully temper. Return to heat and whisk until thick, without boiling, for about 10 minutes. Add the butter and stir until melted.
-
Pour the lemon mixture over the unbaked pie crust.
Make the Meringue Topping
-
In a large bowl or stand mixture, add the egg whites and pinch of salt. Beat on high speed until soft white peaks form.
-
Keeping the speed on high, slowly add in sugar 1 Tablespoon at a time until all sugar is incorporated. Keep beating until stiff white peaks have formed. This will look similar to the texture of marshmallow fluff, will be glossy, and pull from the bowl during beating in a ribbon-like form. Removing the beater from the bowl should show the meringue holding form in a stiff peak.
-
Spoon out the meringue topping onto the still warm filling. Use the back of a spoon or a rubber spatula to pat the meringue making the traditional peaks of a lemon meringue.
-
Bake at 400F for 10-15 minutes on the center wrack. Remove from the oven when the meringue is set and browning on the tips.
-
Allow to cool at room temperature for 1 hour, refrigerate and allow to chill for 4-8 hours before serving.
Nutrition
Serving:
1
pie bar
|
Calories:
163
cal
|
Carbohydrates:
28
g
|
Protein:
2
g
|
Fat:
5
g
|
Saturated Fat:
2
g
|
Trans Fat:
1
g
|
Cholesterol:
51
mg
|
Sodium:
102
mg
|
Potassium:
36
mg
|
Fiber:
1
g
|
Sugar:
19
g
|
Vitamin A:
87
IU
|
Vitamin C:
3
mg
|
Calcium:
10
mg
|
Iron:
1
mg
Tried this Recipe? Pin it for Later!
Follow on Pinterest @AmandasCookin or tag #AmandasCookin!
The recipes on this blog are tested with a conventional gas oven and gas stovetop. It’s important to note that some ovens, especially as they age, can cook and bake inconsistently. Using an inexpensive oven thermometer can assure you that your oven is truly heating to the proper temperature. If you use a toaster oven or countertop oven, please keep in mind that they may not distribute heat the same as a conventional full sized oven and you may need to adjust your cooking/baking times. In the case of recipes made with a pressure cooker, air fryer, slow cooker, or other appliance, a link to the appliances we use is listed within each respective recipe. For baking recipes where measurements are given by weight, please note that results may not be the same if cups are used instead, and we can’t guarantee success with that method.
