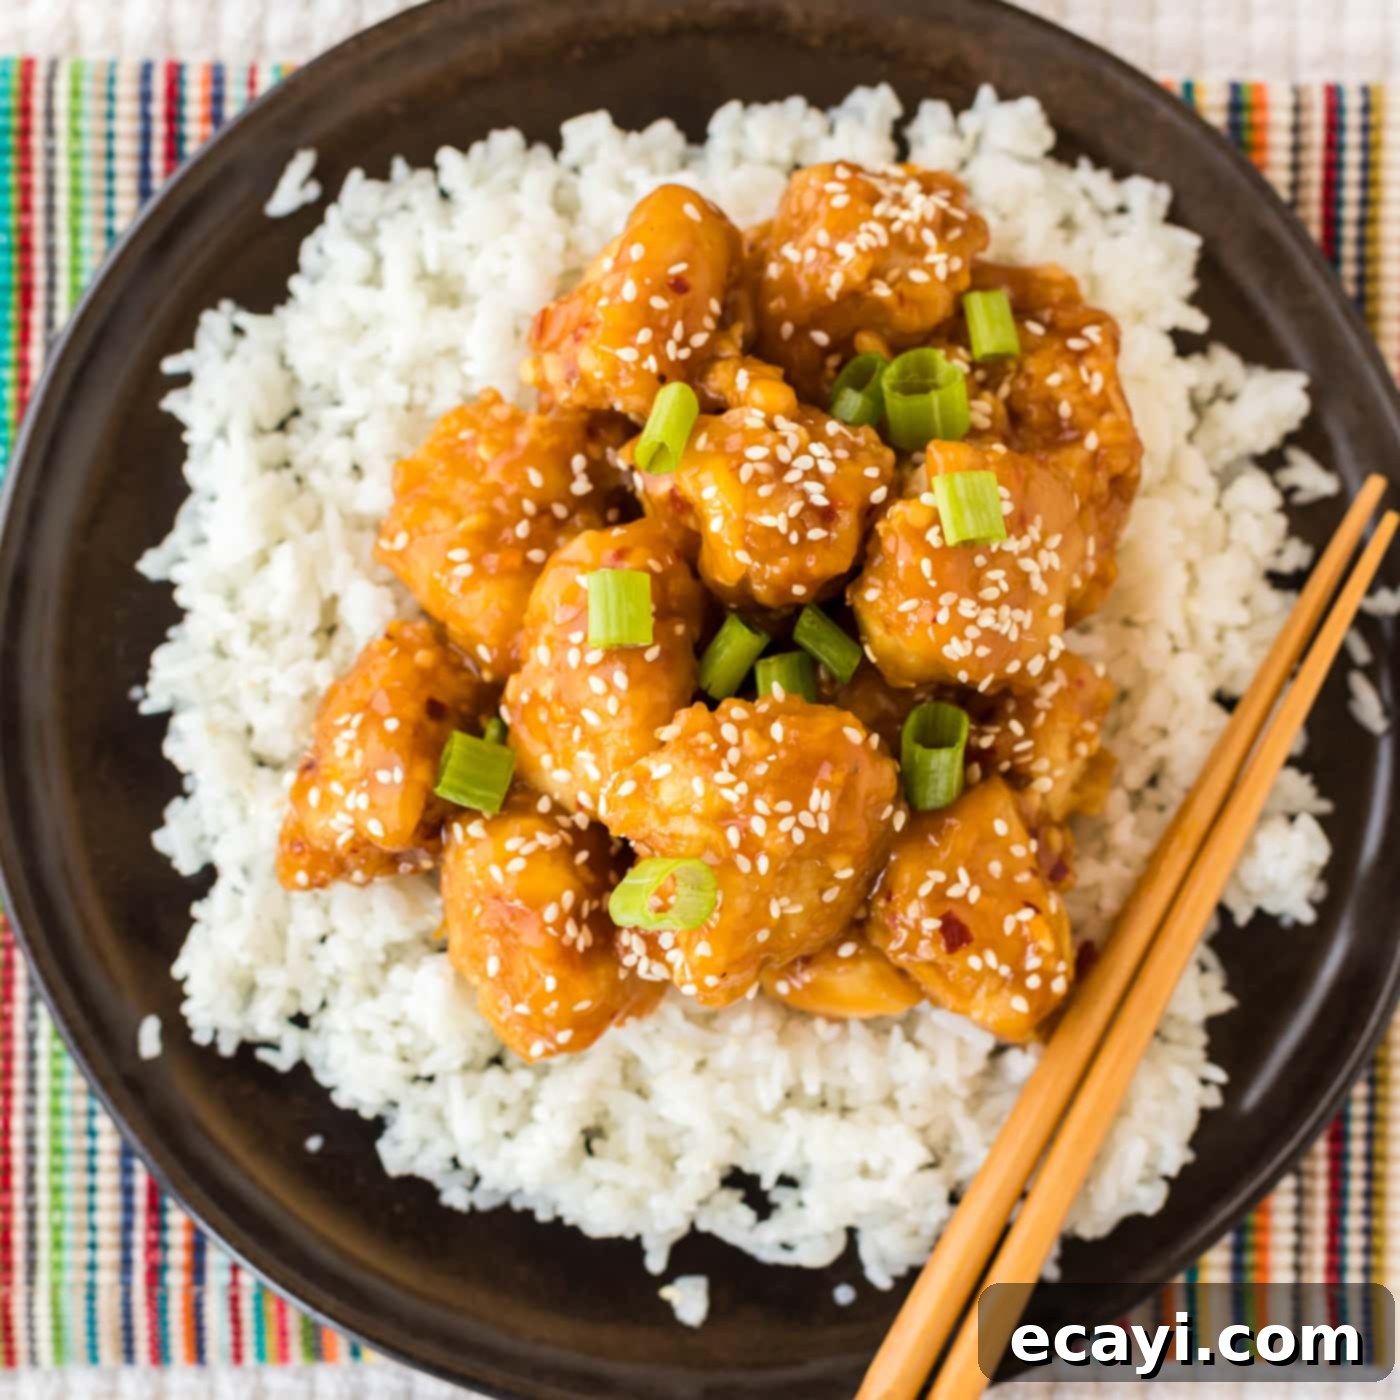
Ultimate Homemade Orange Chicken: Crispy, Sticky, and Better Than Takeout in 30 Minutes!
Craving that irresistible sweet, tangy, and savory orange chicken from your favorite Chinese takeout? Look no further! This homemade orange chicken recipe delivers all the classic flavors and textures you love, right in your own kitchen, and surprisingly, it only takes about 30 minutes to prepare in a single skillet. Say goodbye to soggy delivery and hello to perfectly crispy chicken coated in a luscious, vibrant orange sauce that will have your taste buds singing.
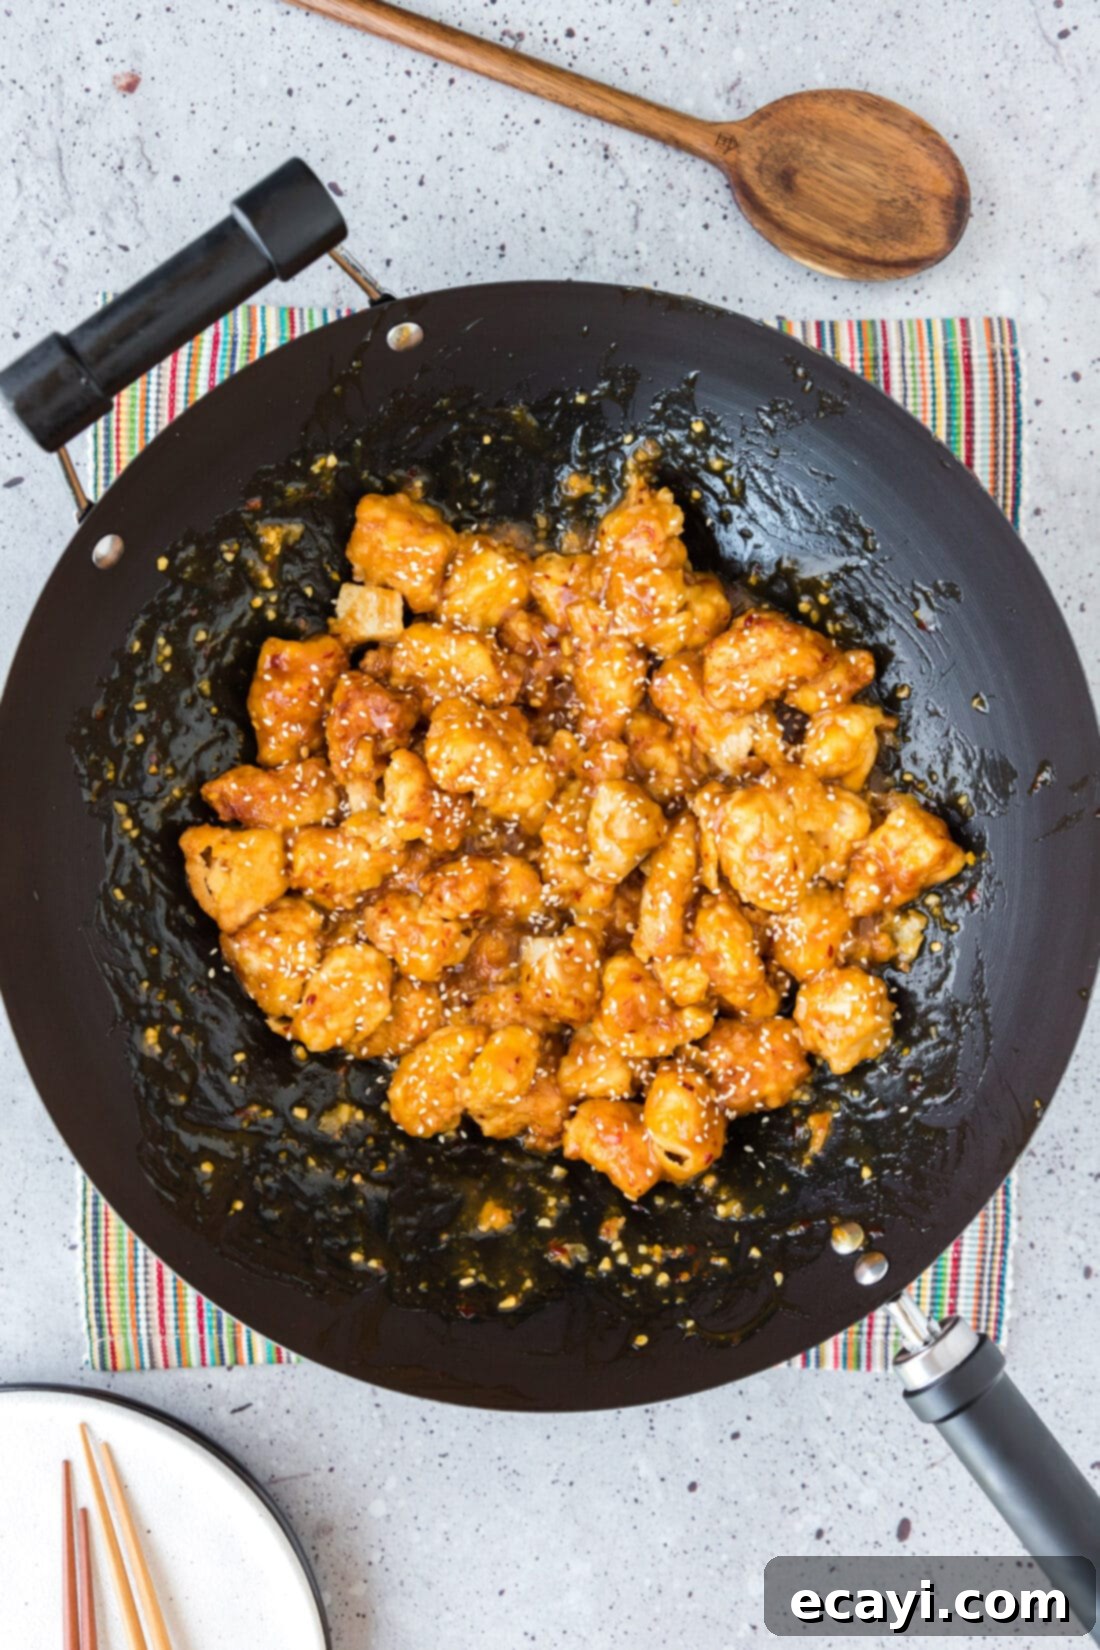
Why This Easy Orange Chicken Recipe Will Be Your New Favorite
You might think making restaurant-quality orange chicken at home is complicated, but it’s actually incredibly straightforward. The secret to achieving that perfect crispiness lies in a simple yet effective dredging process: finely chopped chicken pieces are coated in flour, then egg, and finally dredged in flour again. This double-coating ensures a fantastic crust that holds up wonderfully when fried. Once coated, these delightful chicken nuggets are quickly pan-fried in a skillet with a bit of vegetable oil until they turn a beautiful golden brown and are perfectly crisp.
But what truly makes this dish shine is the homemade sauce. This American-Chinese classic is renowned for its signature slightly sweet, sticky, and tangy orange glaze. While often compared to General Tso’s chicken, orange chicken typically leans more into its citrus notes, offering a brighter, fruitier profile, though the exact balance can vary. Our recipe highlights the “orange” in orange chicken by utilizing both fresh orange juice and zest. These key ingredients are combined with a harmonious blend of savory soy sauce, aromatic ginger and garlic, a hint of spice from red pepper flakes, and a touch of brown sugar. The brown sugar not only adds sweetness but also a wonderful caramelized depth, perfectly balancing the tang and savory elements. The result is a vibrant, multi-layered sauce that clings beautifully to every piece of crispy chicken.
The beauty of this recipe extends beyond its delicious outcome; it’s also incredibly efficient. Everything comes together quickly on the stovetop, making it an ideal choice for a weeknight dinner when you’re short on time but unwilling to compromise on flavor. You’ll be amazed at how easily you can replicate and even surpass your favorite takeout experience with fresh, wholesome ingredients.
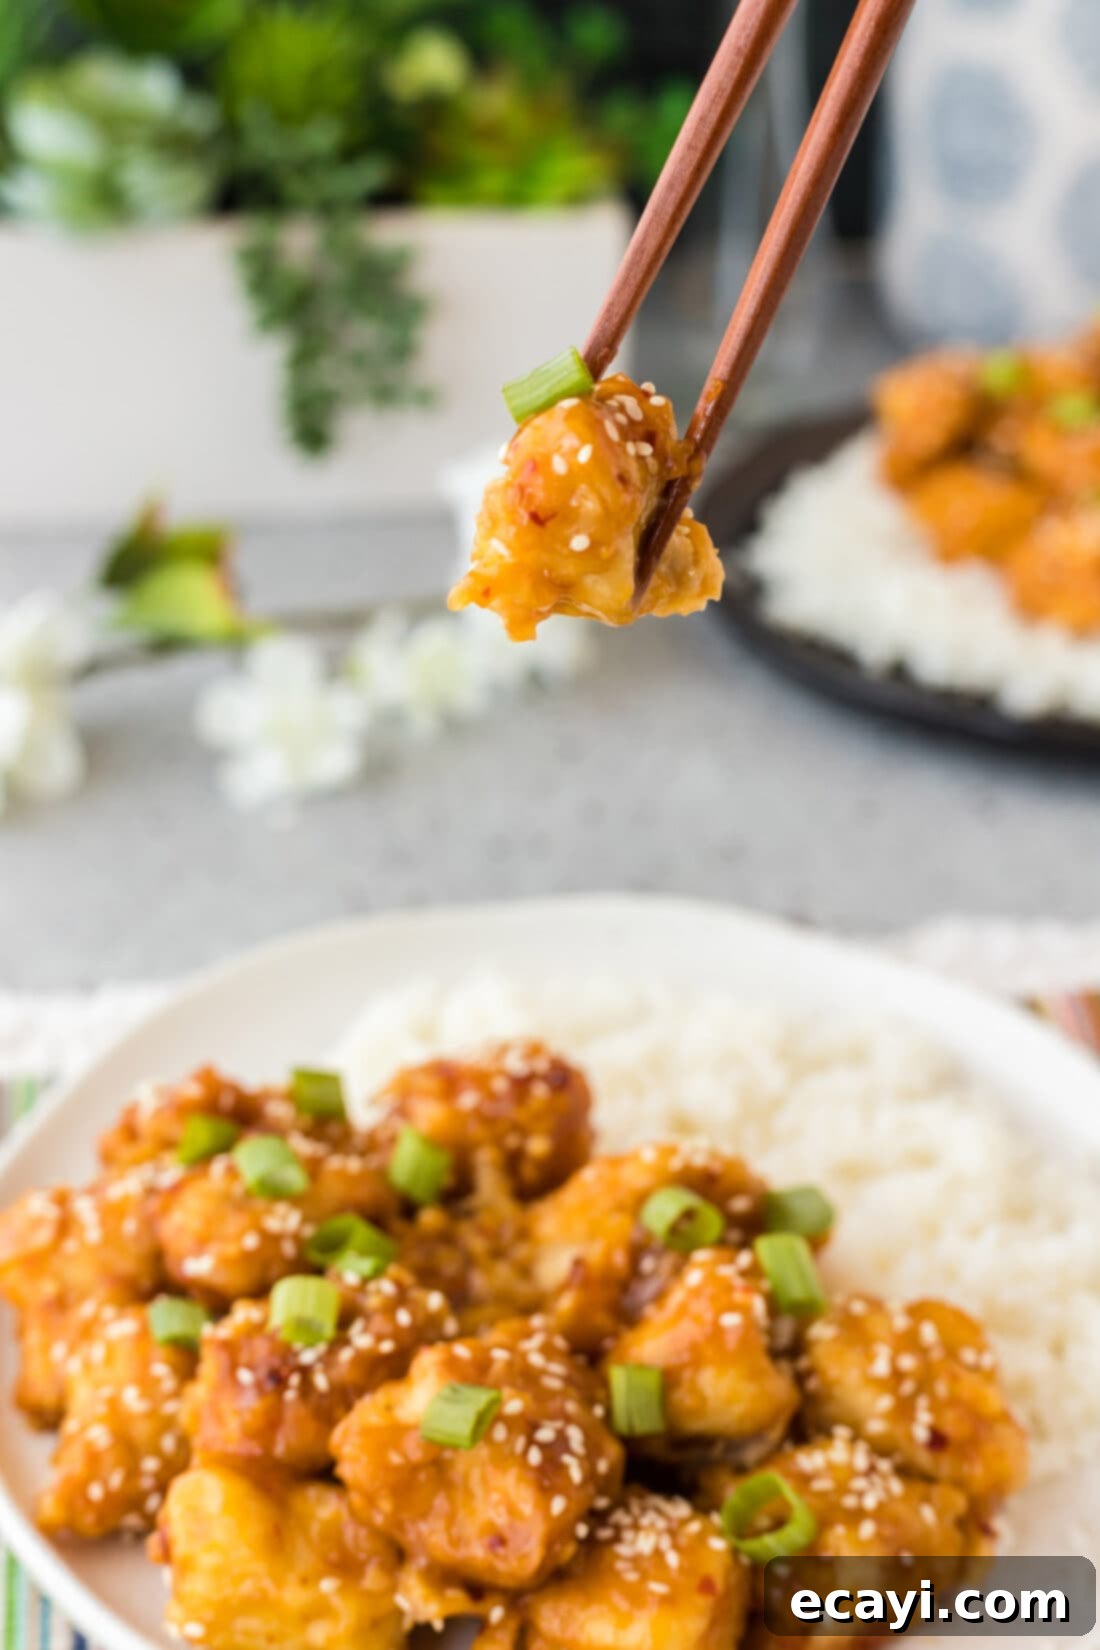
Essential Ingredients for Perfect Orange Chicken
Gathering your ingredients is the first step to creating this delectable orange chicken. You’ll find a comprehensive list of all measurements and specific instructions in the printable recipe card at the very end of this blog post. However, here’s a general overview of what you’ll need to prepare this delightful dish:
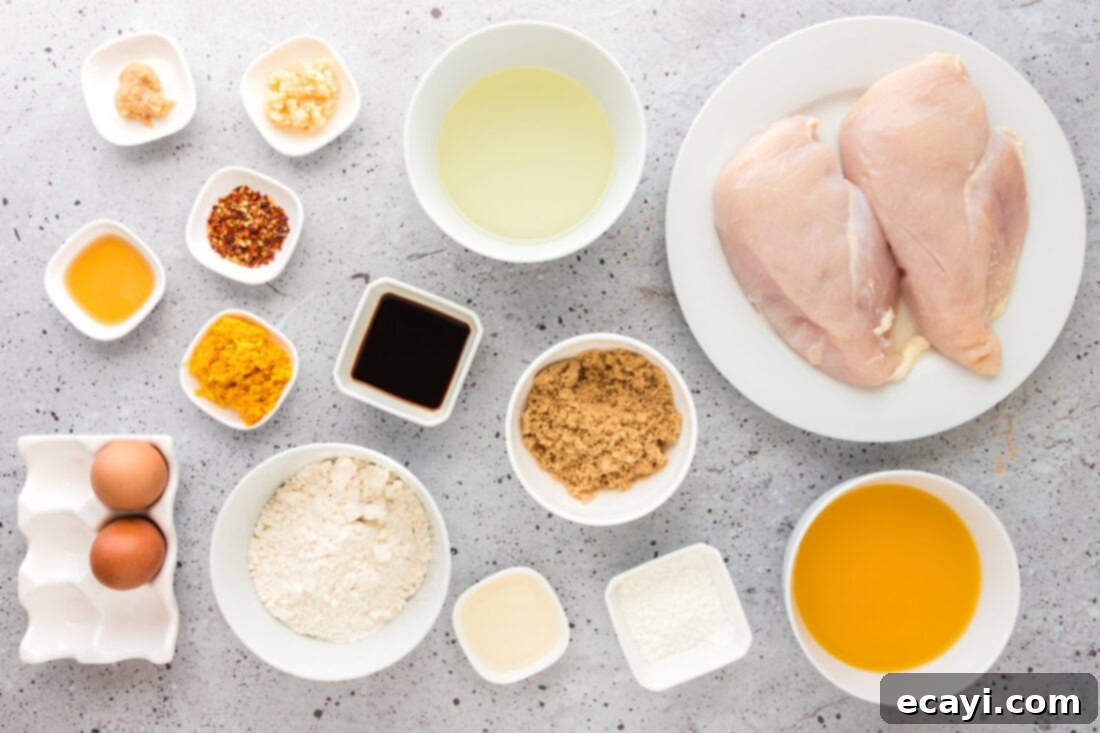
Ingredient Spotlight: Tips for Best Flavor & Substitutions
Understanding the role of each ingredient and knowing potential substitutions can elevate your cooking experience and ensure a fantastic result every time:
CHICKEN – We recommend using boneless, skinless chicken breasts for this recipe, cut into bite-sized chunks. Chicken thighs can also be used for a slightly richer flavor and juicier texture, though they might require a minute or two longer to cook. Aim for uniform pieces to ensure even cooking.
FLOUR & EGGS – The all-purpose flour and whisked eggs form the essential breading for your chicken. This double dredge method (flour, then egg, then flour again) is crucial for creating that coveted crispy exterior that mimics takeout orange chicken. Do not skip or alter this process for best results.
VEGETABLE OIL – A neutral-flavored oil like vegetable, canola, or grapeseed oil is perfect for pan-frying the chicken. It allows the natural flavors of the chicken and sauce to shine without imparting any strong flavors of its own. Ensure the oil is hot enough before adding chicken for maximum crispiness.
ORANGE JUICE & ZEST – These are the stars of the show! Both freshly squeezed orange juice and orange zest are absolutely vital for the authentic, bright, and tangy flavor. We highly recommend using freshly squeezed juice from 3-4 standard-sized oranges (which typically yield about 1 cup) for the most vibrant and aromatic results. While bottled orange juice can work in a pinch, fresh makes a noticeable difference in depth of flavor. Do not omit the zest, as it contains intense orange oil that adds significant aroma and taste.
BROWN SUGAR – This ingredient is key to balancing the tanginess of the orange and the savory notes of the soy sauce, contributing to the “sticky” quality of the sauce. Brown sugar also adds a subtle caramelized depth that white granulated sugar can’t quite replicate. However, if brown sugar is unavailable, granulated white sugar can be used as a direct substitute, though the flavor profile might be slightly less complex.
MINCED GARLIC & GINGER – These aromatics provide the foundational savory and slightly pungent notes common in many Asian-inspired dishes. Freshly minced garlic and ginger will always offer the best flavor. Pre-minced jarred versions are a convenient alternative if you’re short on time, but be aware they may have a slightly milder taste.
RED PEPPER FLAKES – A small amount adds a subtle warmth and a gentle kick that enhances the overall flavor without making the dish overly spicy. You can adjust the quantity to your preference – omit for no heat, or add more for extra spice.
SOY SAUCE – Essential for umami and saltiness. We typically use regular soy sauce, but feel free to opt for low-sodium soy sauce if you are monitoring your sodium intake. Tamari is a great gluten-free alternative.
RICE WINE VINEGAR – This mild, slightly sweet vinegar provides crucial acidity that brightens the sauce and cuts through the sweetness, preventing it from becoming cloying. It’s a key component for that distinctive tangy finish.
SESAME OIL – A few drops of toasted sesame oil at the end deliver a wonderfully nutty aroma and a rich, authentic finish. This is typically used as a finishing oil, so avoid cooking with it over high heat. Don’t skip this for an authentic flavor.
CORNSTARCH – This is the thickening agent that transforms the liquid sauce ingredients into that glossy, sticky, and wonderfully coating glaze. It’s mixed with water to create a “slurry” before being added to the hot sauce, preventing lumps and ensuring a smooth, consistent texture.
Step-by-Step Guide: Crafting Your Homemade Orange Chicken
These step-by-step photos and instructions are here to help you visualize how to make this recipe. For a complete list of measurements and a printable version, you can Jump to Recipe at the bottom of this post.
- Prepare the Chicken: Begin by chopping your boneless, skinless chicken breasts into uniform bite-sized chunks. Aim for pieces roughly 1-inch in size, which ensures they cook quickly and evenly.
- Set Up Your Dredging Station: On a flat plate, spread out 1 cup of all-purpose flour. In a shallow dish, whisk your two large eggs until well combined. On a second plate, spread out another 1 cup of all-purpose flour. This creates an efficient assembly line for coating your chicken.
- Coat the Chicken for Crispy Perfection: Take each chicken piece and dredge it thoroughly in the first flour plate, ensuring it’s completely covered. Shake off any excess. Next, dip the floured chicken piece into the whisked egg, allowing any excess egg to drip off. Finally, dredge it again in the second flour plate, pressing lightly to ensure a good coating. Place the coated chicken pieces on a wire rack to rest while you continue with the remaining chicken. This resting period helps the coating adhere better.
- Heat the Oil: Pour about 1 cup of vegetable oil into a heavy-bottomed skillet or a large frying pan. Heat the oil over medium-high heat until it shimmers and a tiny drop of flour sizzles immediately upon contact. This indicates it’s hot enough for frying.
- Fry the Chicken: Carefully add the coated chicken pieces to the hot oil, working in batches if necessary to avoid crowding the pan. Crowding will lower the oil temperature and prevent the chicken from becoming crispy. Cook for approximately 2 minutes per side, or until the chicken is perfectly golden brown and cooked through. The internal temperature should reach 165°F (74°C).
- Drain Excess Oil: Once cooked, remove the golden-brown chicken pieces from the skillet and place them on a plate lined with paper towels to absorb any excess oil. This step is crucial for maintaining their crispiness.
- Prepare the Orange Sauce: In a separate clean skillet or wok (or simply clean out the skillet you used for frying if it’s large enough), combine all the sauce ingredients EXCEPT the cornstarch. Whisk them together thoroughly. Cook this mixture over medium heat, stirring occasionally, until it comes to a gentle bubble. The aromas will start to fill your kitchen!
- Thicken the Sauce and Combine: While the sauce is simmering, prepare your cornstarch slurry. In a small bowl, whisk about 1/2 cup of water into the 1/2 tablespoon of cornstarch until no lumps remain. Slowly pour this slurry into the bubbling sauce mixture in the skillet, whisking continuously. Continue to whisk as the sauce thickens to your desired consistency – it should become glossy and sticky. Once thickened, carefully add the cooked crispy chicken pieces into the sauce. Gently stir to ensure every piece is thoroughly coated, being careful not to tear off the delicious crispy breading.
Frequently Asked Questions & Expert Tips for Success
Store any leftover orange chicken in an airtight container in the refrigerator for up to 4 days. For the best reheating results that preserve some crispiness, we highly recommend using an air fryer or an oven. Reheat in the air fryer at 350°F (175°C) for 5-7 minutes, or in an oven at 375°F (190°C) for 10-15 minutes, until heated through and crisp. If you don’t have these appliances, you can toss it over low-medium heat in a skillet with a dash of water or a little extra orange juice to loosen the sauce. While you can microwave it, be aware that the chicken’s coating tends to become soggy when reheated this way.
Absolutely! While this recipe is designed for chicken, you can easily adapt it for a vegetarian version. We highly recommend following the instructions for making crispy “nuggets” using cauliflower, as detailed in our General Tso’s Cauliflower recipe. Once you have your crispy cauliflower florets, simply toss them with this homemade orange sauce. Tofu or tempeh could also be used; press extra-firm tofu to remove water, cut into cubes, and either pan-fry until crispy or bake/air fry before tossing with the sauce.
Yes, for a lighter version, you can bake or air fry the chicken. After dredging, place the chicken pieces on a lightly oiled baking sheet or in an air fryer basket. Bake at 400°F (200°C) for 15-20 minutes, flipping halfway, or air fry at 375°F (190°C) for 10-15 minutes, shaking the basket occasionally, until golden and cooked through. While this method is healthier, it may result in a slightly less crispy texture compared to pan-frying.
The red pepper flakes are primarily for a subtle background warmth. If you prefer a spicier orange chicken, you can increase the amount of red pepper flakes to 1.5 or 2 teaspoons. For an even more intense heat, consider adding a pinch of cayenne pepper or a small amount of sriracha to the sauce while it simmers. If you prefer no heat at all, simply omit the red pepper flakes.
If your sauce is too thin, create another small cornstarch slurry (1 teaspoon cornstarch with 1 tablespoon cold water) and slowly whisk it into the simmering sauce until it reaches your desired thickness. If the sauce becomes too thick, you can thin it out by adding a tablespoon or two of water or extra orange juice, stirring until well combined. Always adjust gradually to avoid over-correcting.
Yes, you can definitely do some prep work ahead of time. You can chop the chicken and store it in the refrigerator. The orange sauce can also be made a day or two in advance and stored in an airtight container in the fridge; simply reheat it gently before adding the cooked chicken. We recommend frying the chicken just before serving to ensure maximum crispiness.
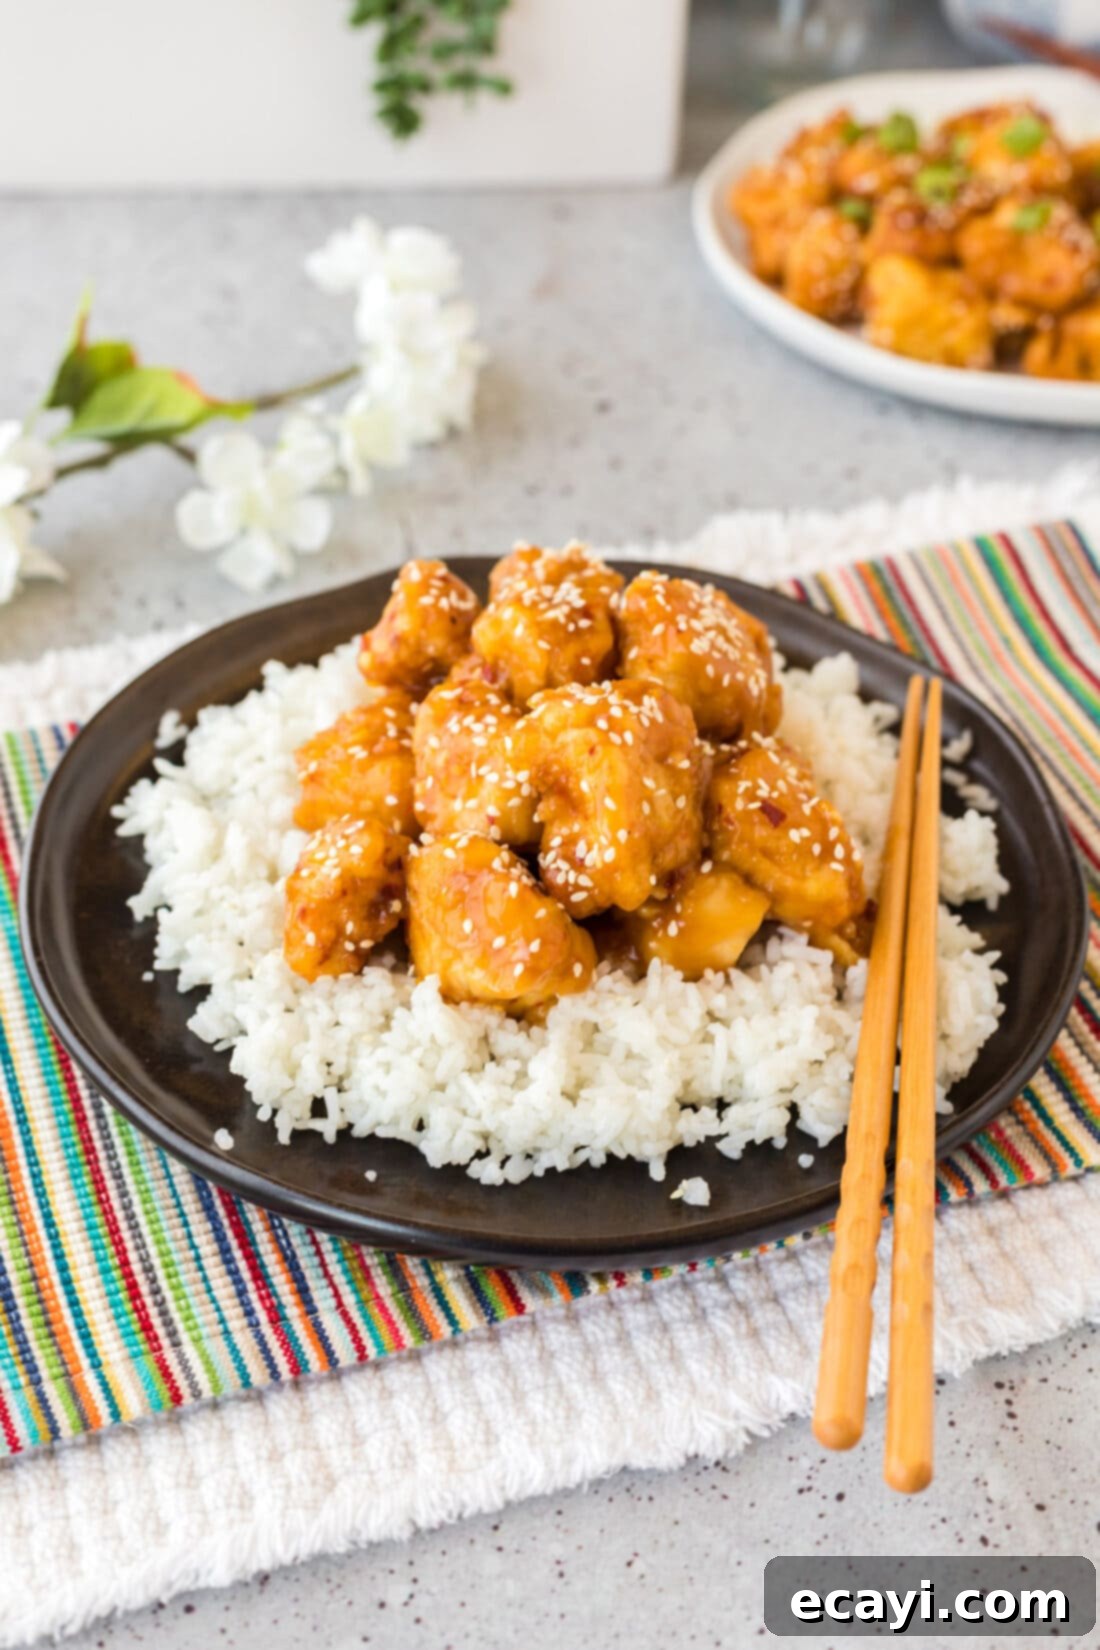
Delicious Serving Suggestions for Your Orange Chicken
This homemade orange chicken is a complete meal on its own, but it pairs wonderfully with a variety of sides to round out your dining experience. The classic accompaniment is a simple bed of fluffy white rice, which perfectly absorbs the delicious sticky orange sauce. For a healthier or low-carb option, consider cauliflower rice or quinoa. If you’re looking for a more authentic takeout experience, serve it with homemade or store-bought fried rice.
To add some freshness and color, steamed or stir-fried vegetables are an excellent choice. Broccoli florets, snap peas, bell peppers, or carrots lightly sautéed or steamed would complement the rich chicken beautifully. For garnish, a sprinkle of toasted sesame seeds adds a lovely crunch and visual appeal, and thinly sliced green onions provide a fresh, pungent finish. Don’t forget, a side of crispy spring rolls or egg rolls can complete your ultimate homemade Asian-inspired feast!
Explore More Asian-Inspired Favorites
If you loved this orange chicken, you’re sure to enjoy these other delicious Asian-inspired recipes that are perfect for home cooking:
- Classic Chow Mein
- Sweet and Savory Bourbon Chicken
- Irresistible Honey Walnut Shrimp
- Zesty General Tso Chicken
- Flavorful Sticky Garlic Cauliflower
I absolutely love creating and sharing delicious recipes with all of you! To make sure you never miss out on a new culinary adventure, I offer a convenient newsletter delivered straight to your inbox every time a new recipe is posted. Simply subscribe here and start receiving your free daily recipes!
Easy Homemade Orange Chicken
IMPORTANT – There are often Frequently Asked Questions within the blog post that you may find helpful. Simply scroll back up to read them!
Print It
Pin It
Rate It
Save It
Saved!
Prevent your screen from going dark
Course:
Dinner
Cuisine:
American, Chinese
6
servings
30 minutes
770
Amanda Davis
Ingredients
-
2
pounds
boneless skinless chicken breasts -
2
cups
all-purpose flour -
2
large
eggs -
1
cup
vegetable oil
Sauce
-
1
cup
orange juice
freshly squeezed or bottled -
½
cup
brown sugar -
1
Tablespoon
minced garlic -
1
teaspoon
red pepper flakes -
zest of one orange -
2
Tablespoons
soy sauce -
½
teaspoons
ginger
jarred or fresh -
1
Tablespoon
rice wine vinegar -
½
teaspoon
sesame oil -
½
Tablespoon
cornstarch
Things You’ll Need
-
Large heavy bottomed skillet -
Vinyl gloves
Before You Begin
- We used a heavy-bottomed skillet for frying the chicken to ensure even heat distribution, which a wok doesn’t typically provide. For the sauce, a wok or a large saucepan will work perfectly. If you only have one large skillet, simply clean out the frying oil after cooking the chicken and use the same skillet to prepare and combine the sauce and chicken.
- Both fresh orange juice and zest are absolutely essential for the best flavor. While bottled juice works, freshly squeezed juice from 3-4 standard oranges will yield a more vibrant and aromatic sauce.
- Brown sugar is preferred for its caramelized notes that balance the sauce. Granulated white sugar can be substituted, but it will slightly alter the flavor complexity.
- Store leftovers in an airtight container in the refrigerator for up to 4 days. Reheat in an air fryer or oven to best preserve crispiness; microwaving may result in a softer coating.
Instructions
-
Chop chicken into uniform bite-sized chunks.
-
Create a dredging station: 1 cup flour on a plate, whisked eggs in a shallow dish, and 1 cup flour on another plate.
-
Dredge chicken pieces in the first flour plate, then dip in whisked egg, then dredge in the second flour plate again.
-
Place coated chicken on a wire rack and repeat for all pieces.
-
Heat vegetable oil in a heavy-bottomed skillet over medium-high heat until shimmering.
-
Add chicken pieces to the hot oil, careful not to overcrowd, and cook for about 2 minutes per side until golden brown and cooked through.
-
Remove chicken to paper towels to drain excess oil.
-
In a clean skillet or wok, add all sauce ingredients except the cornstarch. Whisk together and cook over medium heat until bubbling.
-
Meanwhile, whisk about 1/2 cup of water into the cornstarch to make a slurry. Slowly pour into the simmering sauce, whisking continuously, until thickened. Then add the cooked chicken and gently stir to coat.
Nutrition
Serving:
1
serving
|
Calories:
770
cal
|
Carbohydrates:
56
g
|
Protein:
40
g
|
Fat:
43
g
|
Saturated Fat:
7
g
|
Polyunsaturated Fat:
22
g
|
Monounsaturated Fat:
10
g
|
Trans Fat:
0.3
g
|
Cholesterol:
159
mg
|
Sodium:
546
mg
|
Potassium:
759
mg
|
Fiber:
1
g
|
Sugar:
22
g
|
Vitamin A:
317
IU
|
Vitamin C:
23
mg
|
Calcium:
48
mg
|
Iron:
3
mg
Tried this Recipe? Pin it for Later!
Follow on Pinterest @AmandasCookin or tag #AmandasCookin!
The recipes on this blog are tested with a conventional gas oven and gas stovetop. It’s important to note that some ovens, especially as they age, can cook and bake inconsistently. Using an inexpensive oven thermometer can assure you that your oven is truly heating to the proper temperature. If you use a toaster oven or countertop oven, please keep in mind that they may not distribute heat the same as a conventional full sized oven and you may need to adjust your cooking/baking times. In the case of recipes made with a pressure cooker, air fryer, slow cooker, or other appliance, a link to the appliances we use is listed within each respective recipe. For baking recipes where measurements are given by weight, please note that results may not be the same if cups are used instead, and we can’t guarantee success with that method.
