Quick & Easy Homemade Pickled Red Onions: A Zesty-Sweet Recipe in Minutes
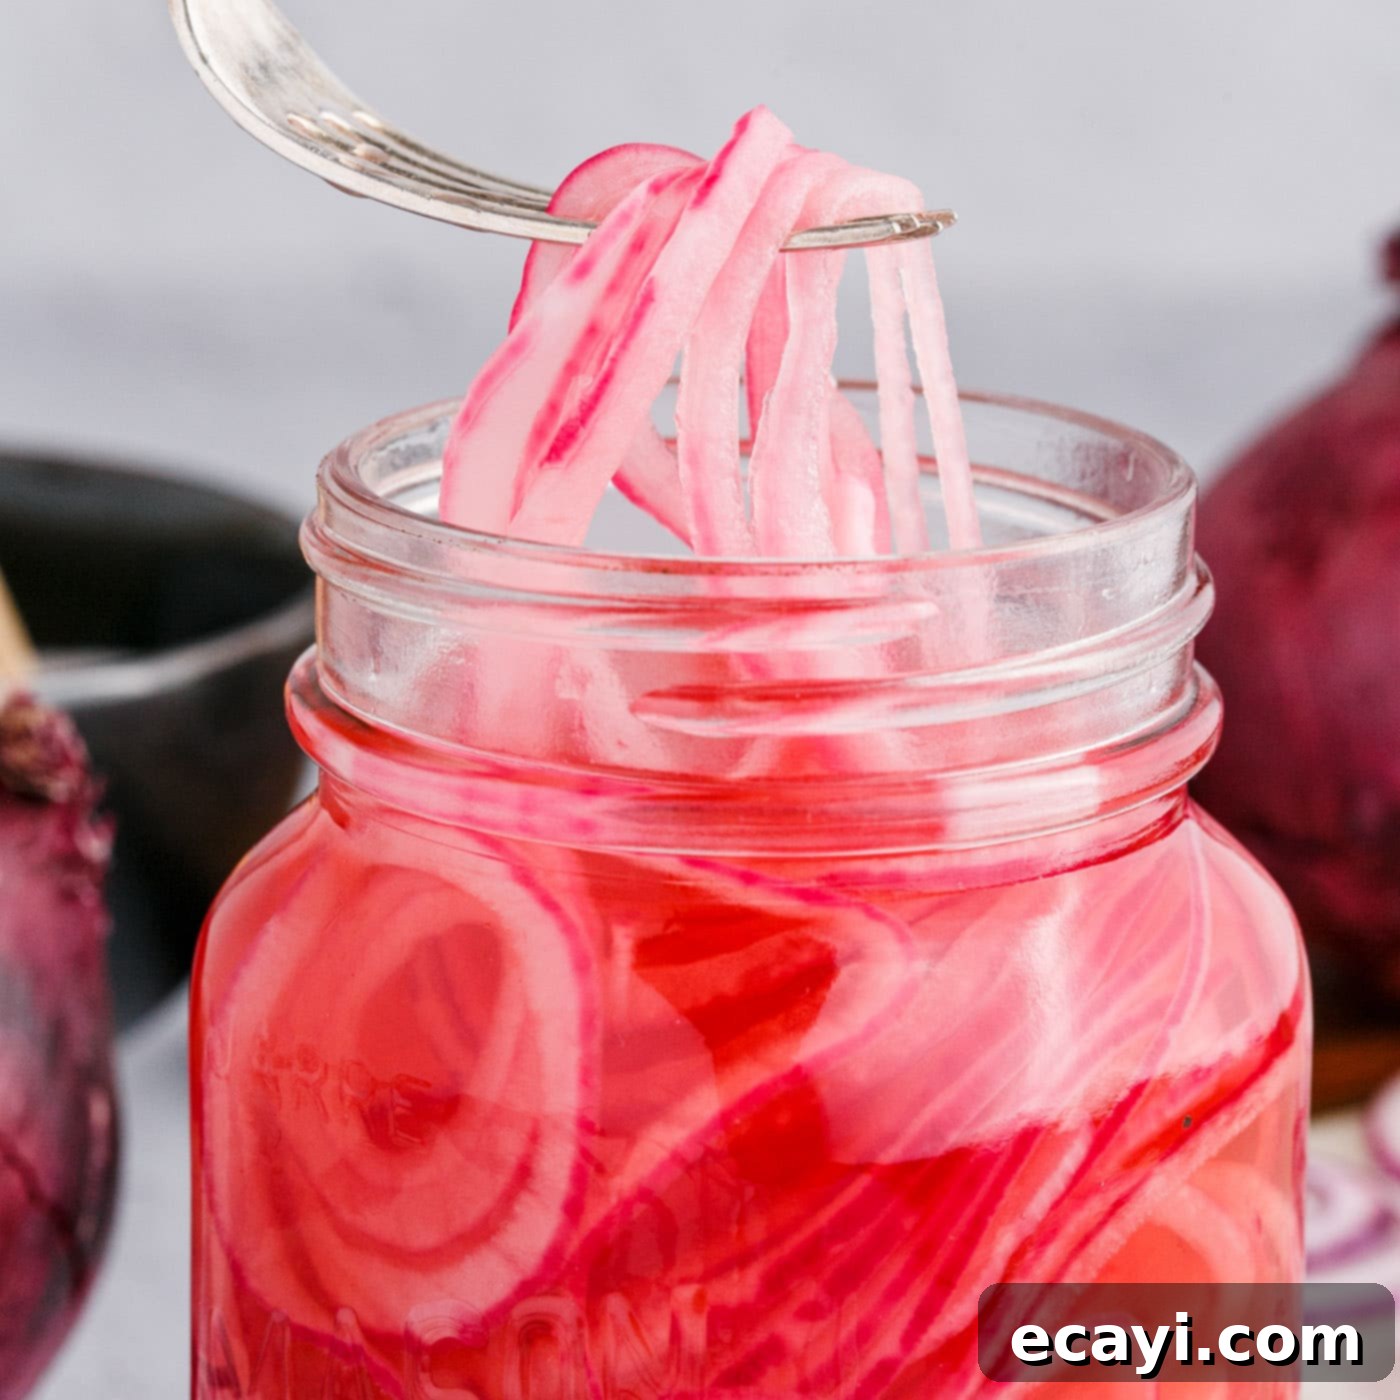
Discover how to create your own batch of delicious homemade pickled red onions in just 5 minutes with only 5 simple ingredients. This incredibly versatile condiment offers a vibrant, zesty-sweet flavor profile that can elevate almost any dish. Whether you’re piling them onto sandwiches, adding a tangy crunch to your salads, or using them to brighten up tacos and burgers, these quick-pickled onions are a game-changer. Forget store-bought versions; this recipe delivers fresh, flavorful results with minimal effort, proving that the best toppings are often the ones you make yourself.
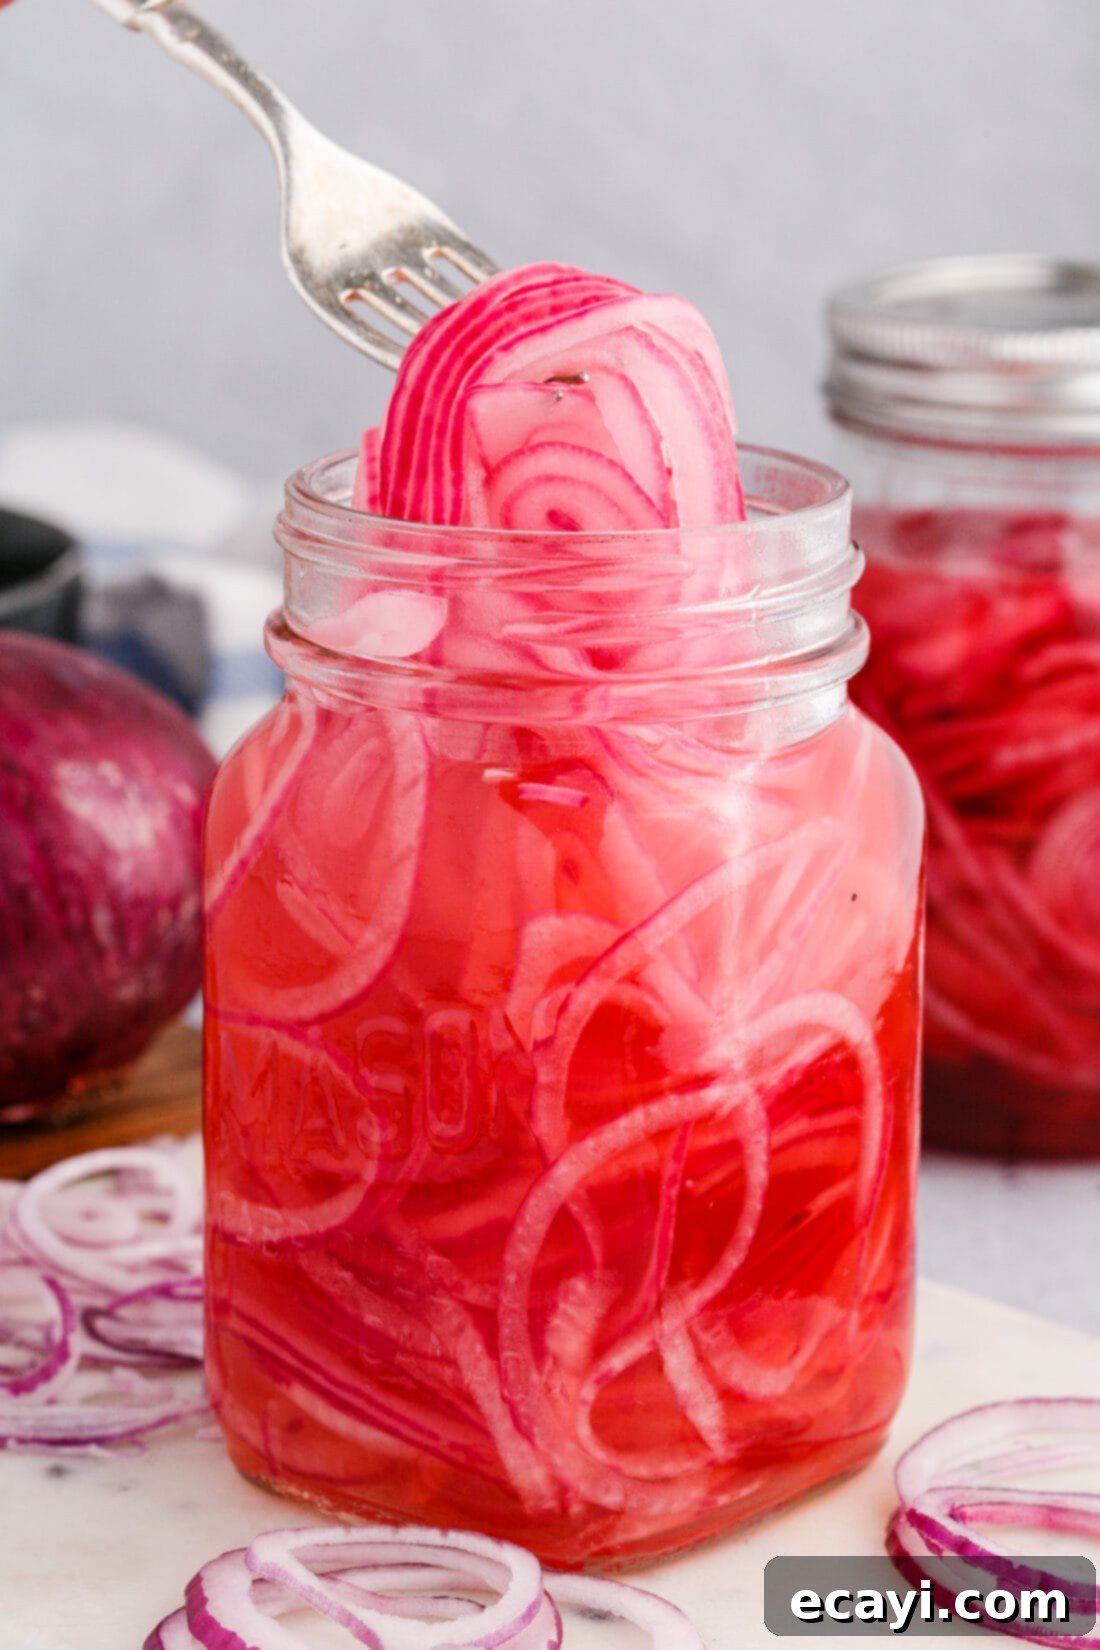
Why You’ll Love This Quick Pickled Red Onion Recipe
This pickled onion recipe stands out for its undeniable simplicity and impressive results. Much like our popular quick pickled beets, it’s designed for efficiency without compromising on flavor. The magic lies in using just five core ingredients: apple cider vinegar, water, granulated sugar, salt, and a large red onion. This carefully balanced combination creates a brine that transforms raw, pungent onions into bright, tangy, and subtly sweet flavor bombs. The process is straightforward: thinly slice the red onion, tuck the slices into a mason jar, and then douse them with the warm, simmered vinegar mixture. After a short marinating period in the brine, they are ready to add a burst of flavor and a beautiful pop of color to your meals. It’s an instant gratification recipe that yields incredible, restaurant-quality results every single time, making it an essential condiment for any home cook looking to add a gourmet touch to everyday dishes.
Essential Ingredients for Perfect Pickled Red Onions
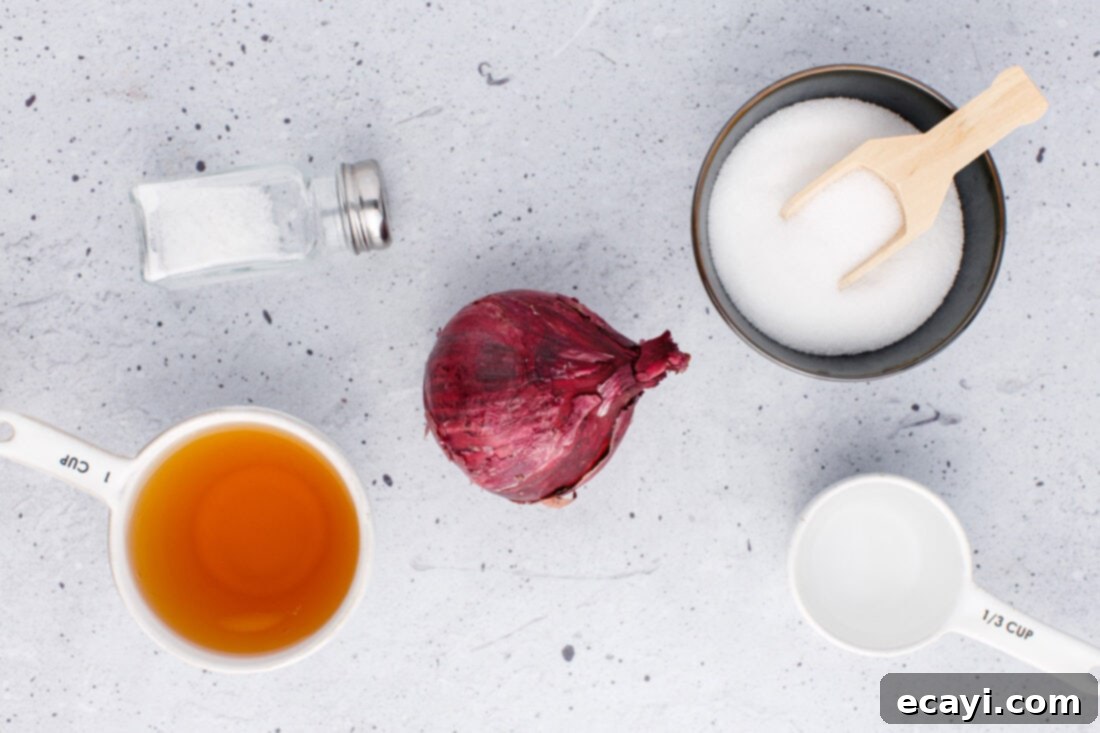
Crafting these delectable pickled red onions requires only a handful of readily available ingredients, proving that extraordinary flavor doesn’t have to be complicated. Below, we delve into each component and its role in achieving that perfect zesty-sweet balance. For exact measurements and a printable version of the full recipe, scroll to the end of this post.
- Red Onion: The star of our show! Red onions are ideal for pickling because of their beautiful vibrant color, which deepens to a lovely pink in the brine, and their naturally mild sweetness. When thinly sliced, they absorb the pickling liquid beautifully, becoming tender-crisp.
- Apple Cider Vinegar: This is the foundation of our pickling brine. Apple cider vinegar provides a fruity, tangy base with a subtle sweetness that pairs wonderfully with onions. It’s less harsh than distilled white vinegar, contributing a more nuanced flavor.
- Water: Used to dilute the vinegar, preventing the brine from being overly acidic. It helps create a balanced flavor profile, allowing the onion’s natural sweetness to shine through while ensuring the pickling process is effective.
- Granulated Sugar: A touch of sugar is crucial for balancing the acidity of the vinegar and the sharpness of the onion. It adds that irresistible hint of sweetness that makes pickled onions so addictive, transforming them from merely sour to delightfully complex.
- Salt: Essential for seasoning and also for drawing out some of the onion’s moisture, which contributes to a crisper texture. We recommend sea salt for its clean flavor, but fine kosher salt works well too.
Ingredient Insights & Smart Substitution Suggestions
While this recipe is perfect as written, understanding the role of each ingredient allows for confident substitutions and customizations. Here’s how you can adapt the brine to your pantry and palate:
VINEGAR: Our preferred choice is apple cider vinegar for its mellow, slightly fruity notes that complement the red onion beautifully. However, if apple cider vinegar isn’t on hand, distilled white vinegar is an excellent substitute. It will yield a slightly sharper, more straightforward pickled flavor, which many people prefer. You could also experiment with white wine vinegar for a milder, more floral tang, or even rice vinegar for a delicate sweetness, though you might adjust the sugar content slightly with the latter. The key is to use a vinegar with at least 5% acidity for proper pickling and food safety.
SUGAR: Granulated white sugar is used for its clean sweetness that balances the brine. For those looking for alternatives, raw sugar or cane sugar can be used, which might impart a very subtle molasses note. Honey or maple syrup can also work as sweeteners, adding their distinct flavors. If you opt for liquid sweeteners like honey or maple syrup, start with a slightly smaller amount and taste the brine, as they tend to be sweeter by volume than granulated sugar. You may need to slightly adjust the amount to achieve your desired balance of sweet and tangy.
SALT: We recommend sea salt for its pure, natural flavor. However, fine kosher salt is a perfect alternative. Avoid iodized table salt, as it can sometimes impart a metallic taste or make the brine cloudy. The salt is crucial not just for flavor, but also for its osmotic effect, helping to draw out moisture from the onions and keep them crisp.
OPTIONAL FLAVOR ADDITIONS: Once you’ve mastered the basic recipe, feel free to get creative with additions. For a savory depth, consider adding a few peeled garlic cloves (crushed or sliced) to the jar. Whole peppercorns (black, white, or mixed) introduce a gentle warmth and spice. Fresh herbs like dill sprigs, thyme, or rosemary can infuse subtle aromatic notes. For a spicy kick, a pinch of red pepper flakes or a few thin slices of jalapeño can be added to the jar before pouring in the brine. These additions should be placed directly in the jar with the sliced onions for maximum flavor infusion.
How to Make Quick Pickled Red Onions: A Simple Guide
These step-by-step photos and instructions are designed to help you visualize the process, ensuring your pickled onions turn out perfectly. For a concise, printable version of this recipe, complete with precise measurements and full instructions, simply Jump to Recipe at the bottom of the page.
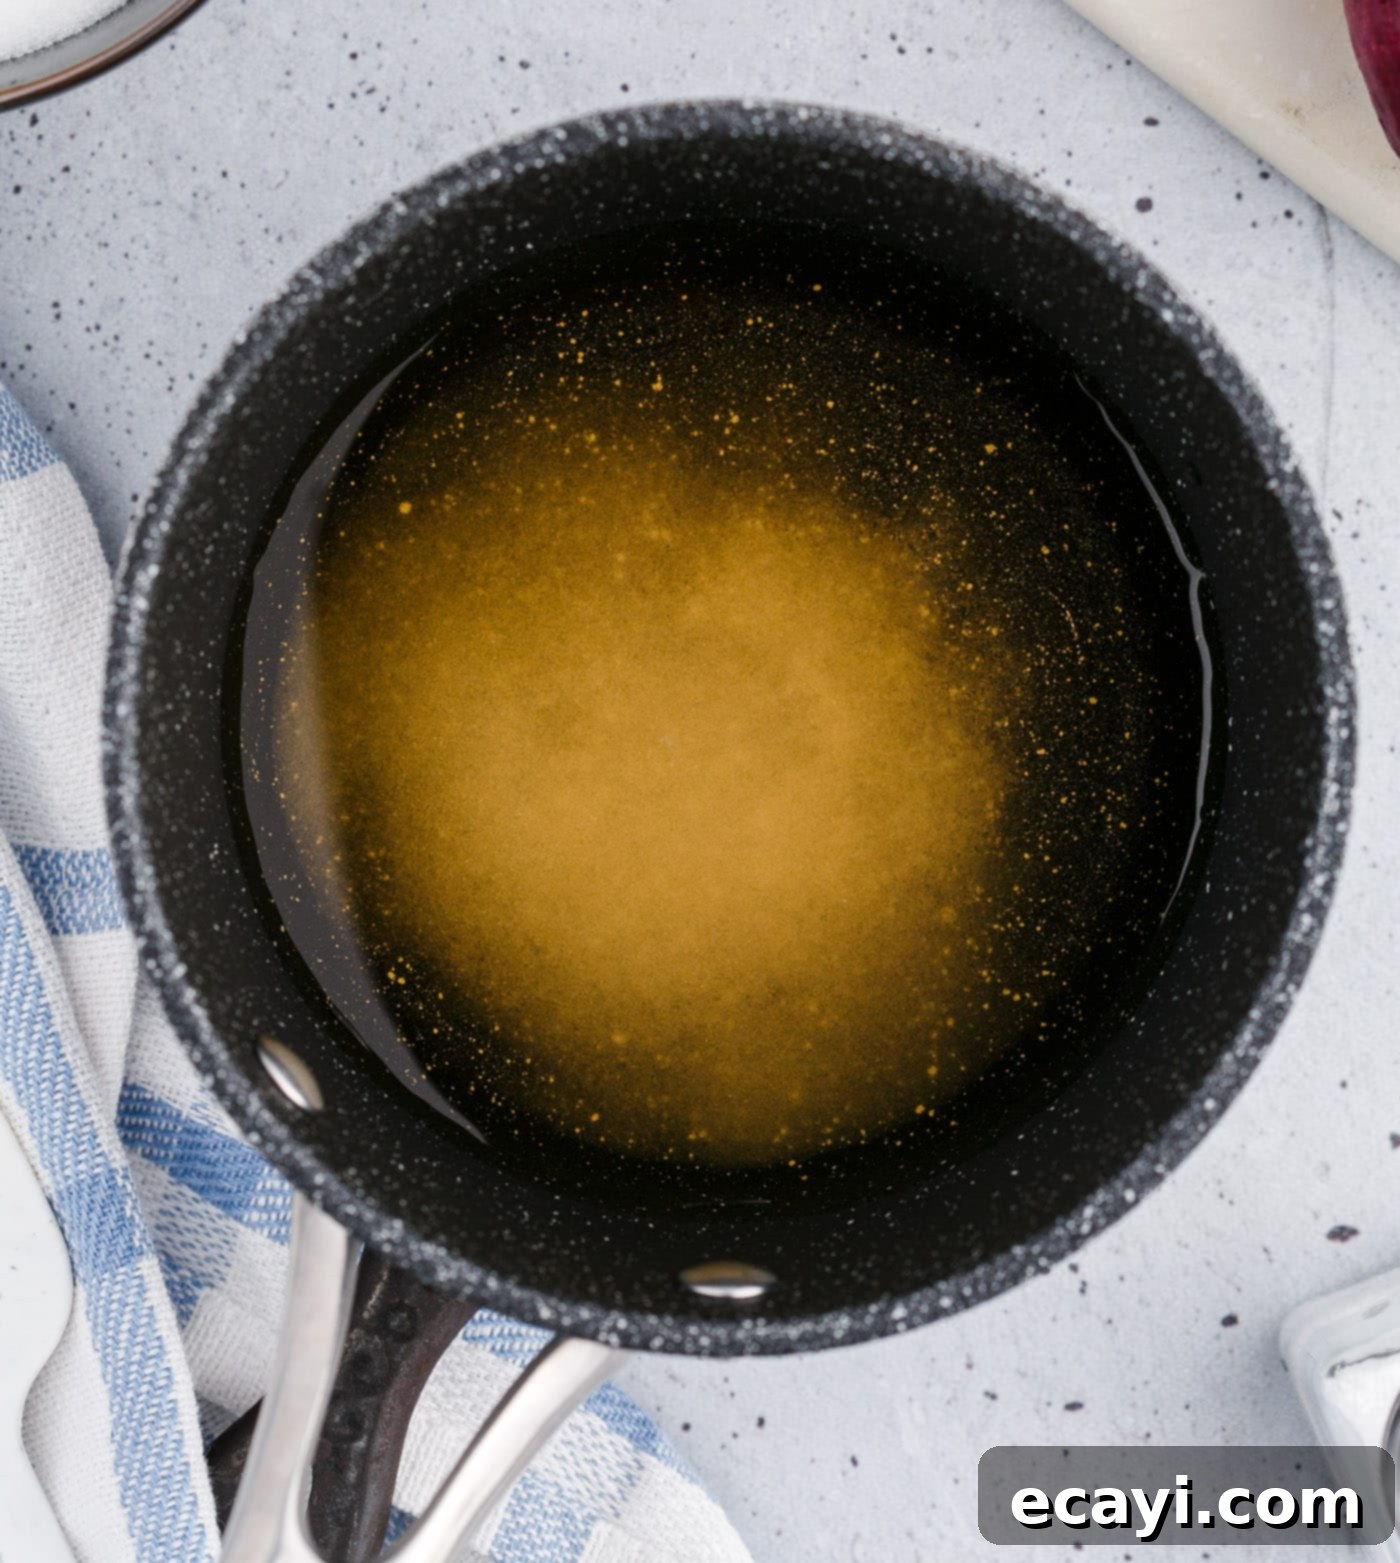
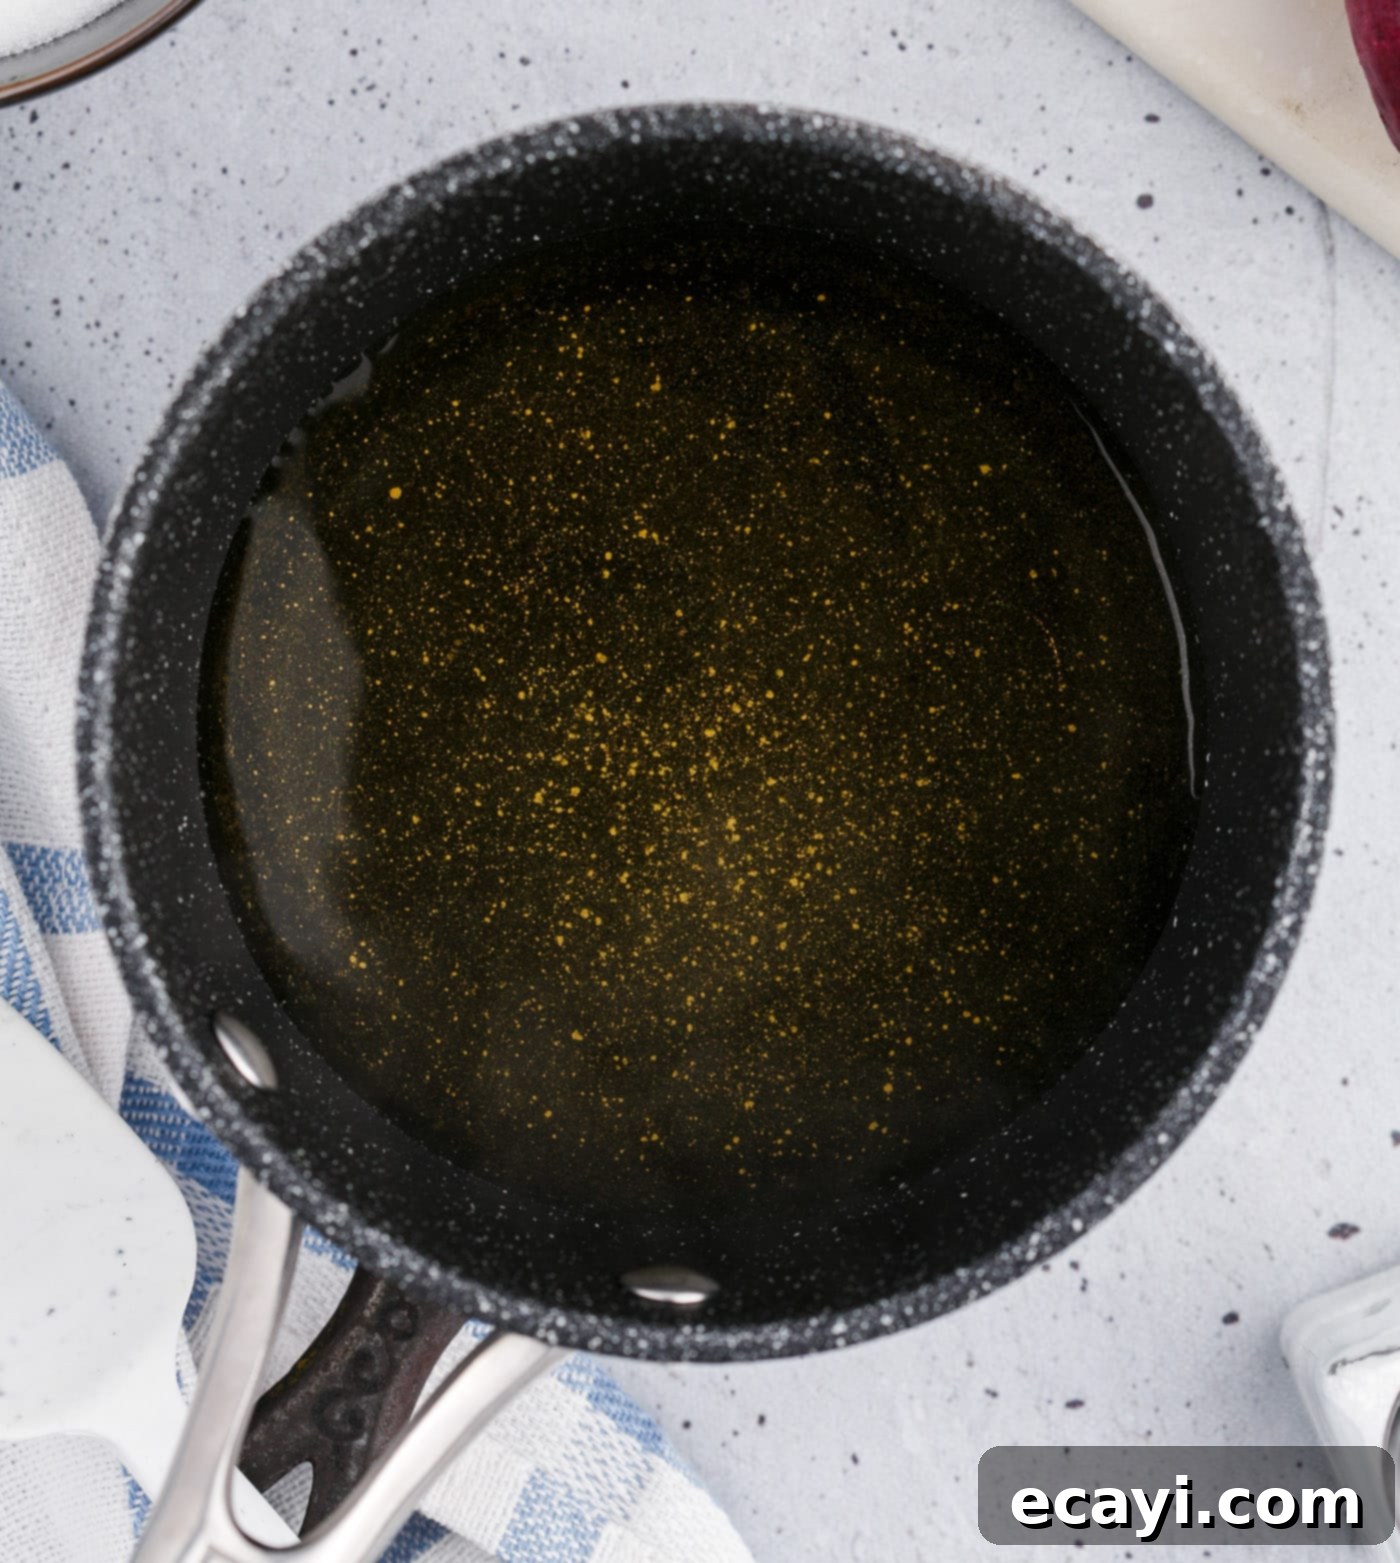
- Prepare the Brine: Begin by combining all the brine ingredients – apple cider vinegar, water, granulated sugar, and sea salt – into a small saucepan. Place the saucepan over medium heat and bring the mixture just to a gentle simmer, stirring occasionally until the sugar and salt have fully dissolved. This usually takes only 2-3 minutes. As soon as it reaches a simmer and everything is dissolved, remove it from the heat. It’s important not to boil the brine vigorously, as this can cause some of the vinegar to evaporate and alter the flavor balance.


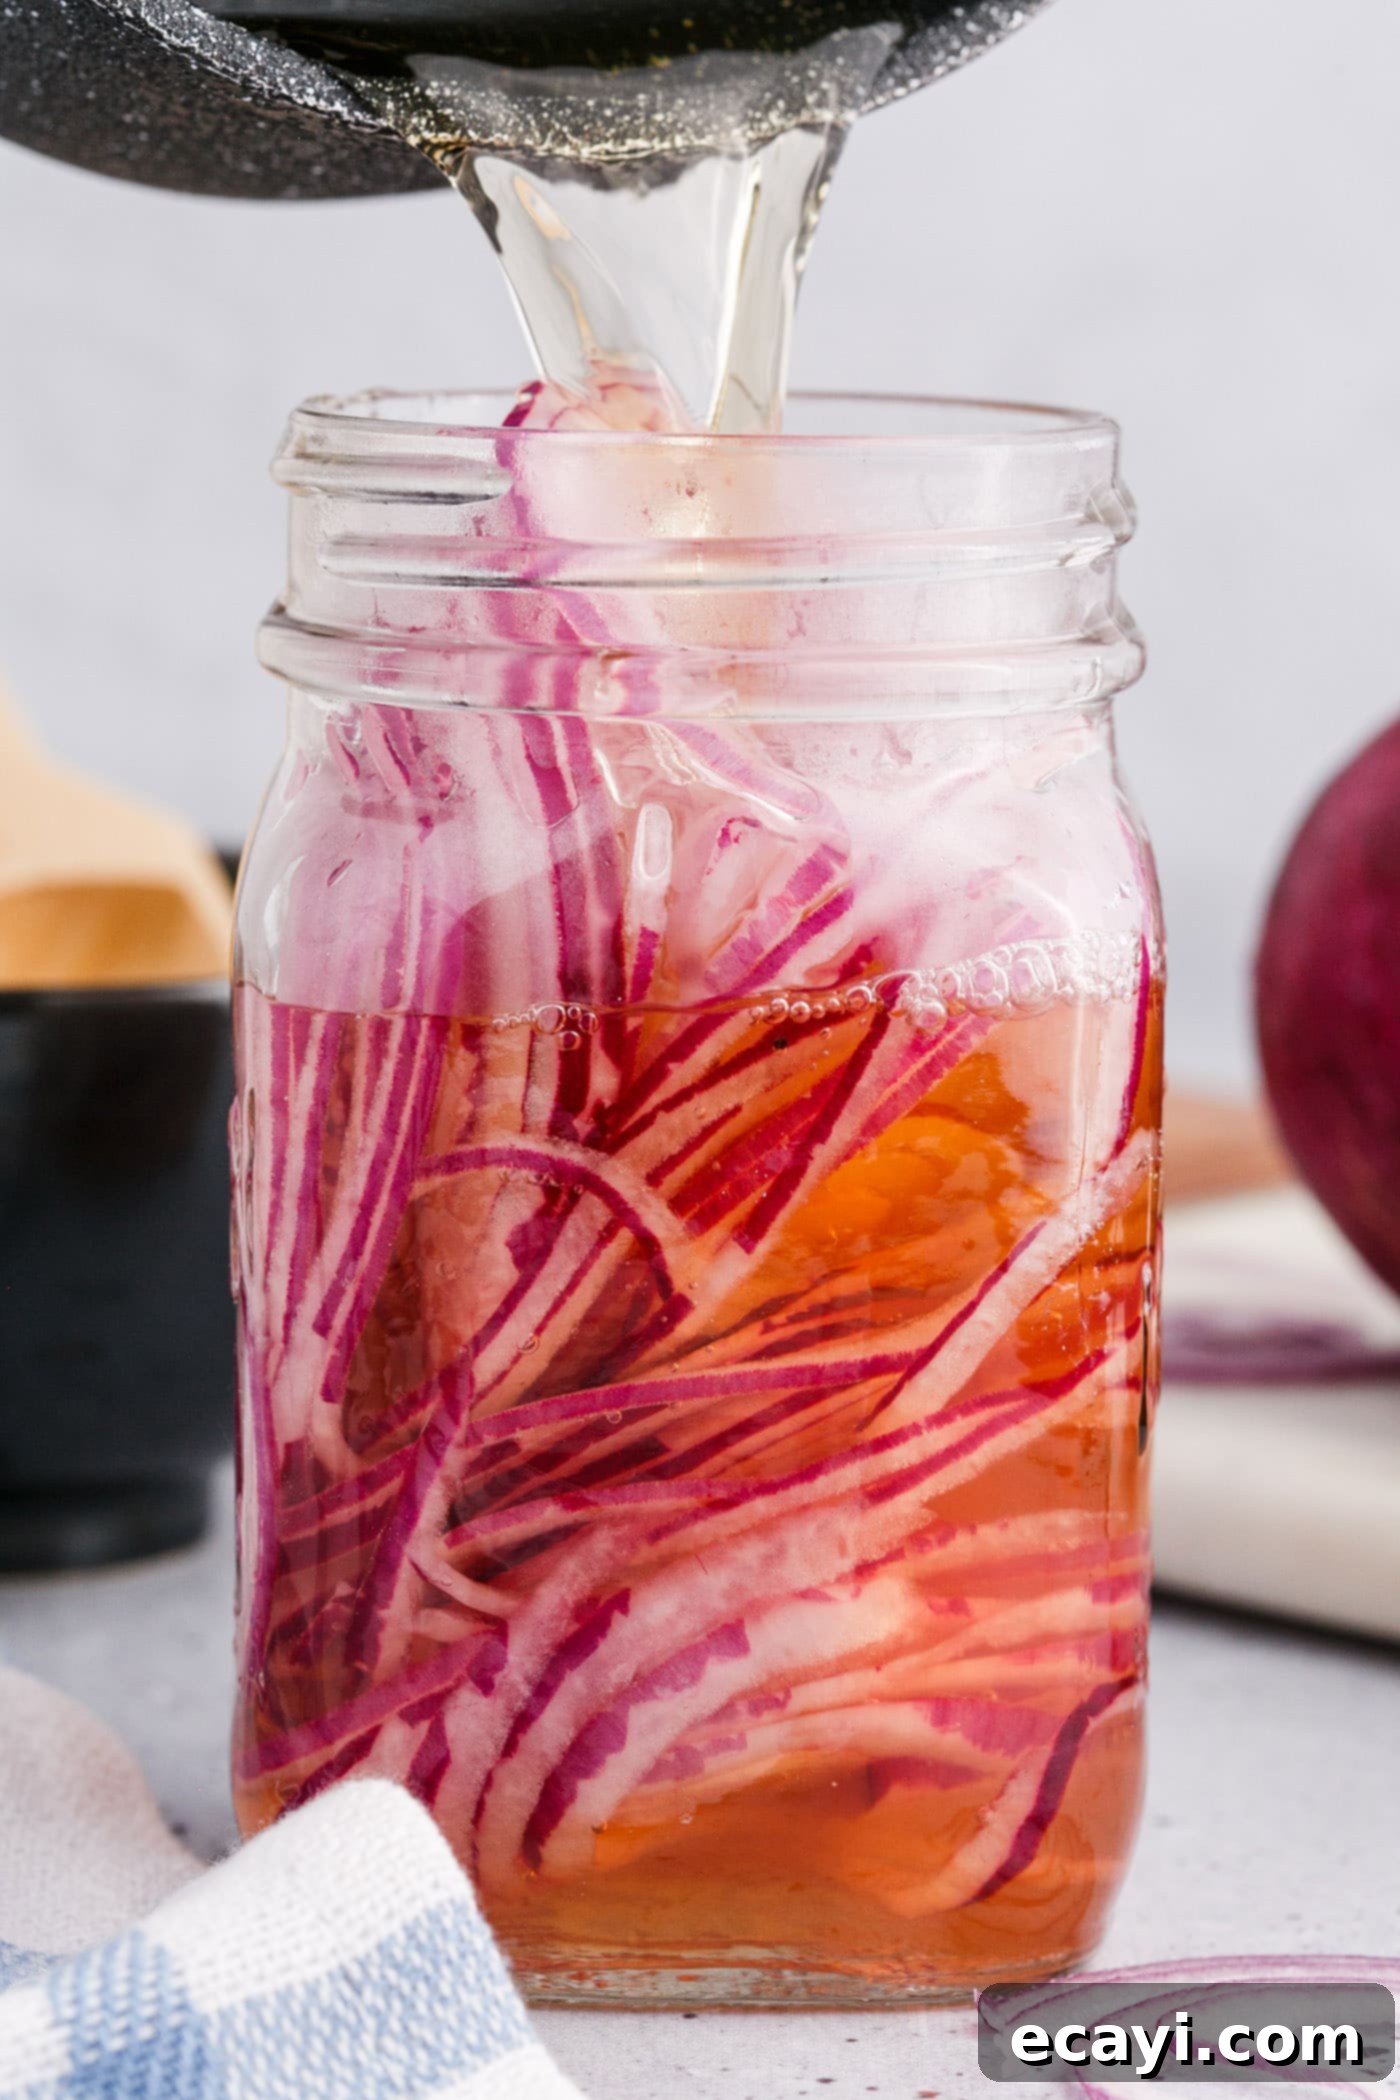
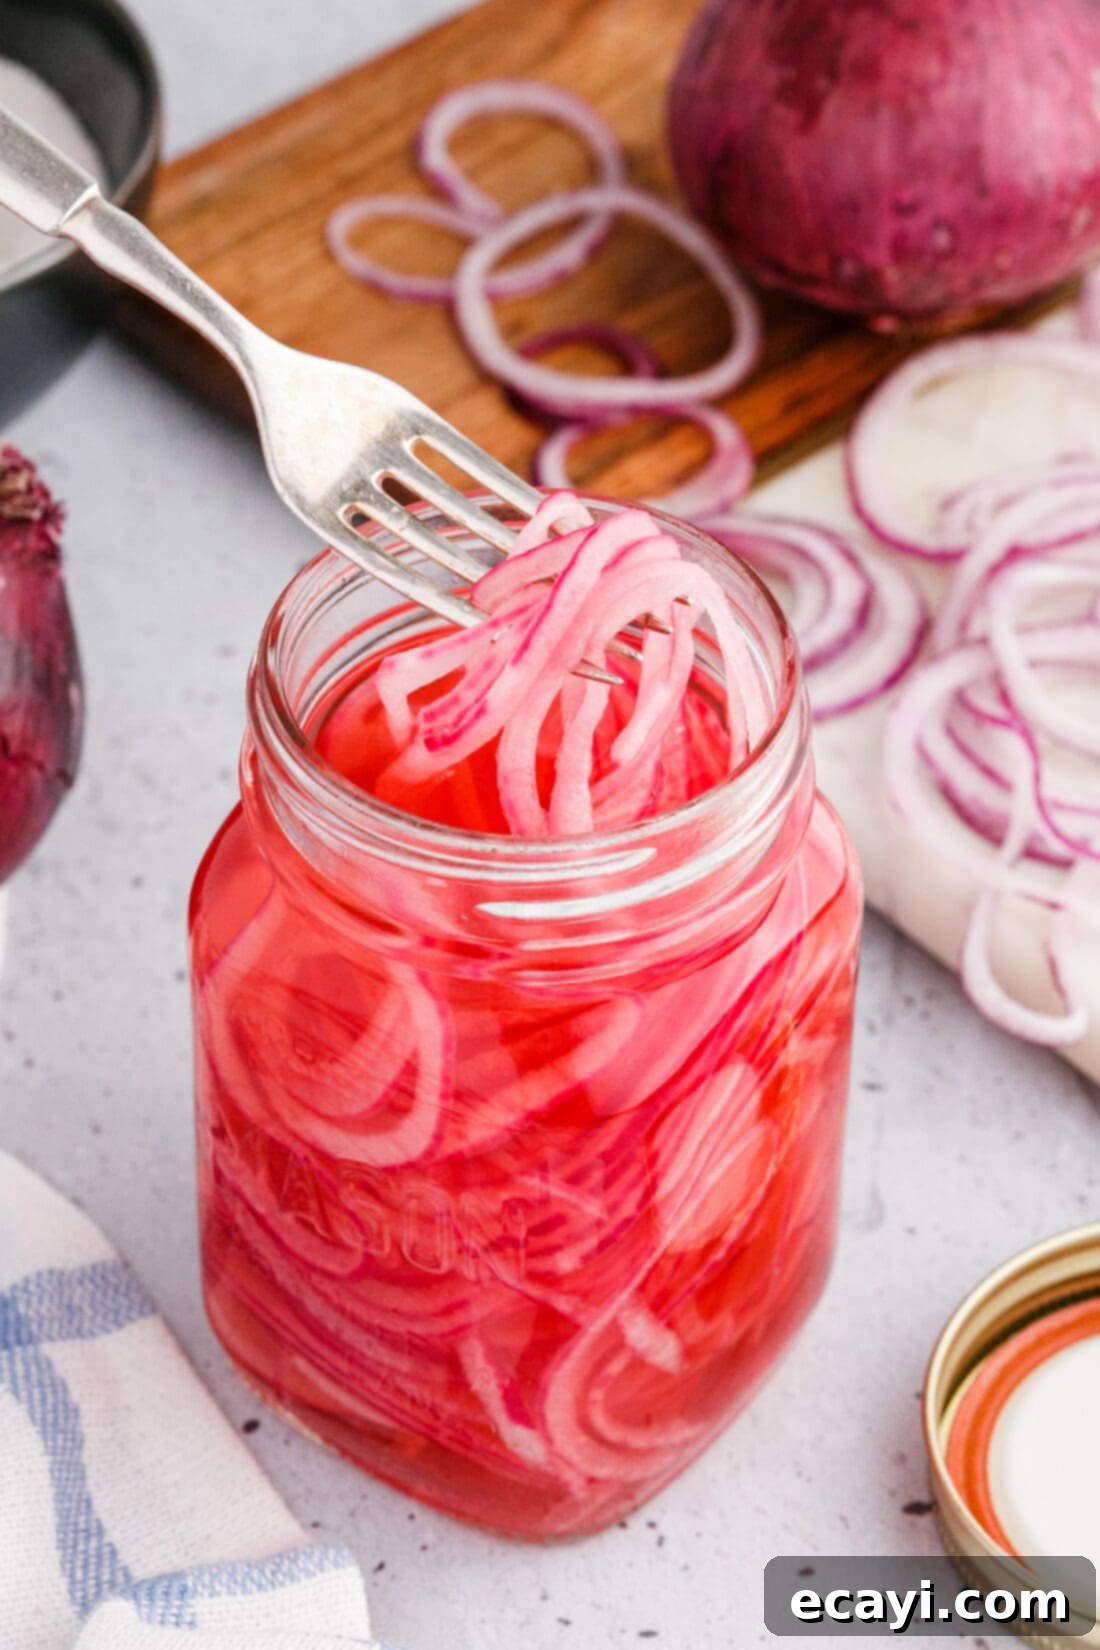
- Slice and Jar the Onions: While your brine is heating, thinly slice your red onion. Aim for consistent, thin slices, about 1/8-inch thick, using a sharp knife or a mandoline for best results. Uniform slices ensure even pickling and a pleasant texture. Pack the thinly sliced onion tightly into a clean pint-size mason jar. Don’t be afraid to really press them down; they will soften and compress further once the hot brine is added. Once the onions are in the jar, carefully pour the warm vinegar mixture over them, ensuring all the onion slices are submerged.

- Seal and Marinate: Securely seal the mason jar with its lid. Allow the onions to sit at room temperature for at least 45 minutes to an hour before use. This resting period allows the onions to soften, absorb the tangy brine, and develop their signature pickled flavor. The longer they sit, the more pronounced the flavor will become. Once cooled and marinated, transfer the jar to the refrigerator for storage.
EXPERT TIP – If you notice some onion slices aren’t fully submerged in the brine, especially if your onion was particularly large, simply flip the jar upside down for half of the marinating duration, or periodically use a spoon to gently push the onions down, ensuring even contact with the liquid. This guarantees every slice gets perfectly pickled.
Frequently Asked Questions & Expert Tips for Pickling Onions
When properly stored in an airtight container, such as a sealed mason jar, in the refrigerator, these quick-pickled onions will keep well for up to 2 weeks. It’s crucial to ensure the lid forms an airtight seal to maintain freshness and prevent spoilage. Do not refrigerate the pickled onions immediately after making them; allow them to fully cool off at room temperature first, allowing the initial pickling process to occur effectively.
While red onions are preferred for their color and mild flavor, you can certainly experiment with other varieties. Yellow onions will yield a milder flavor, while white onions might be a bit sharper. Shallots are also a fantastic option for pickling, offering a delicate, sweet flavor and tender texture. Simply slice them thin as you would red onions.
No, for this quick pickling method, there is no need to boil the onions. The hot brine poured over the thinly sliced raw onions is sufficient to soften them slightly and begin the pickling process. This method helps maintain their crisp-tender texture, unlike a full cooking process which would make them mushy.
Simmering the brine ensures that the sugar and salt fully dissolve into the vinegar and water solution, creating a consistent flavor throughout. The heat also helps to slightly “cook” the onions when poured over them, allowing them to soften and absorb the flavors more quickly and thoroughly than a cold brine would. It’s a key step for achieving rapid pickling and optimal texture.
For crisper pickled onions, ensure you slice them very thinly and pack them tightly into the jar. Some people also like to briefly blanch their sliced onions in boiling water for 10-15 seconds before adding them to the jar, then immediately transfer them to an ice bath to stop the cooking, and finally drain well. This can help set their crispness before pickling. However, for most, the cold refrigeration after the hot brine is enough to achieve a pleasant crisp-tender bite.
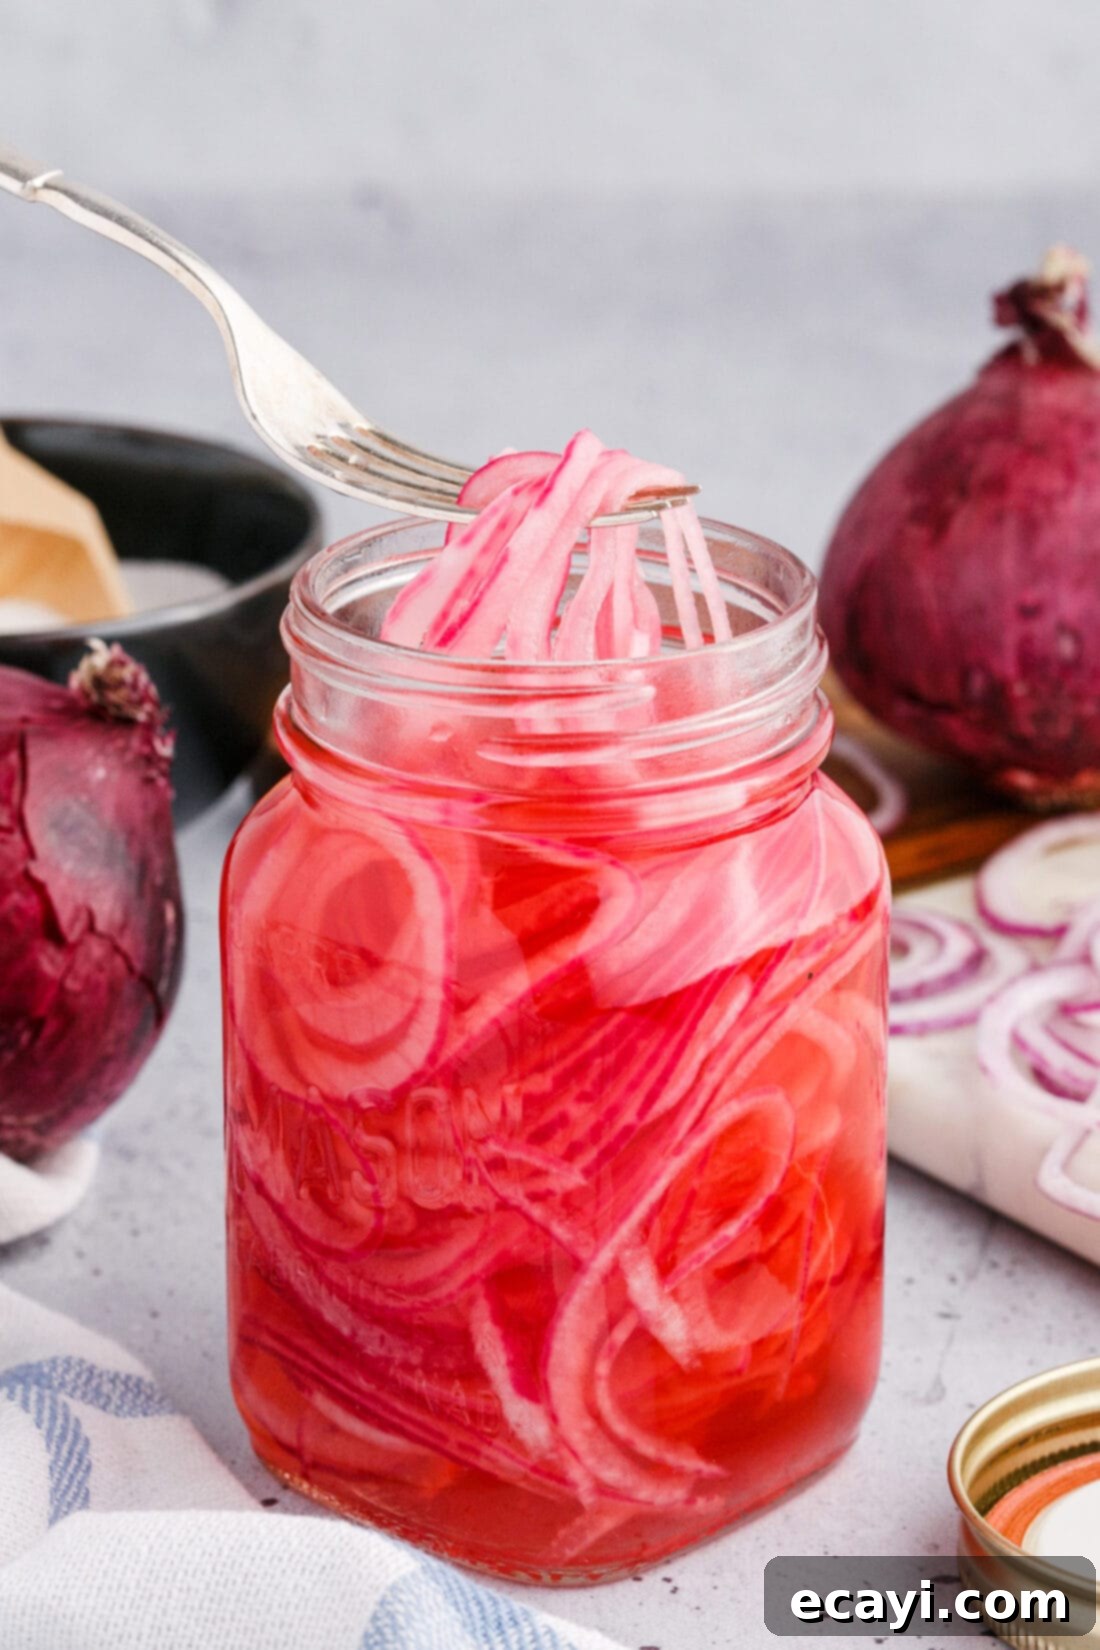
Creative Ways to Serve Your Homemade Pickled Onions
The beauty of quick pickled red onions lies in their incredible versatility. Their bright, tangy, and subtly sweet flavor provides a delightful contrast to rich, savory, or even spicy dishes. They add a pop of color and an irresistible crunch, making them a pantry staple once you realize how easy they are to make. Here are numerous ways to incorporate these flavor-packed gems into your meals:
- Sandwiches & Burgers: A classic pairing! Stack them high on your favorite sandwiches, subs, or gourmet burgers for a tangy counterpoint to rich meats and cheeses.
- Tacos & Fajitas: Essential for any Mexican-inspired meal. They cut through the richness of carnitas, al pastor, or grilled chicken tacos, adding a much-needed zing.
- Salads & Grain Bowls: Toss them into green salads, pasta salads, potato salads, or vibrant grain bowls for an instant flavor and texture upgrade.
- Avocado Toast: Elevate your breakfast or brunch with a sprinkle of pickled onions on top of creamy avocado toast.
- Hot Dogs & Sausages: Replace traditional relish with these tangy onions for a gourmet twist on ballpark favorites.
- Eggs: Serve them alongside scrambled eggs, omelets, or frittatas for a bright, flavorful accompaniment.
- Grilled Meats: They pair wonderfully with grilled chicken, steak, or fish, acting as a vibrant relish.
- Charcuterie Boards: Add a small bowl of pickled onions to your next cheese and charcuterie board to provide a refreshing, acidic element.
- BBQ & Pulled Pork: The acidity of pickled onions perfectly cuts through the richness of slow-cooked barbecue meats like pulled pork or brisket.
- Soups & Stews: A spoonful on top of chili, lentil soup, or black bean soup can add an unexpected layer of flavor and brightness.
- Pizza: A scattering of pickled onions on a freshly baked pizza, especially one with strong cheeses or meats, can be surprisingly delicious.
Feel free to customize your batch by adding whole garlic cloves, black peppercorns, a pinch of red pepper flakes, or sprigs of fresh herbs like dill or thyme to the jar before pouring the brine. These additions will infuse the onions with even more complex and aromatic flavors, tailoring them perfectly to your culinary preferences.
Discover More Delicious Related Recipes
- Pickled Beets
- Pickled Eggs
- Caramel Sauce
- Homemade Cherry Pie Filling
- Homemade Claussen Pickles Copycat
I love to bake and cook and share my kitchen experience with all of you! Remembering to come back each day can be tough, that’s why I offer a convenient newsletter every time a new recipe posts. Simply subscribe and start receiving your free daily recipes!
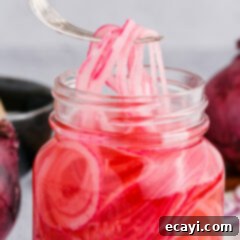
Quick Pickled Red Onions
IMPORTANT – There are often Frequently Asked Questions within the blog post that you may find helpful. Simply scroll back up to read them!
Print It
Pin It
Rate It
Save ItSaved!
Ingredients
- 1 cup apple cider vinegar or white vinegar
- ⅓ cup water
- 1 ½ Tablespoons granulated sugar
- ½ teaspoon sea salt
- 1 large red onion thinly sliced. About 200 grams
Things You’ll Need
-
1 Pint size mason jar
-
Saucepan
Before You Begin
- You can substitute apple cider vinegar with distilled white vinegar for a sharper flavor profile.
- Granulated sugar can be swapped with maple syrup, honey, raw sugar, or cane sugar. Keep in mind that liquid sweeteners may require slight adjustments to the amount for desired sweetness.
- These quick pickled onions will keep well in the refrigerator for up to 2 weeks when stored in an airtight container. This recipe is for refrigerator pickles, not for long-term canning.
- Enhance the flavor by adding optional ingredients such as peeled garlic cloves, whole peppercorns, red pepper flakes, or fresh herbs like dill or thyme to the jar with the onions.
Instructions
-
In a small saucepan, combine apple cider vinegar, water, granulated sugar, and sea salt. Bring the mixture just to a simmer over medium heat, stirring until the sugar and salt are fully dissolved. Remove from heat immediately.
-
Thinly slice the red onion and pack it tightly into a pint-size mason jar. Carefully pour the warm vinegar mixture over the onions, ensuring they are fully submerged.
-
Seal the jar and allow the onions to sit at room temperature for about 45 minutes before use. This allows them to cool and absorb the flavors.
-
TIP: If some onion slices are not fully covered by the liquid, simply flip the jar periodically during the marinating time or gently press the onions down with a spoon to ensure even pickling.
The recipes on this blog are tested with a conventional gas oven and gas stovetop. It’s important to note that some ovens, especially as they age, can cook and bake inconsistently. Using an inexpensive oven thermometer can assure you that your oven is truly heating to the proper temperature. If you use a toaster oven or countertop oven, please keep in mind that they may not distribute heat the same as a conventional full sized oven and you may need to adjust your cooking/baking times. In the case of recipes made with a pressure cooker, air fryer, slow cooker, or other appliance, a link to the appliances we use is listed within each respective recipe. For baking recipes where measurements are given by weight, please note that results may not be the same if cups are used instead, and we can’t guarantee success with that method.
