Homemade Sour Cherry Pie Filling: Your Ultimate Guide to Canning and Preserving Fresh Summer Flavor
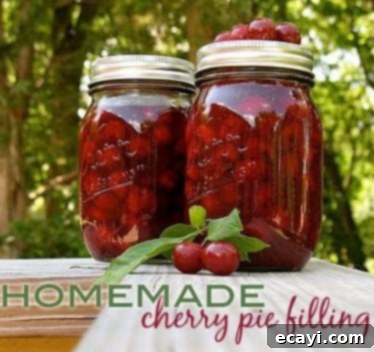
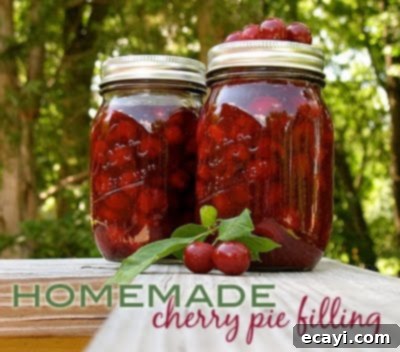
There’s a unique satisfaction that comes with preserving the bounty of the season, and for me, that triumph recently involved conquering my fear of canning! I successfully transformed a generous harvest of wonderfully tart sour cherries, gifted from my neighbor’s prolific tree, into nine gleaming pints of homemade cherry pie filling. This accomplishment, a week in the making before I could share it, has filled my pantry with future dessert potential and my heart with a sense of culinary victory. It’s a testament to the joy of homemade goodness and the simple pleasure of extending summer’s flavors.
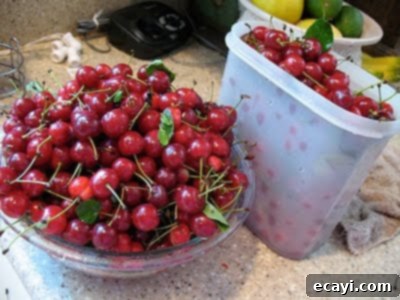
The cherry season, it seems, is still generously yielding its treasures! I have another large basket brimming with freshly picked sour cherries awaiting their transformation. My plans for this next batch include crafting some luscious cherry jam, a sweet and tangy spread perfect for toast or scones. I’m also dreaming of creating another batch of sour cherry almond cake, though this time I’m considering baking them as individual portions, perhaps in elegant ramekins for a delightful personal treat. Just imagining these future culinary delights makes my mouth water!
Why Choose Homemade Sour Cherry Pie Filling?
While store-bought pie filling offers convenience, making your own homemade cherry pie filling elevates your desserts to an entirely new level. The difference in flavor, texture, and overall quality is truly incomparable. With homemade, you gain complete control over the ingredients, ensuring no artificial flavors, colors, or excessive sweeteners dilute the natural tartness and vibrant taste of fresh sour cherries. It’s an ideal way to capture the essence of summer, allowing you to enjoy delicious, fruit-filled pies, tarts, and other baked goods long after cherry season has passed. Beyond the superior taste, the satisfaction of serving a dessert made from scratch, starting with the raw fruit, is incredibly rewarding and impresses guests every time.
UPDATE: Since canning this initial batch of cherry pie filling (and even before, using fresh sour cherries), I’ve been busy in the kitchen experimenting with its versatility. Here’s a quick look at some of the delightful recipes I’ve crafted so far:
Delicious Recipes Featuring Homemade Cherry Pie Filling:
- Cherry Cake with Cherry Cream Cheese Frosting
- Cherry Pie Squares
- Cherry Cheesecake
- Cherry Cream Cheese Coffee Cake
- Black Forest Brownie Bites
Creative Uses for Fresh Sour Cherries (Before Canning):
- Cherry Almond Cake
- Sour Cherry Financiers
Processing Your Fresh Cherries: From Tree to Jar
Embarking on the journey of canning, especially for the first time, can feel daunting. To ensure both success and, most importantly, safety, I opted for a reliable and straightforward recipe that is widely recognized and trusted. My primary guide came from the Utah State University Extension Office, a fantastic and scientifically-backed resource for home preserving methods. While I found the step-by-step photos on PickYourOwn.org to be incredibly helpful for visual guidance, it’s a fair warning that I did encounter a few conflicting typos on their website regarding the recipe quantities. Therefore, I strictly adhered to the precise measurements and instructions provided in the Utah University PDF, using the Pick Your Own website solely as a visual aid to understand the process. When it comes to canning, precision is paramount for both achieving the best quality and ensuring critical food safety.
Choosing and Storing Your Cherries
The quality of your homemade pie filling begins with selecting the right fruit. For cherry pie filling, sour cherries (also commonly known as tart cherries) are almost universally preferred over sweet cherries. Their vibrant acidity provides a perfect balance to the sugar in the filling, resulting in a more complex, bright, and traditional pie flavor that sweet cherries can’t quite replicate. If you’re fortunate enough to pick your own fresh sour cherries, a key tip for optimal freshness is to keep their stems intact until you’re just about ready to use them. Removing the stem exposes the cherry’s delicate flesh to air, which can lead to undesirable browning and a decrease in overall quality. To maintain their peak flavor and texture, store your freshly picked, unpitted cherries in the refrigerator for no more than a few days.

Just look at this magnificent sour cherry tree, right down the street from me! It was an absolute treasure trove this season, bursting with crimson fruit. Thanks to a concerted and enthusiastic effort between myself, my neighbor’s father, and even a few industrious birds, we ensured not a single precious cherry went to waste. Every juicy, tart berry was destined for a delicious purpose!
Preparing the Cherries: Rinsing and Pitting
Once you’re ready to transform your fresh cherries into a delectable pie filling, the initial step is a thorough rinse. Place them in a colander under cold running water to wash away any dirt, leaves, or incidental debris. After rinsing, it’s time for the often-tedious, but absolutely essential, task of pitting. This step is crucial, as nobody wants a surprise pit disrupting their enjoyment of a perfectly baked slice of pie!
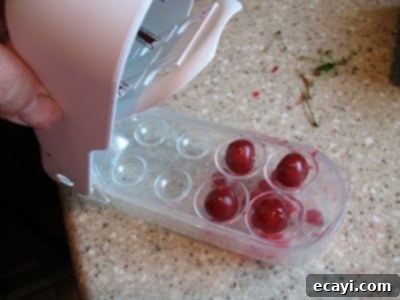
I was incredibly fortunate to have a fantastic cherry pitter that significantly sped up this process. This particular gadget can remove four pits at once, which is a real time-saver when you have baskets full of cherries! I originally received it as a gift from a friend at Kid Smart Living (a company that’s no longer around), but it’s readily available on Amazon, and I can attest, it absolutely rocks! A clever design feature I eventually discovered is its two sets of slots: four larger ones perfectly suited for bigger cherries like Bings, and four smaller ones specifically designed for petite sour cherries. As you can see from the photo, during my initial pitting frenzy, I hadn’t quite realized this and was using the larger slots for my sour cherries – a minor oversight, but it still worked efficiently and saved me a lot of time!
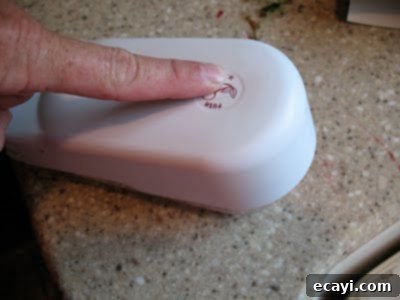
Using the pitter is wonderfully straightforward and ergonomic: simply place four cherries into their designated slots, then apply gentle, even pressure to the top of the pitter. As you press down, the sharp plungers efficiently push the pits clean out of the cherries. Once pressed, lift the pitter back up, and the perfectly pitted cherries are ready for the next step.
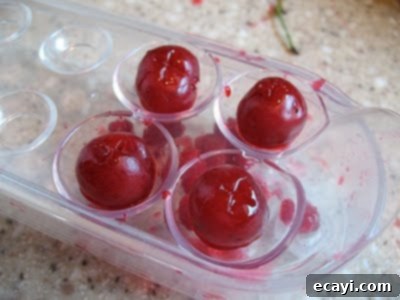
And just like that, you have beautifully pitted cherries! This device truly simplifies what can otherwise be a messy and time-consuming task, leaving you with gorgeous, whole cherries ready for your pie filling, jam, or cake.
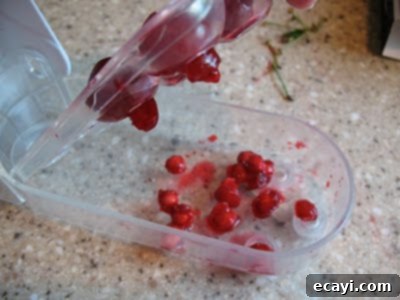
One of the most ingenious features of this pitter is the small collection tray located underneath, specifically designed to catch all the removed pits. This keeps your workspace remarkably tidy and makes cleanup a breeze. My pitter even came with a handy collapsible colander, which proved incredibly useful. After pitting each batch of cherries, I immediately transferred them into this convenient colander.
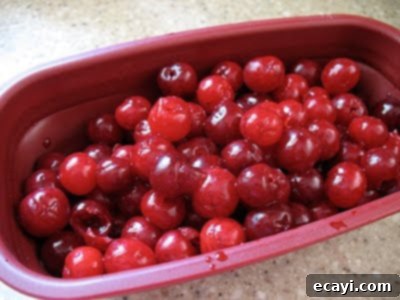
Once the colander was full of glistening, pitted cherries, I gave them another quick rinse under cold water. This ensured any remaining stray bits of pulp or excess juice were washed away, leaving the cherries perfectly clean and ready. From the colander, they went directly into a large glass bowl, patiently awaiting the next stage of preparation.
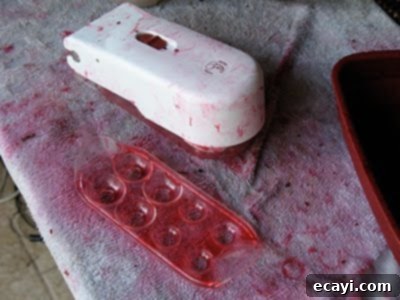
By the time I finished pitting all the cherries, my hands, the pitter, and the surrounding counter bore a striking resemblance to a playful, albeit delicious, murder scene – a vivid testament to the sheer volume of juicy, red fruit processed! It was a messy but incredibly satisfying endeavor, culminating in a bountiful supply of perfectly prepared cherries.
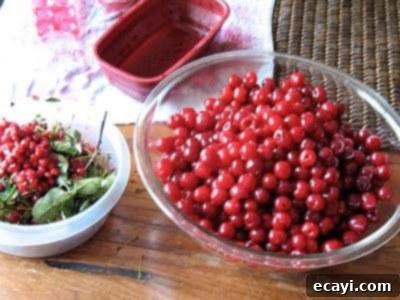
Since I wasn’t quite ready to proceed with the canning process immediately after pitting, proper storage was essential to maintain their freshness. I transferred all the pitted beauties into a large plastic container with a tight-fitting lid. To prevent any unsightly browning and to keep them perfectly plump, I covered them completely with cold water. A crucial addition was squeezing the juice from half a lemon into the water; the citric acid helps maintain the cherries’ vibrant color and adds a subtle freshness. I allowed them to soak overnight, ensuring they stayed perfectly conditioned and ready for their transformation into pie filling the following day.
Crafting the Perfect Homemade Cherry Pie Filling
Blanching the Cherries and Preparing the Liquid Base
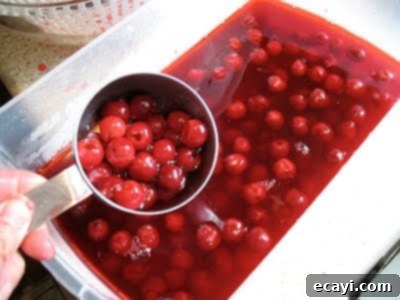
The first step in preparing the filling itself was to drain the cherries from their overnight soak. However, this wasn’t a simple discard-the-water situation! I absolutely made sure to reserve that glorious, deep red water. It had absorbed so much beautiful color and subtle cherry flavor from the soaking fruit, and I knew it would be the perfect natural color enhancer for my pie filling, eliminating the need for any artificial food coloring. This reserved liquid would serve as the vibrant base for the thickening agent, contributing to the filling’s rich aesthetic.
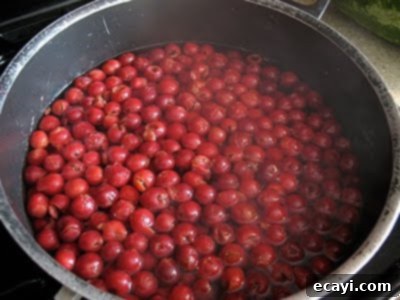
Next, the drained cherries underwent a quick blanching process. Given the large quantity of cherries I had, I had to work in several batches to ensure even cooking and to avoid overcrowding the pot, which would lower the water temperature too much. For each batch, I blanched the cherries in actively boiling water for precisely one minute. After blanching, it’s important to keep them hot to facilitate proper filling consistency, so I immediately transferred each batch into a bowl or pot with a tight-fitting lid – in my case, the ceramic insert and lid from my trusty Crockpot worked perfectly to trap the heat and prevent them from cooling down before being combined with the filling base.
Understanding and Utilizing Clear Jel for Optimal Canning
The thickening agent specified for this pie filling is Clear Jel, a modified food starch specifically designed and approved for canning. Unlike common thickeners such as cornstarch or flour, which can break down, become stringy, or lose their thickening power during the high heat and prolonged processing times of canning, Clear Jel maintains its stability, creating a consistently thick and beautifully textured pie filling even after months on the shelf. It creates a clear, glossy finish and effectively prevents the undesirable “weeping” or separation that can sometimes occur with other starches. You typically won’t find Clear Jel in standard grocery stores; it usually needs to be ordered online or purchased from specialty canning supply stores, but for safe and high-quality canned pie fillings, it’s an absolutely essential ingredient.
To begin the filling base, I combined the granulated sugar and the Clear Jel in a large, heavy-bottomed pot. It’s absolutely crucial to thoroughly whisk these dry ingredients together *before* adding any liquid. This step is vital to prevent the Clear Jel from clumping, which can be difficult to resolve later. Then, I poured in the magnificent red water I had reserved earlier from soaking the cherries. Despite my best efforts to whisk it all together, I initially struggled to dissolve the Clear Jel completely – a common challenge if not careful! I should have remembered the golden rule for starches: always mix them with a small amount of cold liquid first to create a smooth slurry before incorporating them into a larger volume of hot liquid. Lesson learned for next time! I persisted, using a wooden spoon to press and smash any remaining clumps against the side of the pan until it was mostly dissolved. Following this, I stirred in the cinnamon and almond extract, both of which complement the tart cherry flavor beautifully and add a layer of aromatic warmth. There was absolutely no need for additional red food coloring, as the reserved cherry soaking water had already imparted a wonderfully rich, natural hue.
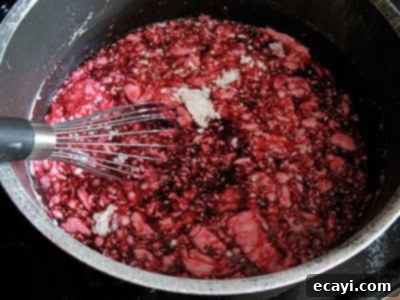
As the mixture began to warm and thicken over medium-high heat, the remaining stubborn clumps of Clear Jel gradually melted away, seamlessly integrating into the liquid. It was a relief to see it transform into a smooth, glossy base, confirming that all was indeed well despite my initial mixing hiccup. Constant stirring is key during this phase to prevent sticking and ensure even thickening.
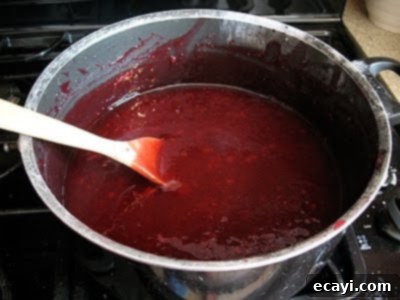
The liquid continued to simmer gently, gradually thickening to the perfect consistency – a rich, vibrant, and incredibly fragrant base, shimmering with potential and ready for the star ingredient, the blanched cherries.
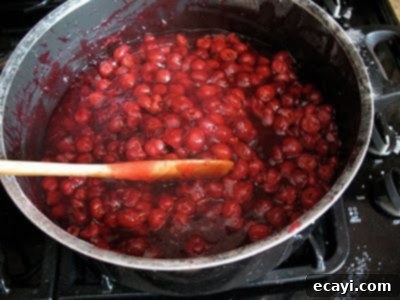
Finally, I added the bottled lemon juice. This is not only for enhancing the flavor but also crucial for ensuring the proper acidity level required for safe water bath canning. I brought the mixture to a rolling boil for another minute, stirring constantly to prevent scorching and ensure the Clear Jel fully activates. Immediately after, I gently folded in the pre-blanched, drained cherries, ensuring they were evenly coated in the now-thickened, glistening filling. The aroma was absolutely divine and filled my kitchen with the promise of future desserts! From there, I meticulously followed the detailed processing directions provided by Utah University for water bath canning the pie filling. I’m thrilled to report that the entire process was a resounding success! I won’t detail the intricate canning steps here, as they are best followed precisely from a tested source (like the linked PDF) for safety, but I can confidently say it was far less intimidating than I had imagined. My only regret is that I put it off for so long! With fall approaching, I’m already looking forward to canning even more delicious preserves.
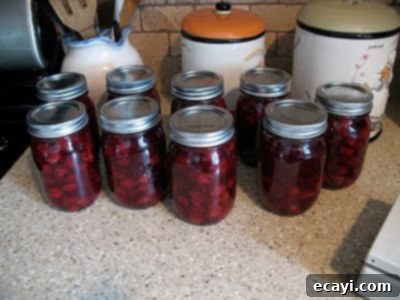
Below, you’ll find the complete recipe for this delectable homemade cherry pie filling. Please remember that for detailed and safe processing instructions, it is absolutely essential to download the PDF from the Utah State University Extension Office. This document provides critical information regarding jar preparation, headspace, processing times, and other safety measures vital for home canning. Happy canning and enjoy the fruits of your labor!
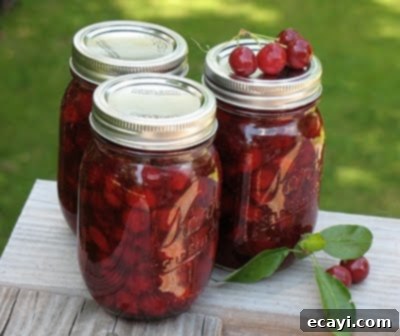

Homemade Cherry Pie Filling
IMPORTANT – There are often Frequently Asked Questions within the blog post that you may find helpful. Simply scroll back up to read them!
Print It
Pin It
Rate It
Save ItSaved!
Ingredients
- 3 ⅓ cups fresh or thawed sour cherries
- 1 cup granulated sugar
- ¼ cup + 1 tablespoon Clear Jel
- 1 ⅓ cups cold water I used the water the cherries were soaking in
- 1 tablespoon + 1 teaspoon bottled lemon juice
- ⅛ teaspoon cinnamon
- ¼ teaspoon almond extract
- 6 drops red food coloring optional, I didn’t use this
Before You Begin
Download processing instructions here
Instructions
-
Rinse and pit fresh cherries, and hold in cold water. For fresh fruit, blanch up to 6 cups of cherries at a time in one gallon of boiling water. After water returns to a boil, boil for one minute. Drain, but keep heated in a covered bowl or pot. Combine Clear Jel and sugar in a large pot and add water. Add cinnamon, almond extract and food coloring. Stir mixture and cook over medium high heat until mixture thickens and bubbles. Add lemon juice and boil one minute, stirring constantly. Fold in drained cherries immediately. Fill your jars with mixture without delay, leaving one inch headspace. Adjust lids and process immediately.
-
Instructions for 1 quart, adjust quantities based on the measurement of cherries you have.
Nutrition
The recipes on this blog are tested with a conventional gas oven and gas stovetop. It’s important to note that some ovens, especially as they age, can cook and bake inconsistently. Using an inexpensive oven thermometer can assure you that your oven is truly heating to the proper temperature. If you use a toaster oven or countertop oven, please keep in mind that they may not distribute heat the same as a conventional full sized oven and you may need to adjust your cooking/baking times. In the case of recipes made with a pressure cooker, air fryer, slow cooker, or other appliance, a link to the appliances we use is listed within each respective recipe. For baking recipes where measurements are given by weight, please note that results may not be the same if cups are used instead, and we can’t guarantee success with that method.
More Cherry-Inspired Delights and Related Recipes
The versatility of cherries, whether fresh or preserved in a delicious pie filling, offers endless culinary possibilities. Beyond traditional pies, this filling can be a fantastic and easy base for mini tarts, fruit crumbles, turnovers, or even a luxurious topping for ice cream, pancakes, waffles, or a morning bowl of oatmeal or yogurt. The vibrant flavor profile lends itself beautifully to both classic and innovative desserts, making it a staple in any home cook’s pantry. I’m especially excited to share my very own cherry rendition of the incredibly popular blackberry pie squares, which were a huge hit and will undoubtedly be just as delicious and well-received with this tart cherry twist. Stay tuned for that recipe!
From My Kitchen to Yours: More Sweet Treats
- Vanilla Bean Mulberry Cake
- Cherry Cream Cheese Coffee Cake
- Cherry Cheesecake
Recommended Cherry Recipes from Around the Web:
- Cherry Pie Cups – from Recipe Girl
