The Ultimate Guide to Deep Cleaning Your Gas Grill for Peak Performance & Longevity
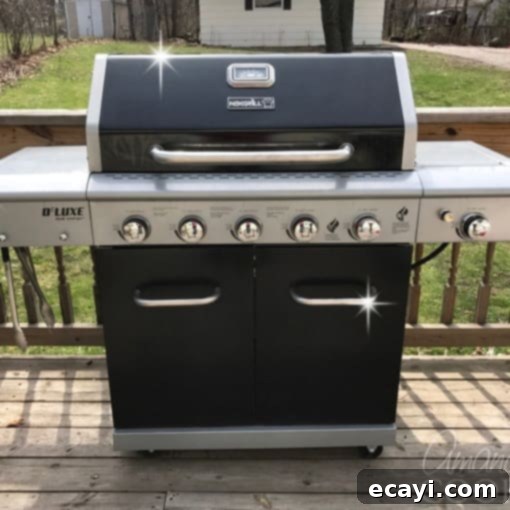
I’ll be the first to admit that cleaning my gas barbecue grill is far from my favorite task. Yet, I also understand it’s a crucial chore for maintaining my grill in excellent working condition and extending its lifespan across as many grilling seasons as possible. The good news? You don’t need an arsenal of expensive, specialized cleaners. A simple combination of dish soap and warm water, along with a few basic tools, is all it takes to get your grill sparkling. This comprehensive guide, complete with step-by-step instructions and helpful tips, will walk you through the entire process of deep cleaning your gas grill, ensuring it’s always ready for your next culinary adventure.
How Often Should You Deep Clean Your Gas Grill?
Understanding the right cleaning frequency is key to effective grill maintenance and ensuring food safety. While a quick scrub of the grates after each use is essential, a thorough deep clean should ideally be performed at least once each grilling season. However, if you’re an avid griller, firing up your barbecue two or three times a week or more during peak season, aiming for two deep cleans per season is highly recommended. Regular deep cleaning prevents the build-up of charred food particles, grease, and carbon, which can not only affect the taste of your food but also lead to uneven cooking, dangerous flare-ups, and accelerated wear and tear on your grill’s components.
Beyond the seasonal deep clean, there are vital routine tasks to keep in mind. After every single use, once the grill has cooled slightly, take a moment to scrub the cooking grates with a sturdy wire brush. This removes immediate food residue, preventing it from hardening and becoming much harder to remove later. Equally important is regularly checking and emptying the small grease tray, often called a catch pan. This tray collects excess grease and drippings, and a full pan poses a significant fire hazard. I make it a habit to check mine every time I use the grill to monitor the grease level and empty it before it overflows.
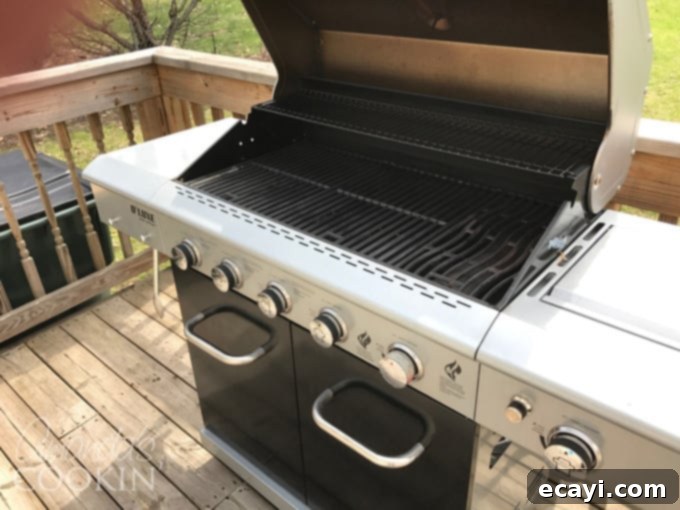
Understanding the Key Parts of Your Gas Grill
Before you dive into cleaning, it’s beneficial to familiarize yourself with the main components of your gas grill. Knowing each part’s function will help you understand why thorough cleaning is necessary and how to handle them properly. Keeping these elements clean is paramount for your grill’s performance and longevity:
- Cooking Grates: These are the surfaces where your food cooks directly. On many high-quality grills, these grates are crafted from heavy cast iron, known for its excellent heat retention, but also susceptible to rust if not properly maintained and dried. Other common materials include stainless steel and porcelain-enameled cast iron. Regular brushing prevents food from sticking and ensures even heat transfer.
- Warming Rack: Situated at the back of the grill, above the main cooking grates, the warming rack is designed to keep cooked food warm without overcooking it. It also serves as a secondary cooking area for foods that require lower heat or indirect cooking. Like the main grates, it accumulates grease and food debris.
- Burners: Arguably the most critical part of your gas grill, the burners are where the flame originates. They are typically made of stainless steel or cast iron and feature small ports through which propane or natural gas flows and ignites. Clogged burner ports can lead to uneven flames, cold spots, and inefficient gas consumption, severely impacting your grilling results.
- Control Knobs: Depending on your grill’s model and size, you might have anywhere from three to six or even more control knobs. These regulate the gas flow to individual burners, allowing you to adjust the heat. Some grills also feature a knob for a side burner, perfect for simmering sauces or cooking side dishes in a small saucepan. While not directly exposed to food, they can become greasy and sticky.
- Heat Plates (also known as Flavorizer Bars or Heat Tents): These triangular or inverted V-shaped metal guards sit directly above the burners. Their primary role is twofold: to protect the burners from falling grease and food particles, and to vaporize drippings, creating that signature barbecue flavor. Accumulated grease on heat plates can cause excessive smoke and dangerous flare-ups.
- Bottom Grease Tray (or Fire Box): This full-length tray is located beneath the burners and heat plates. It acts as a primary collection point for any grease, drippings, and ash that fall through the grates and past the heat plates. Over time, it can accumulate a significant amount of debris, requiring regular scraping and washing.
- Catch Pan/Small Grease Tray: Positioned at the very bottom or rear of the grill, often accessible from the outside, this smaller tray is designed to collect the grease that drains from the larger bottom grease tray. It plays a crucial role in minimizing flare-ups by containing the most significant volume of rendered fat. This pan needs frequent emptying and cleaning to prevent overflow and fire hazards.
Getting Ready: Essential Steps Before You Begin Cleaning
Proper preparation is crucial for a safe and effective grill cleaning experience. Before you even think about grabbing a brush, follow these important steps:
- Ensure Safety First: Disconnect Propane. Your absolute first step is to prioritize safety. Locate your propane tank and completely disconnect it from the grill. Make sure the tank’s control valve is securely closed (turned clockwise) to prevent any accidental gas leaks. If you have a natural gas grill, turn off the gas supply at the source. Never clean a grill that is still connected to a fuel source or is hot. Allow ample time for the grill to cool down completely if you’ve recently used it.
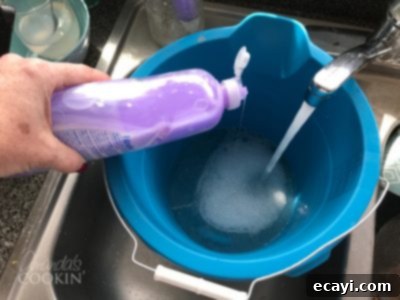
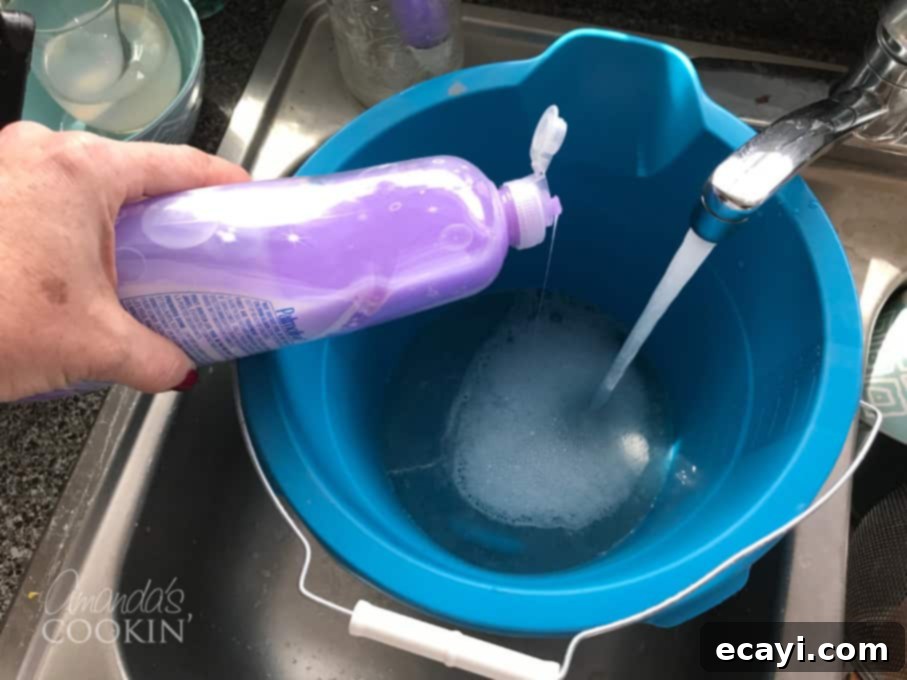
- Prepare Your Cleaning Solution. Grab a sturdy bucket and fill it with hot tap water. Add a generous squirt of quality dish soap. The hot water helps to dissolve stubborn grease, while the soap acts as a powerful degreaser. Depending on how heavily soiled your grill is, you may find it necessary to change this water once or even twice during your cleaning session to maintain its effectiveness. A fresh bucket of soapy water ensures maximum cleaning power.
- Set Up Your Drying Station. Lay out a clean, old towel or several sheets of newspaper on a clean, flat surface on the ground. This designated area will be used to place your cleaned and dried grill parts as you finish washing them. This keeps your clean components off dirty surfaces and organized, ready for reassembly.
- Gather Your Tools. While the original text mentions a few items, it’s good to have everything at hand. This includes a wire grill brush (ensure it’s in good condition, without loose bristles), a sponge with an abrasive scrubbing side, and potentially a small, stiff-bristled brush or toothpick for burner holes, a plastic scraper, and rubber gloves to protect your hands from grease and cleaning solutions.
How to Deep Clean Your Gas Grill: A Step-by-Step Photo Guide
Now that you’re prepared, let’s get down to the actual cleaning process. Follow these steps methodically for a sparkling clean grill.
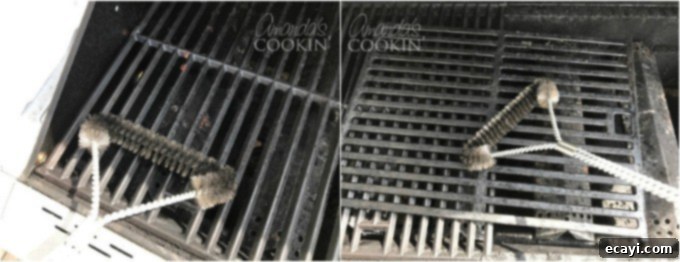
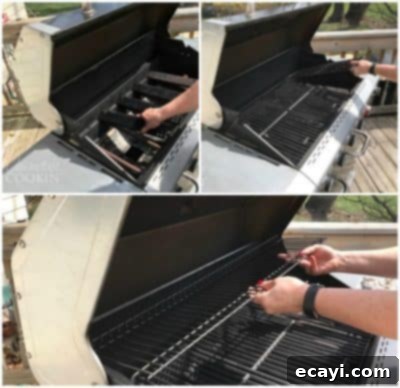
- Initial Scrub of Cooking Grates and Warming Rack. Begin by using a sturdy wire grill brush to aggressively remove any large, crusty particles, charred food bits, and loose carbon buildup from the top surfaces of both the cooking grates and the warming rack. This initial pass helps to dislodge the worst of the grime before soaking or more detailed scrubbing.
- Remove and Clean Both Sides of Cooking Grates. Carefully lift out the cooking grates from your grill. Place them on a stable surface. Now, use your wire brush to thoroughly scrub the backsides and edges of the grates as well. Grease and food particles often adhere to these less visible areas, and cleaning both sides ensures a truly comprehensive clean. If your grates are cast iron, be mindful of scratching and always dry them completely after washing to prevent rust.
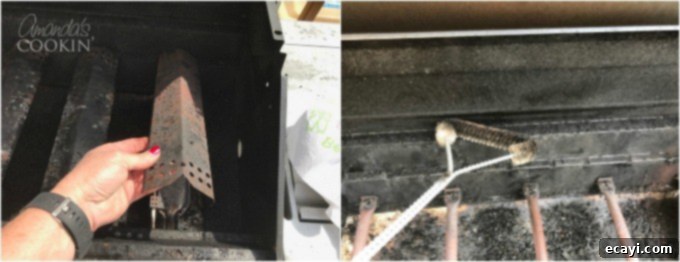
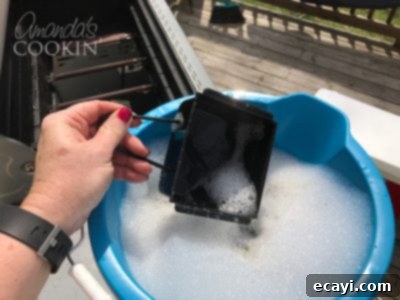
- Remove and Soak Heat Plates. Next, carefully remove the heat plates (also known as flavorizer bars or heat tents) that sit above your burners. Inspect them for heavy buildup. If they have significant carbonized grease, use your wire brush to loosen some of the crusted particles. Once scraped, drop these heat plates directly into your bucket of hot, soapy water to allow them to soak thoroughly. Soaking will significantly ease the scrubbing process later.
- Scrub Inside the Grill and Walls. With the grates and heat plates removed, the interior of your grill’s firebox is exposed. Use your wire brush to vigorously scrape away any loose debris, charred bits, and grease buildup from the inside walls, bottom, and lid interior of the grill. Pay close attention to corners and crevices where grime tends to accumulate. This step prepares the interior for a more detailed wipe-down.
- Clean and Dry Heat Plates. Retrieve the heat plates from the soaking bucket. The hot soapy water should have softened most of the baked-on grease. Now, use the abrasive side of a sponge or a scrubber to thoroughly scrub away any remaining residue. Once clean, rinse them well under running water, dry them completely with a clean cloth, and place them on your waiting towel or designated drying area.
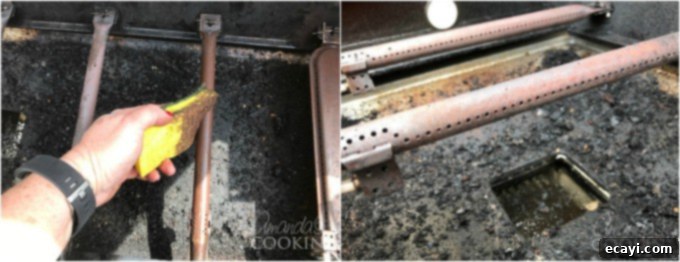
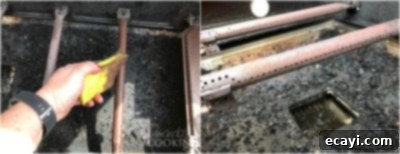
- Clean Burner Tubes. The burner tubes are critical for even heat. Gently wipe down the burner tubes with a damp sponge or cloth, being careful not to dislodge them. More importantly, carefully inspect all the small holes along the burners to ensure they are completely clear of any blockages. Use a small, stiff brush, a paperclip, or a toothpick to gently clear any clogged holes. Never use anything that could enlarge the holes, as this will affect flame distribution.
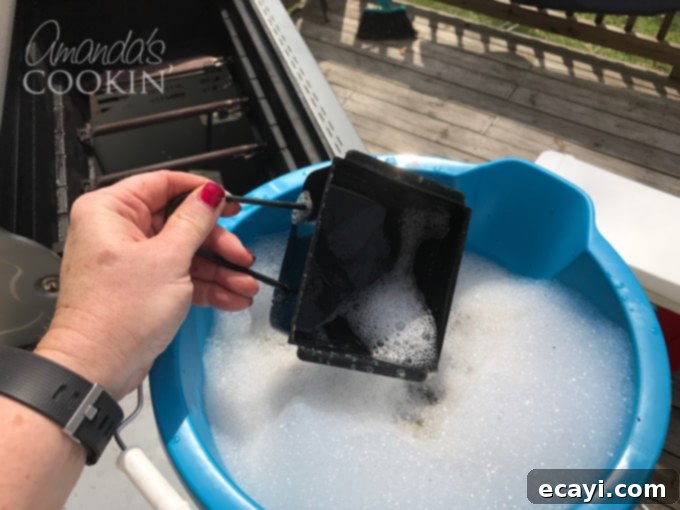
- Empty and Soak the Catch Pan. Carefully locate and remove the small catch pan from the back or bottom of the grill. This pan often collects a significant amount of grease, so handle it gently to avoid spills. Discard any accumulated grease responsibly (never pour hot grease down a drain). Once emptied, drop the catch pan into your bucket of soapy water to soak, allowing the grease and grime to loosen.
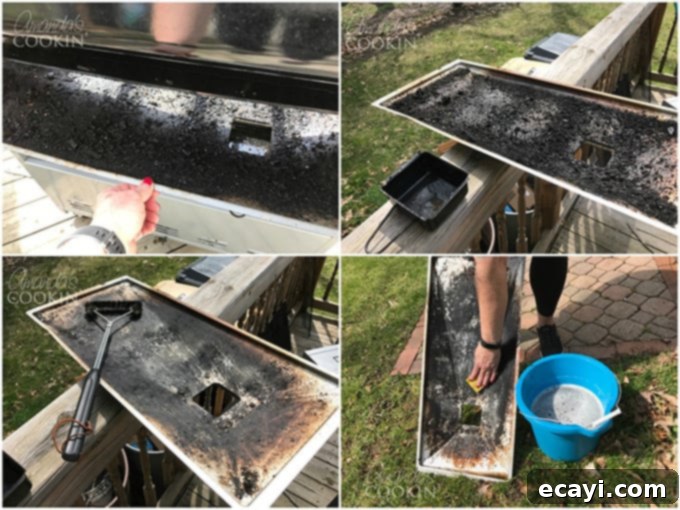
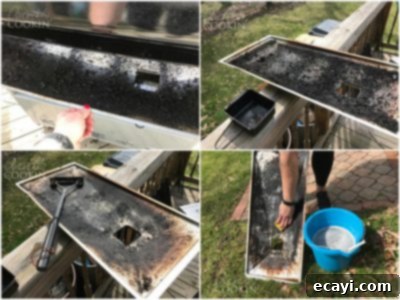
- Remove and Brush the Bottom Grease Tray. Next, remove the larger, full-length bottom grease tray, usually located just below the burners. This tray can also have substantial caked-on residue. Use your wire brush to aggressively loosen and scrape off any hardened particles and grease from its surface.
- Wash the Bottom Grease Tray. With the larger particles removed, wash the bottom grease tray thoroughly with your hot, soapy water. Use the abrasive side of your sponge, a plastic scraper, or a stiff brush as needed to scrub away all remaining grease and grime until the tray is clean.
- Clean and Dry Both Grease Trays. Now, take the smaller catch pan out of the bucket. Wipe it clean with the abrasive sponge side, ensuring all grease residue is gone. Rinse both the bottom grease tray and the catch pan thoroughly with clean water, then dry them completely with a clean towel.
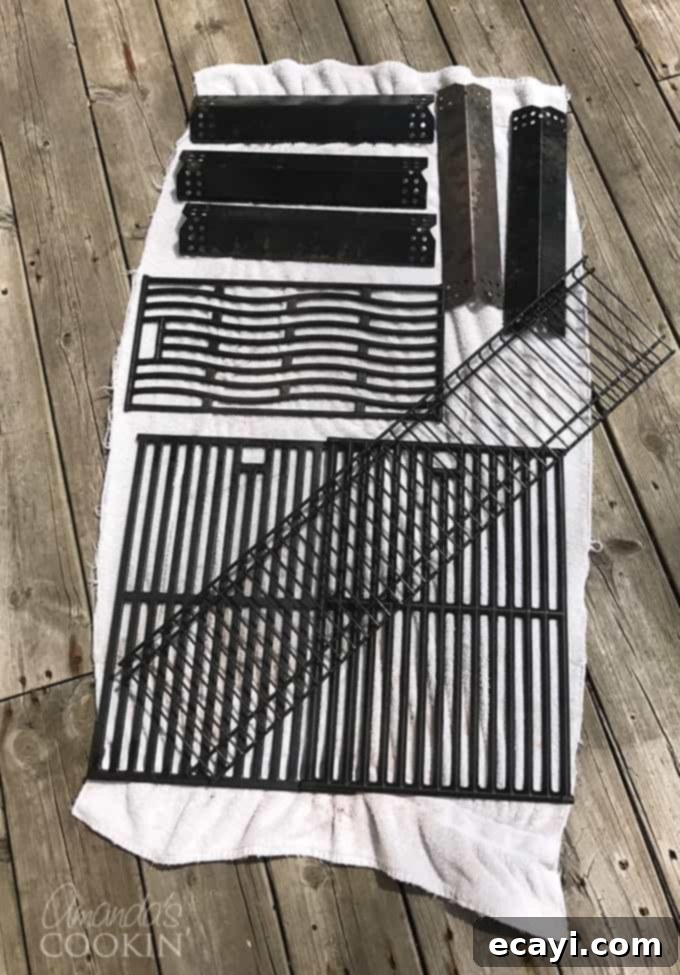
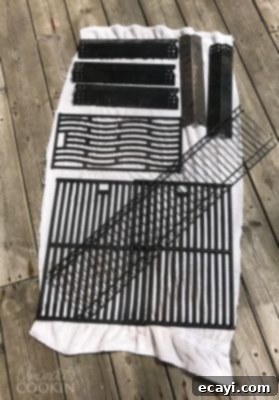
- Thoroughly Dry All Components. This step is paramount, especially for parts made from cast iron. Ensure that you meticulously dry off all cleaned grill parts – the grates, heat plates, and both grease trays – using a clean, dry towel. Leaving cast iron wet, even for a short period, can lead to rust formation, which will degrade its performance and appearance over time. For cast iron grates, consider applying a thin layer of cooking oil after drying to help season and protect them.
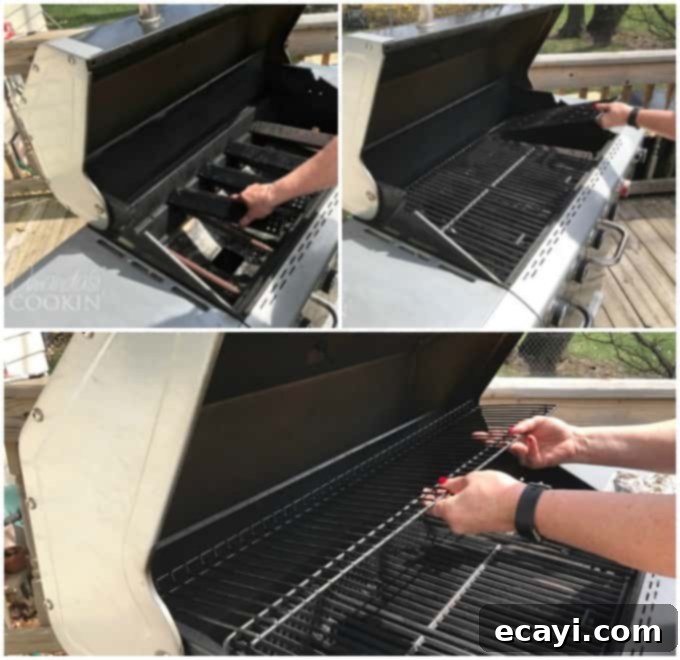
- Reassemble Your Grill. Once all components are thoroughly clean and dry, carefully place them back into your grill in the reverse order you removed them. Start with the bottom grease tray, then the burners (if removed), the heat plates, the main cooking grates, and finally the warming rack. Double-check that all parts are seated correctly and securely.
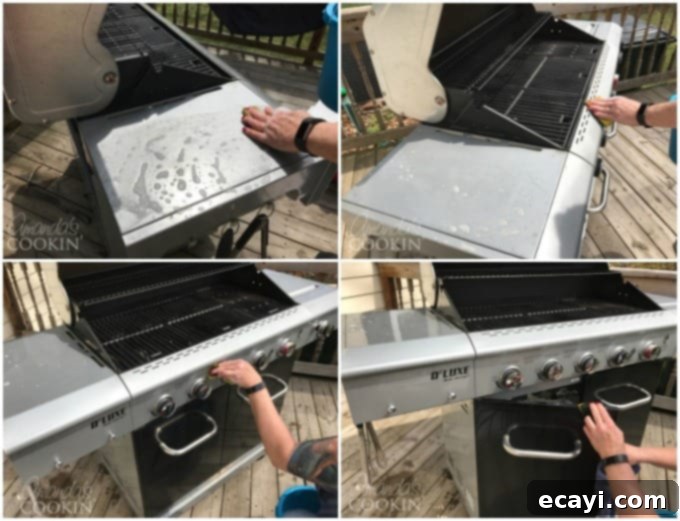
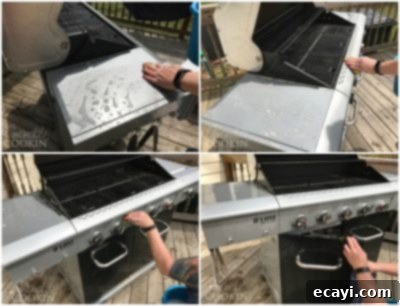
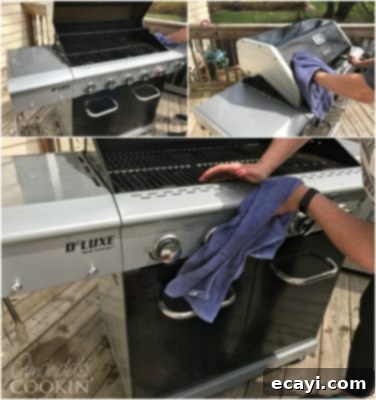
- Clean the Exterior Surfaces. Now is an excellent time to prepare a fresh bucket of hot, soapy water if your previous one is too dirty. Using this fresh solution and a clean cloth or sponge, meticulously clean all the outside surfaces of your grill. This includes the lid, side shelves, cabinet doors, and control panel. This not only makes your grill look new but also removes external grease that can attract pests.
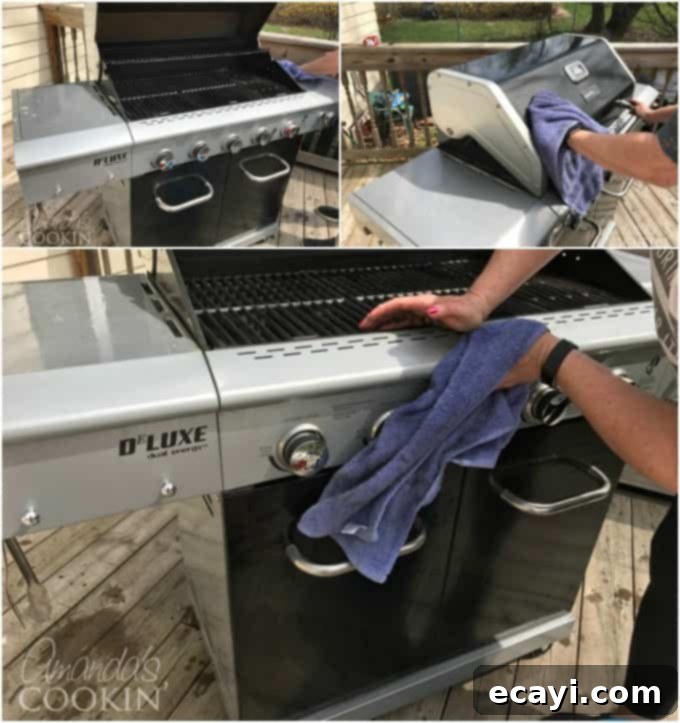
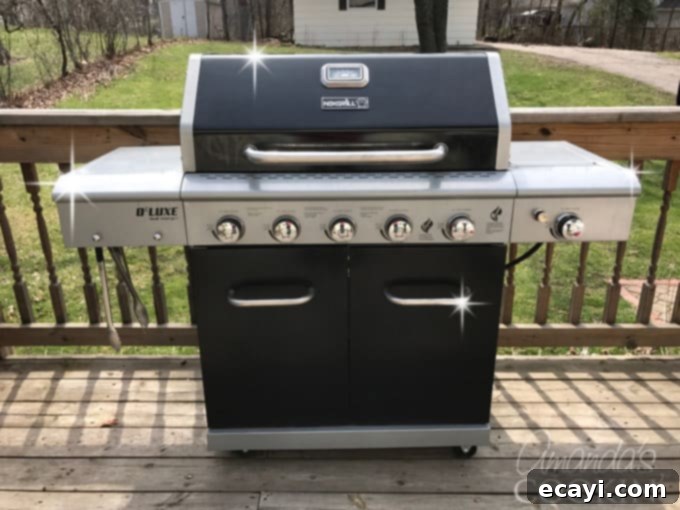
- Dry the Exterior. After washing, use a separate, clean, dry towel to wipe down all the outside surfaces. Buff stainless steel to a shine, leaving your grill looking as good as new.
- Perform a Final Burn-Off. Before you grill again, ensure all your control knobs are in the “off” position. Then, carefully reconnect your propane tank, making sure the connection is secure. Slowly open the tank’s control valve. Start up the grill as you normally would, turning the burners to high heat. Let the flames heat the cooking grates for about 5 to 10 minutes. This essential burn-off step will sterilize the grates, burn off any residual soap, and eliminate any lingering odors from the cleaning process, leaving your grill perfectly prepped for delicious food.
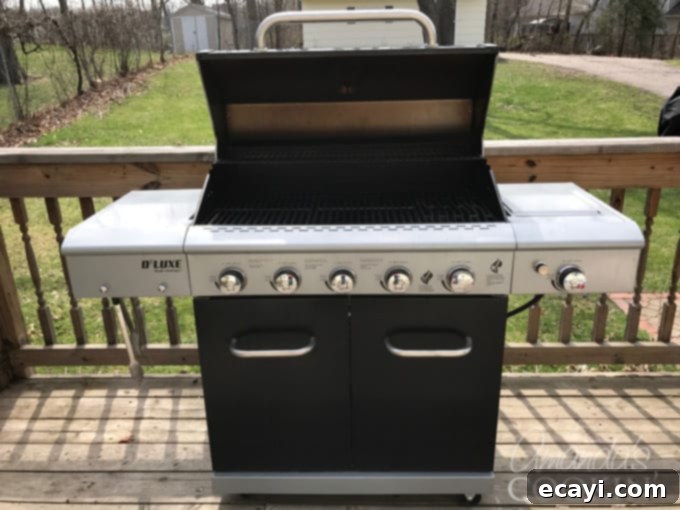
Enjoy your beautifully clean gas grill, ready for countless delicious meals! For another essential kitchen cleaning task, be sure to check out how to clean your microwave.
Need some Grilling Recipe Ideas to Inaugurate Your Clean Grill?
Now that your grill is sparkling clean and ready for action, it’s time to fire it up and enjoy some incredible food. Here are some fantastic recipe ideas to get you started:
- For a flavorful and tender meal, try these marinated grilled chicken skewers. The marinade infuses the chicken with rich tastes, perfect for a fresh grill.
- Looking for something unexpectedly delicious off the grill? My recipe for pizza on the grill will surprise and delight you with its crispy crust and smoky flavor.
- If you’re searching for a unique way to use cubed steak, these grilled cube steak roll-ups are consistently a crowd-pleaser and offer a delightful twist on a classic.
- For a vast array of inspiration, explore this collection of 30 recipes for the grill, covering everything from meats to vegetables.
- And don’t forget to cap off your barbecue with something sweet! Browse our selection of irresistible dessert recipes.
I love to bake and cook and share my recipes with you! I know it’s hard to remember to come back and search, so I’ve made it easy for you with my weekly newsletter! You can subscribe for free and I’ll send you delicious recipes every week right to your email.
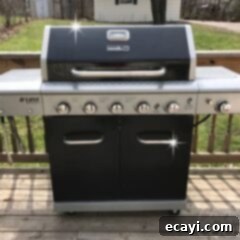
How to Clean Your Gas Grill
IMPORTANT – There are often Frequently Asked Questions within the blog post that you may find helpful. Simply scroll back up to read them!
Print It
Pin It
Rate It
Save It
Saved!
Ingredients
- 1 bucket
- 1 wire grill brush
- dish soap
- 1 sponge with an abrasive side
- 2 clean towels
- 1 dishcloth or rag
Before You Begin
- Cooking grates – on many grills these grates are made from cast iron and are heavy.
- Warming rack – sits at the back of the grill, meant for placing food that is done and to be kept warm
- Burners – the most important part of your grill as this is where the flame comes from
- Control knobs – depending on your grill you could have 3-6 or even more, and one may control a side burner meant for a small saucepan.
- Heat plates – triangular shapes metal guards that protect the burners from falling grease and food particles
- Bottom grease tray – full-length tray under the burners that catches everything
Catch pan/small grease tray – a small tray that catches grease to minimize flare-ups.
Instructions
GETTING READY TO CLEAN THE GRILL
-
First, disconnect your propane tank from the grill and make sure the tank’s control valve is closed. Always ensure the grill is completely cool before starting.
-
Fill a bucket with hot tap water and add a good squirt of dish soap. The hot water helps break down grease effectively.

-
Lay one of the clean towels out on the ground. This will be your designated space for placing clean, dried grill parts.
HOW TO CLEAN YOUR GAS GRILL
-
Start by using a wire grill brush to remove any loose, crusty particles from the cooking grates and the warming rack. Scrape vigorously to remove as much initial debris as possible.

-
Remove the cooking grates from the grill. Continue cleaning by using your wire brush on the backsides of the grates as well, targeting hidden grease.
-
Remove the heat plates (flavorizer bars). Use a wire brush on them if they have heavy caked-on residue. Drop these heat plates into your bucket of soapy water to soak.

-
Use the wire brush to scrape and remove crusted particles from the inside of the grill firebox, along the walls, and on the underside of the lid.
-
Take the heat plates out of the soaking bucket. Scrub them thoroughly with the abrasive side of a sponge to remove all grease. Rinse, then dry them off completely and place them on your waiting towel.
-
Use a damp sponge or cloth to carefully wipe down the burner tubes. Crucially, ensure that all the small gas holes on the burners are clear of debris; use a small stiff brush or paperclip if needed, but do not widen the holes.

-
Carefully remove the small catch pan (grease cup) from the back or bottom of the grill. It may be full of grease, so handle with care. Discard any collected grease responsibly, then drop the pan into your soapy water to soak.

-
Remove the larger bottom grease tray from the back of the grill. Use your wire brush to loosen and scrape off any caked-on particles and grease from its surface.
-
Wash the bottom grease tray thoroughly with soapy water, scrubbing with the abrasive side of a sponge or a stiff brush until all residue is removed.

-
Remove the catch pan from the bucket. Wipe it clean and rinse both the catch pan and the bottom grease tray. Dry both trays thoroughly with a clean towel.
-
Be absolutely sure that you dry off all parts completely, especially those made from cast iron. Any moisture left on cast iron can quickly lead to rust. Consider applying a thin coat of cooking oil to cast iron grates after drying for protection.

-
Carefully put all the clean and dry parts back into and onto the grill, ensuring they are correctly placed and secured.

-
This is a good point to change out your bucket water for a fresh batch of hot, soapy water. Use this new solution to clean all the outside surfaces of the grill, including the lid, side shelves, and doors.

-
Using a separate clean, dry towel, wipe down all the outside surfaces to remove any soap residue and buff them to a shine.

-
Ensure all control knobs are in the “off” position, then safely reconnect your propane tank. Ignite the grill and allow the flame to heat the cooking grates on high for approximately 5 to 10 minutes. This final burn-off will eliminate any missed soap residue and sterilize the cooking surface, preparing it for your next meal.
The recipes on this blog are tested with a conventional gas oven and gas stovetop. It’s important to note that some ovens, especially as they age, can cook and bake inconsistently. Using an inexpensive oven thermometer can assure you that your oven is truly heating to the proper temperature. If you use a toaster oven or countertop oven, please keep in mind that they may not distribute heat the same as a conventional full sized oven and you may need to adjust your cooking/baking times. In the case of recipes made with a pressure cooker, air fryer, slow cooker, or other appliance, a link to the appliances we use is listed within each respective recipe. For baking recipes where measurements are given by weight, please note that results may not be the same if cups are used instead, and we can’t guarantee success with that method.
This post originally appeared here on May 25, 2017, and has been updated and expanded for comprehensive grill cleaning guidance.
