Mastering Easy Dutch Oven Bread: A 4-Ingredient Artisan Loaf for Home Bakers
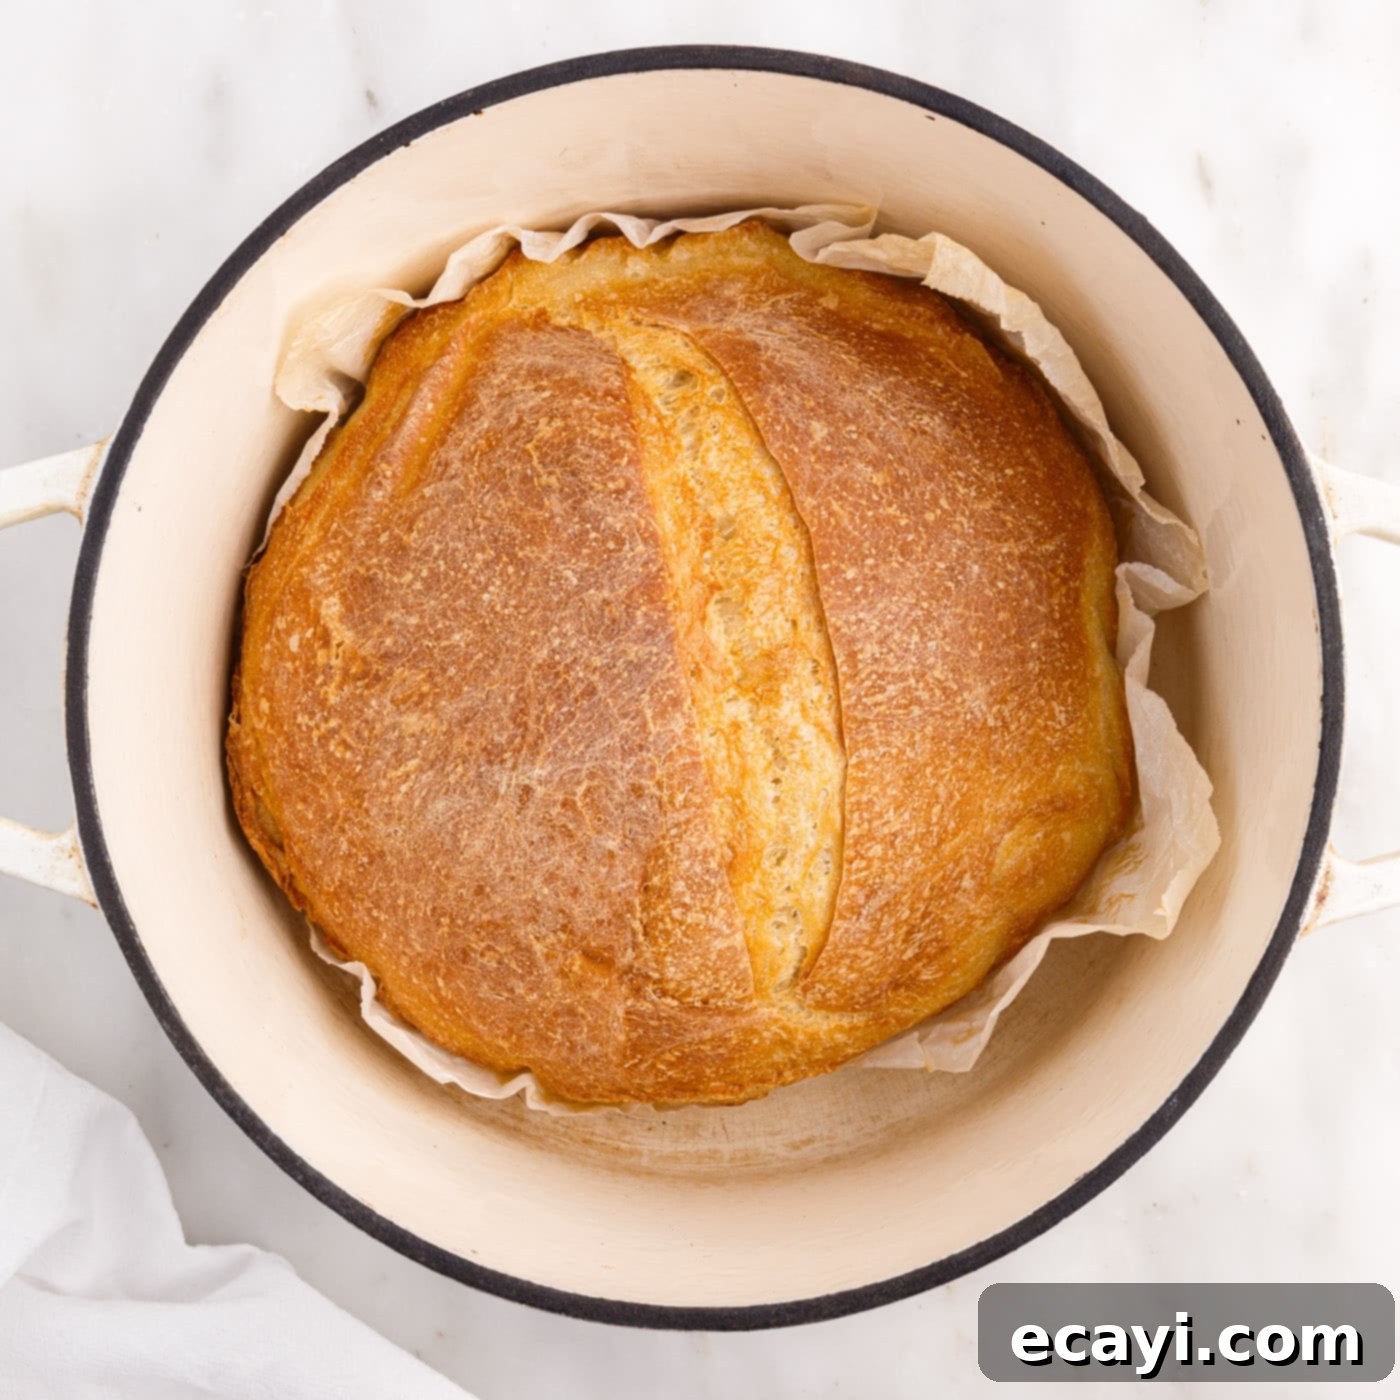
There’s nothing quite like the aroma of freshly baked bread filling your home, and with this incredibly easy Dutch oven bread recipe, that dream becomes a delicious reality. Requiring just four simple ingredients, this method yields a truly gorgeous artisan loaf featuring an irresistible golden-brown, crackly crust and a wonderfully delicate, airy crumb. Forget complicated techniques; this recipe is designed for both novice bakers and seasoned pros seeking a straightforward path to bakery-quality bread right from their own kitchen.
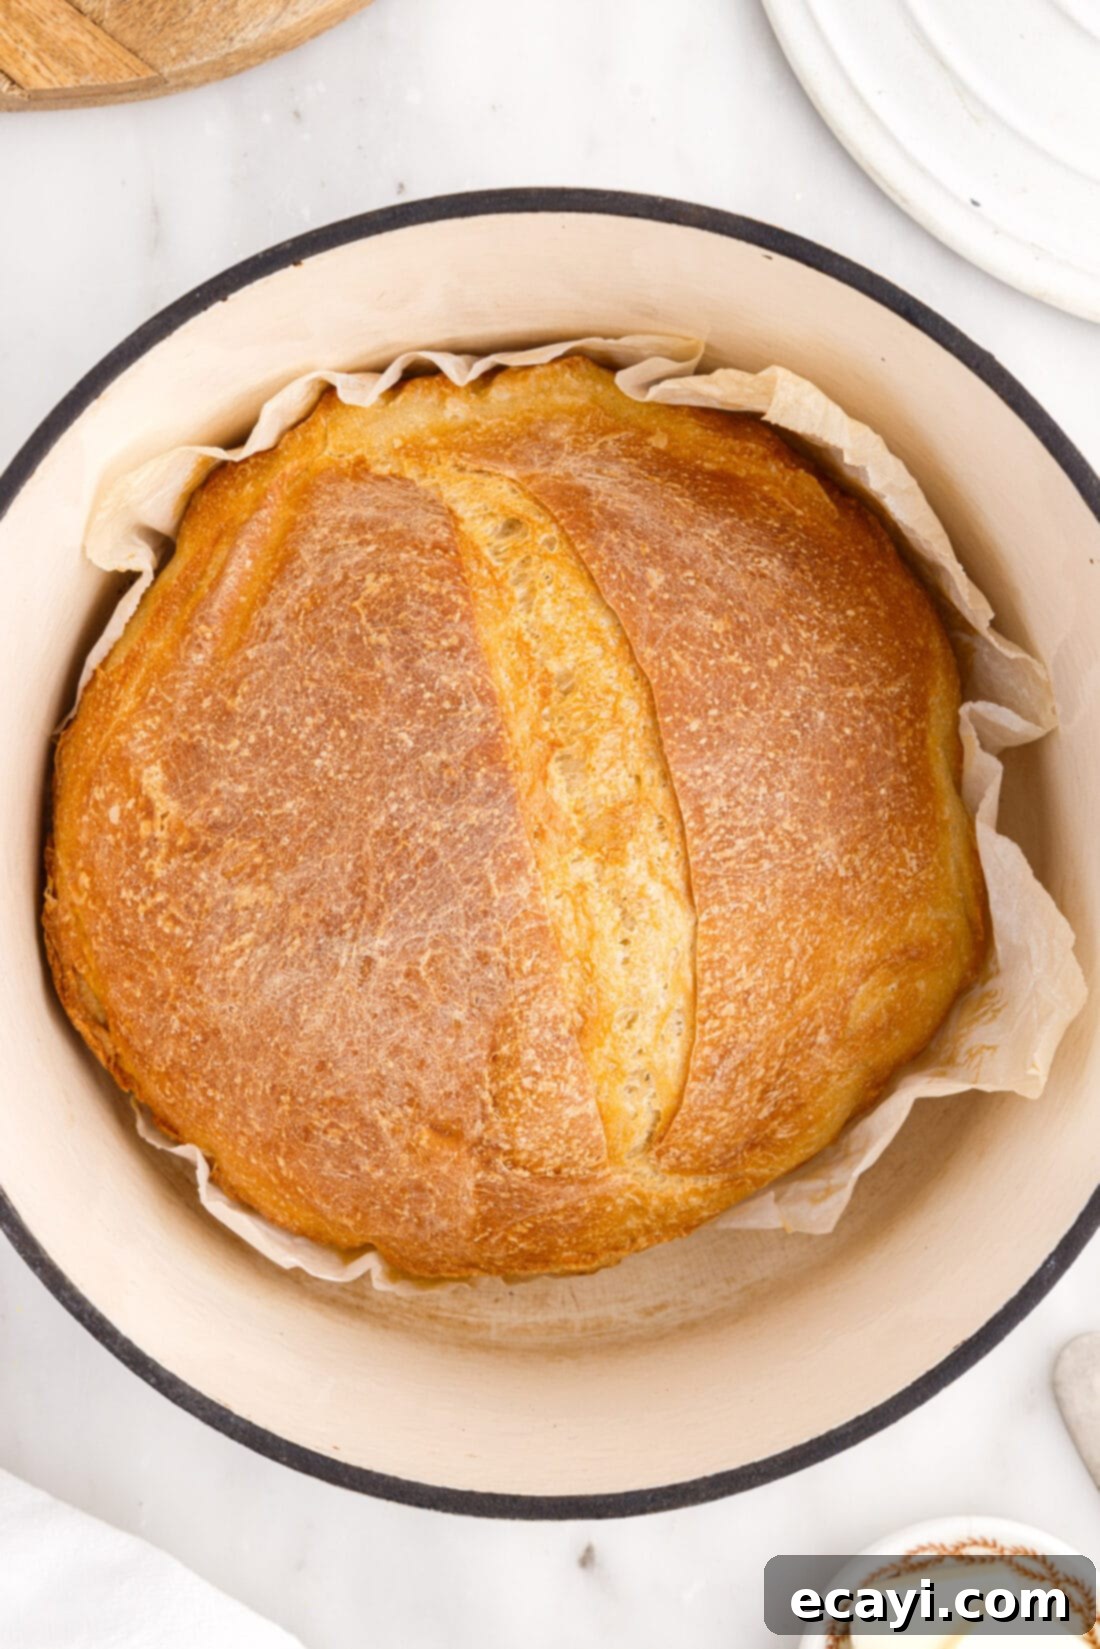
Why This Simple Dutch Oven Bread Recipe Is a Game-Changer
The magic of Dutch oven bread lies in its ability to deliver the best of both worlds: a remarkably soft, chewy interior perfectly complemented by an audibly crisp, crackly crust. This artisan-quality bread is surprisingly achievable, taking only around four hours from initial mixing to a warm, ready-to-slice loaf. Best of all, it calls for less than a handful of pantry staples: flour, salt, yeast, and water. This simplicity, combined with outstanding results, makes it a favorite among home bakers.
So, why is baking bread in a Dutch oven so effective? A Dutch oven acts as an exceptional heat conductor, but its real secret weapon is its ability to trap steam. As the bread bakes, the moisture released from the dough is contained within the sealed pot, creating a steamy environment. This steam is crucial for a couple of reasons:
- **Optimal Rise:** The humid environment keeps the dough’s surface supple, allowing the loaf to expand fully before the crust sets. This leads to a beautiful “oven spring” and a much lighter, airier internal texture (the crumb).
- **Superior Crust Development:** The steam delays the formation of the crust, giving the dough more time to rise. Once the lid is removed, the direct heat then crisps the hydrated surface, resulting in that signature deep golden, shiny, and wonderfully crackly crust that’s characteristic of true artisan bread. This contrasts sharply with baking on an open pan, like with our homemade Italian bread, where the crust forms much quicker and can be harder and less expansive.
Essentially, you’re replicating the ideal conditions of a professional baker’s steam-injected oven right in your own kitchen, all thanks to your trusty Dutch oven. This method not only simplifies the process but guarantees a consistently superb loaf every time.
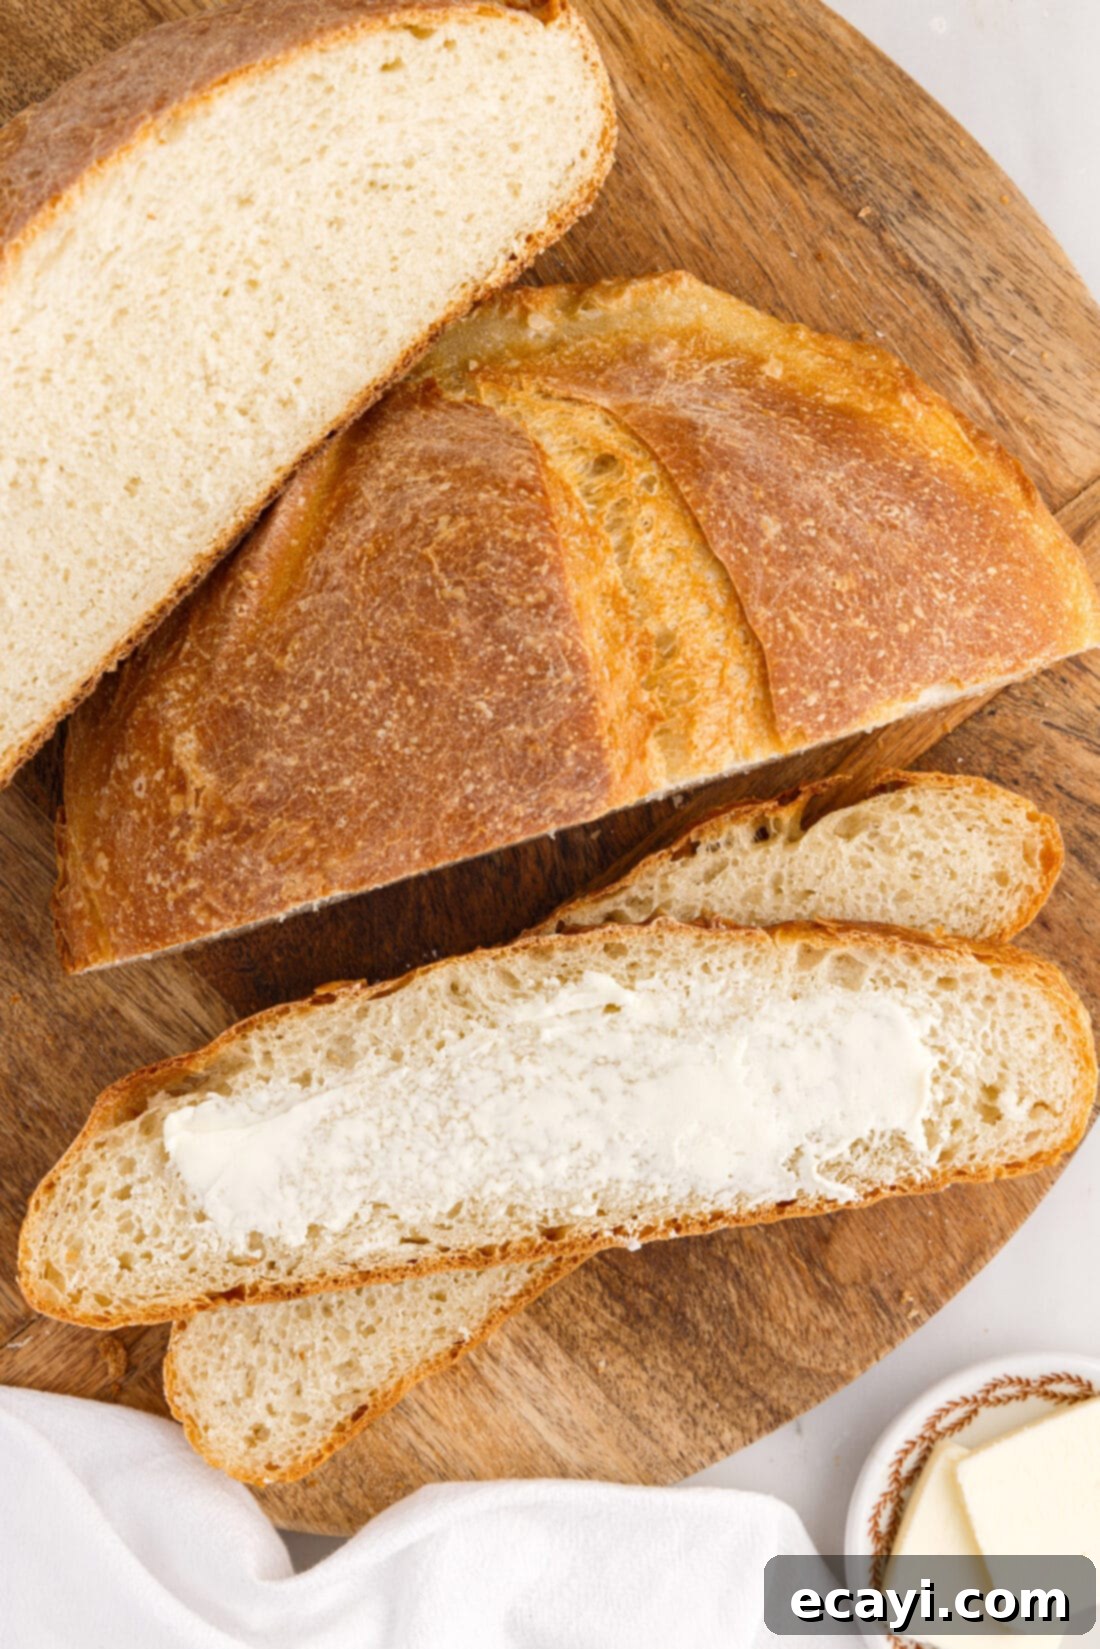
Essential Ingredients for Your Homemade Dutch Oven Bread
Crafting this delicious Dutch oven bread requires just four fundamental ingredients, proving that sometimes, less truly is more. While the full recipe card at the end of this post provides all precise measurements and instructions, let’s dive into why each component is vital and how it contributes to the perfect loaf.
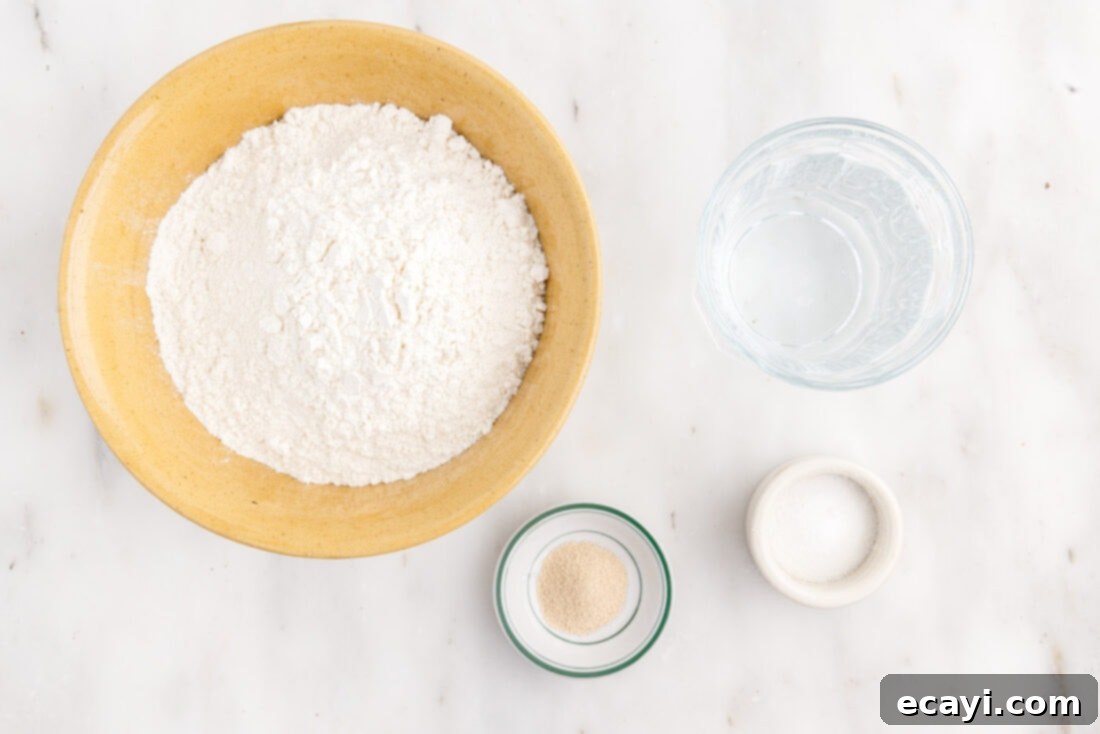
Ingredient Deep Dive and Pro Tips
Understanding the role of each ingredient will elevate your baking experience and help you achieve consistent results with your homemade Dutch oven bread.
- Flour: This recipe calls for all-purpose flour, which is readily available and provides a good balance of protein for gluten development. For an even chewier texture and higher rise, you could opt for bread flour, which has a higher protein content. While whole wheat flour can be used, it will result in a denser loaf and may require slightly more water. Always measure your flour accurately, ideally by weight (grams) if possible, to ensure consistency. If measuring by volume, spoon the flour into the measuring cup and level it off, rather than scooping directly from the bag, to avoid compacting it and using too much.
- Water: The water should be lukewarm, ideally around 100-110°F (38-43°C). This temperature is crucial because it activates the yeast without killing it. Water that is too hot will kill the yeast, preventing your dough from rising, while water that is too cold will significantly delay the rising process. Think of it as a comfortable bath temperature for your hand. The hydration level (ratio of water to flour) in this recipe is designed for a relatively easy-to-handle dough that still provides a good open crumb structure.
- Salt: Don’t underestimate the power of salt in bread making. Beyond simply seasoning the bread, salt plays several critical roles:
- Flavor Enhancement: It brings out the subtle, earthy flavors of the flour and fermentation. Without enough salt, your bread will taste bland and flat.
- Yeast Regulation: Salt helps to control the yeast’s activity, slowing down fermentation slightly, which allows for more complex flavor development.
- Gluten Strengthening: It contributes to a stronger gluten network, which is essential for trapping gas produced by the yeast, leading to a better rise and texture.
We recommend sea salt, but fine table salt or kosher salt works too. Adjust slightly to taste, but never omit it.
- Yeast: This recipe uses active dry yeast. It’s the living organism responsible for leavening your bread, producing carbon dioxide that makes the dough rise. Ensure your yeast is fresh; old yeast can lead to a flat, dense loaf. While this recipe specifically uses active dry, instant yeast can often be substituted directly in the same amount, and it doesn’t typically require proofing in water beforehand – it can be mixed directly with the dry ingredients. However, using lukewarm water as described still helps kickstart the process effectively.
Optional Additions: While this 4-ingredient recipe is perfect on its own, feel free to experiment with additions to customize your loaf. Consider folding in a handful of your favorite seeds (sesame, poppy, sunflower), dried herbs (rosemary, thyme), a sprinkle of garlic powder, or even shredded cheese during the final shaping stage for an extra layer of flavor and texture.
How to Make Perfect Dutch Oven Bread: Step-by-Step Guide
These step-by-step photos and detailed instructions are here to help you visualize how to make this delicious Dutch oven bread. For a printable version of this recipe, complete with precise measurements and a condensed instruction list, you can Jump to Recipe at the bottom of this post.
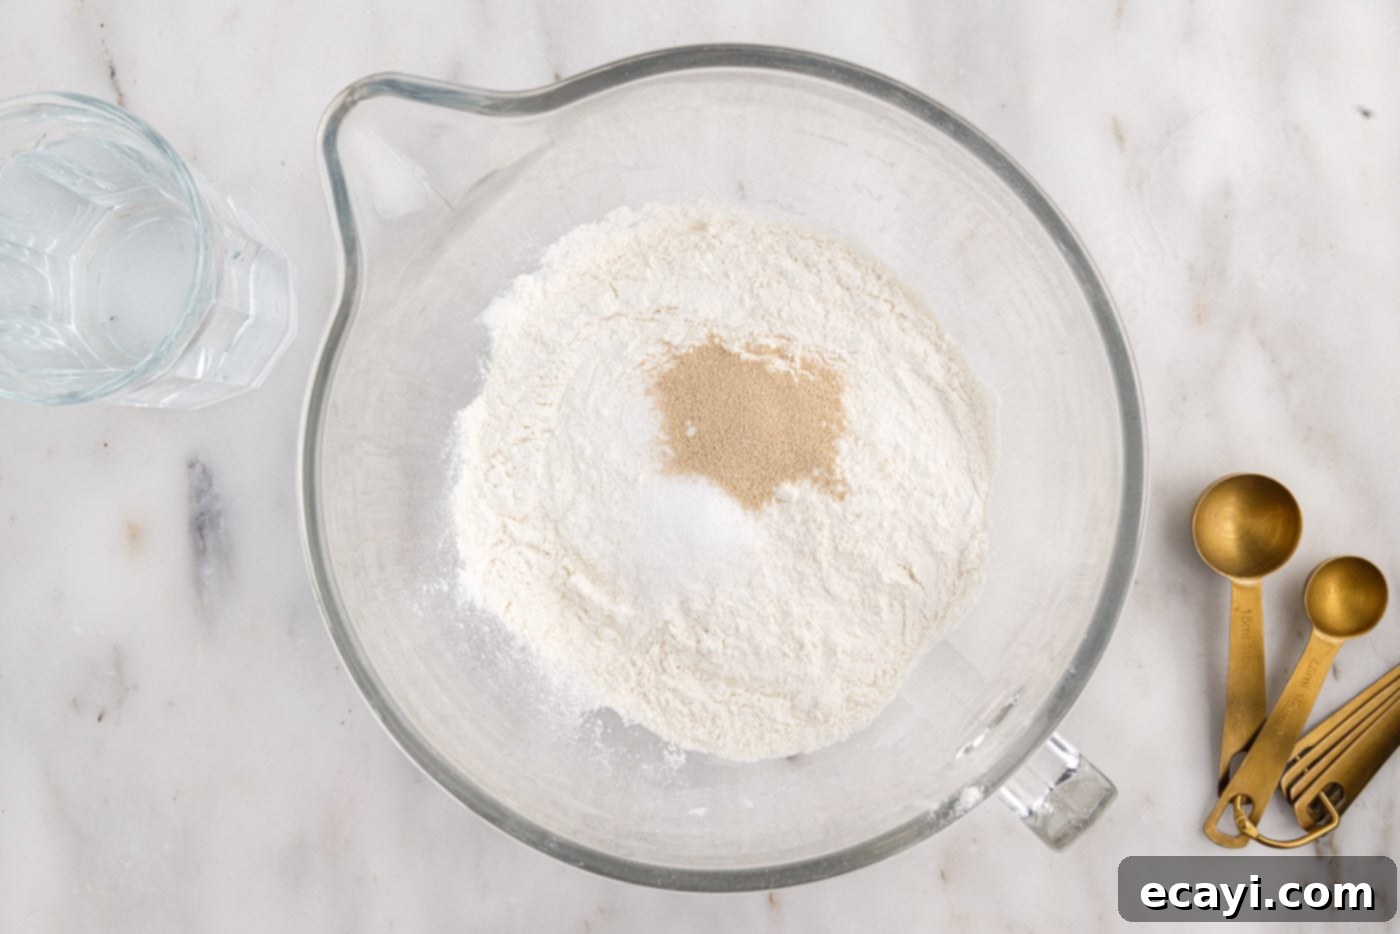
- Combine Dry Ingredients: In the bowl of a standing mixer, whisk together the flour, salt, and yeast until they are thoroughly combined. Whisking ensures an even distribution of the yeast and salt throughout the flour, which is important for uniform rise and flavor.

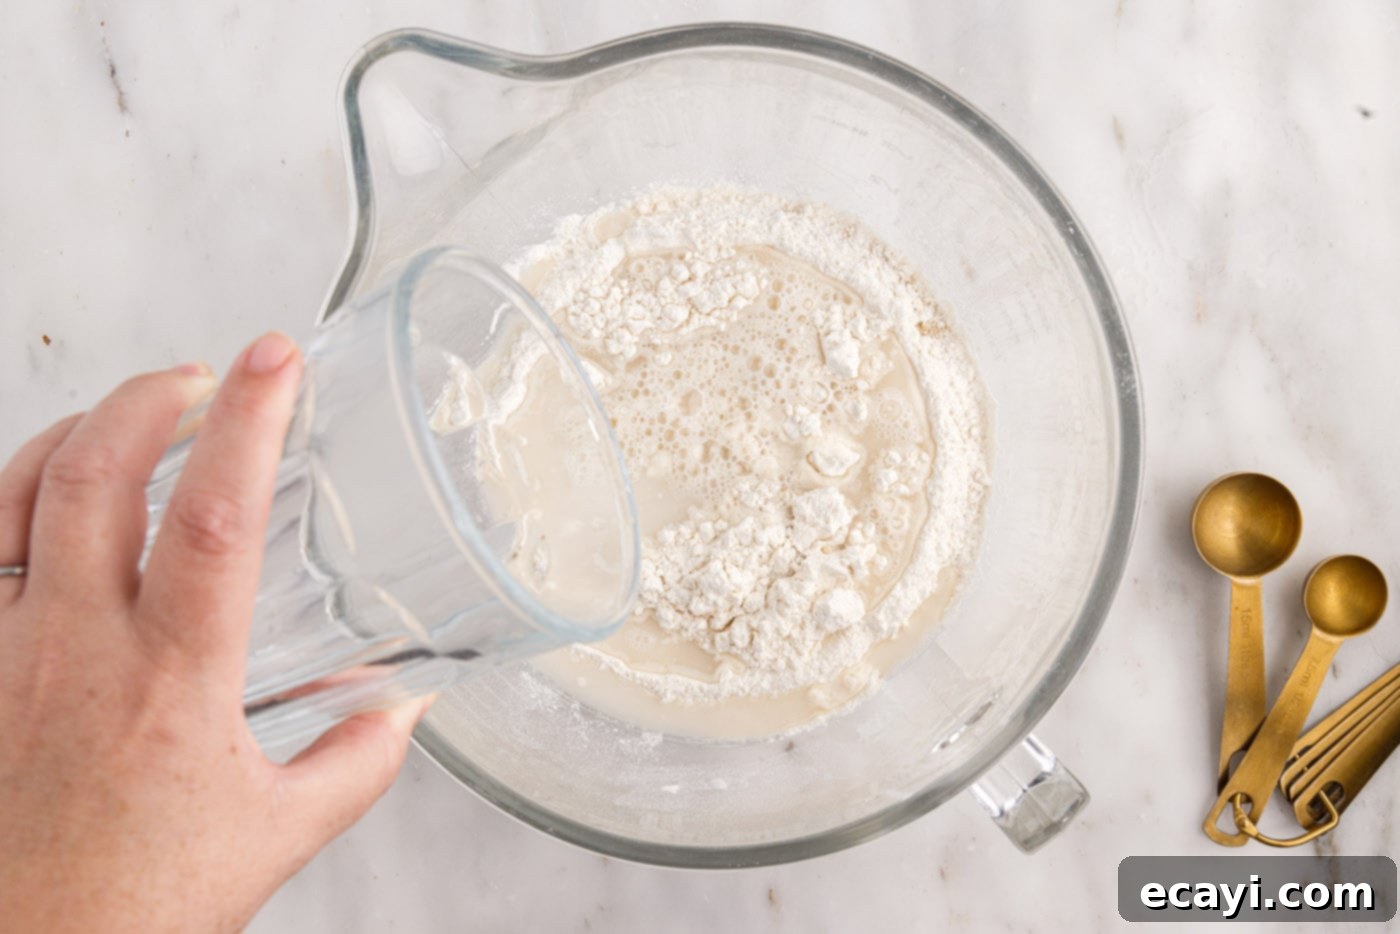
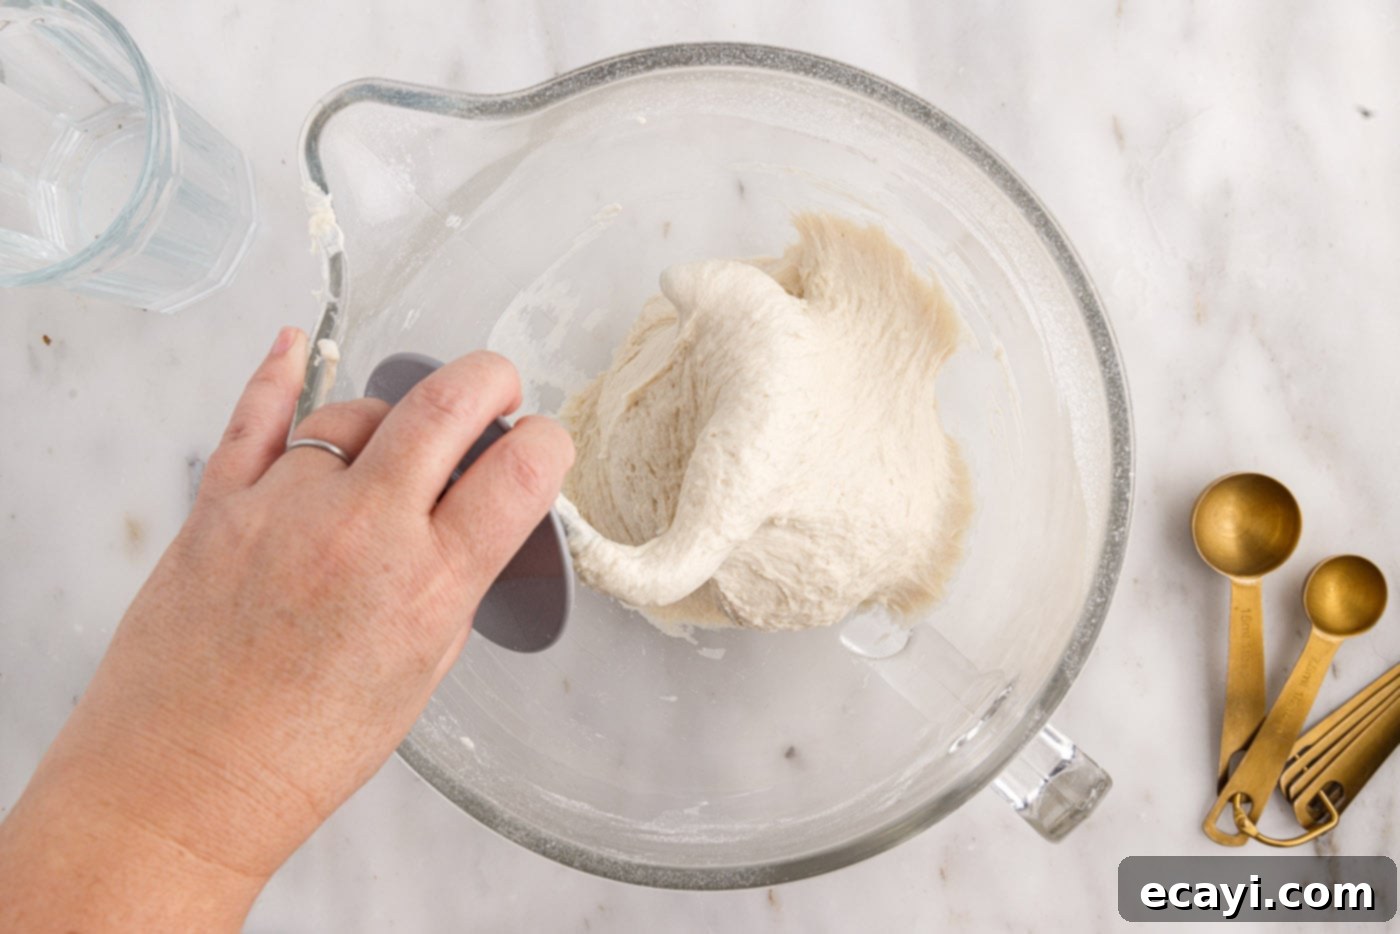
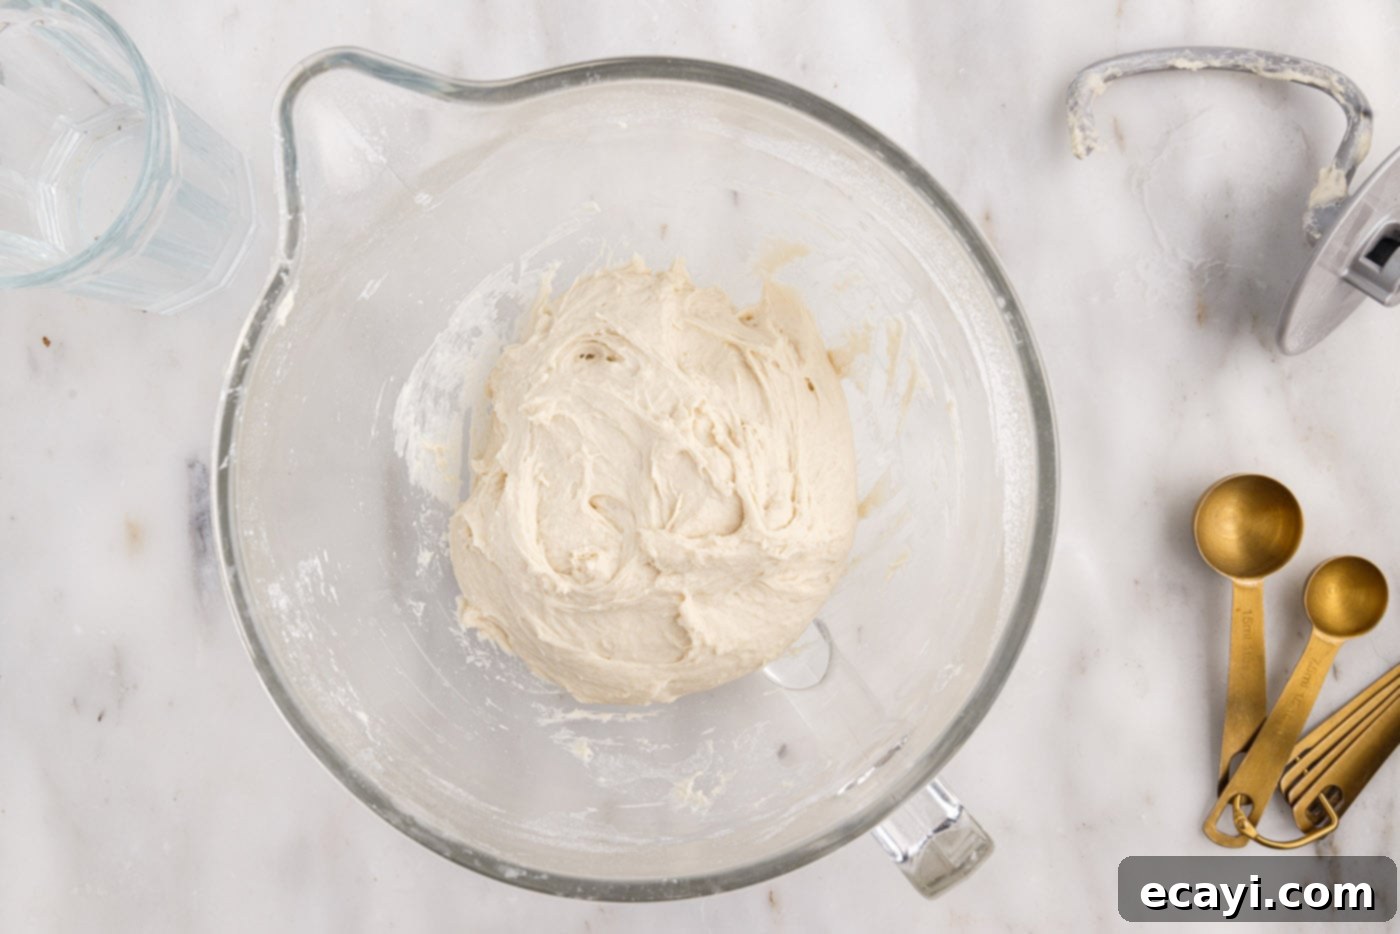
- Add Water and Knead: Pour the lukewarm water into the flour mixture. Attach the bread hook to your mixer and begin mixing the dough on medium-high speed for 3-4 minutes. Continue mixing until the dough develops elasticity, becoming smooth and pulling away from the sides of the bowl to wrap itself into a cohesive ball around the hook. This kneading process is vital for developing the gluten structure, which gives the bread its chewiness and ability to hold its shape.


- Form Dough Ball: Scrape the dough from the hook. With a spatula or lightly floured hands, gently form the dough into a smooth, round ball. Avoid overworking the dough at this stage.

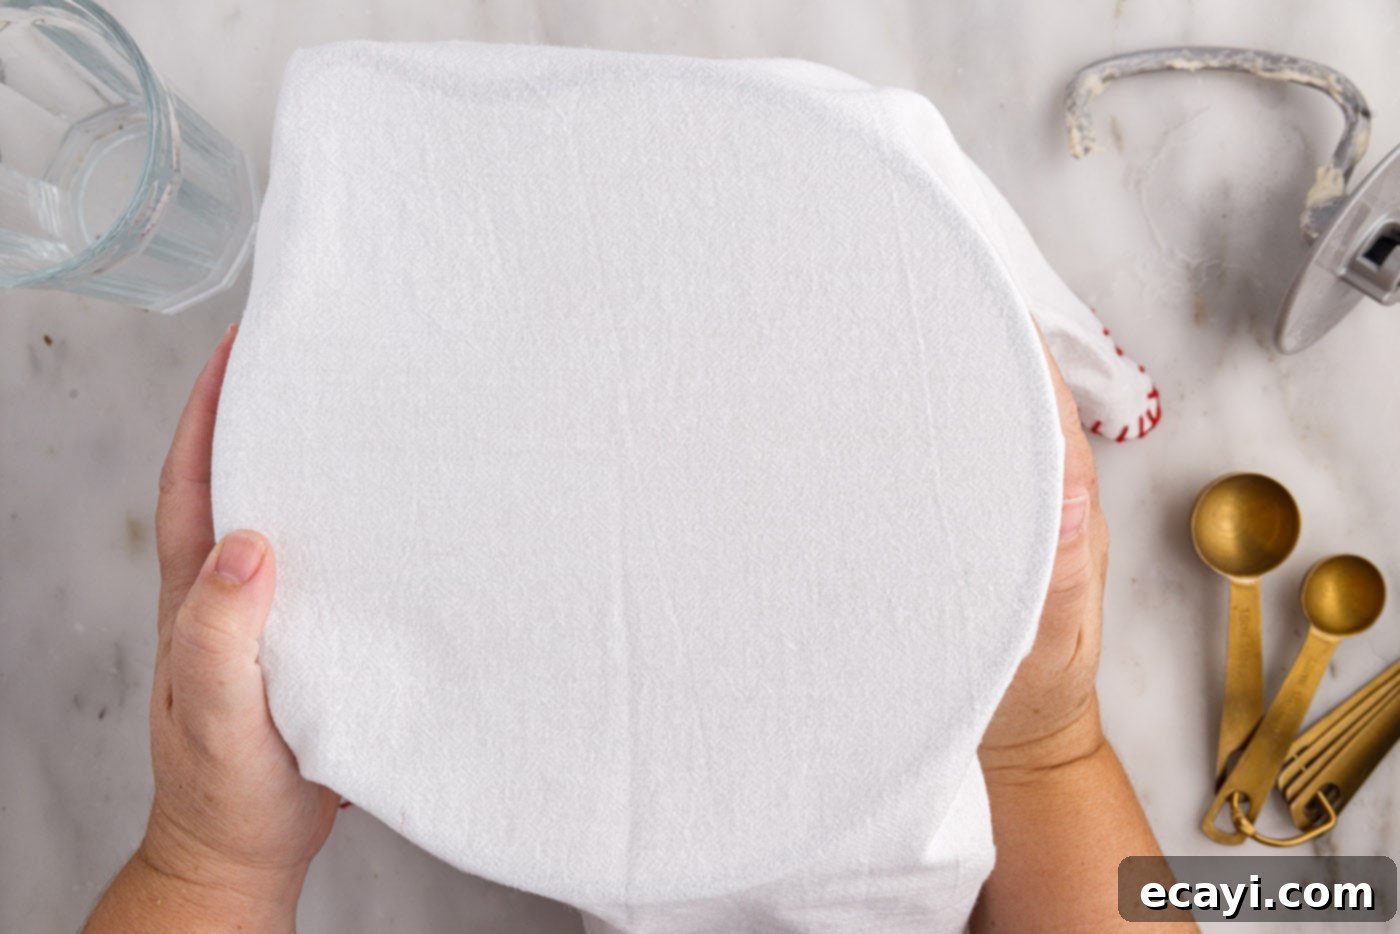
- First Rise (Bulk Fermentation): Place the dough ball back into the bottom of the mixer bowl (you can lightly oil the bowl first to prevent sticking, though not strictly necessary for this recipe). Cover the bowl with a light kitchen towel to prevent the dough from drying out. Find a warm, draft-free location in your kitchen and allow the dough to rise for about 2 hours, or until it has roughly doubled in size. A slightly warmer environment will speed up the rise, while a cooler one will slow it down, allowing for more flavor development.

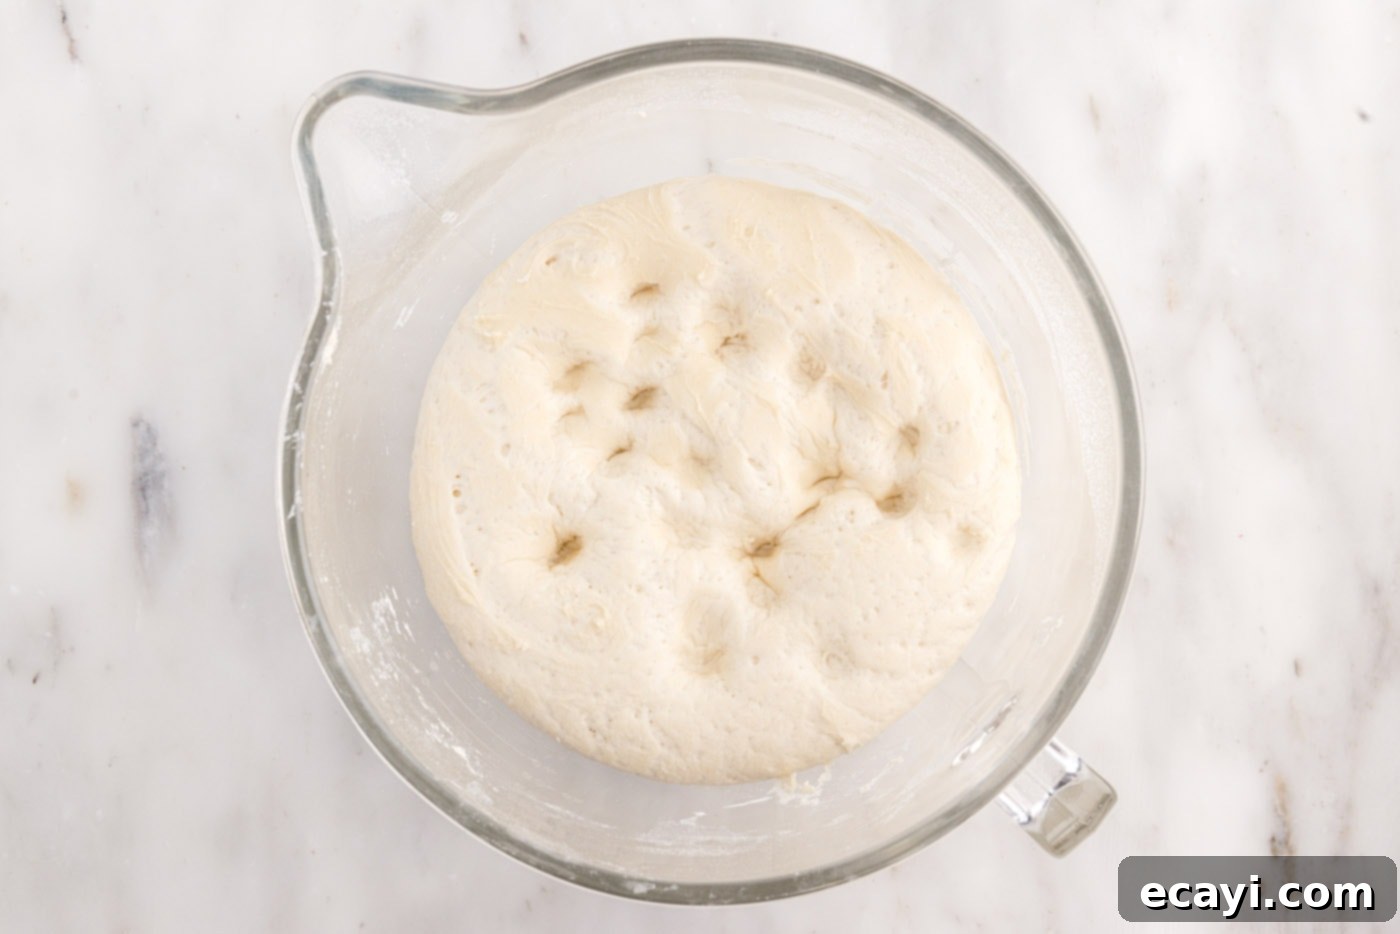
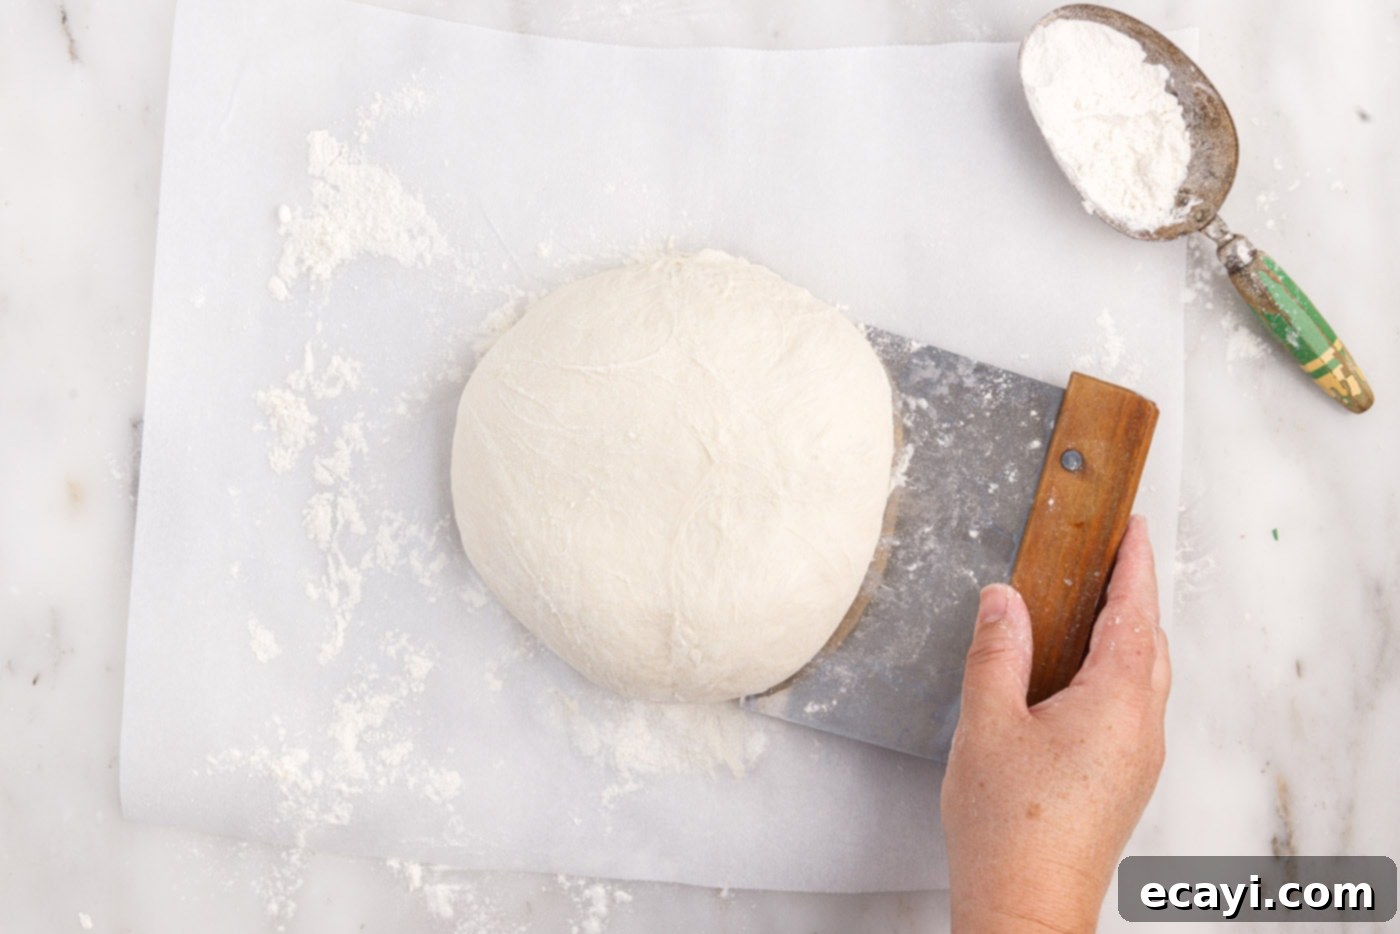
- Deflate and Turn Out: After the first rise, gently poke your fingers into the dough to deflate it, releasing the trapped gases. Then, carefully turn the dough out onto a lightly floured surface. This step helps redistribute the yeast and nutrients, strengthening the gluten and preparing the dough for shaping.


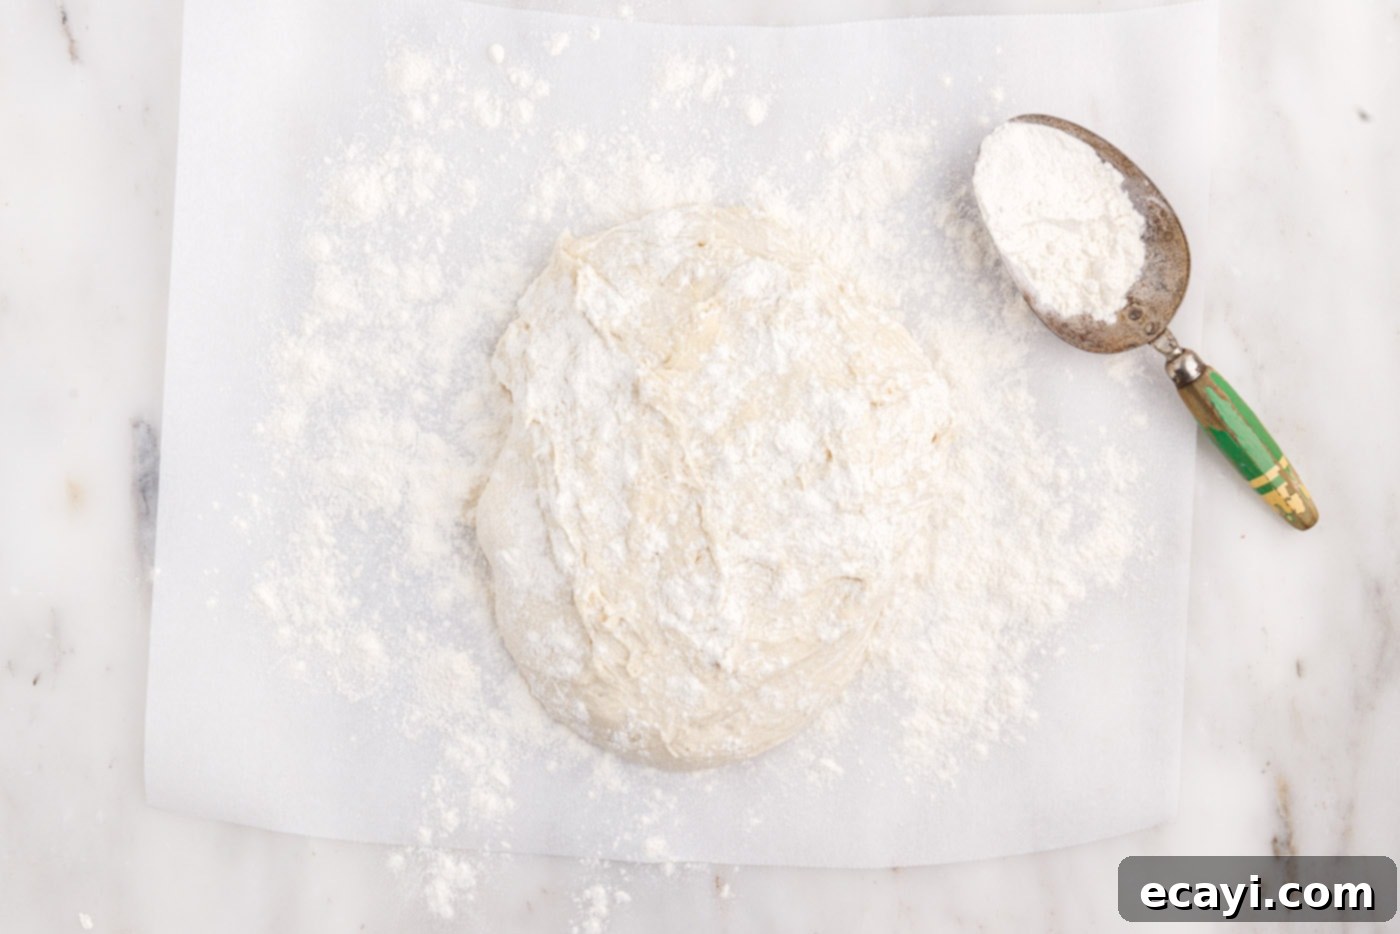
- Reshape the Dough: Using a bench scraper or your hands, gently fold the edges of the dough towards the center to create tension on the surface. Continue to cup and turn the dough, forming it back into a tight, sturdy round loaf. This careful shaping helps build structure and ensures a beautiful, evenly risen final loaf.

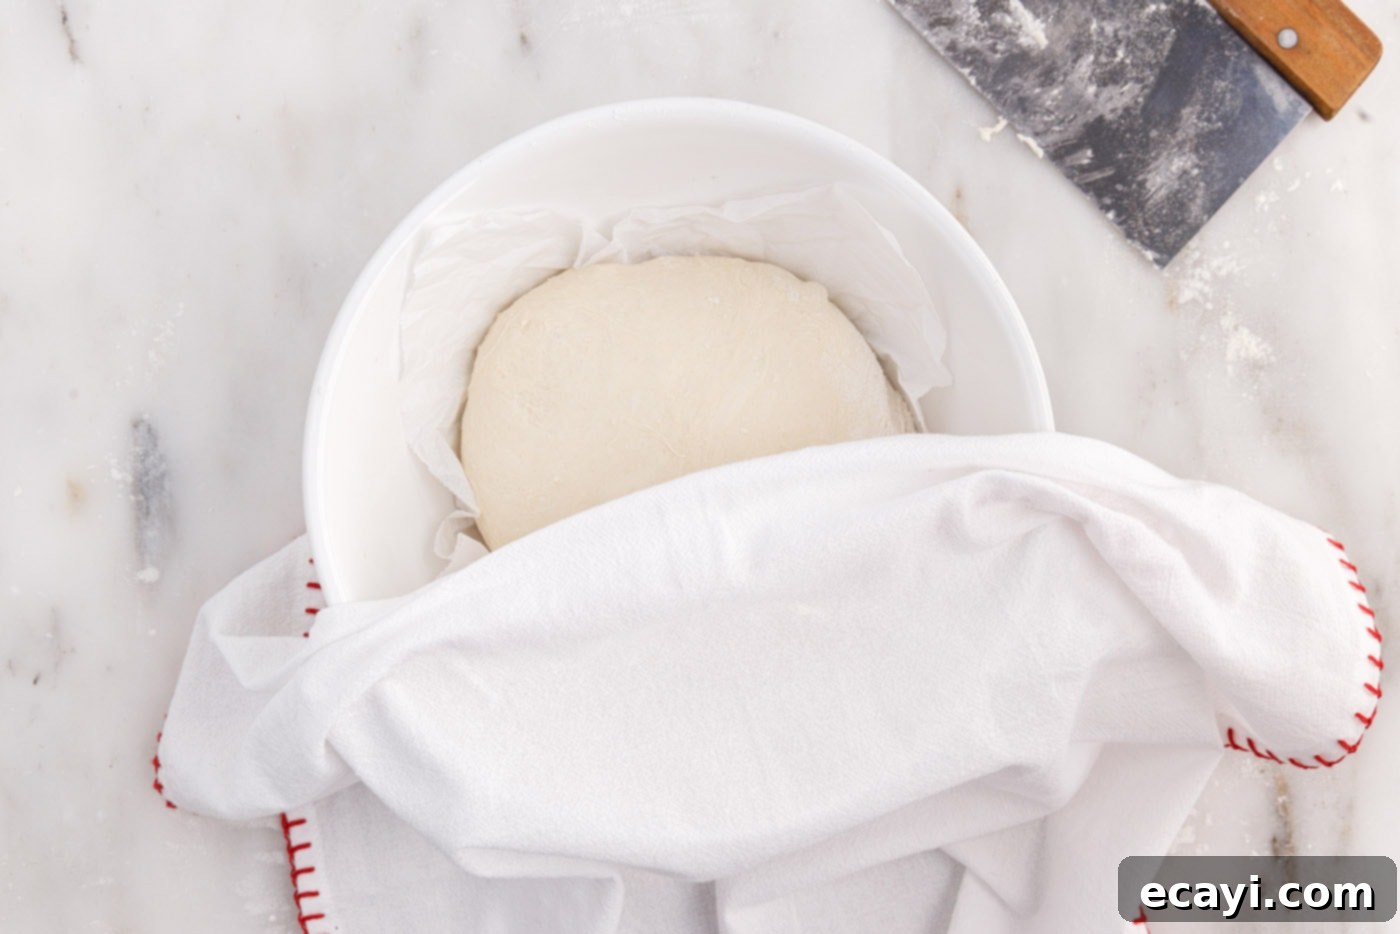
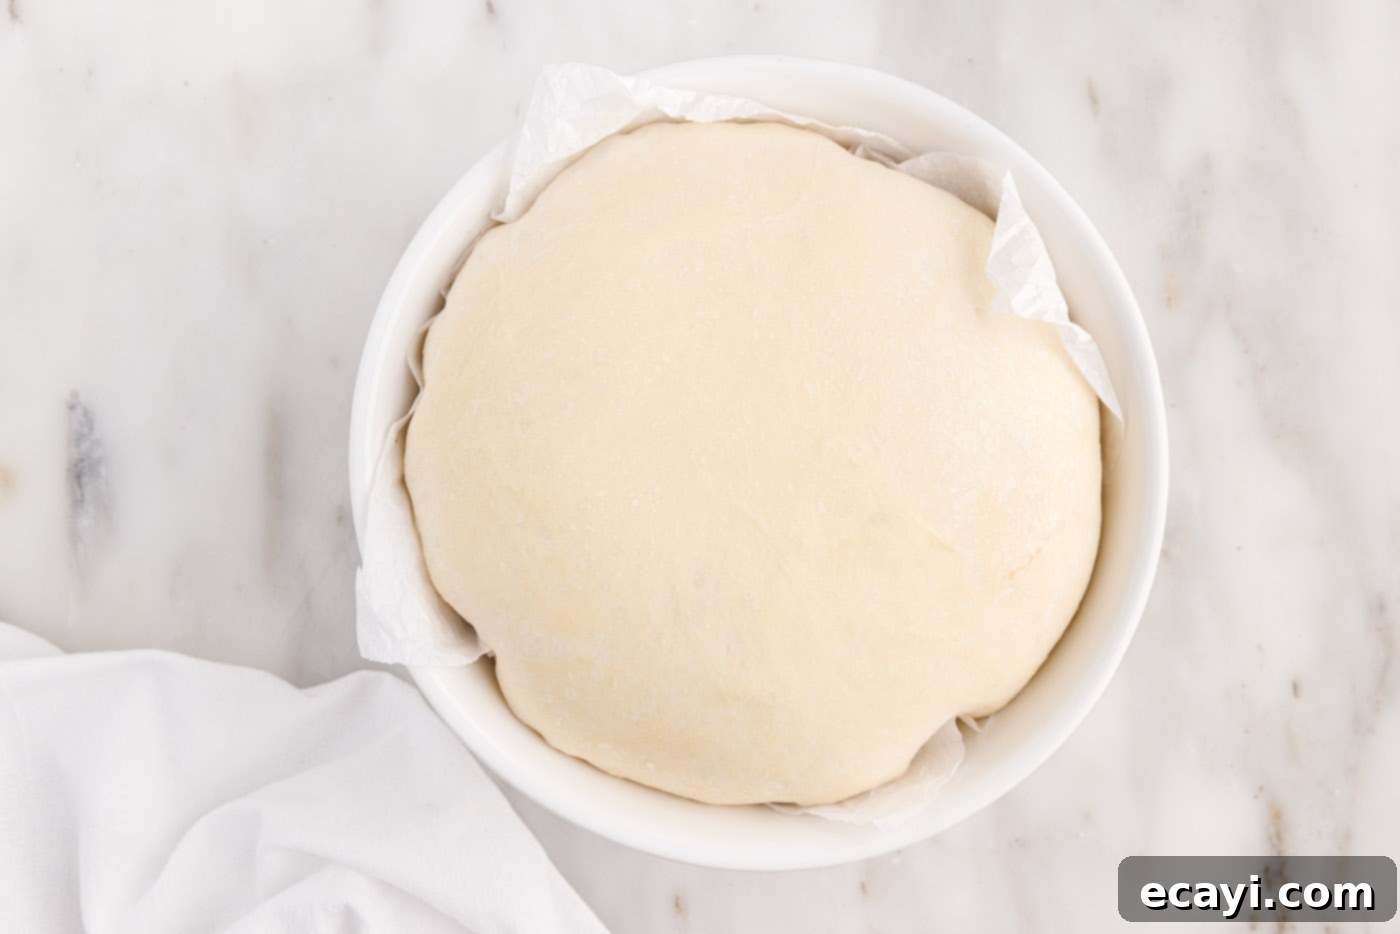
- Second Rise (Proofing): Transfer the shaped dough to a bowl lined with a sheet of parchment paper. The parchment paper will make it easy to transfer the dough into the hot Dutch oven later. Cover the bowl again with a towel and allow the dough to rise for a second time, typically 1-2 hours. To check if it’s ready, gently press a floured finger into the dough; if the indentation bounces back slowly or partially, it’s perfectly proofed. If it springs back immediately, it needs more time. If it collapses, it might be over-proofed.


- Preheat Oven and Dutch Oven: Approximately 30 minutes to 1 hour before the dough is ready for baking, place your Dutch oven (with its lid on) into the oven. Preheat the oven to a blazing 450°F (232°C). It’s crucial to allow both the oven and the Dutch oven to heat thoroughly at this temperature for at least 30 minutes, and ideally for a full hour. A very hot Dutch oven is key to achieving that initial burst of steam and a crispy crust.
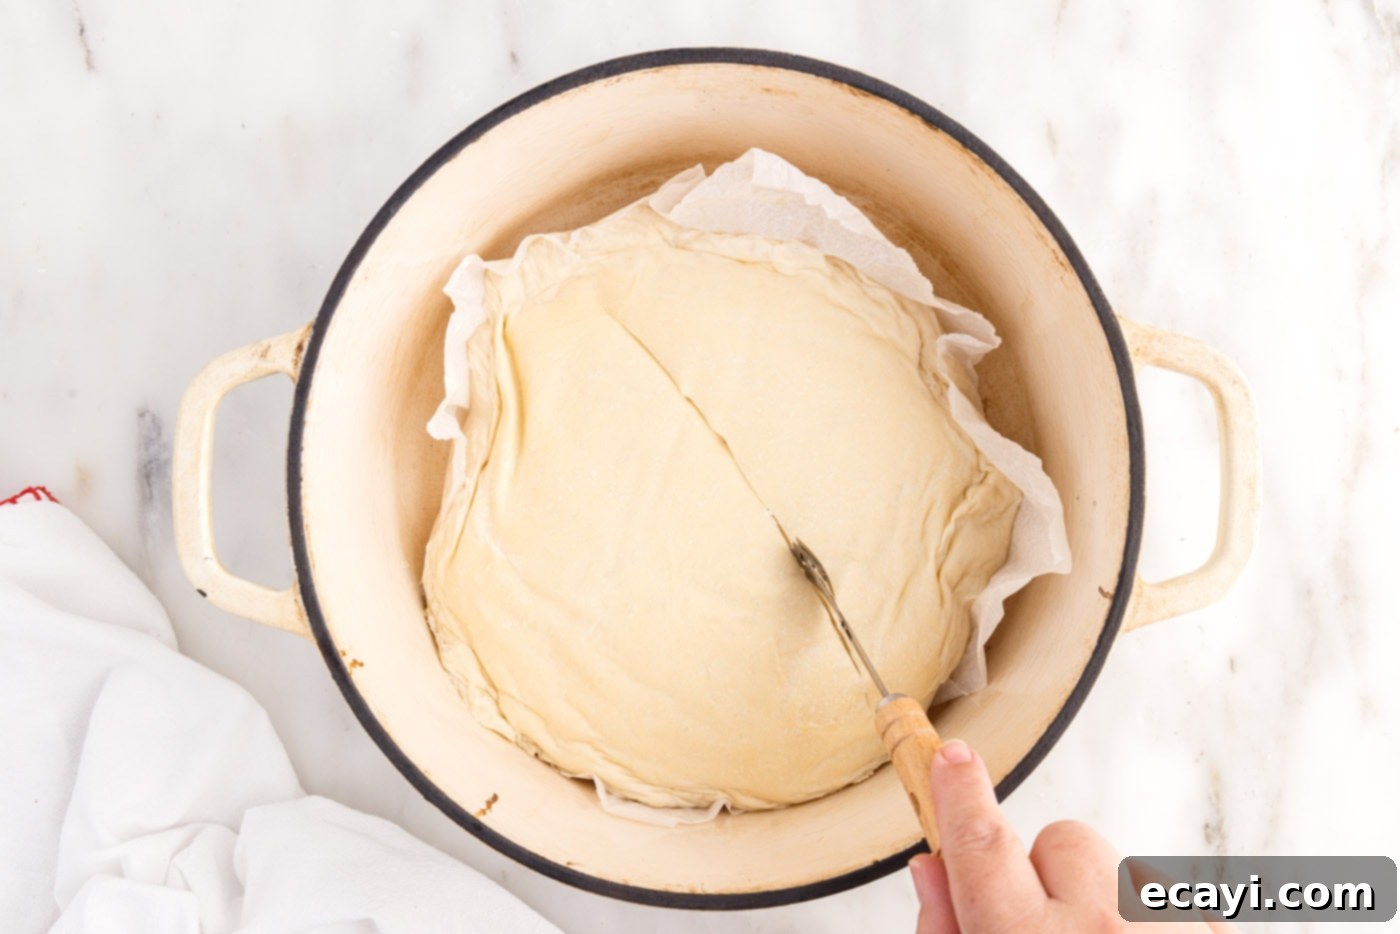
- Transfer to Hot Dutch Oven: With extreme caution, carefully remove the preheated Dutch oven from the oven. Using the parchment paper as handles, gently lift the proofed dough loaf and lower it directly into the hot Dutch oven. Be swift and careful to avoid losing too much heat.
- Score the Loaf: Use a sharp lame (a specialized scoring tool) or a very sharp serrated knife to quickly score the top of the loaf. A simple straight line or an ‘X’ pattern works well. Scoring creates a controlled opening for steam to escape during baking, allowing the loaf to expand beautifully (oven spring) without bursting unpredictably. It also adds a professional, artistic touch.

- Bake with Lid On: Quickly place the lid back onto the Dutch oven, sealing in the steam, and return it to the preheated oven. Bake for 30 minutes at 450°F (232°C). This initial phase, with the lid on, is where the steam works its magic, ensuring maximum rise and preventing the crust from forming too early.
- Bake with Lid Off: After 30 minutes, carefully remove the lid from the Dutch oven. Always turn the lid away from you to direct the hot steam away and prevent burns. Continue baking for an additional 5-10 minutes, or until the crust reaches a deep golden brown color and sounds hollow when tapped. This final stage without the lid allows the crust to crisp up and achieve its characteristic rich color.
- Cool Completely: Remove the Dutch oven from the oven. Carefully lift the baked loaf out by the parchment paper and transfer it to a wire cooling rack. Allow the bread to cool completely before slicing. This step is crucial, as the internal structure of the bread is still setting, and slicing it too early can result in a gummy texture and loss of internal moisture. Patience will be rewarded with the perfect crumb!
Frequently Asked Questions & Expert Tips for Dutch Oven Bread
The primary difference between a “knead” recipe, like this one, and a “no-knead” recipe largely revolves around time and gluten development. When you knead the dough, either by hand or with a stand mixer and dough hook, you are actively working the proteins in the flour to form gluten strands. This gluten network provides the bread with its structure, elasticity, and ability to trap gas, leading to a quicker and more predictable rise. Our recipe utilizes mechanical kneading for 3-4 minutes to achieve this efficient gluten development, allowing the first rise to complete in a mere 2 hours. In contrast, no-knead recipes minimize physical manipulation. Instead, they rely on a much longer fermentation period (often 7-8 hours or even overnight) to allow the gluten to develop slowly through enzymatic activity and hydration. Both methods can produce fantastic results, but the kneading method offers a significantly faster turnaround time from start to finish, ideal when you want fresh bread sooner.
Once your Dutch oven bread has cooled completely and been sliced, store any leftovers in an airtight container or a bread bag at room temperature. This helps to preserve its freshness and prevent it from drying out. While this bread is undeniably at its peak flavor and texture on the first day after baking, it can be stored for 5-6 days. For longer storage, consider freezing whole or sliced bread in a freezer-safe bag for up to 2-3 months. To enjoy, thaw at room temperature or briefly reheat sliced bread in a toaster or oven for a refreshed crust.
Absolutely, yes! Do not skip the crucial step of preheating your Dutch oven. This is perhaps one of the most vital steps for achieving that coveted artisan crust and exceptional oven spring. Preheating the Dutch oven ensures that it reaches the correct, extremely high temperature before the dough is introduced. This intense initial heat immediately creates a powerful burst of steam from the dough’s surface moisture, preventing the crust from setting too quickly and allowing the loaf to expand to its maximum potential. It also contributes to the beautiful browning and super-crispy texture that makes Dutch oven bread so special. A cold Dutch oven will yield a denser loaf with a less impressive crust.
A heavy-bottomed cast iron Dutch oven, preferably enameled, is ideal. Sizes ranging from 4 to 6 quarts are most common for a single loaf of bread. The heavy material retains and distributes heat exceptionally well, and the tight-fitting lid is essential for trapping steam. While enameled cast iron is excellent, a seasoned raw cast iron Dutch oven also works beautifully.
Certainly! Customizing your bread with additions is a wonderful way to personalize your loaf. You can gently fold in up to ½ cup of seeds (like sesame, poppy, sunflower, or pumpkin seeds), dried herbs (such as rosemary, thyme, or oregano), or even grated cheese (like Parmesan or cheddar) during the final stages of kneading or just before the second rise when you are shaping the dough. Be mindful that adding too many inclusions can affect the dough’s structure, so start with moderate amounts.
Several factors can lead to a dense loaf or a lack of rise. The most common culprits include:
- Inactive or Old Yeast: Ensure your yeast is fresh. If the water was too hot, it could have killed the yeast.
- Water Temperature: As discussed, water that is too hot or too cold can hinder yeast activity.
- Insufficient Kneading: If the gluten isn’t properly developed, the dough won’t have the structure to trap gases and rise.
- Over or Under Proofing: Dough needs to rise adequately but not excessively. Refer to the finger-poke test in step 7.
- Not Preheating the Dutch Oven: A cold Dutch oven will prevent proper oven spring, leading to a denser result.
Troubleshooting these points will help you achieve a perfectly airy crumb.
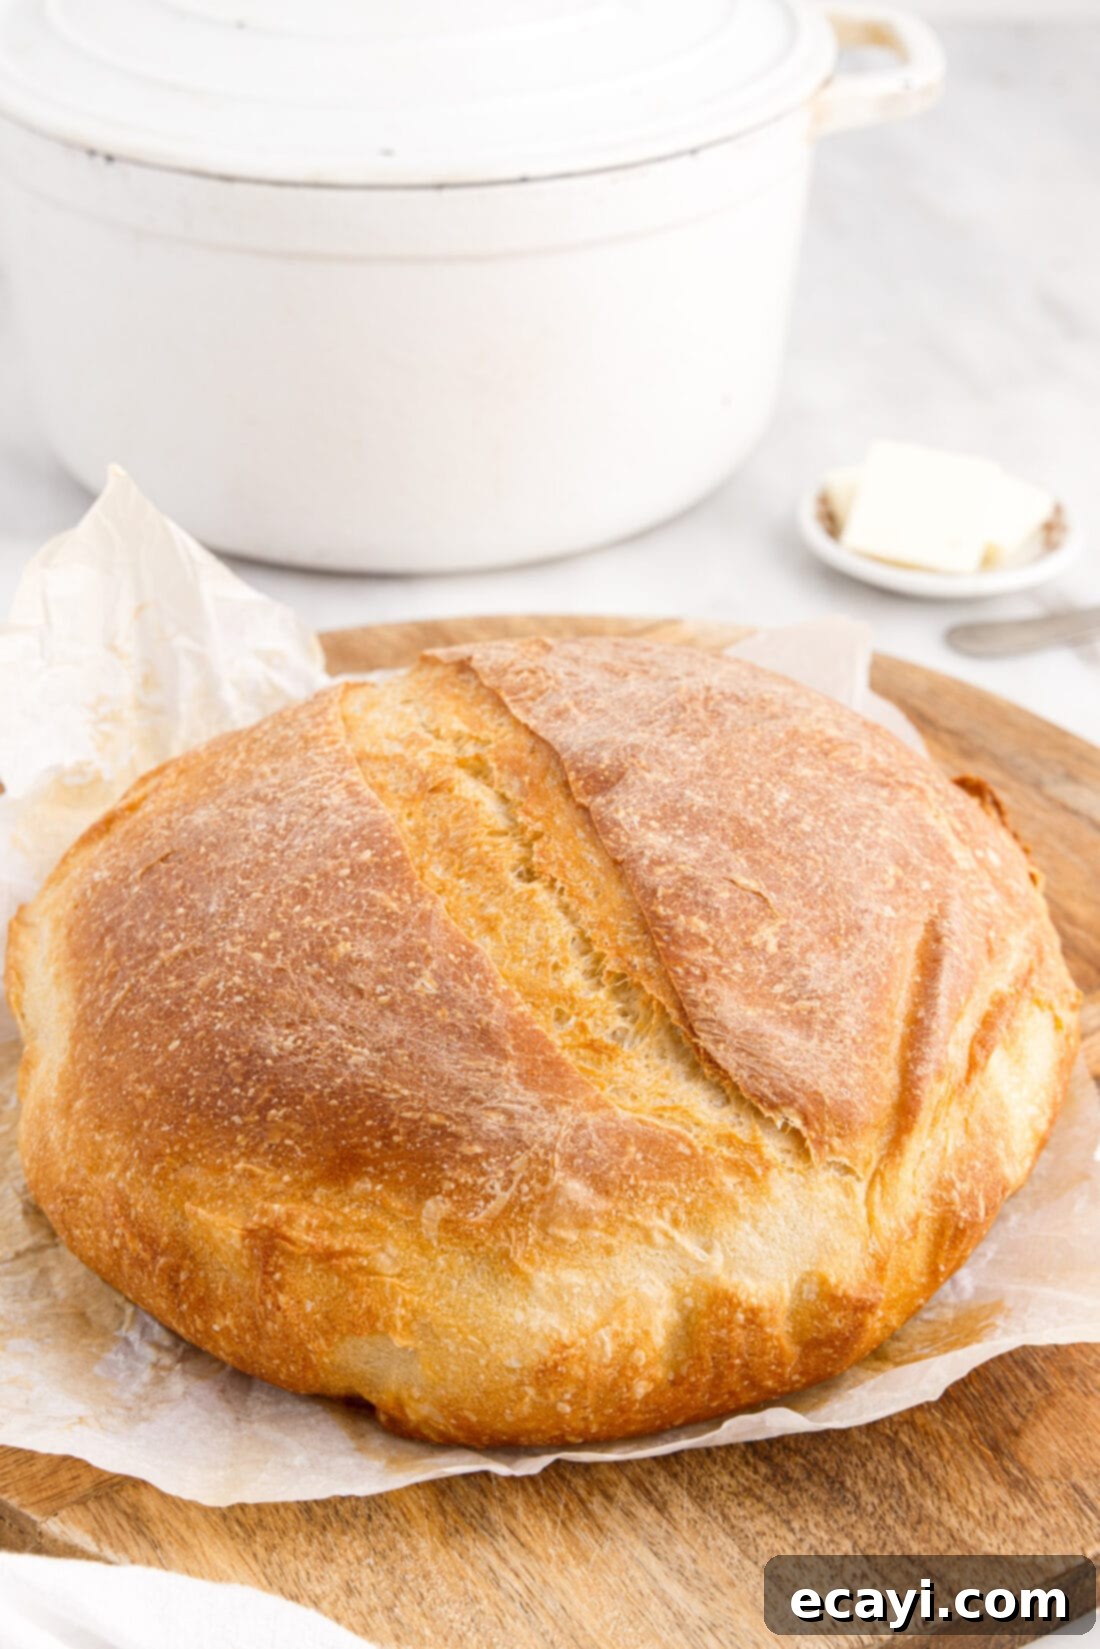
Delicious Serving Suggestions for Your Homemade Bread
The real question isn’t what would go well with this incredible Dutch oven bread, but rather, what wouldn’t? Its versatile flavor and perfect texture make it a fantastic companion to almost any meal or a delightful treat on its own.
- Simple Spreads: Slice a warm piece and generously smear it with creamy butter, a dollop of your favorite fruit jam or preserves, or for a sweet twist, our irresistible cinnamon honey butter.
- Savory Accompaniments: This bread is an absolute must-have for dunking into hearty soups, rich stews, or comforting casseroles. Its sturdy crust and absorbent crumb are perfect for soaking up every last drop of delicious broth.
- Sandwich Perfection: The substantial slices make for a gourmet sandwich base. Pile high with your favorite deli meats, cheeses, and fresh vegetables for an elevated lunch experience.
- Appetizers: Cube stale bread to make delicious homemade croutons for salads, or toast slices lightly for bruschetta, topped with fresh tomatoes, basil, and mozzarella.
- Breakfast Treat: Transform leftover slices into French toast for a decadent breakfast, or simply toast and serve with eggs and bacon.
- With Cheese & Wine: A rustic loaf like this pairs beautifully with a cheese board, offering a neutral base that highlights the flavors of various cheeses and charcuterie.
From a comforting dinner side to a versatile base for culinary creations, your freshly baked Dutch oven bread is sure to be a crowd-pleaser.
Explore More Homemade Bread Recipes
If you’ve fallen in love with the joy of baking your own bread, we have plenty more recipes to help you expand your repertoire. Discover diverse textures and flavors that will continue to fill your home with wonderful aromas:
- Classic Irish Soda Bread
- Hearty Homemade Amish White Bread
- Authentic Homemade Italian Bread
- Nutritious Homemade Multigrain Bread
- Timeless 1963 Homemade White Bread
I absolutely adore sharing my passion for baking and cooking with all of you! To make sure you never miss a new recipe, I offer a convenient newsletter delivered right to your inbox. Simply subscribe today and start receiving your free daily recipes, bringing fresh inspiration to your kitchen every day!
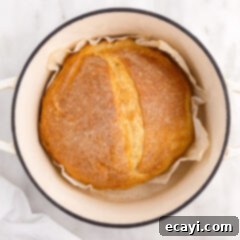
Dutch Oven Bread
IMPORTANT – There are often Frequently Asked Questions within the blog post that you may find helpful. Simply scroll back up to read them!
Print It
Pin It
Rate It
Save ItSaved!
Ingredients
- 4 cups all-purpose flour
- ½ Tablespoon sea salt
- 1 teaspoon active dry yeast
- 1 ½ cups warm water not warmer than 100F (38°C)
Equipment You’ll Need
-
Stand mixer with dough hook attachment
-
Dutch oven 4-6 quart capacity with a tight-fitting lid
-
Bench scraper
-
Lame (or a very sharp serrated knife)
Before You Begin & Expert Tips
- The water temperature for activating yeast is critical: ensure it’s lukewarm (around 100-110°F or 38-43°C). Water that is too hot will kill the yeast, preventing any rise, while water that is too cold will significantly delay the rising process.
- Don’t skimp on the salt! Salt is vital not only for seasoning the bread but also for regulating yeast activity and strengthening the gluten structure. Your bread will taste flat and lack depth if you don’t add enough salt to the dough.
- Never skip the step of preheating the Dutch oven. A thoroughly preheated Dutch oven is essential for creating the necessary steam and intense heat that results in a beautiful oven spring and a wonderfully crispy, golden crust.
- If you prefer, you can lightly grease the mixing bowl or coat the dough with a small amount of neutral oil before the first rise. This helps prevent a skin from forming on the dough’s surface and makes it easier to handle.
- Understanding the difference between kneaded and no-knead bread mostly involves time and texture. By kneading the dough (as we do here with the stand mixer’s dough hook), you quickly develop the gluten that provides the bread’s structure. This shortens the first rise to 2-3 hours. A no-knead method relies on a much longer bulk fermentation (7-8 hours or more) for gluten to develop naturally over time.
- Once the Dutch oven bread has cooled completely and been cut, store any leftovers in an airtight container or a bread bag at room temperature. This bread is undoubtedly at its best on the first day after baking, but it will maintain its quality for 5-6 days. For longer storage, slices can be frozen.
Instructions
-
In the bowl of a standing mixer, whisk together the flour, salt, and yeast until thoroughly combined.
-
Add the warm water to the flour mixture and beat to combine. Use the bread hook attachment on the mixer to mix the dough on medium-high speed for 3-4 minutes, until the dough becomes elastic, smooth, and forms into a ball around the hook.
-
Scrape the dough from the hook and use a spatula or lightly floured hands to gently form the dough into a smooth ball.
-
Place the dough ball in the bottom of the bowl, cover with a light kitchen towel, and set it in a warm, draft-free location to rise for about 2 hours, or until doubled in size.
-
After 2 hours, gently poke your fingers into the bread to deflate it, then turn the dough out onto a lightly floured board.
-
Use a bench scraper (or your hands) to reform the dough into a nice, sturdy round loaf, creating tension on the surface.
-
Transfer the shaped dough to a bowl lined with a sheet of parchment paper. Cover and allow it to rise a second time for 1-2 hours. The dough is ready to bake when you gently press your finger in, and the indentation does not bounce back immediately but slowly or partially.
-
30 minutes to 1 hour before the bread is ready to bake, place the Dutch oven (with its lid on) into the oven and preheat to 450°F (232°C). Allow the oven and Dutch oven to heat thoroughly at this temperature for at least 30 minutes (preferably 1 hour).
-
Carefully take the hot Dutch oven out of the oven. Using the parchment paper, lift the proofed dough loaf and gently lower it into the hot Dutch oven.
-
Score the top of the loaf with a lame or a sharp serrated knife. This provides an escape route for steam, allowing the loaf to puff up beautifully during baking (oven spring). A straight line or an ‘X’ will work perfectly.
-
Quickly place the lid back onto the Dutch oven and return it to the oven. Bake for 30 minutes at 450°F (232°C).
-
Remove the lid – being sure to turn the lid away from you so the steam rises safely – and continue baking for another 5-10 minutes, or until the crust is a deep, rich golden brown.
-
Carefully remove the loaf from the oven (using the parchment paper to lift it) and transfer it to a wire cooling rack to cool completely before slicing and serving.
Nutrition Information
The recipes on this blog are tested with a conventional gas oven and gas stovetop. It’s important to note that some ovens, especially as they age, can cook and bake inconsistently. Using an inexpensive oven thermometer can assure you that your oven is truly heating to the proper temperature. If you use a toaster oven or countertop oven, please keep in mind that they may not distribute heat the same as a conventional full sized oven and you may need to adjust your cooking/baking times. In the case of recipes made with a pressure cooker, air fryer, slow cooker, or other appliance, a link to the appliances we use is listed within each respective recipe. For baking recipes where measurements are given by weight, please note that results may not be the same if cups are used instead, and we can’t guarantee success with that method.
