Mastering the Art of Silky Smooth Hummus: Your Ultimate Guide to Homemade Perfection
Discover new, clever tips and tricks to easily produce the creamiest homemade hummus, plus delicious ideas to dress it up.
This post contains affiliate links. Full disclosure is at the bottom of the article.
Hummus is an absolute staple in my kitchen, a constant resident in my fridge. While I occasionally pick up a tub from the grocery store, I genuinely prefer to make it from scratch most of the time. There’s an undeniable difference in taste and texture that store-bought varieties simply can’t match.
Like many things prepared in your own kitchen, homemade hummus almost always surpasses its store-bought counterparts in flavor and quality. Though the concept of making hummus seems straightforward, my initial attempts were incredibly frustrating. My biggest challenge was achieving that coveted creamy consistency. I would pore over magazine photos of impossibly smooth hummus and recall the fluffy, ethereal texture of authentic Middle Eastern restaurant hummus, but my own batches consistently fell short, ending up grainy or too thick. Despite trying numerous recipes, I was never truly satisfied with the outcome.
Eventually, I gave up on making hummus at home. However, the constant cycle of buying it became tiresome, so I decided to revisit the challenge. Through relentless trial and error, experimenting with different techniques and ingredients, I finally cracked the code to making hummus that I truly adore. My journey led to sharing my favorite hummus recipe, bursting with fresh lemon and orange juice and zest, in my first cookbook, Simply Citrus. Later, in my second cookbook, French Appetizers, I presented my versatile “Any-Bean Hummus” formula. After blending countless batches over the years, I can confidently say I’ve refined the process to a science, consistently producing a dip that’s perfectly smooth and flavorful.
My perfected hummus recipe delivers an incredibly creamy dip. Yes, you’ll still need to clean your food processor or blender afterward, and yes, buying hummus from the store is undeniably *easier*. But I guarantee you, if you follow my detailed guidance, the exquisite hummus you create at home will be so superior, it will convince you to leave store-bought versions behind for good. I promise, the effort is truly worth the sensational results!
Helpful Tips for Making the Creamiest Homemade Hummus
Crafting the perfect creamy hummus involves a few key steps and insights. Here are my top tips, honed through years of experimentation, to help you achieve that wonderfully smooth and flavorful dip you’ve been dreaming of:
Don’t Be Apologetic About Using Canned Chickpeas
I know, I know—some purists might insist on soaking and cooking chickpeas from dried. And while that method can certainly yield excellent results, I never do it. Call it convenience, pragmatism, or a lack of foresight, but I always reach for canned chickpeas. Why? Primarily, I always keep them on hand, meaning I can whip up a fresh batch of hummus at a moment’s notice. This immediate gratification saves me from buying store-bought hummus, and I suspect it could transform your hummus-making habits too. So, embrace the simplicity, stock up on canned chickpeas, and shed any lingering guilt!
Look for Low-Sodium or No-Salt-Added Canned Chickpeas
For ultimate flavor control, I strongly recommend using “no salt added” chickpeas. This allows you to season your homemade hummus precisely to your taste. Regular canned chickpeas are often heavily salted, potentially containing more sodium than you would ever add yourself. If you can find them, opt for the no-salt-added variety. If not, standard canned chickpeas will work, but remember to adjust your seasoning to account for the salt already present in the beans.
Peel Those Chickpeas for Unmatched Smoothness
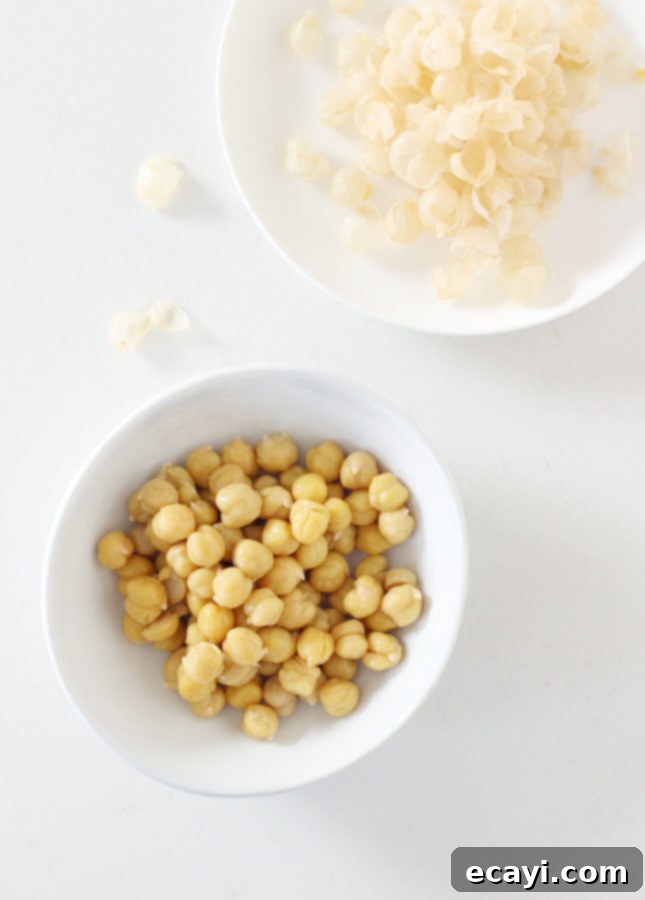
Mark my words: if your goal is truly creamy hummus, peeling chickpeas is an absolute game-changer. Canned chickpeas are encased in a thin, translucent skin. While it may seem insignificant, this skin is surprisingly tough to fully break down in a food processor, leading to a slightly grainy texture in many homemade hummus batches. Removing these skins dramatically improves the blending process, resulting in an incredibly smooth, luxurious consistency. I first encountered this revelation on the Smitten Kitchen blog back in 2013, and I haven’t looked back since. Here’s how to peel cooked and canned chickpeas:
- The Pinching Method: This method is straightforward. Simply pinch each chickpea between your thumb and forefinger, and the skin will easily slide off. While peeling chickpeas one by one might sound tedious, it can actually be quite relaxing. I usually put on a podcast, and before I know it, I’ve peeled an entire can of chickpeas in about 10 minutes.
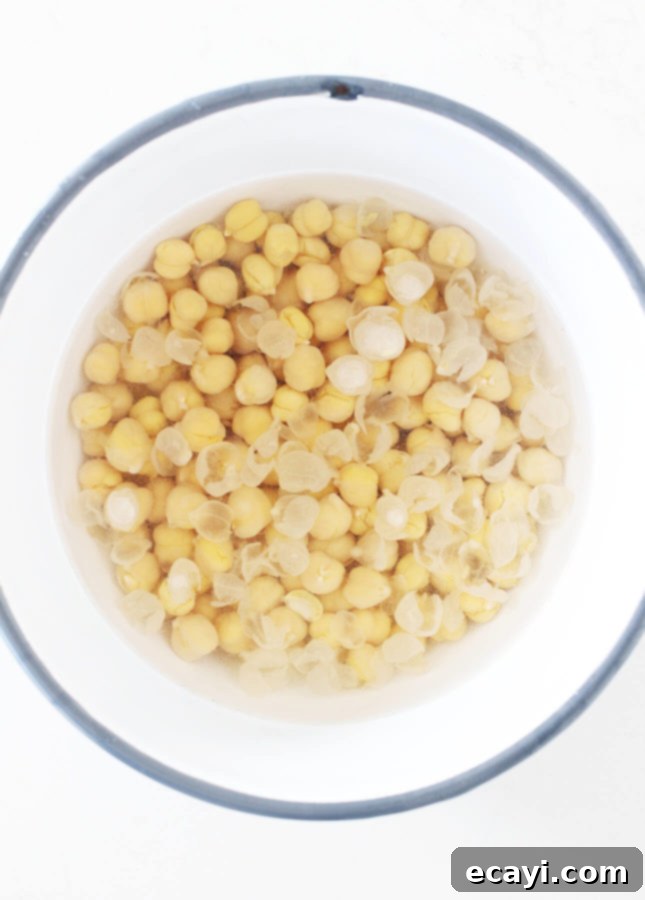
- The Rubbing Method for Speed: If you’re short on time, there’s a faster way. Place the chickpeas in a large bowl, cover them with water, and then gently rub them together repeatedly using both hands. The skins will detach and float to the surface, while the denser chickpeas remain at the bottom. Carefully tilt the bowl to pour off the water and skins, then repeat the process a few times. Most of the chickpeas will emerge smooth and shiny. You can then easily spot any stubborn ones and quickly pinch off their remaining skins.
Left: pinching method; Right: rubbing method.
Choose Your Tahini Carefully
Tahini, the essential sesame paste, imparts hummus with its characteristic nutty depth. However, tahini quality, flavor, and texture can vary significantly between brands. Some tahini can be quite bitter, which is definitely not what you want in your delicious dip. I generally prefer Lebanese brands like Al Wadi and Alkanater, which are widely available in many supermarkets. Excellent North American options also exist: Soom, Pepperwood, and Seed + Mill are highly regarded in the US, while New World Organics and Nuts to You are fantastic choices in Canada, though they might be a bit harder to find.
Store Tahini the Right Way—and Use It Promptly
Tahini has a very high oil content, making it susceptible to turning rancid quickly if not stored properly. Upon opening a new jar, give it a thorough stir to reincorporate any separated oil layer (this is much easier when the tahini is at room temperature). After stirring, always store opened tahini in the refrigerator to prolong its freshness. Aim to use an opened jar of tahini within a year for the best flavor and quality.
Using More Liquid Than You Think Is Crucial for Creaminess
Many traditional hummus recipes suggest adding only a couple of tablespoons of water, which, in my experience, invariably results in a stubbornly thick paste. I used to find myself endlessly scraping down the food processor bowl, never achieving that smooth, flowing consistency. The moment I started experimenting and significantly increasing the liquid content was when my hummus-making truly transformed. To reach that unbelievably creamy consistency, I generally add a total of about 1/2 cup (125 ml) of liquid per 19 oz (540 ml) can of chickpeas. You don’t want your hummus to become soupy, so my recommendation is to start with 1/4 cup (60 ml) of liquid and then gradually add more, 1 tablespoon (15 ml) at a time, until your desired texture is achieved.
Enhance Flavor with Juice and Aquafaba Instead of Plain Water
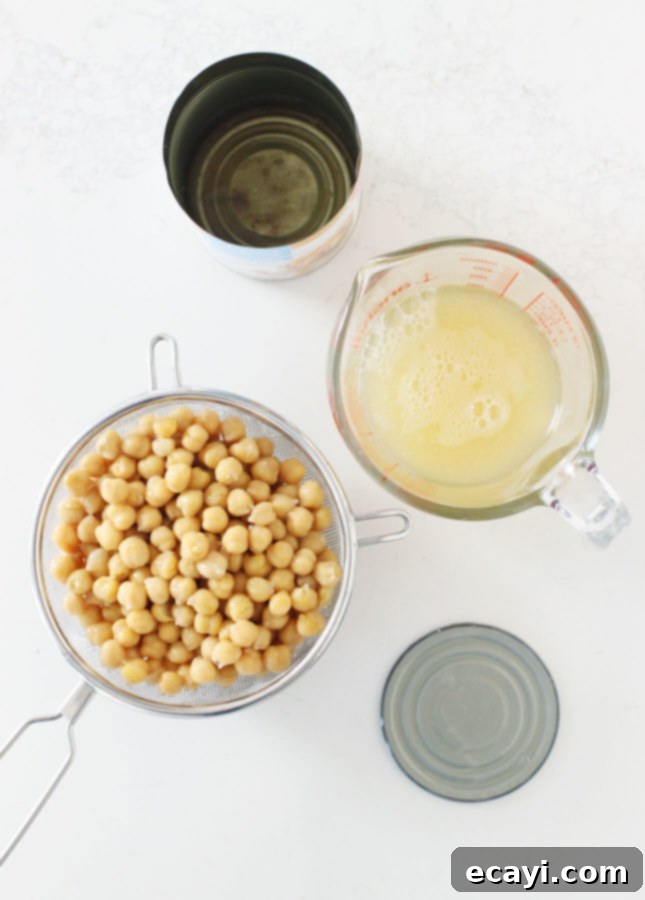
Frankly, I believe you should *never* add plain water to your hummus. The liquid in which canned chickpeas are packed is called aquafaba, and it’s a truly miraculous ingredient that can be used for everything from meringues to vegan foams. Instead of pouring it down the drain, save it! When you drain a can of chickpeas, always do so over a measuring cup to collect the aquafaba. After rinsing the chickpeas under running water, you can then use this saved chickpea liquid to thin your hummus, imparting an extra layer of flavor and body, while saving any leftover aquafaba for other culinary uses.
Never Go Without Lemon
This is a general life philosophy for me, but it’s especially true when making hummus. To my palate, hummus without a generous squeeze of lemon juice tastes flat and uninspired. Lemon juice acts as a vibrant wake-up call, brightening all the flavors and bringing the hummus to life. Always use freshly squeezed lemon juice, and while you’re at it, don’t forget to grate some of that aromatic zest into your mix. Most bottled lemon juices contain sulfites and simply don’t offer the fresh, complex tang of real citrus.
Embrace the Hand Blender for Truly Ethereal Smoothness
Over the years, I’ve owned three food processors – from a basic model to two high-end machines costing over $300, including my current excellent Breville Sous Chef 12 Food Processor. Yet, even the most powerful food processor alone falls short of achieving the *ethereally* smooth hummus of my dreams (to quote Deb Perelman of Smitten Kitchen). A food processor will get you to a *pretty smooth* consistency, which is perfectly acceptable for most, but if you’re chasing that ultimate velvety texture, you’ll need either a professional-grade stand blender (like a Vitamix) or, more practically for most home cooks, a hand blender (also known as an immersion blender).
Professional blenders are incredibly powerful, capable of transforming solids into an impossibly creamy texture. If you own one, congratulations – you likely don’t need these tips! However, such machines are a significant investment and not common in every kitchen. So, I discovered an alternate hack to bridge that gap and achieve truly creamy hummus happiness. Once my food processor has processed the hummus to its smoothest possible state, I transfer the mixture to a tall measuring cup. Then, I use a hand blender to continue blending. Hand blenders are affordable, surprisingly powerful, and provide that crucial final whip that makes an enormous difference in texture. (I’m particularly fond of the Braun MultiQuick Hand Blender.) Hummus is a thick mixture, so I blend it continuously, moving the immersion blender up and down throughout the mixture for 2 to 3 minutes, ensuring every bit is perfectly pulverized and aerated for the best, lightest result.
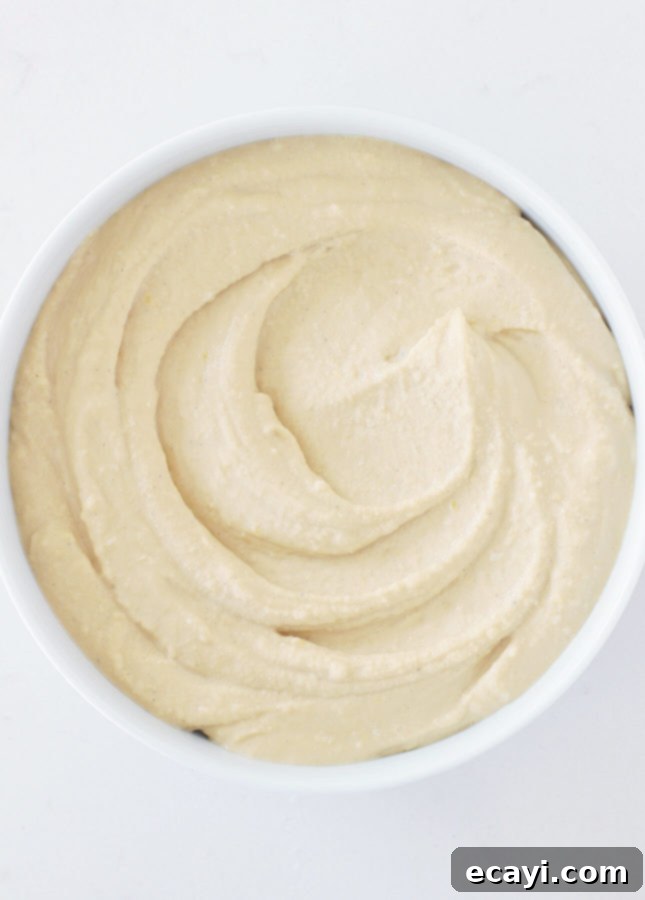
Homemade hummus after 5 minutes in the food processor:
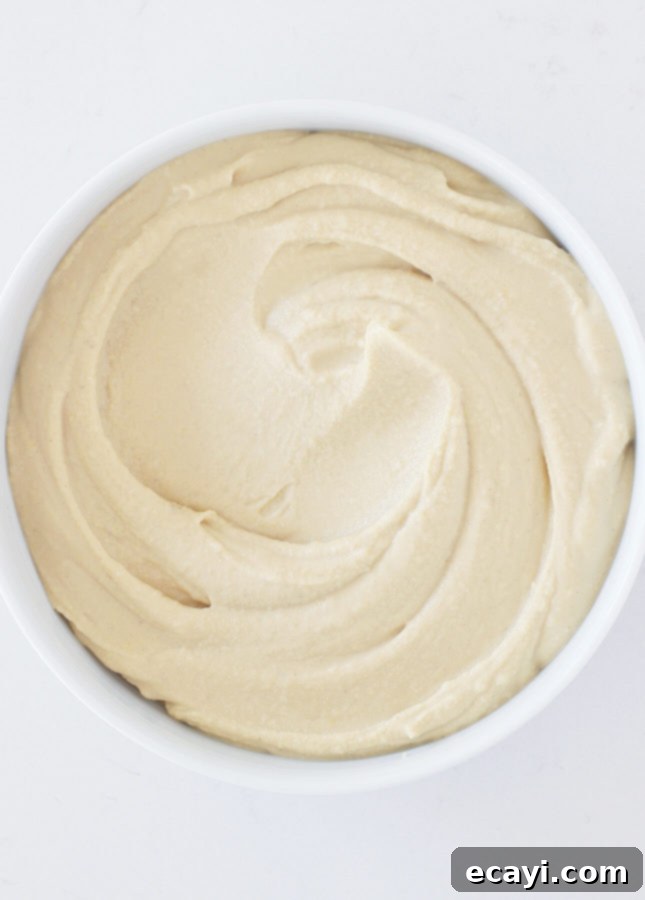
Homemade hummus after an additional 3 minutes through the hand blender:
Top That Creamy Hummus with Flavorful Garnishes
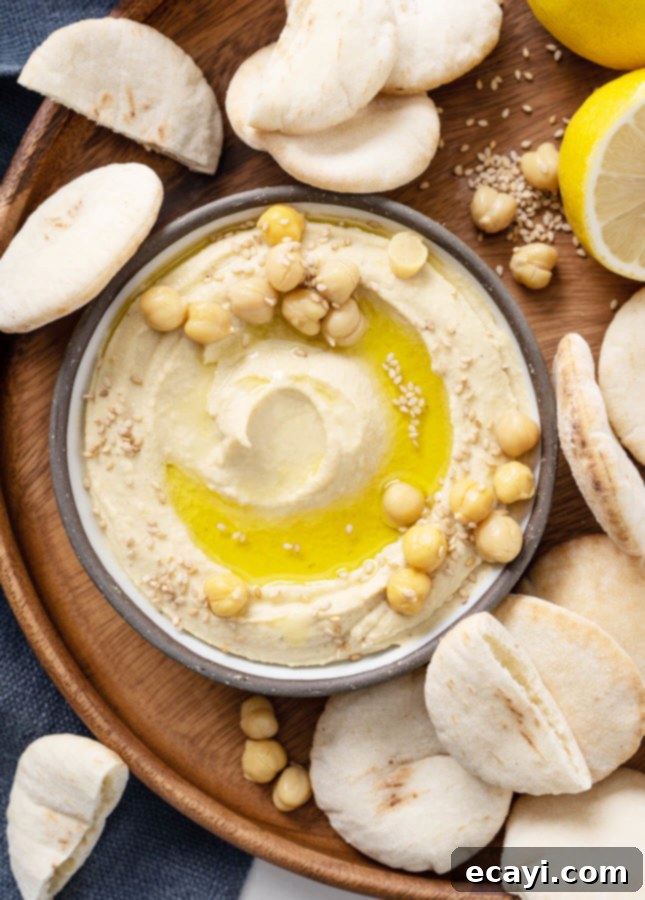
While plain hummus straight from the blender is certainly good, diving into a super-creamy hummus adorned with crunchy, vibrant, and tasty garnishes is infinitely better. Think of your freshly made hummus as a blank culinary canvas, inviting you to unleash your creativity with toppings. If you’re new to garnishing hummus, start simple: a generous drizzle of best-quality extra-virgin olive oil, a handful of saved whole chickpeas, a sprinkle of toasted sesame seeds, and a final flourish of flaky sea salt and freshly ground black pepper. From this delicious foundation, you can easily add fresh herbs, bright citrus zest, savory toasted nuts, tender chopped roasted vegetables, or a myriad of other ingredients to elevate your homemade hummus to gourmet heights. I’ve included several more inspiring topping ideas in the recipe section below.
Serve Hummus in a Shallow Plate, Not a Deep Bowl
Many of us are accustomed to serving hummus in a deep bowl, treating it like any other dip. However, to truly appreciate and enjoy hummus, it’s best served swirled elegantly across a shallow plate or wide, flat dish. This presentation allows for a more generous and visually appealing distribution of garnishes, ensuring that every scoop delivers the perfect ratio of creamy hummus to delicious toppings. It transforms the simple act of eating hummus into a more refined and enjoyable experience.
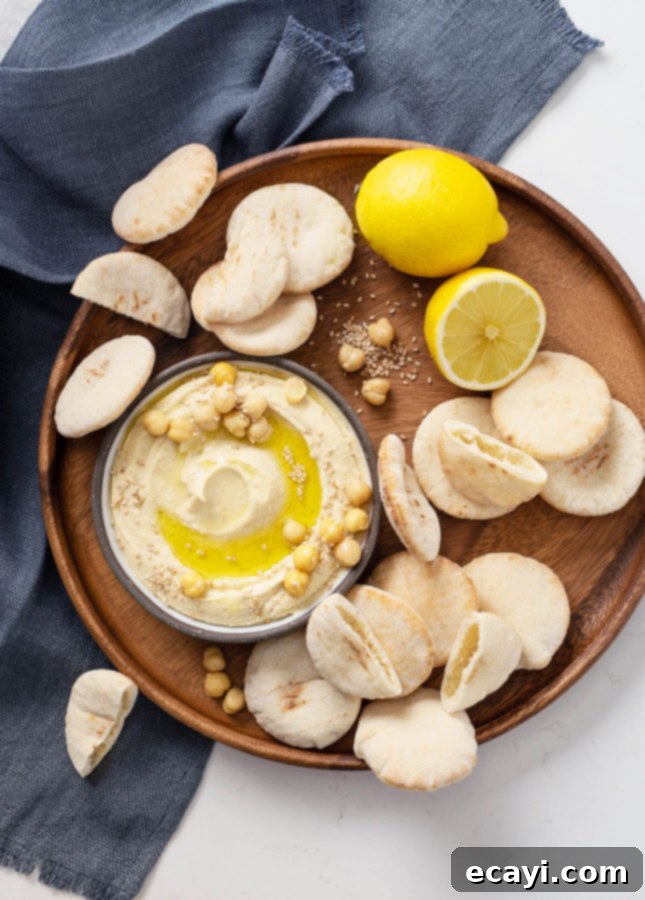
I sincerely hope these detailed, somewhat “nerdy” tips empower you to create the most incredible, creamiest hummus you’ve ever made. Now, let’s get to the recipe itself, bringing all these insights together!
Pin Recipe
The Creamiest Homemade Hummus
Ingredients
- 1 can 19 oz/540 ml chickpeas (garbanzo beans), preferably no salt added
- 1 lemon finely grated zest and juice (about 1 tbsp/15 ml zest and 1/4 cup/60 ml juice)
- 2 tbsp 30 ml tahini
- 1 small clove garlic peeled and coarsely chopped
- 1/2 tsp 2 ml kosher salt, or fine sea salt
- Freshly ground black pepper optional
To serve (find additional serving ideas at the bottom of the recipe)
- Top quality extra-virgin olive oil
- Toasted sesame seeds
- Flaky sea salt
- Freshly ground black pepper
Instructions
-
Set a strainer over a measuring cup. Empty the can of chickpeas in the strainer to save the liquid from the can (which is called aquafaba.) Peel the chickpeas: Pinch them one by one with the tip of your fingers, then discard the skins. Alternatively, place the chickpeas in a large bowl, cover them with water, then gently rub them together to loosen and remove the skins. The peeled chickpeas will remain at the bottom of the bowl while the skins float to the top. Tilt the bowl to pour out the skins, then fully drain the remaining chickpeas in a strainer. Pick out any remaining skins.
-
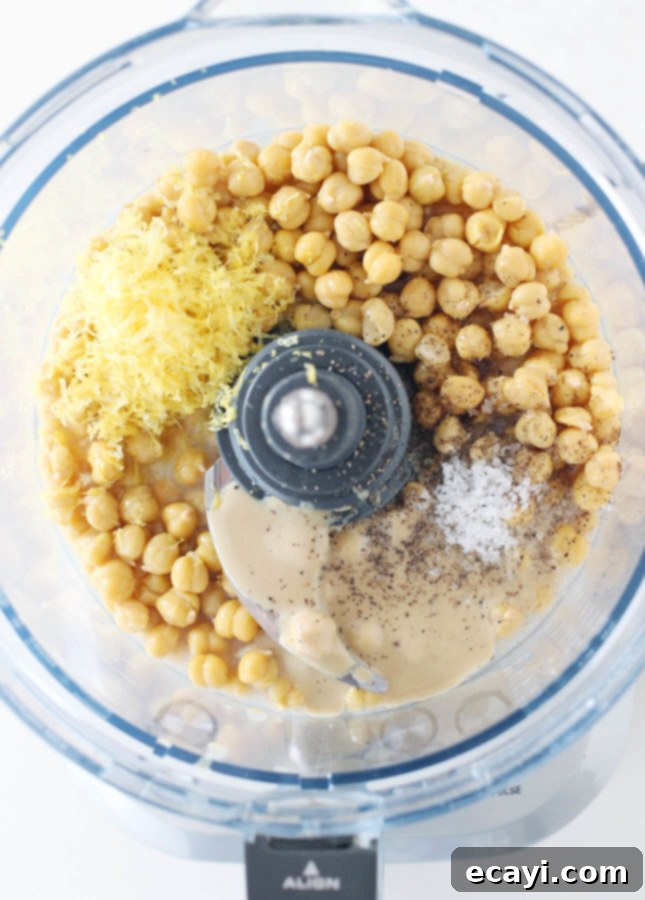
If desired, save 2 to 3 tbsp (30 to 45 ml) chickpeas to garnish the hummus before serving. Transfer the remaining chickpeas to the bowl of a food processor (or to the container of a professional blender). Add the lemon zest and juice, tahini, garlic, salt, pepper (if using) and 2 tbsp (30 ml) of the saved aquafaba. Process for 1 minute. Scrape down the bowl and check the consistency. If the hummus still seems thick, add more aquafaba, 1 tbsp (15 ml) at a time, until you reach the desired consistency. (Hummus should be creamy but still hold its shape when you swirl it with the back of a spoon.) Keep processing for 2 to 3 minutes more, or until the hummus is very smooth.
-
If you used a food processor and have a hand blender: to reach the creamiest consistency, transfer the hummus to a large measuring cup. Fully immerse the hand blender’s head into the hummus and blend it continuously, moving around in an up-and-down motion, for 2 to 3 minutes, or until impeccably smooth.
-
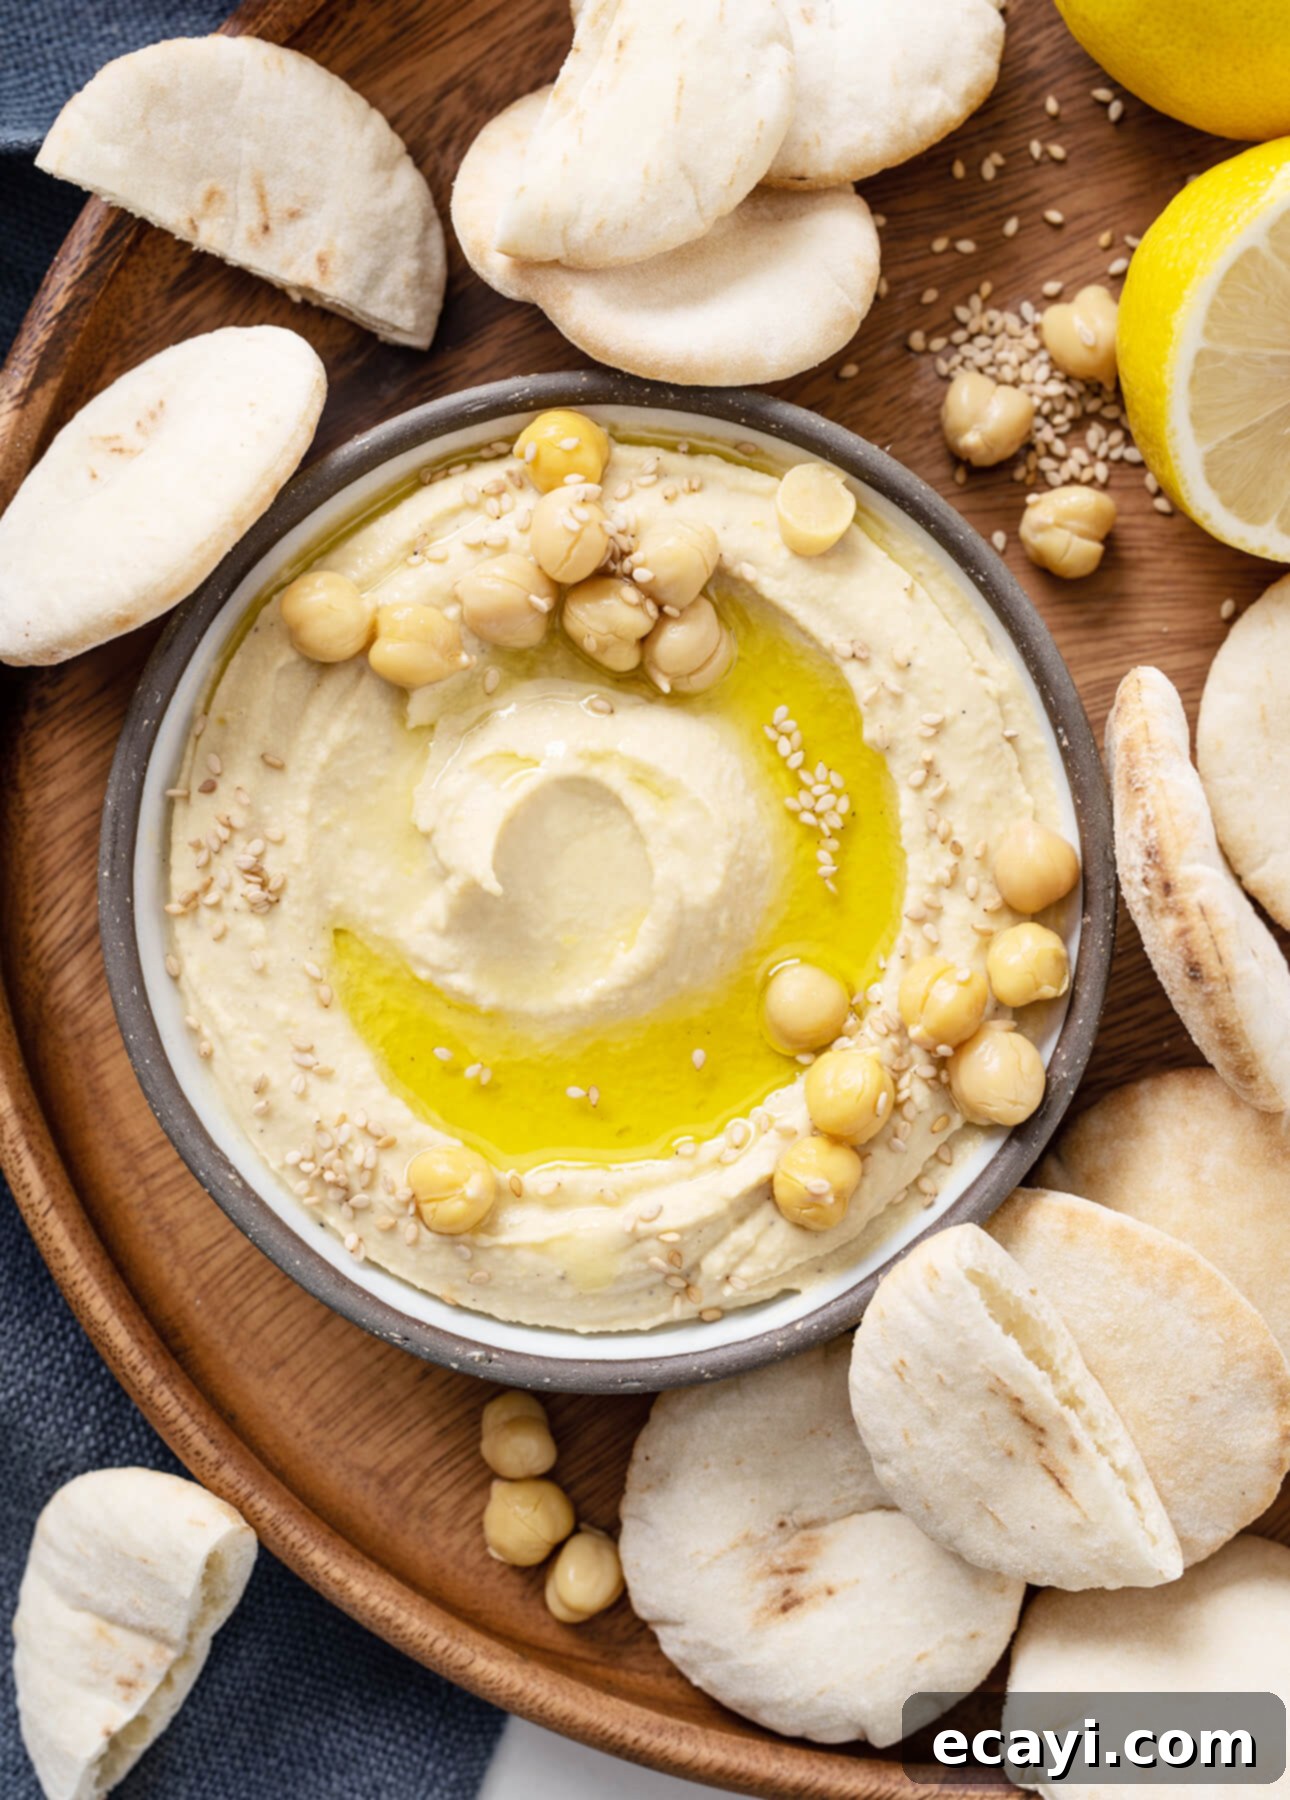
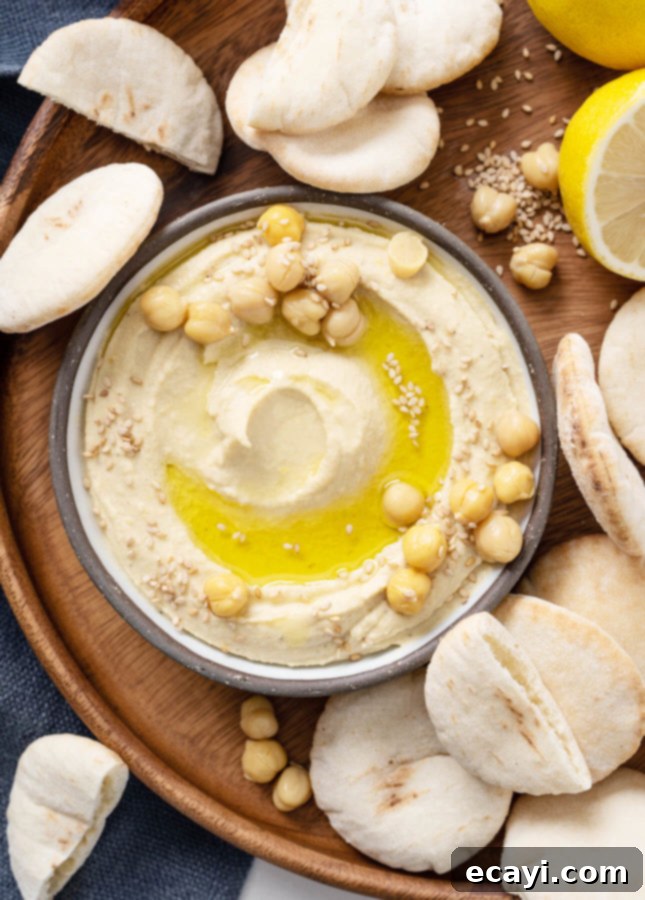
SERVING: To serve, transfer the hummus in a shallow bowl, or a medium-sized plate. Use the back of a spoon to create a swirling pattern. Garnish with a generous drizzle of olive oil, a sprinkle of sesame seeds, a pinch of flaky sea salt, and some freshly ground black pepper. Scatter the saved chickpeas over (if using) and serve with slices veggies, pita bread, or chips.
-
STORAGE: Store hummus in an airtight container in the refrigerator for up to 1 week. Always garnish right before serving.
MORE IDEAS TO GARNISH HUMMUS—whichever garnishes you choose to use, make sure to always start with a drizzle of olive oil and finish with a pinch of flaky sea salt:
-
Za’atar (blend of thyme and/or oregano, sesame seeds, and sumac) + thyme leaves
-
Dukkah (blend of toasted nuts, sesame seeds, and spices) + coriander leaves
-
Chopped pitted olives or tapenade + lemon zest + basil leaves
-
Chopped roasted red bell peppers + harissa or red pepper flakes + chopped Italian parsley
-
Chopped preserved lemon + toasted pumpkin seeds + coriander leaves
-
Chopped toasted pistachios + orange zest + toasted and crushed cumin seeds
-
Swirl of plain Greek yogurt + pomegranate seeds + chopped toasted almonds + chopped Italian parsley
-
Toasted pine nuts + toasted and crushed fennel seeds + basil leaves
-
Swirl of pesto loosened up with a bit of olive oil + chopped cherry tomatoes + toasted pine nuts
-
Drizzle of chili oil (in place of the olive oil) + roasted chickpeas + pinch of smoked paprika + minced chives
-
Chopped caramelized onions + saved chickpeas + freshly grated nutmeg
Did you make this?
Tell me how you liked it! Leave a comment or take a picture and tag it with @foodnouveau on Instagram.
Looking for More Cocktail Party Recipe Ideas?
My cookbook, French Appetizers, is a delightful collection of fresh, modern, and incredibly versatile French-inspired recipes. These dishes are perfectly suited for any occasion, whether you’re hosting a sophisticated happy hour, a casual gathering with friends, or simply preparing a relaxed evening meal. In this essential culinary guide, you’ll discover a wide array of options, including:
- Basic dips and essential condiments
- Charming small bites and elegant verrines
- Savory cakes and delectable tarts
- Artisan breads, flavorful sandwiches, and crispy toasts
- Irresistible sweet bites and refreshing drinks
Many recipes within the book also feature simple formulas that allow you to create multiple variations from a single base recipe, ensuring your culinary creativity is limited only by your imagination and taste preferences. Learn more or buy now to start your French appetizer journey!
This site is a participant in the Amazon Associates Program, an affiliate advertising program designed to provide a means for the site to earn fees by linking to Amazon and affiliated sites.
If you click on an affiliate link, I may earn advertising or referral fees if you make a purchase through such links, at no extra cost to you. This helps me creating new content for the blog–so thank you! Learn more about advertising on this site by reading my Disclosure Policy.
