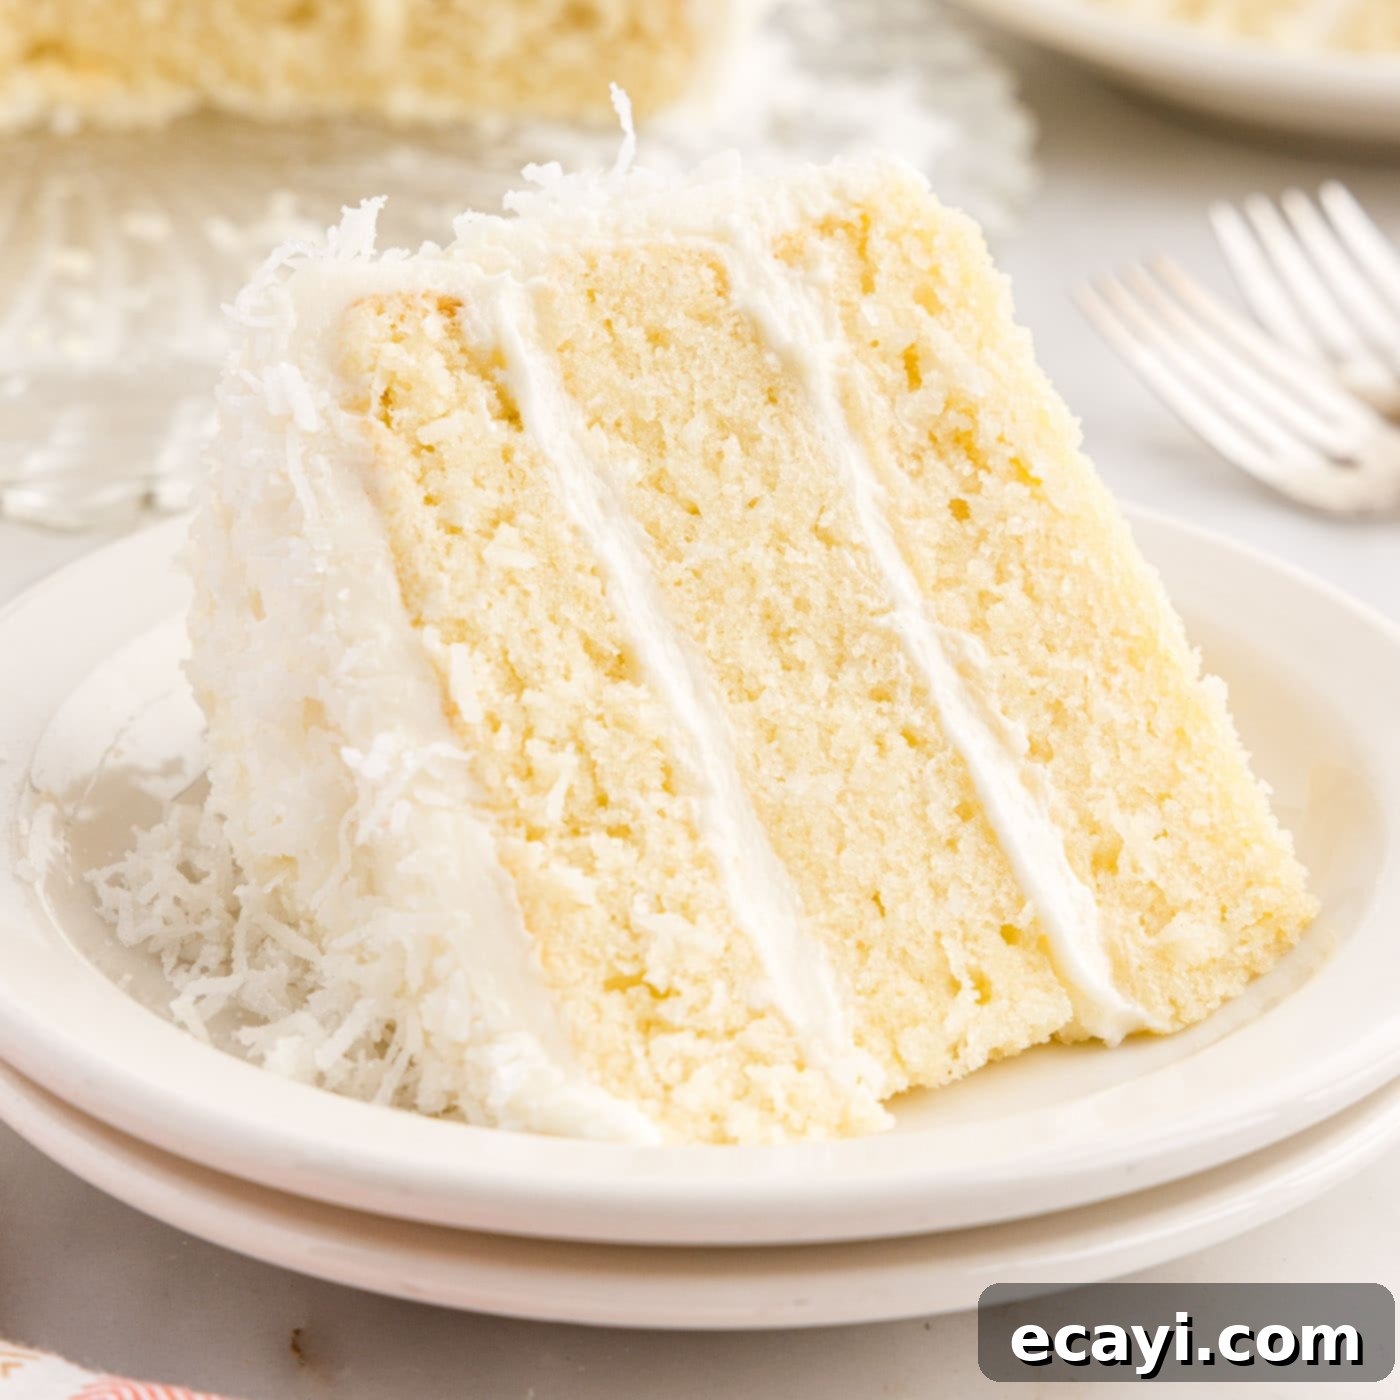
Indulge in the Ultimate Moist Coconut Cake: Your Go-To Recipe with Creamy Cream Cheese Frosting
Prepare to be enchanted by this truly magnificent homemade coconut cake recipe. Each slice promises a symphony of flavors and textures: a wonderfully soft, rich, and incredibly tender cake bursting with sweet, authentic coconut essence. What elevates this dessert to a new level of perfection is its generously applied, fluffy cream cheese frosting, providing a delightful tangy counterpoint, beautifully adorned with delicate shredded coconut. Every single bite is a little piece of tropical paradise, making it the perfect showstopper for any celebration or a simple, sweet indulgence at home.
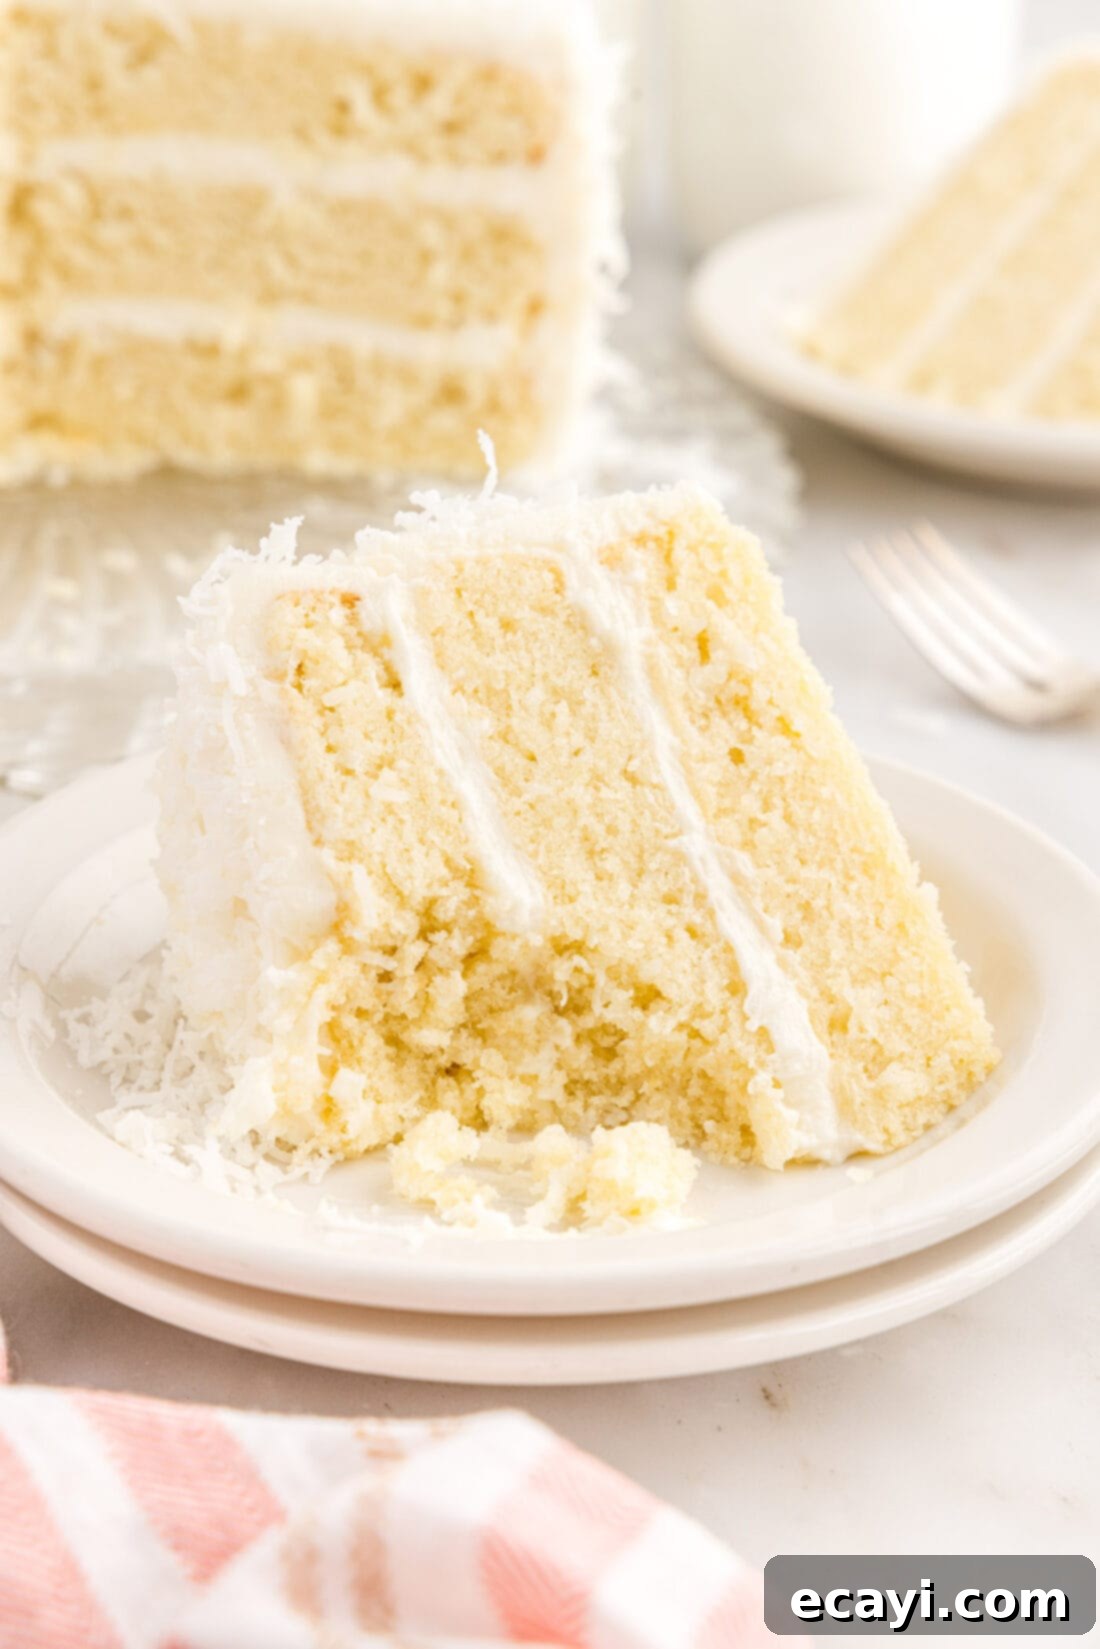
Why This Homemade Coconut Cake Recipe Is Unbeatable
This isn’t just any coconut cake; it’s a meticulously crafted culinary experience designed to maximize flavor and texture, ensuring a truly unforgettable dessert. The secret to its incredible depth of flavor lies in a triple-threat coconut infusion: pure coconut extract, rich cream of coconut, and subtle unsweetened coconut milk. This harmonious blend ensures that the tropical essence of coconut truly shines through in every delicate crumb, preventing any lack of authentic taste that often plagues other recipes. Forget bland, dry cakes – this recipe guarantees a vibrant, sweet coconut explosion that will transport your taste buds straight to a sun-drenched beach with its rich, aromatic profile.
Beyond the phenomenal flavor, the cake itself boasts an unparalleled texture. It’s wonderfully soft, deeply moist, and delicately tender, with a satisfyingly chewy crumb that makes each mouthful a delight. This perfect balance is achieved through careful ingredient ratios and precise baking techniques, preventing it from becoming either too dense or too crumbly. The foundation of a good cake lies in a light and airy batter, and this recipe delivers just that, resulting in layers that are a joy to bite into. But what truly completes this masterpiece is the iconic cream cheese frosting. Its tangy richness cuts through the sweetness of the cake, adding a layer of sophisticated complexity and creating a luxurious mouthfeel between each perfectly baked layer. The cool, creamy frosting acts as a perfect counterpoint to the warm, sweet cake. Finally, a generous coating of shredded coconut not only adds an appealing textural contrast and an extra burst of fresh coconut flavor but also provides a stunning, picture-perfect presentation. This cake is not just delicious; it’s a showstopper that will impress at any gathering, making it an absolute must-try for any coconut lover!
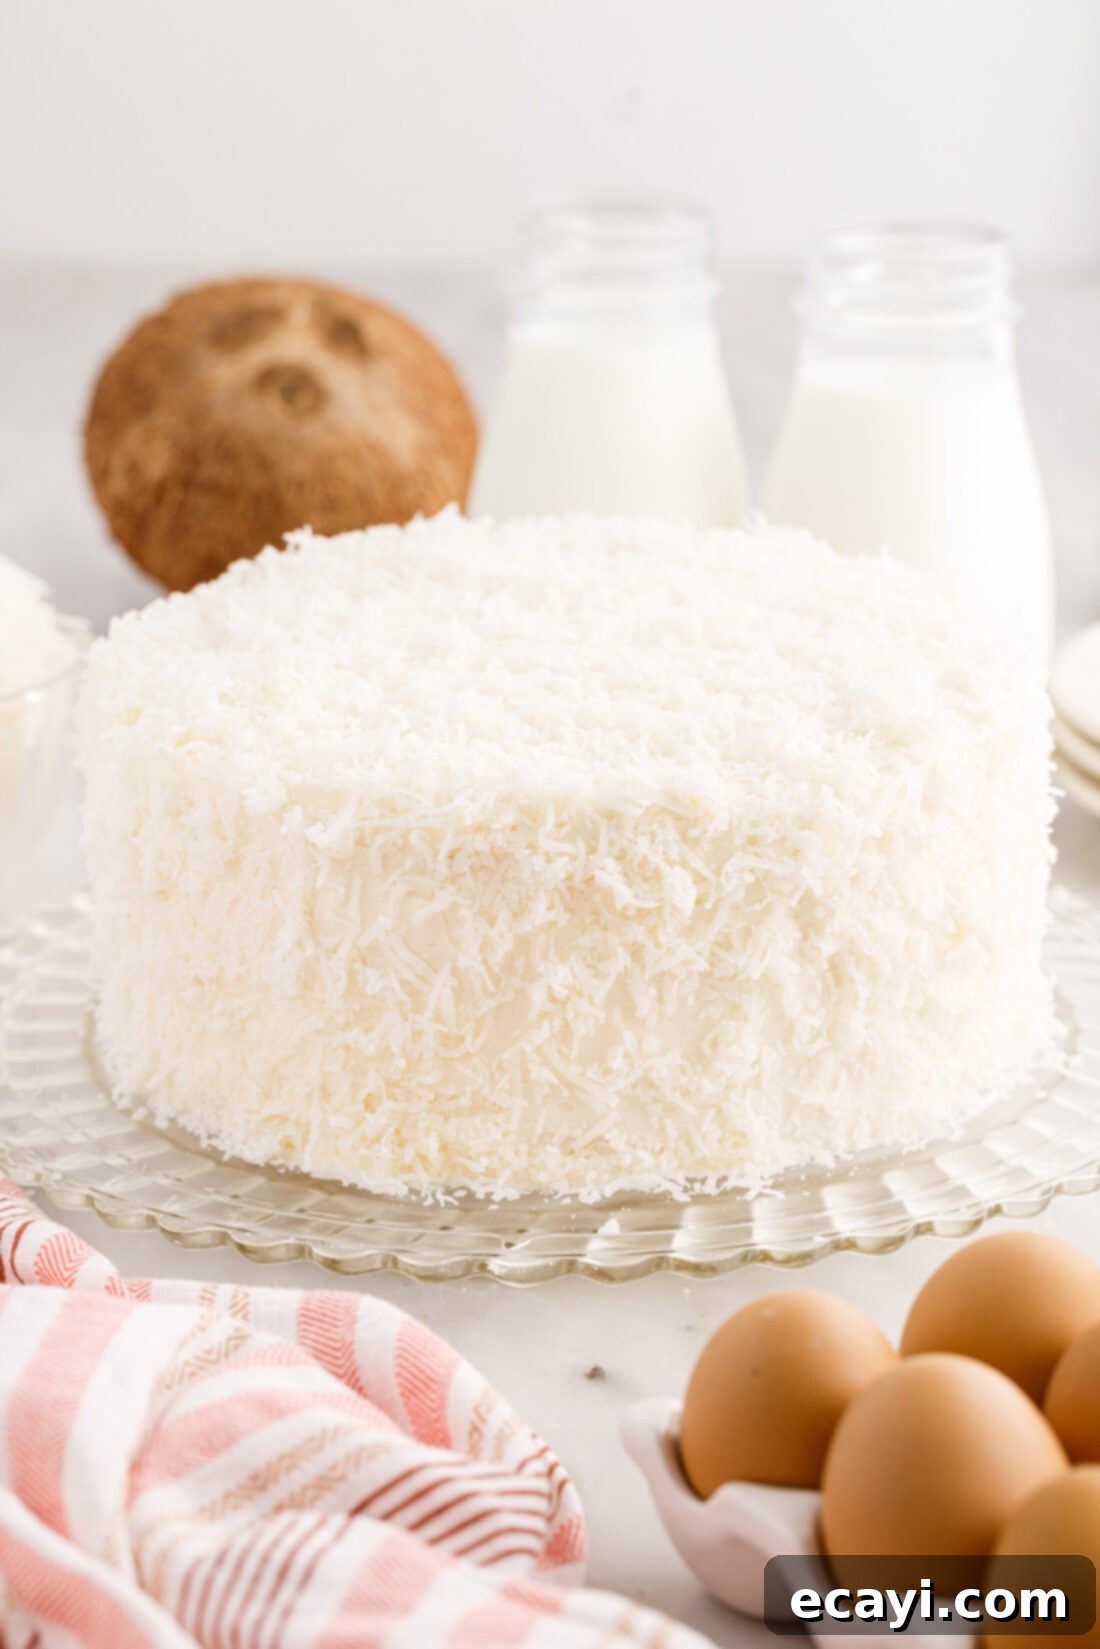
Essential Ingredients for Your Perfect Coconut Cake
Crafting the perfect coconut cake starts with selecting the right high-quality ingredients. While the full list with precise measurements is available in the printable recipe card at the end of this post, here’s a detailed overview of the key components and why they matter, along with helpful substitution suggestions to ensure your baking success. Always aim for fresh ingredients, as they truly make a difference in the final taste and texture of your homemade dessert. Using room temperature ingredients for both the cake batter and the frosting is also a critical step that ensures a smooth, well-emulsified mixture and ultimately a lighter, fluffier result. This attention to detail with your ingredients will be rewarded with a truly spectacular cake.
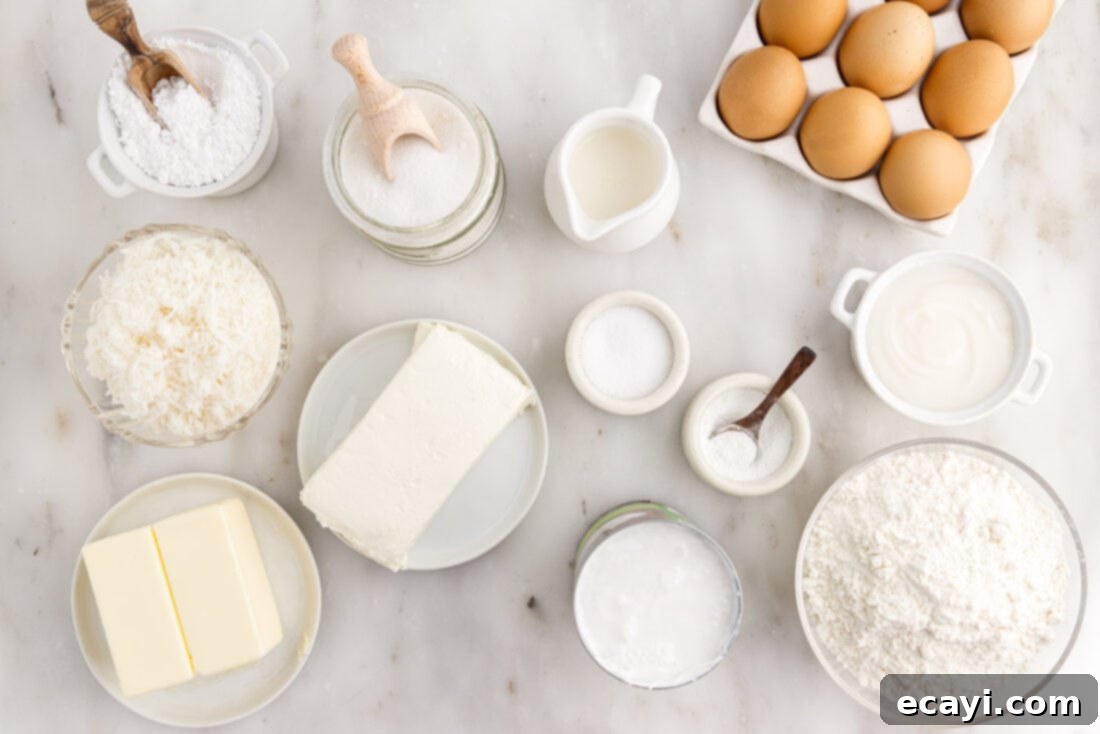
Detailed Ingredient Information and Smart Substitutions
Understanding each ingredient’s role and potential alternatives is key to mastering this delicious coconut cake. Here’s a deeper dive into what makes each component essential and how you can adapt if needed:
CAKE BASE INGREDIENTS: The foundation of our moist coconut cake uses unsweetened coconut milk, which contributes to its delicate crumb and subtle tropical undertones without adding excessive sweetness. This is a crucial element for that authentic coconut flavor profile without being overly rich. However, if unsweetened coconut milk isn’t readily available or you prefer a different profile, you can easily substitute it with whole milk or 2% milk. Rest assured, with the potent combination of coconut extract and cream of coconut already providing a robust coconut flavor, you won’t miss out on that signature taste. For the best possible cake texture, ensure your butter and eggs are at room temperature. This allows the butter to cream properly with the sugar, incorporating essential air, and helps the eggs emulsify smoothly into the mixture, leading to a much lighter, more evenly textured cake. All-purpose flour is ideal for this recipe, giving the cake its tender yet structured crumb. Be sure to measure your flour correctly, ideally by weight for precision, or by spooning it into a measuring cup and leveling it off, to avoid a dense cake.
COCONUT ELEMENTS FOR MAXIMUM FLAVOR: The magical tropical flavor comes from several carefully selected sources, creating a multi-layered coconut experience:
- Coconut Extract: This pure extract provides an intense, concentrated burst of coconut flavor directly into the cake batter. It’s a key ingredient for achieving that authentic, pronounced coconut taste without adding extra moisture or sweetness. Don’t skip this for the truest coconut essence.
- Cream of Coconut: Distinct from regular coconut milk or thicker coconut cream, cream of coconut is a sweetened, thick coconut product, often found near cocktail mixers or in the international foods aisle. It’s essential for this recipe as it adds not only significant richness and deep coconut flavor but also contributes to the cake’s exceptional moisture and tender crumb. Its unique consistency and sweetness integrate beautifully into the batter.
- Shredded Coconut: This ingredient serves a dual purpose: it’s folded into the cake batter to add textural interest and an extra layer of coconut flavor, and it’s generously applied as a decorative topping. For an elevated experience, especially for the topping, consider using **toasted coconut**. To achieve this delightful crunch and deeper, nuttier flavor, simply spread your chosen flaked or shredded coconut (sweetened or unsweetened both work beautifully) in a single, even layer on a baking sheet. Bake it in a preheated 350°F (175°C) oven for a short 3-5 minutes, keeping a very close eye on it, as coconut browns quickly and can burn in an instant! Immediately remove it from the hot baking sheet to stop the cooking process once it turns a beautiful golden brown. Whether you opt for sweetened or unsweetened shredded coconut, or a mix of both, will depend on your preferred sweetness level and textural preference. Sweetened coconut tends to be a bit moister and softer, while unsweetened provides a firmer, more distinct chew and a more natural coconut taste.
FROSTING PERFECTION: The classic choice for this cake is a luscious **cream cheese frosting**, which offers a delightful tangy richness that perfectly balances the inherent sweetness of the coconut cake. Its smooth, creamy texture and slight tartness are a match made in heaven for the tropical flavors, creating a harmonious and utterly delicious bite. For the best, lump-free, and fluffy frosting, it’s absolutely essential that both your butter and cream cheese are at proper room temperature. Cold ingredients will lead to a stiff, potentially lumpy frosting that is difficult to spread. Alternatively, if you prefer a different flavor profile or a slightly less tangy frosting, a simple vanilla buttercream can also be used. This will provide a sweeter, richer coating with a smooth, luxurious feel, offering a different but equally delicious experience. Whichever you choose, the frosting is a key element in this cake’s decadent appeal and impressive presentation.
Mastering Your Homemade Coconut Cake: Step-by-Step Guide
These step-by-step photos and detailed instructions are here to guide you through making this incredible coconut cake. While the visual aids offer valuable insight, you can also Jump to Recipe to get the printable version of this recipe, complete with precise measurements and ingredient lists, found at the bottom of this post.
- Prepare Your Baking Environment: Begin by preheating your oven to a precise 350°F (175°C). An accurately preheated oven is crucial for even baking and a consistent rise. Thoroughly spray three 8-inch round cake pans with a good quality non-stick baking spray, then line the bottoms of each pan with a fitted circle of parchment paper. This crucial step prevents sticking and ensures your beautiful cake layers release easily and cleanly after baking, preserving their perfect shape.
- Cream Butter and Sugar: In a large mixing bowl, using a hand mixer (or a stand mixer fitted with the paddle attachment), beat together the softened unsalted butter and granulated white sugar. Continue beating for a full 3-5 minutes until the mixture is visibly light, fluffy, and creamy in texture. This creaming process is vital as it incorporates air into the butter, which expands during baking and contributes significantly to a tender, airy cake crumb.
- Incorporate Eggs Gradually: Add the large eggs one at a time to the butter and sugar mixture, beating well after each addition. Make sure each egg is fully incorporated into the batter before adding the next one. This step helps to prevent the batter from curdling and ensures a smooth, emulsified mixture, which is fundamental for the cake’s stable structure and overall moisture.
- Infuse with Coconut Flavor: Next, add the vanilla extract, the potent coconut extract, and the rich cream of coconut to the wet ingredients. Beat these thoroughly until all these flavor-packed liquids are well combined and evenly distributed throughout the batter. This step truly layers in that signature tropical coconut taste, making sure it permeates every part of the cake.
- Prepare Dry Ingredients: In a separate, medium-sized bowl, whisk together the all-purpose flour, baking powder, and salt. Whisking ensures these dry ingredients are thoroughly combined and evenly distributed, preventing pockets of leavening agent and promoting an even rise and uniform texture in your cake.
- Combine Wet and Dry Alternately: With your mixer on low speed, begin rotating between adding the unsweetened coconut milk and the dry flour mixture to the wet cake batter. It’s a good practice to start and end with the flour mixture. Add about one-third of the flour mixture, mix briefly until just combined, then add half of the coconut milk, mix again, then another third of flour, the remaining coconut milk, and finally the last third of flour. Crucially, mix only until just combined after each addition. Being careful not to overmix the batter is paramount, as overmixing can overdevelop the gluten in the flour, leading to a tough, dense, and less moist cake.
- Fold in Shredded Coconut: Gently fold 1 cup of sweetened shredded coconut into the cake batter using a rubber spatula. This step adds wonderful textural interest and another layer of delightful coconut flavor directly into the cake itself. Again, fold just until incorporated to avoid deflating the carefully aerated batter.
- Divide and Prepare for Baking: Evenly divide the prepared cake batter among the three lined 8-inch round cake pans. For perfectly level layers, using a kitchen scale to ensure equal batter distribution is highly recommended. Gently tap the pans on the counter a couple of times to release any large air bubbles trapped in the batter.
- Bake to Perfection: Transfer the cake pans to your preheated oven and bake for approximately 20-25 minutes. Baking time can vary slightly depending on your specific oven and pan material, so it’s wise to start checking for doneness at the 20-minute mark. The cakes are ready when a wooden toothpick inserted into the center of one of the cake layers comes out with just a few moist crumbs attached, or completely clean. Avoid overbaking at all costs, as this is the primary cause of a dry cake.
- Cool the Cake Layers: Once baked, remove the cakes from the oven and let them cool in their pans on a wire cooling rack for 10-15 minutes. This allows them to firm up slightly, making them easier to handle. After this initial cooling, carefully invert the cakes onto the cooling rack, remove the parchment paper from the bottoms, and allow them to cool completely to room temperature before attempting to frost them. Attempting to frost warm cakes will cause the frosting to melt, slide off, and create a messy, unappealing result.
Crafting the Fluffy Cream Cheese Frosting:
- Cream Butter and Cream Cheese: In a clean large mixing bowl, using your hand mixer or a stand mixer with the paddle attachment, cream together the softened salted butter and softened cream cheese until the mixture is wonderfully smooth, light, and fluffy. As mentioned before, ensuring both ingredients are at proper room temperature is critical here to achieve the ideal consistency and to prevent any unpleasant lumps in your frosting.
- Gradually Add Powdered Sugar: Add the powdered sugar, one cup at a time, beating well after each addition until fully incorporated into the butter and cream cheese mixture. Begin on low speed to prevent a cloud of sugar from engulfing your kitchen, then increase to medium speed. Continue mixing until the frosting is thick, creamy, and holds its shape.
- Achieve Perfect Frosting Consistency: Stir in the vanilla extract, beating until fragrant. Then, add the heavy cream, 1 tablespoon at a time, beating after each addition until the frosting reaches your desired fluffy and spreadable consistency. You might not need all 2 tablespoons, or you might need a tiny bit more; adjust based on how thick or thin you prefer your frosting to be for easy spreading and piping.
Assembling and Decorating Your Coconut Cake:
- Layer and Frost: Once your cake layers are completely cool to the touch, place one layer on your chosen serving plate or cake stand. Spread about ½ cup of the creamy cream cheese frosting evenly over the top of this first layer, extending slightly to the edges. Gently place the second cake layer directly on top, spreading another ½ cup of frosting, and then repeat this process with the final cake layer. For a truly professional and neat finish, you can optionally apply a very thin “crumb coat” of frosting over the entire cake (top and sides) first. Chill this crumb-coated cake in the refrigerator for 15-20 minutes to set, which traps any loose crumbs, before applying the final, thicker layer of frosting.
- Decorate with Coconut: Use the remaining frosting to generously cover the top and sides of the entire cake, working to create a smooth and beautiful finish. Finally, take handfuls of the sweetened shredded coconut and gently pat it onto the sides of the cake until completely covered, pressing lightly to adhere. Sprinkle additional coconut generously over the top of the cake for a stunning visual appeal and an extra burst of tropical flavor. Your magnificent homemade coconut cake is now ready to impress and be enjoyed!
Frequently Asked Questions & Expert Tips for Your Coconut Cake
Absolutely! This delicious homemade coconut cake is a fantastic make-ahead dessert, perfect for reducing stress before a special event or gathering. You can prepare and fully assemble your coconut cake a day (or even two) ahead of time. To keep it fresh and moist, store it properly in a cake stand fitted with a lid or a portable cake carrier. Because this recipe features a delicate cream cheese frosting, it is crucial that the cake is stored in the refrigerator. For optimal flavor and texture, allow it to come to room temperature for about 30-60 minutes before slicing and serving.
Yes, this coconut cake freezes beautifully, making it an excellent option for meal prepping desserts or saving leftovers for future enjoyment. Freezing is a great way to preserve its fresh taste and moist texture for longer periods.
For freezing un-frosted cake layers: Allow the baked cake layers to cool completely on a wire rack. Once fully cool, wrap each layer individually a couple of times with plastic wrap, ensuring an airtight seal to prevent freezer burn. Follow this with an additional layer of heavy-duty aluminum foil for extra protection. Store these tightly wrapped layers in the freezer for up to 3 months. When you’re ready to assemble, transfer the frozen layers to the refrigerator overnight to thaw gradually before frosting.
For freezing an already frosted cake (or slices): If you have an entire frosted cake or individual slices you wish to freeze, the process is slightly different to protect the frosting. First, “flash freeze” the cake by placing it (uncovered or very loosely covered) in the freezer until the frosting is completely solid to the touch – this usually takes about 1-2 hours for a whole cake. Once the frosting is firm, tightly wrap the entire cake (or individual slices) several times with plastic wrap, and then add a final layer of aluminum foil. This method prevents the frosting from sticking to the wrap and getting damaged. Store in the freezer for up to 3 months. To thaw, transfer the wrapped cake to the refrigerator overnight. For individual slices, you can often thaw them on the counter for a shorter period, usually 1-2 hours, before serving, depending on room temperature.
Proper storage is essential to maintain the freshness and moisture of your coconut cake, especially given its cream cheese frosting which is perishable. Always store the cake covered with a lid, in a dedicated cake stand with a dome, or within a portable cake carrier in the refrigerator. This airtight covering protects it from drying out, absorbing other food odors, and keeps the frosting fresh. When stored correctly, your delicious coconut cake will remain fresh and delightful for up to 5 days. Remember, for the best possible flavor and texture experience, always bring it to room temperature for about 30-60 minutes before serving.
Achieving a truly moist coconut cake relies on a few critical factors that bakers should always keep in mind. Firstly, using room temperature ingredients (especially butter and eggs) is vital; this allows for better emulsification of the fats and liquids and helps incorporate more air into the batter, leading to a lighter, more tender crumb. Secondly, do not overmix the batter once the flour is added, as this develops gluten and can make the cake tough and dry. Mix only until the ingredients are just combined. Finally, and perhaps most importantly, be extremely careful not to overbake! An inexpensive oven thermometer can help ensure your oven temperature is accurate, and always perform the toothpick test – removing the cake from the oven as soon as the toothpick comes out with just a few moist crumbs, not completely clean.
Absolutely! While sweetened shredded coconut provides a slightly softer texture and a more sugary flavor, unsweetened shredded coconut is an excellent choice for the topping (and even for folding into the batter if you prefer). It offers a more pronounced, natural coconut flavor and a firmer, chewier texture, which many people prefer. If you’re looking to reduce the overall sweetness of the cake or simply prefer a bolder, unadulterated coconut taste, unsweetened is definitely the way to go. For an even more intense, aromatic experience, you can also toast unsweetened coconut for a nuttier, richer flavor and a beautiful golden appearance, as detailed in our ‘Ingredient Information’ section above. Both options are delicious, so choose what best suits your palate!
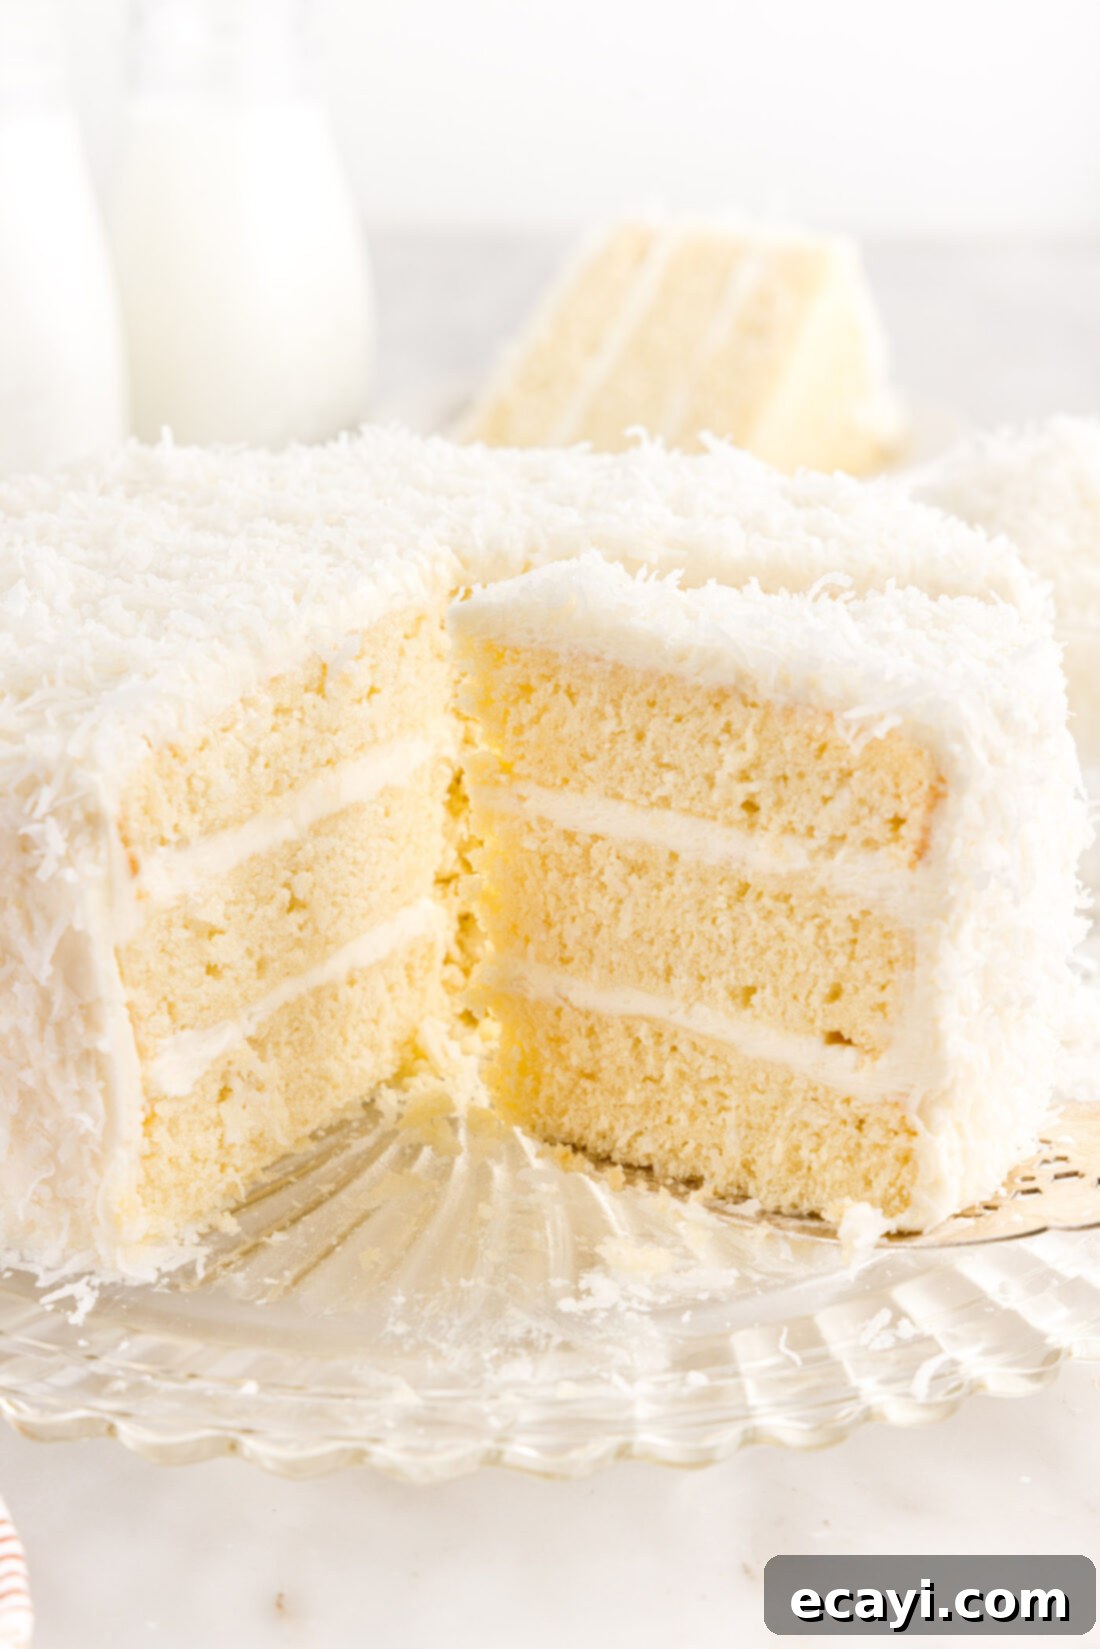
Elegant Serving Suggestions for Your Coconut Cake
This exquisite coconut cake is a celebration in itself, making it an ideal treat for virtually any occasion, big or small. From joyous birthdays and heartwarming retirements to proud graduations, festive holidays, elegant dinner parties, or simply as a well-deserved indulgence “just because,” this cake is guaranteed to be a crowd-pleaser. Its elegant appearance, combined with its delightful and universally loved flavor profile, makes it a versatile dessert that fits seamlessly into various gatherings and seasons, always leaving a lasting impression on your guests.
To further enhance its appeal and customize its presentation, you have several optional garnishing choices. While plain shredded coconut provides a beautiful and classic finish, consider elevating the presentation and flavor by using **toasted coconut** instead. The toasting process brings out a deeper, nuttier, and more complex flavor, alongside a lovely golden hue and an irresistible crunch. You can find detailed instructions on how to toast coconut in the recipe card below or in our ‘Ingredient Info’ section above. For an extra pop of vibrant color and refreshing contrast, a delicate sprinkle of fresh lime zest or a few vibrant fresh berries like raspberries, blueberries, or thinly sliced strawberries can add a beautiful visual appeal and a burst of complementary flavor. A light dusting of powdered sugar over the toasted coconut also creates an elegant, frosted look that is particularly stunning for holiday tables. Serve this magnificent cake with a perfectly brewed cup of coffee, a fragrant herbal tea, or for an truly decadent experience, alongside a scoop of premium vanilla bean ice cream or a dollop of fresh whipped cream. Enjoy every single glorious, tropical bite!
Explore More Delicious Cake Recipes
If you loved baking this coconut cake and are eager to expand your dessert repertoire, you might enjoy trying these other fantastic and equally delicious cake recipes from our collection:
- Zesty Lemon Cake: A bright, tangy, and refreshing cake perfect for spring and summer gatherings, offering a delightful citrusy zing.
- Classic Marble Cake: A beautiful and timeless cake featuring elegant swirls of rich vanilla and decadent chocolate, a favorite for all ages.
- Joyful Funfetti Cake: A festive and colorful cake bursting with sprinkles, making it absolutely perfect for birthdays, celebrations, and bringing smiles.
- Elegant Classic White Cake: A simple yet sophisticated cake with a tender crumb, ideal as a base for any frosting and perfect for more formal events.
- Tropical Pineapple Coconut Cake: For those who can’t get enough of tropical flavors, this cake combines the best of pineapple and coconut in a wonderfully moist dessert!
I absolutely adore sharing my passion for baking and cooking, along with all my kitchen wisdom, with each and every one of you! It can be tough to remember to check back for new recipes daily, which is precisely why I’ve made it simple: I offer a convenient newsletter delivered straight to your inbox every time a new recipe is published. Simply subscribe today and start receiving your free, delicious daily recipes, ensuring you never miss out on a culinary adventure!
Decadent Coconut Cake with Cream Cheese Frosting
IMPORTANT – There are often Frequently Asked Questions within the blog post that you may find helpful. Simply scroll back up to read them!
Print It
Pin It
Rate It
Save ItSaved!
Ingredients
- 1 cup unsalted butter softened at room temperature
- 1 cup granulated white sugar
- 3 large eggs at room temperature
- 2 teaspoons coconut extract
- 1 teaspoon vanilla extract
- ½ cup cream of coconut
- 2 cups all purpose flour
- 2 teaspoons baking powder
- ½ teaspoon salt
- ¾ cup unsweetened coconut milk lite or regular
- 1 cup sweetened shredded coconut
Frosting
- 1 cup salted butter softened at room temperature
- 8 ounces cream cheese softened at room temperature
- 1 teaspoon vanilla extract
- 5 cups powdered sugar
- 2 Tablespoons heavy whipping cream optional
- 2 cups sweetened shredded coconut
Things You’ll Need
-
Hand mixer or stand mixer
-
Mixing bowls
-
Wire cooling racks
-
3 8-inch round cake pans
Before You Begin & Expert Tips
- Toasted coconut is a game-changer for this cake, enhancing its flavor and texture both within the batter and as a topping. To toast, spread coconut in a single layer on a baking sheet and bake for 3-5 minutes in a 350°F oven until golden brown. Watch it closely, as it can burn quickly! Immediately remove from the hot baking sheet to stop the cooking. Both flaked or shredded, sweetened or unsweetened, coconut can be used.
- For the moistest cake, ensure all your cold ingredients like butter, eggs, and cream cheese are at room temperature before you begin. This allows them to cream together properly, incorporating air and creating a smoother batter and frosting.
- While unsweetened coconut milk is preferred for the cake’s subtle flavor, whole milk or 2% milk can be substituted. The coconut extract and cream of coconut ensure the cake’s rich coconut flavor remains prominent.
- This coconut cake is excellent for making ahead. You can prepare and fully assemble the cake up to 2 days in advance. Store it in a cake stand with a lid or a portable cake carrier in the refrigerator. Remember, cream cheese frosting requires refrigeration.
- For long-term storage, cake layers can be frozen for up to 3 months when wrapped tightly in plastic wrap and aluminum foil. Frosted cakes should be flash-frozen until the frosting is firm, then wrapped and frozen. Thaw overnight in the refrigerator.
- Always store the finished cake in an airtight container or under a cake dome in the refrigerator for up to 5 days. For best flavor and texture, let it sit at room temperature for 30-60 minutes before serving.
Instructions
Cake Instructions
-
Preheat your oven to 350°F (175°C). Prepare three 8-inch round cake pans by spraying them thoroughly with non-stick baking spray. Line the bottom of each pan with a circle of parchment paper for easy release.
-
In a large mixing bowl, using a hand mixer or stand mixer, beat the softened unsalted butter and granulated sugar until the mixture is light, fluffy, and creamy, which typically takes 3-5 minutes. Add the large eggs one at a time, beating well after each addition until fully incorporated.
-
Stir in the vanilla extract, coconut extract, and cream of coconut. Beat the mixture thoroughly until these flavorings are well combined.
-
In a separate medium bowl, whisk together the all-purpose flour, baking powder, and salt until evenly combined.
-
Alternately add the coconut milk and the dry flour mixture to the wet batter. Start and end with the flour mixture, adding about one-third of the dry ingredients, mixing just until combined, then half of the coconut milk, mixing, and repeating until all ingredients are incorporated. Mix only enough to combine the ingredients to avoid overmixing.
-
Gently fold 1 cup of sweetened shredded coconut into the cake batter using a spatula.
-
Divide the batter evenly between the three prepared cake pans. You can use a kitchen scale for precision.
-
Bake for 20-25 minutes, or until a toothpick inserted into the center of a cake comes out with only a few moist crumbs attached. Do not overbake.
-
Cool the cakes in their pans on a wire cooling rack for 10-15 minutes. Then, invert them onto the cooling rack, remove the parchment paper, and allow them to cool completely to room temperature before frosting.
To Make the Frosting
-
In a large mixing bowl, using a hand or stand mixer, cream together the softened salted butter and cream cheese until the mixture is smooth, light, and fluffy. Ensure both are at room temperature.
-
Gradually add the powdered sugar, one cup at a time, beating well after each addition until fully combined and the frosting is thick and creamy.
-
Add in the vanilla extract. Then, add the heavy cream, 1 tablespoon at a time, beating until the frosting achieves your desired fluffy and spreadable consistency. Adjust cream quantity as needed.
-
To assemble, place one cooled cake layer on your serving plate. Spread about ½ cup of the cream cheese frosting evenly over the top. Repeat this process with the second and third cake layers.
-
Spread the remaining frosting generously over the top and sides of the entire cake, ensuring it’s completely covered. Finally, gently pat handfuls of sweetened shredded coconut onto the sides of the cake, and sprinkle additional coconut over the top for a beautiful finish. Slice and serve!
Nutrition Information
The recipes on this blog are tested with a conventional gas oven and gas stovetop. It’s important to note that some ovens, especially as they age, can cook and bake inconsistently. Using an inexpensive oven thermometer can assure you that your oven is truly heating to the proper temperature. If you use a toaster oven or countertop oven, please keep in mind that they may not distribute heat the same as a conventional full sized oven and you may need to adjust your cooking/baking times. In the case of recipes made with a pressure cooker, air fryer, slow cooker, or other appliance, a link to the appliances we use is listed within each respective recipe. For baking recipes where measurements are given by weight, please note that results may not be the same if cups are used instead, and we can’t guarantee success with that method.
