Easy & Delicious Coconut Poke Cake Recipe: A Tropical Cloud of Sweetness
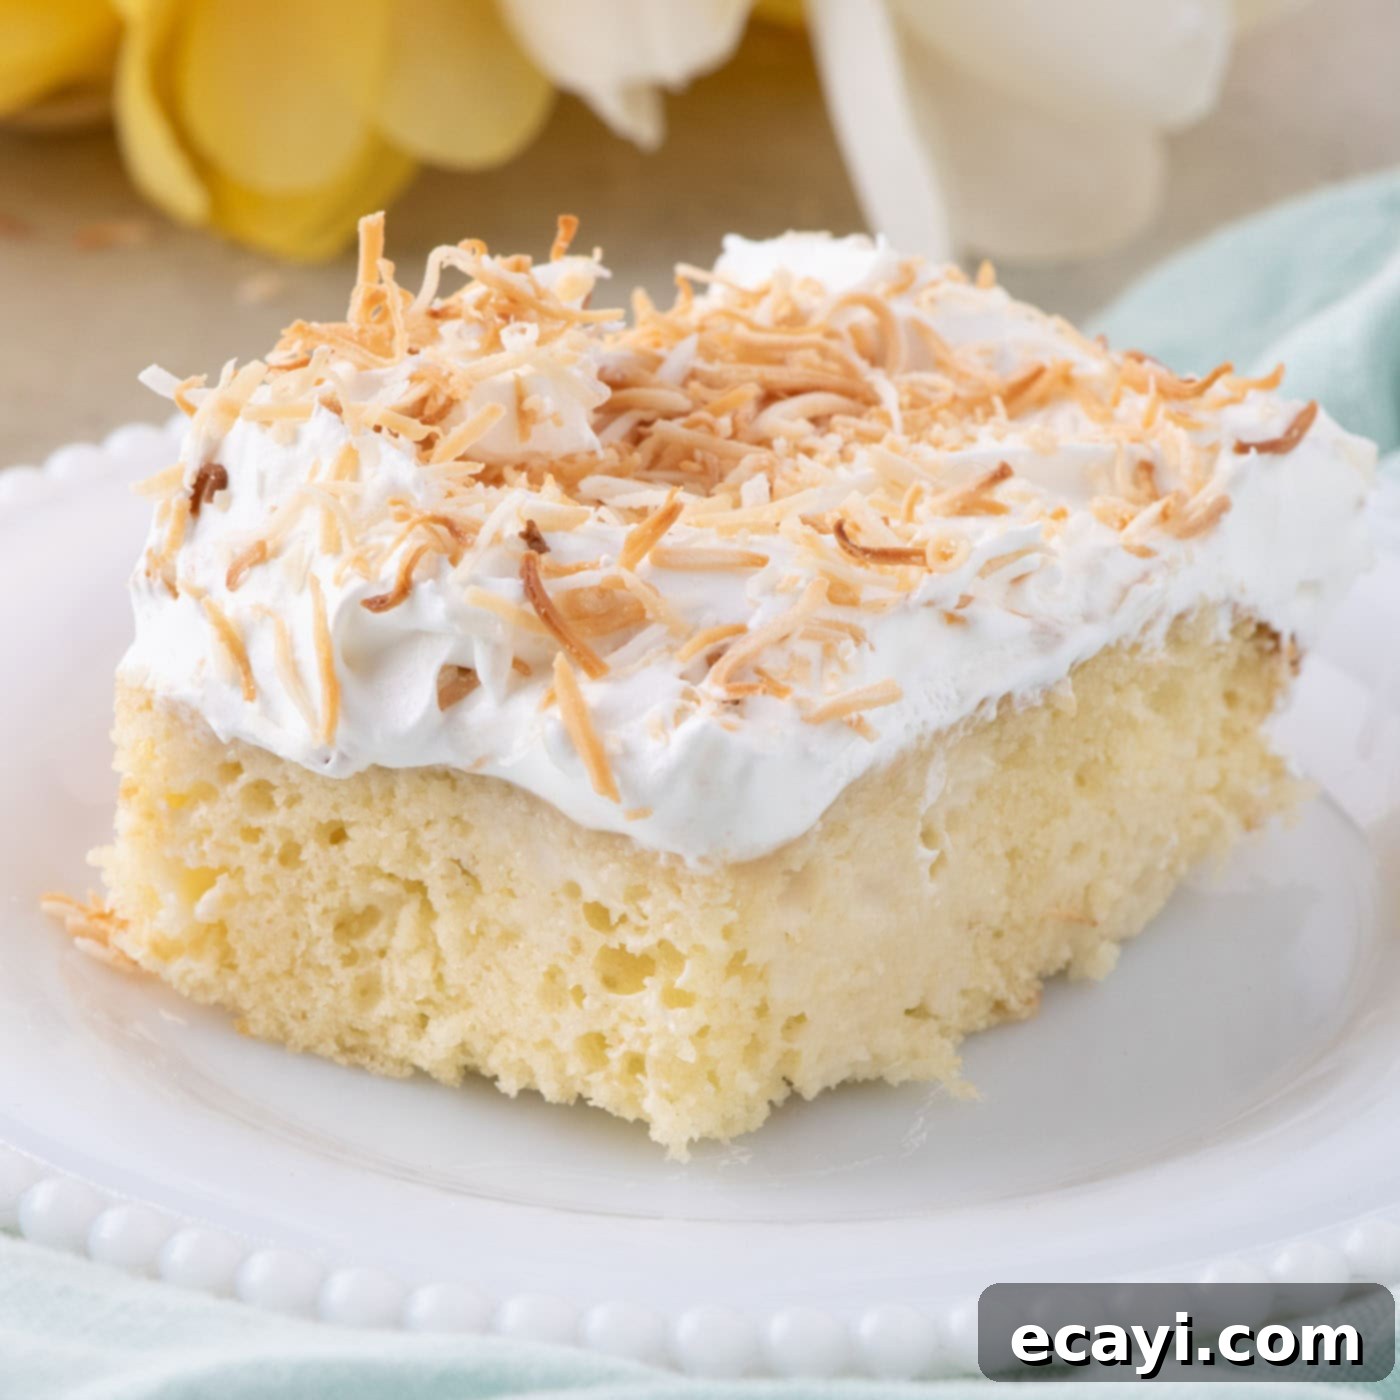
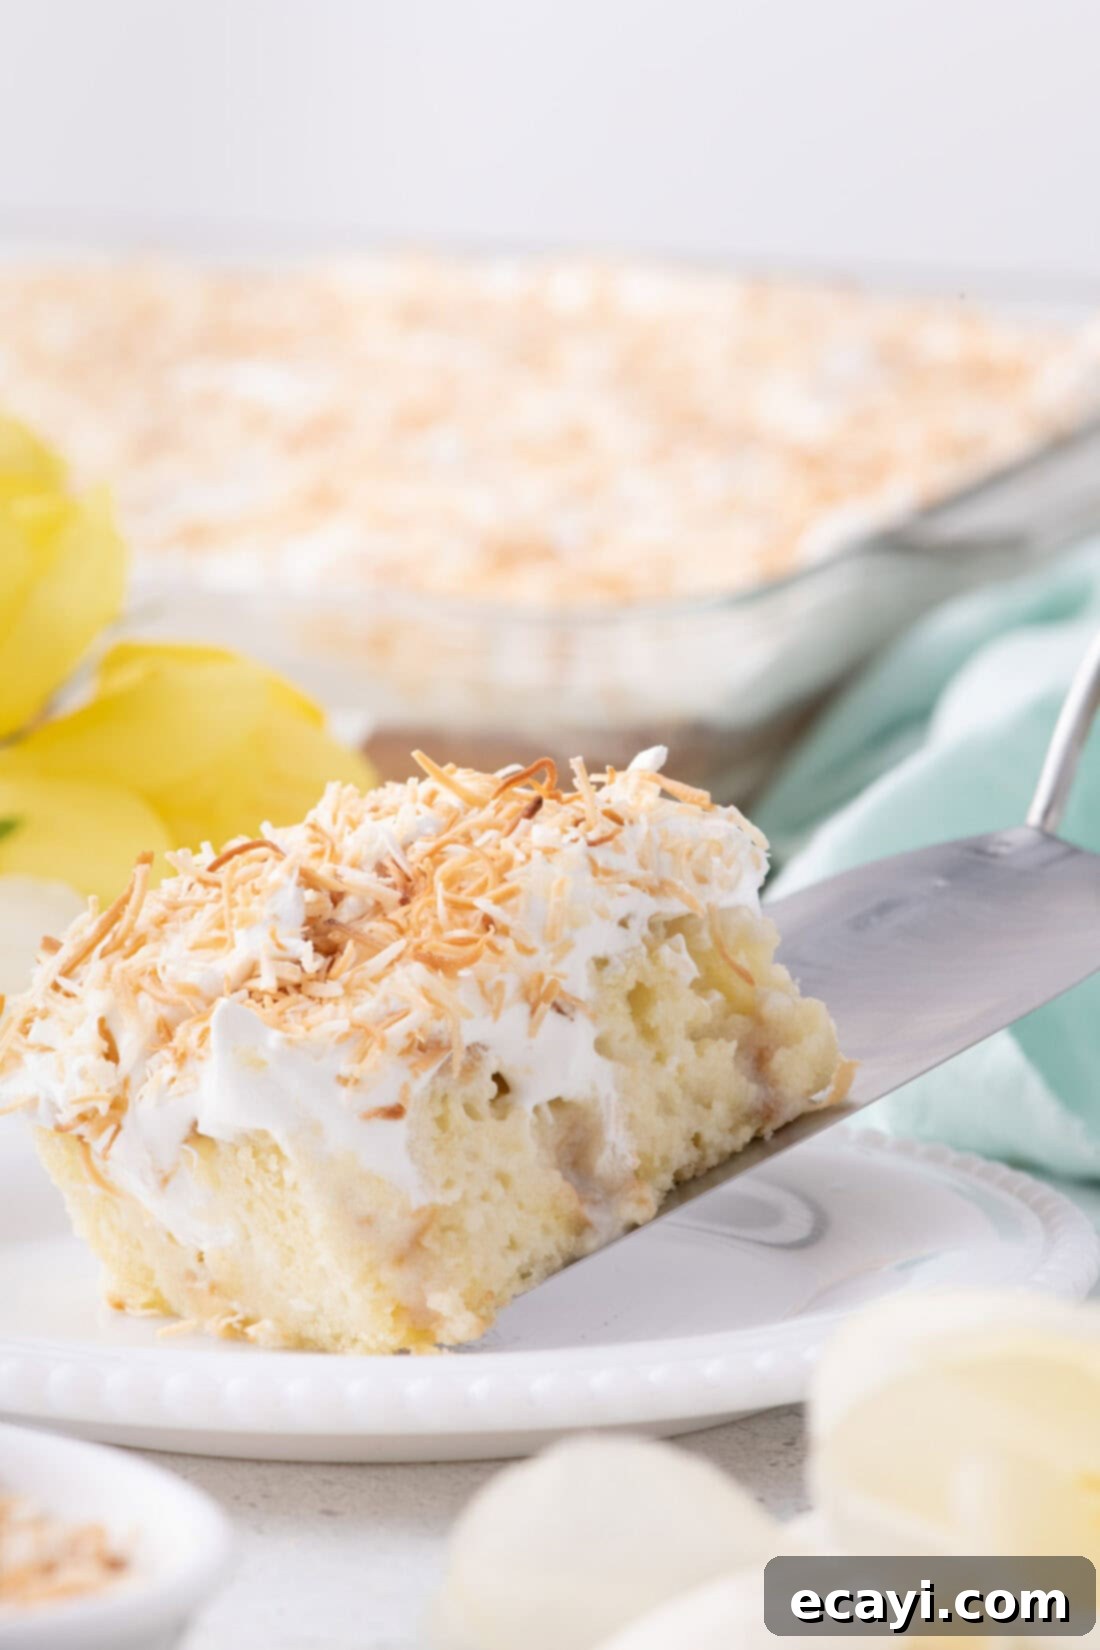
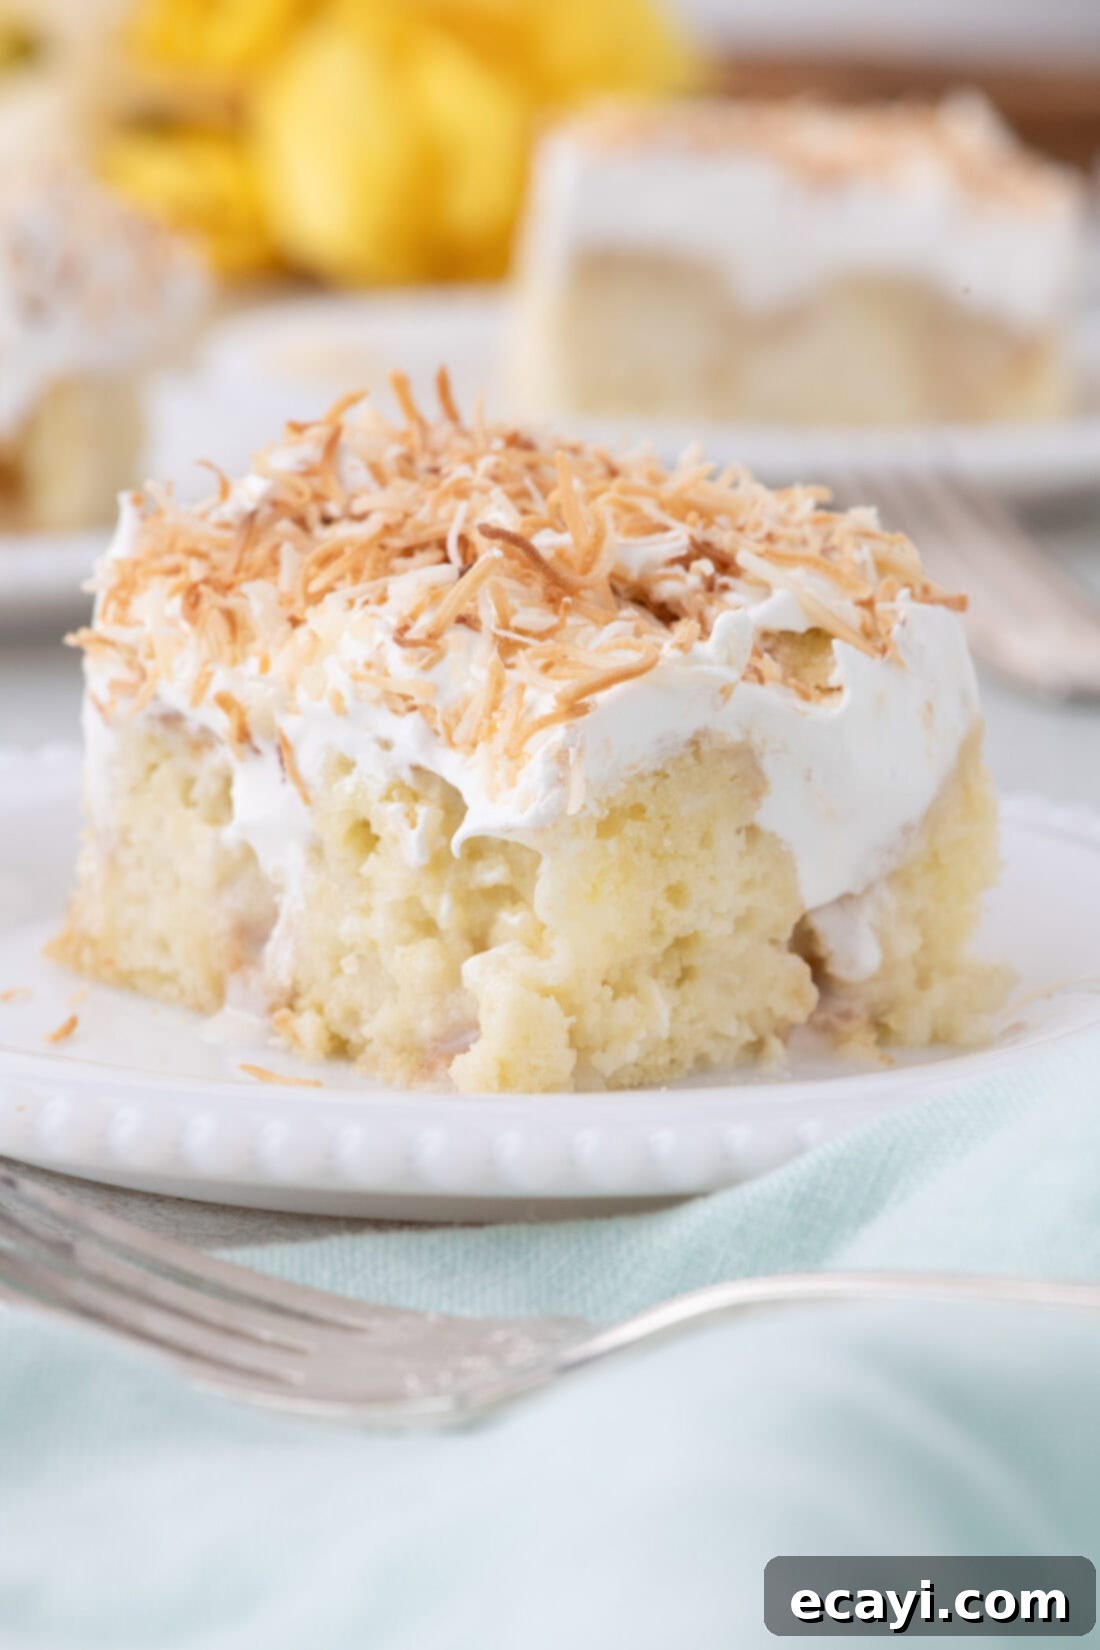
Prepare to embark on a delightful culinary journey with our easy and utterly delicious Coconut Poke Cake! This vibrant dessert begins with a simple white cake mix, transforming it into a moist, flavor-packed experience. Holes are gently poked into the warm cake, creating perfect channels for a luscious, creamy coconut filling to seep into every crevice. The grand finale is a fluffy layer of Cool Whip, generously adorned with golden, toasted coconut flakes, and optionally, bright maraschino cherries. Each forkful is like sinking your teeth into a cloud of sweet, tropical bliss – an irresistible treat perfect for any occasion.
Why This Coconut Poke Cake Recipe Works Wonders
This Coconut Poke Cake isn’t just another dessert; it’s a testament to how simple ingredients can create something truly extraordinary. The recipe’s brilliance lies in its simplicity, making it accessible even for novice bakers, yet yielding results that taste gourmet. We start with a convenient white cake mix, which lays the foundation for a super tender and airy crumb. This cake is then infused with a homemade coconut cream filling – a divine blend of rich coconut cream and sweetened condensed milk. This unique “poking” method ensures that every bite is bursting with tropical flavor and incredible moistness.
Unlike traditional cakes that can sometimes be dry, poke cakes are celebrated for their moist texture, and this coconut version takes it to a new level. The chilled filling not only adds intense flavor but also keeps the cake incredibly fresh. Topped with light and airy Cool Whip and crunchy, toasted coconut, it offers a symphony of textures and tastes. It’s a fantastic make-ahead dessert, often tasting even better the next day, making it ideal for parties, potlucks, or a simple family treat. While I’ve explored many poke cake variations, including my beloved pineapple poke cake, this dedicated coconut recipe captures the essence of a tropical escape in every single slice.
Essential Ingredients for Your Coconut Poke Cake
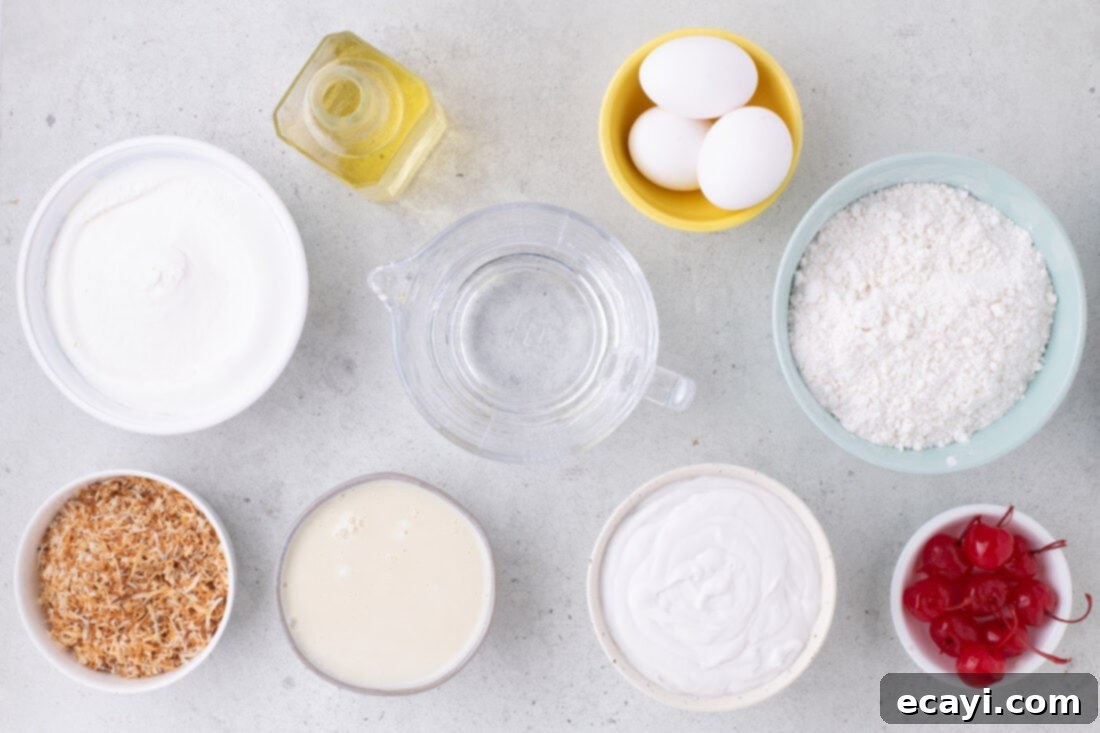
Creating this irresistible Coconut Poke Cake requires a handful of readily available ingredients. The beauty of this recipe lies in its ease, utilizing pantry staples and a few star components to deliver maximum flavor with minimal fuss. Below, you’ll find the complete list of ingredients required to bring this tropical dream to life. For precise measurements and step-by-step instructions, please refer to the printable recipe card located at the end of this post.
Ingredient Spotlight & Smart Substitutions
Understanding your ingredients is key to baking success. Here’s a closer look at what goes into our Coconut Poke Cake and how you can adapt it to your preferences or what you have on hand.
CAKE MIX: For this recipe, a white cake mix is highly recommended as it provides a neutral base that truly allows the coconut flavor to shine. However, a yellow cake mix can also be used for a slightly richer, butterier undertone, which still complements the coconut beautifully. Most boxed mixes call for oil, water, and eggs. If your preferred mix uses butter, simply follow the package directions and omit the oil, water, and eggs listed in our recipe’s ingredient section, adjusting quantities as necessary. For those who prefer a completely homemade touch, my classic white cake or classic yellow cake recipes can be used as a delicious scratch-made alternative, though this will add to your prep time.
COCONUT CREAM: This is a critical ingredient, so pay close attention! Ensure you are specifically using coconut cream, not coconut milk or cream of coconut. Coconut cream is much thicker and richer than coconut milk, which is essential for achieving the luscious, pourable consistency needed to properly soak into the cake’s poked holes. Substituting with coconut milk will result in a much thinner filling that won’t absorb as effectively and may make your cake watery. We have not tested this recipe with cream of coconut. While also thick, cream of coconut is heavily sweetened and typically used in cocktails like piña coladas. When combined with sweetened condensed milk, it would likely make the filling overwhelmingly sweet and overpower the delicate coconut flavor we’re aiming for.
TOPPING: A 16-ounce container of Cool Whip whipped topping is the perfect light and airy finish for this cake. It’s convenient and provides a stable topping that holds up well. If you prefer to make your own from scratch, a batch of stabilized whipped cream would be an excellent, richer alternative. For an even more decadent option, a cream cheese frosting could also be used, but it would change the overall texture and sweetness profile significantly.
COCONUT: The toasted shredded coconut adds a wonderful texture and intensified nutty flavor to the topping. Sweetened shredded coconut is generally preferred for desserts like this. When toasting, remember that coconut browns very quickly, transitioning from perfectly golden to burnt in a matter of seconds. Keep a close eye on it, and toast it on a low setting for the best results, stirring frequently to ensure even browning. You can toast it in a dry skillet over medium-low heat or spread it on a baking sheet in a low oven.
CHERRIES: Bright red maraschino cherries are an optional but recommended garnish. Their sweetness and vibrant color provide a beautiful contrast to the white cake and coconut. If you’re not a fan of maraschino cherries, feel free to omit them, or consider other tropical garnishes like a sprinkle of lime zest, fresh mango cubes, or even a few edible flowers for an elegant touch.
How to Bake the Perfect Coconut Poke Cake
These step-by-step photos and detailed instructions are here to guide you visually through the process of making this delightful cake. For a concise, printable version of this recipe, complete with precise measurements and instructions, scroll down to the recipe card below.
- Preheat your oven to 350°F (175°C). Lightly grease and flour a 9×13-inch baking dish. This ensures your cake doesn’t stick and comes out easily. Set the prepared dish aside.
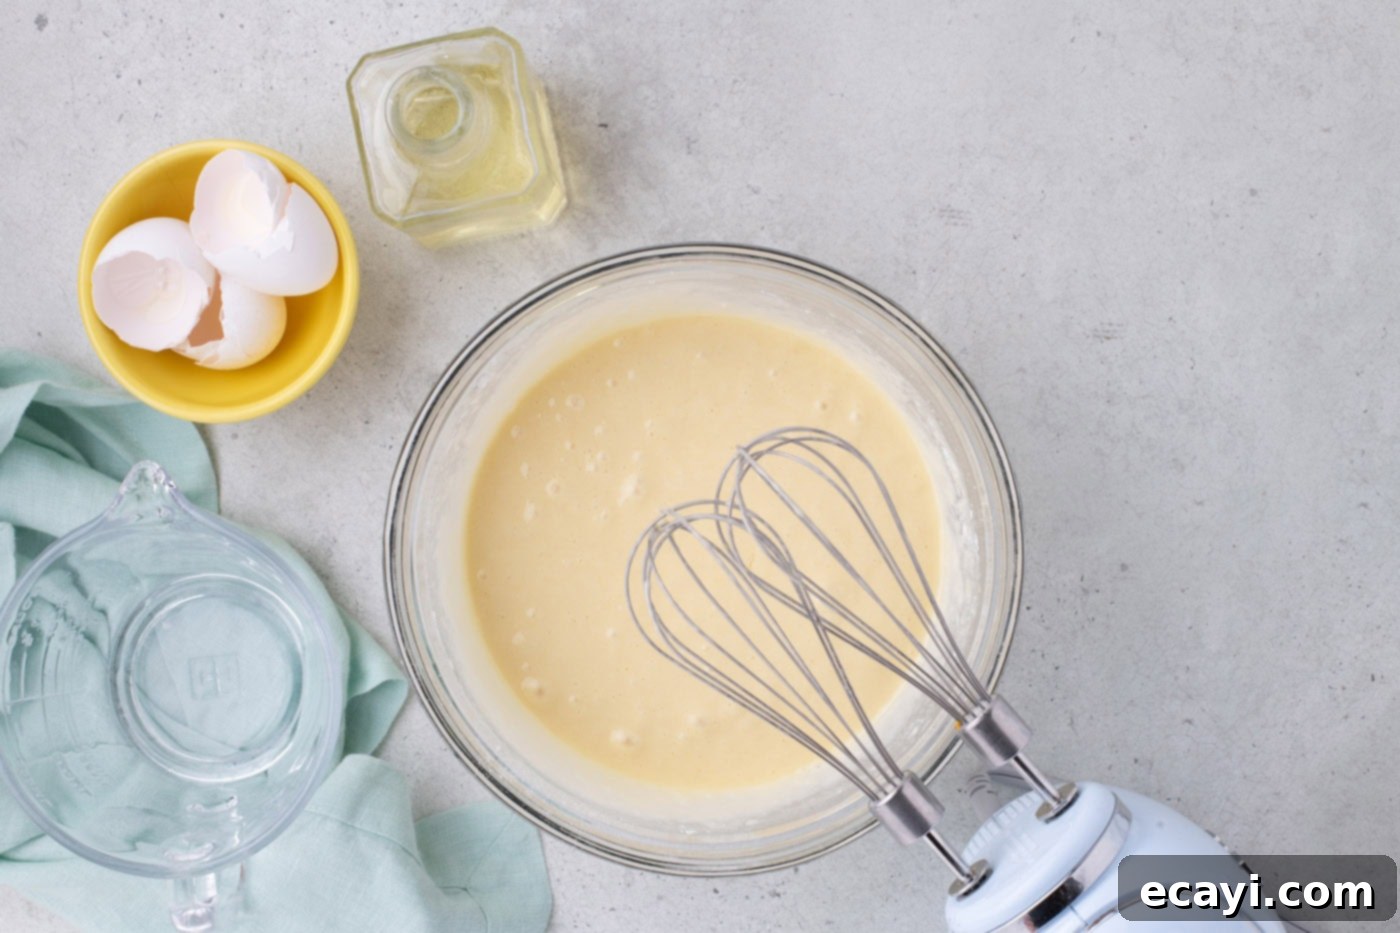
- In a large mixing bowl, combine the white cake mix, water, vegetable oil, and eggs. Using a hand mixer or stand mixer, blend the ingredients on medium speed for about 2 minutes, or until the batter is smooth and well combined, scraping down the sides of the bowl as needed. Avoid overmixing, as this can lead to a tough cake.

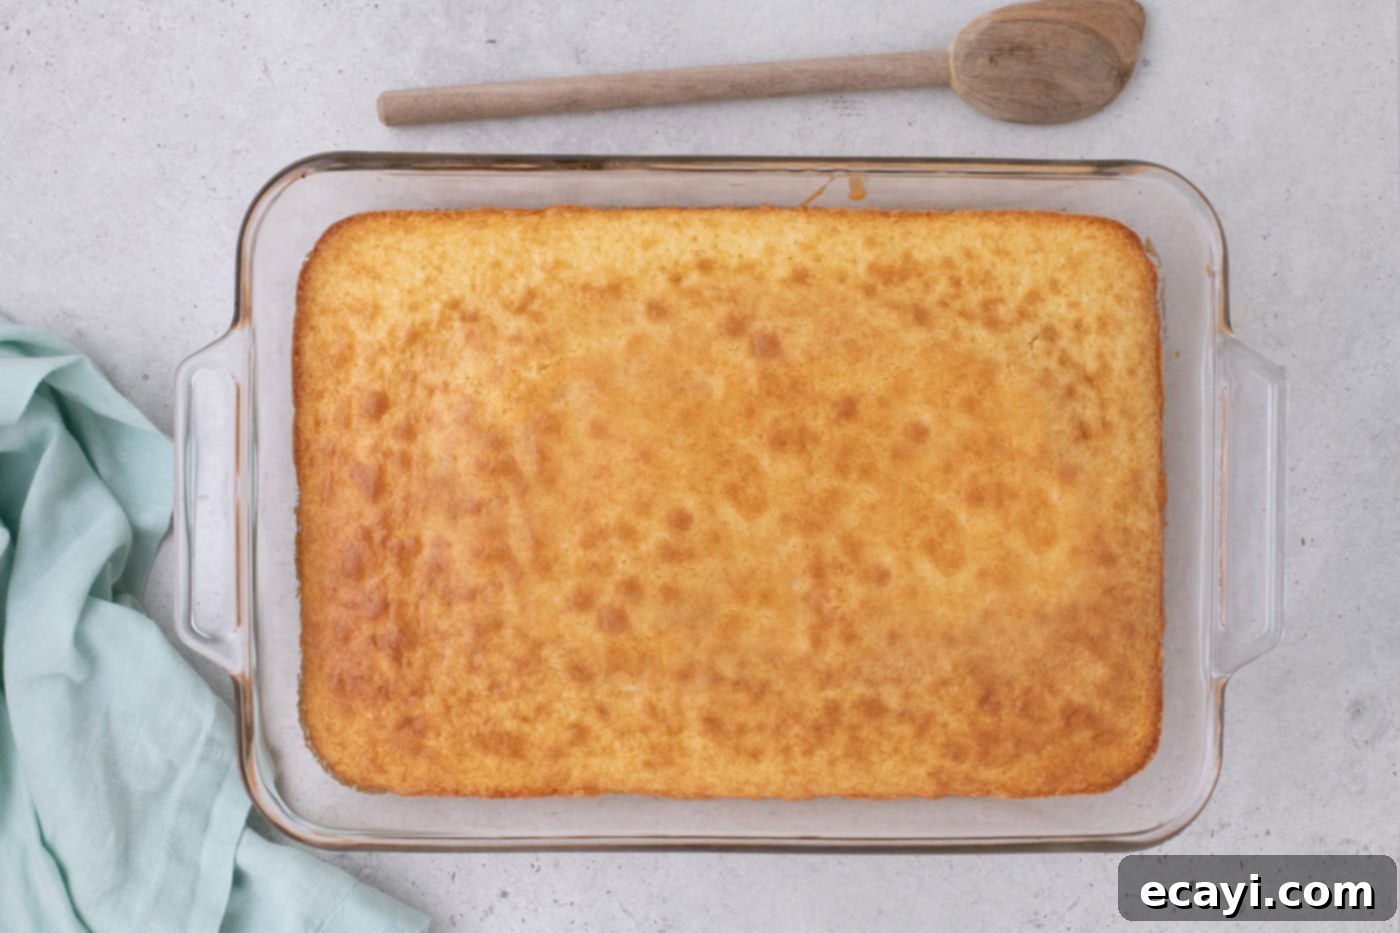
- Pour the prepared cake batter evenly into your greased 9×13-inch baking dish. Bake for approximately 28 to 30 minutes. The cake is done when the top is golden brown, and a wooden skewer or toothpick inserted into the center comes out clean. Once baked, remove the cake from the oven and allow it to cool completely in the pan on a wire rack for about 1 hour. This cooling time is crucial before adding the filling.

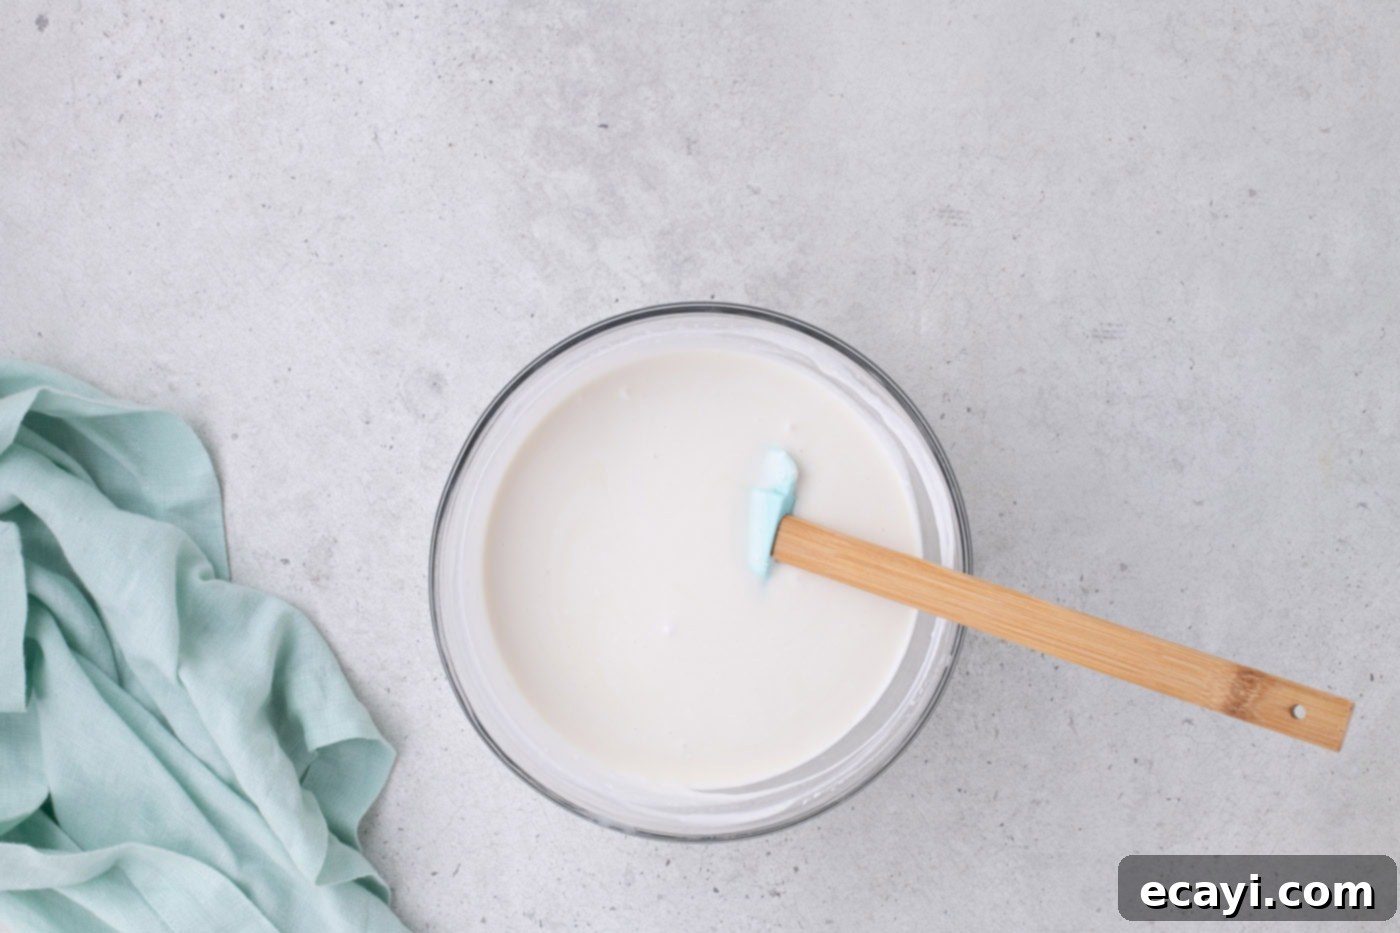
- While the cake is cooling, prepare the rich coconut cream filling. In a separate mixing bowl, combine the full can of coconut cream with the sweetened condensed milk. Stir these two ingredients together thoroughly until the mixture is completely smooth and uniform. This forms the luscious filling that will infuse your cake with tropical flavor.

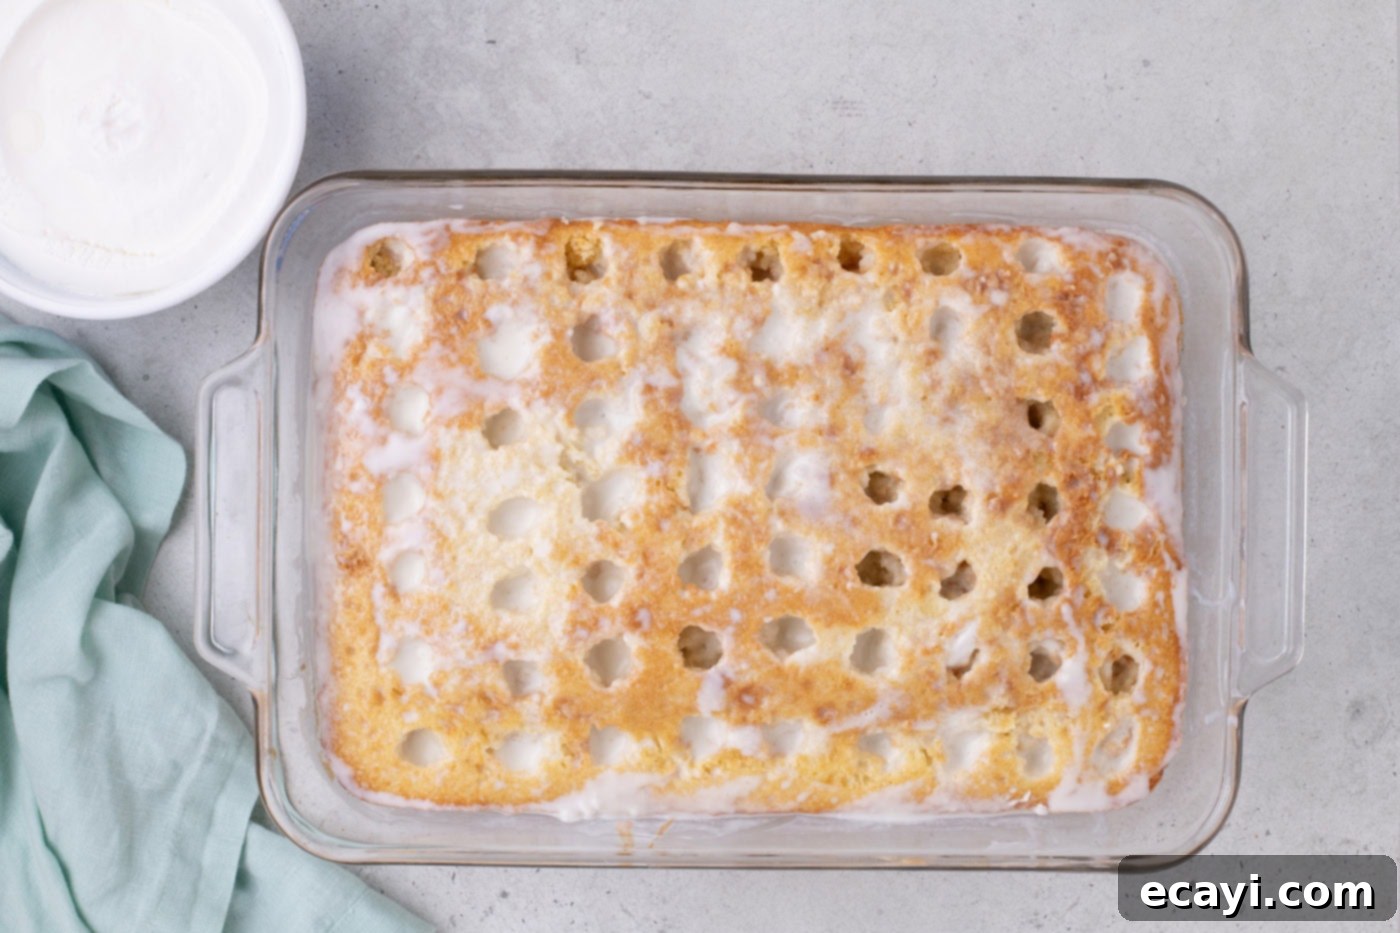
- Once the cake has cooled completely, it’s time to “poke” it! Using the rounded end of a wooden spoon or a similar dowel, poke holes into the top two-thirds of the cake. Aim for holes spaced approximately 1 inch apart across the entire surface. Don’t go all the way to the bottom to prevent the cake from breaking apart. These holes are essential for the filling to penetrate deeply and moisten the cake.
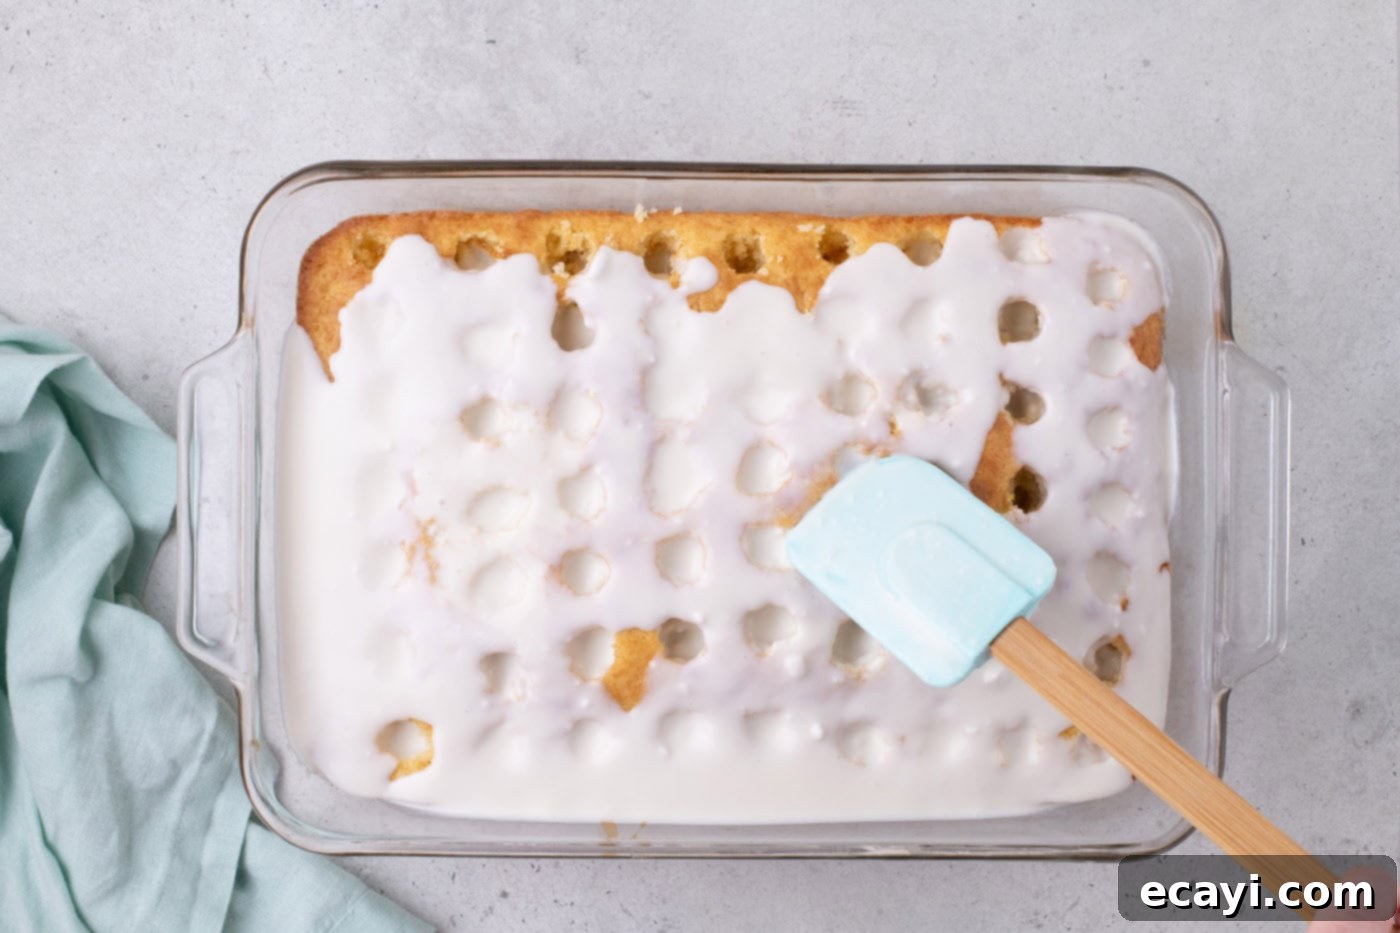
- Carefully pour the prepared coconut cream filling over the poked cake. Use a soft silicone spatula to gently spread the mixture, ensuring it seeps down into every hole. Take your time to distribute the filling evenly over the entire surface.


- After pouring the filling, place the cake in the refrigerator to chill for at least 30 minutes. This allows the filling to set and fully absorb into the cake, enhancing its flavor and moist texture.
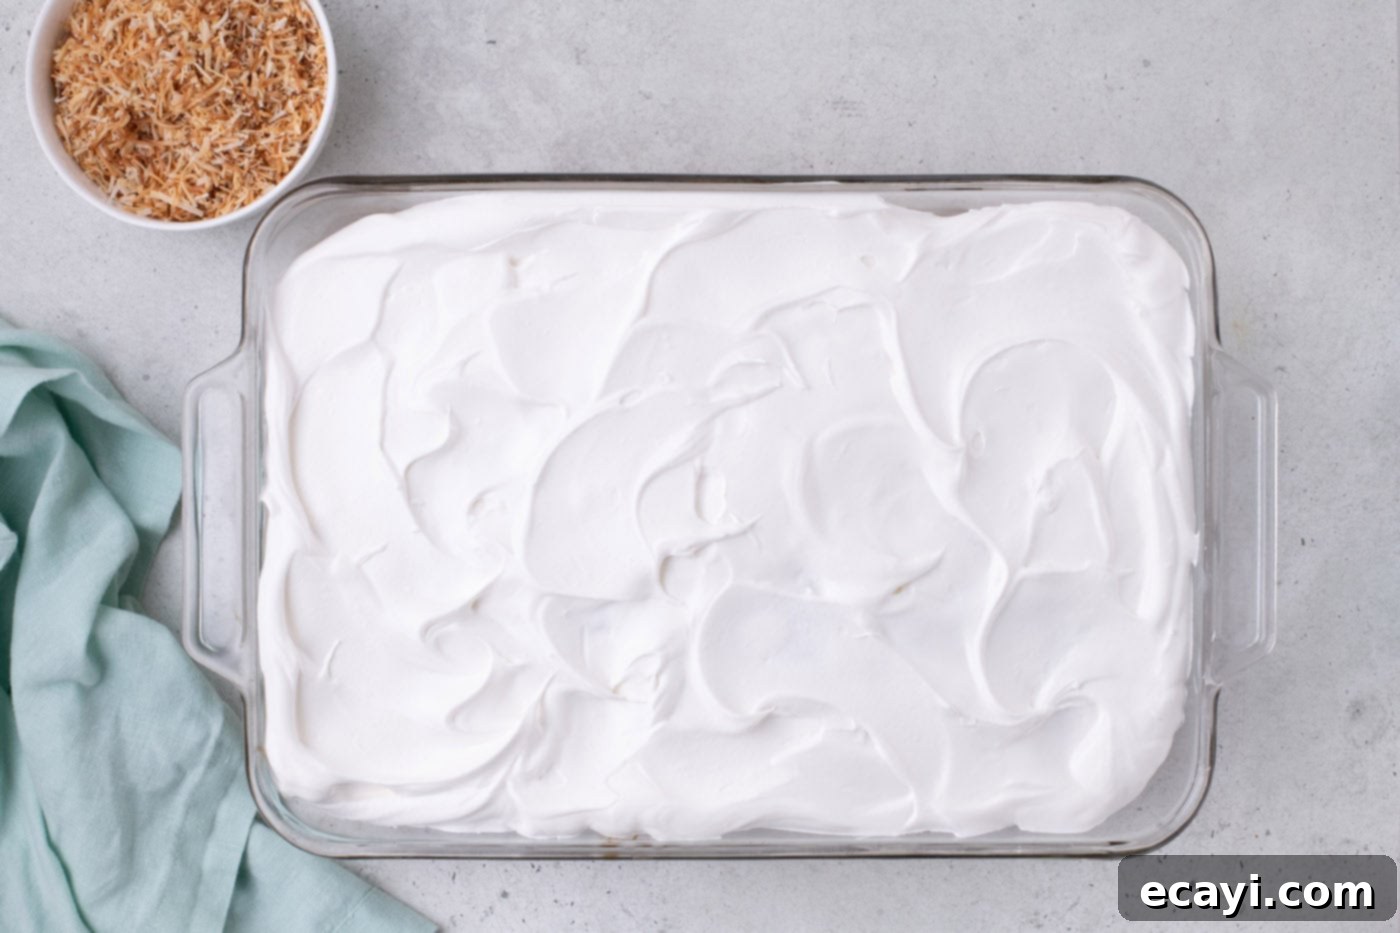
- Once chilled, remove the cake from the refrigerator. Spread the thawed whipped topping evenly over the entire surface of the cake. For the final touch, sprinkle generously with the toasted shredded coconut. If desired, garnish with maraschino cherries for an extra pop of color and sweetness. Serve immediately for optimal freshness, or cover loosely and refrigerate until you’re ready to enjoy this delightful treat.

Frequently Asked Questions & Expert Tips
A poke cake is a type of cake where holes are poked into a freshly baked cake, and a liquid or pudding mixture is poured over it, allowing the mixture to seep into the holes and moisten the cake. This results in an incredibly moist and flavorful dessert. They are known for their ease of preparation and the delicious infusion of flavor throughout the cake.
Absolutely! This coconut poke cake is an excellent dessert for preparing in advance. You can bake and assemble the cake a full day ahead of time. Once assembled, cover it tightly with plastic wrap or an airtight lid and store it in the refrigerator. In fact, many find that poke cakes taste even better after having ample time to chill and allow the flavors to fully meld together in the fridge. If you plan to use maraschino cherries as a garnish, it’s best to add them right before serving. The liquid from the cherries can bleed and dye the whipped topping over time, which might affect its appearance.
To maintain its freshness and delightful texture, store the coconut poke cake, covered tightly, in the refrigerator. It will keep beautifully for 4-5 days. Ensure it’s well-covered to prevent it from absorbing other odors from the fridge and to keep the cake moist.
Yes, this cake freezes wonderfully! If you intend to freeze it, I highly recommend holding off on adding the whipped topping and toasted coconut. This makes wrapping much easier and preserves the freshness of these elements. After allowing the cake to chill in the fridge for 30 minutes (following step 7 in the instructions), wrap the entire cake (in its baking dish) securely a few times with plastic wrap, followed by a layer of aluminum foil. This double layer protects against freezer burn. You can freeze the cake for up to 3 months. When you’re ready to serve, thaw it overnight in the refrigerator, then proceed to frost and decorate with the whipped topping and toasted coconut.
The rounded end of a wooden spoon handle is ideal for creating the perfect sized holes. Alternatively, you can use the blunt end of a chopstick or even a thick straw. Aim for holes that are about 1 inch apart and penetrate about two-thirds of the way down into the cake, but not all the way to the bottom. This ensures maximum absorption without compromising the cake’s structural integrity.
Toasting coconut adds a wonderful depth of flavor and a pleasing crunch. You can do this in a dry skillet over medium-low heat, stirring constantly until golden brown, or spread it thinly on a baking sheet and bake at 325°F (160°C) for 5-10 minutes, stirring halfway through. Whichever method you choose, watch it carefully! Coconut can go from perfectly golden to burnt in a blink. Remove from heat immediately once it reaches your desired golden color and transfer to a plate to cool.
Serving Suggestions for Your Tropical Treat
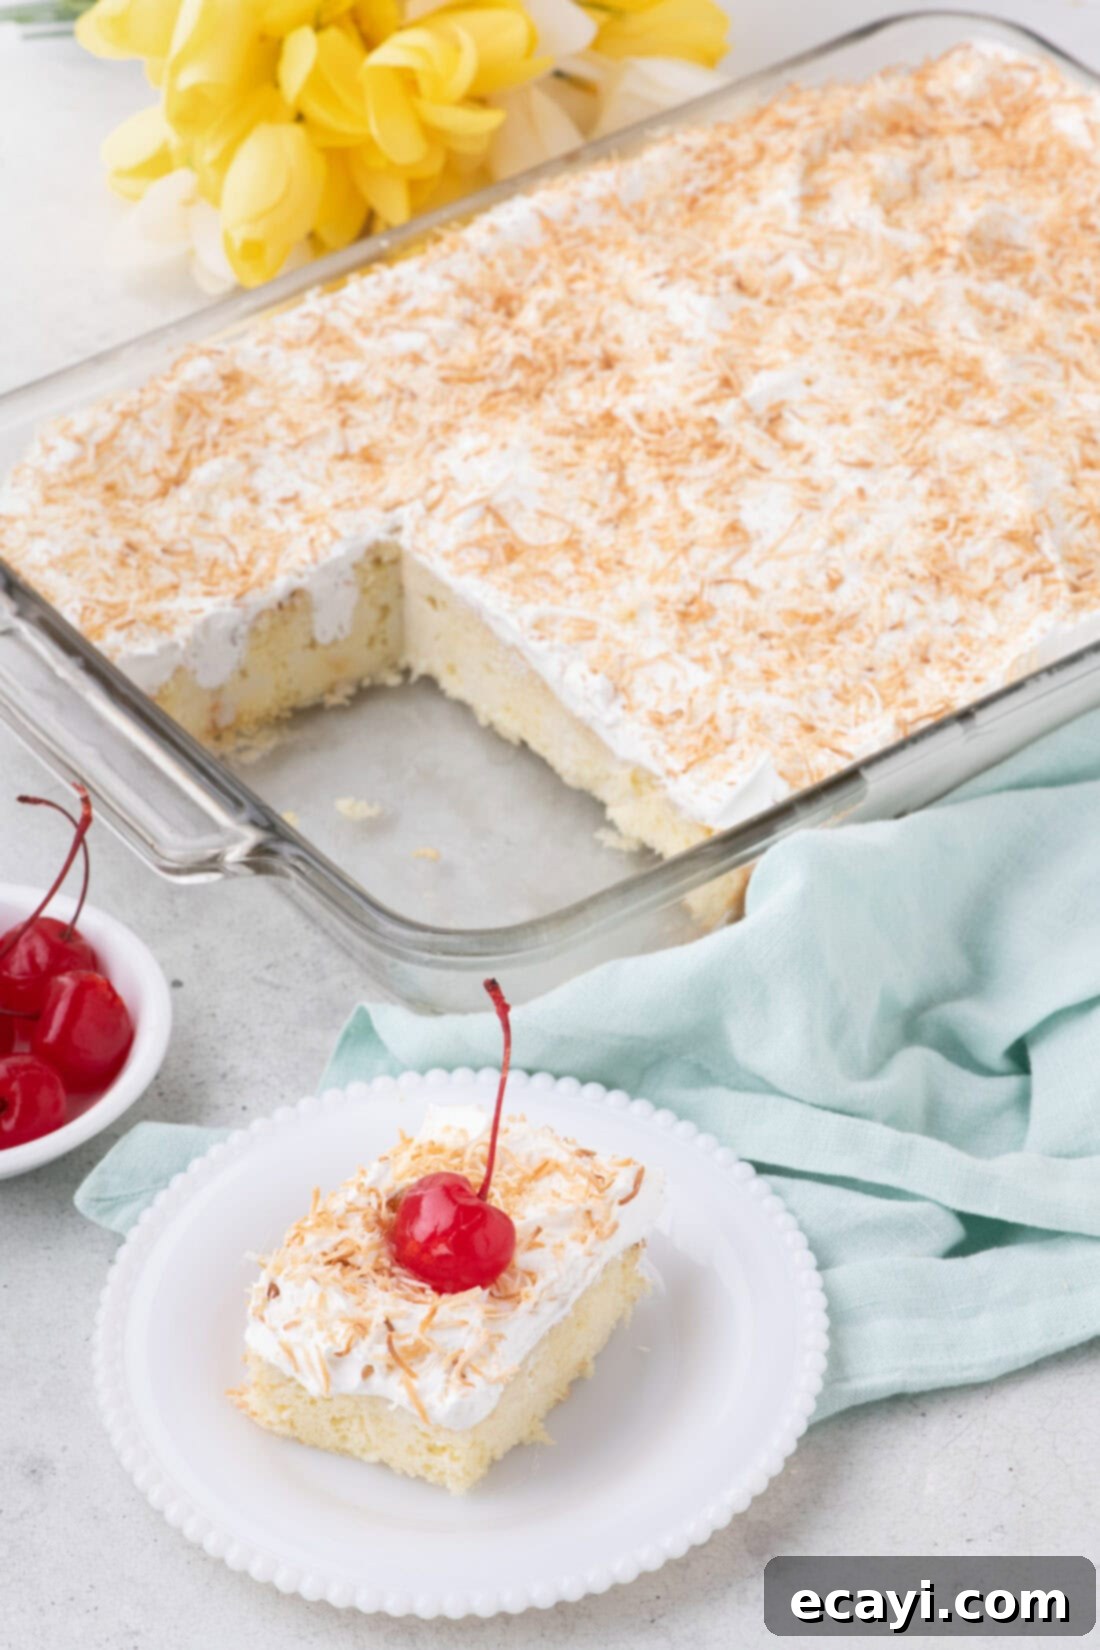
This delightful Coconut Poke Cake is incredibly versatile and perfect for a wide range of occasions. Serve it either chilled straight from the refrigerator, or allow it to sit at room temperature for about 15-20 minutes for a slightly softer texture. It’s fantastic on its own, especially with its generous topping of toasted shredded coconut and an optional maraschino cherry for a burst of color and classic sweetness.
This cake truly shines as a centerpiece for summer potlucks, barbecues, or garden parties, bringing a refreshing tropical vibe to any gathering. It’s also an excellent choice for Easter celebrations or family get-togethers, offering a light yet satisfying dessert option. For an extra special touch, consider serving slices with a scoop of vanilla bean ice cream or a drizzle of homemade caramel sauce. Pair it with a fresh fruit salad featuring tropical fruits like pineapple, mango, and kiwi to enhance the island flavors. Enjoy every sweet, moist bite of this wonderfully easy and delicious coconut cake!
Explore More Delicious Poke Cake Recipes
If you’ve fallen in love with the moist, flavorful world of poke cakes, you’re in for a treat! We have a fantastic collection of other poke cake recipes that are just as easy and delicious as this coconut version. Each one offers a unique flavor profile and is perfect for various tastes and occasions. Don’t stop at coconut; dive into more delightful poke cake adventures:
- Pineapple Poke Cake
- Raspberry Poke Cake
- Boston Cream Poke Cake
- Banana Pudding Poke Cake
I love to bake and cook and share my kitchen experience with all of you! Remembering to come back each day can be tough, that’s why I offer a convenient newsletter every time a new recipe posts. Simply subscribe and start receiving your free daily recipes!

Coconut Poke Cake
IMPORTANT – There are often Frequently Asked Questions within the blog post that you may find helpful. Simply scroll back up to read them!
Print It
Pin It
Rate It
Ingredients
- 14.25 ounce white cake mix
- ¾ cup water (170ml)
- ½ cup vegetable oil (99ml)
- 3 eggs
- 13.66 ounce can of coconut cream
- 14 ounce can of sweetened condensed milk
- 16 ounces whipped topping (thawed, such as Cool Whip)
- 1 cup sweetened shredded coconut (toasted)
- Maraschino cherries (optional as garnish)
Things You’ll Need
-
13×9 baking dish
-
Hand mixer
-
Mixing bowls
-
Wooden spoon
Before You Begin
- Make sure you are using coconut cream and not coconut milk – the textures of the two are very different. This recipe relies on the thickness of coconut cream and you will not get the same results if you swap it with coconut milk.
- We have not tested this recipe using cream of coconut. Cream of coconut is much sweeter compared to coconut cream and may be too overpowering when mixed with the sweetened condensed milk in this recipe.
- I recommend using white cake mix here, but yellow cake mix will also do the trick. We used the kind that requires oil, water, and eggs but you can easily substitute with the kind that uses butter (simply omit the eggs, oil, and water called for in the ingredients section below and follow the back of your box).
Instructions
-
Preheat oven to 350°F (175°C). Grease a 9×13-inch baking dish and set aside.
-
In a mixing bowl, combine the cake mix, water, vegetable oil, and eggs. Blend until smooth.14.25 ounce white cake mix,
3/4 cup water,
1/2 cup vegetable oil,
3 eggs -
Pour the cake batter into the prepared baking dish and bake for approximately 28 to 30 minutes or until the top of the cake is golden and a toothpick inserted comes out clean. Allow the cake to cool down (about 1 hour).
-
While the cake cools, make the filling by combining the coconut cream and sweetened condensed milk. Stir until smooth.13.66 ounce can of coconut cream,
14 ounce can of sweetened condensed milk -
Once cooled, poke holes into the top two-thirds of the cake with the end of a wooden spoon (spacing the holes 1 inch apart).
-
Pour the filling over the cake, making sure the mixture gets into the holes by spreading it with a soft silicone spatula.
-
Allow the cake to chill for 30 minutes.
-
Spread the whipped topping over the cake and top with the toasted shredded coconut and maraschino cherries (if desired). Serve immediately or refrigerate until ready.16 ounces whipped topping,
1 cup sweetened shredded coconut
How to Toast Shredded Coconut
-
Heat oven to 325°F (160°C). Line a baking sheet with parchment paper and add the shredded coconut. Place the baking sheet in the oven and toast for a few minutes, or until golden brown.
TIP – Shredded coconut will brown very quickly, going from golden to dark in minutes; make sure to keep an eye on it and only toast on a low setting, stirring occasionally.
Expert Tips & FAQs
- You can bake and assemble the poke cake a day ahead of time, cover it, and store it in the refrigerator. In fact, poke cakes taste even better after having ample time to chill in the fridge. If using the maraschino cherries, it is best to add them to the cake right before serving, as the liquid will bleed and dye the whipped topping over time.
- Store the cake, covered, in the refrigerator for 4-5 days.
- To Freeze – I would recommend holding off on the whipped topping and toasted coconut if you plan on freezing it so it’s easier to wrap. After allowing the cake to chill in the fridge (step 7), wrap the cake a few times with plastic wrap followed by a layer of foil. Freeze for up to 3 months. Thaw in the refrigerator overnight then frost and decorate when ready to serve.
- For perfect poking, use the rounded end of a wooden spoon handle, spaced about 1 inch apart. This ensures good absorption of the filling without tearing the cake.
- Always watch coconut closely when toasting, as it can burn quickly. Low heat and frequent stirring are key for a beautiful golden brown.
Nutrition Information
Serving: 1serving |
Calories: 445cal |
Carbohydrates: 48g |
Protein: 6g |
Fat: 26g |
Saturated Fat: 17g |
Polyunsaturated Fat: 5g |
Monounsaturated Fat: 4g |
Trans Fat: 0.2g |
Cholesterol: 42mg |
Sodium: 272mg |
Potassium: 262mg |
Fiber: 1g |
Sugar: 35g |
Vitamin A: 141IU |
Vitamin C: 1mg |
Calcium: 165mg |
Iron: 1mg
Tried this Recipe? Pin it for Later!
Follow on Pinterest @AmandasCookin or tag #AmandasCookin!
The recipes on this blog are tested with a conventional gas oven and gas stovetop. It’s important to note that some ovens, especially as they age, can cook and bake inconsistently. Using an inexpensive oven thermometer can assure you that your oven is truly heating to the proper temperature. If you use a toaster oven or countertop oven, please keep in mind that they may not distribute heat the same as a conventional full sized oven and you may need to adjust your cooking/baking times. In the case of recipes made with a pressure cooker, air fryer, slow cooker, or other appliance, a link to the appliances we use is listed within each respective recipe. For baking recipes where measurements are given by weight, please note that results may not be the same if cups are used instead, and we can’t guarantee success with that method.
