Effortless 2-Ingredient Pineapple Angel Food Cake: Your Easiest & Most Delicious Dessert Solution
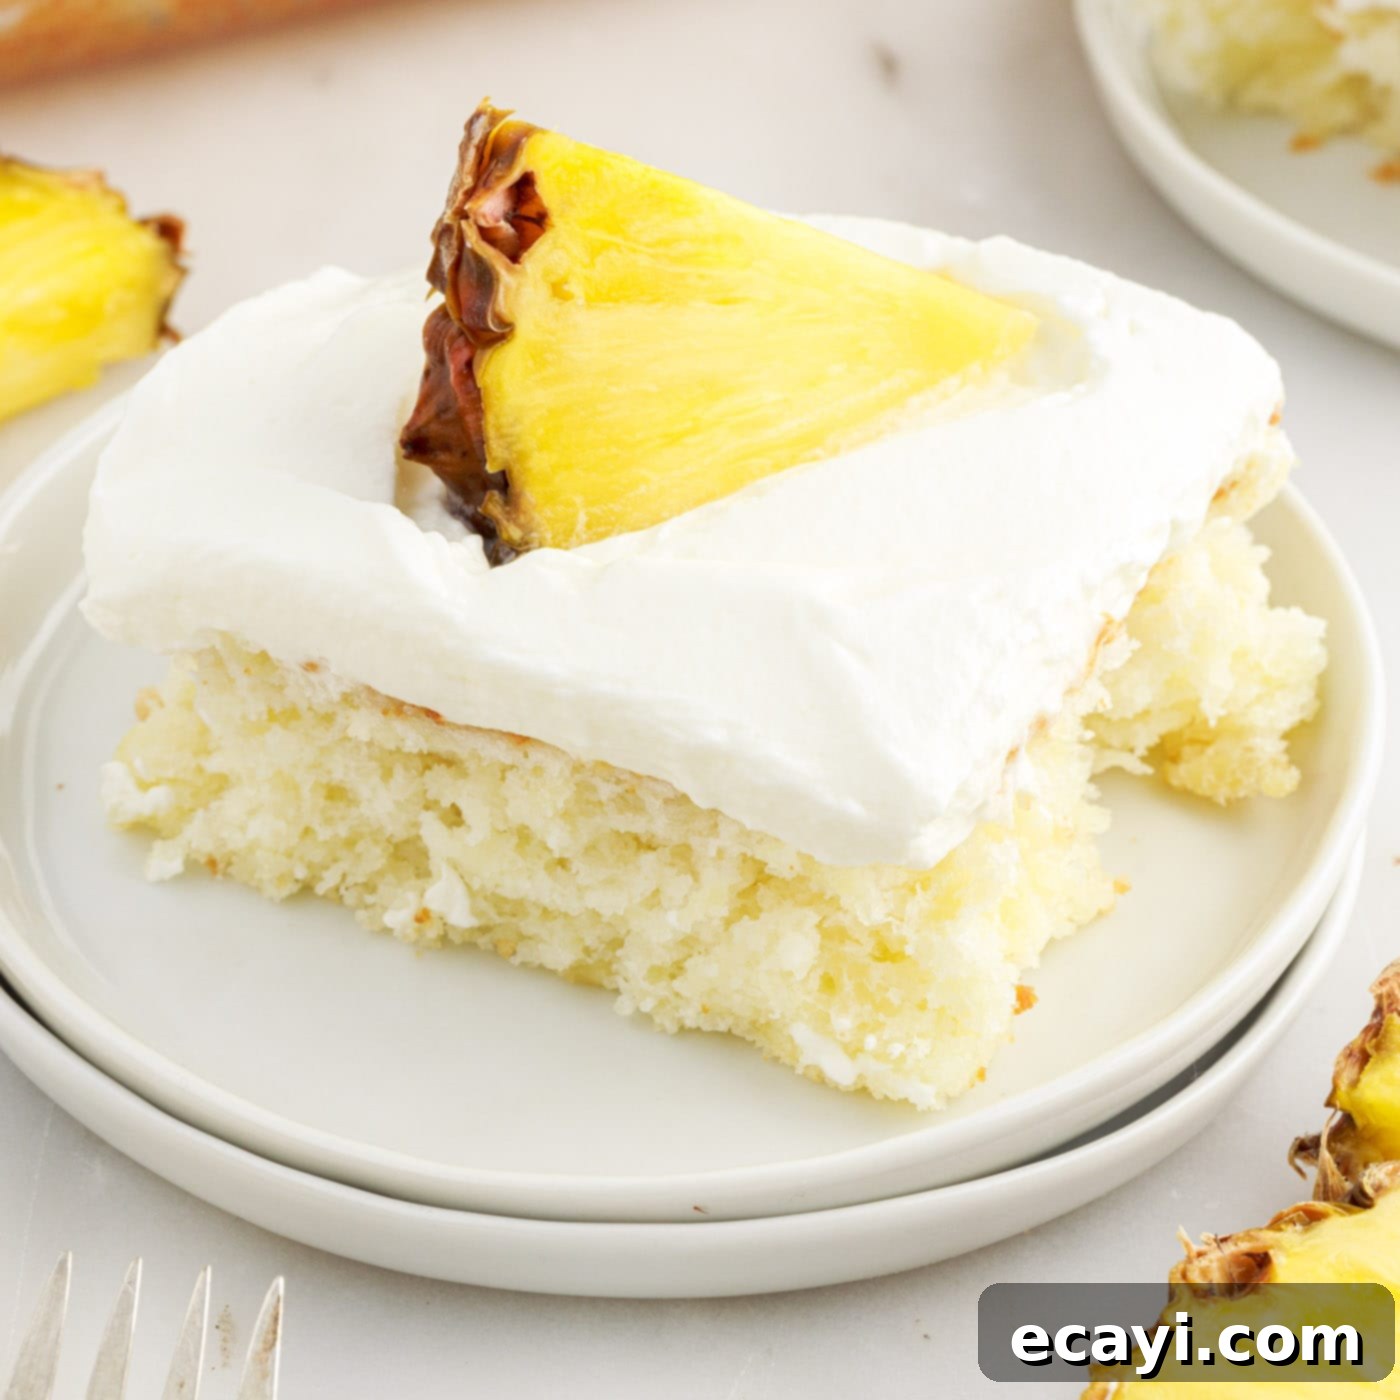
Dive into the world of effortless desserts with this incredible 2-ingredient pineapple angel food cake. It’s a culinary marvel that combines the airy lightness of classic angel food with the vibrant, juicy sweetness of crushed pineapple. This recipe transforms a simple cake mix and a can of pineapple into a moist, delicate, and utterly irresistible treat that practically begs for a cloud of fluffy whipped cream on top. Perfect for any occasion, from a casual weeknight sweet craving to an elegant gathering, its simplicity is matched only by its delightful flavor and incredibly light texture. Get ready to impress with minimal effort!
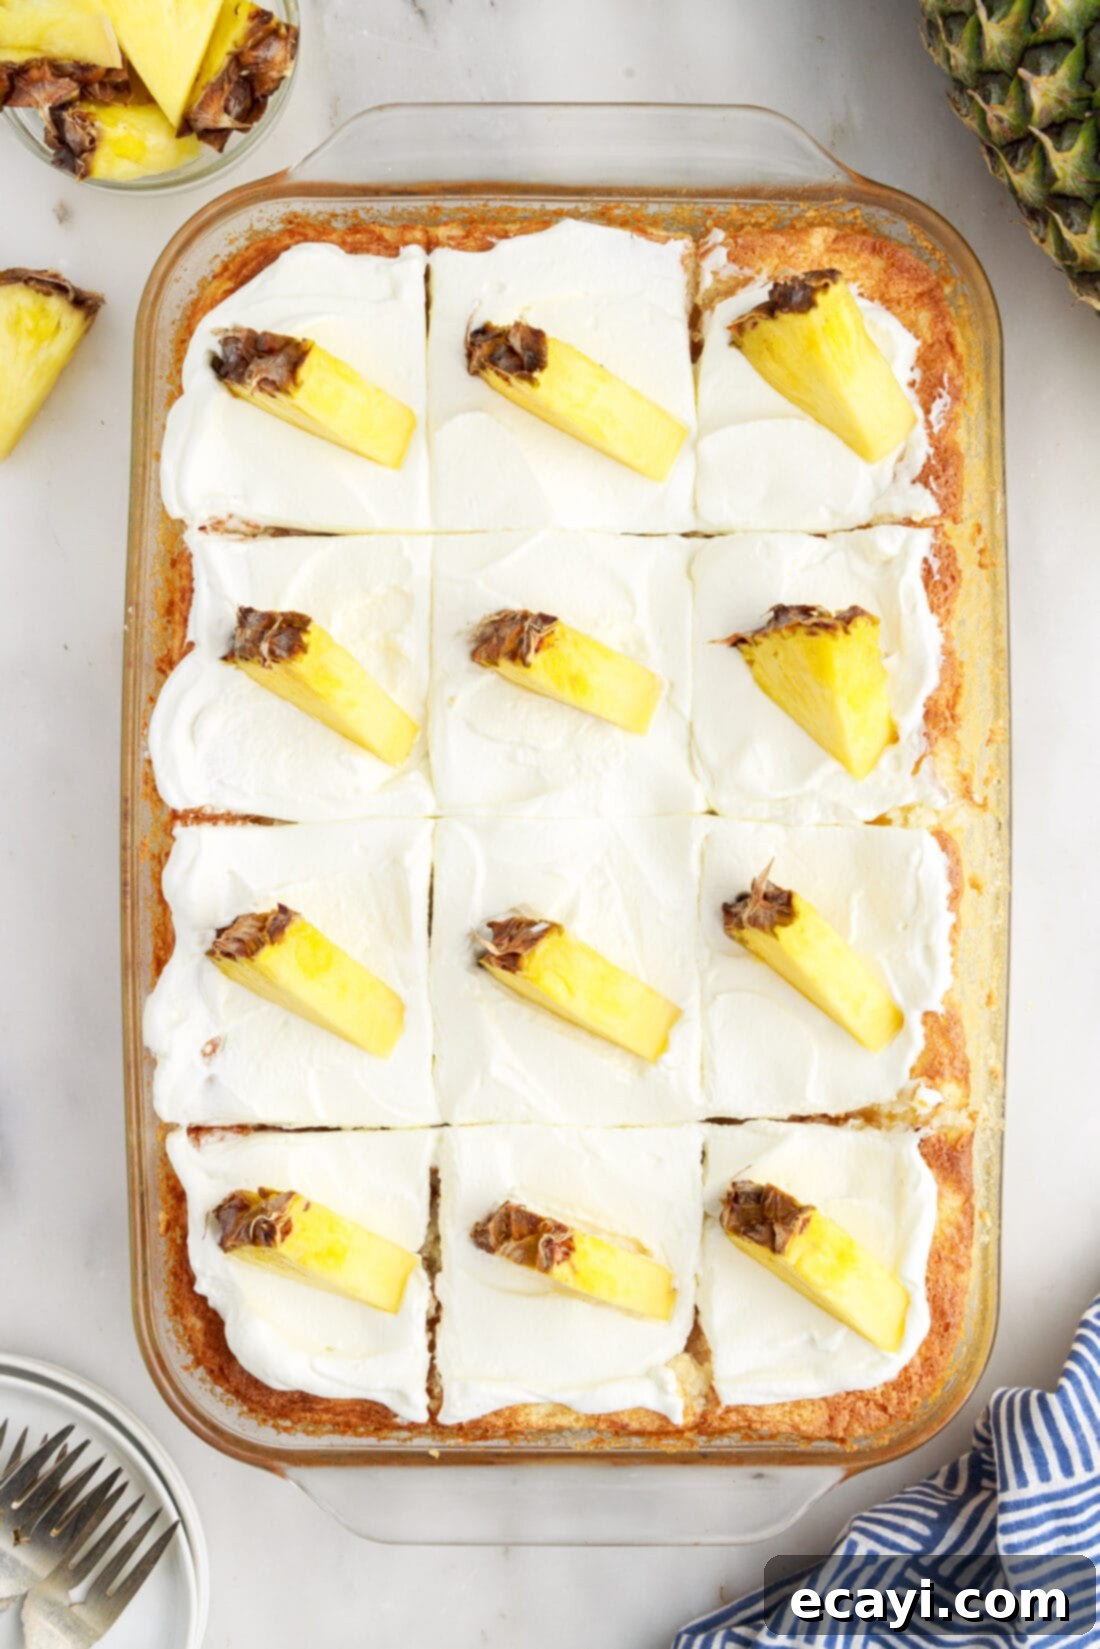
Why This Recipe Works (The Magic of Two Ingredients)
Forget complicated baking techniques, lengthy ingredient lists, and endless clean-up. This pineapple angel food cake recipe is a testament to the power of simplicity, proving that sometimes the best desserts are the ones that require the least fuss. While it cleverly takes a shortcut from a traditional homemade angel food cake, the results are anything but compromised. In fact, this unique combination unlocks a dessert experience that is truly special and remarkably easy to achieve, making it a staple for busy bakers and dessert enthusiasts alike.
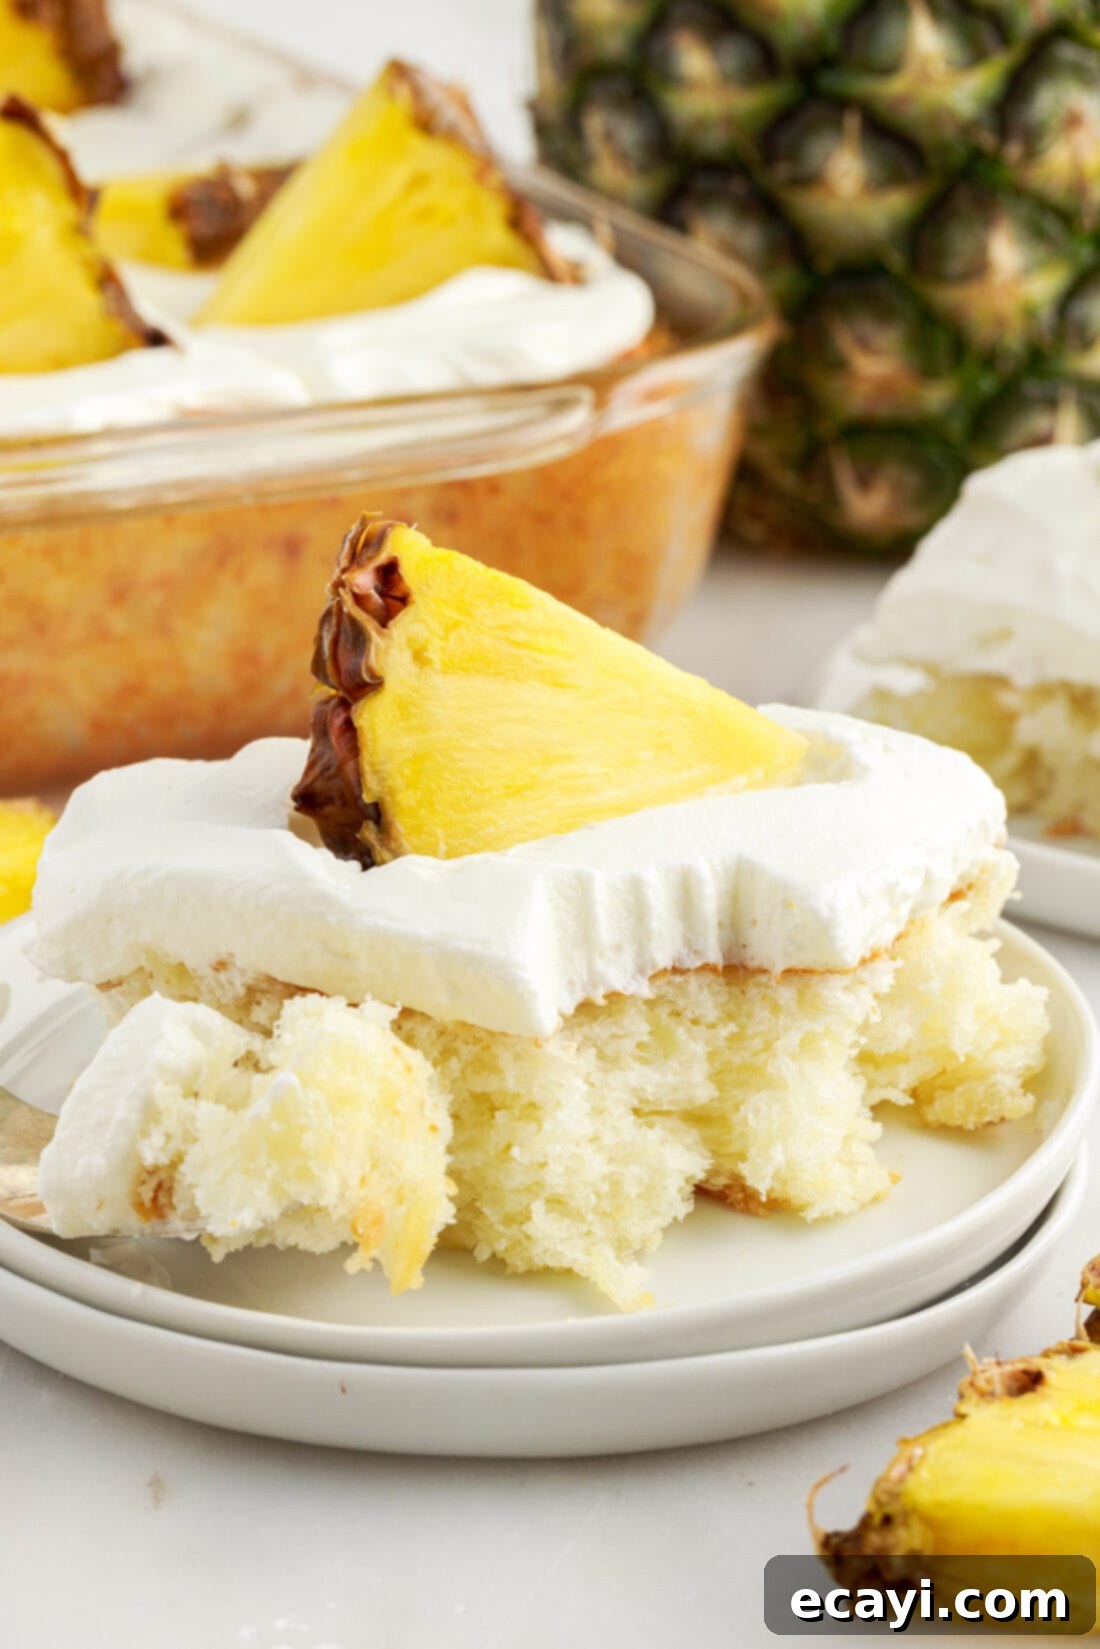
The magic lies in the brilliant interaction of just two core ingredients: a readily available angel food cake mix and a humble can of crushed pineapple. The crushed pineapple isn’t merely for its vibrant tropical flavor; its natural acidity and significant moisture content work wonders in this recipe. As the pineapple, complete with all its juices, is vigorously mixed with the dry angel food cake mix, the fruit’s natural enzymes and liquid act as an ingenious leavening agent. This chemical reaction creates an extraordinarily light, fluffy, and voluminous crumb without the need for additional eggs, water, or other liquids typically called for in angel food cake mixes. This ingenious substitution ensures every single bite is bursting with bright, tropical flavor and an incredible melt-in-your-mouth texture that is both airy and surprisingly moist.
What’s more, this method guarantees a consistently delightful cake every single time. The inherent convenience of using a box cake mix significantly simplifies the baking process, making it incredibly accessible even for novice bakers or those with limited time. Yet, the addition of pineapple elevates it far beyond what you’d expect from a basic box cake, transforming it into a gourmet-tasting dessert. It’s a brilliant baking hack that yields a perfectly balanced sweetness, which is then exquisitely complemented by a luxurious, creamy whipped topping. This recipe not only saves you precious time and effort but also consistently delivers a memorable dessert that will have everyone asking for your secret. It truly shows how smart shortcuts can lead to exceptionally delicious outcomes!
Key Ingredients You Will Need
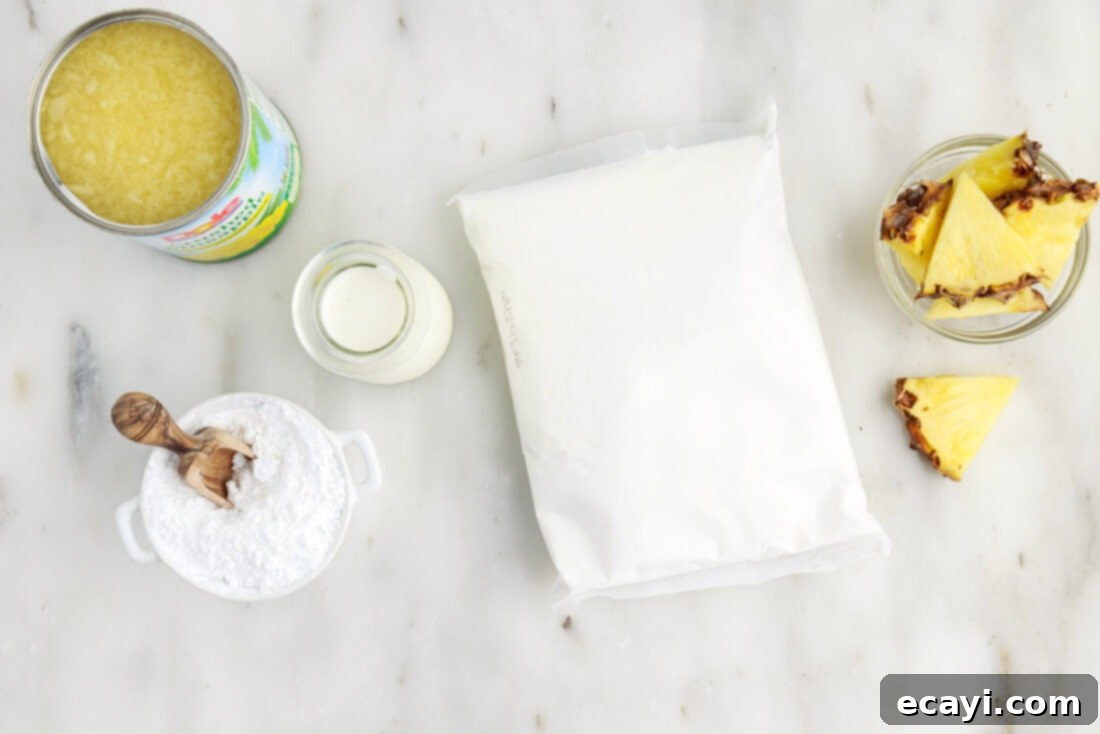
To embark on this incredibly simple yet satisfying baking journey, you’ll only need a few core items. Find all precise measurements, specific ingredients, and detailed instructions in the printable recipe card conveniently located at the end of this post. But first, let’s dive into what makes these ingredients so special and how to choose the best ones for your perfect pineapple angel food cake.
Ingredient Info and Substitution Suggestions
CAKE MIX – Choosing the right angel food cake mix is absolutely crucial for the success of this 2-ingredient wonder. You’ll need one standard 16-ounce box of angel food cake mix. The key is to select a variety that typically requires only water as an additional ingredient for preparation. This specific type is important because the crushed pineapple, with all its natural juices, will be directly replacing that water. We highly recommend using a reputable brand like Betty Crocker Angel Food White Cake Mix, as it consistently delivers excellent, light, and fluffy results in this unique recipe. However, other brands designed for water-only preparation will also work beautifully. Just ensure it’s specifically an angel food cake mix, as regular cake mixes will not yield the same incredibly light, airy texture and delicate crumb that defines this dessert.
PINEAPPLE – For the vibrant tropical essence and the essential moisture that defines this cake, you’ll need one 20-ounce can of crushed pineapple. This is a non-negotiable ingredient, and it’s absolutely vital that you do not drain the pineapple. The natural juices within the can are integral to the cake’s unique texture and serve as the primary liquid in the batter, reacting with the cake mix to create its signature lightness. The crushed form also ensures the fruit distributes evenly throughout the cake, providing a delightful burst of flavor and moisture in every single bite. While some might be tempted to use fresh pineapple, it won’t work in this particular recipe due to differences in moisture content, sugar levels, and enzyme activity. Canned crushed pineapple, with its consistent quality and liquid content, is the secret weapon here, ensuring the cake remains incredibly moist and airy.
TOPPING – No angel food cake is truly complete without a generous dollop of creamy topping, and for this pineapple version, you have delightful options. While our recipe includes instructions for a simple homemade whipped cream (using heavy cream and powdered sugar for stiff peaks), an excellent and convenient shortcut is an 8-ounce tub of Cool Whip (or a similar non-dairy whipped topping). Cool Whip offers unparalleled convenience and has the added benefit of being pre-stabilized, meaning it holds its shape longer and is perfect if you’re preparing the cake in advance or planning to freeze portions.
If you prefer the rich, fresh taste of homemade whipped cream but need it to stand up to time or freezing, consider making our homemade stabilized whipped cream. This version typically uses an additive (like unflavored gelatin or a touch of cornstarch) to prevent weeping and drooping, ensuring your cake looks and tastes fantastic for longer. For an elevated garnish, you can enhance the presentation with an additional, well-drained can of crushed pineapple spread over the topping, or for a fresh and vibrant touch, adorn your slices with bright chunks of fresh pineapple, as we often do for that extra wow factor. Choose the topping that best suits your schedule and taste preferences; both are undeniably delicious!
How to Make This Incredible 2-Ingredient Pineapple Angel Food Cake
These step-by-step photos and detailed instructions are here to help you visualize how to make this incredibly easy and delicious recipe. For a quick reference or to print, you can Jump to Recipe to get the complete printable version of this recipe, complete with precise measurements and comprehensive instructions at the bottom of this post.
- Prepare Your Baking Dish and Oven: Begin by preheating your oven to 350°F (175°C). While the oven heats, take a moment to lightly grease a standard 9×13 inch baking dish. A light spray of non-stick cooking spray or a thin swipe of butter or shortening will prevent the delicate angel food cake from sticking, ensuring a clean and easy release later. Set this prepared dish aside, ready to receive your luscious batter.
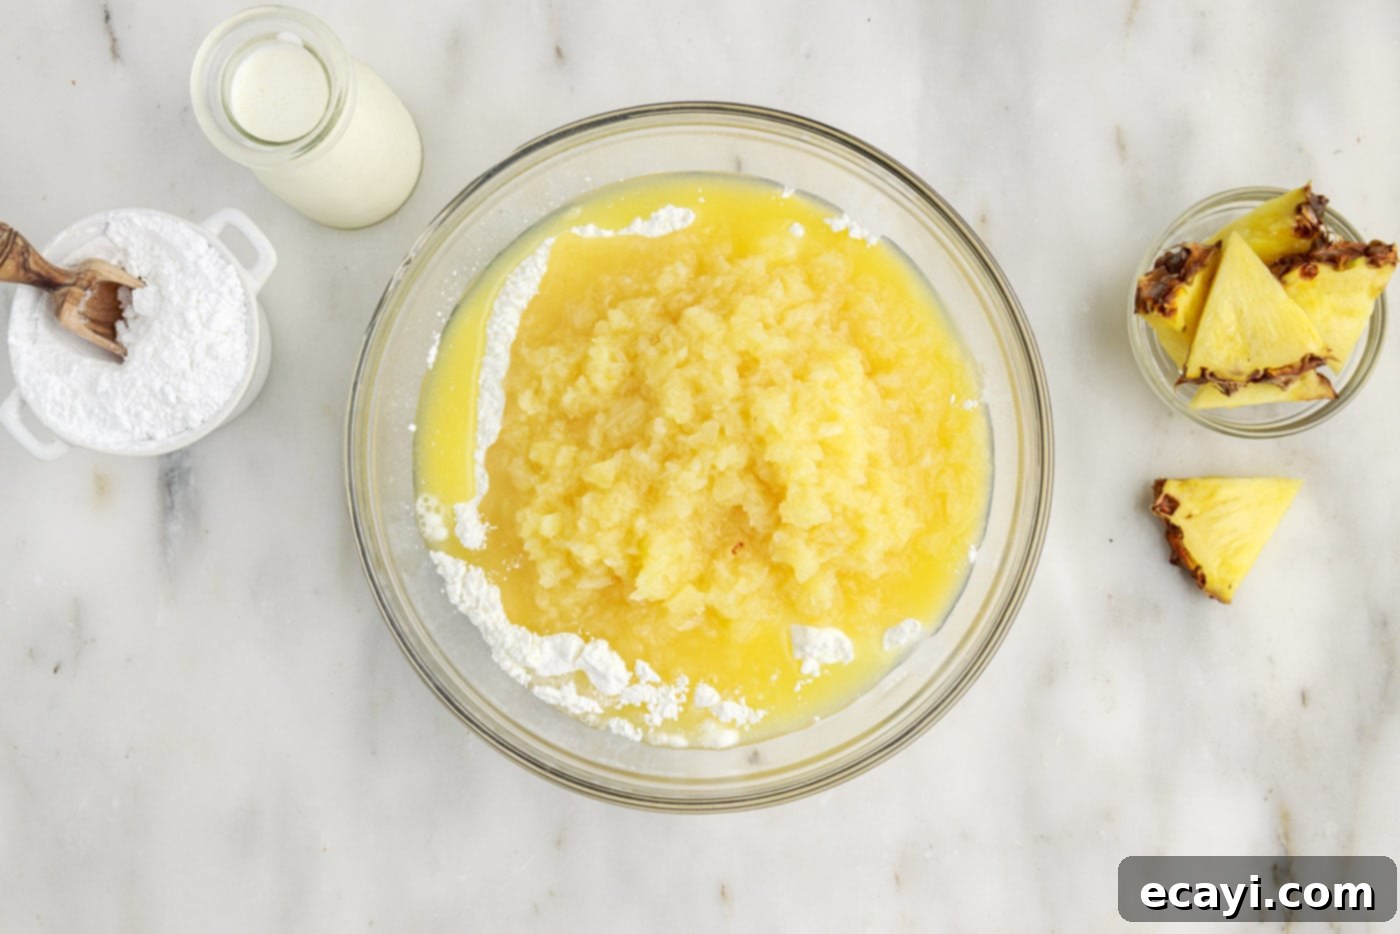
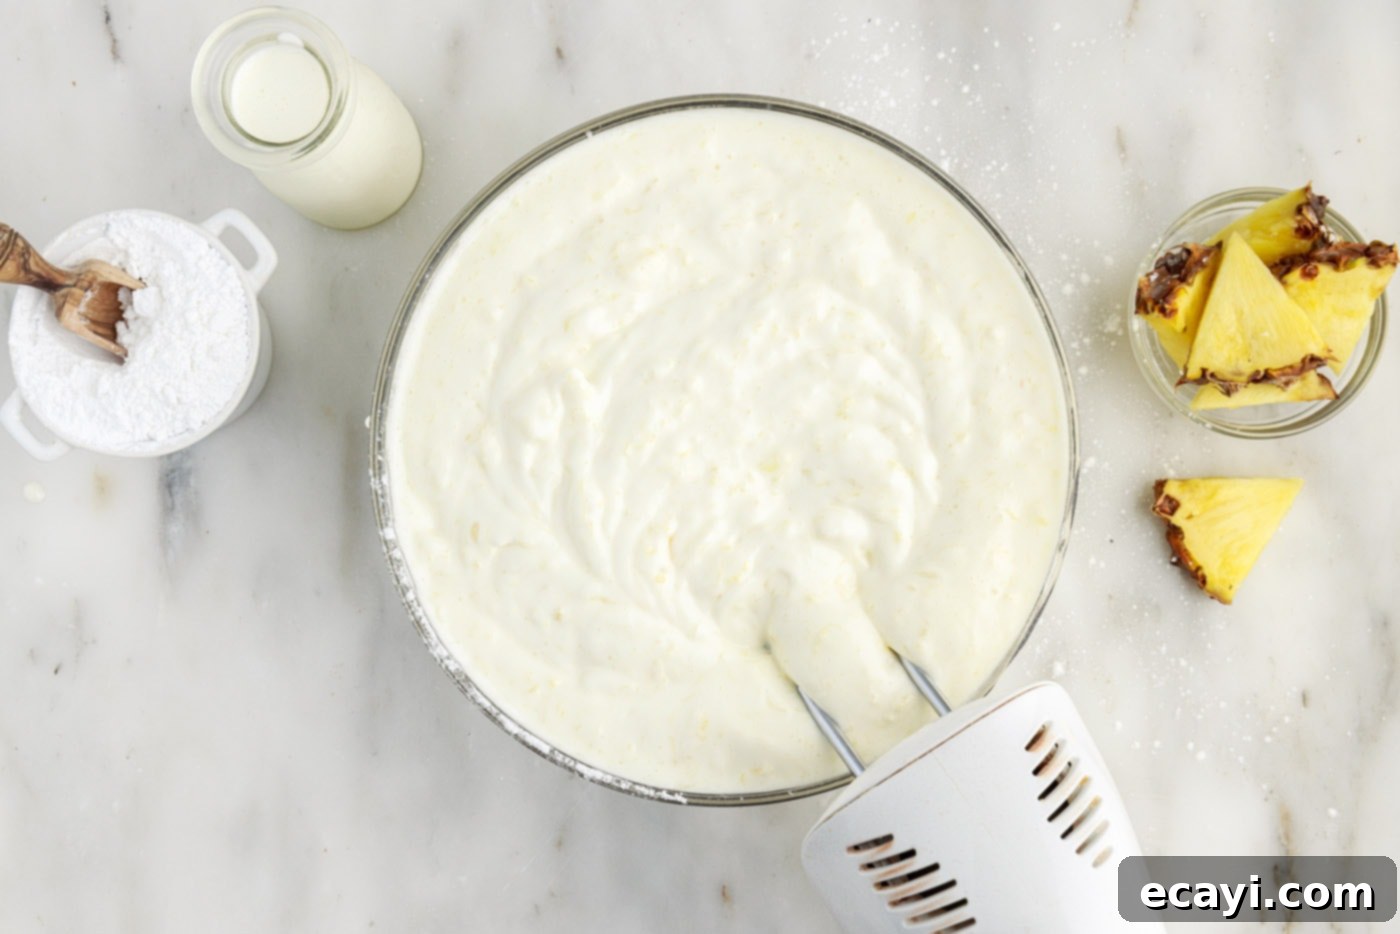
- Combine the Two Star Ingredients: In a large mixing bowl, combine the two star ingredients: the entire 20-ounce can of crushed pineapple (juices and all – remember, absolutely no draining!) and the 16-ounce box of dry angel food cake mix. Using a hand mixer, beat these ingredients together on medium speed. Start slowly to incorporate the dry mix without creating a cloud of dust, then gradually increase the speed. Continue beating for 1-2 minutes, or until the mixture transforms into a light, airy, and uniformly combined batter. It should look noticeably fluffy, almost like a cloud, before you move to the next step. Resist the urge to overmix, as this can negatively impact the cake’s final, delicate texture.


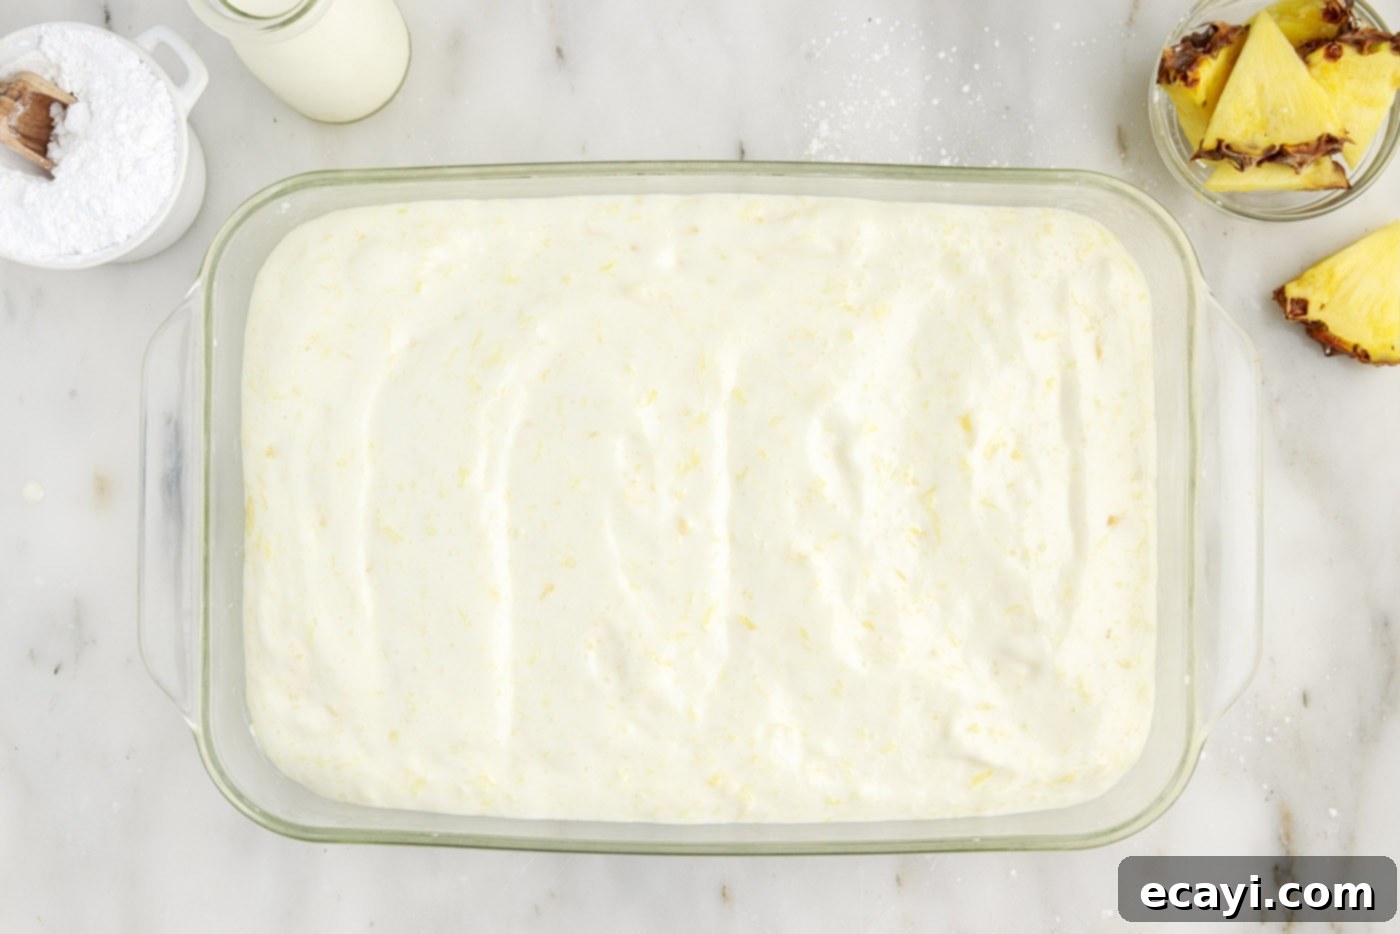
- Transfer Batter to Baking Dish: Carefully transfer the wonderfully light and airy cake batter into your prepared 9×13 baking dish. Use a spatula to gently spread the batter evenly across the bottom of the dish, ensuring it reaches all corners. The batter will be quite voluminous and delicate, so handle it gently to preserve its signature light structure. Don’t press down too hard.

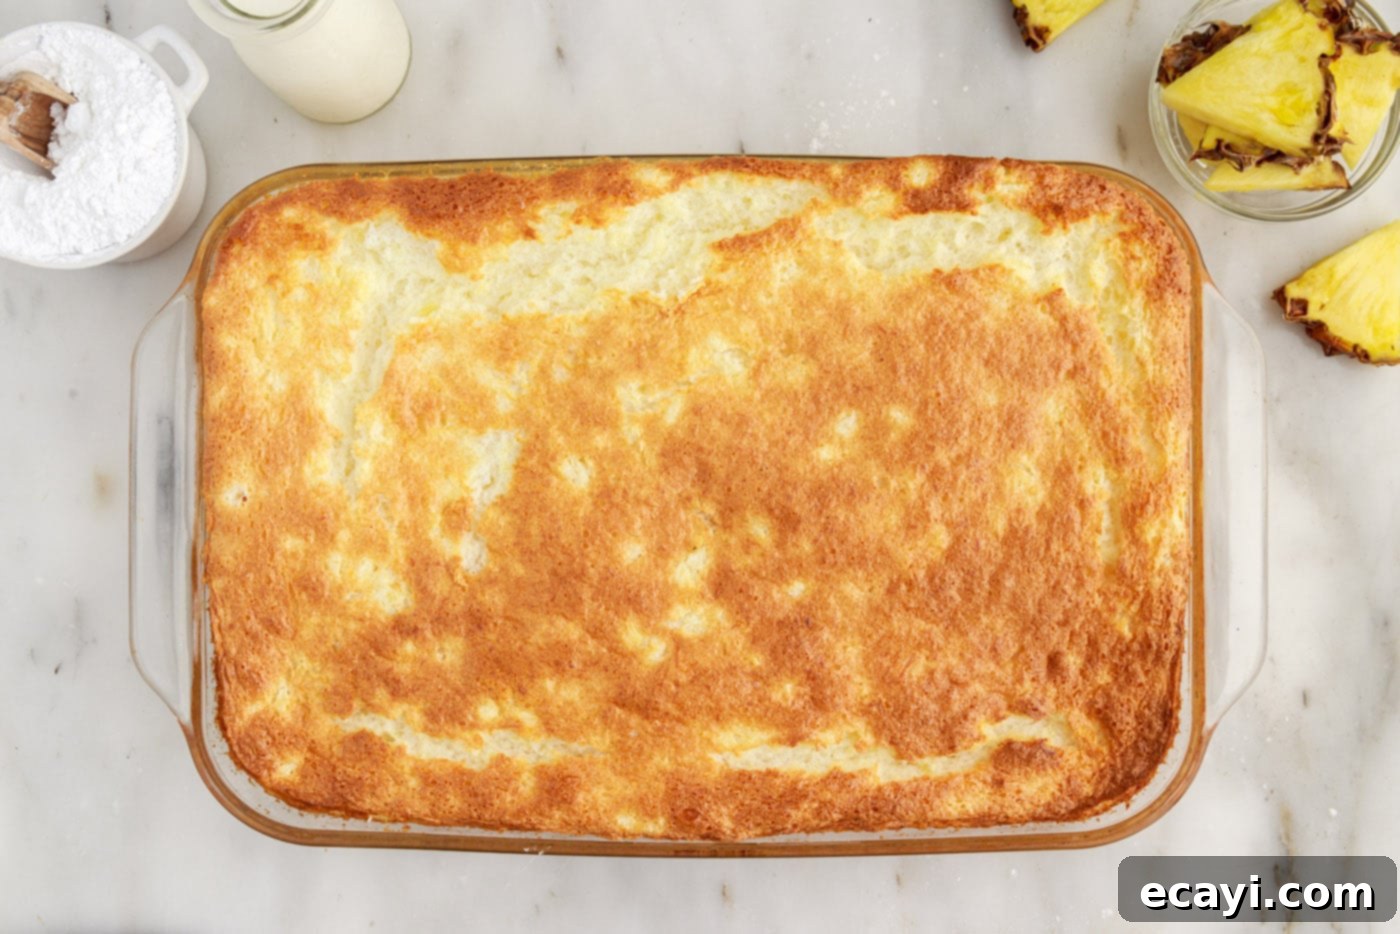
- Bake and Cool: Place the baking dish into your preheated 350°F (175°C) oven and bake for approximately 25-30 minutes. Keep a close eye on your cake; it’s ready when the top is beautifully golden brown and springs back lightly to the touch. Due to its incredibly light nature, the cake may have a slight wobble when gently shaken, but there should be absolutely no raw, liquid batter beneath the surface. To confirm doneness, insert a toothpick into the center; it should come out with just a few moist crumbs attached, indicating a perfectly baked, moist crumb. Once baked, carefully remove the cake from the oven and allow it to cool completely on a wire rack before proceeding. Rushing this step can affect the cake’s structure.
EXPERT TIP: Angel food cake is renowned for its delicate, airy texture, which means it’s prone to losing volume if not handled with care. Be extremely gentle when checking on your cake during baking and when removing it from the oven. Avoid slamming the oven door or jostling the pan excessively, as sudden movements can cause the cake to collapse slightly during cooling. Patience is key to maintaining that signature fluffy height!

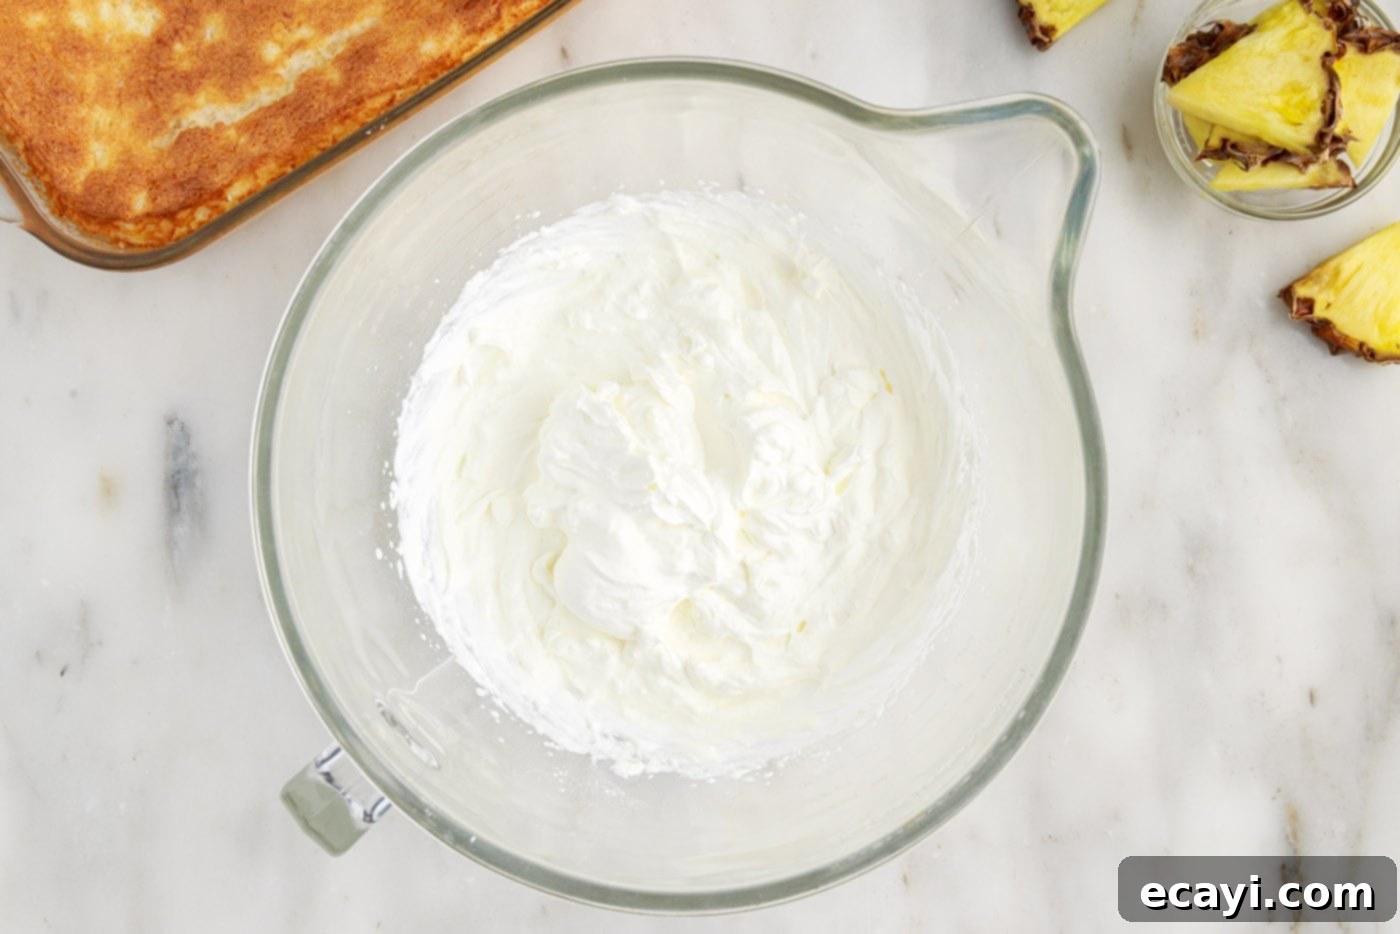
- Prepare the Whipped Topping: While the cake cools, prepare your homemade whipped cream topping. In a clean, chilled mixing bowl (a cold bowl helps the cream whip faster and better), whip the heavy cream on high speed using your hand mixer or a stand mixer fitted with a whisk attachment. Continue whipping until soft peaks begin to form – these are peaks that hold their shape for a moment but then gently curl over. At this stage, gradually add the powdered sugar, then continue to whip until the cream achieves stiff peaks – meaning it holds its shape firmly and doesn’t droop. For an extra touch of flavor, a dash of pure vanilla extract can be added here, though it’s optional and the pineapple flavor is often enough.

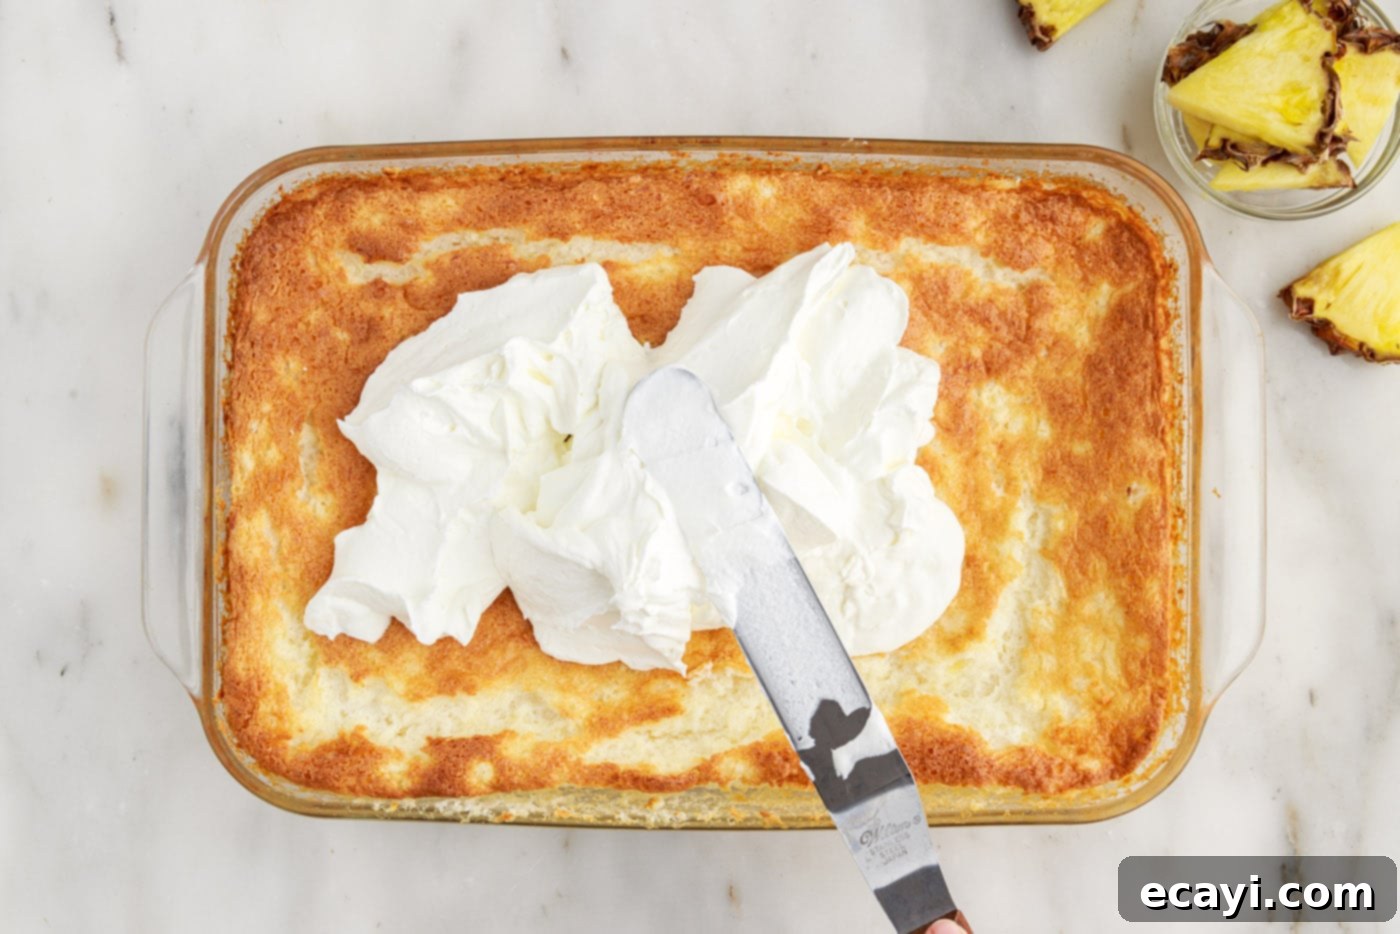
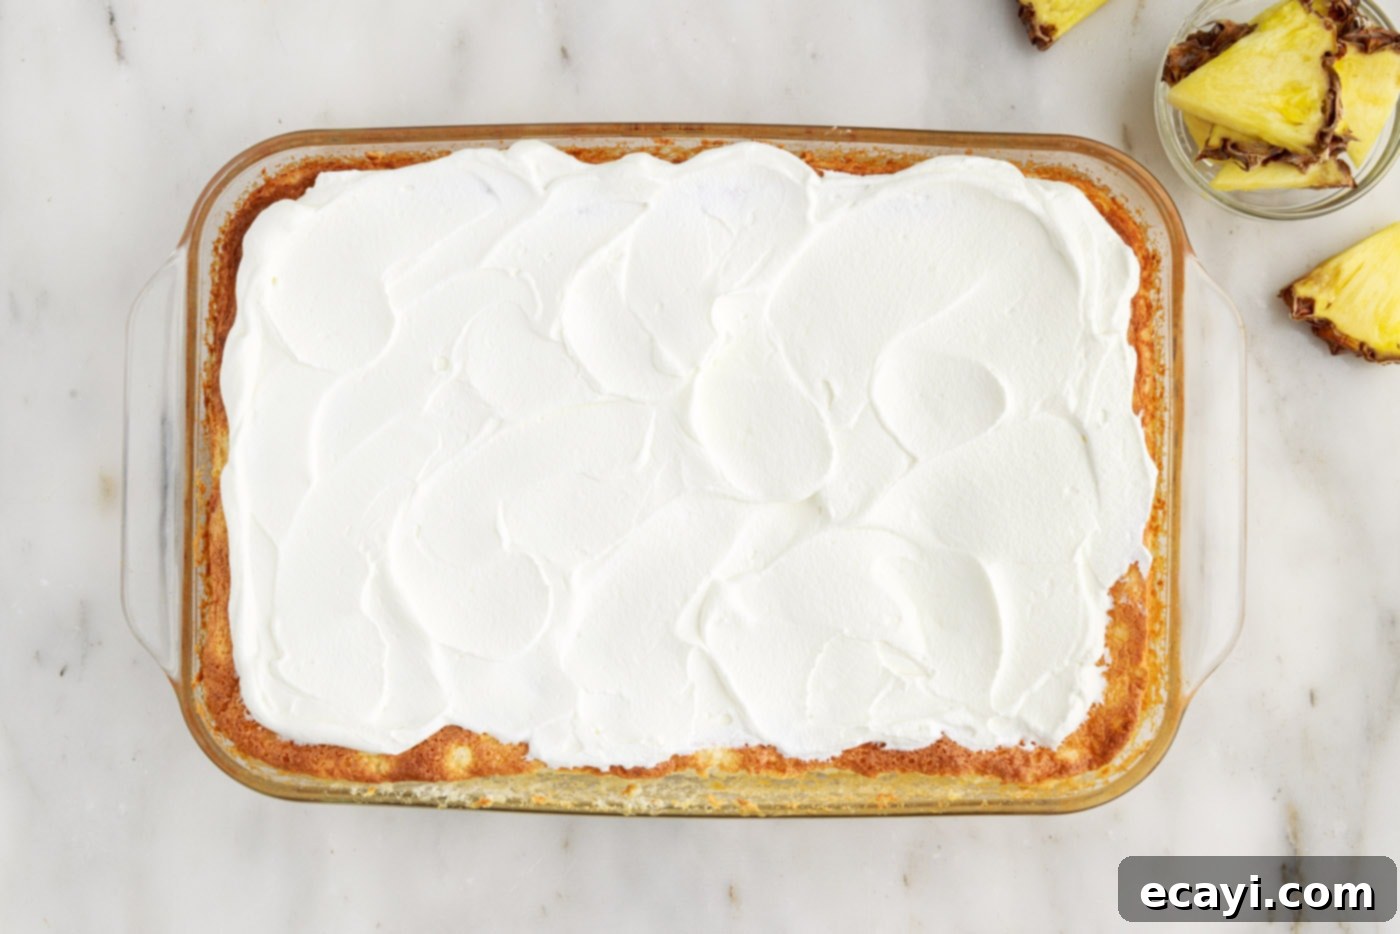
- Frost and Garnish: Once the cake has cooled completely to room temperature (this is critical to prevent the topping from melting), generously spread the freshly whipped cream (or Cool Whip, if using) over the entire surface. Use an icing spatula or the back of a spoon for a smooth, even layer or create delightful swirls. For a beautiful and delicious presentation, garnish the top with vibrant fresh pineapple slices or an additional sprinkling of well-drained crushed pineapple (ensure any extra crushed pineapple is thoroughly drained to avoid excess moisture on the topping). A few maraschino cherries can also add a lovely pop of color and sweetness.


- Slice and Serve: With your pineapple angel food cake beautifully assembled and garnished, it’s time to serve! Using a serrated knife, slice the cake into neat squares or rectangles. A serrated knife works best for angel food cake’s delicate structure, preventing it from tearing. Serve immediately for the freshest experience, or refrigerate until ready to enjoy. This cake is delightful both at room temperature and refreshingly chilled.
Frequently Asked Questions & Expert Tips
Absolutely! This pineapple angel food cake is an excellent make-ahead dessert, making party planning or weeknight cravings a breeze. You can prepare and bake the cake a full day in advance without any compromise on flavor or texture. Once the cake has completely cooled to room temperature, either cover the baking dish tightly with an airtight lid or wrap it securely with several layers of plastic wrap. Store the unfrosted cake in the refrigerator. To ensure the freshest possible topping and texture, we strongly recommend preparing and adding the whipped cream topping (whether homemade or Cool Whip) just before you plan to serve the cake. This prevents the topping from deflating or becoming watery over time.
Proper storage is essential to keep your pineapple angel food cake fresh, moist, and delicious for as long as possible. After serving, any leftover cake should be stored covered in an airtight container or tightly wrapped with plastic wrap to prevent it from drying out or absorbing refrigerator odors. Place it in the refrigerator, where it will remain fresh and delightful for 4-5 days. Storing it in the refrigerator also helps maintain the delicate texture of the angel food cake and ensures the topping (especially if dairy-based) stays fresh.
Yes, this cake freezes beautifully, making it perfect for future cravings or convenient meal prep! To freeze, first ensure the cake has cooled completely to room temperature. Then, wrap individual slices or the entire cake (without the whipped topping) securely in several layers of plastic wrap, followed by a final, protective layer of aluminum foil. This double-layer protection is crucial for preventing freezer burn and maintaining the cake’s quality. It can be frozen for up to 4 months.
Expert Freezing Tip: If you anticipate wanting to freeze the cake, or if you expect to have leftovers you’ll want to freeze, we highly recommend using an 8-ounce tub of Cool Whip (or a similar stabilized whipped topping) for the topping instead of freshly homemade whipped cream. Cool Whip is specifically designed to be stable, and it performs significantly better when frozen and thawed, maintaining its texture and consistency much more effectively than homemade whipped cream, which can sometimes separate or become watery after freezing. Alternatively, you can always freeze the cake plain, without any topping, and then add fresh homemade whipped topping after it has completely thawed and you’re ready to enjoy.
Serving Suggestions & Perfect Pairings
This Pineapple Angel Food Cake is a remarkably versatile dessert, perfect for a wide array of occasions and gatherings. Its light, refreshing, and tropical profile makes it an ideal choice for:
- Summer Gatherings: A fantastic and crowd-pleasing centerpiece for backyard barbecues, casual picnics, and vibrant pool parties. Its cool, fruity flavor is a welcome treat on warm days.
- Holiday Celebrations: The bright and uplifting flavor of pineapple makes this cake a wonderful addition to festive tables, from Easter brunches to Fourth of July picnics, offering a lighter alternative to heavier desserts.
- Potlucks & Picnics: Extremely easy to transport and serves a crowd generously, especially when baked in a standard 9×13 inch dish, ensuring plenty of delightful servings for everyone.
- Anytime Treat: Simple enough to whip up for an unexpected sweet craving, a casual family dessert after dinner, or just to brighten a regular day with a taste of the tropics.
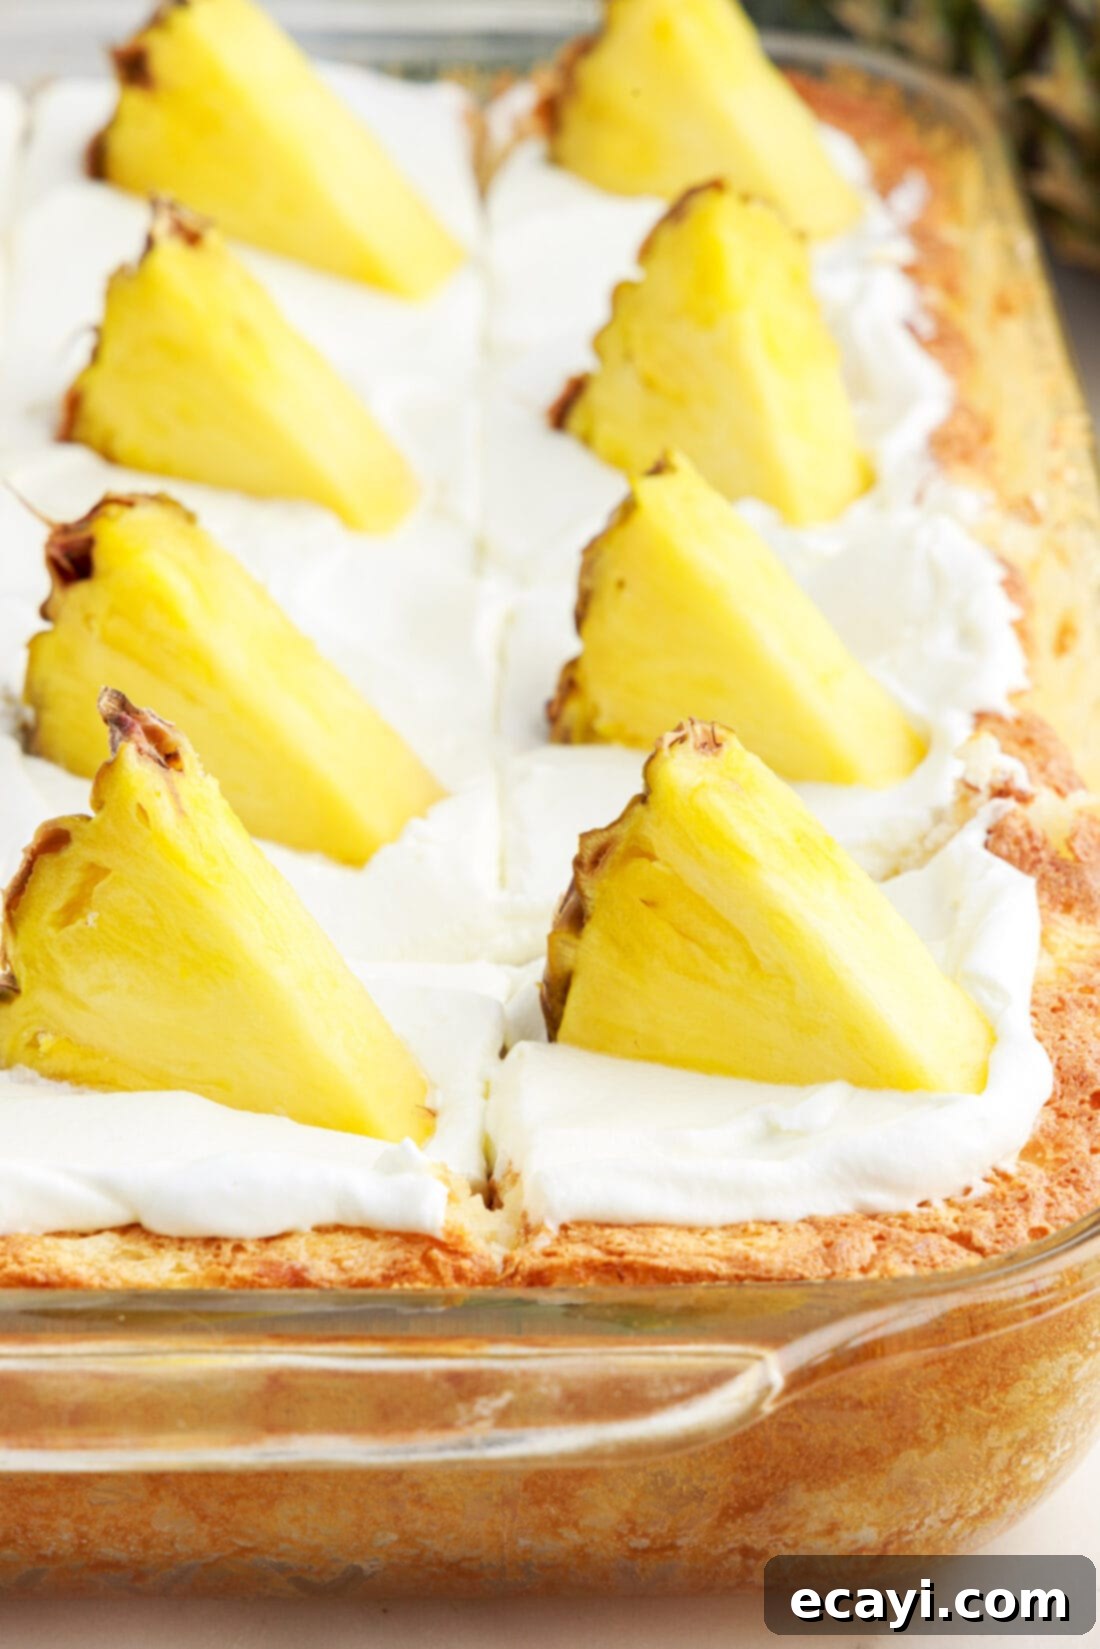
For optimal presentation and an explosion of flavor, always top your cake generously just before serving. Our simple homemade whipped cream or a convenient tub of Cool Whip are both excellent and classic choices. To truly elevate the visual appeal and enhance the tropical taste, consider garnishing with vibrant fresh pineapple chunks, an additional sprinkling of well-drained crushed pineapple, or even a few bright maraschino cherries for a beautiful pop of color and a touch of extra sweetness. Serve sliced into neat squares using a serrated knife, which helps maintain the cake’s delicate structure without tearing. This cake is delightfully enjoyed either at a comfortable room temperature or refreshingly chilled, making it a truly adaptable and irresistible dessert for any time!
More Irresistible Pineapple Recipes
If you love the sweet and tangy flavor of pineapple as much as we do, you’re in for a treat! This tropical fruit lends itself beautifully to so many delightful desserts. Explore these other fantastic pineapple-infused recipes from our collection:
- Pineapple Poke Cake
- Pineapple Pound Cake
- Pineapple Dump Cake
- Pineapple Dream Dessert
- Pineapple Upside Down Cake
I absolutely adore sharing my passion for baking and cooking, along with all my kitchen experiences, with you! Remembering to come back each day for new inspiration can sometimes be tough, which is why I offer a convenient newsletter delivered straight to your inbox every time a new recipe posts. Simply subscribe here and start receiving your free daily recipes, tips, and culinary adventures!
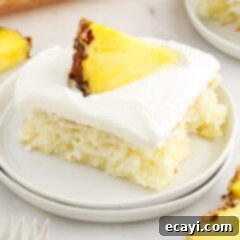
Pineapple Angel Food Cake
IMPORTANT – This recipe includes detailed instructions and answers to Frequently Asked Questions within the blog post that you may find incredibly helpful. We encourage you to scroll back up and read them for valuable tips and insights!
Print It
Pin It
Rate It
Save ItSaved!
Ingredients
- 16 ounce angel food cake mix (1 box, select one that calls for water only)
- 20 ounces crushed pineapple (juices included, do not drain)
Whipped Topping
- 1 ½ cups heavy whipping cream
- ⅓ cup powdered sugar
- pineapple chunks (optional, for garnish)
Things You’ll Need
-
13×9 baking dish
-
Hand mixer
-
Mixing bowl
Recipe Notes & Expert Tips
- Cutting Tips: For the cleanest slices and to prevent tearing the delicate cake, use a serrated knife and make gentle, sawing motions.
- Topping Options & Freezing: If you plan to freeze the cake (either the whole cake or leftovers), or if you simply prefer a more stable topping, we highly recommend using an 8-ounce tub of Cool Whip (or a similar stabilized whipped topping) instead of freshly whipped cream. Cool Whip freezes and thaws significantly better, maintaining its texture. Alternatively, you can always omit the topping before freezing and add fresh whipped cream or Cool Whip after the cake has thawed.
- Freezing Instructions: To freeze, ensure the baked cake is completely cool. Wrap it securely in several layers of plastic wrap, followed by a layer of aluminum foil to prevent freezer burn. It can be frozen for up to 4 months. Thaw in the refrigerator overnight before topping and serving.
- Storage Guidelines: Store any leftover pineapple angel food cake covered with an airtight lid or tightly wrapped with plastic wrap in the refrigerator. It will stay fresh and delicious for 4-5 days.
- Make Ahead Advantage: This cake is fantastic for making ahead! Bake and cool the cake completely as directed. Then, cover it tightly (either with an airtight lid or plastic wrap) and store it in the refrigerator for up to a day in advance. Hold off on preparing and spreading the whipped topping until you are ready to serve for the best results.
- Preventing Collapse: Angel food cake is incredibly light and airy. Be gentle when removing your cake from the oven and avoid any sudden movements or slamming of the oven door. This care helps the cake maintain as much volume as possible during the cooling process.
Instructions
-
Preheat oven to 350°F (175°C). Lightly grease a 9×13 baking dish and set aside, ready for the batter.
-
In a large mixing bowl, beat together the entire 20-ounce can of crushed pineapple (juices included, do not drain!) and the 16-ounce box of dry angel food cake mix with a hand mixer. Beat until the mixture is fluffy and fully combined, usually 1-2 minutes.
-
Transfer the airy cake batter to the prepared 9×13 baking dish, spreading it evenly across the bottom with a spatula.
-
Bake for 25-30 minutes, or until the cake is golden brown on top and springs back when gently touched. The cake is very light and may wobble slightly, but ensure there is no raw batter inside by testing with a toothpick; it should come out with just a few moist crumbs attached. Remove from oven and allow to cool completely on a wire rack before topping.
TIP – Angel food cake is delicate and airy. Be gentle when removing your cake from the oven to help it maintain as much volume as possible while cooling – avoid slamming the oven door or jostling the pan excessively.
-
To make the whipped topping: Whip the heavy cream in a chilled bowl until soft peaks form. Gradually add the powdered sugar and continue whipping until the whipped cream has stiff peaks, holding its shape firmly.
-
Once the cake is completely cooled, spread the whipped cream generously over the entire surface. Garnish with fresh pineapple slices or additional well-drained crushed pineapple, if desired.
-
Slice into pieces using a serrated knife and serve immediately, or chill until ready to enjoy.
Nutrition
The recipes on this blog are tested with a conventional gas oven and gas stovetop. It’s important to note that some ovens, especially as they age, can cook and bake inconsistently. Using an inexpensive oven thermometer can assure you that your oven is truly heating to the proper temperature. If you use a toaster oven or countertop oven, please keep in mind that they may not distribute heat the same as a conventional full sized oven and you may need to adjust your cooking/baking times. In the case of recipes made with a pressure cooker, air fryer, slow cooker, or other appliance, a link to the appliances we use is listed within each respective recipe. For baking recipes where measurements are given by weight, please note that results may not be the same if cups are used instead, and we can’t guarantee success with that method.
