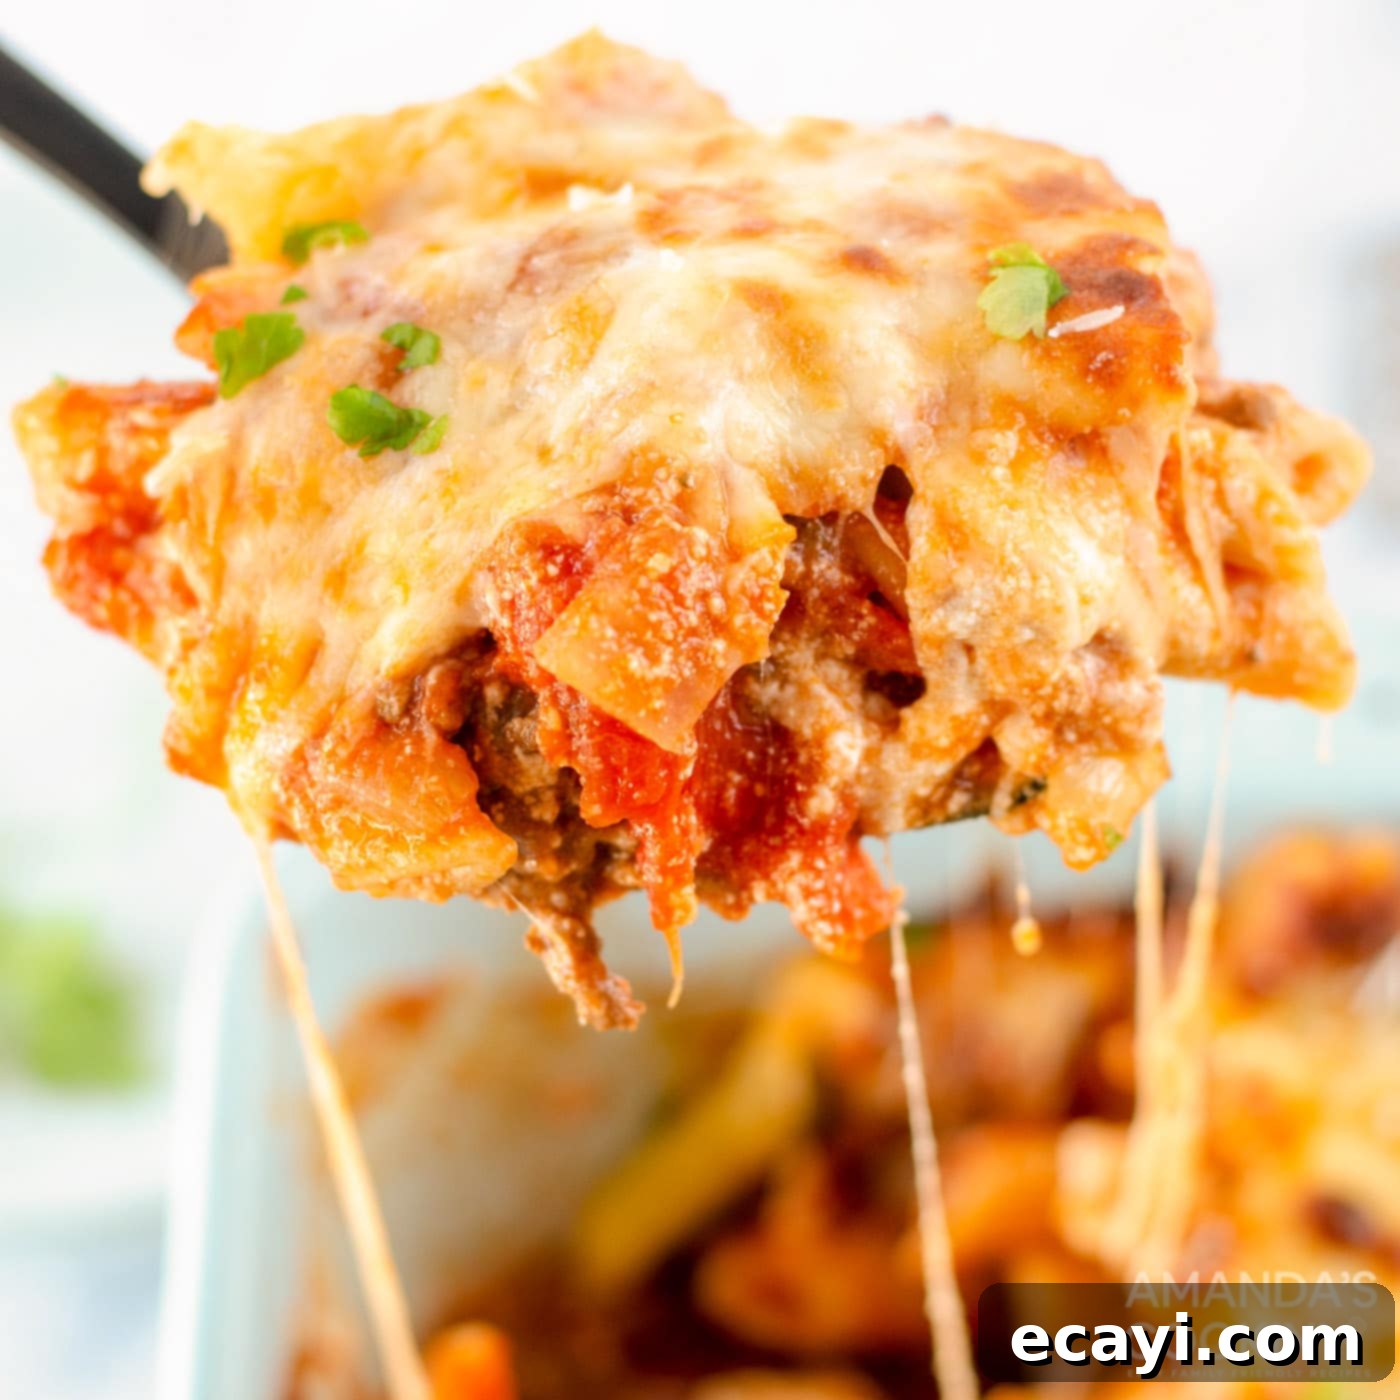
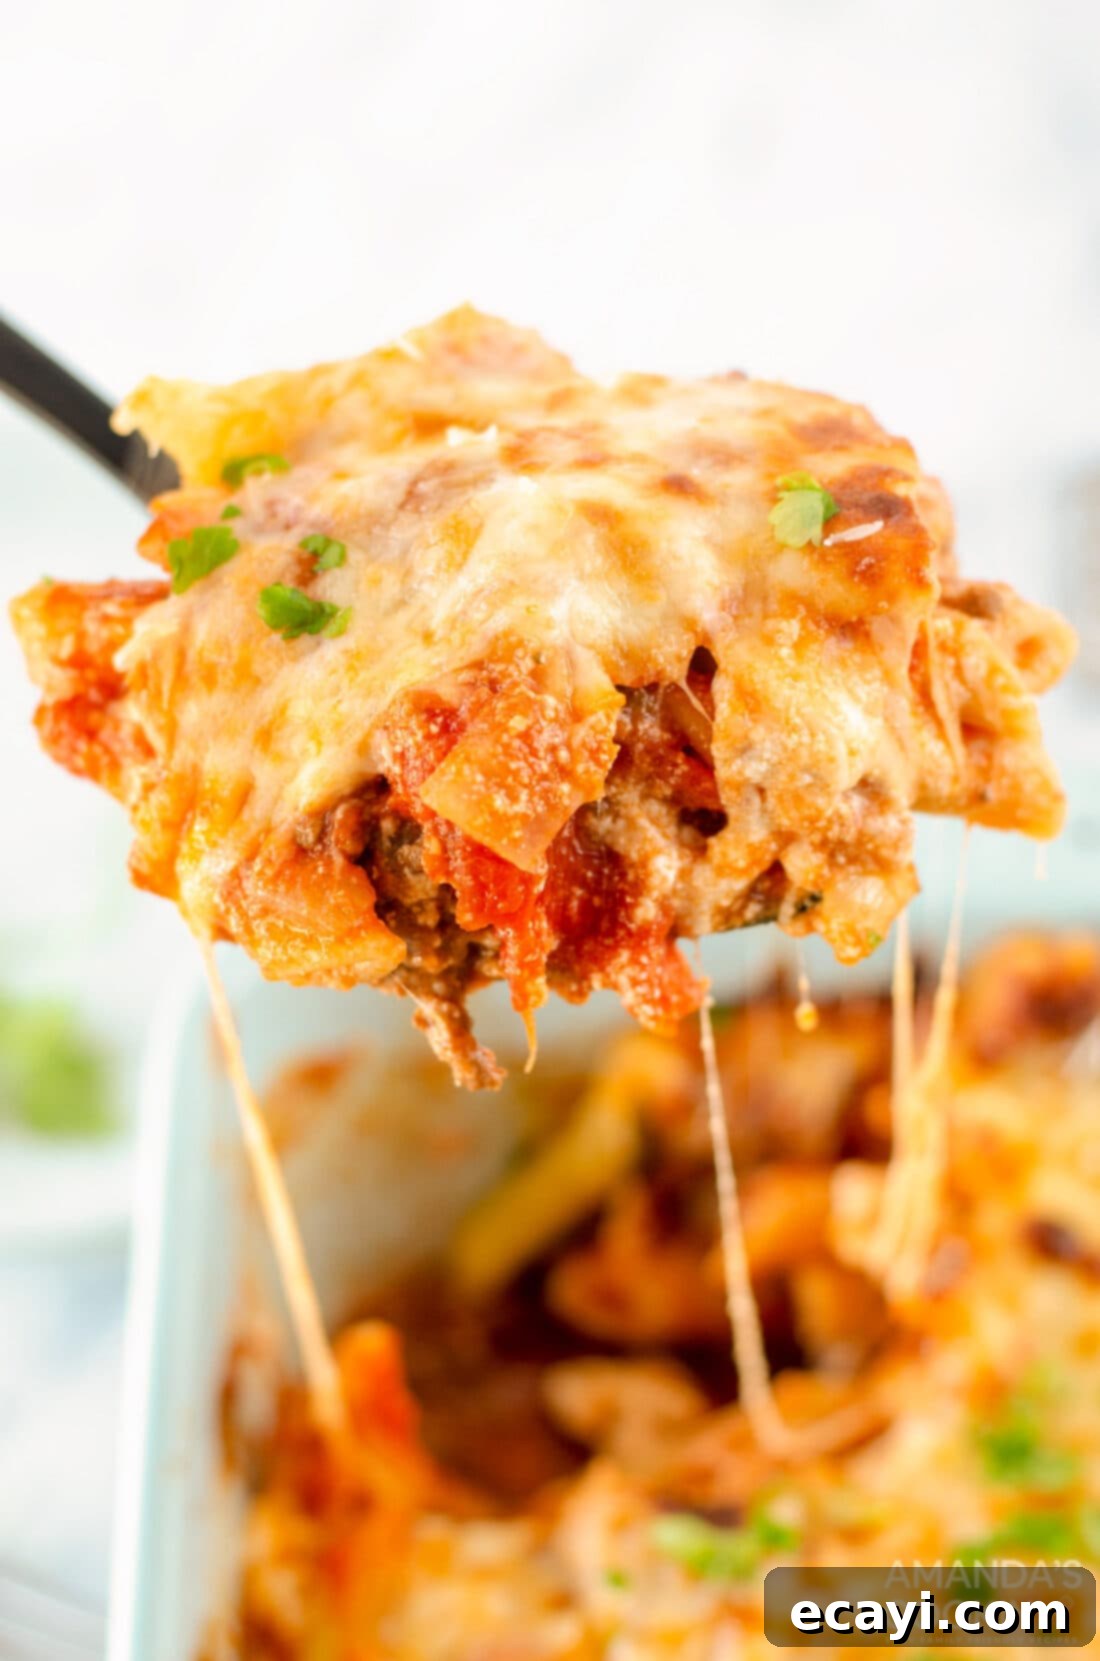
Delicious Homemade Baked Ziti Recipe: An Easy & Cheesy Family Comfort Food Classic
There are few dishes that evoke the warmth and comfort of home quite like a classic pasta casserole. This Baked Ziti recipe is a true testament to that, offering a delightful and incredibly easy-to-make dish that often reminds people of traditional lasagna, but with significantly less fuss. Imagine tender ziti pasta, rich meat sauce, and a generous blend of cheeses, all baked to golden perfection. It’s the kind of meal that brings smiles to faces and fills the kitchen with an irresistible aroma. Whether you choose to craft our delicious homemade sauce from scratch or opt for your favorite jar of marinara to save prep time, this recipe guarantees a satisfying and hearty Italian-American experience.
Baked Ziti stands out as a versatile and beloved dish, perfect for everything from a casual weeknight family dinner to a festive gathering with friends. Its layers of flavor and satisfying texture make it a crowd-pleaser for all ages. Forget complicated techniques or hard-to-find ingredients; this recipe focuses on simple steps and readily available staples, ensuring that even novice cooks can achieve fantastic results. Get ready to create a memorable meal that will surely become a staple in your culinary repertoire.
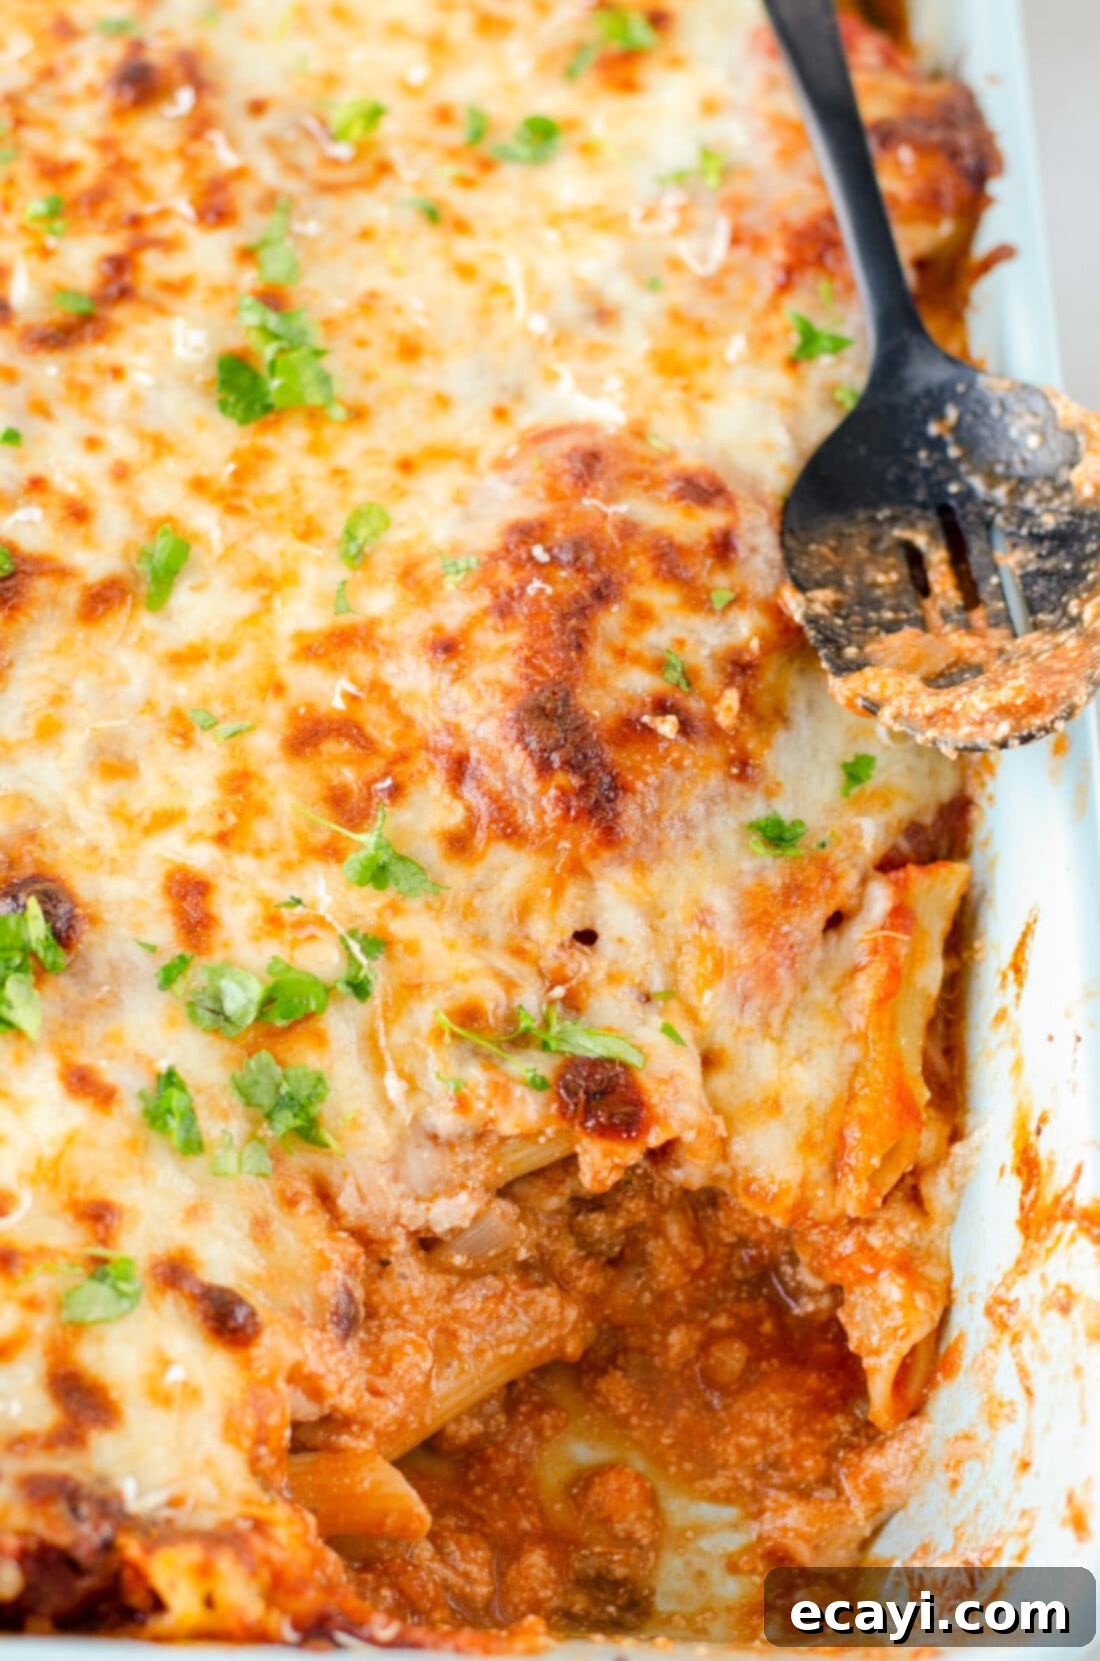
Why This Easy Baked Ziti Recipe Works Every Time
This baked ziti recipe has been a consistent winner in my household for years, a true testament to its universal appeal. My children, like many, have always been enthusiastic pasta fans, and this particular baked ziti quickly became their ultimate favorite for dinner. When all my kids were living at home, it felt like they requested this cheesy pasta casserole almost every other night! The good news? It’s incredibly simple to prepare, making it a dream come true for busy parents and home cooks alike.
One of the primary reasons this homemade baked ziti recipe is so effective is its reliance on easy-to-find ingredients. You won’t need to hunt down obscure items; everything on the list is readily available at most standard grocery stores. In fact, the most “exotic” ingredient you’ll likely encounter is ricotta cheese, which is a common staple in Italian-American cooking sections. This accessibility ensures that you can whip up this delightful meal without any last-minute grocery store scavenger hunts.
Beyond its simplicity, this baked ziti offers a culinary experience that extends beyond the plate. Once you’ve assembled the ingredients and nestled your casserole into the oven, you can sit back and truly enjoy the process. The delightful aroma of fresh baked ziti, with its mingling scents of savory meat sauce and melting cheese, will waft through your home, building anticipation for the delicious meal to come. It’s more than just a recipe; it’s an invitation to savor the moments leading up to a fantastic, comforting dinner.
This dish also works wonderfully because it’s a hearty and complete meal in one pan. The combination of pasta, protein-rich ground meat, and a trio of flavorful cheeses creates a well-balanced and incredibly filling dish. It’s designed to satisfy even the biggest appetites, making it ideal for family gatherings, potlucks, or simply ensuring you have delicious leftovers for days to come. Its robust flavors and satisfying textures guarantee that everyone at the table will leave feeling happy and content.
Key Ingredients for Your Delicious Baked Ziti
Crafting the perfect homemade baked ziti starts with understanding the role of each ingredient. While the full, precise measurements and detailed instructions are available in the printable recipe card at the end of this post, let’s dive into some insights about the core components you’ll need to create this Italian comfort food masterpiece.
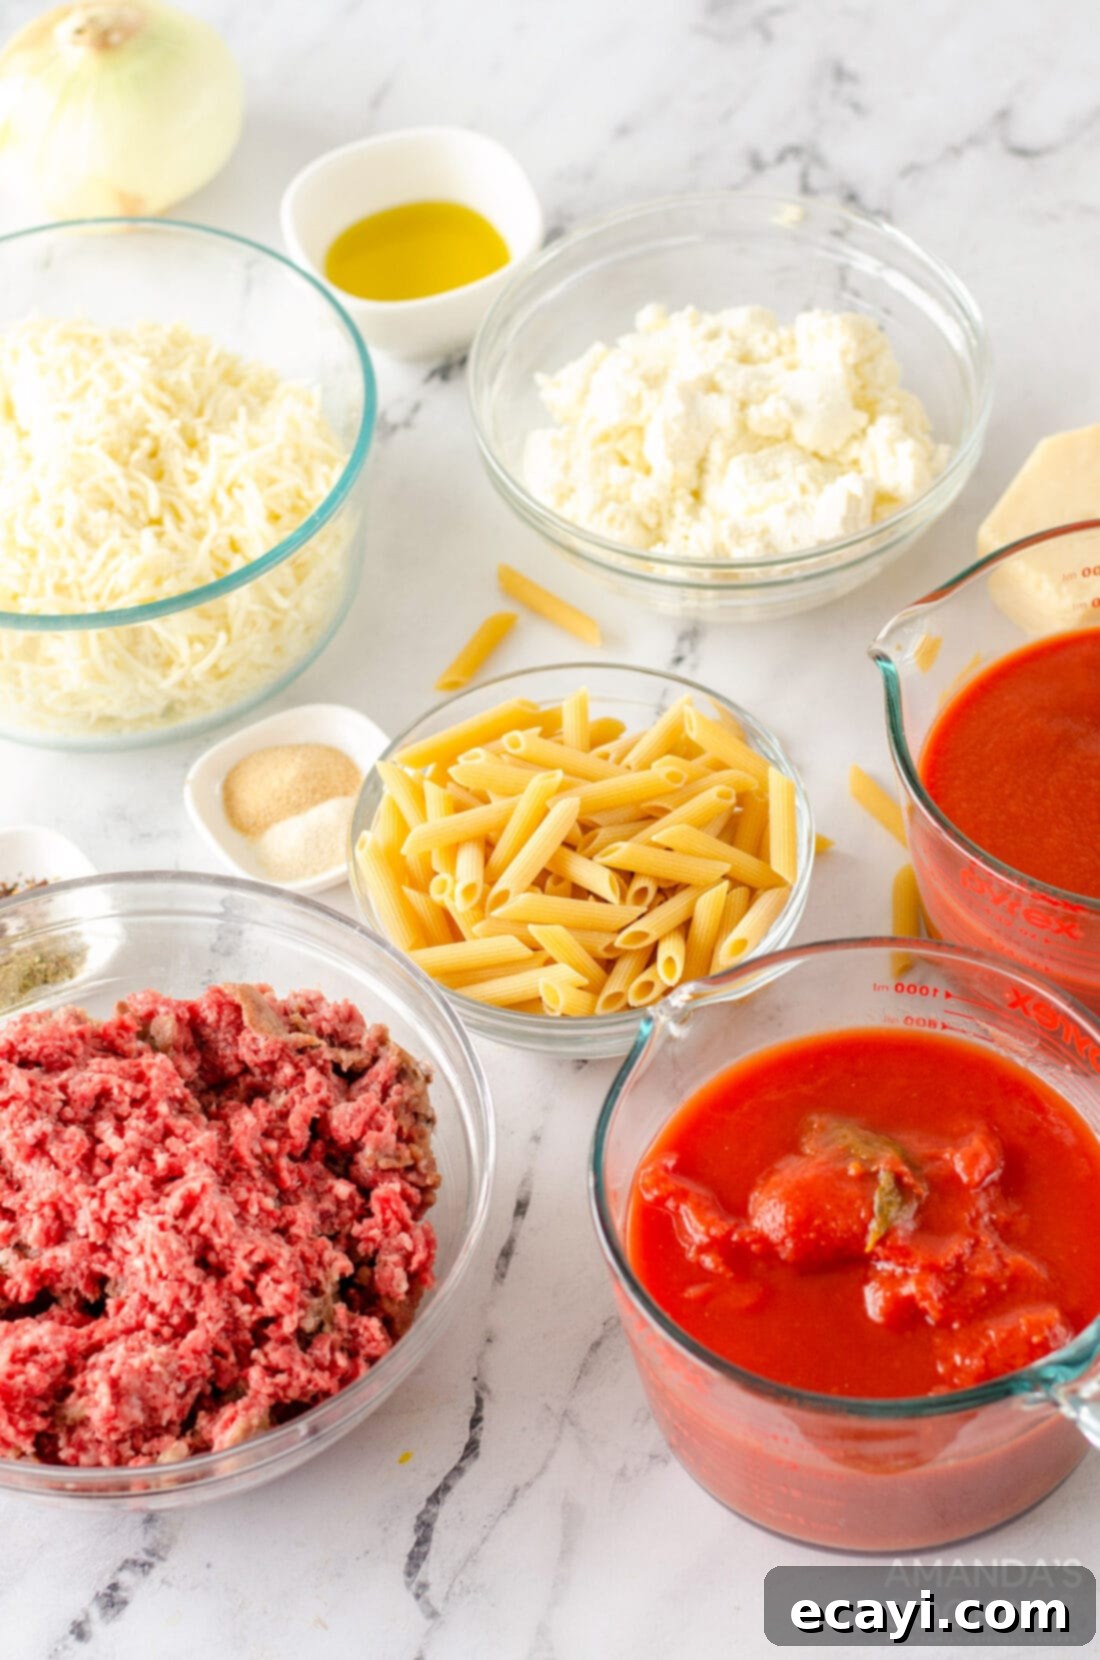
At the heart of our baked ziti is a robust meat sauce. This begins with a large onion, diced and sautéed until translucent, forming a fragrant base. The star of the sauce is the ground beef, providing savory depth. You’ll want to choose a good quality ground beef, ideally 80/20 lean, for the best flavor and texture. The spices—garlic powder, onion powder, oregano, red pepper flakes, salt, and pepper—are crucial for building that classic Italian flavor profile. Feel free to adjust the red pepper flakes to your preferred level of heat.
For the tomato base, we use a combination of tomato sauce and canned whole tomatoes. The whole tomatoes, when crushed or broken down, add a wonderful texture and freshness to the sauce that jarred purees often lack. Selecting high-quality canned tomatoes can make a significant difference in the overall taste of your finished dish.
The cheese component is what makes baked ziti so undeniably rich and satisfying. We use a generous amount of mozzarella cheese, known for its incredible melt and gooey texture, ensuring every bite is wonderfully cheesy. Grated Parmesan cheese contributes a sharp, salty depth that complements the other flavors beautifully. Lastly, whole milk ricotta cheese is essential for that creamy, slightly tangy layer that defines a classic baked ziti. Always opt for whole milk ricotta for a richer, more luxurious texture, as part-skim can sometimes be a bit watery.
Of course, you can’t have baked ziti without the ziti noodles themselves! While ziti is the traditional choice, any tube-shaped pasta like rigatoni or penne will work equally well. The key is to cook it slightly al dente, as it will continue to cook in the oven and you want it to retain a pleasant bite. Finally, fresh parsley is added as a garnish, providing a bright, herbaceous finish that elevates the dish both visually and in flavor.
How to Master Homemade Baked Ziti: Step-by-Step Guide
Creating this homemade baked ziti is a rewarding experience, and we’ve broken it down into simple, manageable steps. While our recipe proudly features a rich, homemade meat sauce, we understand that time is often a luxury. If you’re looking for an even quicker and easier baked ziti, you can absolutely shorten the prep time by using your favorite high-quality jarred marinara sauce instead. The beauty of this dish lies in its flexibility to fit your schedule and preferences.
These step-by-step photos and detailed instructions are here to help you visualize exactly how to make this delicious recipe. For a convenient printable version, complete with precise measurements and comprehensive instructions, you can Jump to Recipe to find it at the bottom of this post.
- **Prepare Your Oven:** First things first, preheat your oven to 375 degrees Fahrenheit (190 degrees Celsius). This ensures your oven is at the optimal temperature for even baking as soon as your casserole is ready to go in.
- **Sauté the Aromatics:** In a sturdy skillet, add the olive oil over medium heat. Once shimmering, add the diced onion. Cook the onion for about 5 minutes, stirring occasionally, until it becomes translucent, soft, and beautifully fragrant. This step builds a foundational layer of flavor for your sauce.
- **Brown the Ground Beef:** Add the ground beef to the skillet with the softened onions. Break it apart with a spoon and cook for approximately 5-7 minutes, or until no pink remains. It’s crucial to brown the meat thoroughly to develop its flavor. Once cooked, remove the skillet from the heat.
- **Season the Meat:** Now, add the garlic powder, onion powder, oregano, and red pepper flakes to the browned ground beef. Stir well to combine the spices evenly. Continue to cook for another minute, allowing the spices to toast slightly and release their full aroma. This short step significantly enhances the overall depth of flavor in your meat sauce. After this, remove the meat from the heat.
- **Simmer the Sauce:** In a separate large saucepan, pour in the tomato sauce and the whole tomatoes. If using whole tomatoes, you can gently crush them with your hands or a potato masher for a chunkier texture. Using a slotted spoon, carefully scoop the cooked ground beef into the tomato mixture, allowing any excess fat to drain back into the skillet. Bring the sauce to a gentle simmer and let it cook for 20-25 minutes. This simmering time allows the flavors to meld beautifully and the sauce to thicken slightly.
- **Cook the Pasta:** While your tomato sauce is simmering, bring a large pot of salted water to a rolling boil. Add the ziti noodles and cook them until they are just slightly al dente. This means they should still have a firm bite, as they will finish cooking in the oven. Drain the pasta thoroughly and then rinse it immediately with cold water. Rinsing stops the cooking process and prevents the noodles from becoming mushy.
- **Combine Cheese and Pasta:** In a very large mixing bowl, combine 3 cups of the shredded mozzarella cheese, 1 ½ cups of the grated Parmesan cheese, and the entire 15 ounces of whole milk ricotta. Add the slightly cooled and drained ziti noodles to the bowl. Gently stir all the ingredients together until the pasta is evenly coated with the creamy cheese mixture. This creates a luxurious, cheesy base for your casserole.
- **First Layer in Baking Dish:** Grease a 9×13 inch casserole dish. Spread 1 cup of your rich meat sauce evenly across the bottom of the dish. This prevents the pasta from sticking and provides a flavorful base. Then, carefully scoop half of the cheese and pasta mixture over the meat sauce, spreading it out to form an even layer.
- **Second Layer of Meat and Pasta:** Add another layer of meat sauce, using half of the *remaining* meat sauce (this should be about 1.5 cups). Spread it evenly over the pasta. Next, cover this meat layer with the second half of the cheese and pasta mixture, spreading it smoothly across the dish. Finish this step by spreading the very last of the meat sauce over the top of the pasta layer.
- **Top with More Cheese:** To complete your magnificent casserole, sprinkle the rest of the mozzarella cheese generously over the top layer of meat sauce. This final layer of cheese will melt into a golden, bubbly crust.
- **Bake to Perfection:** Place the casserole dish in your preheated oven and bake for approximately 25 minutes. The baked ziti is ready when the cheese is fully melted and has started to turn a lovely golden brown, and the sauce is bubbling invitingly around the edges of the dish.
- **Cool and Serve:** Once baked, carefully remove the baked ziti from the oven. Allow it to cool for 10-15 minutes before serving. This resting time helps the casserole set, making it easier to serve and ensuring the layers hold together beautifully. Then, scoop out generous portions and enjoy your delicious homemade baked ziti!
Frequently Asked Questions About Baked Ziti
Here are some common questions about making and enjoying baked ziti, providing helpful tips for success and storage.
Absolutely! Baked Ziti is one of those dishes that often tastes even better the next day. We regularly enjoy the leftovers for a few days after making a batch. To store leftovers, transfer them to an airtight container with a lid. Alternatively, you can leave it in the original casserole dish and cover it tightly with aluminum foil. Properly stored, leftover ziti will keep fresh in the refrigerator for up to a week.
For reheating individual servings, the microwave works perfectly for a quick meal. If you’re reheating a larger portion or the entire dish, you can add a tablespoon or two of water to the pan (to prevent drying out), cover it with foil, and reheat it in a preheated oven until warmed through and bubbling. This method helps maintain its original texture and moisture.
Yes, absolutely! This recipe is quite flexible when it comes to the ground meat. You’ll need about 2 pounds of ground meat in total. If you prefer, instead of ground beef, you can easily use ground pork for a richer flavor, ground chicken for a leaner option, or ground turkey for a lighter take. Many classic baked ziti recipes traditionally feature Italian sausage (sweet or hot), so feel free to use a combination or whatever suits your personal tastes and dietary preferences. Just ensure you cook it thoroughly and drain any excess fat before adding it to the sauce.
Ziti is a type of tube-shaped pasta, quite similar in form to rigatoni and penne, but it typically has straight-cut ends rather than the angled cuts found on penne. Its hollow center and ridged surface are excellent for catching and holding onto rich sauces and melted cheese, making it ideal for baked dishes. If you can’t find ziti, or simply prefer another type, you can certainly use any other tube pasta you like. Rigatoni, penne, or even cavatappi would be excellent substitutes, offering a similar structure and texture that works beautifully in a baked casserole.
Yes, baked ziti freezes exceptionally well, making it a fantastic make-ahead meal option for busy days. To freeze, allow the cooked casserole to cool completely to room temperature. Once cooled, cover it tightly with aluminum foil, ensuring it’s wrapped securely around the casserole dish to prevent freezer burn. You can store it in the freezer for up to one month. To reheat, simply transfer the frozen dish to the refrigerator and allow it to thaw completely overnight. Once thawed, place it in a preheated oven at 375 degrees Fahrenheit (190 degrees Celsius) for 10-15 minutes, or until it’s bubbling hot and thoroughly heated through. You can also bake it directly from frozen, but this will require a much longer cooking time (often 45-60 minutes or more), still covered, until heated through.
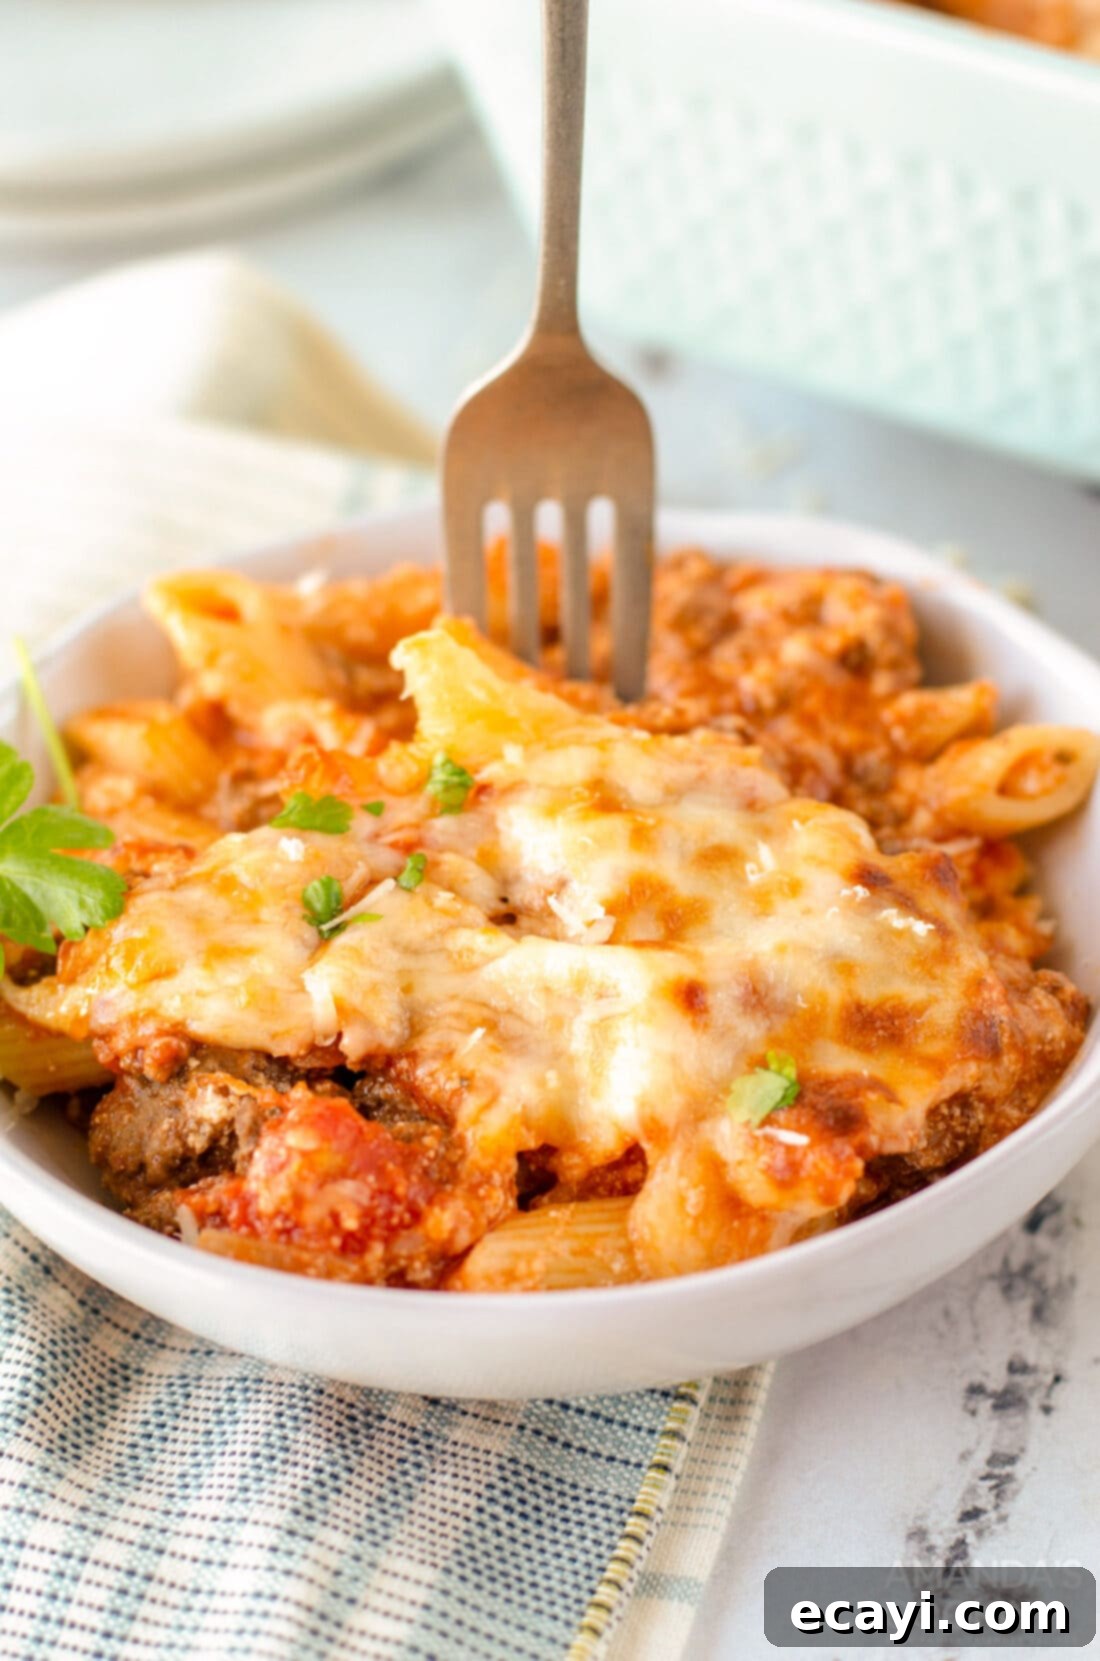
This baked ziti is more than just a meal; it’s an experience of true Italian-American comfort. We absolutely adore serving this hearty casserole with a crisp, refreshing green salad to balance the richness, and of course, warm, fresh Italian bread or garlic bread for dipping into that luscious sauce. It’s a real crowd-pleaser that delivers pure comfort food satisfaction with every single bite. The blend of savory meat, tender pasta, and creamy, bubbling cheese creates a harmonious dish that’s perfect for any occasion. It’s simple enough for a weeknight but special enough for company, making it a versatile and indispensable recipe.
More Delicious Dinner Recipes You’ll Love
If you’re a fan of comforting and easy dinner solutions, especially hearty casseroles and pasta dishes, you’re in the right place! We believe in making delicious meals accessible and enjoyable for everyone. Once you’ve savored this incredible baked ziti, be sure to explore some of our other popular dinner recipes. From cheesy classics to savory bakes, these dishes are designed to satisfy and simplify your meal planning. They’re perfect for family dinners, entertaining, or simply enjoying a delicious homemade meal. Here are some more ideas to inspire your next culinary adventure:
- Macaroni and Cheese Casserole with Ham and Peas
- John Wayne Casserole
- Homemade Green Bean Casserole
- Bacon Cheeseburger Pasta
- Cheesy Garlic Bread
- Chicken Alfredo
- Lasagna Roll Ups
- Million Dollar Spaghetti
I absolutely love to bake and cook, and there’s nothing I enjoy more than sharing my kitchen experiences and culinary tips with all of you! Remembering to come back each day for new inspiration can sometimes be tough, which is why I offer a convenient newsletter delivered right to your inbox every time a new recipe posts. Simply subscribe today and start receiving your free daily recipes, ensuring you never miss out on delicious meal ideas and helpful cooking advice!

Baked Ziti
IMPORTANT – There are often Frequently Asked Questions within the blog post that you may find helpful. Simply scroll back up to read them!
Print It
Pin It
Rate It
Save ItSaved!
Ingredients
- 1 large onion diced (1 cup)
- 2 tablespoons olive oil
- 2 pounds ground beef
- 2 tablespoons garlic powder
- 2 tablespoons onion powder
- 1 teaspoon oregano
- ½ teaspoon red pepper flakes
- Salt and pepper to taste
- 29 ounces tomato sauce Two 14.5 ounce cans
- 28 ounce whole tomatoes canned
- 31 ounces mozzarella cheese divided (4 cups)
- 7 ounces grated Parmesan cheese divided (2 cups) see notes
- 15 ounces whole milk ricotta
- 16 ounces ziti noodles or similar pasta
- Fresh parsley
Things You’ll Need
-
Saucepan
-
Skillet
-
13×9 baking dish
Before You Begin
Instructions
-
Preheat the oven to 375 degrees.
-
In a skillet, add the olive oil and the diced onion. Cook for 5 minutes, or until translucent, soft and fragrant.
-
Add in the ground beef and cook until no pink remains, about 5-7 minutes.
-
Add in the spices, stir to combine and cook for another minute. Remove from heat.
-
In a saucepan, add the tomato sauce and the whole tomatoes. Using a slotted spoon, scoop in the cooked ground beef, draining the excess fat as you go. Bring to a simmer and allow to cook for 20-25 minutes.
-
While the tomato sauce mixture is simmering, cook the pasta noodles until just slightly al dente. Drain and rinse with cold water to stop the cooking.
-
In a large bowl, combine 3 cups of the mozzarella cheese, 1 ½ cup of the parmesan cheese and the ricotta. Add in the noodles and stir to combine.
-
In a 9×13 casserole dish, spread 1 cup of the meat mixture in the bottom of the baking dish. Scoop in ½ of the cheese and pasta mixture over the meat sauce.
-
Add another layer of meat sauce, using ½ of the remaining meat sauce. Cover with the second ½ of the pasta and the remaining meat sauce.
-
Top with the rest of the mozzarella cheese.
-
Bake for 25 minutes or until the cheese is melted, starting to brown and the sauce is bubbling up on the sides.
-
Remove, allow to cool and enjoy.
Nutrition
The recipes on this blog are tested with a conventional gas oven and gas stovetop. It’s important to note that some ovens, especially as they age, can cook and bake inconsistently. Using an inexpensive oven thermometer can assure you that your oven is truly heating to the proper temperature. If you use a toaster oven or countertop oven, please keep in mind that they may not distribute heat the same as a conventional full sized oven and you may need to adjust your cooking/baking times. In the case of recipes made with a pressure cooker, air fryer, slow cooker, or other appliance, a link to the appliances we use is listed within each respective recipe. For baking recipes where measurements are given by weight, please note that results may not be the same if cups are used instead, and we can’t guarantee success with that method.
This post was originally published on this blog on May 2, 2010. It has since been updated with enhanced content, detailed instructions, and additional tips to improve your cooking experience.
