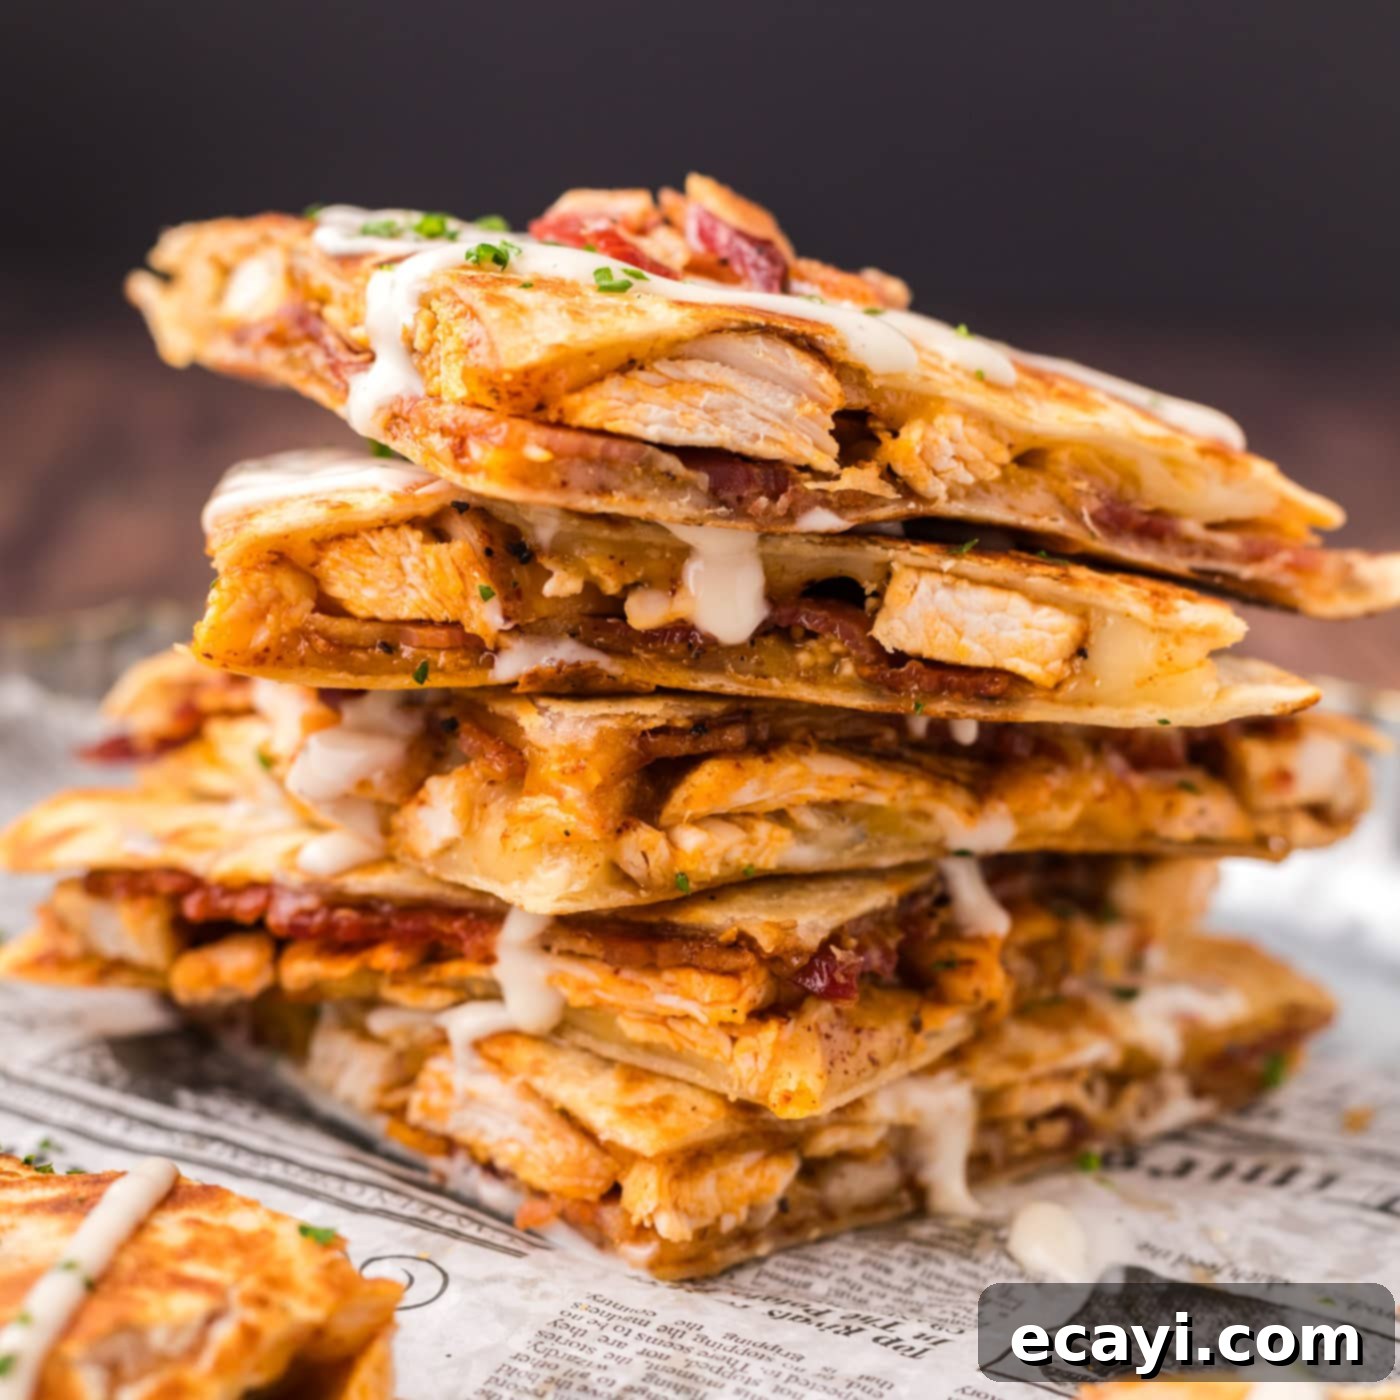
Irresistible Chicken Bacon Ranch Quesadillas: Your Go-To 15-Minute Recipe for Flavor-Packed Meals
Craving something incredibly delicious yet incredibly easy? Look no further than these Chicken Bacon Ranch Quesadillas. They are absolutely loaded with a winning combination of flavors and textures – tender chicken, crispy bacon, and creamy ranch dressing, all enveloped in melty cheese and golden-brown tortillas. Perfect for a lightning-fast lunch or a satisfying dinner, this recipe promises an over-the-top experience that’s ready to devour in just 15 minutes. It’s the ultimate solution for busy weeknights or when you simply want maximum flavor with minimal effort.
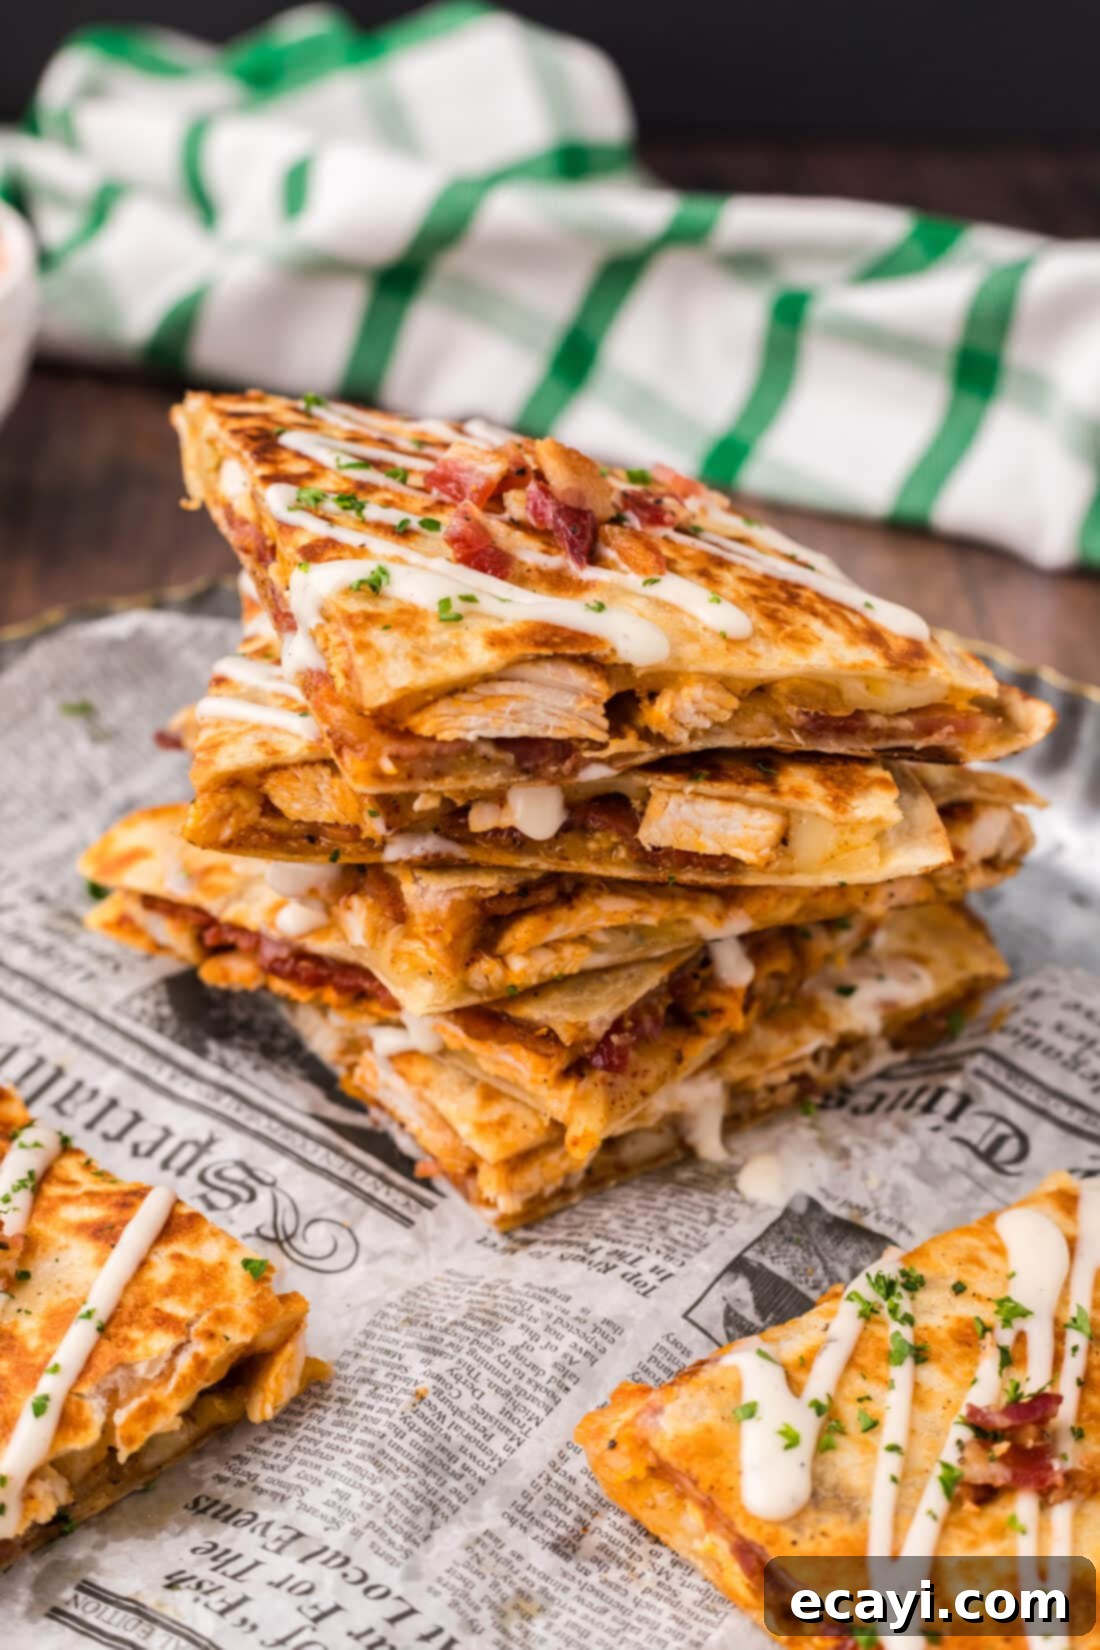
Why This Chicken Bacon Ranch Quesadilla Recipe Works Wonders
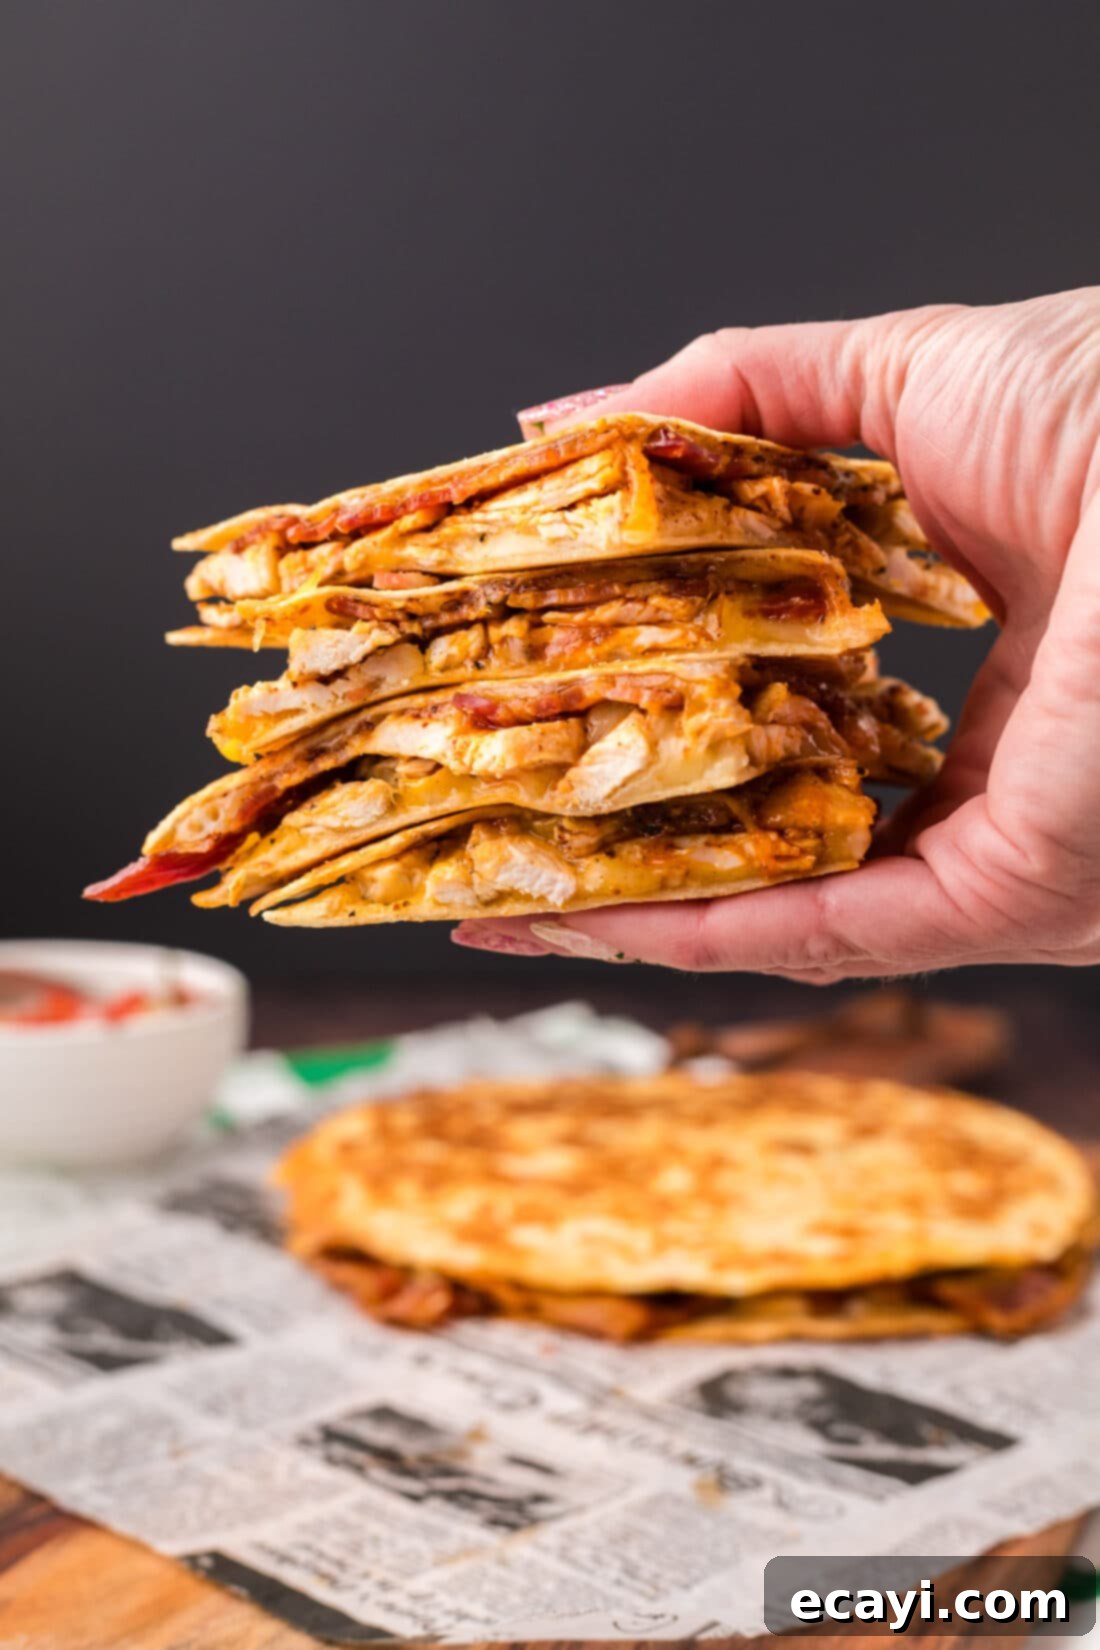
These chicken bacon ranch quesadillas aren’t just a meal; they’re a culinary triumph born from a harmonious blend of beloved ingredients. The secret to their incredible appeal lies in the perfect marriage of flavors and textures: succulent chicken, perfectly crisp bacon, and rich, creamy ranch dressing, all held together by a generous layer of beautifully melted cheese, seasoned with a subtle kick of chili powder. These savory fillings are nestled within warm, pan-fried flour tortillas that achieve a delightful golden crispness. What truly makes this recipe shine is its ability to elevate a simple cheese quesadilla into an extraordinary experience, featuring the universally adored chicken, bacon, and ranch trio. It’s a comfort food classic that’s quick to prepare, incredibly satisfying, and always a hit with both kids and adults. Plus, the minimal cooking time makes it ideal for those hectic days when you need a delicious meal on the table in a flash, without compromising on taste or quality.
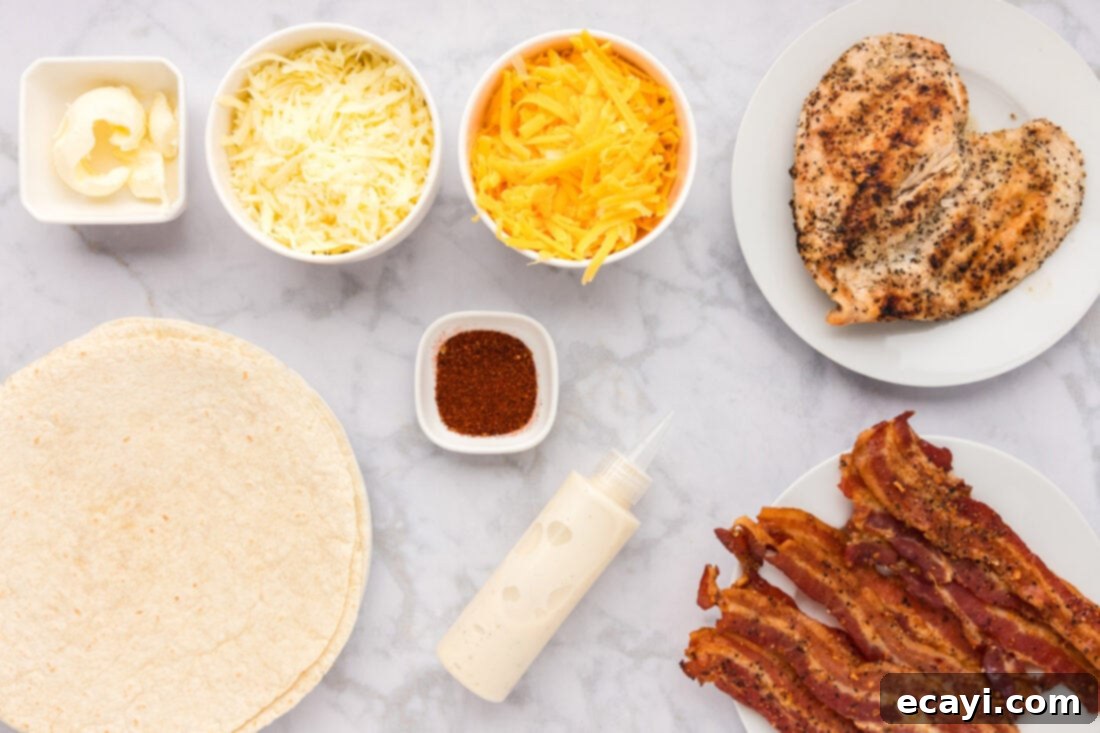
Essential Ingredients for Your Chicken Bacon Ranch Quesadillas
To embark on this delicious journey, you’ll need a handful of readily available ingredients. All precise measurements, ingredients, and detailed instructions can be found in the convenient printable recipe card located at the very end of this post. Gather your components and get ready to create some magic in your kitchen!
Ingredient Spotlight: Tips & Substitutions for Perfect Quesadillas
Understanding your ingredients and knowing how to make smart substitutions can greatly enhance your cooking experience and ensure a fantastic result every time. Here’s a deeper dive into the key components of these mouthwatering quesadillas:
CHICKEN – For maximum convenience and to significantly cut down on prep time, feel free to use pre-cooked boneless, skinless chicken breast. A fantastic shortcut is to shred or cube a rotisserie chicken from your local grocery store – it’s already seasoned and perfectly tender, saving you a crucial step. If cooking from scratch, simply grill, pan-fry, or boil a chicken breast until fully cooked, then chop or shred it. This versatility makes the recipe adaptable to whatever you have on hand.
CHEESE – We’ve chosen a classic blend of sharp cheddar and creamy mozzarella for their superior melting qualities and robust flavor. However, the beauty of quesadillas is their customizability! Don’t hesitate to mix and match your favorite cheeses. Excellent alternatives that melt beautifully include Pepperjack for a spicy kick, Colby for mild creaminess, Monterey Jack for a buttery texture, or a pre-made Mexican blend for a harmonious mix. Both freshly shredded cheese from the block and convenient pre-bagged shredded cheese will work wonderfully; freshly shredded often melts a bit smoother, but pre-shredded is a great time-saver.
TORTILLAS – While traditional quesadillas often feature corn tortillas, we’ve found that flour tortillas offer superior sturdiness and flexibility, making them ideal for holding a generous amount of delicious fillings without tearing. Their soft texture crisps up beautifully in the pan. If you prefer the authentic flavor of corn tortillas or require a gluten-free option, they can certainly be used. Just be aware that corn tortillas can be more delicate and may require a lighter touch when flipping.
BACON – Crispy bacon is non-negotiable for that irresistible salty crunch! My preferred method for cooking bacon is in the oven. It’s hands-off, yields perfectly crisp results, and frees up valuable stovetop space. Another excellent option, especially if you want to avoid heating up your entire kitchen, is to cook bacon in the air fryer. Both methods produce delicious, evenly cooked strips. Remember to drain the cooked bacon on paper towels to remove excess grease before crumbling or chopping it.
RANCH DRESSING – This creamy, tangy dressing is the “ranch” in chicken bacon ranch, tying all the flavors together with its signature taste. You can use your favorite store-bought brand for convenience, or whip up a homemade ranch dressing if you have a little extra time for an even fresher flavor. Adjust the amount to your taste – some like a light drizzle, others prefer a more generous coating.
CHILI POWDER – A simple dash of chili powder adds a subtle warmth and depth of flavor to the cheese, enhancing the savory notes without making the quesadilla spicy. It’s a small addition that makes a big difference. If you don’t have chili powder, a tiny pinch of paprika or cumin could offer a similar aromatic quality, or you can omit it entirely.
Step-by-Step Guide: Crafting Your Delicious Chicken Bacon Ranch Quesadillas
These step-by-step photos and detailed instructions are provided to help you visualize each stage of making this incredibly satisfying recipe. For a quick reference, or to get the full printable version of this recipe complete with precise measurements and instructions, simply Jump to Recipe at the bottom of this page.
- Begin by preparing your chicken. If using cooked boneless, skinless chicken breast, cut it into small, bite-sized pieces or shred it. This ensures even distribution and easy eating within the quesadilla. Set the prepared chicken aside.
- To assemble, lay a sheet of wax paper or parchment paper on your clean work surface. This makes transferring the filled tortilla much easier. Place one of your flour tortillas onto the wax paper. Using a pastry brush, lightly brush one side of the tortilla with melted butter. This buttered side will become beautifully golden and crispy in the skillet. Once buttered, flip the tortilla over so the unbuttered side is facing up.
- Generously add a handful of both shredded cheddar cheese and mozzarella cheese to the center of the tortilla, leaving about an inch clear around the edges. This border helps contain the fillings when the cheese melts. Lightly sprinkle a couple of pinches of chili powder evenly over the cheese layer. This adds a subtle, warm flavor that truly enhances the quesadilla.
- Next, create a delicious layer of your bite-sized cooked chicken pieces over the seasoned cheese. Ensure the chicken is spread out for an even bite in every piece.
- Drizzle a desired amount of creamy ranch dressing over the chicken layer. The ranch is key to the signature flavor profile of these quesadillas, so be generous if you love ranch, or adjust to your preference.
- Add a layer of crispy bacon strips (approximately 4 slices, crumbled or chopped) over the ranch and chicken. The smoky, salty crunch of the bacon is essential for balance.
- Top the bacon layer with another handful of cheese, sprinkled evenly. This second layer of cheese acts as a delicious “glue,” helping to hold all the fillings together and creating an incredibly gooey, cheesy interior. Sprinkle a little more chili powder over this final cheese layer for extra flavor.
- Preheat a dry non-stick skillet over medium-high heat. You want the pan to be hot enough to crisp the tortilla quickly but not so hot that it burns before the cheese melts.
- Carefully transfer the loaded tortilla with all its fillings into the hot skillet.
CHEF TIP – This step can be a bit tricky, especially with a heavily loaded quesadilla. You can gently slide it off the wax paper directly into the skillet. For easier handling and to prevent spillage, we highly recommend using a fish turner or another long, wide spatula to scoop and place the tortilla securely into the pan.
- Quickly place one of the reserved tortillas on top of the fillings, gently pressing down to seal the edges and help the cheeses begin to melt. Brush the exposed side of this top tortilla with melted butter, just as you did with the bottom one.
- Cook the quesadilla for 2-3 minutes on the first side. Peek under a corner with a spatula to check for doneness; the tortilla should be a beautiful golden brown and crispy. Once golden, carefully flip the quesadilla over using your fish turner or wide spatula. Cook for an additional 2-3 minutes on the second side, or until it’s also golden brown, and the cheese inside is completely melted and gooey.
- Once cooked to perfection, remove the quesadilla from the skillet and place it on a cutting board. Repeat the entire process for the second quesadilla until all are golden, crispy, and filled with cheesy, savory goodness.
Frequently Asked Questions & Expert Tips for Perfect Quesadillas
To maintain their deliciousness, store any leftover chicken bacon ranch quesadillas in an air-tight container in the refrigerator for up to 3-4 days. For reheating, the best method to revive their crispness is in a skillet over medium heat until warmed through and slightly re-crisped, about 3-5 minutes per side. Alternatively, you can reheat them in a 350°F (175°C) oven for about 10-15 minutes, or until the cheese is melted and the quesadilla is hot throughout. Avoid the microwave if possible, as it tends to make them soft and soggy.
Absolutely, you can use corn tortillas! While flour tortillas tend to be sturdier and more pliable, making them excellent for holding generous fillings without tearing, corn tortillas offer a unique, authentic flavor and a lovely texture when crisped. If opting for corn tortillas, you might find them a bit more delicate to work with. Consider using slightly smaller corn tortillas or being extra gentle when flipping to prevent breakage. They will still result in a wonderfully flavorful quesadilla, just with a slightly different mouthfeel and traditional taste.
To some extent, yes. You can chop your chicken, cook and crumble your bacon, and shred your cheese in advance. Store these components separately in airtight containers in the refrigerator for up to 2 days. When you’re ready to eat, simply assemble and cook the quesadillas fresh. This minimizes the active cooking time on a busy weeknight.
Several factors contribute to a crispy quesadilla. First, ensure your skillet is preheated to medium-high heat. Cooking on too low a heat can lead to a soft tortilla. Second, avoid overfilling the quesadilla; too much filling can release moisture, making the tortilla soggy. Third, ensure the bacon is very crispy and drained of all excess fat. Finally, serving immediately after cooking is best, as the steam from the hot fillings can soften the tortilla over time.
No problem! You can quickly cook chicken breast by dicing it into small pieces and pan-frying it in a skillet with a touch of oil until fully cooked (internal temperature of 165°F / 74°C). Season it with a little salt, pepper, and perhaps a pinch of garlic powder or paprika for extra flavor. This process only adds a few minutes to your prep time and works perfectly for this recipe.
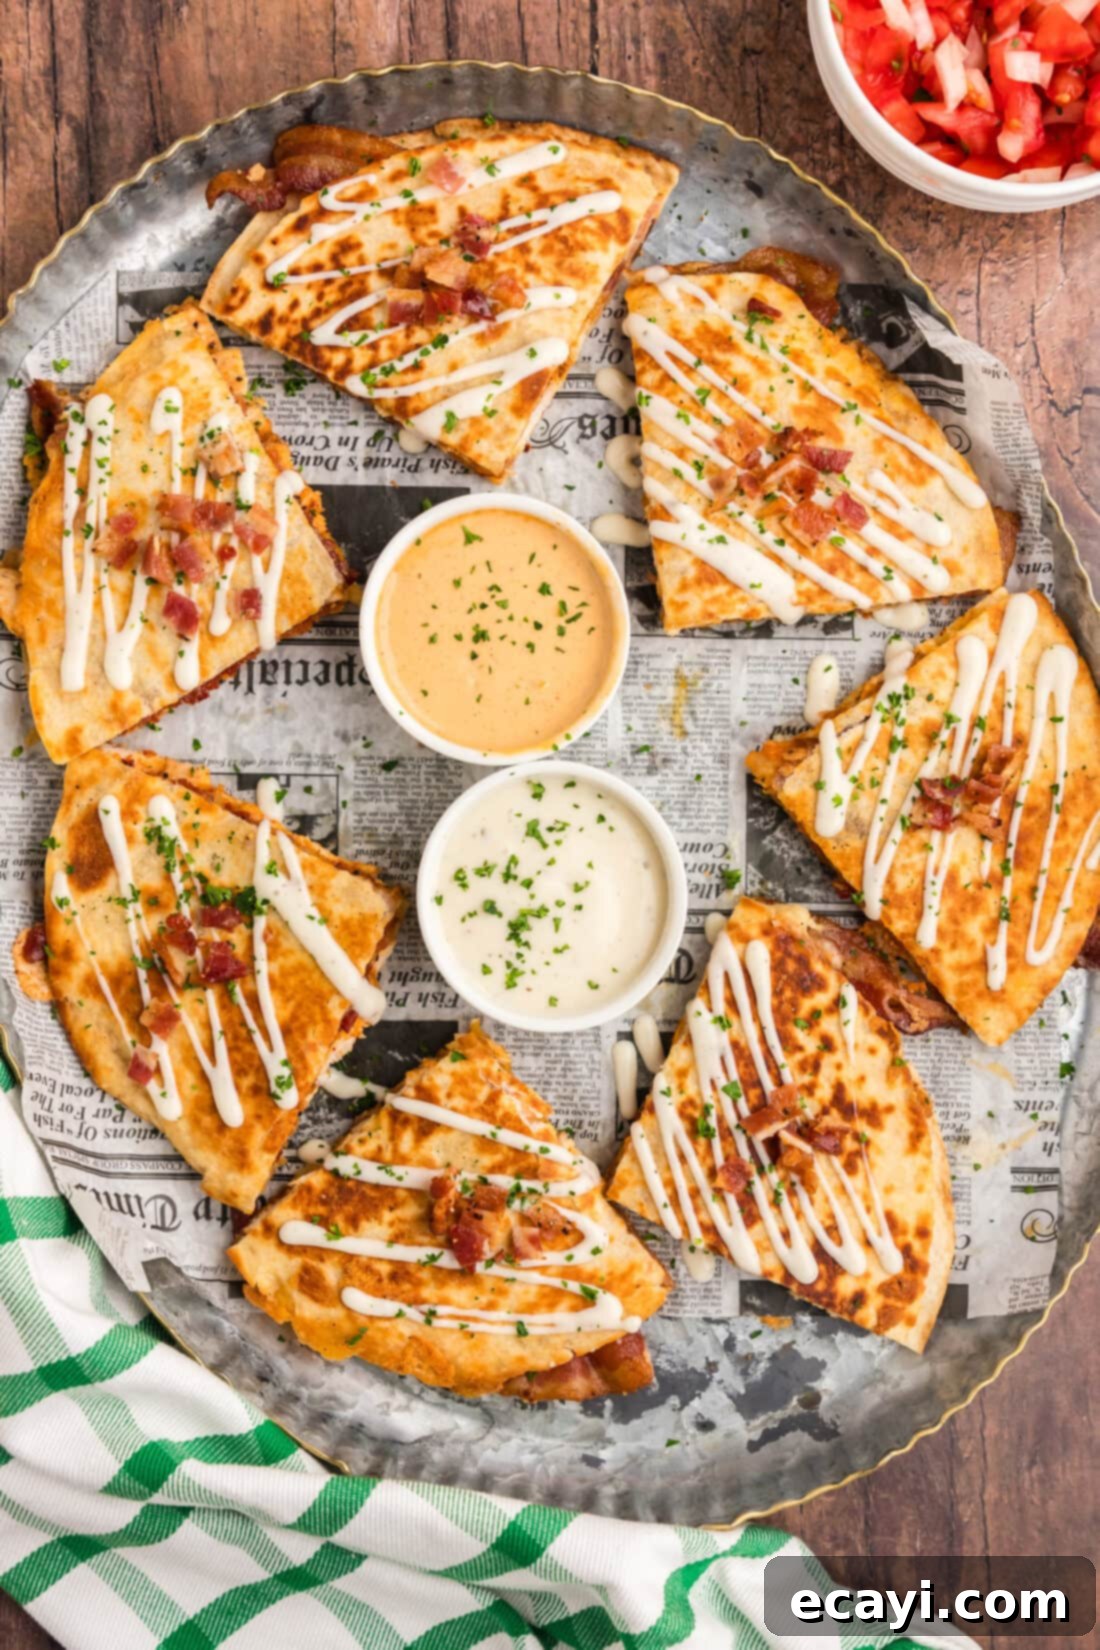
Delightful Serving Suggestions for Your Quesadillas
These Chicken Bacon Ranch Quesadillas are incredibly satisfying on their own, but they truly shine when paired with the right accompaniments. For an extra burst of flavor, serve them with an additional side of creamy ranch dressing for dipping – or simply drizzle more over the top, as we love to do. They also complement classic Tex-Mex flavors beautifully, so consider offering salsa, a dollop of sour cream or Greek yogurt, or even a kick of hot sauce for those who enjoy a bit of spice. For a more complete meal, enjoy them alongside a fresh green salad, crispy tortilla chips with guacamole, seasoned black beans, or a side of fluffy Mexican rice. They’re fantastic for casual weeknight dinners, game day snacks, or a fun, easy meal to share with friends and family.
Discover More Irresistible Recipes You’ll Love
If you’re a fan of the bold flavors in these Chicken Bacon Ranch Quesadillas, you’ll definitely want to explore these other fantastic recipes from our collection:
- Savory Shrimp Quesadillas
- Zesty Grilled Chicken Quesadillas
- Flavorful Chicken Bacon Ranch Wrap
- Creamy Bacon Chicken Ranch Pasta
- Hearty Chicken Bacon Ranch Casserole
I am passionate about baking and cooking, and I love sharing my kitchen adventures and delicious recipes with all of you! It can be challenging to remember to check back every day, which is why I offer a convenient newsletter delivered straight to your inbox every time a new recipe is posted. Simply subscribe today and start receiving your free daily recipes, ensuring you never miss out on a tasty creation!
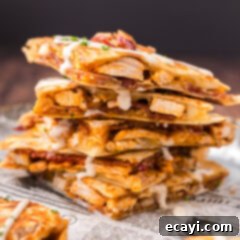
Chicken Bacon Ranch Quesadilla
IMPORTANT – There are often Frequently Asked Questions within the blog post that you may find helpful. Simply scroll back up to read them!
Print It
Pin It
Rate It
Save ItSaved!
Ingredients
- 1 boneless, skinless chicken breast cooked, shredded, or diced
- 2 Tablespoons unsalted butter melted
- 1 cup shredded cheddar cheese
- 1 cup shredded mozzarella cheese
- 2 teaspoons chili powder
- 8 slices center cut bacon cooked until crisp and drained
- ranch dressing to taste, for filling and dipping
- 4 flour tortillas 8-inch size is ideal
Things You’ll Need
-
Large non-stick skillet
-
Wax paper or parchment paper
-
Fish turner or a wide, sturdy spatula for easy flipping
Before You Begin: Handy Tips & Tricks
- To significantly speed up your preparation, utilize pre-cooked chicken. Shredded or cubed rotisserie chicken from the grocery store is an excellent, flavorful shortcut that eliminates the need to cook chicken from scratch.
- When it comes to cheese, both pre-bagged shredded varieties and cheese shredded directly from the block will work effectively. For a slightly different flavor profile, consider substituting or adding Pepperjack, Colby, Monterey Jack, or a versatile Mexican blend cheese for extra zest.
- Flour tortillas are generally recommended for this recipe as their inherent sturdiness and elasticity allow them to hold the abundant fillings better and make flipping easier. However, if you prefer a different taste or require a gluten-free alternative, corn tortillas are a perfectly viable option, though they may be more prone to tearing.
- Any leftover quesadillas can be stored in an air-tight container in the refrigerator for up to 3-4 days. For optimal crispness when reheating, use a dry skillet over medium heat for a few minutes per side, or place them in a 350°F (175°C) oven for around 10-15 minutes until thoroughly warmed and re-crisped.
- Consider having all your ingredients prepped and ready before you start assembling. This “mise en place” approach makes the 15-minute cooking time even more achievable and stress-free.
Instructions
-
Dice or shred your cooked chicken breast into uniform, bite-sized pieces. This ensures an even distribution of chicken throughout your quesadilla. Set aside your prepared chicken for later use.
-
Prepare your assembly area by placing a sheet of wax paper or parchment paper on a clean, flat surface. Lay one 8-inch flour tortilla on the paper. Lightly brush one side of the tortilla with a small amount of melted unsalted butter, ensuring good coverage for a golden crust. Then, flip the tortilla over so the buttered side is facing down.
-
Begin layering your fillings. Take a generous handful of shredded cheddar and mozzarella cheeses and spread them evenly over the center of the unbuttered side of the tortilla. Leave a small border around the edge. Lightly sprinkle approximately one pinch of chili powder over the cheese for a subtle kick of flavor.
-
Distribute a layer of your diced or shredded chicken pieces evenly over the seasoned cheese. Make sure to cover the cheese layer well, so every bite has chicken.
-
Now, drizzle your preferred amount of creamy ranch dressing over the chicken layer. This is where the signature “ranch” flavor comes in!
-
Add a satisfying layer of approximately four strips of cooked, crispy, and drained bacon. You can crumble or chop the bacon into smaller pieces for easier eating.
-
Complete your filling with another layer of shredded cheese over the bacon. This top layer will help bind all the delicious ingredients together. Sprinkle a final pinch of chili powder over this cheese.
-
Heat a dry non-stick skillet over medium-high heat. Allow it to get sufficiently hot before adding the quesadilla to ensure a crispy tortilla.
-
Carefully slide the tortilla, loaded with all its fillings, from the wax paper into the hot skillet.
CHEF TIP: For optimal control and to prevent any fillings from spilling, it is highly recommended to use a wide, sturdy spatula or a fish turner to transfer the quesadilla smoothly from the wax paper to the skillet.
-
Immediately place one of your remaining 8-inch flour tortillas on top of the fillings, gently pressing down around the edges to help it adhere to the cheese. Brush the exposed, top side of this tortilla with melted butter.
-
Cook the quesadilla for approximately 2-3 minutes on the first side. Use a spatula to carefully lift a corner and check for a beautiful golden-brown color and crisp texture. Once achieved, carefully flip the entire quesadilla over. Cook for an additional 2-3 minutes on the second side, or until it’s also golden brown and the cheese inside is thoroughly melted and bubbly.
-
Transfer the finished quesadilla to a cutting board. Repeat the entire assembly and cooking process for the second quesadilla. Once both are cooked, slice them into wedges and serve immediately!
Nutrition Information
The recipes on this blog are meticulously tested using a conventional gas oven and gas stovetop to ensure consistent and reliable results. It’s important to be aware that some ovens, particularly older models, can cook and bake with varying degrees of inconsistency. To guarantee your oven is reaching and maintaining the precise temperature required, we highly recommend using an inexpensive oven thermometer. For recipes prepared with a toaster oven or countertop oven, please remember that their heat distribution may differ from a full-sized conventional oven, potentially requiring adjustments to your cooking or baking times. In the case of recipes designed for specialized appliances like pressure cookers, air fryers, or slow cookers, a direct link to the specific appliances we use is provided within each respective recipe for your convenience. Finally, for baking recipes where ingredient measurements are given by weight, please note that using volumetric cup measurements instead may lead to different outcomes, and we cannot guarantee success with this alternative method.
