Irresistible Cream Puff Chocolate Eclair Cake: A Beloved Layered Dessert Recipe
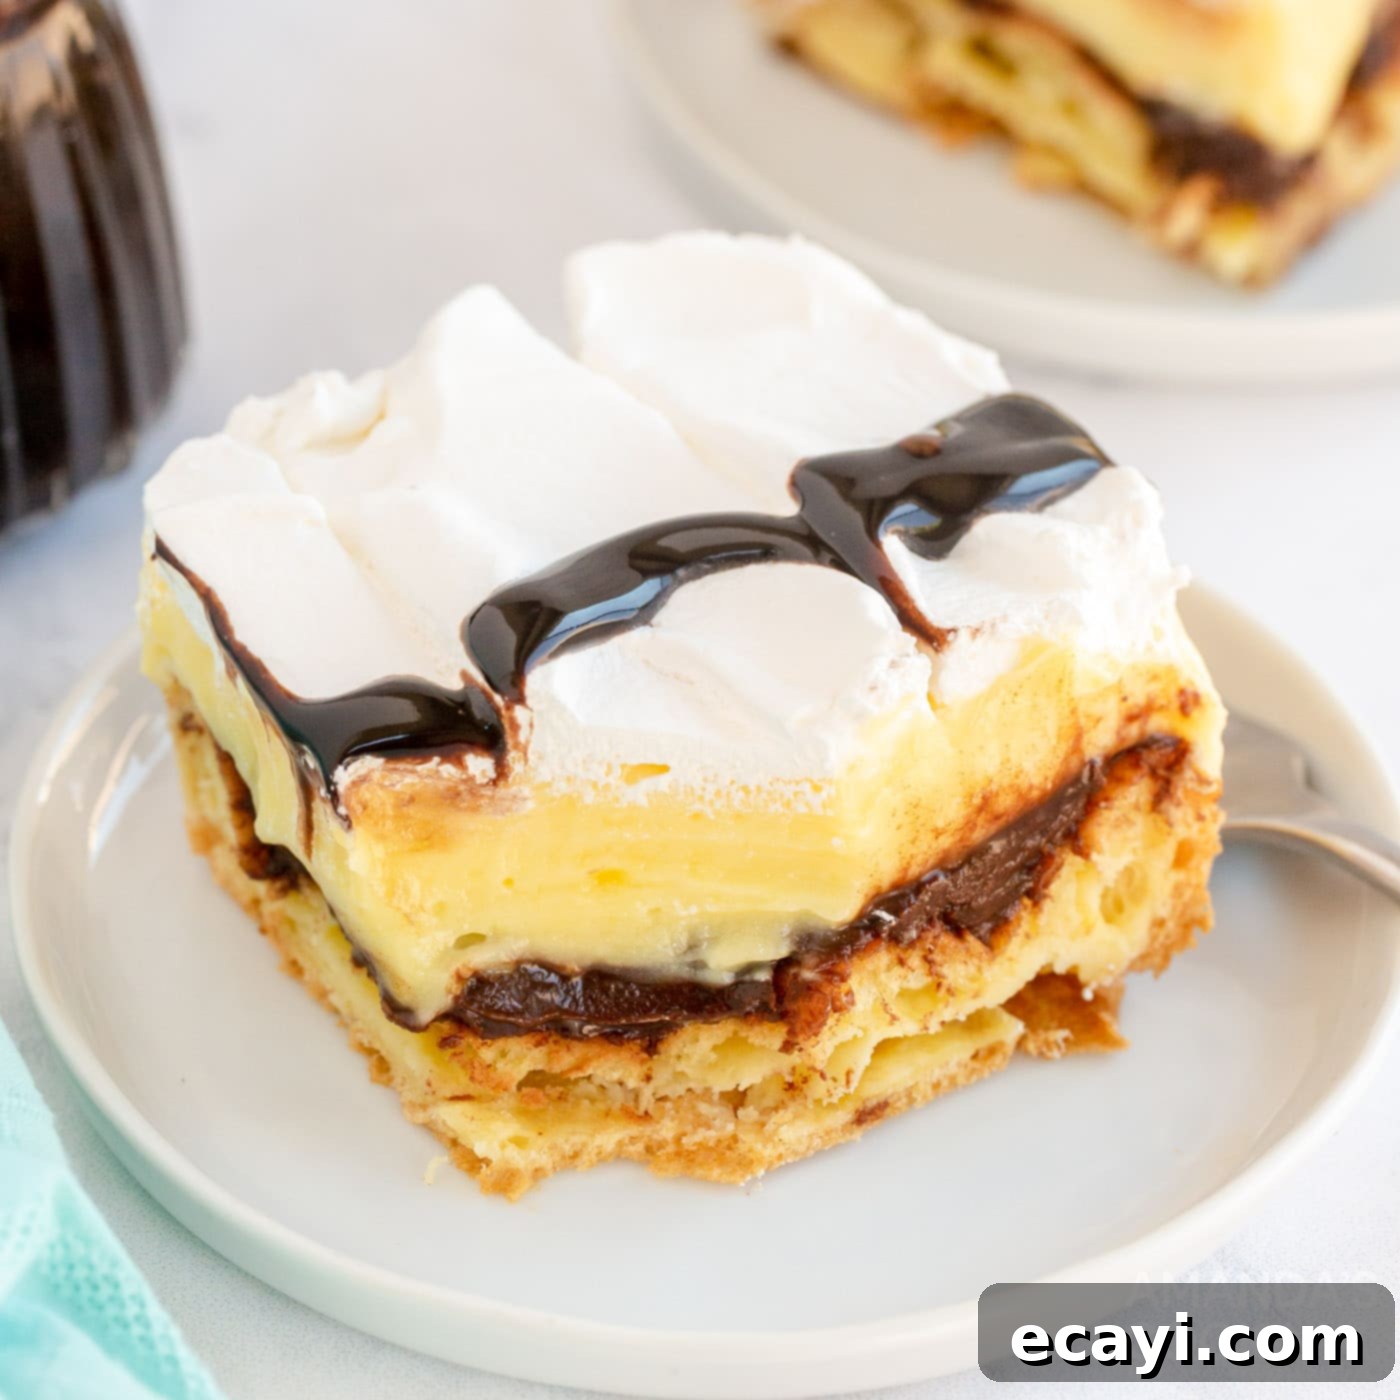
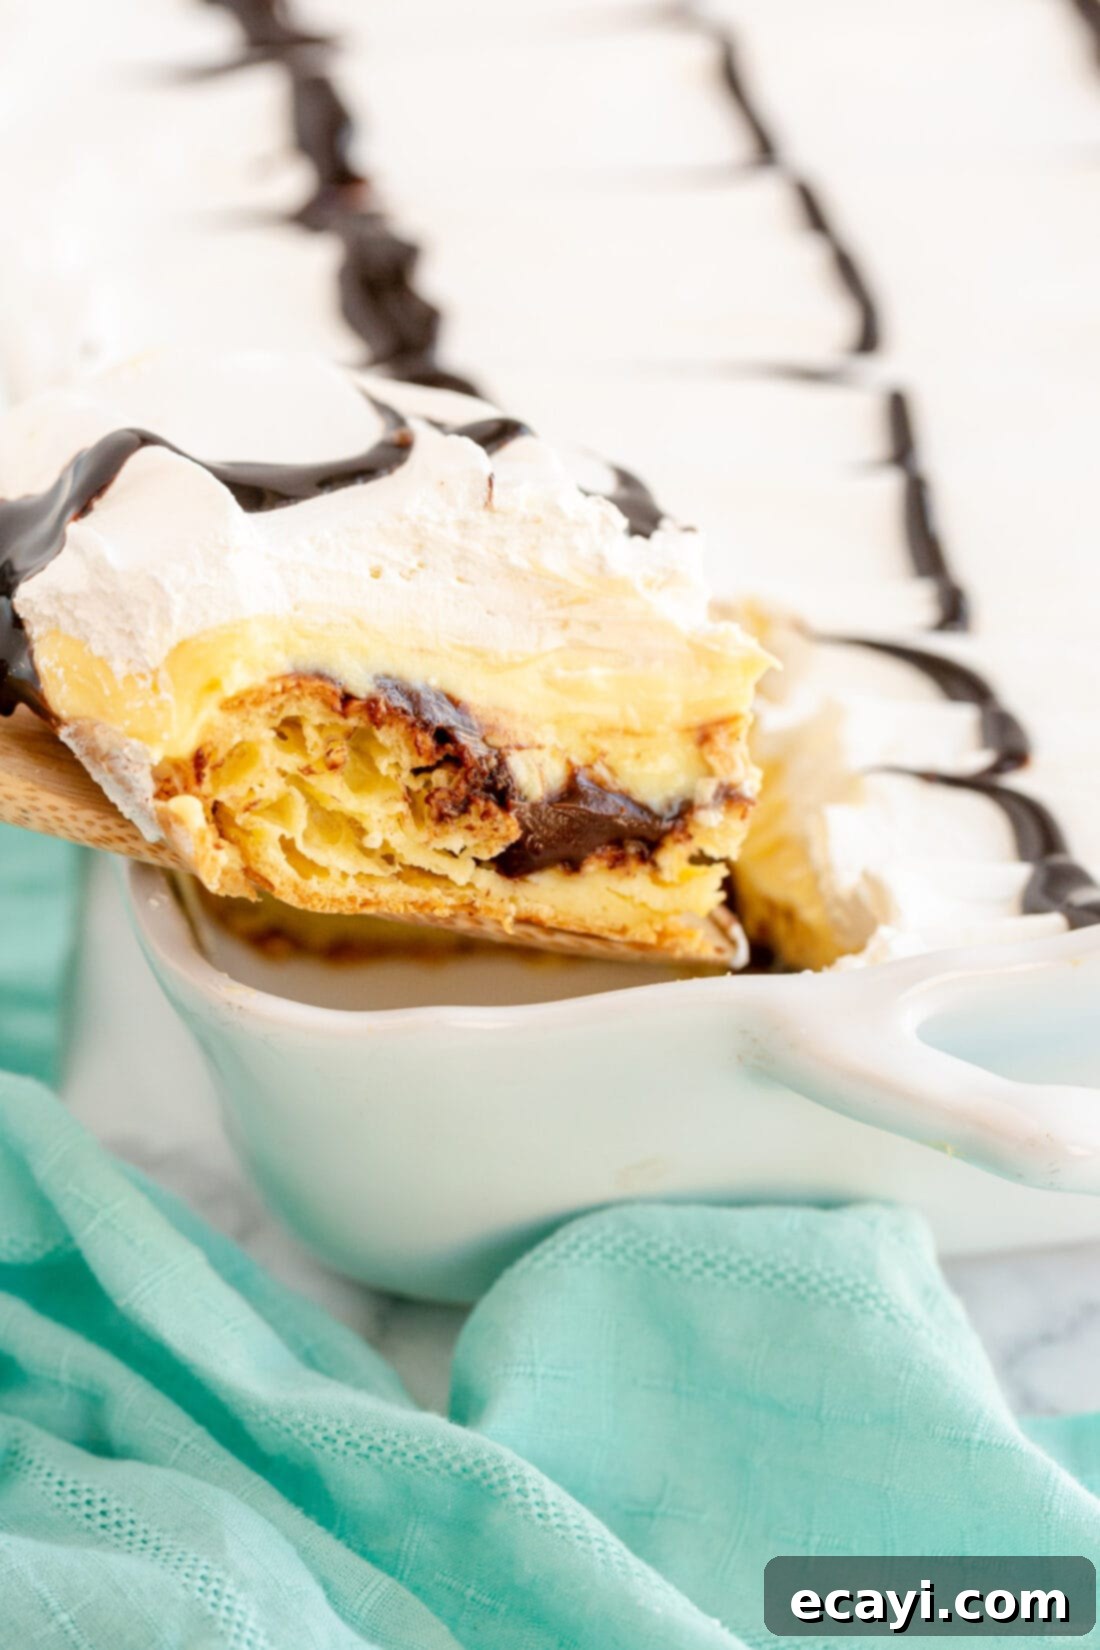
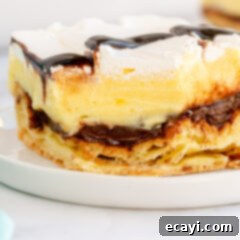
Prepare to be enchanted by this extraordinary Cream Puff Chocolate Eclair Cake! This decadent, one-pan dessert is a true masterpiece of flavors and textures, meticulously crafted with layers of light choux pastry, a velvety smooth chocolate filling, a rich vanilla pudding and cream cheese layer, all crowned with a sweet, airy whipped topping. It’s a mouthwatering experience that effortlessly combines the elegance of cream puffs with the classic indulgence of chocolate eclairs, making it an absolute showstopper for any gathering or a delightful treat for your family.
Why This Cream Puff Chocolate Eclair Cake Recipe Is a Must-Try
This eclair cake isn’t just a dessert; it’s a culinary legacy, a recipe that has been passed down through generations, much like our popular Pineapple Dream Dessert. It evokes a sense of nostalgia, reminding many of family gatherings, potlucks, and special occasions. Almost everyone I mention it to has a story: either they’ve made it themselves, or their grandmother, aunt, or mother was famous for her version. It’s a timeless classic that consistently delivers on taste and satisfaction, leaving no crumb behind.
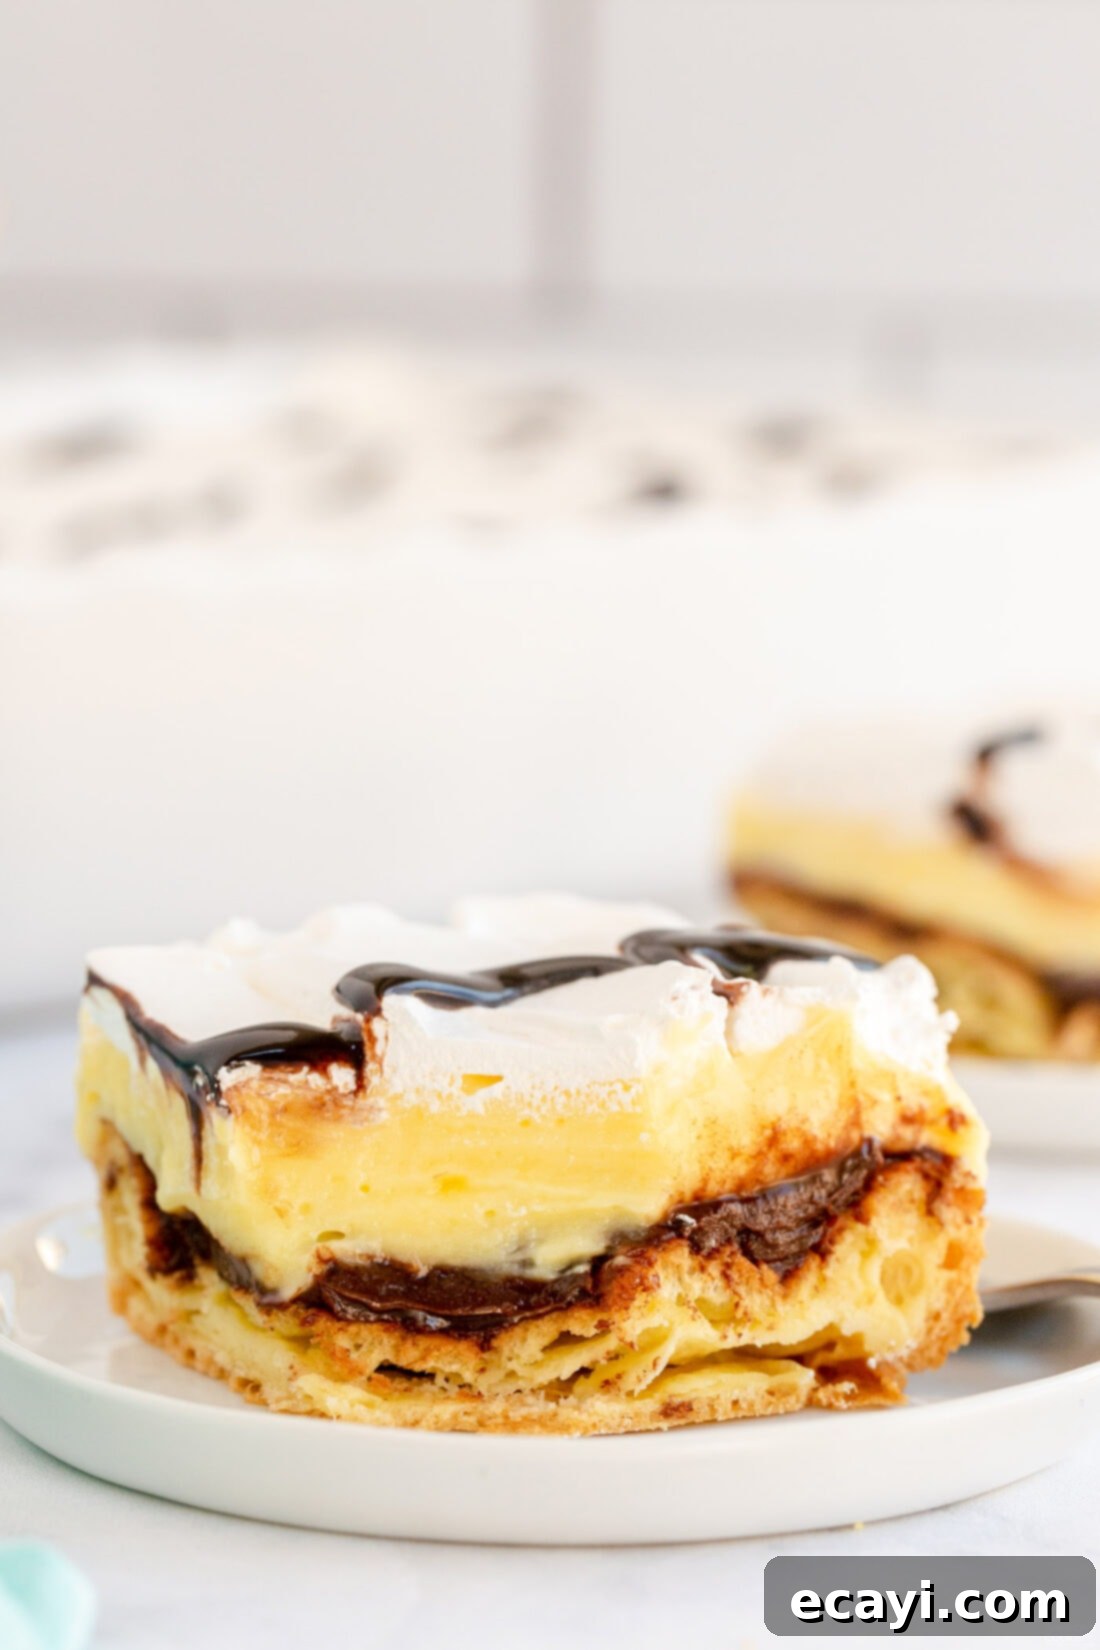
What makes this Cream Puff Chocolate Eclair Cake truly stand out is its harmonious blend of distinct layers, each contributing to an unforgettable experience. The base is a unique choux pastry, offering a delicate, slightly crisp foundation that beautifully contrasts with the luscious fillings. Above this, a silky chocolate layer provides deep, rich cocoa notes, followed by a creamy, tangy vanilla pudding and cream cheese mixture that adds a refreshing lightness. Finally, a sweet whipped topping completes the ensemble, creating a symphony of textures and flavors in every bite.
While we acknowledge that this indulgent dessert is a treat, and perhaps not for the calorie-conscious, we firmly believe some pleasures are simply worth savoring! Think of it as an occasional indulgence, a reward, or the perfect dish to bring to your next social event. Take a slice, enjoy every moment, and if you’re feeling generous, share the rest with your neighbors – or better yet, be the undisputed star of the next barbecue you attend. This dessert guarantees smiles, compliments, and an empty pan by the end of the day. It’s truly that good, and its ease of preparation for such a spectacular result makes it an absolute winner.
Key Ingredients for Your Eclair Cake Masterpiece
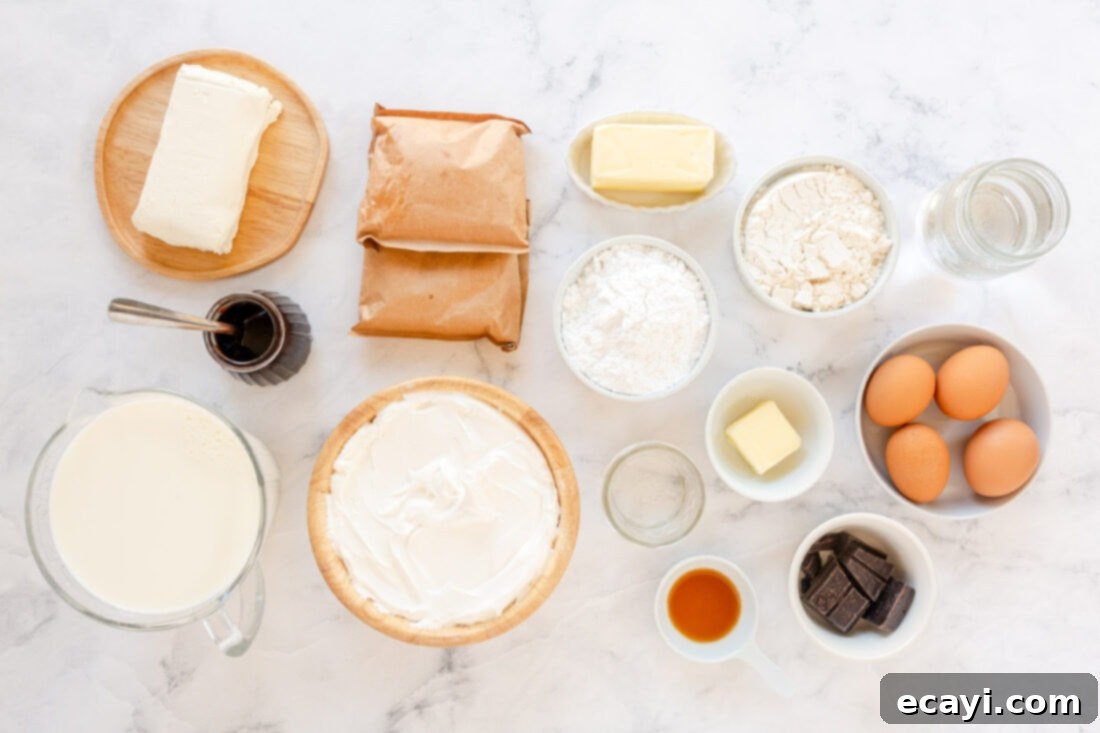
Crafting this incredible Cream Puff Chocolate Eclair Cake requires a thoughtful selection of ingredients for each distinct layer. Below, we’ll dive into the specifics, offering insights and substitution suggestions to ensure your dessert turns out perfectly. All precise measurements and a detailed list of ingredients can be found in the printable recipe card at the end of this article.
Ingredient Breakdown & Expert Tips
Let’s take a closer look at the components that make this dessert so special:
CRUST – The Choux Pastry Foundation: The base of this eclair cake is what elevates it beyond a simple no-bake dessert. It’s a homemade cream puff, or choux pastry, crust. Choux pastry is a delicate dough made from simple ingredients: butter, water, flour, and eggs. When baked, it puffs up to create a hollow, airy, and slightly crisp shell, providing a wonderful textural contrast to the creamy fillings. This unique crust is what gives the “cream puff” designation to our eclair cake and truly sets it apart. Ensure your eggs are at room temperature for better incorporation into the dough.
CHOCOLATE FILLING – Silky Smooth Indulgence: This decadent layer is made with semisweet chocolate, butter, vanilla extract, confectioners’ (powdered) sugar, and hot water. The combination yields a ganache-like consistency that is rich and spreadable. If you prefer a less sweet or more intense chocolate flavor, a good quality dark chocolate (around 60-70% cacao) can be substituted for semisweet. It’s crucial to use baking chocolate, which typically comes in bars and is designed for melting and incorporating smoothly into recipes, rather than chocolate chips, which contain stabilizers that prevent them from melting as smoothly. Sifting the confectioners’ sugar is key to preventing lumps and achieving that perfectly silky texture.
CREAM FILLING – The Heart of the Eclair: The luxurious middle layer is a creamy blend of instant vanilla pudding, softened cream cheese, and milk. This combination creates a rich, tangy, and sweet filling with a delightful pudding-like consistency. Make sure your cream cheese is properly softened to room temperature before beating; this will prevent lumps and ensure a smooth, airy mixture. Gradual addition of milk while beating also helps maintain a silky texture, preventing the mixture from becoming grainy. You can experiment with other instant pudding flavors like French vanilla or even chocolate for a double chocolate eclair cake.
TOPPING – Light and Airy Finish: For convenience and excellent stability, we recommend using an 8-ounce container of Cool Whip for the topping. Its ready-to-use nature saves time and it holds its shape beautifully over time, making it ideal for a make-ahead dessert. However, if you prefer a homemade touch, you can certainly use freshly whipped cream. To make your own, beat cold heavy cream with a little powdered sugar and vanilla extract until stiff peaks form. Just be mindful that homemade whipped cream can be a bit more delicate and may not hold up as long as Cool Whip, especially if the cake sits out for extended periods.
How to Make Cream Puff Chocolate Eclair Cake: Step-by-Step
These step-by-step photos and instructions are here to help you visualize how to make this recipe. For the complete printable version of this recipe, including all precise measurements and detailed instructions, please Jump to Recipe at the bottom of this post.
- Prepare for Baking: Begin by preheating your oven to a steady 400°F (200°C). This ensures the oven is at the correct temperature when your choux pastry is ready to bake, which is crucial for achieving that signature puff.
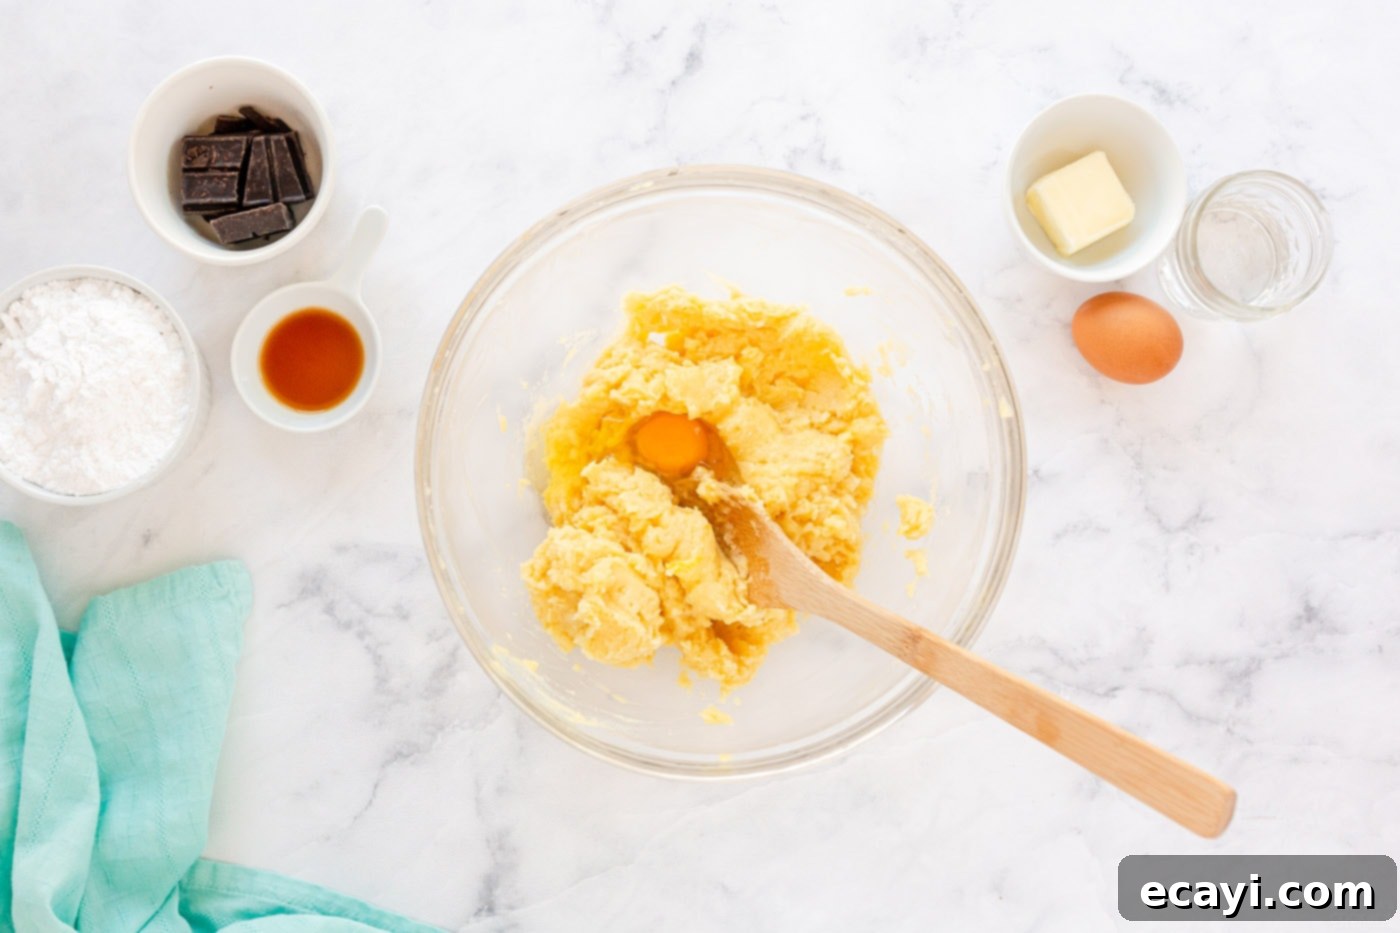
- Craft the Choux Pastry: In a large, heavy-bottomed saucepan, combine the butter and water, bringing them to a boil over medium-high heat. As soon as it boils, quickly add all the flour at once, reducing the heat to low. Stir vigorously with a wooden spoon until the mixture forms a smooth ball and cleanly pulls away from the sides of the pan. This indicates the flour has cooked and absorbed the liquids. Remove the pan from the heat and transfer the dough to a large mixing bowl. Now comes the crucial part: using the wooden spoon, beat in the eggs one at a time, ensuring each egg is fully incorporated and the dough returns to a smooth consistency before adding the next. This creates a glossy, pliable dough.

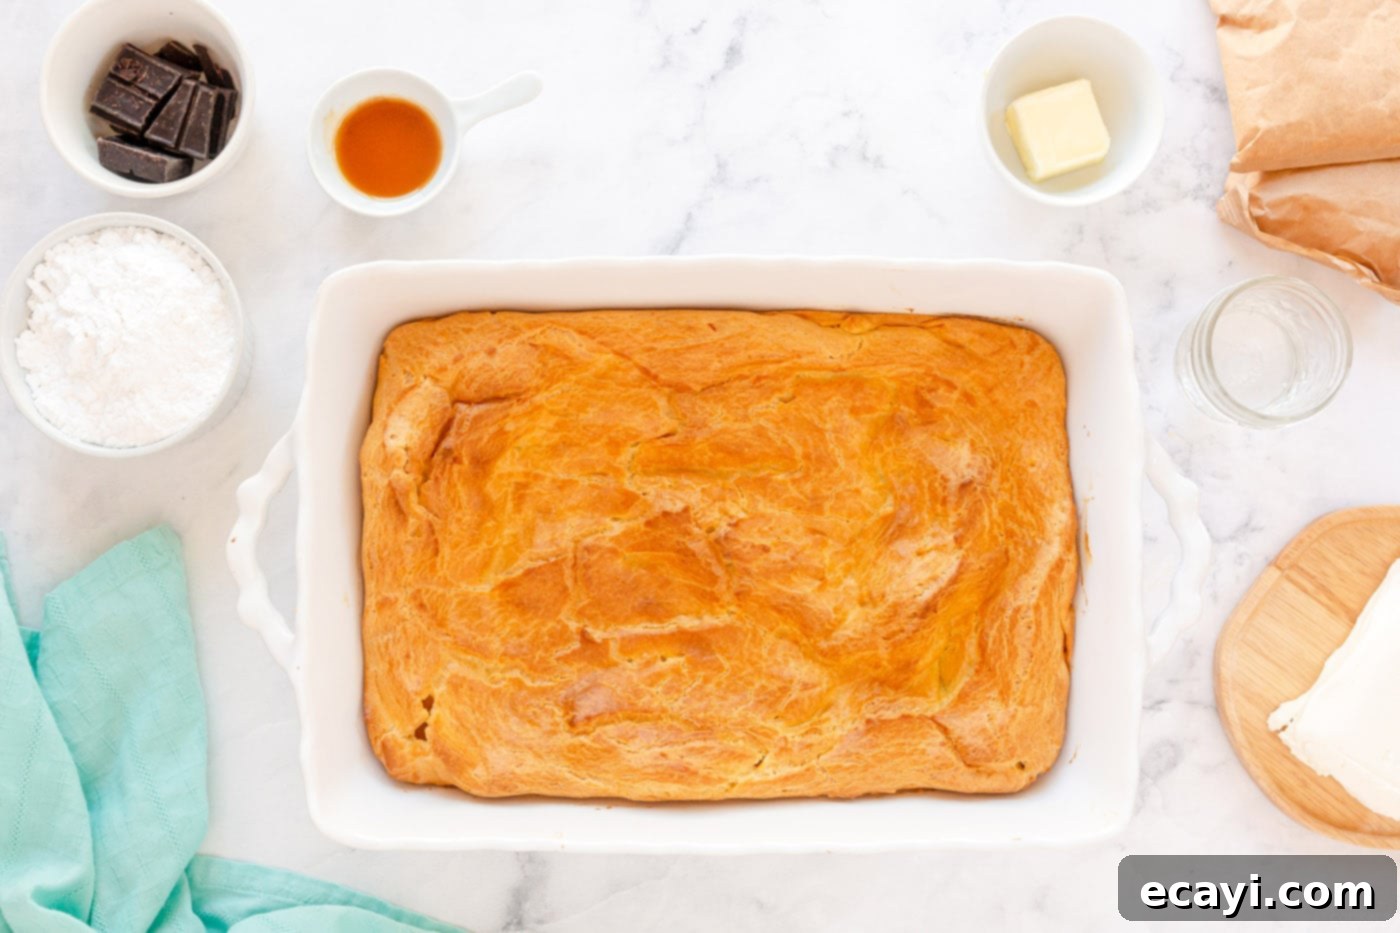
- Bake the Choux Crust: Take your prepared choux pastry and evenly spread it across the bottom and slightly up the sides of an ungreased 9×13 inch baking pan. The dough should form a relatively thin, uniform layer. Bake this at 400°F (200°C) for approximately 35 minutes, or until the pastry is golden brown, puffed, and firm to the touch. Once baked, remove it from the oven and allow it to cool completely on a wire rack before proceeding to the next steps. A fully cooled crust is essential to prevent the fillings from melting or becoming soggy.

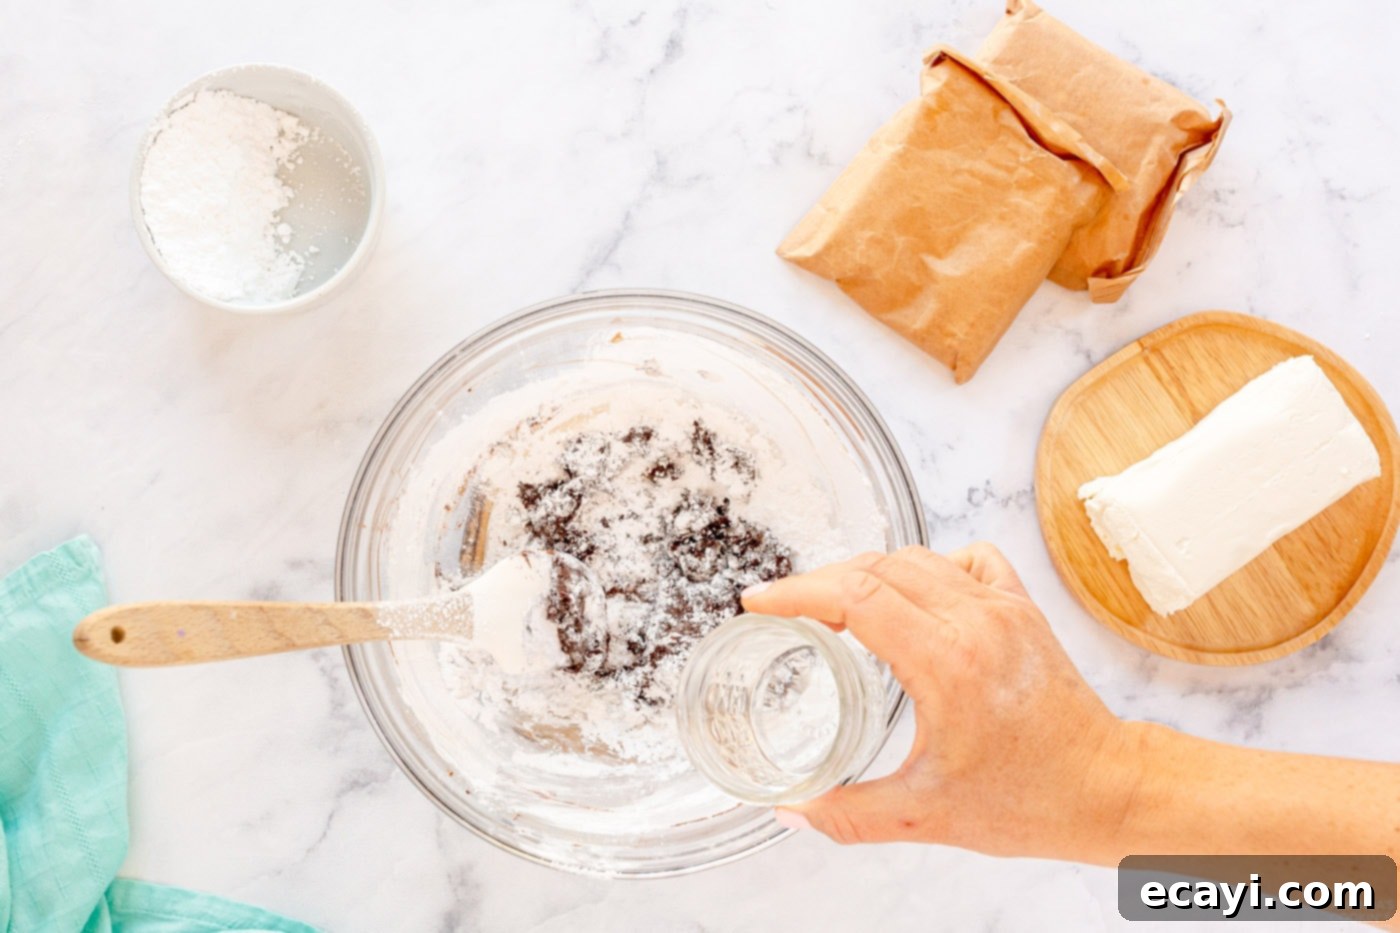
- Prepare the Chocolate Filling: In a microwave-safe bowl, combine the semisweet chocolate and butter. Heat on high for 1 minute, then stir well. Continue heating in 20-second intervals, stirring after each, until the mixture is completely smooth and melted. Stir in the vanilla extract. Next, sift in the confectioners’ sugar gradually, stirring constantly to avoid lumps. Finally, drizzle in the hot water, a tablespoon at a time, until the chocolate mixture achieves a smooth, spreadable consistency. You might not need all the water, so add it cautiously. Evenly spread this luscious chocolate filling over the completely cooled choux pastry crust.

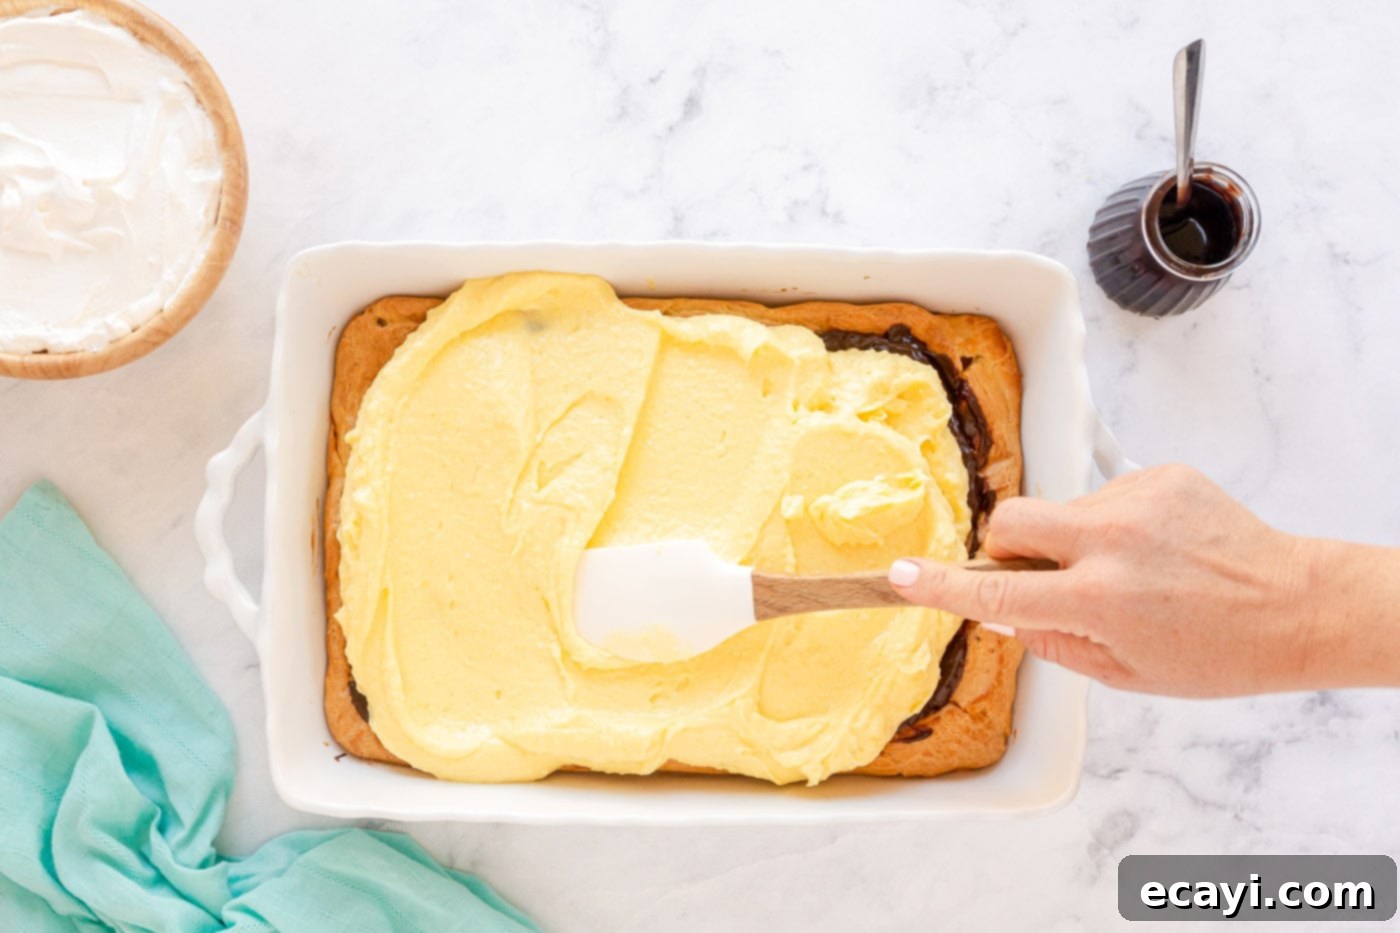
- Create the Creamy Pudding Layer: In a separate large mixing bowl, beat the softened cream cheese until it’s light and fluffy. Slowly and gradually add the milk, continuing to beat until both ingredients are thoroughly combined and smooth. Then, add the dry instant vanilla pudding mix and continue beating until the mixture thickens to a creamy, spreadable consistency. Carefully spread this vanilla cream filling over the chocolate layer, ensuring an even coating across the entire cake.

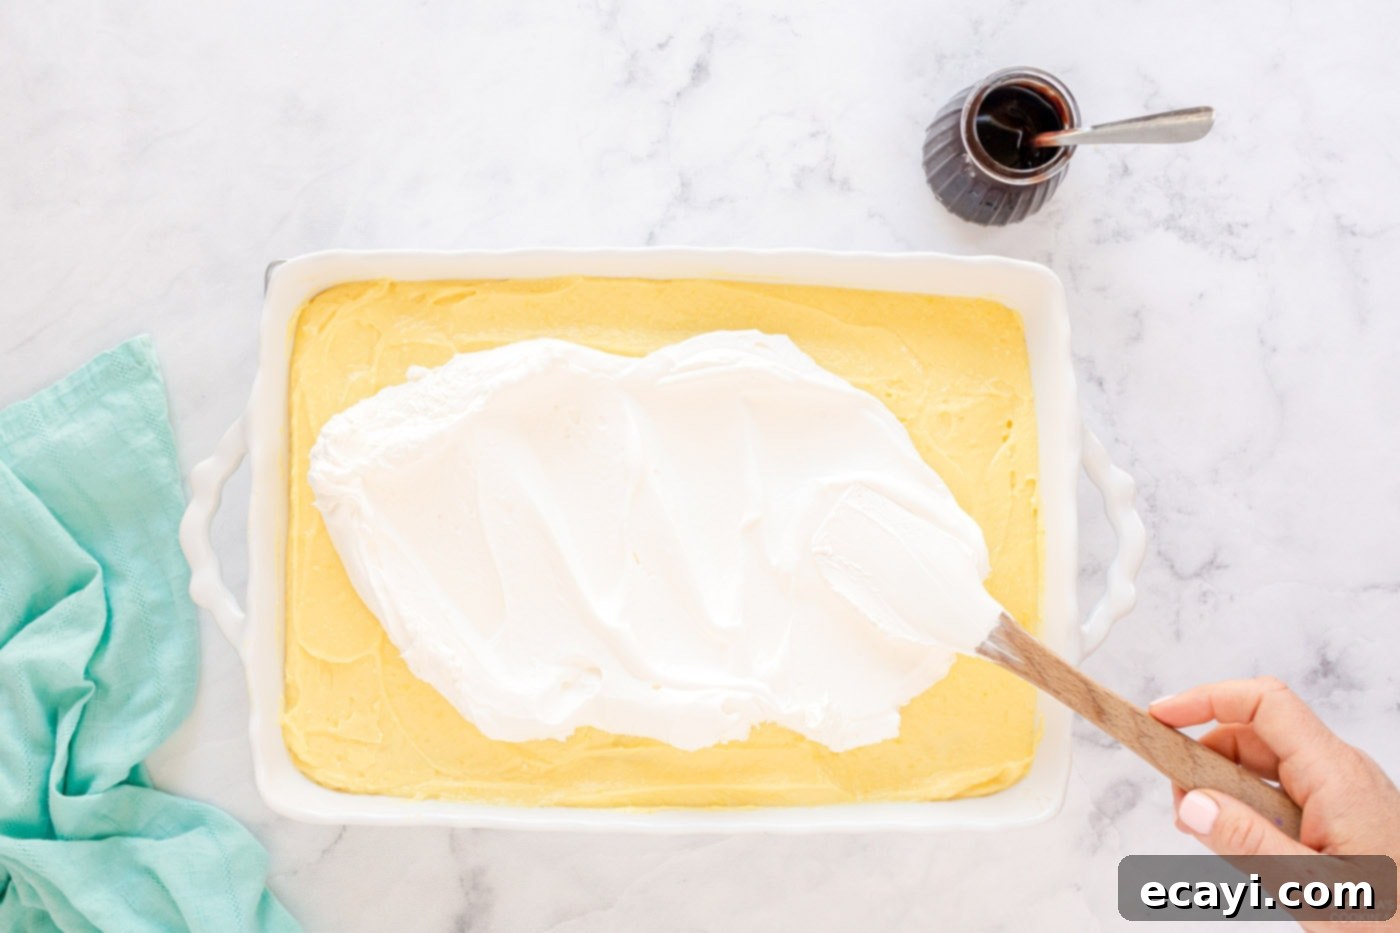
- Add the Whipped Topping: Gently spread the Cool Whip (or homemade whipped topping) over the vanilla cream filling layer. Smooth it out with a spatula to create an even, fluffy surface.

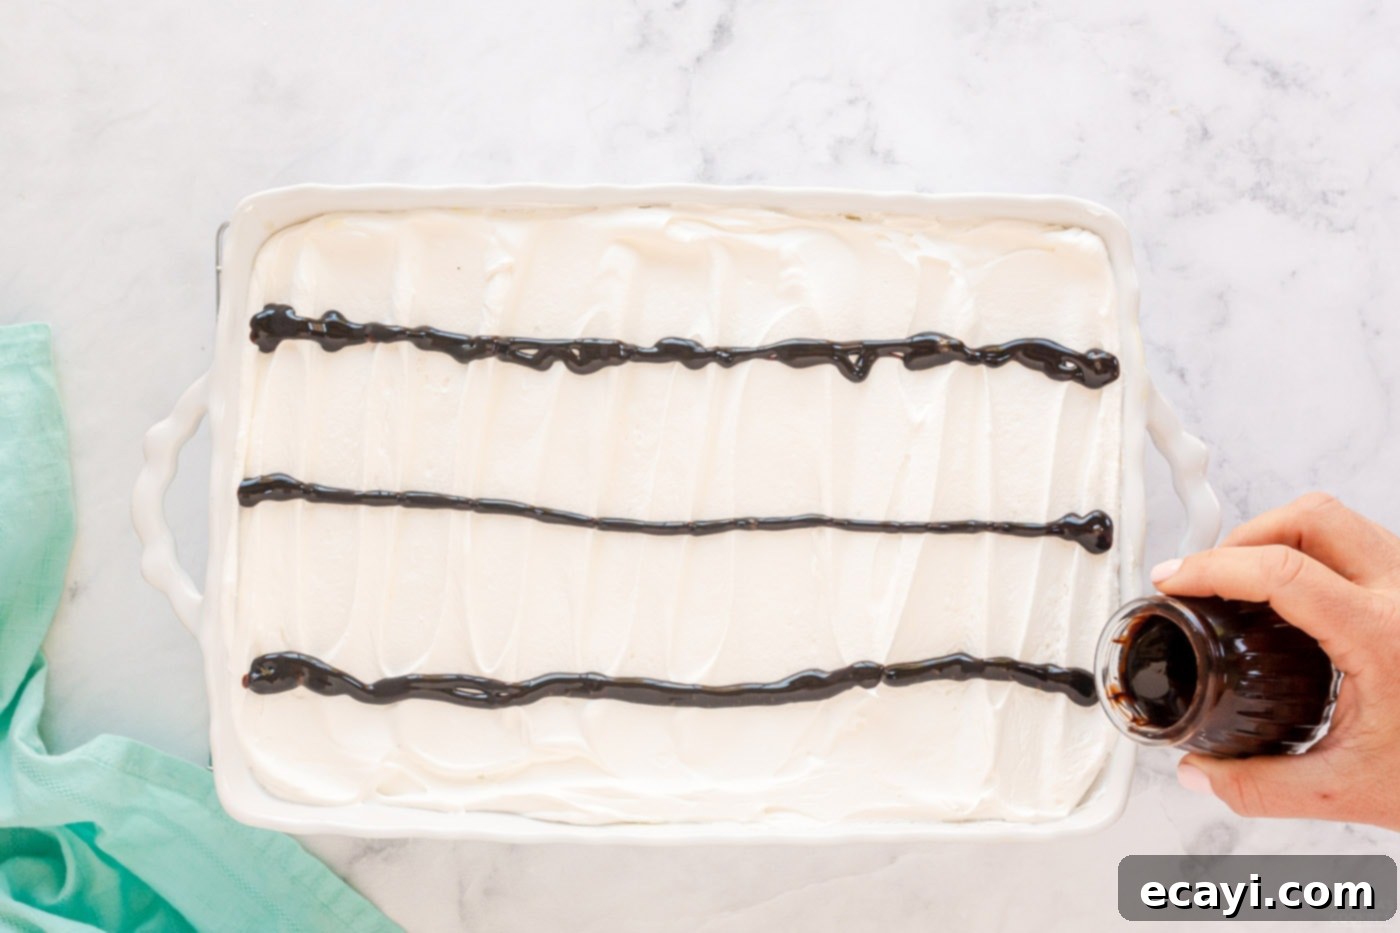
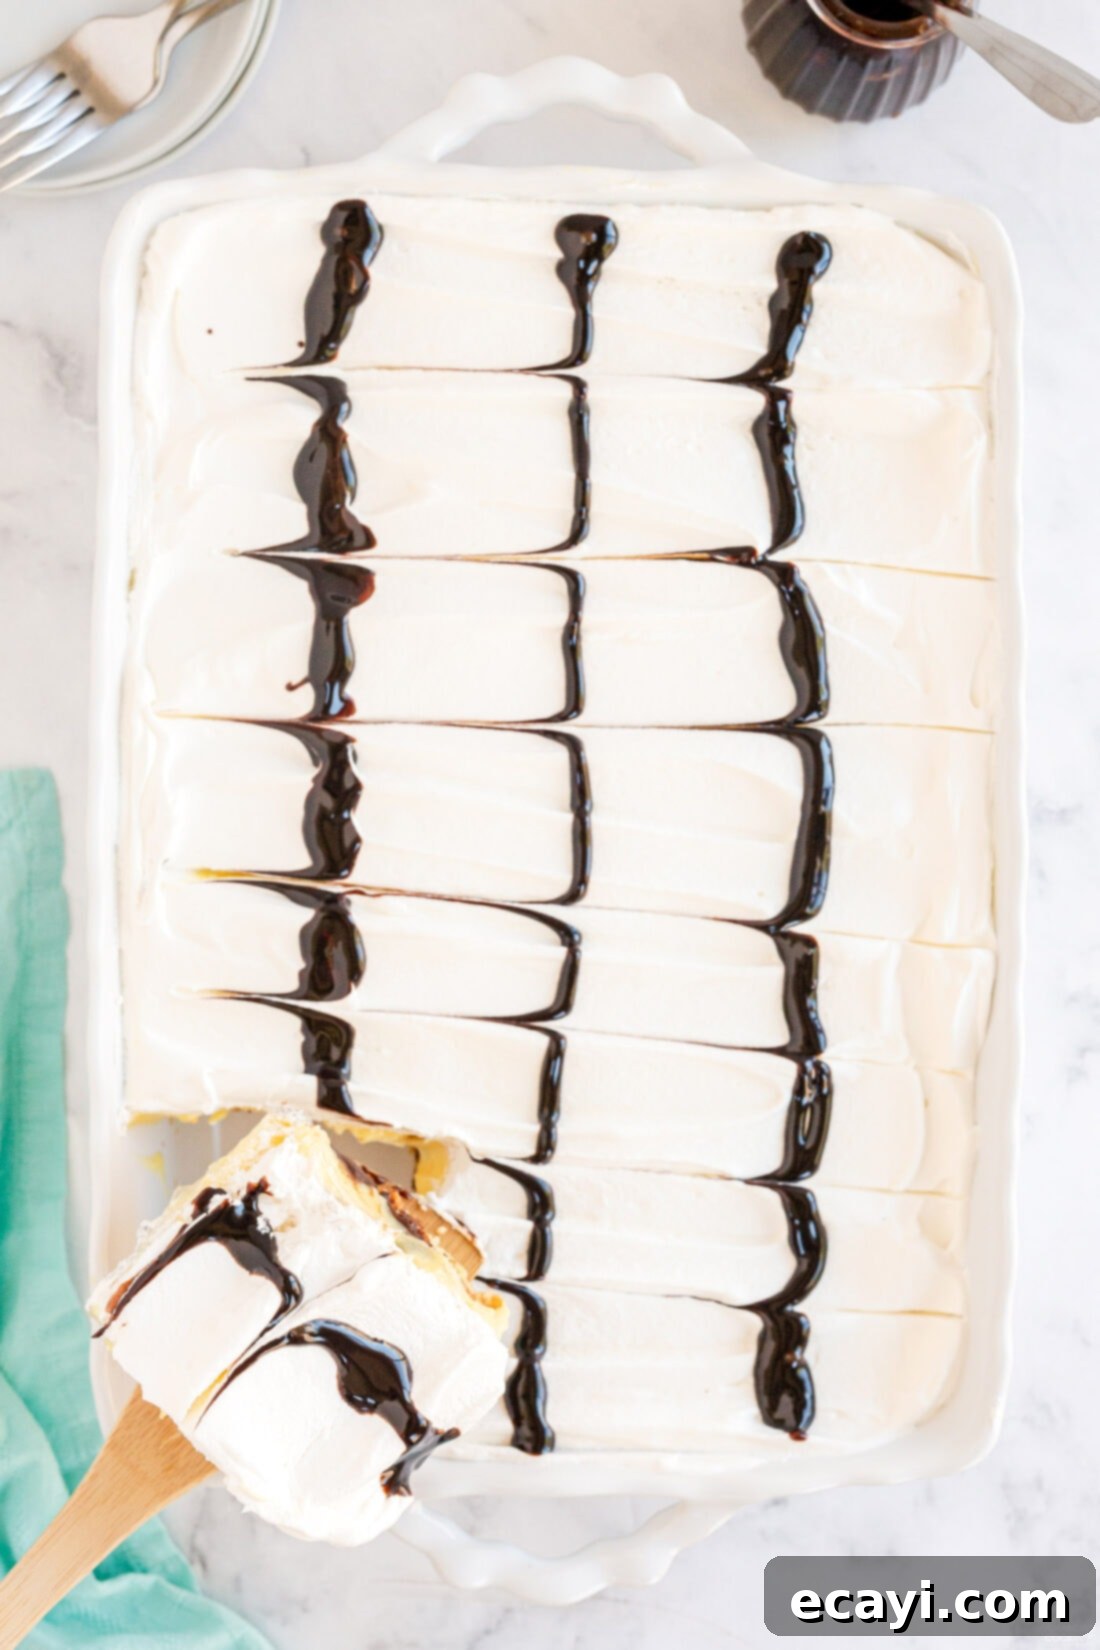
- Garnish with Chocolate Drizzle: For that classic eclair look and an extra touch of chocolate, draw parallel lines of chocolate syrup across the top of the whipped topping. This adds both visual appeal and a burst of flavor.

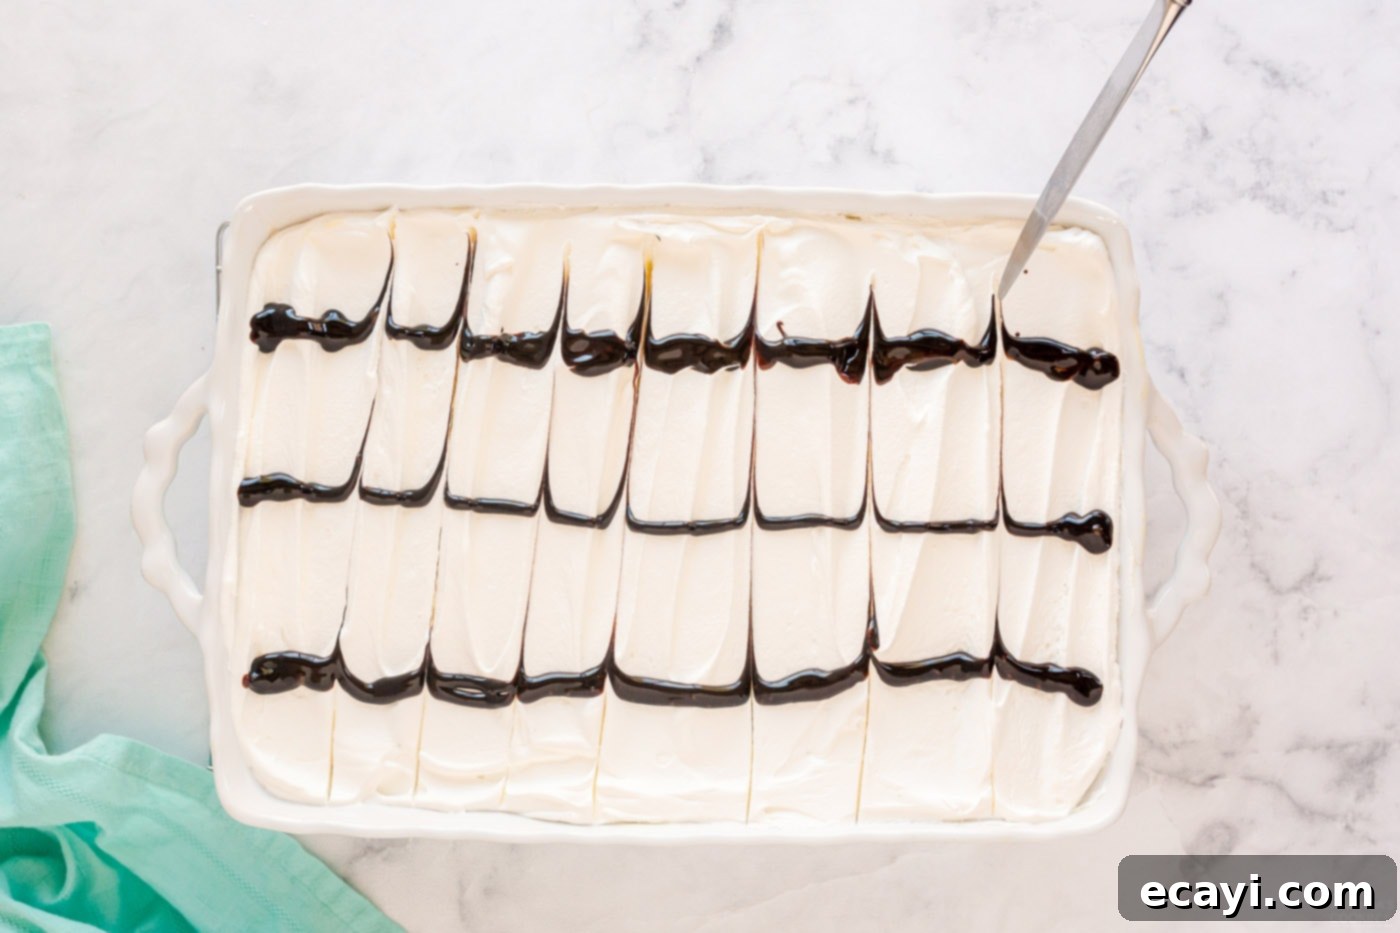
- Create the Signature Swirl: To complete the elegant presentation, take a knife and run it perpendicularly through the chocolate syrup lines, about every 2 inches. This creates a beautiful, marbled pattern reminiscent of traditional eclairs. Refrigerate the cake for at least 4 hours, or preferably overnight, to allow the layers to set properly and the flavors to meld beautifully. Keep refrigerated until you’re ready to serve this delightful dessert.

Frequently Asked Questions About Eclair Cake
Yes, absolutely! This delightful dessert freezes exceptionally well. For best results, wrap the entire cake (or individual slices) tightly in plastic wrap, then an additional layer of aluminum foil, to prevent freezer burn. It can be stored in the freezer for 2-3 months. When you’re ready to enjoy it, simply thaw it overnight in the refrigerator or at room temperature for a few hours before serving. This makes it a fantastic make-ahead option for parties or unexpected guests.
When stored properly, this cream puff chocolate eclair cake will maintain its delicious freshness for 3-4 days in the refrigerator. To ensure optimal taste and texture, always keep it sealed with plastic wrap or in an airtight container. This protects the layers from drying out and absorbing other odors from your fridge.
Yes, you certainly can! While Cool Whip offers convenience and excellent stability, a homemade whipped topping is a wonderful alternative if you prefer a fresh, lighter cream. To make it, simply beat cold heavy cream with a tablespoon or two of powdered sugar and a dash of vanilla extract until stiff peaks form. Be sure to use very cold cream and a chilled bowl for the best results. Keep in mind that homemade whipped cream might be slightly less stable than Cool Whip, especially if the cake sits at room temperature for an extended period.
This cake is an excellent make-ahead dessert! In fact, preparing it a day in advance allows the flavors to fully meld and the layers to set perfectly, resulting in an even more delicious and cohesive dessert. Simply assemble the cake, cover it tightly, and refrigerate it overnight. Add the chocolate syrup swirl just before serving for the freshest appearance.
For the silkiest, most delicious chocolate filling, we highly recommend using a good quality baking chocolate in bar form (like baking bars or blocks) rather than chocolate chips. Baking chocolate melts more smoothly and incorporates better into the filling. Semisweet chocolate is specified for a classic balance of sweetness and cocoa flavor, but you can use dark chocolate if you prefer a more intense, less sweet chocolate experience.
This Cream Puff Chocolate Eclair Cake is truly one of those desserts that captivates with its rich flavors and irresistible textures. Each bite is a delightful journey, from the delicate crunch of the choux pastry to the luxurious smoothness of the chocolate and vanilla cream. It’s a dessert that will have everyone asking for the recipe, a guaranteed hit that brings pure enjoyment to all who taste it. Prepare for rave reviews and an empty pan!
More Delightful One-Pan Dessert Recipes
If you love the convenience and crowd-pleasing nature of one-pan desserts, you’re in luck! Here are some other fantastic recipes that offer similar ease and deliciousness:
- Blueberry Lush
- Classic Eclair Cake
- Strawberry Pretzel Salad
- Boston Cream Poke Cake
- Strawberry Icebox Cake
- No-Bake Chocolate Eclair Cake
- Lemon Cream Cheese Pudding Dessert
I love to bake and cook and share my kitchen experience with all of you! Remembering to come back each day can be tough, that’s why I offer a convenient newsletter every time a new recipe posts. Simply subscribe and start receiving your free daily recipes!
Cream Puff Chocolate Eclair Cake
IMPORTANT – There are often Frequently Asked Questions within the blog post that you may find helpful. Simply scroll back up to read them!
Print It
Pin It
Rate It
Save ItSaved!
Ingredients
Pastry:
- ½ cup unsalted butter 1 stick
- 1 cup water
- 1 cup unbleached all purpose flour
- 4 large eggs
Chocolate Filling:
- 2 ounces semisweet chocolate
- 2 tablespoons butter
- 1 teaspoon vanilla extract
- 1 cup confectioners’ sugar
- 3 tablespoons hot water
Cream Filling:
- 4 cups milk
- 8 oz cream cheese softened
- 10.2 ounces instant vanilla pudding 2 5.1-oz pkgs or 3 small, 3.4 oz pkgs
Topping:
- 8 ounce Cool Whip
- 3 tbsp Chocolate syrup
Things You’ll Need
-
Large saucepan
-
Hand mixer
-
13×9 baking dish
Before You Begin
- This cream puff chocolate eclair cake can be stored in the refrigerator sealed with plastic wrap or a tight lid for 3-4 days.
Instructions
-
Preheat oven to 400 F (200°C).
For the Pastry:
-
In a large heavy saucepan, heat butter and water to boiling over medium-high heat. Add flour all at once and reduce heat to low. Cook and stir vigorously until it forms a ball and pulls away cleanly from the pan. Remove from heat and transfer to a large bowl. With a wooden spoon, beat in eggs, one at a time, beating well after each egg until fully incorporated and the dough is smooth and glossy.
-
Spread the choux pastry dough evenly on the bottom and slightly up the sides of an ungreased 9×13 inch pan. Bake at 400 degrees F (200°C) for 35 minutes, or until golden brown and firm. Cool completely on a wire rack.
For the Chocolate Filling:
-
Melt chocolate and butter in the microwave on high for 1 minute. Stir. Continue heating at 20-second intervals, stirring after each, until smooth. Stir in vanilla extract. Sift in the powdered sugar, a little at a time, stirring as you go. Dribble hot water into the mixture, one tablespoon at a time, until it becomes smooth and easily spreadable (you may or may not use all the water). Spread this chocolate layer evenly over the cooled choux pastry crust.
For the Cream Filling & Assembly:
-
In a mixing bowl, beat the softened cream cheese until fluffy. Slowly and gradually add the milk while still beating until well combined and smooth. Add the dry instant vanilla pudding mix and beat until the mixture is thick and creamy. Spread this cream cheese pudding layer over the chocolate layer in the cooled pastry.
-
Top the cream filling with the whipped topping, spreading it evenly. Draw parallel lines of chocolate syrup across the top. Then, run a knife down the top, perpendicular to the syrup lines, about every 2 inches, to create a decorative swirl pattern. Keep refrigerated for at least 4 hours (or overnight) until ready to serve.
Nutrition
The recipes on this blog are tested with a conventional gas oven and gas stovetop. It’s important to note that some ovens, especially as they age, can cook and bake inconsistently. Using an inexpensive oven thermometer can assure you that your oven is truly heating to the proper temperature. If you use a toaster oven or countertop oven, please keep in mind that they may not distribute heat the same as a conventional full sized oven and you may need to adjust your cooking/baking times. In the case of recipes made with a pressure cooker, air fryer, slow cooker, or other appliance, a link to the appliances we use is listed within each respective recipe. For baking recipes where measurements are given by weight, please note that results may not be the same if cups are used instead, and we can’t guarantee success with that method.
This post originally appeared here on June 1, 2013 and has since been updated with new photos and expert tips, ensuring you have the best possible experience making this classic dessert.
