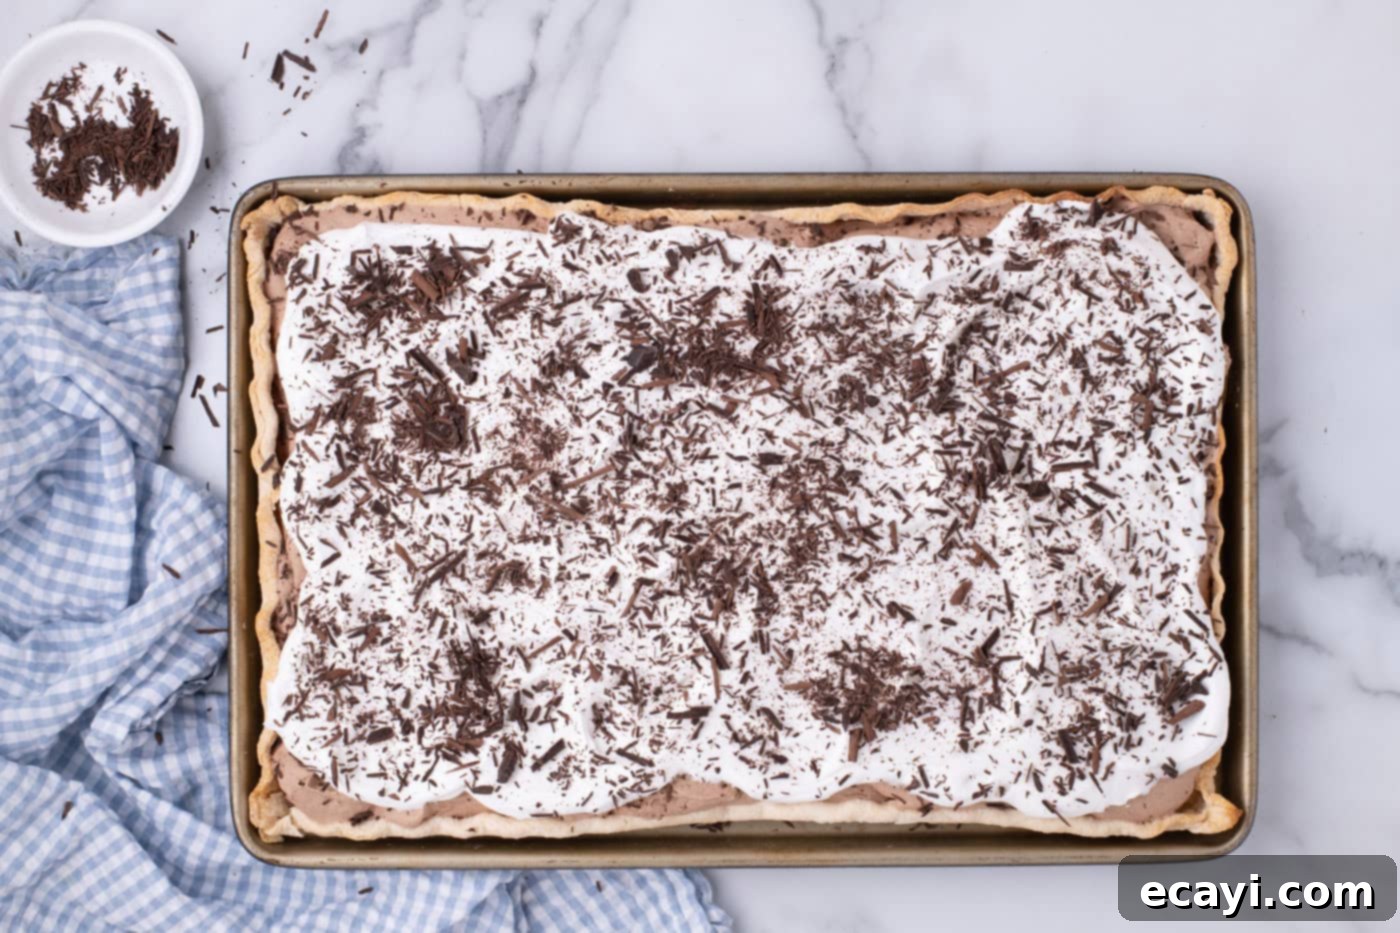
Decadent French Silk Slab Pie: The Ultimate Chocolate Dream for Large Gatherings
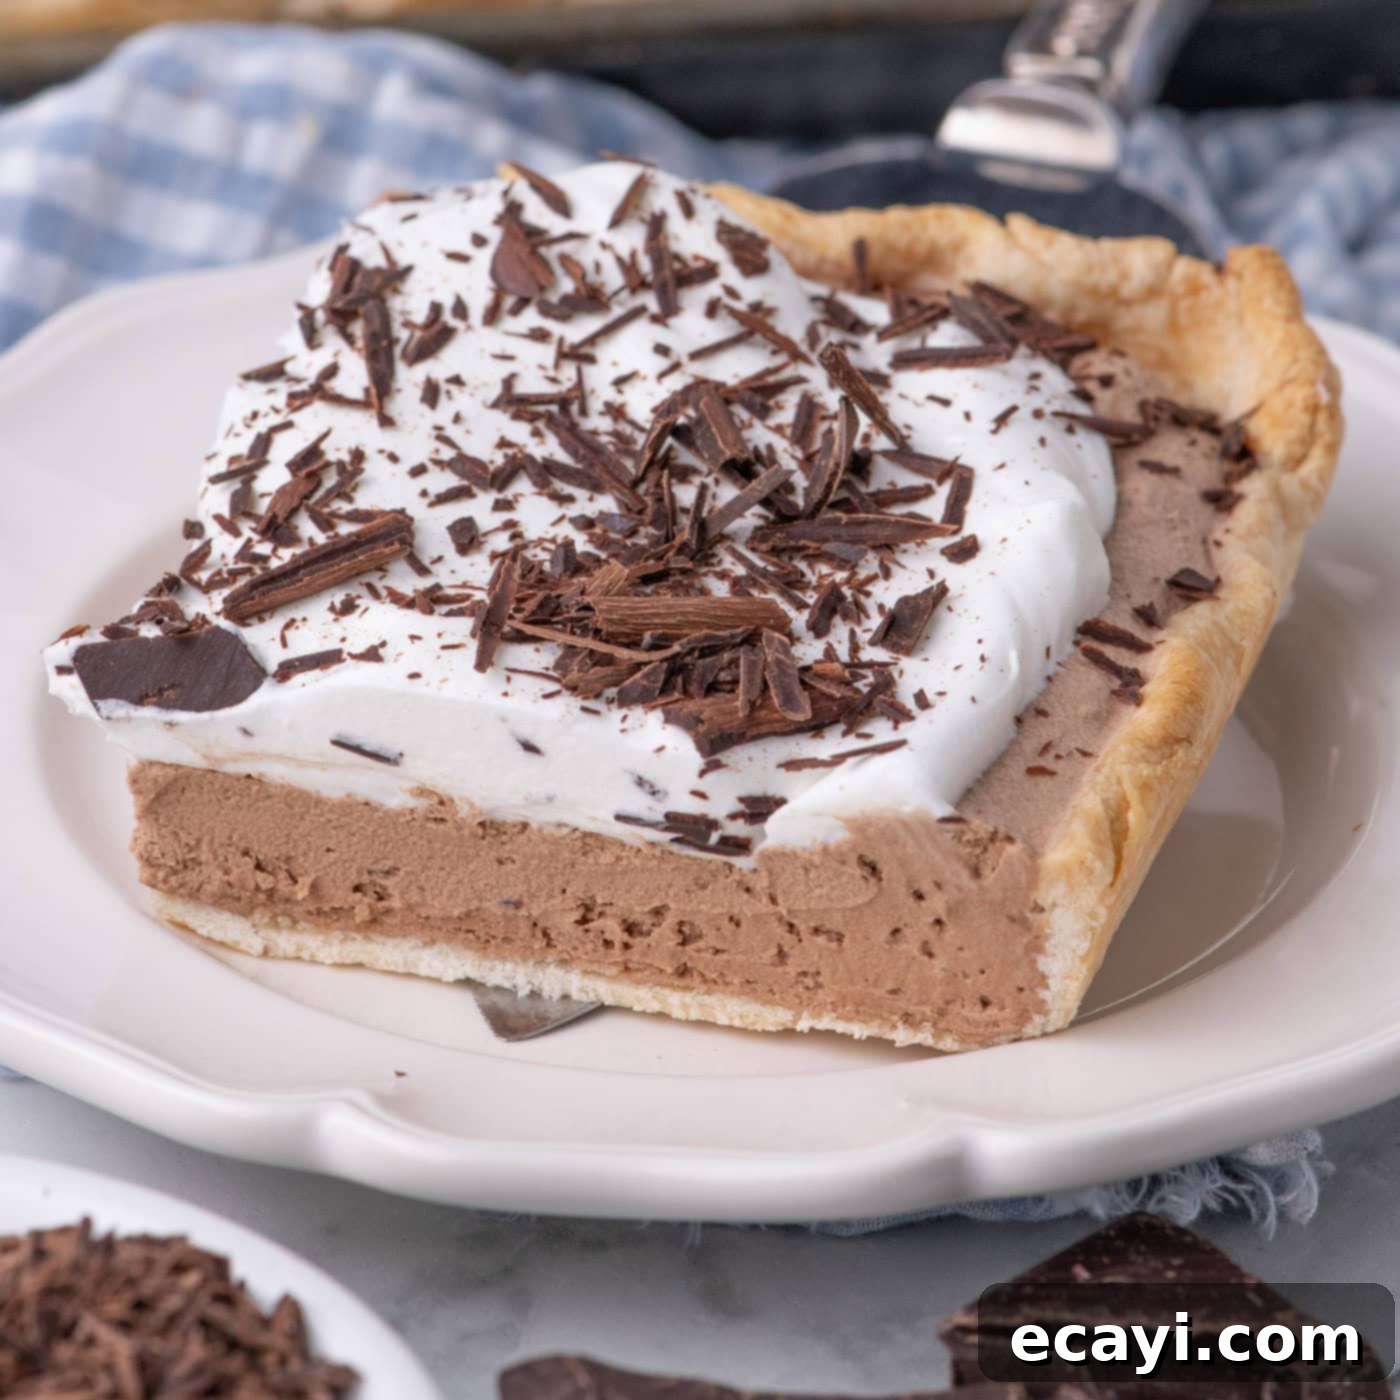
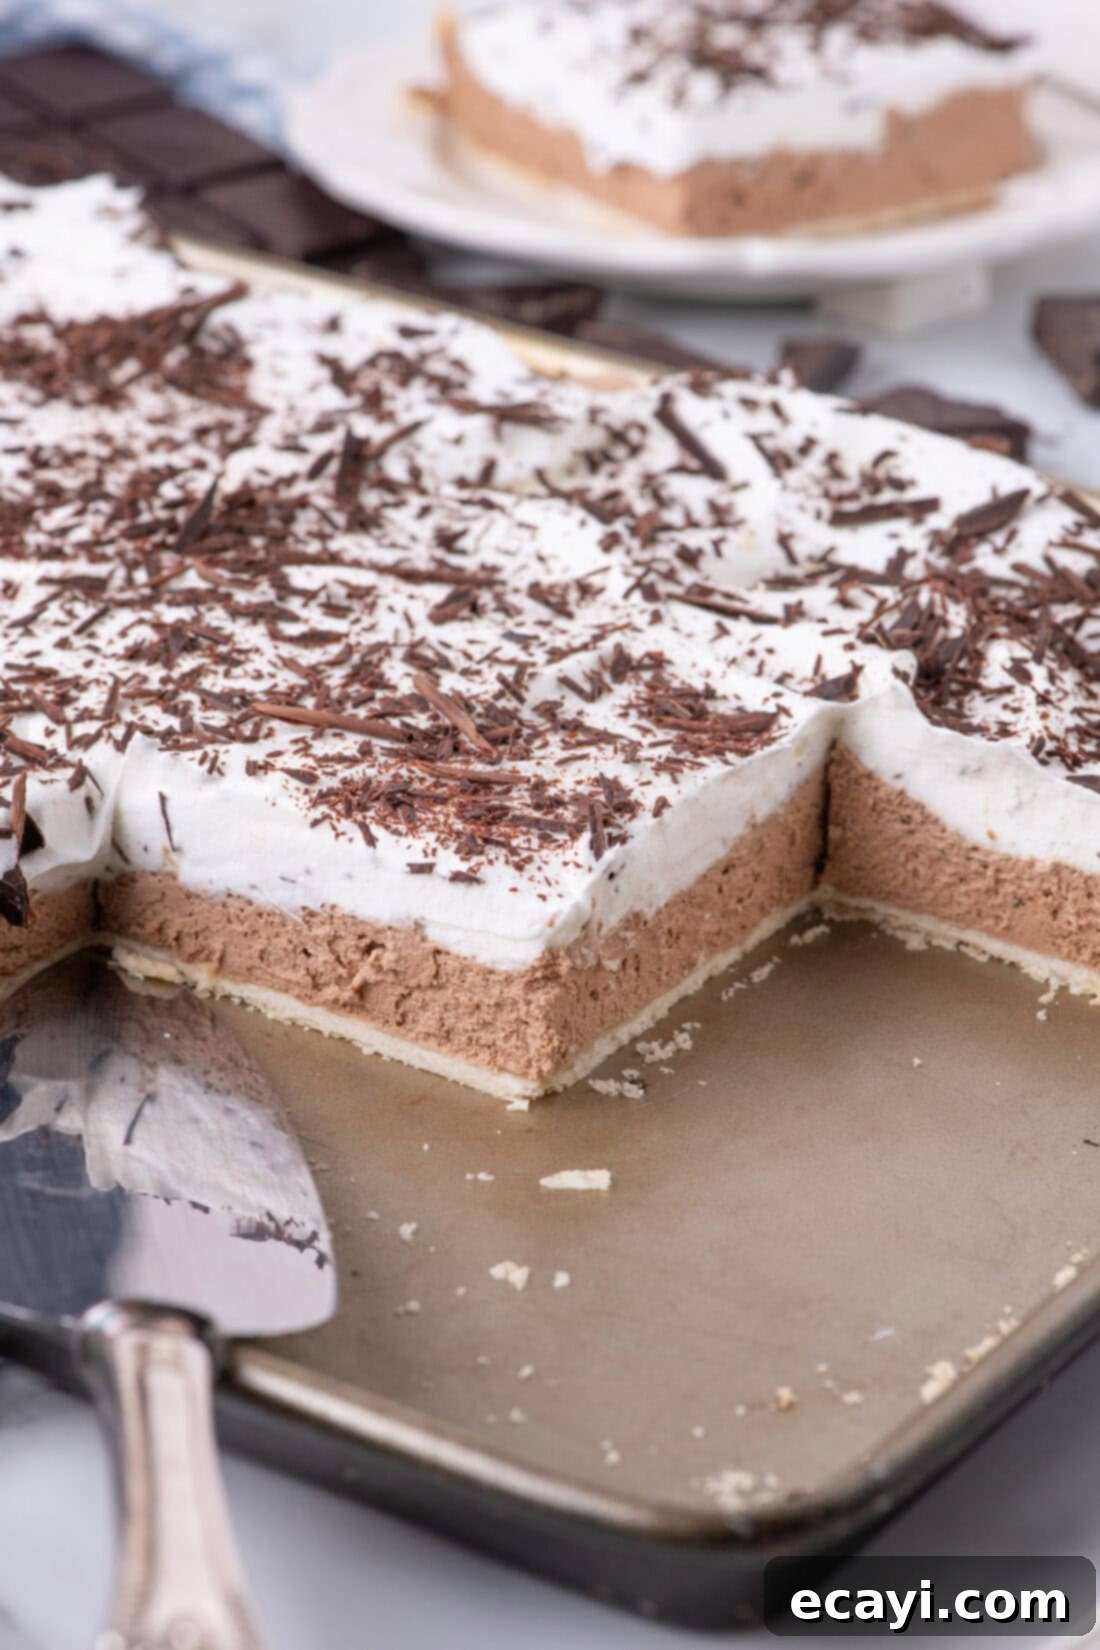
This magnificent French silk slab pie recipe is the quintessential dessert for any celebration, designed to impress and satisfy a crowd. Imagine a cloud of dreamy, velvety chocolate filling, generously crowned with fluffy whipped topping and delicate chocolate shavings, all nestled in a convenient sheet pan crust. It’s the epitome of effortless elegance, making it an ideal centerpiece for parties, holidays, or any gathering where a truly special treat is desired.
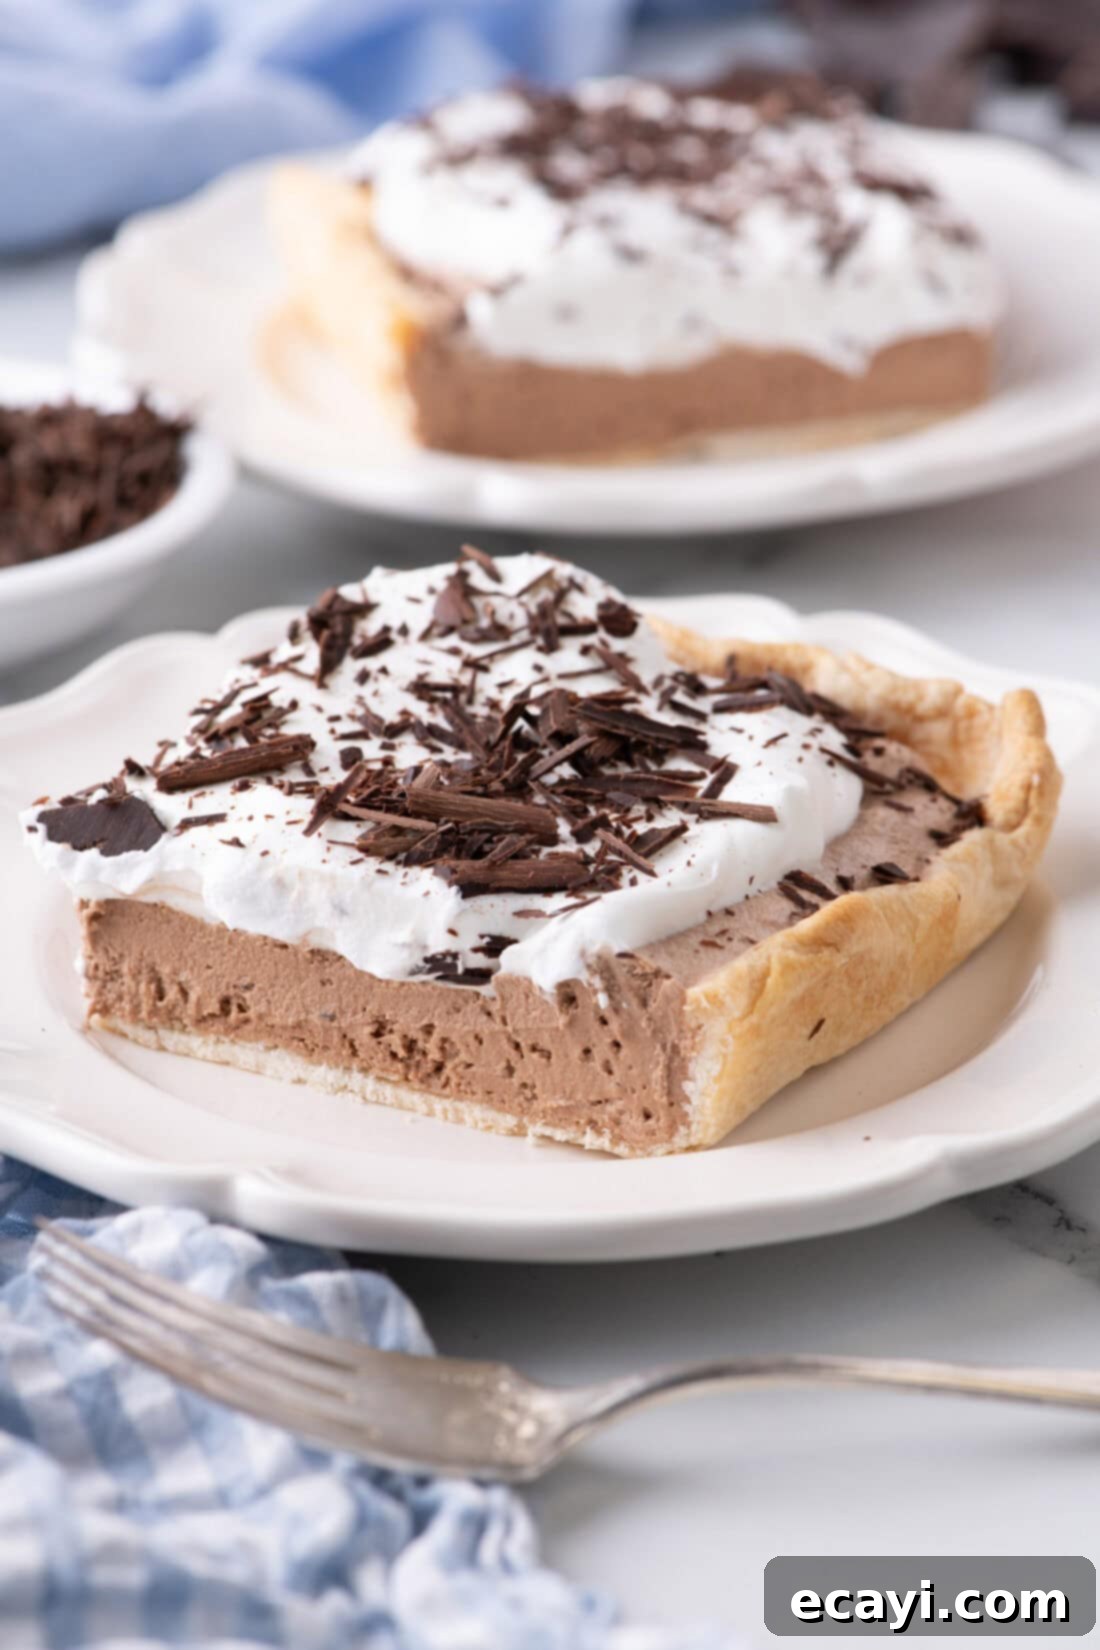
Why This French Silk Slab Pie Recipe Is a Must-Try
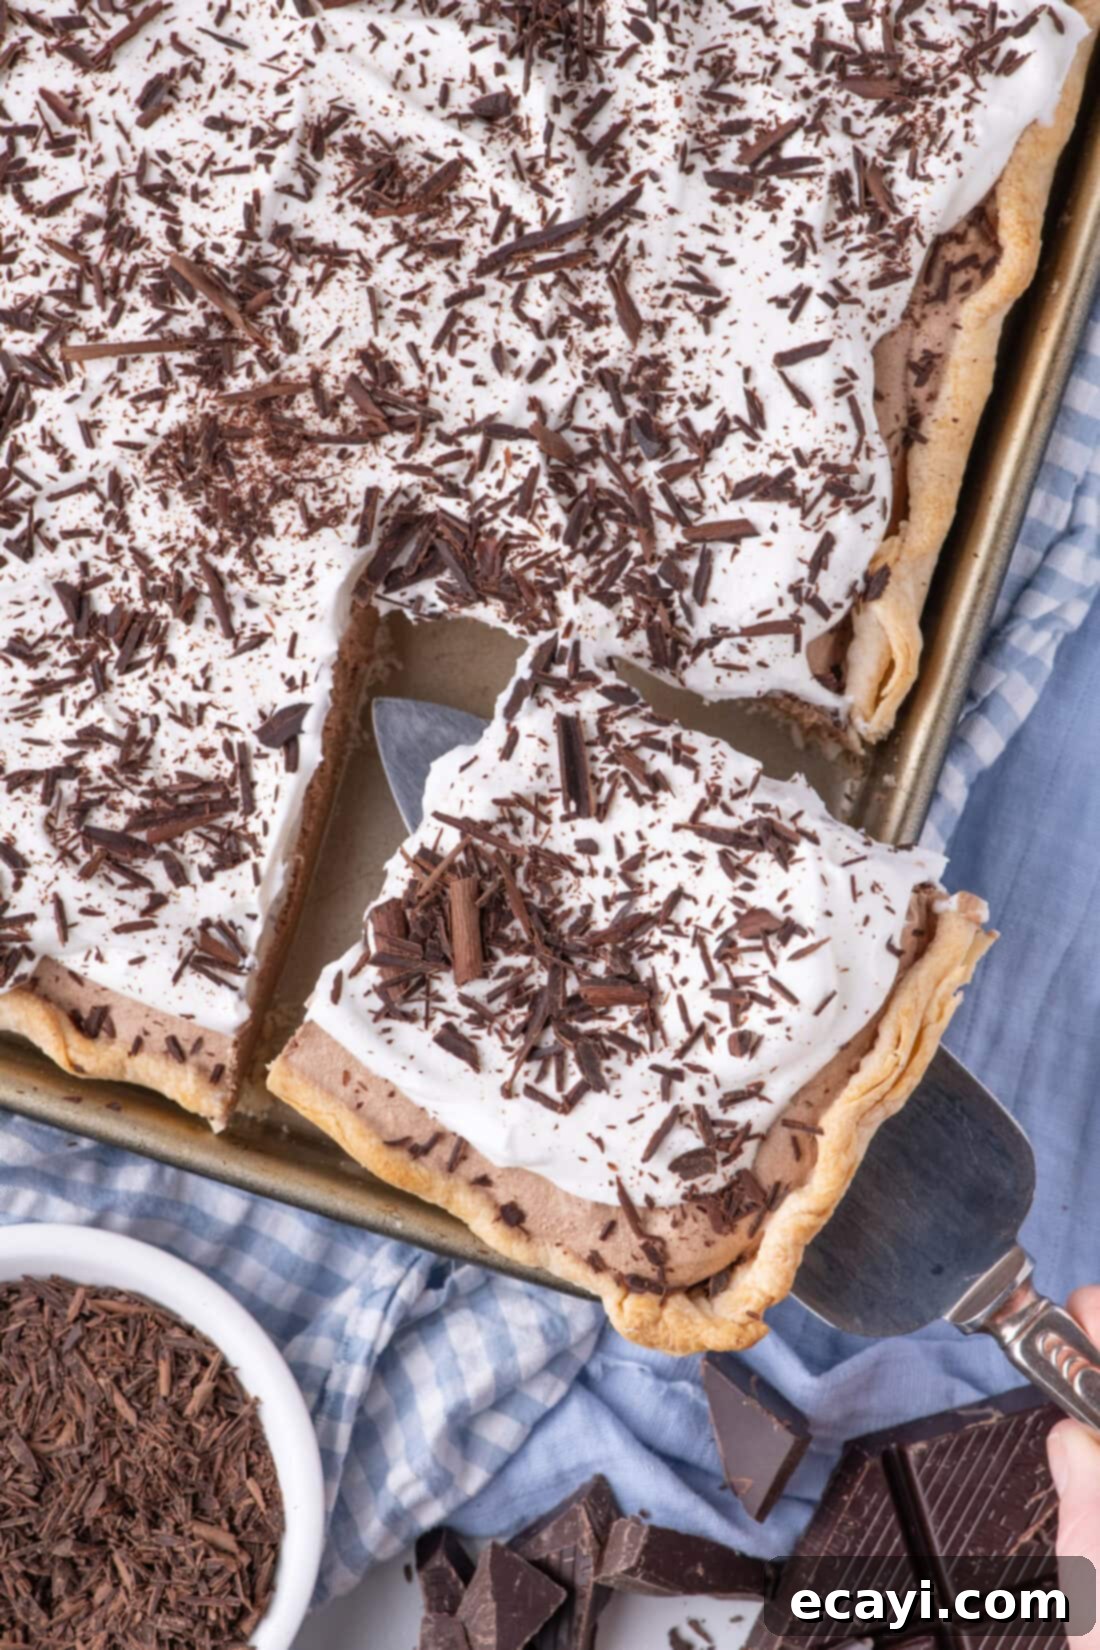
Pure chocolate bliss perfectly describes this French silk slab pie. Each bite offers an exquisite experience of silky, dreamy chocolate, complemented by a generous layer of light whipped cream. This isn’t just a dessert; it’s an occasion in itself, designed for maximum enjoyment with minimal fuss when serving many.
French silk pie holds a legendary status in many households, including mine. Its creamy, rich chocolate profile makes it a cherished tradition. However, when faced with the delightful challenge of feeding a large crowd, our traditional round pie simply isn’t enough. That’s where this stunning French silk slab pie steps in! It’s essentially the party-sized version of our beloved classic, offering more manageable portions for get-togethers while delivering the same unparalleled taste. Whether you’re hosting a big family dinner, a festive holiday party, or a casual potluck, this slab pie ensures everyone gets a generous slice of heaven. And for those smaller, more intimate dessert cravings, our mini French silk pies are perfect for individual servings. No matter the format, I can confidently say you won’t be left with any leftovers!
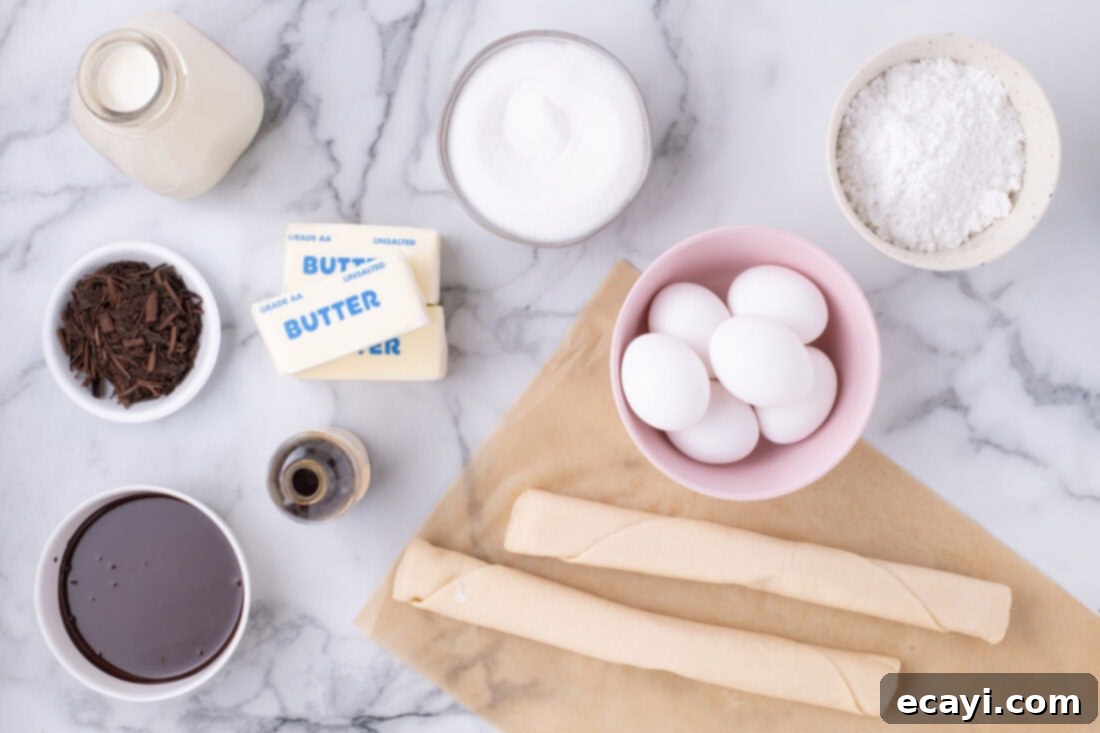
Essential Ingredients for Your French Silk Slab Pie
To create this irresistible French silk slab pie, you’ll need a selection of high-quality ingredients, readily available at most grocery stores. Remember, precise measurements and detailed instructions for each component are provided in the printable recipe card at the very end of this post. Gather your ingredients and prepare for a truly decadent baking experience!
Ingredient Insights and Smart Substitutions for Perfect Results
Understanding your ingredients is key to achieving a flawless French Silk Slab Pie. Here’s a closer look at some critical components and helpful tips:
CHOCOLATE – For this recipe, unsweetened chocolate is paramount. It provides the deep, intense chocolate flavor without making the pie overly sweet. After melting, it’s crucial that the chocolate is cool to the touch when you incorporate it into the butter and sugar mixture, yet still pourable. If it starts to harden, gently place the bowl in warm water and stir until it softens again. I often melt the chocolate first, allowing it ample time to cool while I prepare other elements of the filling. Adding vanilla extract to warm or hot melted chocolate can cause it to seize up, resulting in a clumpy, unusable mixture, so patience here is a virtue.
EGGS – Room temperature eggs are vital for a smooth, homogenous filling. Cold eggs can cause the melted chocolate in the mixture to solidify unevenly, leading to a grainy texture in your final pie. If you’re short on time, you can quickly bring eggs to room temperature by placing them in a bowl of warm (not hot!) water for about 5-10 minutes. Please note: the eggs in this classic French silk pie recipe are not cooked. If you have concerns about consuming raw eggs, consider using pasteurized eggs, or you can follow instructions online to pasteurize eggs at home before using them in the recipe.
BUTTER – Your butter should be properly softened, meaning it should be pliable enough to leave an indentation when gently pressed, but not melted. This usually takes about 20-30 minutes after removing it from the refrigerator. Softened butter creams beautifully with sugar, creating a light and airy base for the filling, which is essential for the pie’s signature silky texture.
CRUST – For convenience without compromising quality, we opted for two refrigerated pie crusts, specifically the Pillsbury Ready-To-Bake crusts, which fit perfectly for a slab pie format. If you’re eager to take this pie to the next level and enjoy the satisfaction of baking from scratch, a homemade pie crust makes an excellent substitution. Alternatively, for a delightful twist and an even richer chocolate experience, you can easily make this French silk slab pie with a simple chocolate Oreo cookie crust – just crush cookies and mix with melted butter for a press-in crust.
Step-by-Step Guide: Crafting Your French Silk Slab Pie
These step-by-step photos and instructions are designed to help you visualize each stage of making this delectable recipe. For the complete printable version, including all measurements and detailed instructions, simply Jump to Recipe at the bottom of this post.
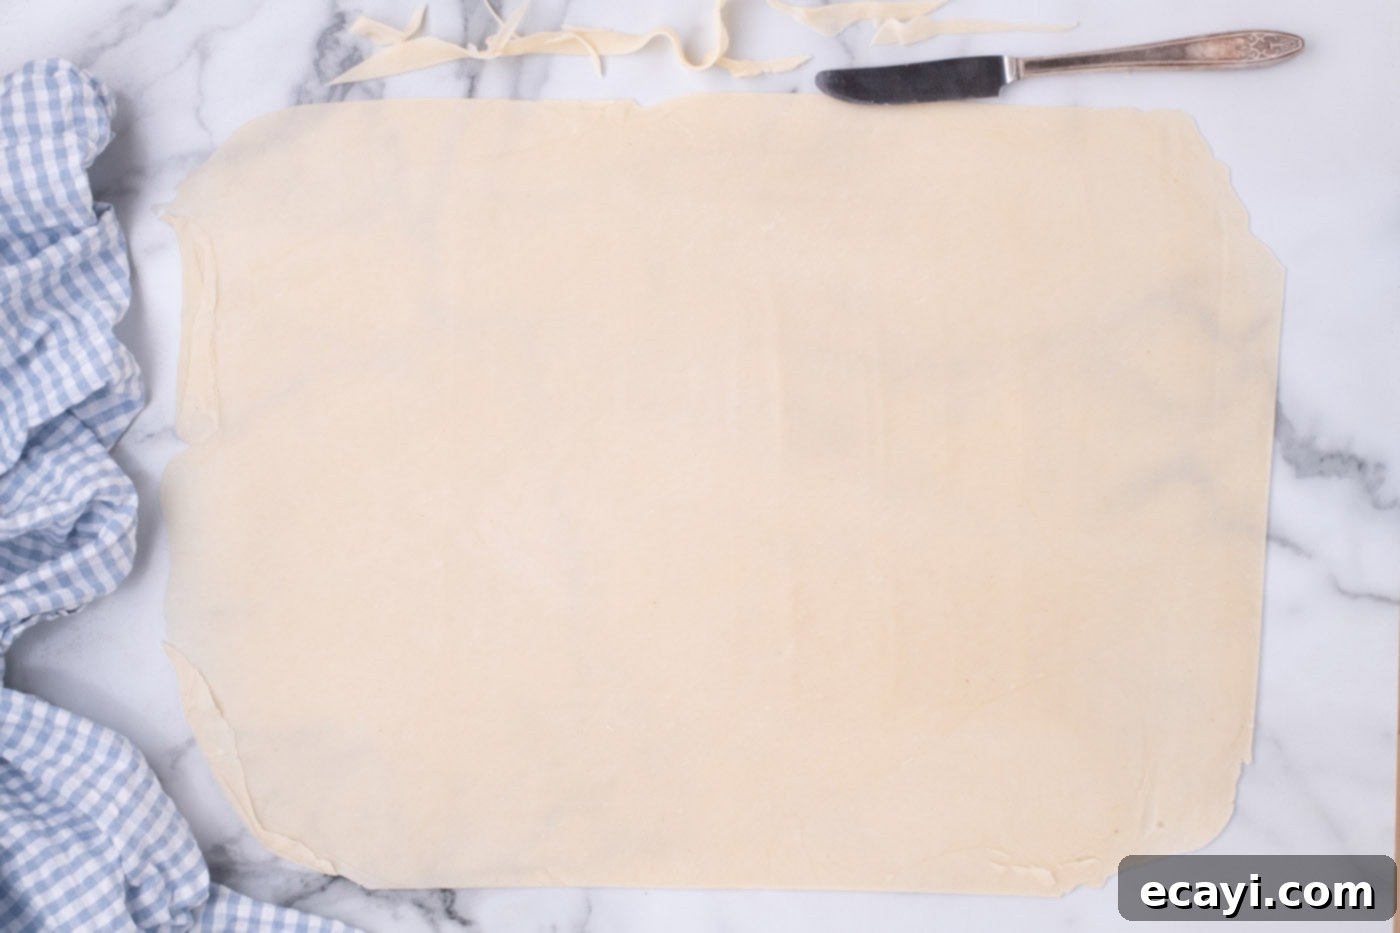
- Begin by carefully placing both refrigerated pie dough circles on top of each other. Using a rolling pin, roll them out together to form a rough rectangular shape large enough to fit your pan.
- Gently trim any excess dough along the edges to create cleaner lines. Use these dough scraps to fill in any small gaps, pressing them firmly into place, until you achieve a solid rectangular shape that is approximately 2 inches larger (in both length and width) than your jelly roll pan. This extra dough will be used for the crust’s edges.

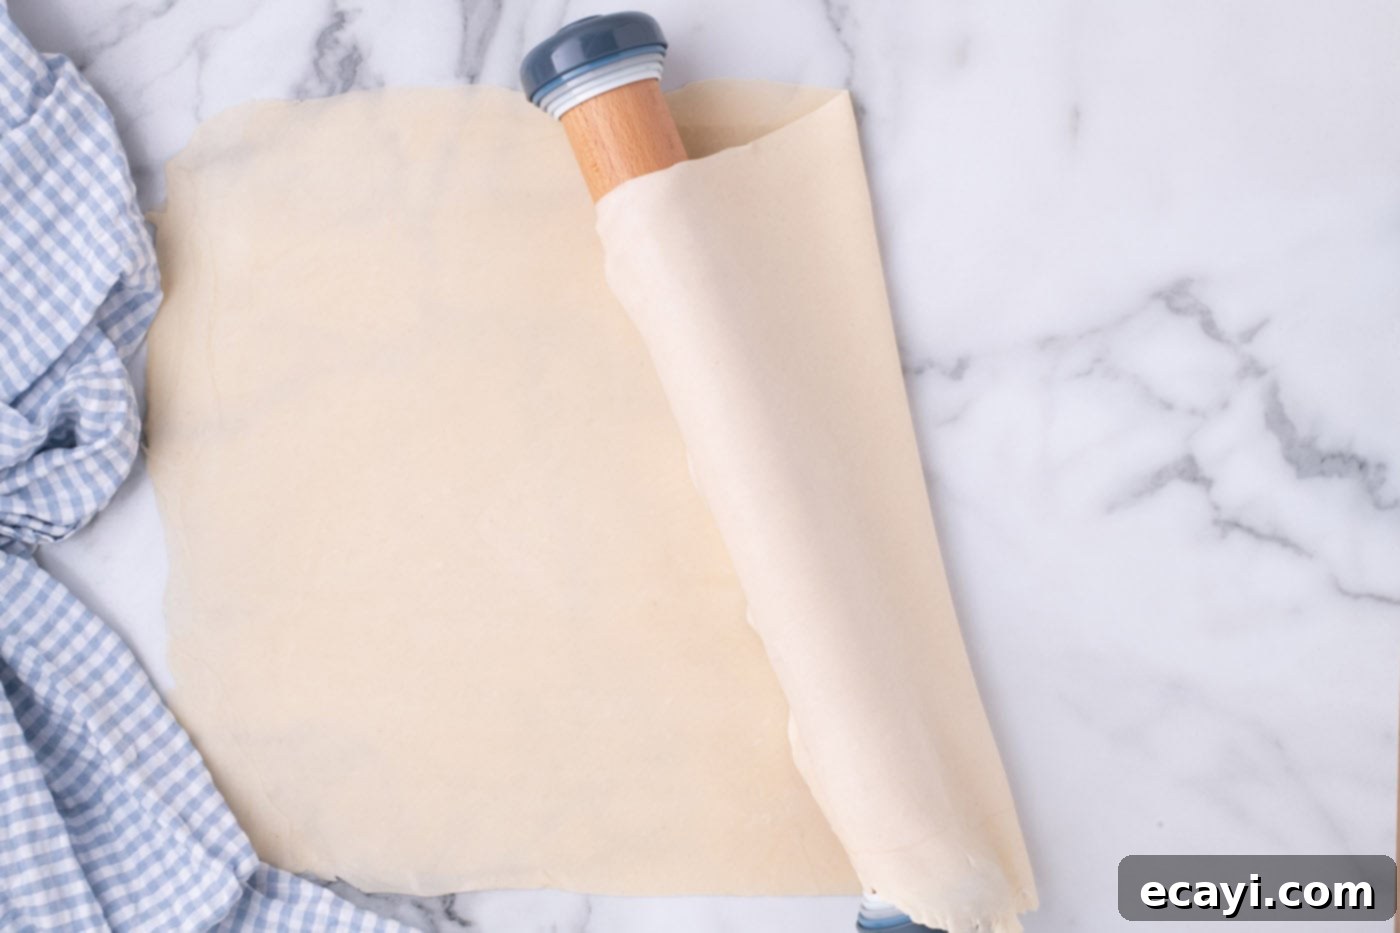
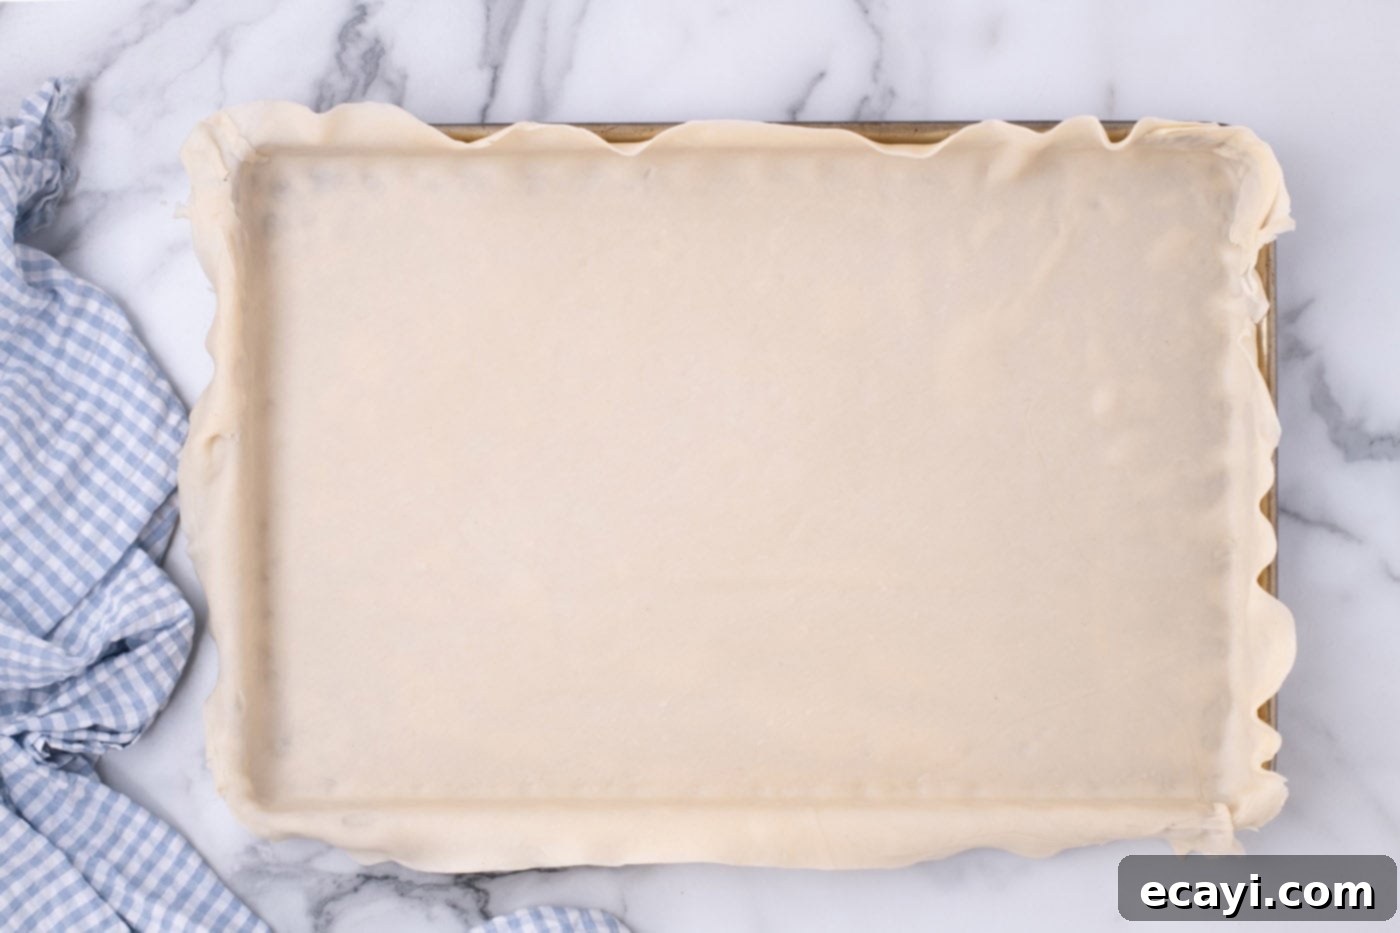
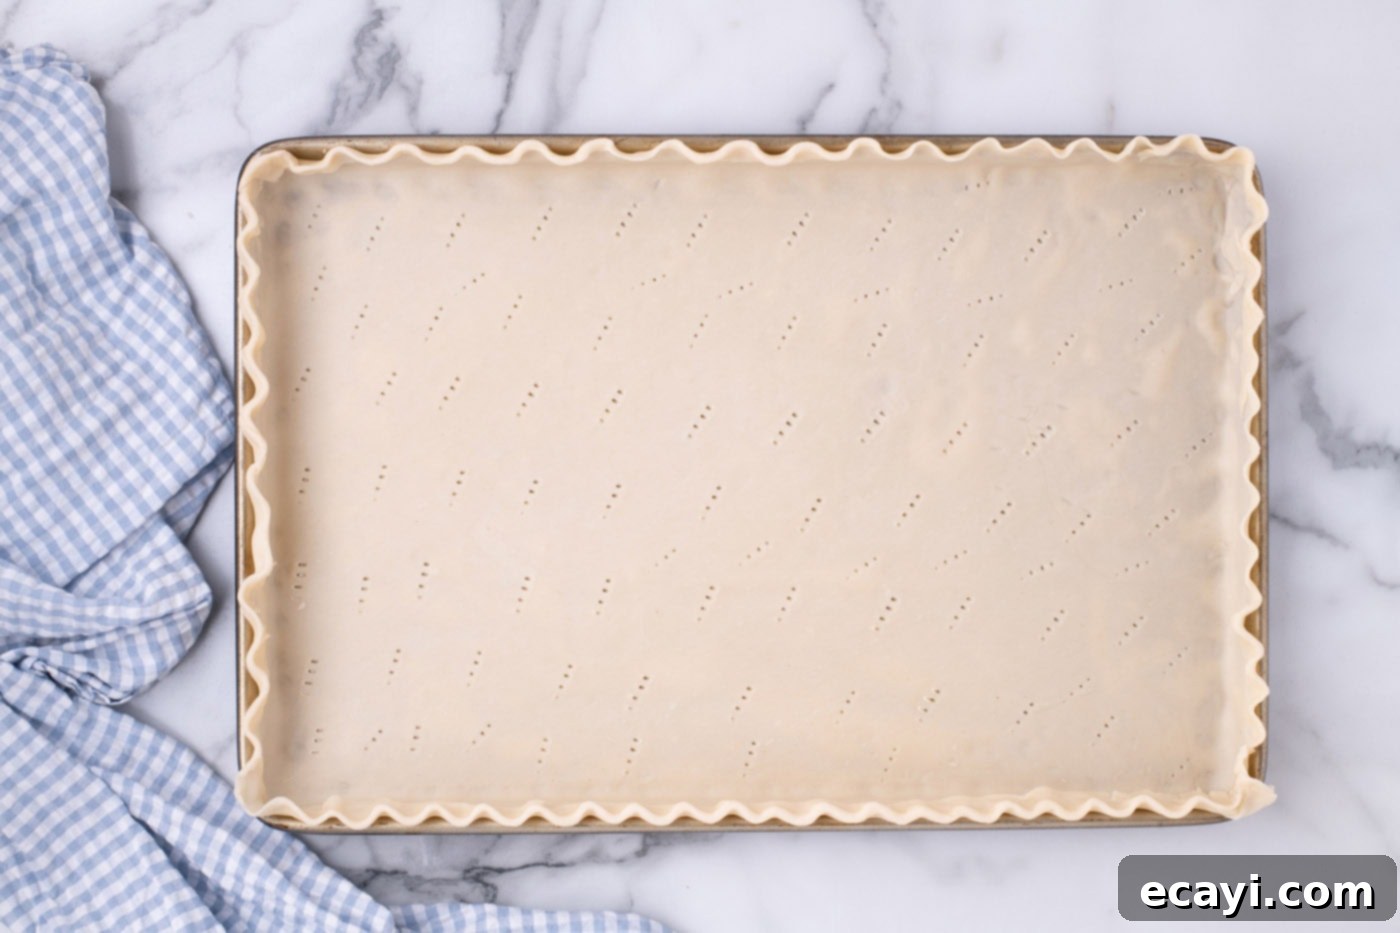
- Carefully drape the prepared pie dough over your rolling pin, then transfer it smoothly into the jelly roll pan. Lightly press the dough into the corners and up the sides of the pan, ensuring it’s evenly distributed.


- Fold any excess dough back over onto itself along the edges to create a sturdy rim. Then, use a fork to prick the bottom of the crust all over; this helps prevent bubbling during baking. If you desire a decorative, fluted edge, pinch along the outer edges of the dough with your thumb and two index fingers, creating a classic pie crust design.

- Preheat your oven to a precise 450°F (232°C).
- To ensure the crust holds its shape beautifully during baking, place the pie dough in the freezer for about 20 minutes to firm up. This is a crucial step for a flaky, well-defined crust. While it chills, you can begin preparing the luscious chocolate filling.
Crafting the Irresistibly Silky French Silk Filling
- In the spacious bowl of a stand-up mixer fitted with the whisk attachment, combine the softened butter and granulated sugar. Beat these ingredients together at high speed for a full 6-7 minutes. During this time, the mixture will transform, becoming noticeably pale in color and incredibly fluffy, almost resembling whipped cream in texture and consistency. Be sure to stop and scrape down the sides of the bowl periodically with a soft silicone spatula to ensure everything is thoroughly combined.
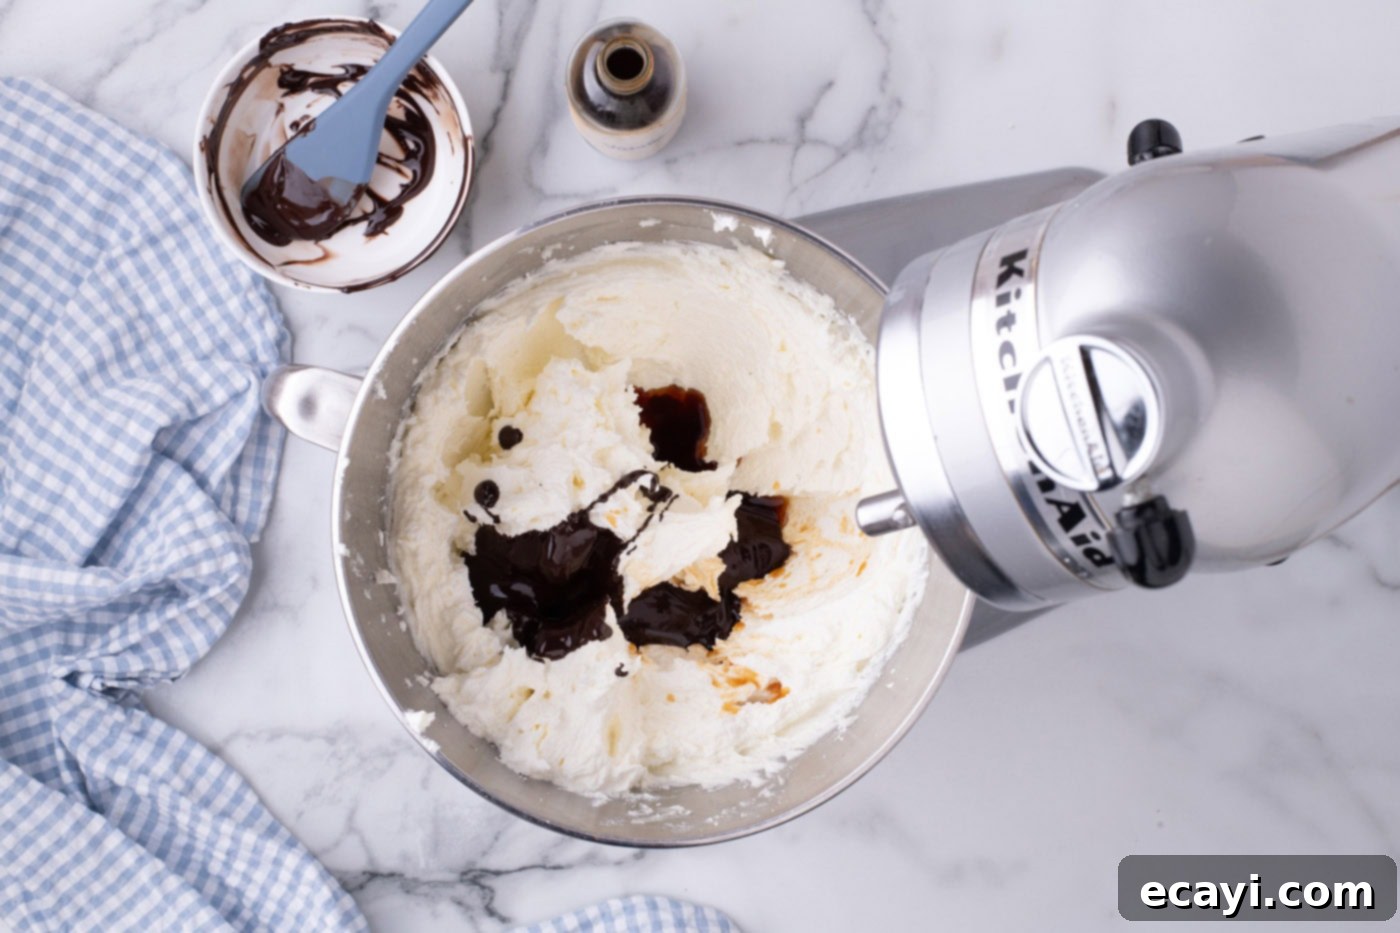
- Next, gradually add the cooled melted unsweetened chocolate and the pure vanilla extract to the butter-sugar mixture. Continue beating on medium speed until all ingredients are fully combined and the mixture is smooth. Again, scrape down the sides of the bowl as needed to integrate any clinging ingredients.

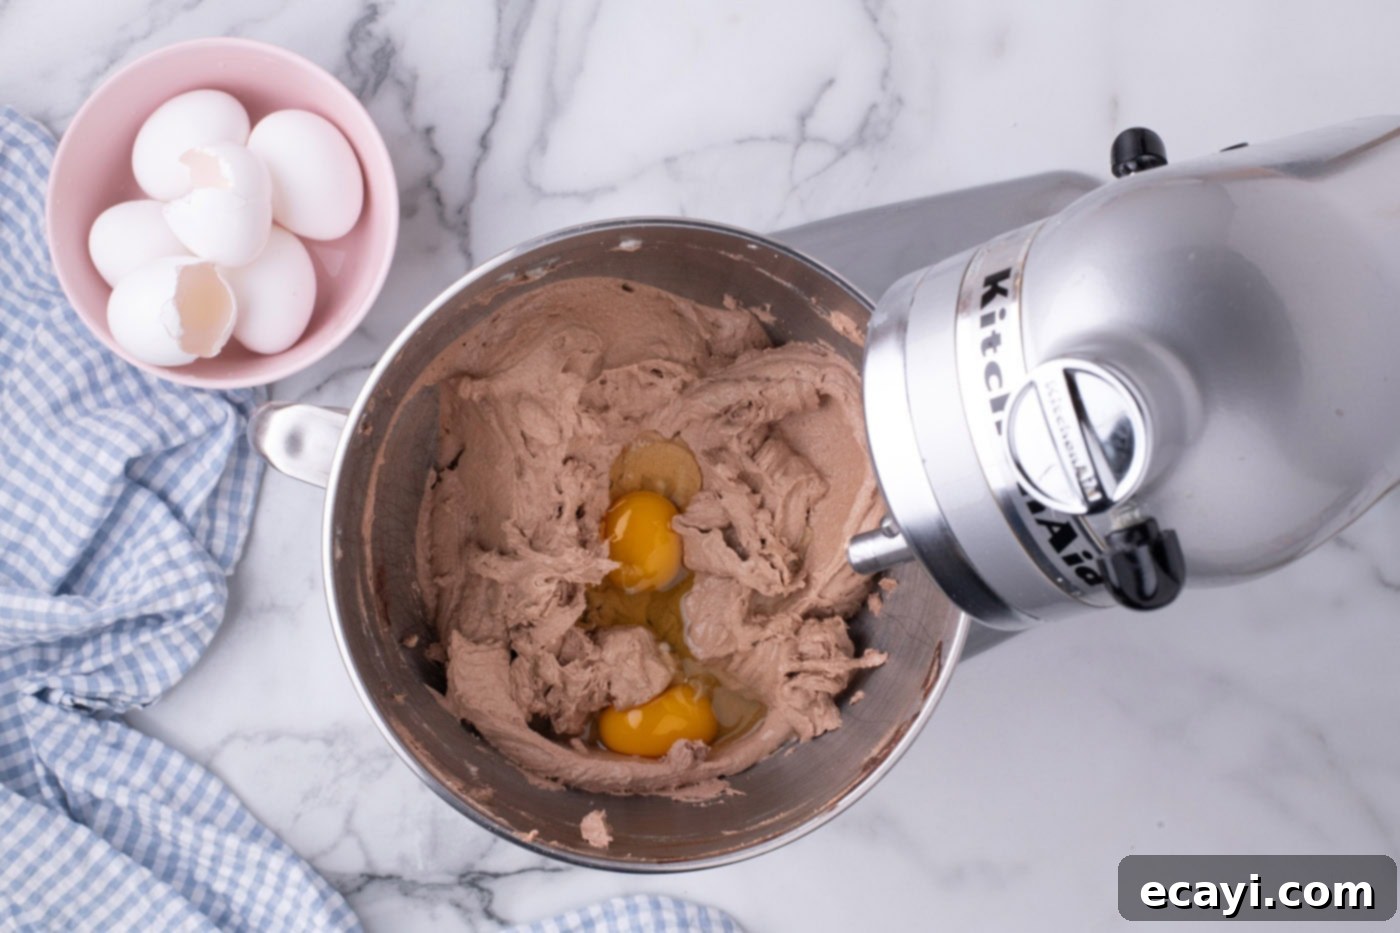
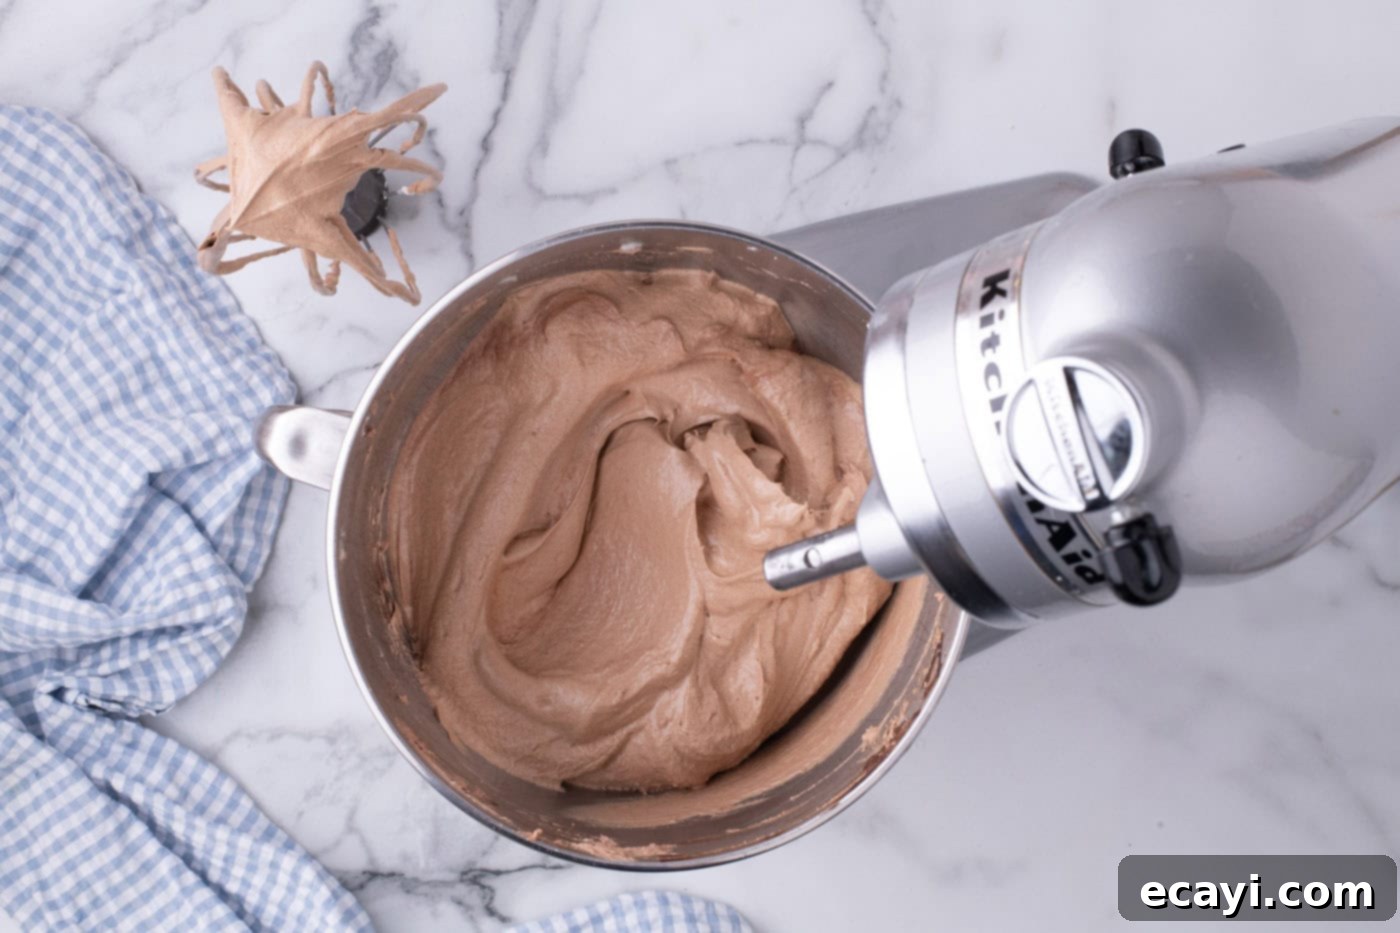
- Reduce the mixer speed to medium-high. Add the room temperature eggs, two at a time, allowing for a full 5 minutes of beating after each addition. This extended beating time is essential for incorporating air and developing the signature light and voluminous texture of French silk pie filling. The final mixture should appear incredibly smooth, glossy, and significantly increased in volume.


Assembling and Perfecting Your French Silk Slab Pie
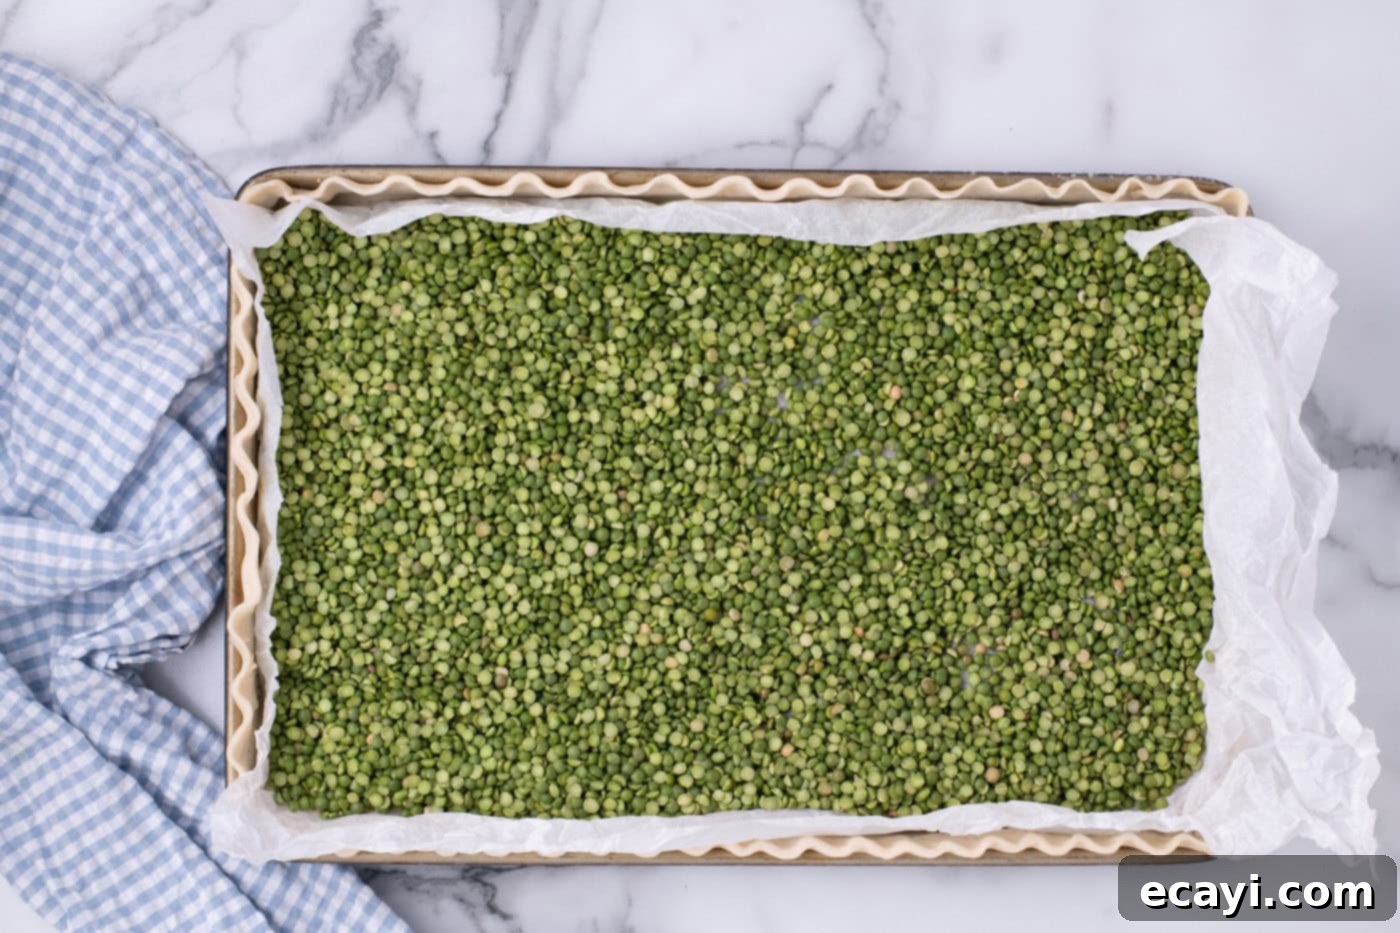
- Retrieve your chilled pie crust from the freezer. Line it carefully with crumpled parchment paper – crumpling helps it conform better to the pan’s corners. Then, fill the parchment-lined crust with pie weights or dried beans. This prevents the crust from shrinking and puffing up during blind baking.
EXPERT TIP – Crumpling the parchment paper isn’t just for fun; it allows it to fit snugly into the corners of your jelly roll pan, ensuring even weight distribution for a perfectly flat bottom crust.

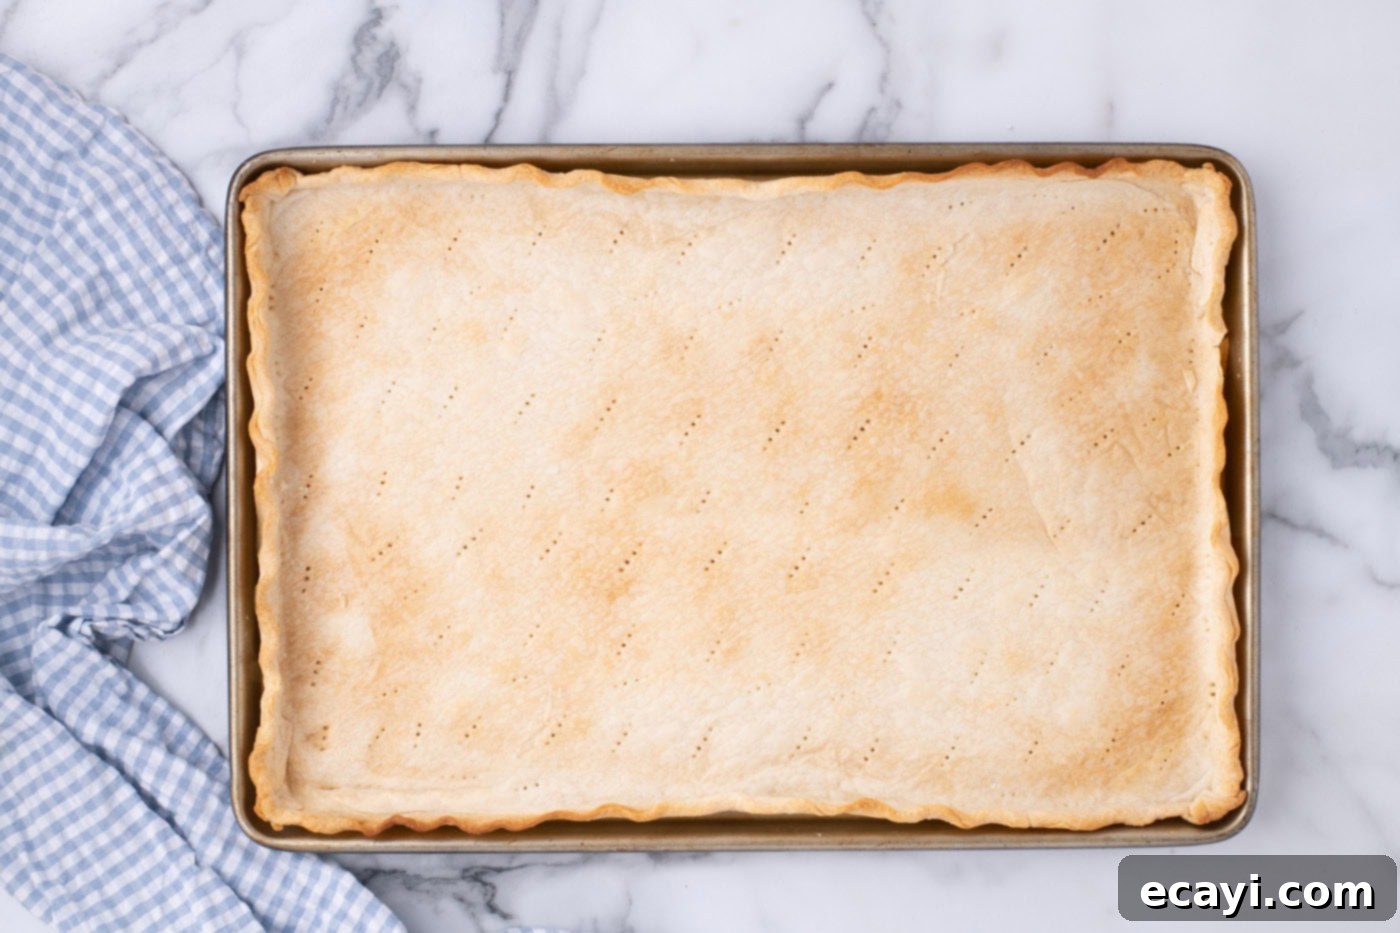
- Bake the pie crust in your preheated 450°F (232°C) oven until the edges are beautifully golden brown, which typically takes about 8-10 minutes. Carefully remove the pie weights and parchment paper, then continue baking for another 5 minutes until the base of the crust is thoroughly cooked through and lightly golden. Transfer the baked crust to a wire rack and allow it to cool completely before proceeding.

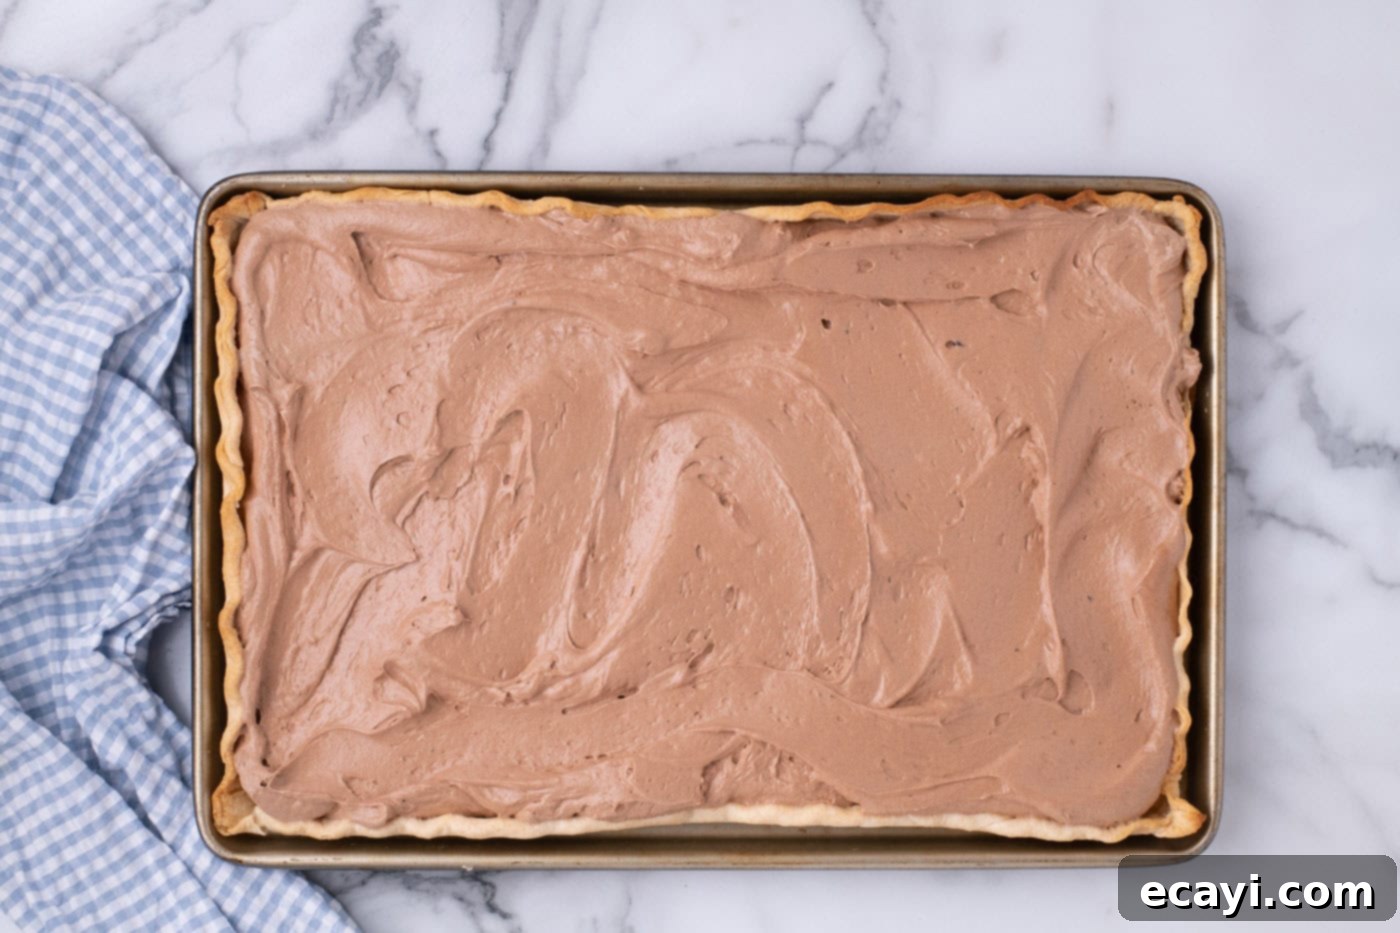
- Once the pie crust is fully cooled, spoon the rich chocolate filling evenly into it. Use an offset spatula to smooth the top surface, creating a pristine layer. Now for the most important part: chilling. Place the pie in the refrigerator to cool and allow the chocolate filling to properly set. This requires a minimum of 2 hours, but for the absolute best texture and stability, I highly recommend chilling it for 12-24 hours. This patience will be greatly rewarded!

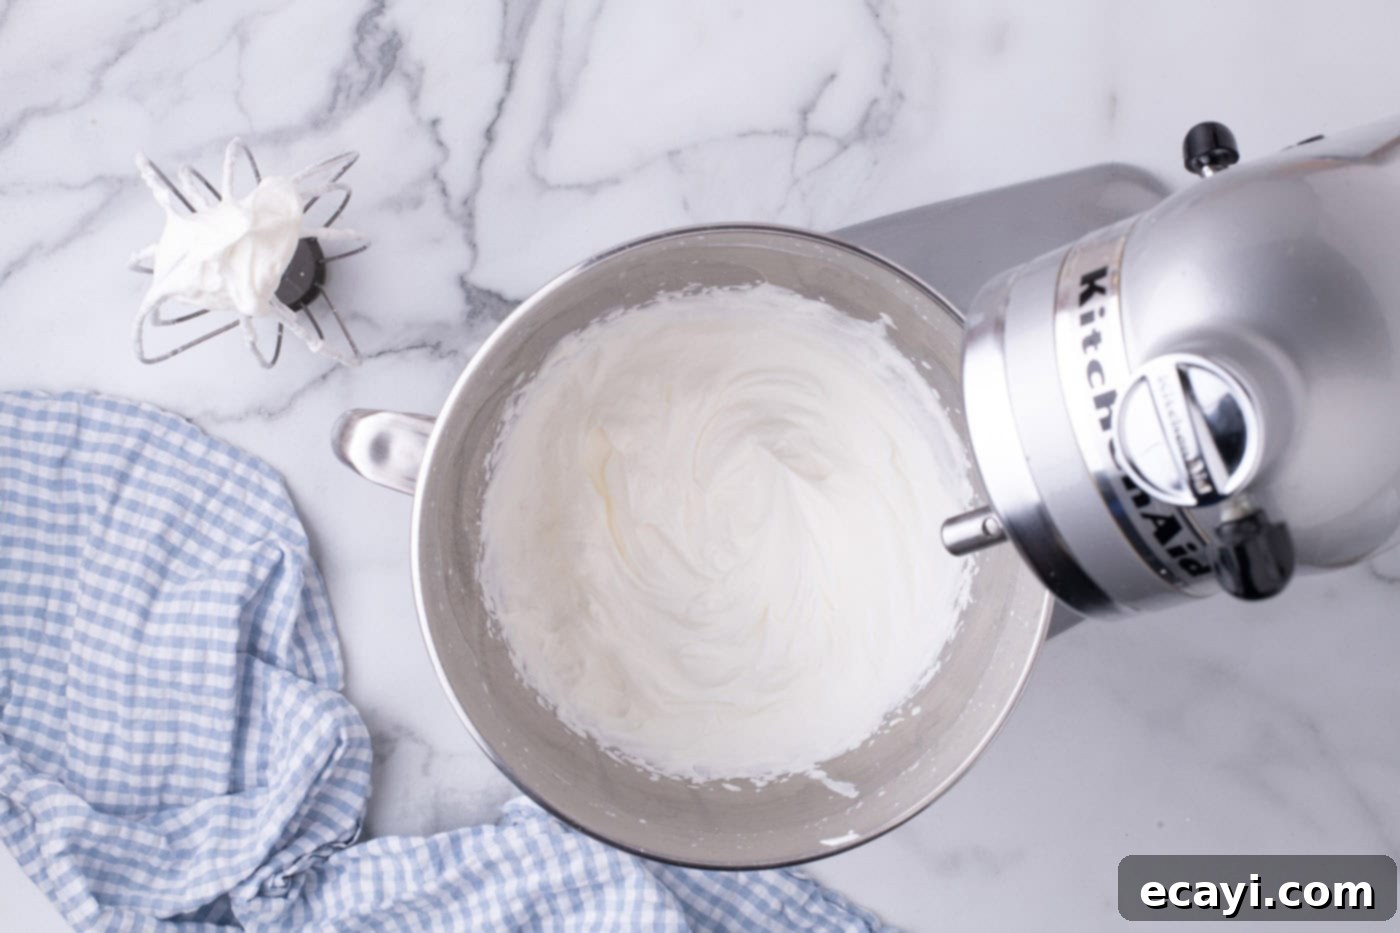
- Just before serving, prepare the luxurious whipped cream topping. Place the well-chilled heavy cream into the clean bowl of your stand-up mixer (with the whisk attachment). Begin beating on low speed until the cream becomes frothy and small bubbles appear.
- Increase the mixer speed to high and add the powdered sugar. Continue beating until soft peaks just begin to form. At this point, reduce the speed to medium-high and continue beating for only another 10-15 seconds, just until stiff peaks form. Be very careful not to overbeat, as this can quickly turn your whipped cream into a grainy, separated mess. The goal is a light, airy, and stable topping.

- Generously dollop the freshly whipped cream over the set chocolate layer, spreading it evenly across the entire surface. For the perfect finishing touch, sprinkle a generous amount of delicate chocolate shavings over the whipped cream. This adds both visual appeal and an extra burst of chocolate flavor.

Frequently Asked Questions & Expert Tips for French Silk Slab Pie
Absolutely, and I would even go so far as to highly recommend making it at least a day ahead of time. This allows the pie ample time to chill and properly set in the refrigerator, ensuring the filling is perfectly firm and has developed its full, rich flavor. For the best presentation, hold off on adding the whipped topping until just before you plan to serve it, as whipped cream can sometimes “weep” or lose its structure if left on the pie for too long in the fridge. The pie base (crust and filling) can be prepared up to 2 days in advance if your schedule requires even more flexibility.
If your pie filling appears grainy during the mixing process, don’t worry – this is often due to the sugar granules not yet fully dissolving. The key to achieving that signature smooth and silky texture is patience and proper beating. Make sure you beat the butter and sugar mixture at high speed for a full 6-7 minutes until it’s very pale and fluffy. The sugar granules will continue to melt and fully dissolve as the pie chills overnight in the refrigerator. This is precisely why preparing the pie a day in advance is so beneficial; it gives the sugar enough time to completely integrate, resulting in an incredibly smooth and luxurious filling.
To keep your French silk slab pie fresh and delicious, any leftovers should be placed in a single layer within an airtight container. This helps protect the delicate whipped cream and prevents the crust from becoming stale. For optimal taste and texture, it’s best to enjoy the pie within 3 days. Beyond this timeframe, the crust might start to get soggy, and the whipped cream could begin to weep, diminishing the overall quality.
Yes, this slab pie freezes remarkably well! To freeze, first cut the pie into individual slices. Arrange these slices on a cookie sheet lined with waxed paper, ensuring they don’t touch. Flash freeze them until they are completely solid (this usually takes a few hours). Once frozen, remove the slices from the cookie sheet and wrap each one tightly in plastic wrap to prevent freezer burn. Then, place all the wrapped slices into a large freezer-safe bag or an airtight container. To thaw, simply remove a slice from its plastic wrap and allow it to come to room temperature if you plan to eat it relatively soon. Alternatively, you can thaw it in the refrigerator, though this will take considerably longer, often a full day. Enjoy a delicious slice of French silk whenever the craving strikes!
Delightful Serving Suggestions for Your Slab Pie
Your French silk slab pie is best served chilled, directly from the refrigerator, ensuring the chocolate filling maintains its perfect firm and silky texture. The final sprinkle of chocolate shavings is more than just a garnish; it adds a delicate crunch and intensified chocolate aroma that truly elevates each slice. As highlighted earlier, this grand dessert is an exceptional choice for holidays like Thanksgiving or Christmas, eliminating the need to bake multiple individual pies. It’s equally perfect for any large party or special event where you’re catering to a crowd, offering easy serving and a universally loved flavor. Pair it with a cup of freshly brewed coffee or a glass of milk for the ultimate dessert experience.
Explore More Delicious Slab Pie Recipes
If you loved the ease and crowd-pleasing nature of this French Silk Slab Pie, you’ll be thrilled to discover more fantastic slab pie creations. These recipes are perfect for feeding a crowd with minimal effort and maximum flavor:
- Apple Slab Pie
- Cherry Slab Pie
- Pumpkin Slab Pie
- Strawberry Slab Pie
- Key Lime Slab Pie
I absolutely adore spending time in the kitchen, creating and perfecting recipes, and then sharing my culinary adventures with all of you! Keeping up with new recipes daily can be a challenge, which is why I’ve made it easy for you. I offer a convenient newsletter delivered straight to your inbox every time a new recipe is posted. Simply subscribe to start receiving your free daily recipes and never miss out on delicious inspiration!

French Silk Slab Pie
IMPORTANT – There are often Frequently Asked Questions within the blog post that you may find helpful. Simply scroll back up to read them!
Print It
Pin It
Rate It
Save It
Saved!
Prevent your screen from going dark
Course:
Dessert
Cuisine:
American
24
servings
3 hours
30 minutes
381
Amanda Davis
Ingredients
-
14.1
ounce
refrigerated pie crusts
two 7.05 ounce crusts. We used Pillsbury -
1 ½
cups
unsalted butter
softened. 339g -
2 ¼
cup
granulated sugar
446g -
3
ounces
unsweetened chocolate
melted and cooled. 85g -
3
teaspoons
pure vanilla extract -
6
large
eggs
at room temperature -
2 ½
cups
heavy whipping cream
chilled. 568mL -
2 ½
Tablespoons
powdered sugar
Garnish
-
1
ounce
unsweetened chocolate
shaved
Things You’ll Need
-
Jelly roll pan -
Rolling pin -
Stand mixer
or hand mixer -
Pie weights
or dried beans
Before You Begin
- I highly recommend making this pie a day ahead of time. This way the pie has plenty of time to set up in the refrigerator. Hold off on the whipped topping until just before serving so it does not weep as it sits in the fridge. The pie can be prepared up to 2 days in advance if you need even more time.
- Your pie filling may look grainy when mixing in the bowl, simply beat it for several minutes until light and fluffy, about 6-7 minutes. The cause of graininess in your French silk pie filling is due to the sugar granules, which will melt while chilling overnight in the refrigerator. That is why I suggest making it a day in advance!
- The melted unsweetened chocolate should be cool when adding it to the butter/sugar mixture, but still pourable. If it has started to solidify, place the bowl in warm water, and stir until soft again. I usually melt the chocolate first so it’s cool by the time I need to add it to the filling in the mixer. If you add vanilla to hot or warm melted chocolate it may seize up.
- Make sure the eggs are at room temperature, you can speed up the process by letting them sit in a bowl of warm water (not hot water) if needed. If cold eggs are added to the chocolate mixture, it could solidify the chocolate causing the filling to become grainy.
- The butter should be softened, which means removing it from the fridge and letting it sit at room temperature for about 20-30 minutes.
- We used two refrigerated pie crusts, the Pillsbury Ready-To-Bake crusts to be exact.
Instructions
-
Place both pie dough circles on top of each other and roll them out to form a rough rectangular shape.14.1 ounce refrigerated pie crusts
-
Trim excess dough along the edges and fill in any gaps with the scraps to form a rectangular shape 2 inches larger (in length and width) than the jelly roll pan.
-
Drape the pie dough over the rolling pin and transfer it to the pan, lightly pressing it into place in the corners and sides.
-
Fold any excess dough back over onto itself and prick the bottom with a fork.
If you want to create a fluted edge, pinch along the outer edges of the dough with your thumb and two index fingers.
-
Preheat the oven to 450°F.
-
Place the pie dough in the freezer to firm up for 20 minutes while you prepare the filling.
To Make the Filling
-
In the bowl of a stand-up mixer with the whisk attachment, beat the butter and sugar at high speed for about 6-7 minutes or until pale in color and very fluffy (it should almost have the color and texture of whipped cream). Scrape down the sides of the bowl with a soft silicone spatula.1 1/2 cups unsalted butter,
2 1/4 cup granulated sugar -
Add the cooled melted chocolate and vanilla extract and continue beating until combined. Scrape down the sides of the bowl as needed.3 ounces unsweetened chocolate,
3 teaspoons pure vanilla extract -
Reduce the mixer to medium-high, and add the eggs, two at a time, beating for 5 minutes after adding each set. The mixture should be smooth and voluminous.6 large eggs
-
Remove the pie crust from the freezer, line it with crumpled parchment paper, and fill it with pie weights, or dried beans.
-
Bake the pie crust until the edges turn golden (about 8-10 minutes). Remove the pie weights and parchment and continue baking until the base is cooked through (about 5 minutes). Set aside to cool.
-
Spoon the chocolate filling into the cooled pie crust and even out the top with an offset spatula. Then, place the pie in the refrigerator to cool (and allow the chocolate to set) for at least 2 hours or optimally for 12-24 hours.
To Make the Whipped Topping
-
To prepare the whipped cream topping, place the chilled heavy cream in the bowl of the stand-up mixer and beat on low speed until frothy with bubbles.2 1/2 cups heavy whipping cream
-
Add the powdered sugar, increase the speed to high, and continue beating until soft peaks begin to form. Then reduce the speed to medium high and continue beating for 10-15 seconds until stiff peaks begin to form. Do not continue beating any longer, otherwise the whipped cream will begin to separate.2 1/2 Tablespoons powdered sugar
-
Dollop the whipped cream over the chocolate layer and sprinkle with shaved chocolate.1 ounce unsweetened chocolate
Expert Tips & FAQs
- Any leftovers should be placed in a single layer in an airtight container. The pie is best eaten within 3 days so the crust doesn’t get too soggy or the whipped cream begins to weep.
- If you want to freeze your slab pie, cut it into slices and place them on a waxed paper-lined cookie sheet. Flash freeze until solid. After a few hours, and the slices are frozen, remove from the freezer and wrap each one in plastic wrap. Place the wrapped slices into a freezer bag. To thaw, remove the slice from the plastic wrap and allow it to thaw at room temperature if you plan to eat it fairly soon. You can also thaw in the refrigerator but it will take quite a bit longer – probably a day.
Nutrition
Serving:
1
slice
|
Calories:
381
cal
|
Carbohydrates:
30
g
|
Protein:
4
g
|
Fat:
29
g
|
Saturated Fat:
16
g
|
Polyunsaturated Fat:
2
g
|
Monounsaturated Fat:
8
g
|
Trans Fat:
0.5
g
|
Cholesterol:
105
mg
|
Sodium:
96
mg
|
Potassium:
101
mg
|
Fiber:
1
g
|
Sugar:
20
g
|
Vitamin A:
787
IU
|
Vitamin C:
0.1
mg
|
Calcium:
35
mg
|
Iron:
2
mg
Tried this Recipe? Pin it for Later!
Follow on Pinterest @AmandasCookin or tag #AmandasCookin!
The recipes on this blog are tested with a conventional gas oven and gas stovetop. It’s important to note that some ovens, especially as they age, can cook and bake inconsistently. Using an inexpensive oven thermometer can assure you that your oven is truly heating to the proper temperature. If you use a toaster oven or countertop oven, please keep in mind that they may not distribute heat the same as a conventional full sized oven and you may need to adjust your cooking/baking times. In the case of recipes made with a pressure cooker, air fryer, slow cooker, or other appliance, a link to the appliances we use is listed within each respective recipe. For baking recipes where measurements are given by weight, please note that results may not be the same if cups are used instead, and we can’t guarantee success with that method.
