Irresistible Ham and Cheese Sliders: The Ultimate Easy Party Appetizer Recipe
Prepare to become everyone’s favorite host with these incredibly delicious and utterly irresistible ham and cheese sliders! Bursting with savory flavors and ridiculously easy to prepare, these mini sandwiches are an absolute dream come true for any gathering. Whether you’re hosting a lively game day party, a casual get-together with friends, a festive holiday celebration, or simply looking for a quick and satisfying hot lunch, these sliders hit all the right notes. They’re the ultimate finger food, designed for convenience and maximum enjoyment. The best part? You can assemble a large batch all at once, ensuring everyone gets to enjoy these warm, gooey delights without delay. Plus, their make-ahead potential makes them a lifesaver for busy schedules, proving that delicious food doesn’t have to be complicated.
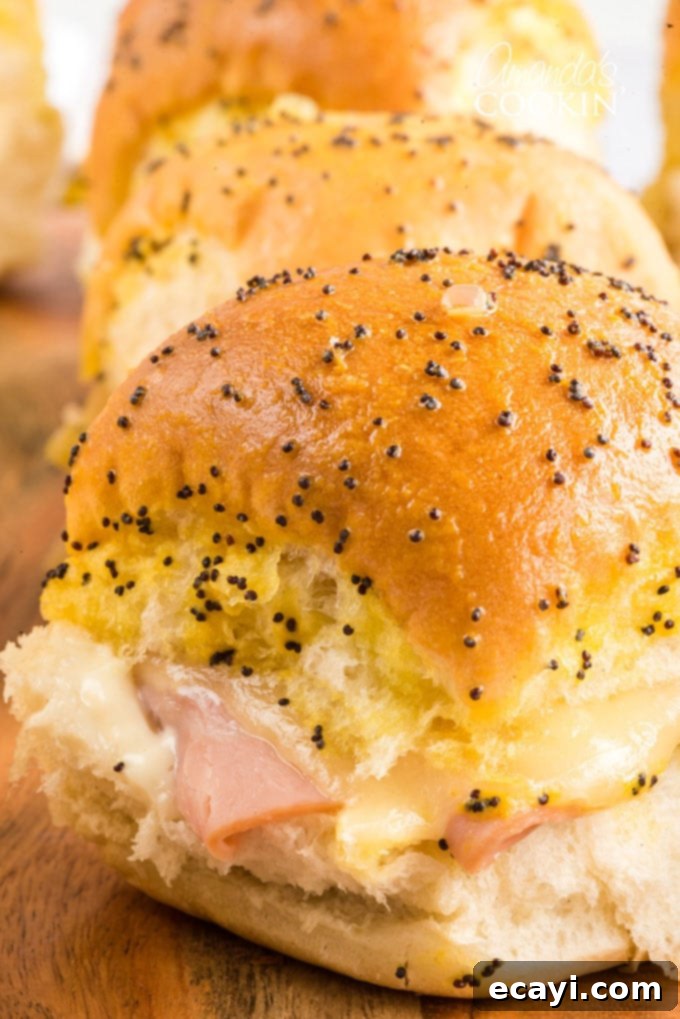
Ham & Cheese Sliders: The Crowd-Pleasing Recipe You Need
If you’re tasked with feeding a crowd, or just want to treat your family to something special, this ham and cheese sliders recipe is your ideal solution. It’s a simple yet incredibly flavorful dish that comes together effortlessly. By starting with readily available ingredients like soft, sweet Hawaiian Rolls, your favorite deli ham, and perfectly melted sliced cheese, you’re set for success. The magic happens when a savory, buttery poppy seed topping is brushed over the rolls and baked until golden and bubbly. This combination creates a truly unforgettable appetizer or light meal that vanishes from the platter almost as quickly as you can make it!
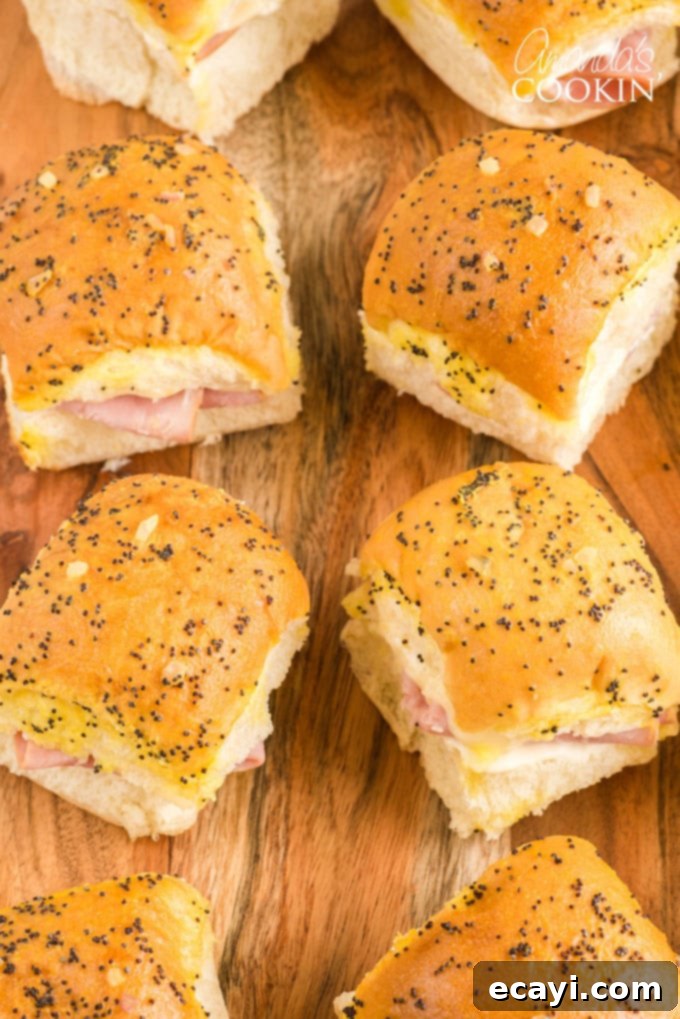
Why These Ham & Cheese Sliders Are a Must-Make
There are countless reasons why these humble ham and cheese sliders have earned their spot as a beloved classic. Beyond their undeniable deliciousness, they offer unparalleled convenience and versatility. Here’s why they should be at the top of your recipe list:
- Effortlessly Easy: With simple assembly and a short baking time, even beginner cooks can master this recipe.
- Crowd-Pleaser Guaranteed: The combination of sweet rolls, savory ham, and gooey cheese is universally loved by both adults and children.
- Perfect for Any Occasion: From casual weeknight dinners to large holiday gatherings, these sliders fit right in. They make fantastic appetizers, snacks, or even a main course.
- Make-Ahead Friendly: Assemble them hours or even a day in advance, then simply pop them in the oven when you’re ready to bake. This is a huge time-saver!
- Customizable: Easily adapt the type of ham, cheese, or even the topping to suit your taste preferences or what you have on hand.
- Portable Finger Food: Their small size makes them ideal for snacking and mingling, requiring no plates or cutlery.
- Bursting with Flavor: The savory ham and cheese are perfectly complemented by the tangy, buttery poppy seed topping, creating a delightful flavor profile in every bite.
Essential Ingredients for Your Delicious Ham & Cheese Sliders
For precise measurements, a comprehensive list of ingredients, and detailed instructions, please refer to the printable version of this recipe card located at the conclusion of this post.
Gathering your ingredients for these sliders is incredibly straightforward. You’ll need just a handful of common items, most of which you might already have in your pantry or refrigerator. Here’s a closer look at what makes these sliders so special:
- Hawaiian Rolls: While I highly recommend the classic King’s Hawaiian Rolls for their signature sweet and soft texture, any similar soft dinner roll will work as a substitute. The slight sweetness of the Hawaiian rolls perfectly balances the savory ham and tangy sauce, creating a truly irresistible bite. Look for the large multi-pack to easily create a good number of sliders.
- Deli Ham: Opt for high-quality, thinly sliced smoked or baked ham from your local deli counter or pre-packaged varieties. The flavor of the ham is central to these sliders, so choose one you genuinely enjoy. Varieties like honey ham, black forest ham, or even simple Virginia ham work wonderfully.
- Sliced White Cheese: My personal favorite for these sliders is Havarti cheese. Its creamy texture and mild, buttery flavor melt beautifully, becoming wonderfully gooey. However, feel free to experiment with your favorite white cheese – Swiss, Provolone, Muenster, or even a mild white cheddar would also be marvelous choices, each adding its own unique character to the sandwich.
- Mayonnaise: A thin layer of mayonnaise on the inside of the rolls adds an extra touch of creaminess and helps keep the rolls moist as they bake. Any brand or variety of mayonnaise you prefer will work perfectly here.
And for that signature, addictive glaze that sets these sliders apart, you’ll also need a few key ingredients for our homemade poppy seed sauce:
- Butter: Melted butter forms the base of our savory glaze, providing richness and helping the other flavors meld together.
- Poppy Seeds: These tiny seeds add a delightful crunch and a distinctive, nutty flavor that is characteristic of classic slider recipes.
- Yellow Mustard: A touch of classic yellow mustard introduces a pleasant tang and a subtle, zesty kick that cuts through the richness of the butter and cheese.
- Minced Shallot or Onion: Finely minced shallots or a small amount of onion contribute a gentle aromatic depth to the sauce, enhancing the overall savory profile.
- Worcestershire Sauce: This secret weapon adds a layer of umami and a slight savory complexity, tying all the flavors of the glaze together beautifully.
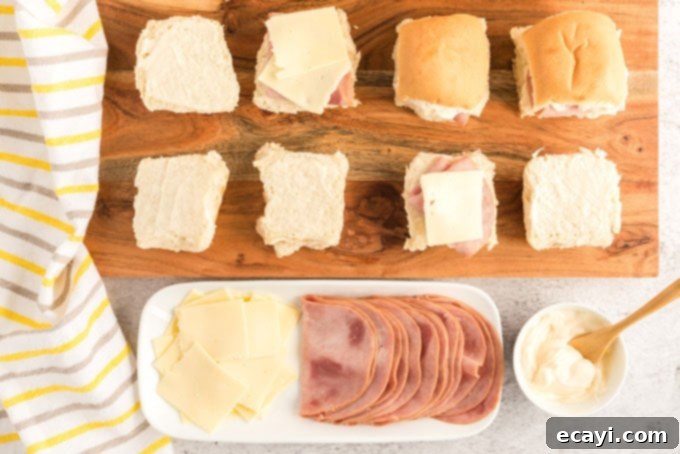
Step-by-Step Guide: How to Make Irresistible Ham & Cheese Sliders
These step-by-step photos and detailed instructions are designed to visually guide you through the process of making this recipe. For a concise, print-friendly version, please scroll down to the full recipe card.
Making these ham and cheese sliders is a breeze, and the assembly process is quite satisfying. Follow these simple steps for perfectly baked, gooey sliders every time:
- First, preheat your oven to 350°F (175°C). This ensures your oven is at the optimal temperature when you’re ready to bake, leading to perfectly melted cheese and toasted rolls.
- Carefully slice the entire block of Hawaiian rolls horizontally, separating the tops from the bottoms while keeping them connected. This method makes the assembly process incredibly efficient.
- Generously spread a thin layer of mayonnaise on the inside of both the top and bottom halves of the sliced rolls. This adds moisture and a subtle richness that enhances the flavor and texture.
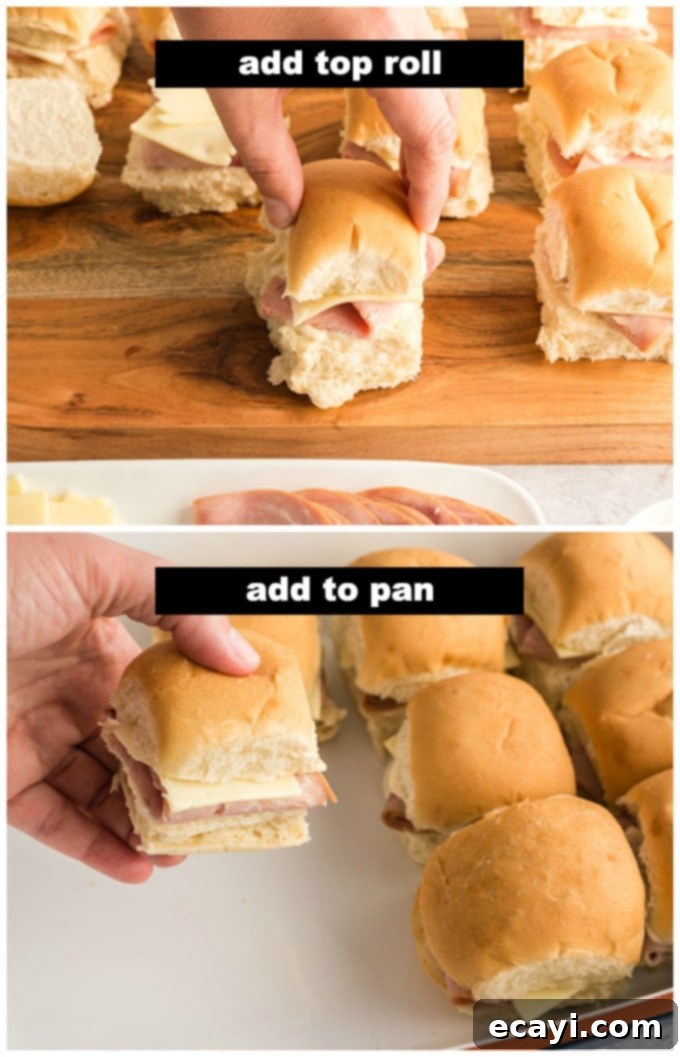
- Next, arrange a slice of folded deli ham onto the bottom half of each roll. Folding the ham ensures a nice, thick layer and prevents it from sliding out. You might fold each slice in half, then in half again, creating a small square or rectangle that fits neatly.
- Place a quartered slice of your chosen cheese on top of the ham. Quartering the cheese ensures that it melts evenly over the ham and doesn’t hang too far off the edges of the small rolls.
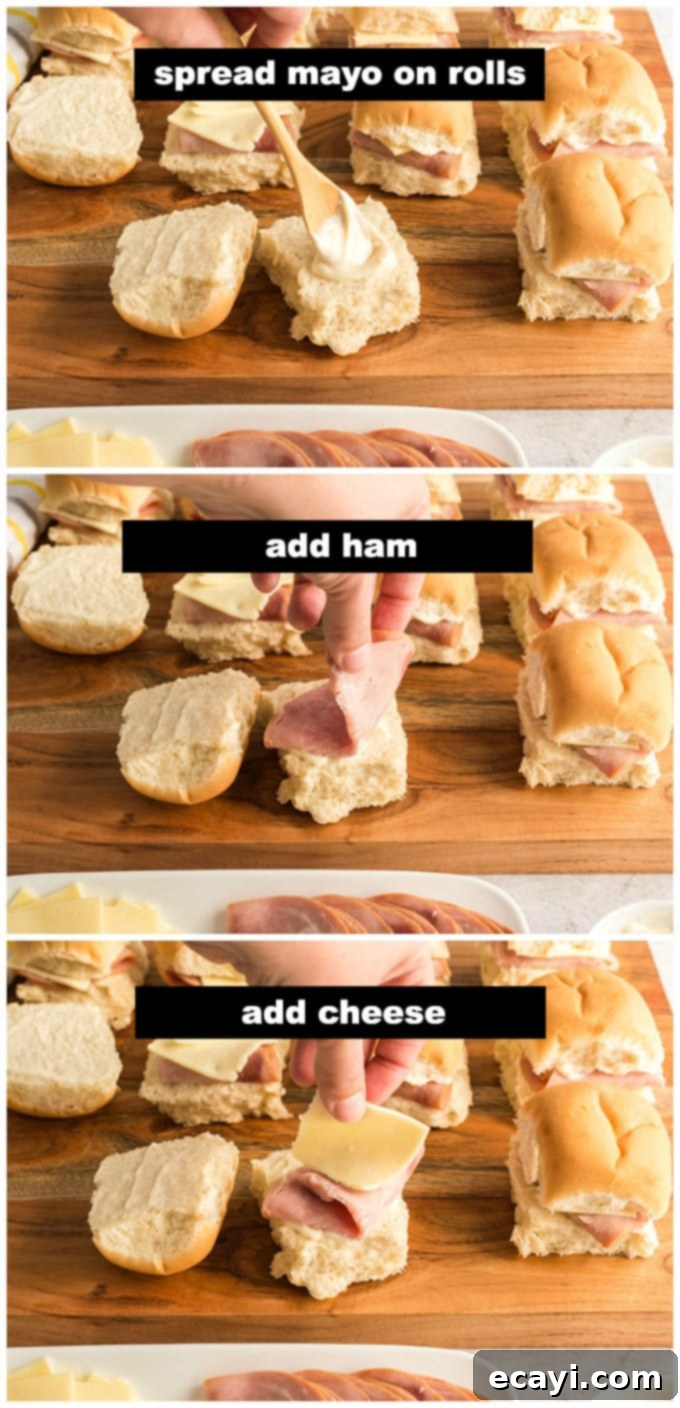
- Gently place the top half of the rolls back onto the cheese-covered bottom halves, effectively “closing” each mini sandwich.
- Carefully transfer all the assembled sliders into a baking dish. You’ll likely need two 13×9 inch baking pans for a batch of 24 sliders, arranging them snugly together. The tight fit helps them steam slightly and keeps them moist. I typically fit about 15 sliders comfortably in one standard 13×9 pan.
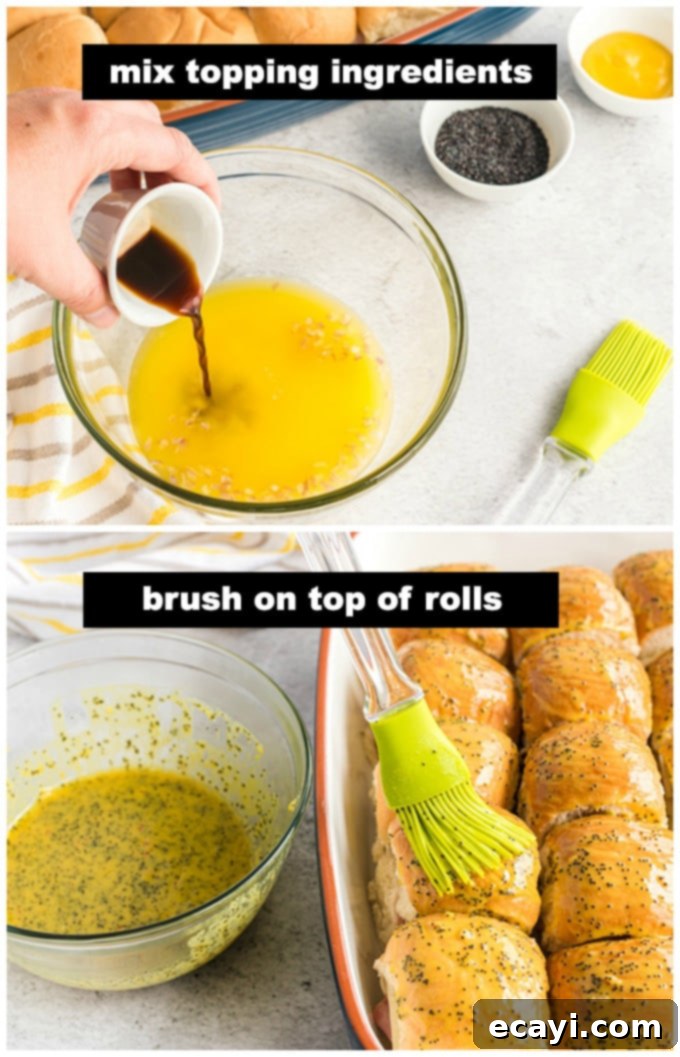
- In a separate small bowl, whisk together all the ingredients for the poppy seed dressing: melted butter, poppy seeds, yellow mustard, minced shallot (or onion), and Worcestershire sauce. Ensure everything is well combined.
- Using a pastry brush, generously brush this savory poppy seed dressing over the tops of all the sliders. Don’t be shy – this glaze is key to their incredible flavor and golden-brown finish. You might even go over them a second time for extra flavor.
- At this stage, you have a couple of options: you can cover the baking dishes with aluminum foil and refrigerate them until you’re ready to bake (perfect for make-ahead convenience), or you can go ahead and pop them directly into your preheated oven.
- Bake for 12-15 minutes, or until the cheese is melted and bubbly, and the tops of the rolls are golden brown. For a softer bun, cover the pan loosely with aluminum foil for the entire baking time. If you prefer a slightly crispier, more browned top, bake them uncovered.
- Once baked, remove from the oven and let them cool for a few minutes before serving. This allows the cheese to set slightly, making them easier to pull apart and enjoy. Serve warm and watch them disappear!
Kitchen Tips and Expert Advice for Perfect Sliders
Achieving perfectly delicious ham and cheese sliders is simple, but a few expert tips can elevate your results and make your life even easier. Here’s some advice from the kitchen:
- Achieving Your Preferred Bun Texture: I personally love a softer, steamed bun for my sliders, which is why I recommend covering the baking dish loosely with aluminum foil for the entire baking duration. This traps moisture, keeping the rolls wonderfully soft. However, if you prefer a slightly browned and crispier top, you can bake them uncovered for the last 5-7 minutes, or even for the entire baking time, keeping a close eye on them to prevent over-browning.
- Fantastic for Meal Prep: These sliders are incredibly versatile for meal prepping. You can fully assemble them a day ahead of time, cover them tightly with foil, and store them in the refrigerator. When you’re ready to serve, simply pop them into the preheated oven.
- Individual Portions for Quick Meals: For a quick hot lunch or a smaller snack, you don’t have to bake the entire batch at once. You can prepare smaller portions (3-4 sliders) in a smaller oven-safe dish and bake them for about fifteen minutes. This is ideal for work lunches or an after-school treat.
- Reheating Leftovers: If you have any leftover sliders, they reheat beautifully! Wrap them individually in foil and warm them in a toaster oven or conventional oven at a low temperature (around 275°F / 135°C) until heated through. For a super quick option, a few seconds in the microwave will do the trick, though the rolls might lose some crispness.
- Cheese Choices: While Havarti is my top pick for its meltiness and mild flavor, don’t hesitate to experiment! Swiss cheese offers a nutty, savory note, Cheddar provides a familiar sharp tang, and Provolone brings a pleasant Italian-American deli vibe. Muenster or Colby Jack are also excellent options for their smooth melt and appealing mild taste.
- Ham Variations: Feel free to swap out the deli ham for other thinly sliced deli meats. Turkey, roast beef, or even thinly sliced cooked chicken could work for a different flavor profile. For a holiday twist, consider using leftover glazed ham from a festive meal!
- Serving Suggestions: These sliders are hearty enough on their own for a light meal, but they also pair wonderfully with a variety of sides. Think crispy potato chips, a fresh green salad, coleslaw, French fries, or a cup of warm tomato soup for a comforting lunch.
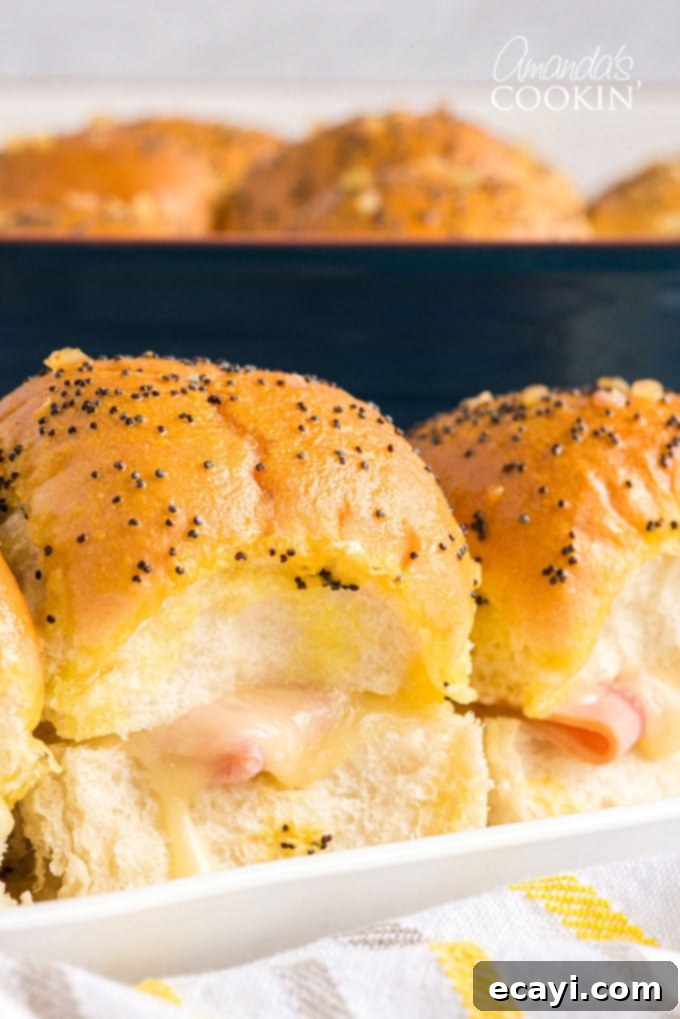
Amanda’s Personal Notes and Delicious Variations
As you can tell, I’m passionate about these sliders because they’re not just for special occasions; they truly fit into so many aspects of daily life. While they shine as a party appetizer or game day snack, I also find them absolutely ideal for a quick, hot, and satisfying lunch. Think of them as a more exciting and flavorful alternative to your everyday sandwich. Just like my popular pizza sliders, these ham and cheese versions are a guaranteed hit, especially with kids!
For those of you who work outside the home, consider making a batch of these at the beginning of the week. Cook them up completely, then individually wrap them in foil. When lunchtime arrives, you can enjoy them cold, or simply zap them in the microwave for a few seconds for a warm, comforting meal. It’s an excellent way to include fresh, delicious ingredients in your meals and avoid processed alternatives. I typically use quality deli ham and creamy Havarti slices, which make a world of difference.
Speaking of cheese, I am a true Havarti enthusiast! Its subtle sweetness and excellent melting properties are perfect for these sliders. However, the beauty of this recipe lies in its adaptability. If your palate leans towards other flavors, don’t hesitate to experiment. Swiss cheese brings a wonderful nuttiness, a sharp Cheddar adds a bold punch, and Provolone offers a classic Italian deli character. All of these options would be absolutely marvelous and create a slightly different, but equally delightful, experience!
Consider enhancing the poppy seed sauce as well. A pinch of garlic powder or onion powder can deepen the savory notes, or a dash of hot sauce could add a surprising kick for those who like a little heat. You can also sprinkle a little Parmesan cheese on top of the rolls before baking for an extra crispy, cheesy crust.
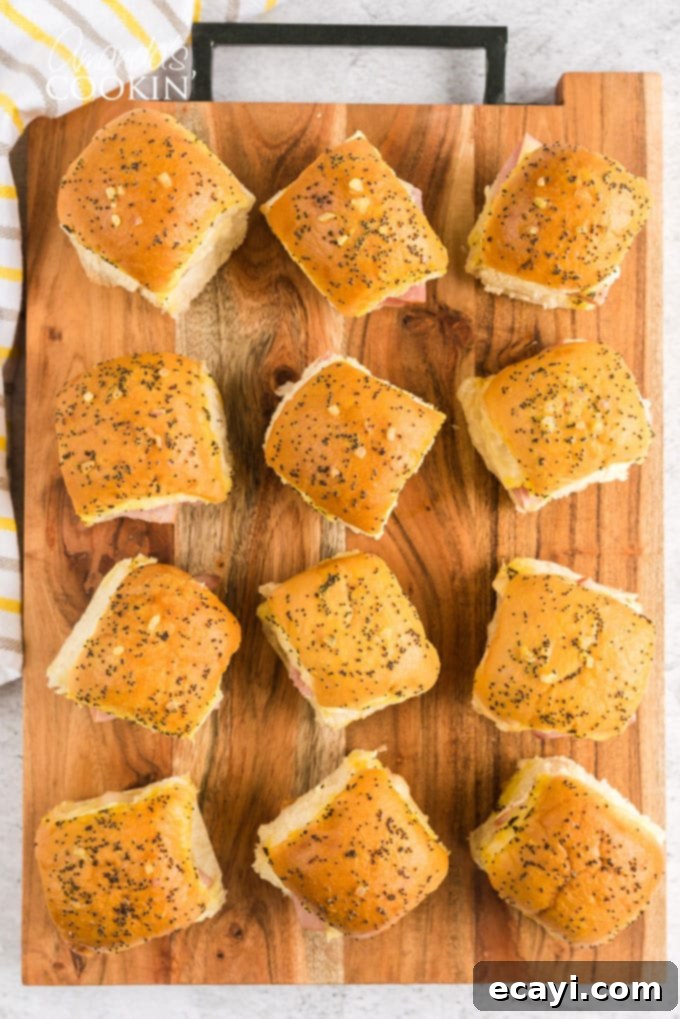
More Delicious Party and Potluck Recipe Ideas
If you loved these ham and cheese sliders and are looking for more crowd-pleasing recipes for your next get-together, I’ve got you covered! Here are some other fantastic appetizers and dishes that are perfect for parties, potlucks, game days, or any festive occasion:
- Ultimate Football Party Tray
- Classic Cheeseburger Sliders
- Fully Loaded Nachos
- Creamy Crockpot Cheese Dip
- Homemade Chex Mix
- Bacon Cheeseburger Meatballs
- Spicy Buffalo Chicken Dip
- Elegant Pinwheel Sandwiches
- Hearty Mississippi Pot Roast Sliders
I absolutely adore sharing my passion for baking and cooking, along with all my favorite recipes, with you! I understand how easy it is to forget to revisit a blog for a specific recipe, which is why I’ve simplified things with my complimentary weekly newsletter. You can subscribe for free today, and I’ll send a curated selection of delicious, easy-to-make recipes directly to your email inbox every single week. Never miss out on a new favorite!

Ham and Cheese Sliders
IMPORTANT – There are often Frequently Asked Questions within the blog post that you may find helpful. Simply scroll back up to read them!
Print It
Rate It
Save ItSaved!
Ingredients
- 24 Hawaiian rolls
- 24 slices smoked or baked deli ham
- 6 slices Havarti sliced cheese quartered
- 1 cup Mayonnaise (about 2 teaspoons per slider)
Poppy Seed Sauce
- 1 tablespoon poppy seeds
- 1 ½ tablespoons yellow mustard
- ½ cup butter melted
- 1 tablespoon minced shallot or onion
- ½ tablespoon Worcestershire sauce
Things You’ll Need
-
13×9 baking dish
-
Whisk
-
Mixing bowls
-
Pastry brush
Before You Begin
- You may not use all of the sauce. I brushed on one layer, and then went through and added another for good measure. They were perfect!
- While these fabulous little sliders are great for a party or game day, they are actually ideal for a quick hot lunch too!
- You can prepare this recipe ahead, and even portion it down to 3 or 4 sliders, and then just pop them in the oven for fifteen minutes.
- If you work outside the home, cook them up first then wrap them in foil. When lunchtime rolls around you can eat them as is or zap them in the microwave for a few seconds.
- I am a Havarti NUT, but if you prefer other flavors try Swiss, Cheddar or Provolone cheese.
- I prefer a softer bun, so I cover mine with foil the entire time. If you want them browned and a little crisp, do not cover with foil.
Instructions
-
Preheat oven to 350 F.
-
Cut each roll in half and spread mayonnaise on each side of the roll. Fold a slice of ham in half, then in half again and place on the roll. Top with small slice of Havarti cheese. Place top of roll back on to form sandwich.
-
Place rolls close together in a 13×9 baking pan until pan in completely full. More than one batch will be needed to make all 24. I was able to fit 15 in the pan.
-
Whisk together all sauce ingredients and brush it generously over the tops of all the rolls. Let the rolls set until the butter has set up a bit.
-
For a toasted bun, bake uncovered. For softer rolls, cover pan with aluminum foil. Bake for 12-15 minutes.
-
Rolls can be made a day ahead and stored in fridge until ready to bake.
Nutrition
The recipes on this blog are tested with a conventional gas oven and gas stovetop. It’s important to note that some ovens, especially as they age, can cook and bake inconsistently. Using an inexpensive oven thermometer can assure you that your oven is truly heating to the proper temperature. If you use a toaster oven or countertop oven, please keep in mind that they may not distribute heat the same as a conventional full sized oven and you may need to adjust your cooking/baking times. In the case of recipes made with a pressure cooker, air fryer, slow cooker, or other appliance, a link to the appliances we use is listed within each respective recipe. For baking recipes where measurements are given by weight, please note that results may not be the same if cups are used instead, and we can’t guarantee success with that method.
This post originally appeared here on Sep 6, 2013, and has been updated for clarity and expanded content.
