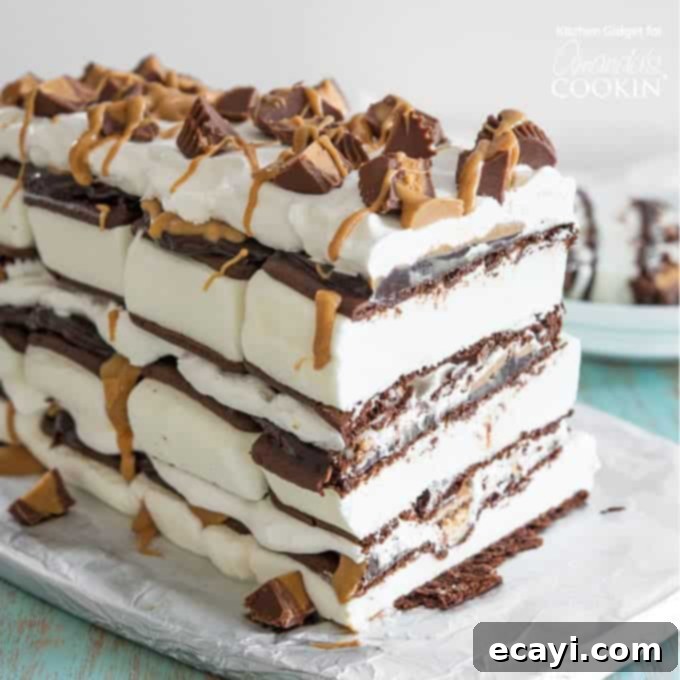
Delicious No-Bake Peanut Butter Ice Cream Sandwich Cake: Your Easiest 15-Minute Frozen Dessert!
Are you searching for an incredibly easy and show-stopping dessert that requires absolutely no baking and comes together in less than 15 minutes? Look no further! This delightful ice cream sandwich cake is the perfect solution for anyone craving a simple yet indulgent treat. Featuring irresistible layers of warm hot fudge, creamy peanut butter, light whipped topping, and crunchy peanut butter cups, it’s a dream come true for dessert lovers. Forget heating up your oven; this recipe is all about assembly and pure enjoyment!
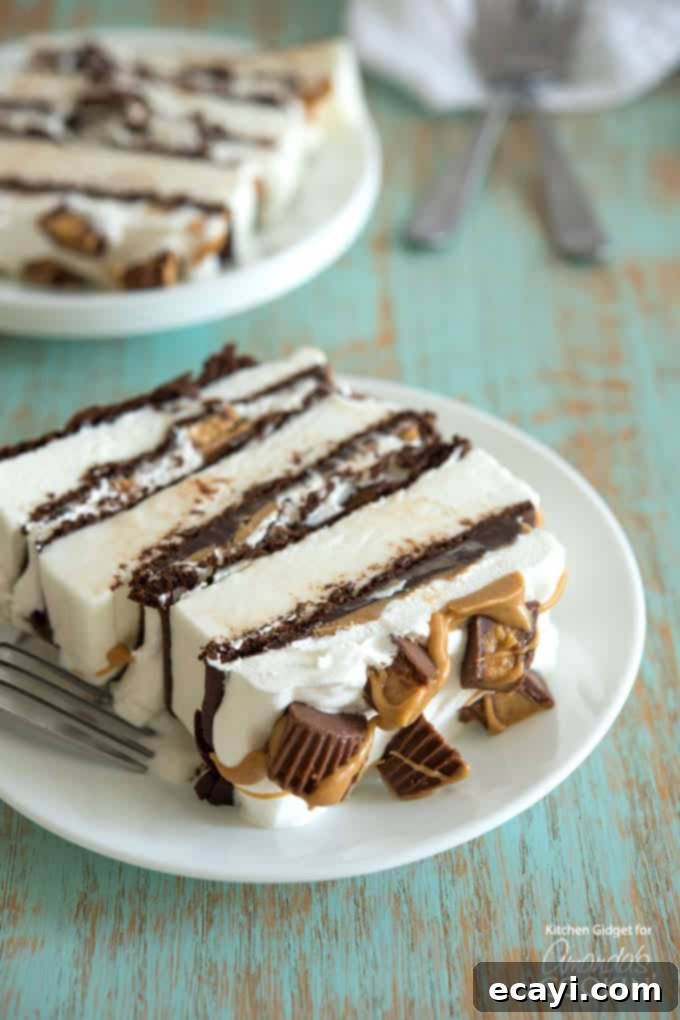
Why This No-Bake Ice Cream Sandwich Cake Will Be Your New Favorite
Chocolate and peanut butter lovers, prepare yourselves for a true revelation! This peanut butter ice cream sandwich cake is a celebration of that classic, beloved flavor combination, generously loaded with decadent layers of rich chocolate fudge, smooth peanut butter, airy whipped topping, and delightful peanut butter cups. It’s a symphony of textures and tastes that will leave everyone craving more.
One of the biggest advantages of this recipe is its incredible simplicity. It’s so remarkably easy to put together, making it an ideal choice for busy schedules or when you need a dessert in a flash. The best part? There’s absolutely no baking involved! This means no preheating the oven, no complicated measuring of flour and sugar, and no sweating in the kitchen on a hot day. It’s the ultimate no-fuss dessert solution.
Beyond its ease, this ice cream sandwich cake is a fantastic alternative to a traditional birthday cake, offering a fun, unexpected, and undeniably delicious twist for celebrations. Its festive layers also make it perfect for holidays like Father’s Day, summer barbecues, potlucks, or simply as a special treat for family and friends. Everyone loves a piled-high ice cream creation, and this cake delivers on all fronts – taste, convenience, and pure joy!
Expert Tips & Frequently Asked Questions for Perfect No-Bake Cake
Achieving a flawless ice cream sandwich cake is easier than you think, especially with a few insider tricks. Here are some expert tips and answers to common questions to help you create a dessert masterpiece:
Expert Tip: The Foil-Covered Cardboard Base
A helpful hint I learned from my chef brother is to cover a sturdy piece of cardboard with aluminum foil to use as a base for your ice cream sandwich cake. This simple trick, often employed by professional bakers when assembling layered cakes, provides a stable, non-slip foundation. It makes the cake incredibly easy to carry from the counter to the freezer and then directly to your serving table, preventing any mishaps or structural collapses. Ensure the foil is wrapped tightly and smoothly around the cardboard for the best result.
Frequently Asked Questions (FAQs)
- Q: Can I use different flavors of ice cream sandwiches?
A: Absolutely! While vanilla provides a classic base, feel free to experiment with chocolate, mint chocolate chip, cookies and cream, or even Neapolitan ice cream sandwiches for a unique flavor profile. - Q: What if I don’t have peanut butter cups? Are there substitutions?
A: Yes! If peanut butter cups aren’t available, you can substitute them with chopped chocolate bars, crushed Oreos, mini chocolate chips, or even chopped nuts like peanuts or pecans for a different crunch. - Q: How long does this ice cream cake last in the freezer?
A: When properly stored, this cake can last for up to 2-3 weeks in the freezer. For optimal freshness and texture, it’s best enjoyed within the first week. - Q: What’s the best way to store leftovers?
A: To prevent freezer burn and keep your cake fresh, cover any leftovers tightly with plastic wrap, then an additional layer of aluminum foil. For extra protection, you can place the wrapped cake in an airtight freezer-safe container. - Q: How can I get clean slices?
A: For beautifully neat slices, dip a sharp knife into hot water, wipe it clean, and then slice. Repeat this process for each cut. This warms the blade slightly, allowing it to glide through the frozen layers more smoothly. - Q: Can I make this cake ahead of time for an event?
A: This cake is a fantastic make-ahead dessert! You can assemble it a day or even several days before your event. Just ensure it has ample time to freeze solidly before serving.
Things You Will Need to Make Your Ice Cream Sandwich Cake
These step-by-step photos and instructions are designed to help you visualize how to make this incredibly easy and delicious recipe. For a concise, printable version of the recipe, please scroll down to simply print out the recipe!
Gathering your ingredients and equipment beforehand will make the assembly process even quicker and more enjoyable. Here’s a detailed look at what you’ll need:
Key Ingredients:
- 12 Ice Cream Sandwiches: These are the foundational building blocks of your cake. They provide both the “cake” and “ice cream” layers, creating a nostalgic and delightful base. Ensure they are fully frozen before you begin.
- 1/2 cup Hot Fudge Sauce, warmed: This rich, chocolatey sauce adds moisture and a burst of deep chocolate flavor between the layers. Warming it slightly makes it wonderfully smooth and easy to drizzle evenly.
- 1/2 cup Peanut Butter, warmed: The essential peanut butter component! Warming it allows for a beautiful, fluid drizzle that spreads easily and marries perfectly with the fudge. Choose a creamy peanut butter for the best texture.
- 1 1/2 cups Whipped Topping, thawed: A light and airy layer that contrasts beautifully with the dense ice cream and rich sauces. Thaw it in the refrigerator until it’s soft enough to spread but still holds its shape.
- 1 cup Chopped Peanut Butter Cups: These are the ultimate crunchy, sweet, and salty additions that elevate the flavor and texture of every bite. Mini peanut butter cups are ideal for chopping.
Essential Equipment:
- Small Microwave Safe Bowls: Perfect for warming your hot fudge and peanut butter to achieve that ideal drizzling consistency.
- Measuring Cups: For accurate portioning of all your ingredients, ensuring your cake has the perfect balance of flavors.
- Spatula: Essential for gently spreading the whipped topping evenly across your layers without disturbing the ice cream sandwiches below.
- Chopping Knife: A sharp knife is necessary for neatly chopping your peanut butter cups into bite-sized pieces, ensuring they are distributed well throughout the cake.
- Foil-Covered Cardboard or Sturdy Serving Platter: As recommended in our expert tips, this provides a stable base for assembling and transporting your no-bake cake.
How to Make Your Easy No-Bake Ice Cream Sandwich Cake
Building this incredible ice cream sandwich cake is as simple as layering and freezing. There are primarily two ways to construct your cake, both adhering to the same basic principles of delicious layering. The method you choose depends on your preference for presentation and ease of transport.
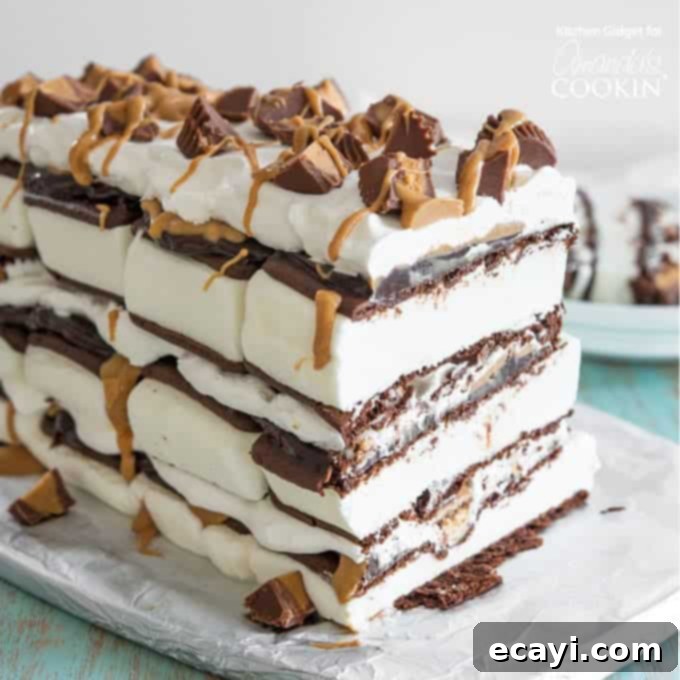
The first way, and how I often prepare it, is to assemble the layers free-form without any confining pan. This method results in a beautifully rustic, “naked cake” look, where the distinct layers are visible and celebrated. It also allows you the flexibility to build your layers as high as you desire, creating a truly impressive dessert that looks artisanal and homemade.
The second way to prepare this dessert is within a pan, such as a 9×13 inch baking dish. The exact size isn’t critically important, as you can easily cut the ice cream sandwiches to fit snugly into any pan. I highly recommend this method if you plan on transporting the dessert to a party or if freezer space is tight, as the pan provides excellent structural support and makes handling much easier. Whichever method you choose, the result will be a delightfully delicious, layered ice cream cake!
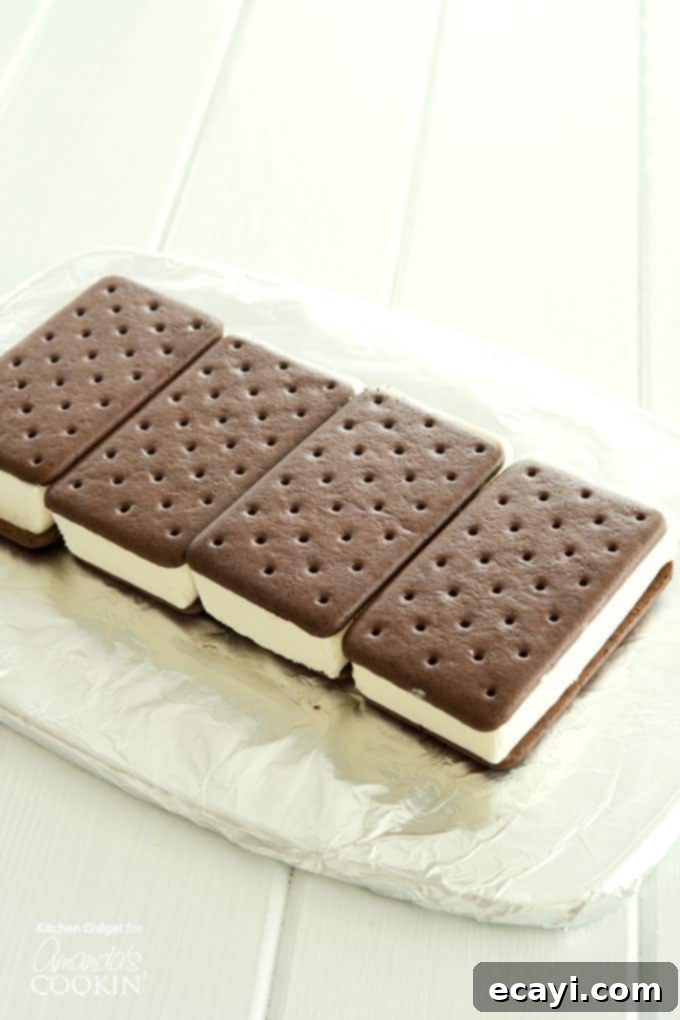
- Start with a Solid Foundation: To begin, arrange your first layer of frozen ice cream sandwiches. Place them side-by-side, long ends touching, to create a solid base. Ensure the sandwiches are well-frozen to maintain their structure during assembly. While I typically use classic vanilla ice cream sandwiches, chocolate ice cream sandwiches would also be a fantastic choice, adding another dimension of rich chocolate flavor.
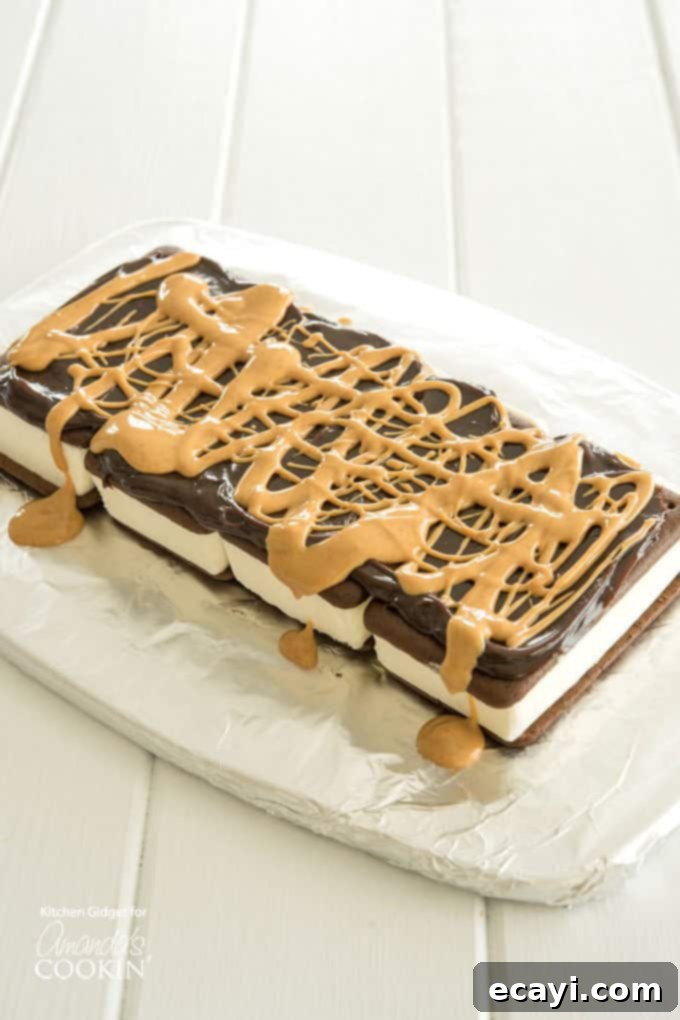
- Drizzle with Decadence: Next, take your warmed hot fudge sauce and generously drizzle it over the layer of ice cream sandwiches. The warmth of the fudge will help it spread beautifully. Immediately after, drizzle the melted peanut butter over the fudge. This dual drizzle creates a stunning marbled effect and ensures a burst of both chocolate and peanut butter in every bite.
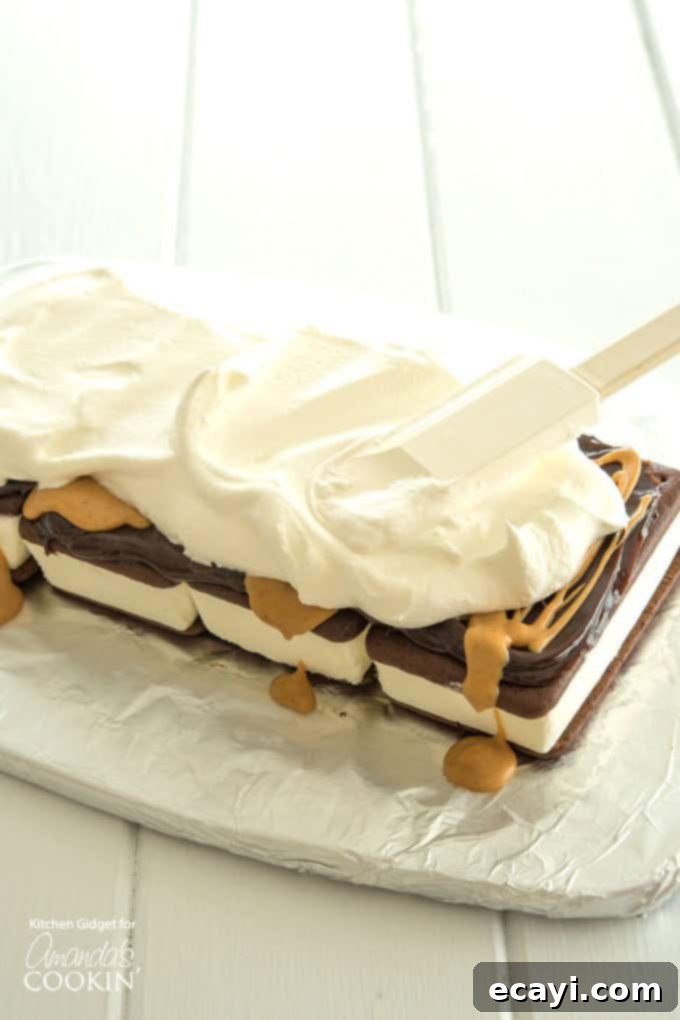
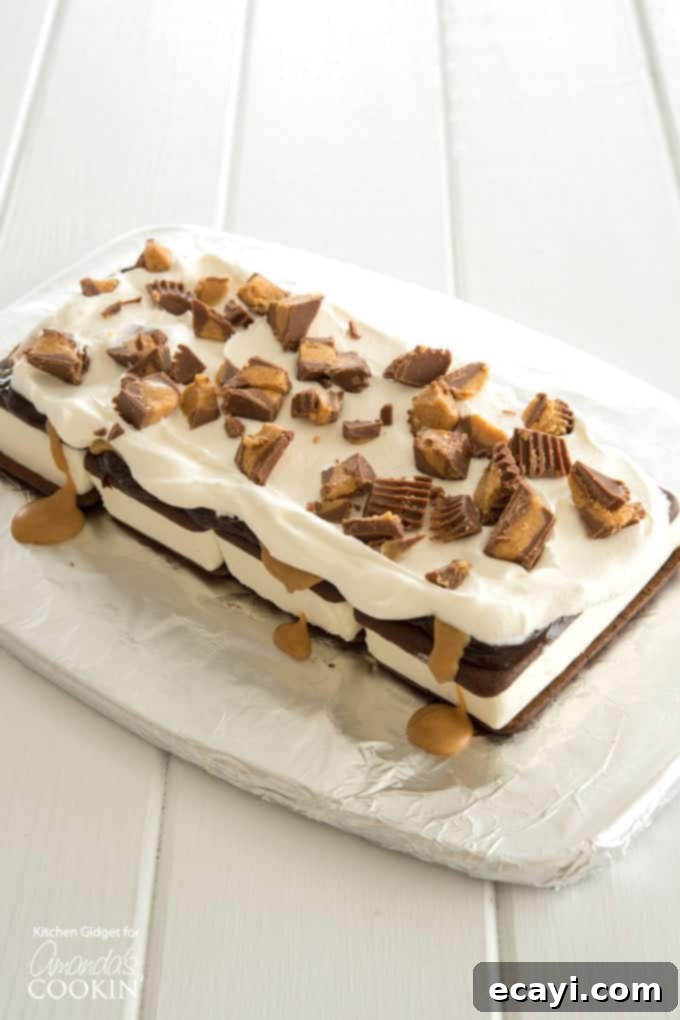
- Add Creaminess and Crunch: Gently spread a layer of thawed whipped topping over the drizzled fudge and peanut butter. Use a spatula to smooth it out without pressing down too hard, which could displace the layers beneath. Once the whipped topping is evenly spread, sprinkle a generous amount of your chopped peanut butter cups over the top. This adds a fantastic texture and an extra burst of flavor.
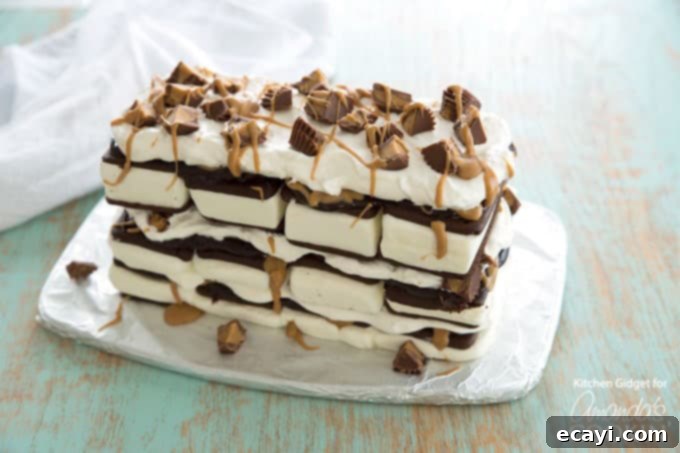
- Repeat and Freeze: Now, repeat these delightful layers two more times! Start with another layer of ice cream sandwiches, followed by the hot fudge, peanut butter, whipped topping, and chopped peanut butter cups. Once all layers are complete, carefully place your assembled cake into the freezer. It’s crucial to wait until the cake has frozen completely and is firm – usually about 4 hours, or preferably overnight – before covering it. This prevents condensation from forming and freezing onto the top, which can affect the appearance.
Customizing Your Ice Cream Sandwich Cake: Endless Possibilities!
The beauty of this no-bake ice cream sandwich cake lies not only in its ease but also in its incredible versatility. While the peanut butter and chocolate combination is a timeless classic, you can easily adapt this recipe to create countless other flavor variations to suit any taste or occasion. Here are some ideas to inspire your next ice cream cake creation:
- Berry Bliss: Use strawberry ice cream sandwiches, drizzle with strawberry syrup, and layer with fresh sliced strawberries and whipped cream.
- Cookies & Cream Dream: Opt for cookies and cream ice cream sandwiches, swap the peanut butter for a chocolate cookie crunch, and sprinkle with crushed Oreo cookies.
- Caramel Pecan Delight: Use vanilla ice cream sandwiches, layer with caramel sauce and chopped pecans, and finish with a sprinkle of sea salt.
- Mint Chocolate Magic: Choose mint chocolate chip ice cream sandwiches, layer with chocolate ganache, and top with crushed peppermint candies or thin mint cookies.
- Tropical Treat: Use coconut or pineapple ice cream sandwiches, layer with mango puree, and sprinkle with toasted coconut flakes.
- Rainbow Fun: Use brightly colored sprinkles between each layer and on top, perfect for kids’ parties.
Serving and Storage Suggestions
To enjoy your no-bake ice cream sandwich cake at its best, proper serving and storage are key. For optimal texture, remove the cake from the freezer about 5-10 minutes before you plan to slice and serve. This brief period allows the ice cream and sauces to soften slightly, making it easier to cut into perfect portions. As mentioned, for super clean slices, use a sharp knife warmed in hot water and wiped dry between each cut.
Once served, any leftover cake should be immediately returned to the freezer. To prevent freezer burn and maintain freshness, wrap the cake tightly in plastic wrap, ensuring all exposed surfaces are covered. For extra protection, you can add a layer of aluminum foil over the plastic wrap or place the entire wrapped cake into an airtight freezer-safe container. Stored this way, your delicious ice cream sandwich cake will remain enjoyable for up to two to three weeks, ready for whenever a craving strikes!
More Chocolate & Peanut Butter Recipes You’ll Love
If you’re as enamored with the chocolate and peanut butter combination as we are, you’ll definitely want to explore these other fantastic recipes:
- Buckeye Brownie Cookies
- Soft and Chewy Peanut Butter Cookies
- No-Bake Chocolate Peanut Butter Lasagna
Honestly, after experiencing the joy of this layered ice cream sandwich cake, I may never be able to eat a plain ice cream sandwich the traditional way again! The possibilities for flavor combinations are truly endless, limited only by your imagination. If you’re looking for another delightful ice cream cake, be sure to check out our refreshing Pistachio Ice Cream Cake for another easy, no-bake winner!
I love to bake and cook and share my recipes with you! I know it’s hard to remember to come back and search, so I’ve made it easy for you with my weekly newsletter! You can subscribe for free and I’ll send you delicious recipes every week right to your email.
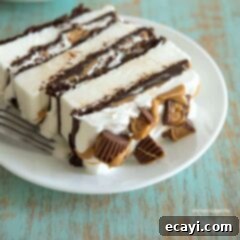
Ice Cream Sandwich Cake (5 Ingredients)
IMPORTANT – There are often Frequently Asked Questions and Expert Tips within the blog post that you may find helpful. Simply scroll back up to read them!
Print It
Rate It
Save ItSaved!
Ingredients
- 12 ice cream sandwiches
- ½ cup hot fudge sauce warmed
- ½ cup peanut butter warmed
- 1 ½ cups whipped topping thawed
- 1 cup mini peanut butter cups chopped
Instructions
-
Layer 4 ice cream sandwiches in a row, with their long ends touching, to form the first tier of your cake.
-
Evenly spread 2 heaping tablespoons of the warmed hot fudge over the ice cream sandwiches, then drizzle with 2 heaping tablespoons of the warmed peanut butter.
-
Gently cover this layer with 1/2 cup of whipped topping, spreading it smoothly, and then generously sprinkle with 1/3 cup of the chopped peanut butter cups.
-
Repeat these delicious layers (ice cream sandwiches, hot fudge, peanut butter, whipped topping, peanut butter cups) two more times. After completing all layers, place the cake in the freezer. Allow it to freeze until thoroughly firm, which typically takes about 4 hours, before covering it tightly.
Nutrition
The recipes on this blog are tested with a conventional gas oven and gas stovetop. It’s important to note that some ovens, especially as they age, can cook and bake inconsistently. Using an inexpensive oven thermometer can assure you that your oven is truly heating to the proper temperature. If you use a toaster oven or countertop oven, please keep in mind that they may not distribute heat the same as a conventional full sized oven and you may need to adjust your cooking/baking times. In the case of recipes made with a pressure cooker, air fryer, slow cooker, or other appliance, a link to the appliances we use is listed within each respective recipe. For baking recipes where measurements are given by weight, please note that results may not be the same if cups are used instead, and we can’t guarantee success with that method.
This post originally appeared here on Jul 31, 2018.
