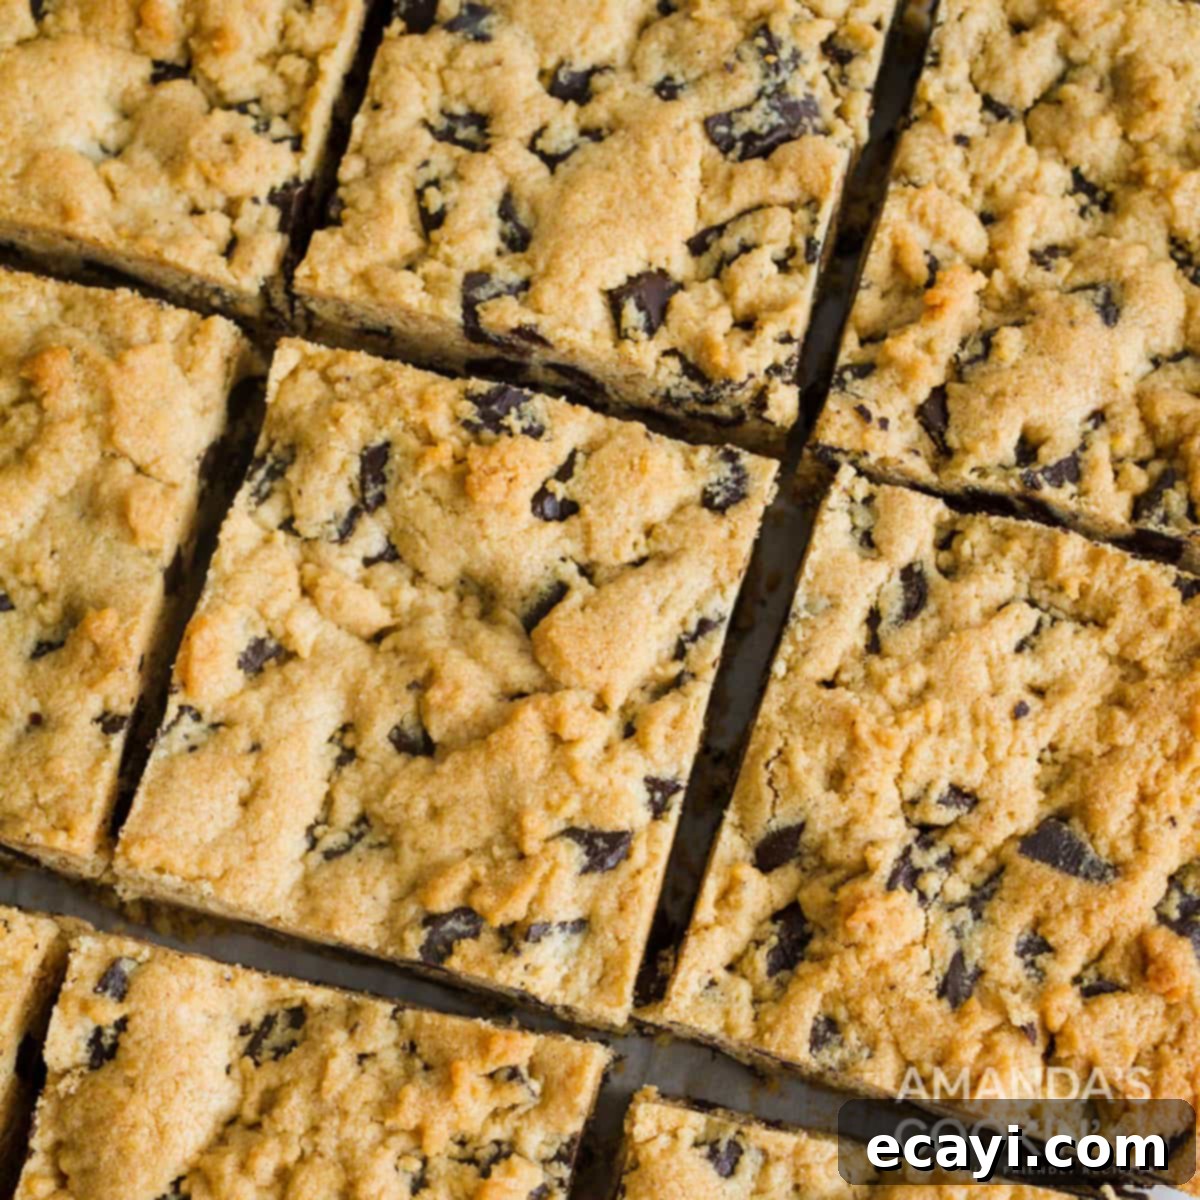
Easy Homemade Peanut Butter Chocolate Chip Bars Recipe: The Ultimate One-Bowl Delight
Craving a delightful dessert that’s both effortless and incredibly satisfying? Look no further! Our recipe for **Peanut Butter Chocolate Chip Bars** is a dream come true for any baker, whether you’re a seasoned pro or just starting out. This ultimate one-bowl recipe cuts down on dishes and maximizes flavor, bringing together the irresistible duo of creamy peanut butter and luscious chocolate chunks in a portable, shareable bar form. With just 10 simple ingredients and a mere 30 minutes of your time, you’ll be indulging in these soft, chewy, and utterly delicious bars. They’re perfect for a quick snack, a special treat, or to bring to any gathering, guaranteed to be a crowd-pleaser.
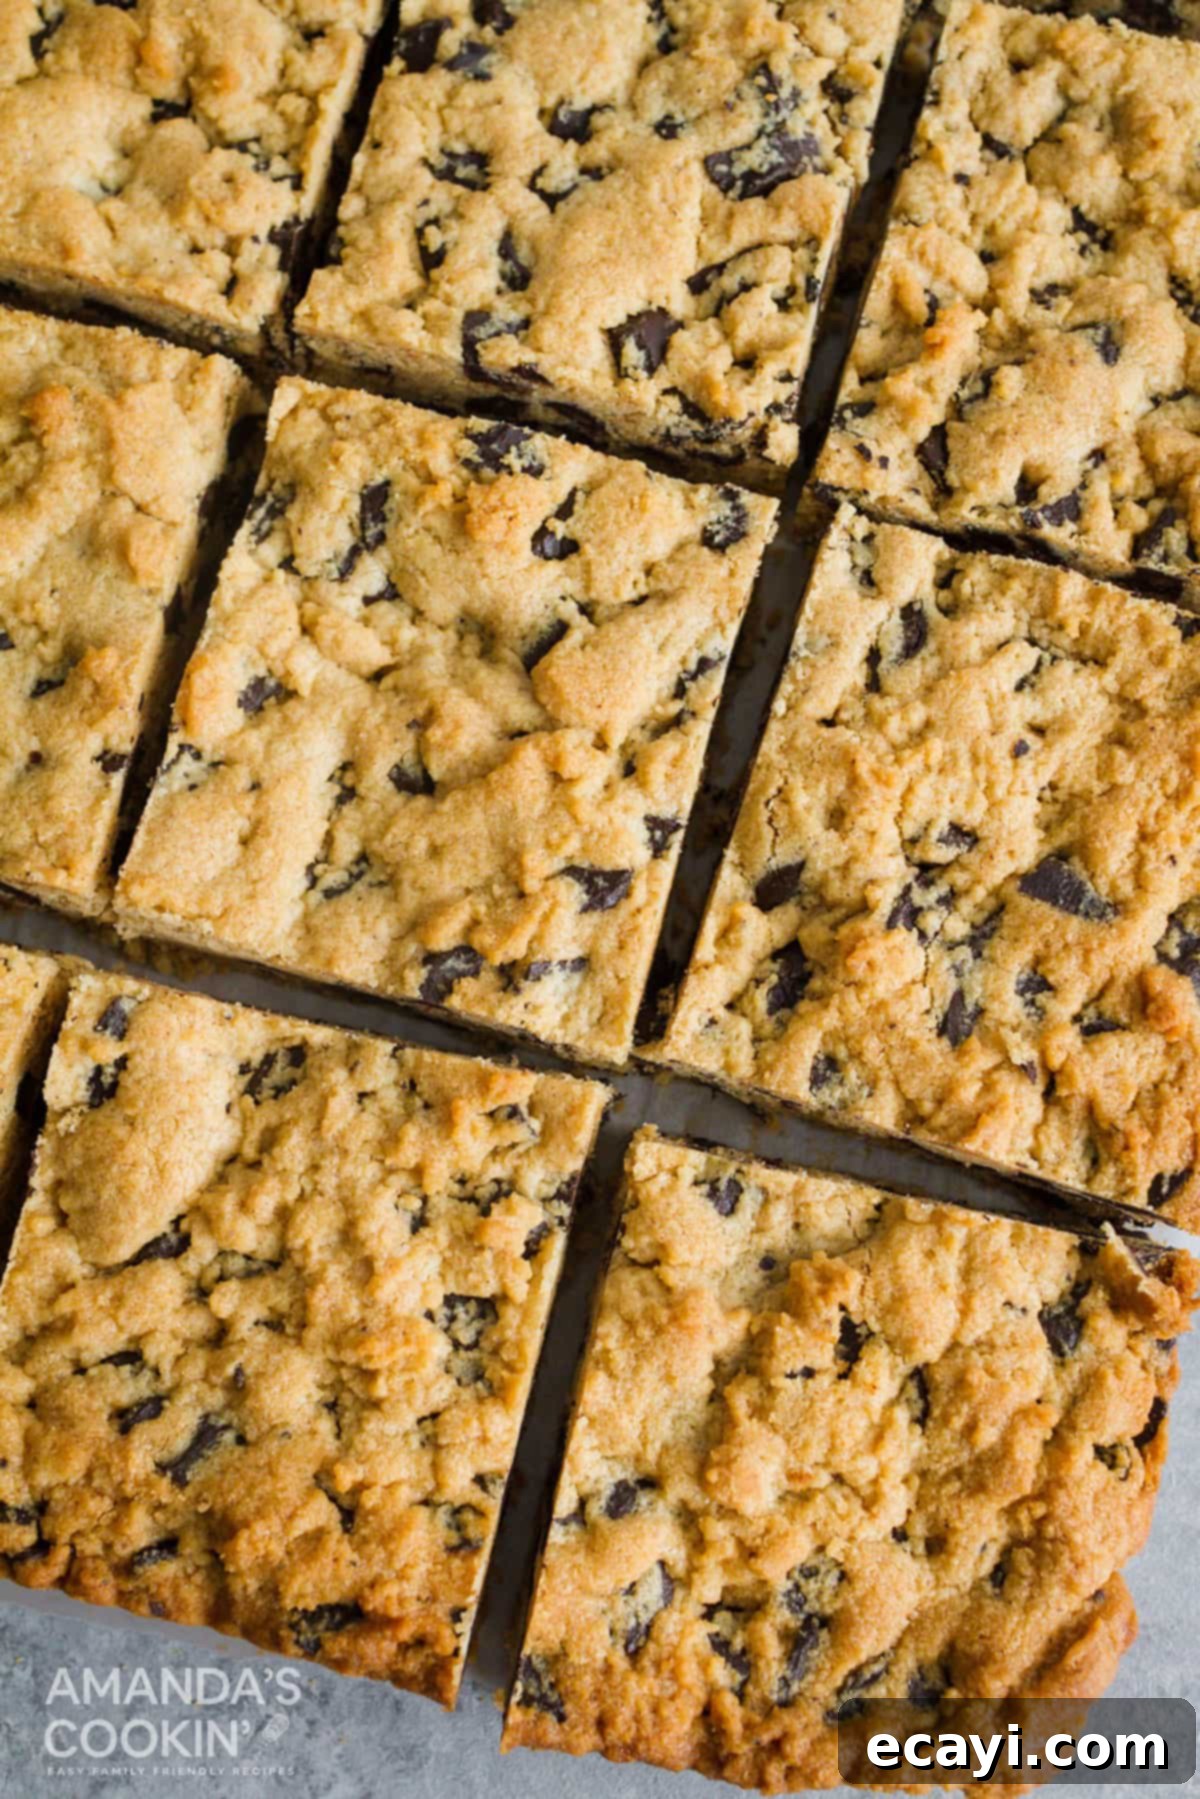
Why These Peanut Butter Chocolate Chip Bars Are a Fan Favorite
The combination of peanut butter and chocolate isn’t just a trend; it’s a culinary legend, a match made in dessert heaven! Think back to those iconic commercials: “Hey, you got chocolate in my peanut butter!” It’s a testament to how perfectly these two flavors complement each other, offering a delightful balance of salty and sweet that captivates taste buds of all ages. This classic pairing is a significant reason why these bars consistently rank as a top-requested treat in many households, embodying comfort and nostalgia in every bite.
Beyond the timeless flavor, the sheer convenience of baking in bar form elevates this recipe above traditional cookies. While everyone adores easy chocolate chip cookies, bars offer unmatched portability and ease of serving. Instead of meticulously scooping individual cookies, you simply press the dough into a single pan, bake, cool, and slice. This means less time in the kitchen and more time enjoying! They’re ideal for transporting to potlucks, family gatherings, school events, or even just packing in lunchboxes. The sturdy bar format ensures they travel well and are easy to handle, making them a practical and delicious choice for any occasion where you need a quick, satisfying dessert without the fuss.
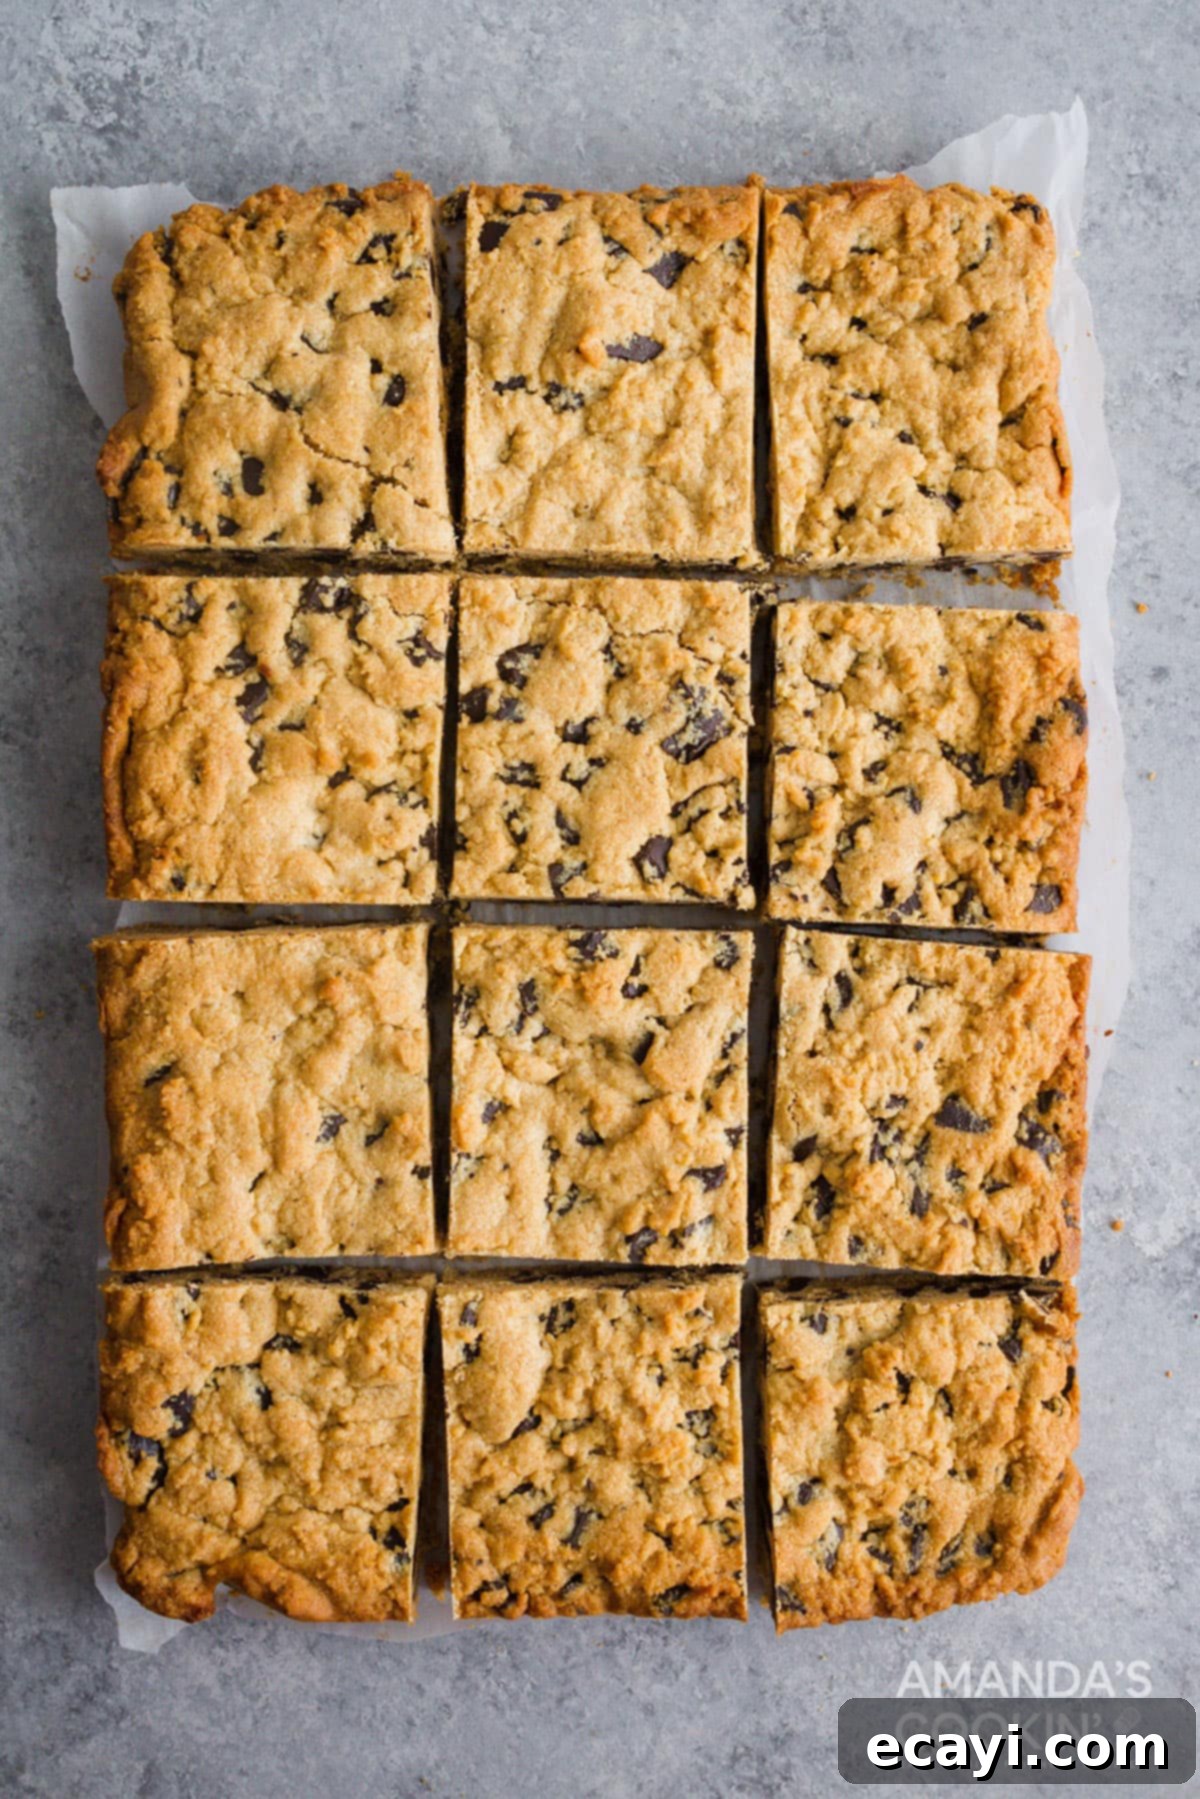
Essential Ingredients for Your Delicious Bars
For precise measurements, a comprehensive list of ingredients, and detailed instructions, please refer to the printable recipe card available at the conclusion of this article. This section offers additional insights into each ingredient’s role and potential variations for these delectable peanut butter chocolate chip bars.
Creating these delightful **Peanut Butter Chocolate Chip Bars** requires a few common pantry staples. Each ingredient plays a crucial role in achieving that perfect chewy texture and balanced flavor profile, making for a truly irresistible homemade dessert:
- Dry Ingredients:
- All-purpose flour: Forms the structural base of your bars, providing the necessary body and chewiness. Ensure it’s properly measured (spooned into the cup and then leveled off with a straight edge) to prevent overly dense or dry bars.
- Baking soda: Our primary leavening agent, responsible for giving the bars a soft, slightly risen, and airy texture. It reacts with the acidic brown sugar and peanut butter to create lift.
- Salt: A critical ingredient that doesn’t just add saltiness but significantly balances the sweetness and enhances the rich, complex flavors of both the peanut butter and chocolate. Do not omit this!
- Wet Ingredients:
- Unsalted butter: Softened butter is key for creaming effectively with the sugars, creating a light and airy base for the cookie dough. Using unsalted butter allows you to control the overall saltiness of the recipe precisely.
- Creamy peanut butter: The undeniable star of the show! Opt for a smooth, creamy peanut butter for the best texture and consistent distribution throughout the bars. If using natural peanut butter, ensure it’s very well-stirred and that any excess oil is thoroughly mixed in or drained to maintain dough consistency.
- Granulated sugar: Contributes to sweetness and helps achieve that delightful crispy edge, characteristic of perfectly baked bars.
- Light brown sugar (packed): Adds crucial moisture, a deeper, molasses-rich depth of flavor, and contributes significantly to the chewy texture we all love in a good bar cookie. Packing it firmly into the measuring cup ensures accurate measurement.
- Egg: Acts as a vital binder, providing structure and richness to the dough, and helping all the ingredients coalesce into a cohesive mixture. A large egg is typically recommended for standard baking recipes.
- Vanilla extract: A quintessential flavor enhancer that complements both the peanut butter and chocolate beautifully, adding a warm, aromatic, and comforting note to the overall profile.
- Flavorful Add-ins:
- Chopped semi-sweet chocolate (or a bag of chocolate chunks or chips): Whether you prefer the irregular pockets of gooey melted chocolate from a chopped bar or the uniform distribution of chips, make sure you have a generous amount! The recipe calls for 12 ounces, which ensures maximum chocolatey goodness in every bite. Feel free to use milk chocolate for a sweeter bar or dark chocolate for a richer, more intense flavor.
- Nuts (optional): For an extra layer of crunch, texture, and nutty flavor, consider folding in about ½ to 1 cup of chopped pecans, walnuts, or even peanuts with the chocolate. This adds another dimension to the bars, though they are equally delicious and satisfying without.
Gathering all your ingredients before you begin (often referred to as “mise en place”) will make the baking process even smoother, more efficient, and ultimately more enjoyable. Having everything prepped ensures you can focus on the technique and achieve the best results for your homemade peanut butter chocolate chip bars.
How to Master These Peanut Butter Chocolate Chip Bars: Step-by-Step Guide
These detailed step-by-step instructions are designed to walk you through the process of making these irresistible bars, ensuring a perfect bake every time. For a concise, printable version of the recipe, complete with measurements and nutritional information, please scroll down to the dedicated recipe card at the end of this post.
- Prepare Your Baking Pan and Preheat Oven: Begin by preheating your oven to 375°F (190°C). Allowing the oven to fully preheat ensures it is at the correct temperature when your dough is ready to bake, which is crucial for even cooking and proper rising. Next, prepare a 13×9 inch baking pan. Line the pan with aluminum foil or parchment paper, making sure to leave an overhang on the sides. These extended edges will serve as convenient “handles” that will allow you to easily lift the entire cooled slab of bars out of the pan, making cutting a breeze. Once lined, lightly grease or spray the foil/parchment paper with non-stick cooking spray to prevent any sticking.
- Combine Dry Ingredients: In a medium-sized mixing bowl, whisk together the all-purpose flour, baking soda, and salt. It’s important to whisk these dry ingredients thoroughly to ensure they are well combined and evenly distributed. This step prevents pockets of leavening agents or salt, which is vital for a uniform texture and consistent flavor in your finished bars. Set this bowl aside while you prepare the wet ingredients.
- Cream Wet Ingredients & Form Dough: In a large mixing bowl, using an electric mixer (either a stand mixer fitted with a paddle attachment or a handheld electric mixer), cream together the softened unsalted butter, granulated sugar, light brown sugar, and creamy peanut butter. Beat on medium speed for about 2-3 minutes until the mixture is light, fluffy, and visibly well combined. This creaming process incorporates air into the butter and sugars, contributing significantly to the bars’ tender and chewy texture. Next, beat in the large egg and vanilla extract until they are fully incorporated into the mixture. Reduce the mixer speed to low and gradually add the whisked dry ingredients (flour, baking soda, salt) to the wet mixture. Mix only until the dry ingredients are just combined into the wet; be very careful not to overmix, as excessive mixing can develop the gluten in the flour, resulting in tough, dry bars. Turn off the mixer and, using a sturdy spatula, gently fold in your chopped semi-sweet chocolate (or preferred chocolate chunks/chips) until they are evenly dispersed throughout the dough. If adding nuts, fold them in at this stage as well.
- Bake to Golden Perfection: Evenly press the prepared cookie dough into the lined 13×9 inch baking pan. You can use your hands, the back of a spatula, or the bottom of a measuring cup to ensure the dough is spread smoothly and uniformly across the pan. This promotes even baking. Bake for 20-22 minutes, or until the edges are beautifully golden brown and a toothpick inserted into the center comes out with moist crumbs attached (it should not be wet dough, but not entirely clean either, indicating a perfectly chewy center). Keep a close eye on them during the last few minutes, as ovens can vary, and overbaking can lead to dry bars. Once baked, remove the pan from the oven and place it on a wire rack to cool completely in the pan. Resist the urge to cut them while warm; cooling allows the bars to set properly and prevents them from crumbling. When fully cooled, use the foil or parchment paper “handles” to lift the entire slab out of the pan, transfer it to a cutting board, and slice into your desired bar size. Enjoy your homemade peanut butter chocolate chip bars!
Expert Tips & Frequently Asked Questions (FAQs) for Perfect Peanut Butter Chocolate Chip Bars
Tips for Baking Success:
- The Foil/Parchment Trick: As emphasized in the recipe, lining your pan with foil or parchment paper and leaving a generous overhang is a game-changer. These “handles” make it incredibly simple to lift the entire batch of cooled bars out of the pan, allowing for clean, precise cuts without damaging the edges or bottom. This also makes cleanup significantly easier!
- Room Temperature Ingredients: Ensure your butter is truly softened (but not melted, as this will affect the creaming process) and your egg is at room temperature. This allows for better emulsification of ingredients, creating a smoother, more uniform dough, and contributing to a better texture in the final baked product.
- Do Not Overmix: When incorporating the dry ingredients into the wet, mix only until just combined. Overmixing develops the gluten in the flour, which can lead to tough, dense, and less tender bars. Gentle folding after the flour is just incorporated is best.
- Checking for Doneness: The bars should be golden brown around the edges, but the center might still look slightly soft or gooey. This is normal! Remember that they will continue to set and firm up as they cool. A slightly underbaked bar is often chewier and more moist than an overbaked one, so err on the side of caution.
- Cool Completely Before Cutting: Patience is key to perfectly formed bars! Cutting warm bars will inevitably result in a crumbly, messy outcome. Allow them to cool entirely in the pan, ideally on a wire rack for quicker cooling, before lifting and slicing. For extra clean and crisp cuts, you can even chill them in the refrigerator for about 30 minutes after they’ve cooled to room temperature.
- Customizing Your Chocolate: Don’t limit yourself to semi-sweet! Experiment with milk chocolate for a sweeter, creamier bar, or use dark chocolate for a more intense, sophisticated flavor. A mix of different chocolates can also add wonderful complexity.
Frequently Asked Questions:
- Can I use natural peanut butter for these chocolate chip bars?
- Yes, you can use natural peanut butter, but be aware that it tends to be runnier and separates more easily than conventional processed peanut butter. Ensure it’s very well-stirred from the bottom up and that any excess oil is thoroughly mixed in or drained off before measuring to maintain the correct dough consistency. The resulting bars might have a slightly different texture and a less sweet, more intense peanut flavor.
- What kind of chocolate works best?
- Semi-sweet chocolate chunks or chips are a classic choice and highly recommended as they provide a balanced sweetness that complements the peanut butter beautifully. However, feel free to experiment! Milk chocolate will yield a sweeter bar, while dark chocolate will offer a richer, more intense flavor. Chopped chocolate bars often melt more beautifully than standard chips, creating luscious pockets of gooey chocolate throughout the bars.
- How do I store these delicious peanut butter chocolate chip bars?
- To maintain freshness and optimal texture, store the completely cooled bars in an airtight container at room temperature for up to 3-4 days. For longer storage, you can refrigerate them for up to a week. If you need to stack the bars, place a sheet of parchment paper between layers to prevent them from sticking together.
- Can I freeze these homemade bars for later?
- Absolutely! These peanut butter chocolate chip bars freeze wonderfully. Once they are completely cooled and cut into individual portions, wrap each bar tightly in plastic wrap, then place them in an airtight freezer-safe bag or container. They can be frozen for up to 2-3 months. To enjoy, simply thaw them at room temperature or warm briefly in the microwave for a fresh-baked feel.
- My bars are too crumbly or dry; what could have gone wrong?
- This is a common issue often caused by overbaking or using too much flour. To prevent this, ensure you measure flour correctly (spoon into the measuring cup and level off, rather than scooping directly from the bag). Additionally, watch your baking time carefully; ovens can vary significantly, so begin checking for doneness at the earlier end of the suggested time. A toothpick inserted should come out with moist crumbs, not dry or entirely clean.
These delightful **peanut butter chocolate chunk bars** are essentially a classic chocolate chip cookie dough, elevated and made even more special with the glorious addition of rich, creamy peanut butter. If you already have a beloved chocolate chip cookie recipe that you swear by, you can compare its ingredient ratios to this one and even experiment with adjusting the peanut butter proportion accordingly. However, for guaranteed success and deliciousness, we highly recommend following this tried-and-true recipe directly!
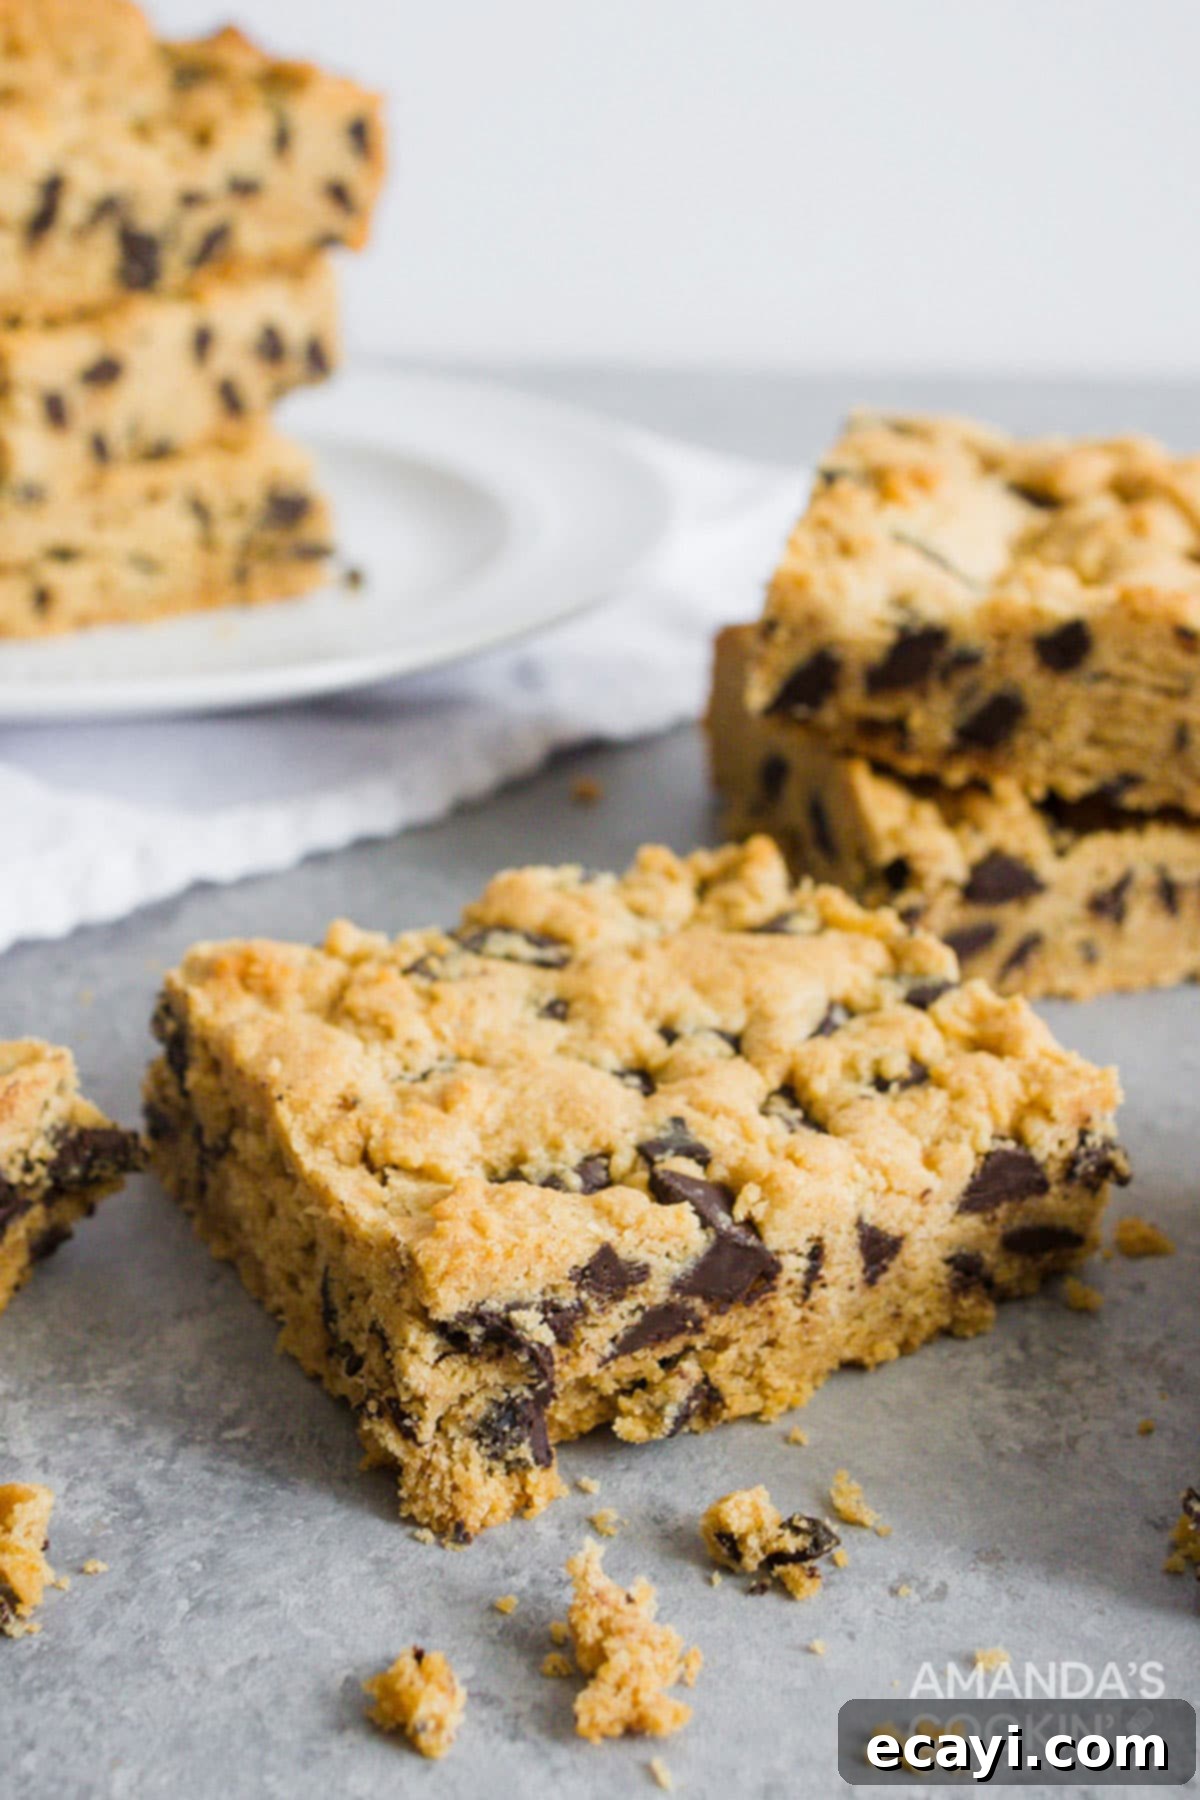
These delightful chocolate chip bars have been a perennial favorite in our home for years, earning their place as a go-to dessert. Given how much we adore soft and chewy peanut butter cookies, it was only natural to combine the best of both worlds into one incredible, easy-to-make bar. If you’re looking for more chocolate chip goodness to satisfy your sweet cravings, explore some of our other top picks that are sure to become new family favorites:
More Irresistible Chocolate Chip Recipes to Explore
If you’re a devoted fan of the classic chocolate chip, you’re in for a treat! Our extensive collection extends far beyond these amazing peanut butter bars, offering a variety of ways to enjoy everyone’s favorite baking chip. Get inspired by these cherished recipes:
- Chocolate Chip M&M Cookies: A colorful, fun, and extra-chewy twist on the classic chocolate chip cookie, perfect for kids and adults alike.
- Chocolate Chip Blondies: These rich, buttery, and incredibly chewy blondies are packed with chocolatey goodness, offering a different texture experience than traditional bars.
- Peanut Butter Oatmeal Chocolate Chip Cookies: A hearty and flavorful cookie that combines the best of peanut butter, wholesome oats, and delightful chocolate chips for a satisfying bite.
- Chocolate Chip Cookie Skillet: The ultimate decadent dessert! A giant chocolate chip cookie baked in a skillet, perfect for sharing warm with a scoop of vanilla ice cream.
- Cinnamon Chocolate Chip Cookies: A warm, spiced take on a beloved cookie, where the subtle hint of cinnamon perfectly complements the rich chocolate.
- Orange Chocolate Chip Cookies: A bright and citrusy surprise in every bite, offering a refreshing twist on the familiar chocolate chip flavor.
- Brookies: Can’t decide between a brownie and a cookie? This ultimate hybrid combines fudgy brownie goodness with chewy chocolate chip cookie dough for the best of both worlds.
I am passionate about creating and sharing delicious recipes with you, ensuring that every cooking and baking experience is a joyful one. I know it’s hard to remember to come back and search for new ideas, so I’ve made it easy for you with my weekly newsletter! You can subscribe for free, and I’ll send a curated selection of mouth-watering recipes directly to your inbox every week, keeping your culinary adventures exciting and fresh.
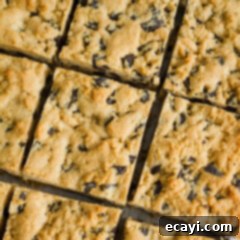
Peanut Butter Chocolate Chip Bars
IMPORTANT – There are often Frequently Asked Questions within the blog post that you may find helpful. Simply scroll back up to read them!
Print It
Rate It
Save It
Saved!
Ingredients
- 1 ¾ cups all purpose flour
- ¾ teaspoons baking soda
- ¼ teaspoons salt
- ¾ cup unsalted butter 1 1/2 sticks (softened)
- 1 cup creamy peanut butter
- ½ cup sugar
- ½ cup packed light brown sugar
- 1 large egg
- 1 teaspoon vanilla
- 12 oz chopped semi sweet chocolate or a bag of chocolate chunks or chips
Before You Begin
- Lining and overlapping the pan with either foil or parchment paper creates convenient “handles”, making it incredibly easy to lift the baked and cooled bars out for slicing. This helps maintain their shape and prevents sticking.
- At its core, this recipe for peanut butter chocolate chunk bars uses a basic chocolate chip cookie dough base, ingeniously enhanced with the rich flavor of peanut butter. If you have a preferred chocolate chip cookie recipe, feel free to compare its proportions to ours and adapt by adding peanut butter. However, for guaranteed success and deliciousness, we recommend following this recipe as written!
- For optimal texture, ensure your butter is softened to room temperature but not melted. This allows for proper creaming with the sugars, resulting in a lighter, fluffier dough.
- Accurate measurement of flour is crucial. Spoon flour into your measuring cup and then level it off with a straight edge to avoid adding too much, which can lead to dry and dense bars.
Instructions
-
Preheat your oven to 375°F (190°C). Prepare a 13×9 inch baking pan by lining it with aluminum foil or parchment paper, ensuring there is an overhang on the sides to create “handles”. Lightly grease or spray the foil/parchment to prevent sticking.
-
In a medium bowl, whisk together the all-purpose flour, baking soda, and salt until well combined. Set aside.
-
Using an electric mixer, cream the softened butter, granulated sugar, light brown sugar, and creamy peanut butter in a large bowl until the mixture is light and fluffy. Beat in the egg and vanilla extract until thoroughly combined. Reduce the mixer speed to low and gradually add the dry ingredients to the wet mixture, mixing until just combined. Be careful not to overmix. Turn off the mixer and gently fold in the chopped chocolate with a spatula.
-
Press the prepared cookie dough evenly into the lined pan. Bake for 20-22 minutes, or until the edges are golden brown and a toothpick inserted into the center comes out with moist crumbs. Remove from the oven and cool completely on a wire rack in the pan. Once fully cooled, use the foil/parchment handles to lift the bars out of the pan and cut into squares. Serve and enjoy!
Nutrition
The recipes on this blog are tested with a conventional gas oven and gas stovetop. It’s important to note that some ovens, especially as they age, can cook and bake inconsistently. Using an inexpensive oven thermometer can assure you that your oven is truly heating to the proper temperature. If you use a toaster oven or countertop oven, please keep in mind that they may not distribute heat the same as a conventional full sized oven and you may need to adjust your cooking/baking times. In the case of recipes made with a pressure cooker, air fryer, slow cooker, or other appliance, a link to the appliances we use is listed within each respective recipe. For baking recipes where measurements are given by weight, please note that results may not be the same if cups are used instead, and we can’t guarantee success with that method.
This post was originally published on this blog on March 15, 2011, and has been updated for clarity and expanded information to bring you the best possible baking experience with these delicious peanut butter chocolate chip bars.
