Decadent 5-Ingredient Chocolate Mousse: An Easy, Rich & Velvety Dessert Recipe
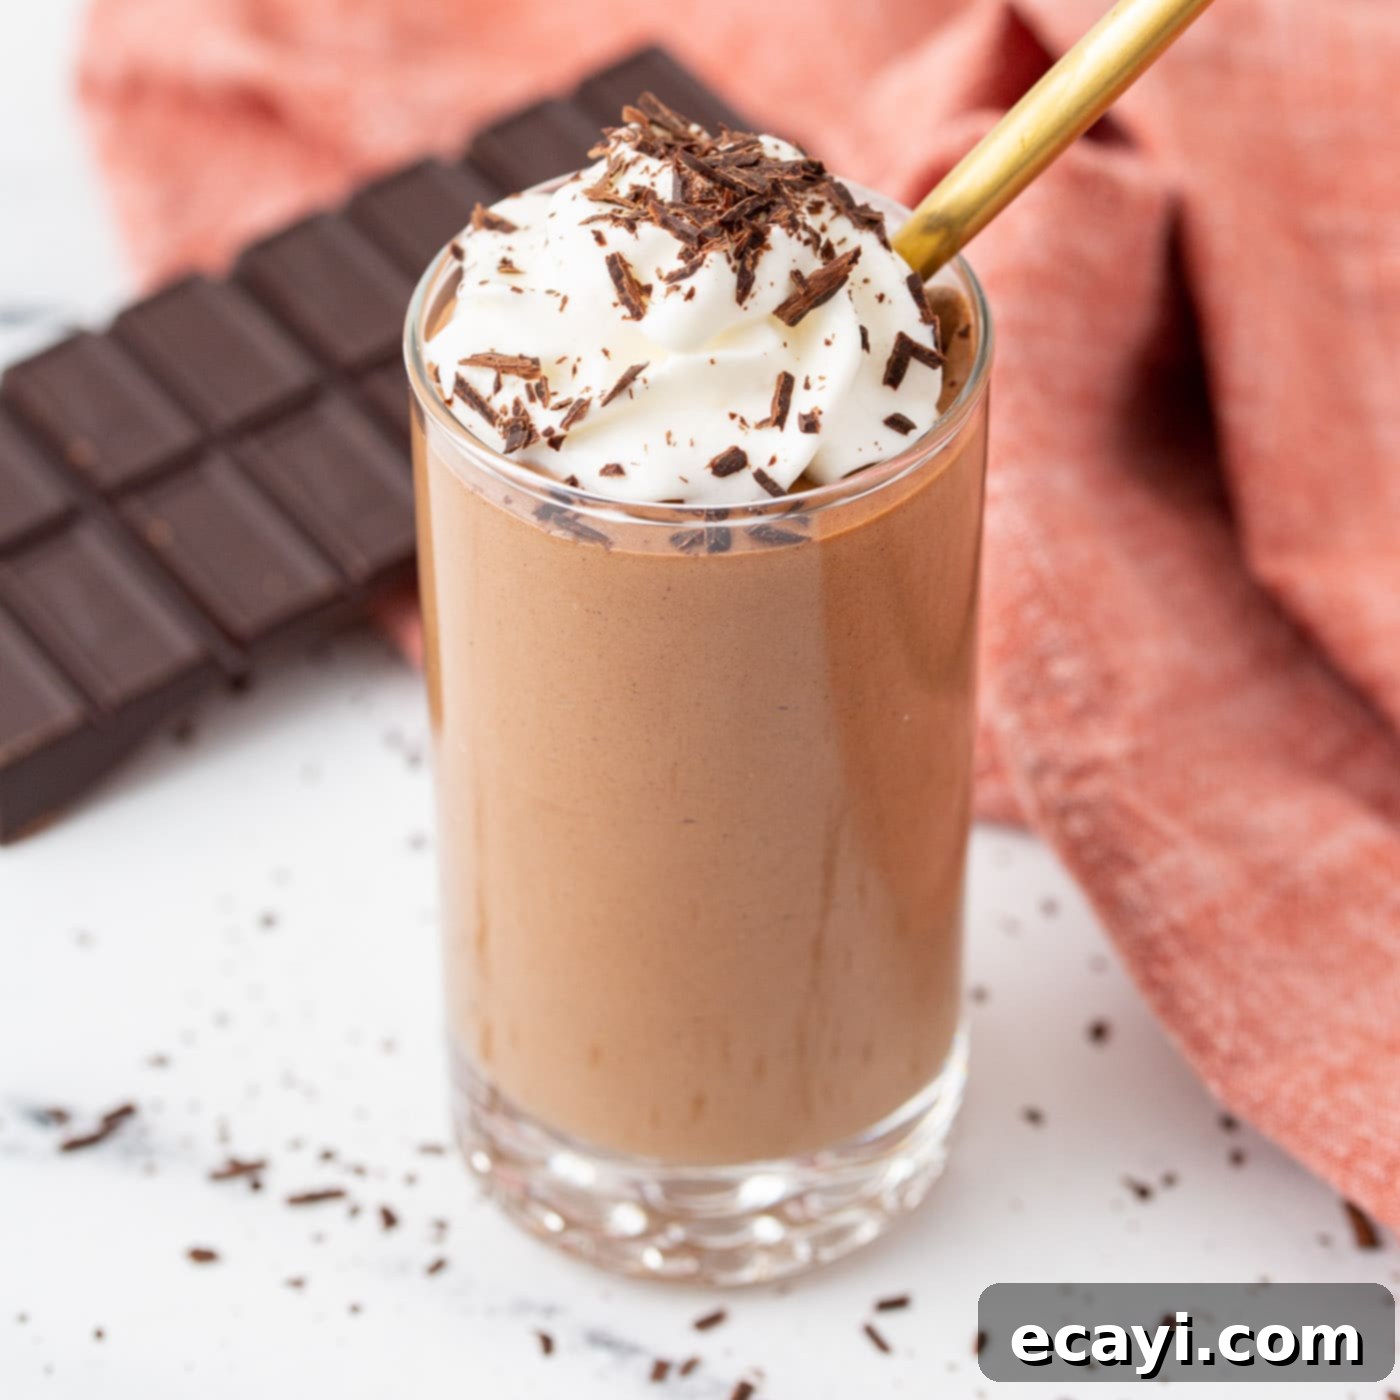
Indulge in the sublime simplicity of this rich and airy chocolate mousse recipe, requiring only five essential ingredients: dark unsweetened chocolate, fresh eggs, granulated sugar, luxurious heavy cream, and a touch of vanilla extract. This dessert embodies elegance and decadence, proving that extraordinary flavors don’t always demand a complex ingredient list. Perfect for impressing guests or simply treating yourself to a moment of pure chocolate bliss, this mousse delivers a profound chocolate experience with every light and airy spoonful.
Why This Easy Chocolate Mousse Recipe is a Must-Try
When it comes to desserts, we often seek that magical combination of ease and undeniable decadence. This chocolate mousse recipe perfectly encapsulates that ideal. Much like our beloved French silk pie, this mousse offers a creamy, rich, and incredibly airy texture that simply melts in your mouth. What makes it truly stand out is its ability to deliver such an impressive result with minimal effort and just a handful of ingredients. You don’t need to be a pastry chef to create a restaurant-quality dessert that will leave your family and friends utterly delighted.
This recipe works because it honors the classic French technique of mousse-making while simplifying the process for the home cook. By focusing on high-quality core ingredients and precise, yet straightforward, steps, we achieve that signature light-as-air texture and intense chocolate flavor. It’s an exquisitely beautiful dessert for serving individual portions, making it an ideal choice for dinner parties, holidays, or any occasion where you want to make a statement without spending hours in the kitchen. The elegant presentation, combined with the profound chocolate taste, ensures it’s always a crowd-pleaser. Furthermore, the ability to prepare it ahead of time makes entertaining stress-free, allowing you to enjoy your guests rather than fussing over last-minute dessert preparations.
Essential Ingredients for Perfect Chocolate Mousse
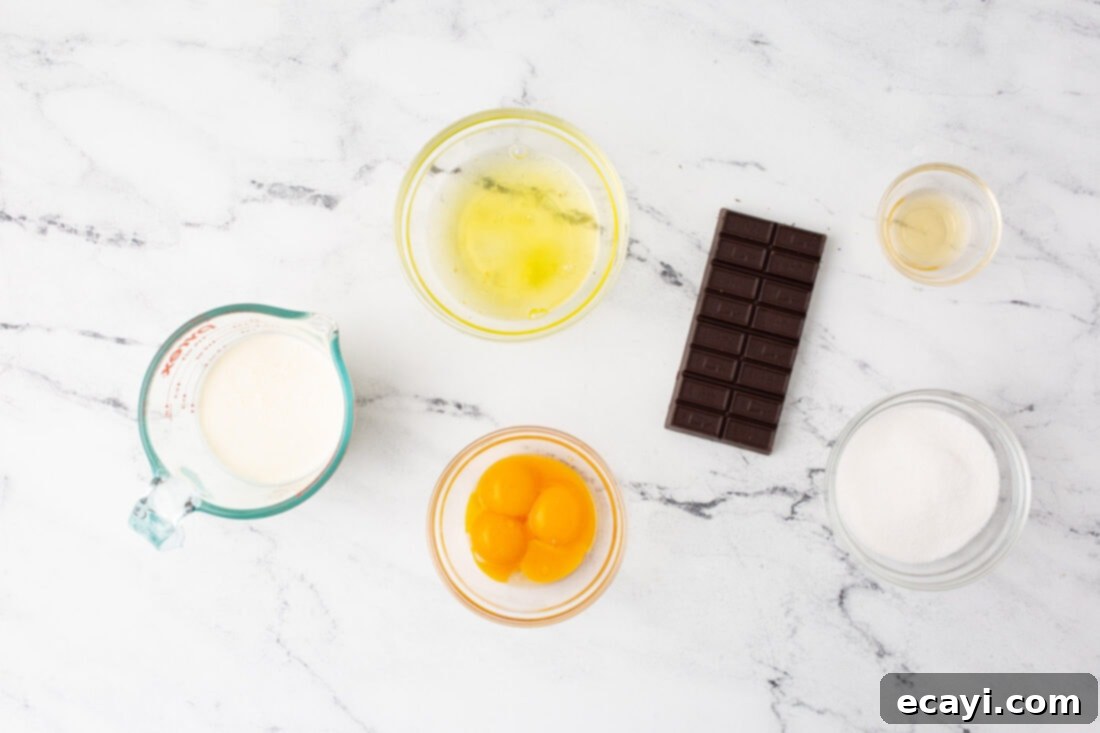
Crafting the perfect chocolate mousse begins with selecting the right ingredients. For detailed measurements, a complete list of ingredients, and comprehensive instructions, please refer to the printable recipe card available at the end of this post. For now, let’s dive into the core components that bring this magical dessert to life:
Each of the five ingredients plays a crucial role in achieving the signature texture and flavor of this decadent mousse. Opting for good quality ingredients, especially when the list is so short, will significantly elevate the final taste. Think of it as building a masterpiece – each component must be of the highest standard. Before you begin, ensure all your ingredients are measured out and ready (a concept known as “mise en place”). This preparedness makes the cooking process smoother and more enjoyable, preventing last-minute rushes or forgotten steps.
Ingredient Deep Dive & Expert Substitution Tips
Understanding each ingredient’s role and potential substitutions is key to mastering any recipe. Here’s a closer look at what goes into our perfect chocolate mousse:
EGGS – This recipe authentically uses raw eggs, which are traditional in many classic mousse recipes, contributing to its signature light and airy texture. The yolks provide richness and emulsification, while the whites, when whipped, incorporate air that gives the mousse its characteristic fluffiness. If you have concerns about consuming raw eggs, particularly if you are pregnant, elderly, or have a compromised immune system, you can certainly replace them with pasteurized eggs. Pasteurized eggs have been gently heated to kill bacteria without cooking them, making them safe for recipes that call for raw eggs. Alternatively, you can learn how to pasteurize eggs at home for a safer alternative without compromising the authentic mousse texture.
CHOCOLATE – The heart of any chocolate dessert lies in its chocolate. We specifically recommend using 100% cacao unsweetened baking chocolate for this recipe. You’ll typically find it in the baking aisle of your grocery store. Unsweetened chocolate provides the deepest, most intense chocolate flavor, allowing the added sugar in the recipe to create a perfectly balanced sweetness without being cloyingly sweet. This creates a truly rich and sophisticated mousse. However, you have several options for customization:
- Milk Chocolate: For a significantly sweeter and milder chocolate flavor, you can substitute with milk chocolate. Be aware that this will drastically change the flavor profile, making it less intense and more akin to a sweet chocolate pudding. You may also need to slightly reduce the added sugar in the recipe, though this can be tricky to balance.
- Semi-Sweet Chocolate: A popular choice, semi-sweet chocolate offers a good balance of sweetness and chocolate intensity. It typically contains 35-60% cacao. Using semi-sweet will result in a sweeter mousse than with unsweetened chocolate, but still deliver a satisfying chocolate punch.
- Bittersweet Chocolate: For a robust and complex chocolate flavor that’s less sweet than semi-sweet, opt for bittersweet chocolate. This usually contains 60-80% cacao. The higher the percentage, the richer and more profound the chocolate notes will be. Experiment with percentages like 60% or 70% to find your preferred intensity. Higher percentages will yield a much richer, deeper flavor, often with fruity or earthy undertones, which can elevate the mousse to an even more gourmet level. Always choose high-quality chocolate bars over chocolate chips, as chips often contain stabilizers that can affect melting and texture.
HEAVY WHIPPING CREAM – This ingredient is vital for both richness and aeration. It provides the luxurious creaminess that is characteristic of a good mousse and, when whipped, helps create the light, airy structure. Ensure you use cold heavy whipping cream (at least 36% milk fat) for best whipping results. Do not substitute with half-and-half or light cream, as they lack the fat content necessary to whip properly and achieve the desired texture.
SUGAR – Granulated sugar serves two main purposes: sweetening the mousse and aiding in the whipping of egg yolks and egg whites. It stabilizes the egg whites, helping them hold their peaks, which is crucial for the mousse’s airy structure. The amount specified in the recipe is balanced to complement the unsweetened chocolate, so adjust cautiously if substituting chocolate types.
VANILLA EXTRACT – A splash of good quality vanilla extract enhances the overall flavor of the chocolate, rounding out its edges and adding a subtle aromatic depth. While a small amount, it makes a significant difference. Use pure vanilla extract for the best results; artificial vanilla flavoring won’t provide the same depth.
Step-by-Step Guide: Crafting Your Own Decadent Chocolate Mousse
These step-by-step photos and detailed instructions are provided to help you visualize each stage of making this incredible dessert. For a convenient printable version of this recipe, complete with precise measurements and comprehensive instructions, simply Jump to Recipe at the bottom of this post.
- **Prepare the Chocolate:** Begin by finely chopping the unsweetened chocolate. Small, uniform pieces will melt more evenly and quickly when introduced to the warm cream. Set the chopped chocolate aside in a heatproof bowl. This “mise en place” step is crucial for smooth execution.
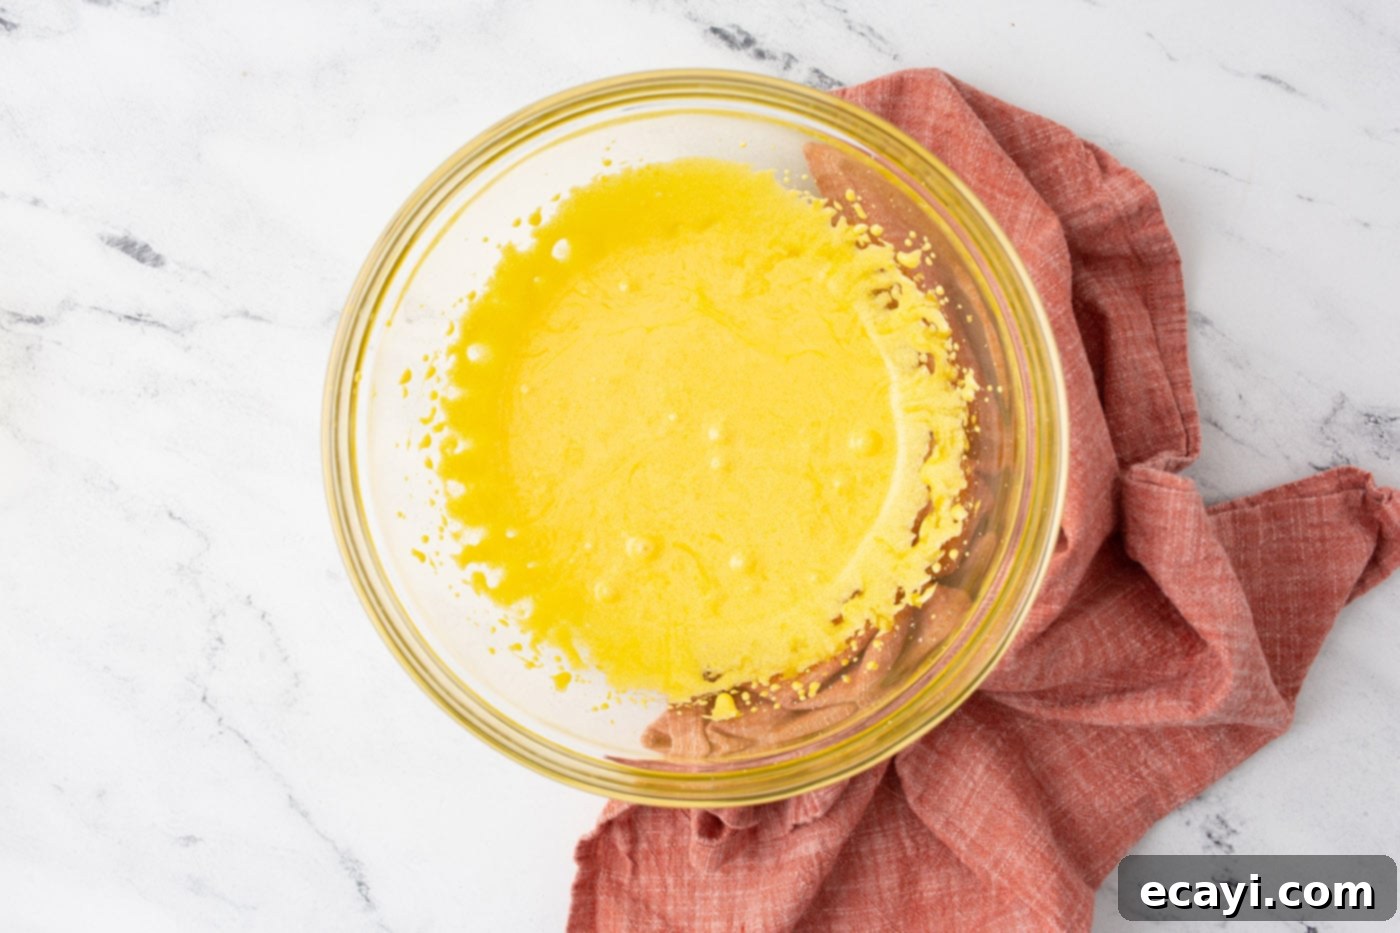
- **Separate and Beat Eggs:** Carefully separate the egg yolks from the egg whites, placing them into two separate large, immaculately clean mixing bowls. Even a tiny speck of yolk in the whites can prevent them from whipping properly. In the bowl with the egg yolks, add the granulated sugar. Using a hand mixer (or a stand mixer), beat the yolks and sugar together on high speed for approximately 3 minutes. Continue beating until the mixture becomes pale yellow, thick, and slightly fluffy. This process incorporates air and dissolves the sugar, creating a creamy base for the mousse.

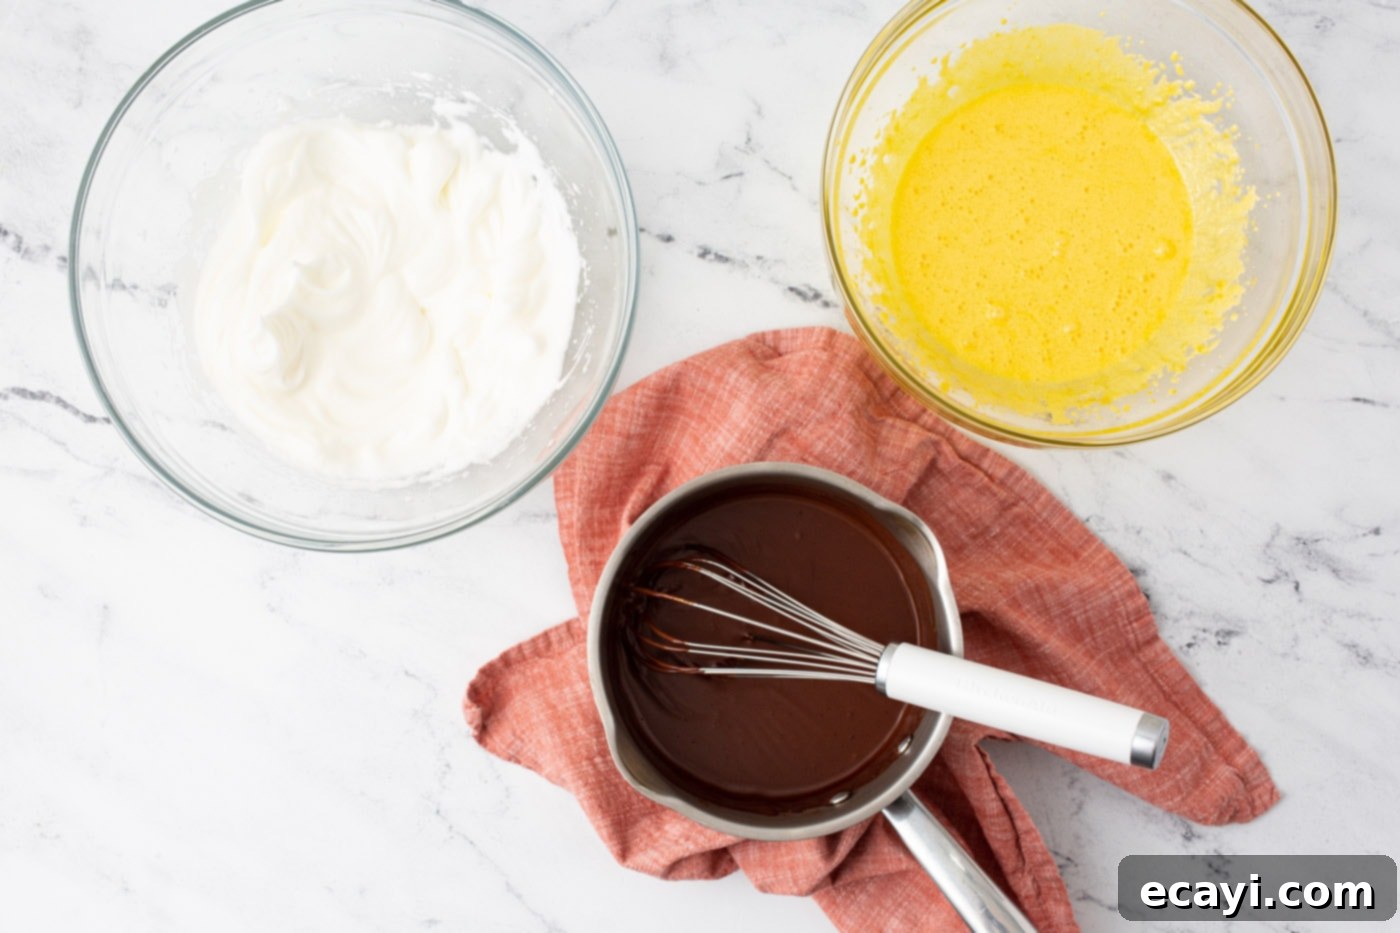
- **Whip Egg Whites:** Turn your attention to the bowl containing the egg whites. Using a clean hand mixer (ensure no grease or residue from the yolks remains on the beaters), beat the egg whites on high speed until stiff white peaks are formed. Stiff peaks mean that when you lift the beaters, the peaks hold their shape firmly and do not droop. This step is critical as whipped egg whites provide the essential lightness and airiness to the mousse.
- **Create the Chocolate Ganache Base:** On the stovetop, heat 1 cup of the heavy whipping cream in a small saucepan over low heat. Stir the cream constantly to prevent scorching and ensure even heating. Do not bring it to a boil; you want it just warm enough to melt the chocolate. Once warm, remove from heat and add the finely chopped chocolate. Stir continuously with a whisk until the chocolate is completely melted and fully combined with the cream, forming a smooth, glossy chocolate ganache. Continue stirring for another couple of minutes to allow the mixture to thicken slightly. Remove the ganache from the heat and let it cool to just above room temperature. This cooling step is important to prevent the chocolate from “scrambling” the egg yolks when combined.

- **Combine the Mixtures:** Slowly drizzle the slightly cooled chocolate ganache into the beaten egg yolk and sugar mixture. Whisk continuously and vigorously while drizzling to ensure the chocolate is thoroughly incorporated and to prevent the egg yolks from clumping or cooking. Once combined, stir in the vanilla extract, ensuring it’s evenly distributed throughout the rich chocolate base.
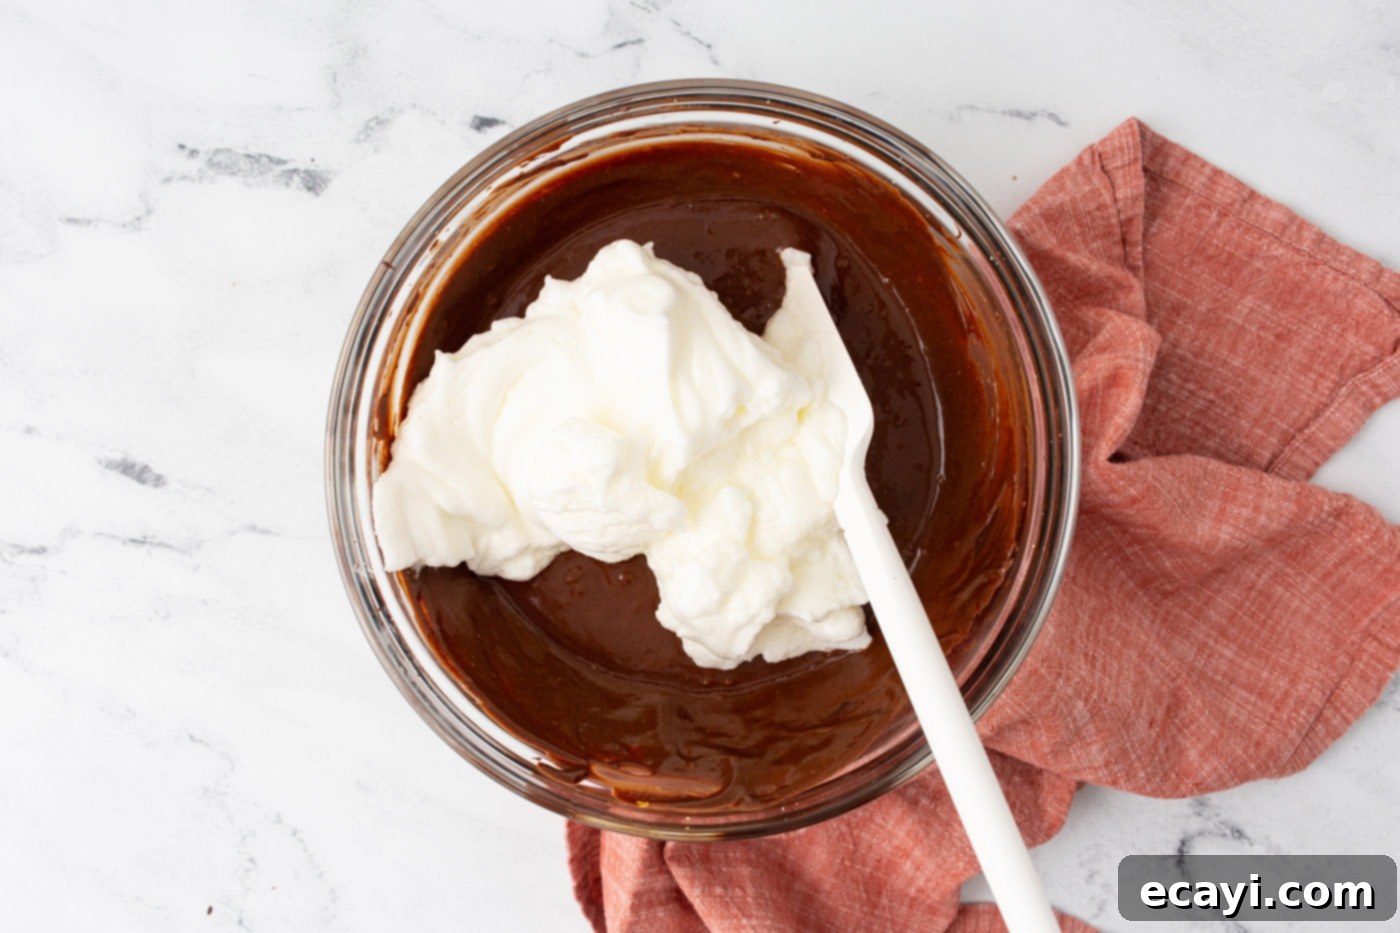
- **Gently Fold in Egg Whites:** Now comes the delicate part: fold the stiffly beaten egg whites into the chocolate and egg yolk mixture. Use a large rubber spatula and a gentle, upward folding motion to incorporate the whites without deflating them. The goal is to retain as much air as possible to maintain the mousse’s light texture. Continue folding until no streaks of white remain and the mixture is uniformly colored and airy. Once combined, cover the bowl and refrigerate for at least one hour to allow the mousse to begin setting. This initial chill helps stabilize the structure.

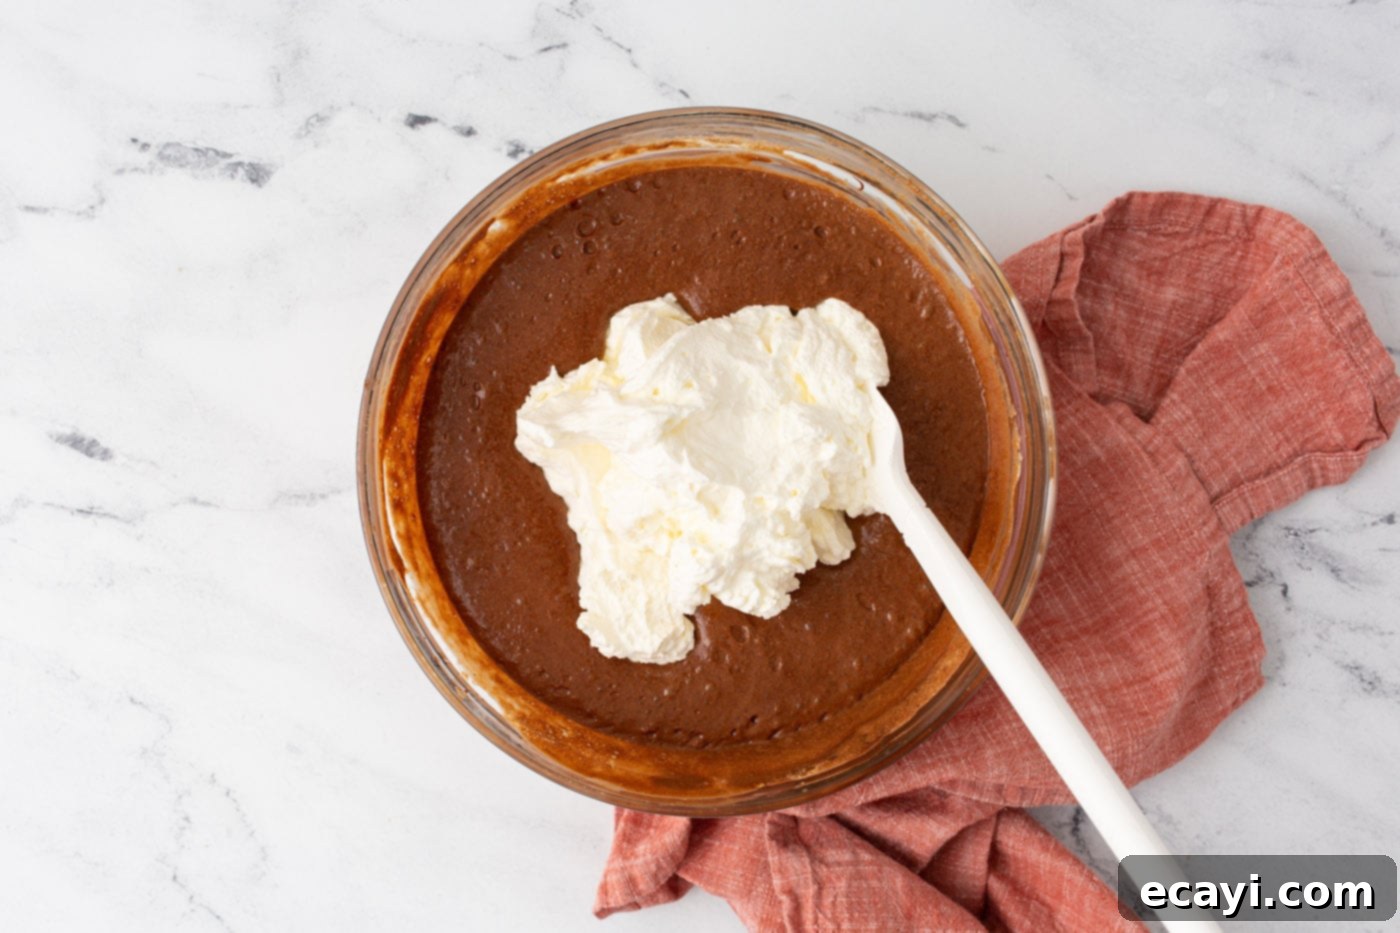
- **Whip Remaining Cream & Final Fold:** While the mousse chills, whip the remaining heavy whipping cream in a clean bowl until soft peaks form. Once the initial hour of refrigeration is complete, gently fold this freshly whipped cream into the partially set chocolate mixture. This second addition of whipped cream contributes to an even lighter and more luxurious final texture. Carefully spoon or pipe the finished mousse into your choice of individual serving dishes or elegant cups. Return the prepared servings to the refrigerator for an additional 3 hours, or preferably overnight, to allow the mousse to fully set and achieve its perfect consistency.

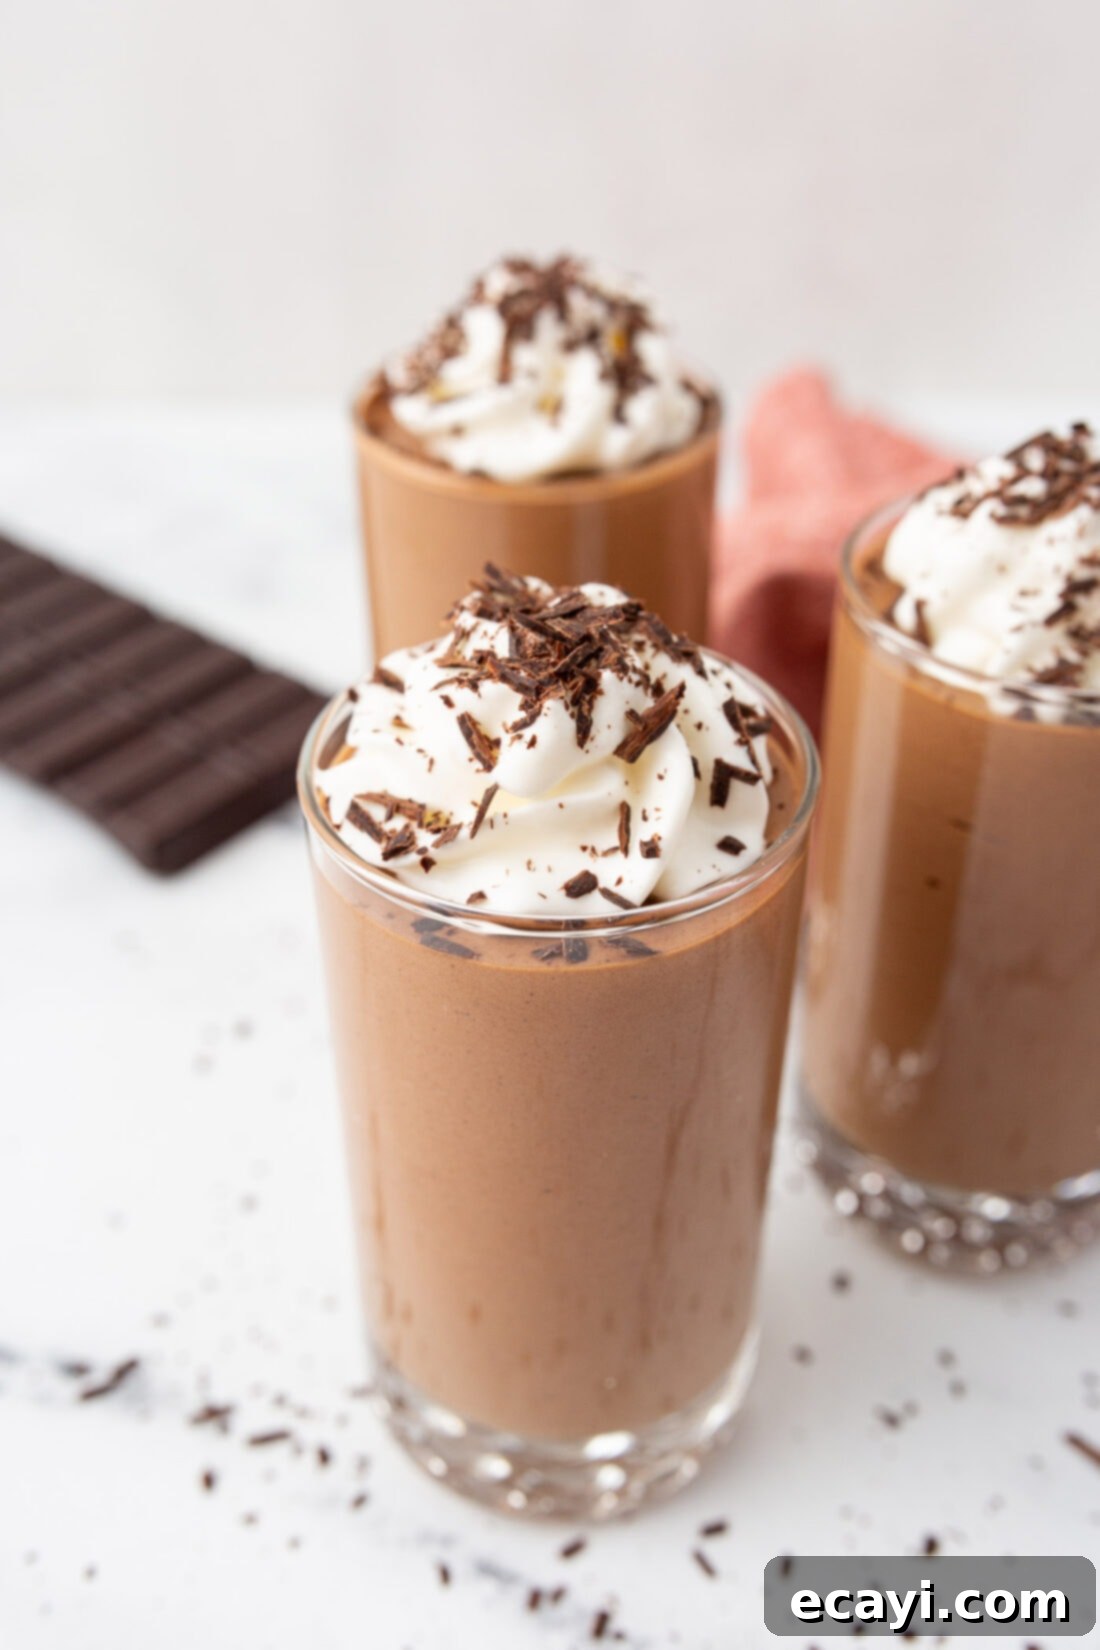
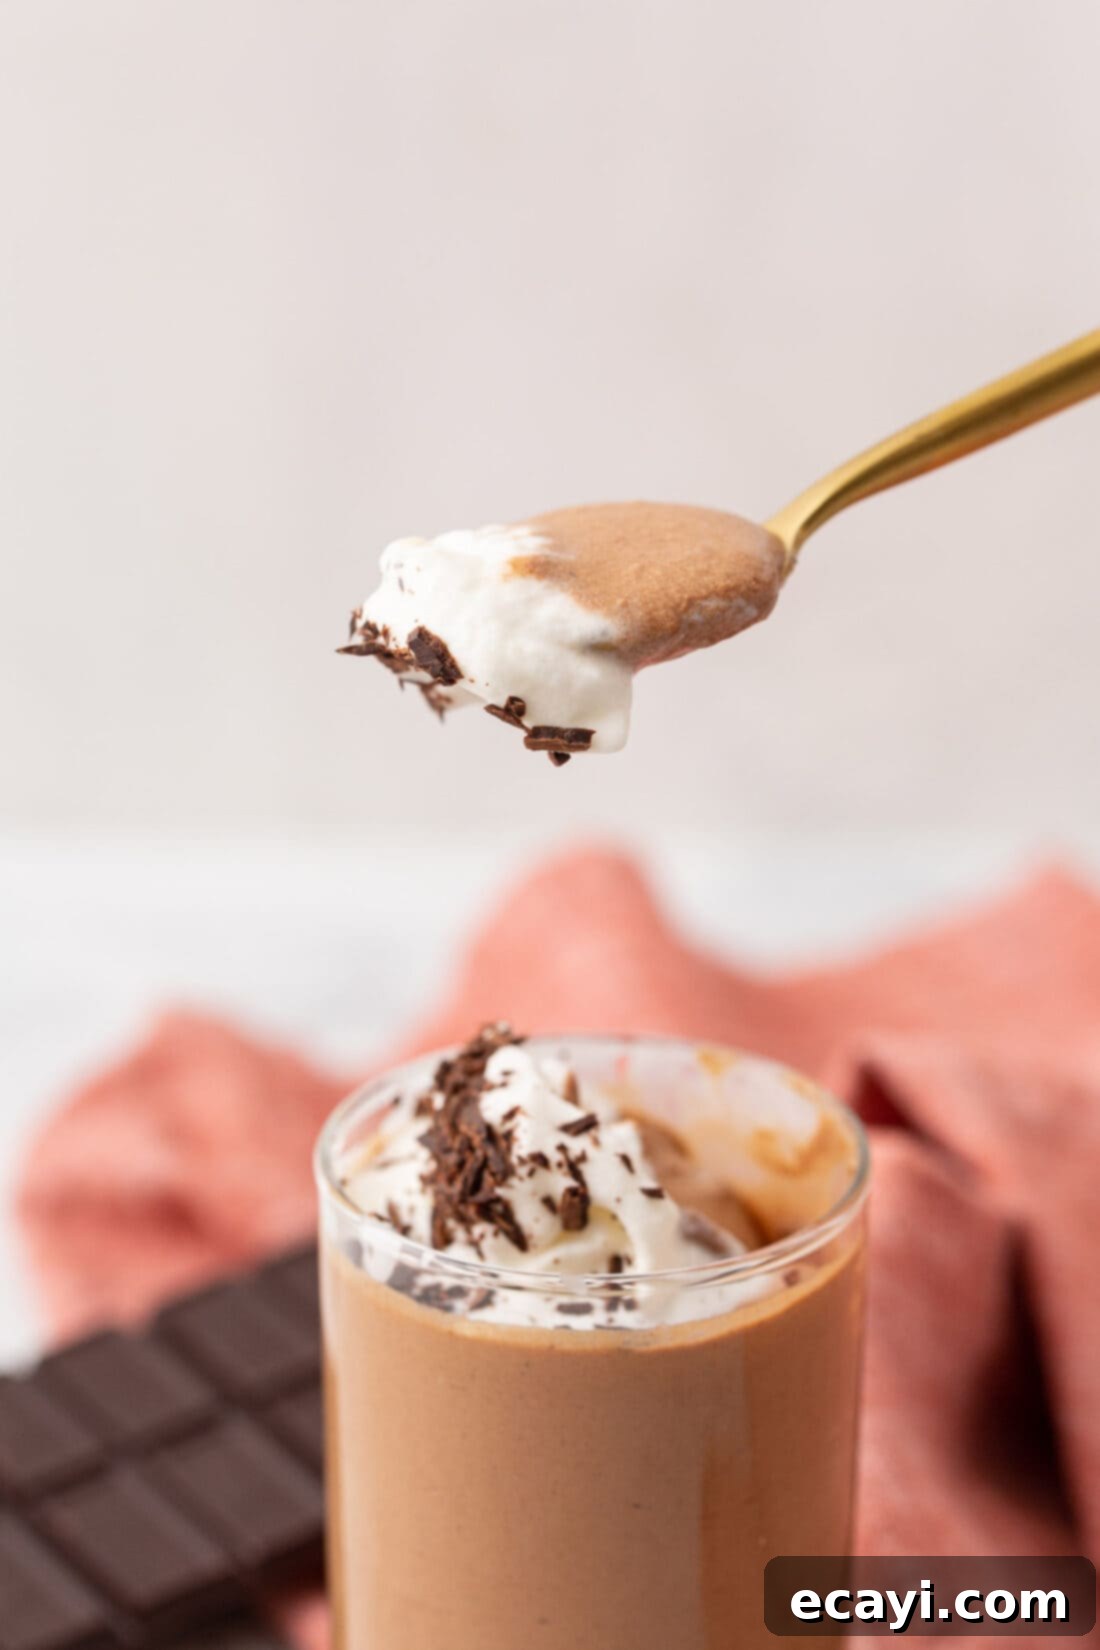
- **Serve and Garnish:** Once thoroughly chilled and set, serve your magnificent chocolate mousse. Garnish each serving with a dollop of fresh whipped cream and a sprinkle of chocolate shavings for an added touch of elegance and texture. Enjoy this chilled, velvety masterpiece!
Frequently Asked Questions & Expert Tips for Mousse Perfection
Yes, absolutely! Chocolate mousse is an ideal make-ahead dessert, which makes it perfect for entertaining. You can prepare this decadent chocolate mousse a day in advance. Simply cover it tightly with plastic wrap after pouring into serving dishes and store it in the refrigerator until you are ready to serve. In fact, many pastry chefs and home bakers prefer to make their mousse a day in advance, as this extended chilling time allows the flavors to meld and the mousse to achieve its optimal firm yet airy consistency. Just add your final garnishes right before serving for the freshest look.
When stored properly, homemade chocolate mousse will keep well in the refrigerator for up to 3 days. To ensure its freshness and prevent it from absorbing refrigerator odors, always cover it tightly with plastic wrap. If serving individual portions, cover each dish or cup. The texture might slightly change after the first day, but it will remain delicious.
Several factors can contribute to a runny mousse. Firstly, ensure your egg whites were whipped to stiff peaks; under-whipped whites won’t provide enough structure. Secondly, when folding in the egg whites and later the whipped cream, it’s crucial to be gentle to avoid deflating the air. Thirdly, temperature control is vital. Ensure the chocolate ganache has cooled sufficiently before adding it to the egg yolks, and the mousse must be thoroughly chilled for the recommended amount of time (at least 4 hours total, preferably overnight) for it to set properly. High-quality ingredients with proper fat content (like heavy cream) also play a role.
Absolutely! Adding a touch of liqueur can elevate the flavor profile of your chocolate mousse significantly. Popular choices include Kahlúa (coffee liqueur), Grand Marnier or Cointreau (orange liqueurs), rum, brandy, or even a hint of Irish cream. A good rule of thumb is to add 1-2 tablespoons of your chosen alcohol along with the vanilla extract in Step 5. Start with a smaller amount and taste to ensure it complements the chocolate without overpowering it.
Chocolate mousse is inherently elegant and looks wonderful in various serving vessels. Small ramekins, stemmed wine glasses, martini glasses, clear dessert cups, or even small teacups make for beautiful individual portions. The transparency of glass allows guests to appreciate the mousse’s beautiful layers and texture. You can also serve it from a larger communal bowl, allowing guests to spoon out their desired amount, though individual servings often offer a more refined presentation.
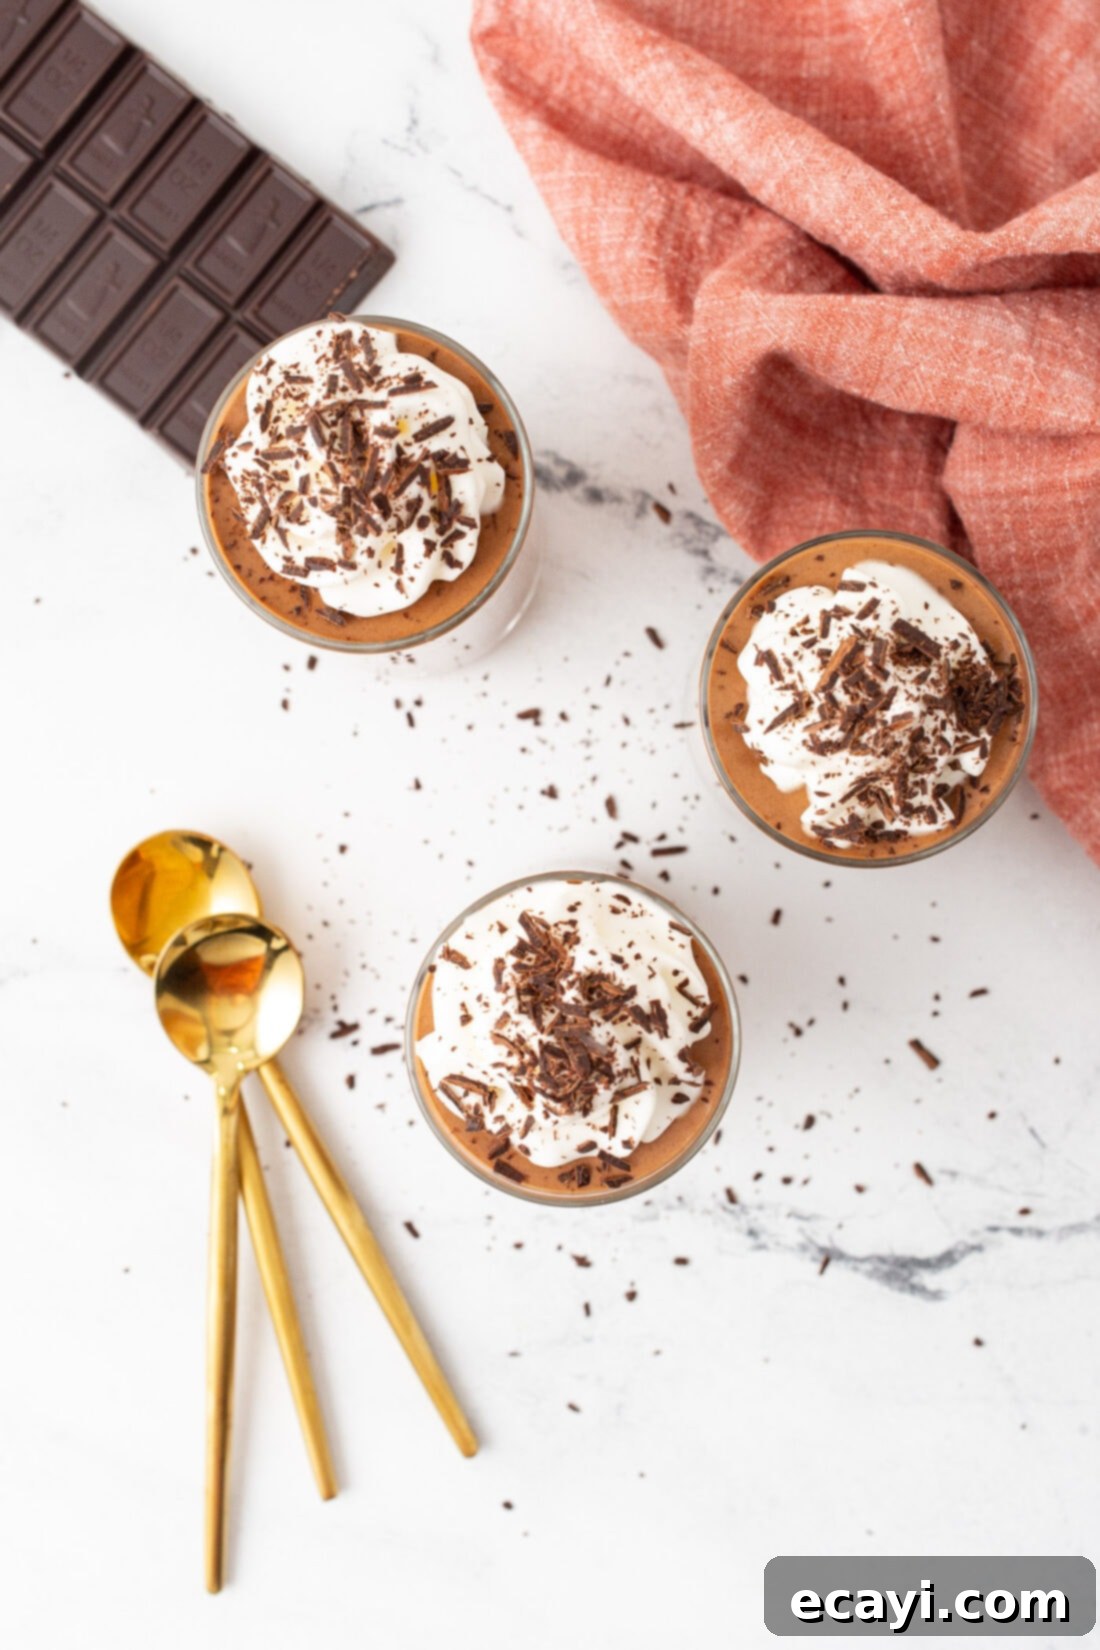
Elevate Your Chocolate Mousse: Creative Serving Suggestions
While classic chocolate mousse truly speaks for itself with its fluffy and airy chocolate base, adding a few thoughtful touches to the top can transform it into an even prettier and more enticing presentation. A beautifully garnished dessert not only pleases the eye but also enhances the overall culinary experience. Here are some ideas to serve your homemade chocolate mousse like a pro:
- **Classic Garnish:** The simplest and most popular way to garnish is with a generous dollop of freshly whipped cream. For an extra touch of sophistication, add delicate chocolate shavings (made by scraping a block of chocolate with a vegetable peeler) or a dusting of unsweetened cocoa powder over the whipped cream.
- **Fresh Berries:** The bright, tart flavor of fresh berries provides a wonderful contrast to the richness of the chocolate. Raspberries, strawberries, or blueberries add a vibrant pop of color and a refreshing burst of flavor. A sprig of fresh mint can further enhance the visual appeal.
- **Espresso Powder or Coffee Beans:** For those who love the classic pairing of chocolate and coffee, a tiny pinch of espresso powder sprinkled on top, or a few whole roasted coffee beans, can amplify the chocolate notes and add an intriguing aroma.
- **Nutty Crunch:** A sprinkle of finely chopped toasted nuts, such as almonds, hazelnuts, or pistachios, can add a delightful textural contrast.
- **Caramel Drizzle:** A light drizzle of homemade or store-bought caramel sauce can add an extra layer of sweetness and complexity.
- **Cookie Crumbles:** Crushed chocolate cookies (like Oreos) or even a delicate shortbread crumble can add an interesting textural element.
Always serve your chocolate mousse well-chilled for the best flavor and texture. The cool temperature enhances the mousse’s ability to melt slowly in your mouth, allowing you to savor every rich, velvety bite. Enjoy the luxurious simplicity of this unforgettable dessert!
More Decadent Dessert Recipes to Explore
If you’ve fallen in love with the art of dessert making and are seeking more sweet inspirations, here are some other fantastic recipes from our collection that promise to delight your taste buds:
- Homemade Baker’s Square French Silk Pie: A truly indulgent pie with a silky smooth chocolate filling.
- Individual Tiramisu: Elegant, coffee-infused Italian classic, perfect for single servings.
- Avocado Chocolate Mousse Cake: A unique and surprisingly delicious combination for chocolate lovers.
- Mini Pineapple Upside Down Cakes: Individual portions of a nostalgic and fruity favorite.
- Whipped Mandarin Orange Mousse: A lighter, fruity mousse for a different kind of sweet craving.
- Double Chocolate Cupcakes: For those who can’t get enough chocolate in one bite.
- Rich & Creamy Chocolate Fudge Frosting: The perfect topping for any cake or cupcake.
I love to bake and cook and share my kitchen experience with all of you! Remembering to come back each day can be tough, that’s why I offer a convenient newsletter every time a new recipe posts. Simply subscribe and start receiving your free daily recipes!
Classic 5-Ingredient Chocolate Mousse
IMPORTANT – There are often Frequently Asked Questions within the blog post that you may find helpful. Simply scroll back up to read them!
Print It
Pin It
Rate It
Save ItSaved!
Ingredients
- 4 oz unsweetened chocolate baking chocolate, 100% cacao recommended
- 4 large eggs separated (yolks and whites), or pasteurized eggs for safety
- ½ cup granulated sugar
- 2 ½ cups cold heavy whipping cream (at least 36% milk fat)
- 1 tsp pure vanilla extract
Things You’ll Need
-
Hand mixer
-
Mixing bowls
-
Whisk
-
Saucepan
Before You Begin
- You may replace regular eggs with pasteurized eggs if you have concerns about consuming raw eggs or are pregnant.
- We used 100% cacao unsweetened baking chocolate. This is found in the baking aisle at the grocery store. For this recipe, using baking chocolate bars (not chips) is recommended as they melt more smoothly. You may substitute with milk chocolate for a much sweeter taste, or a bar of semi-sweet chocolate, or bittersweet at whatever percentage you prefer (e.g., 60% or 70%). Keep in mind that higher percentages of cacao in chocolate will yield a richer, deeper, and less sweet flavor profile for your mousse.
- This recipe is designed to make 8 generous, 1-cup servings.
- Ensure all your mixing bowls and beaters are impeccably clean and grease-free, especially when whipping egg whites, to achieve optimal volume.
Instructions
-
Finely chop the unsweetened chocolate and set it aside in a heatproof bowl. Small pieces ensure even melting.
-
Carefully separate the egg yolks and egg whites into two large, very clean mixing bowls. In the bowl with the egg yolks, add the sugar. Use a hand mixer to beat the yolks and sugar together on high speed for about 3 minutes until the mixture is light yellow, thick, and fluffy.
-
In the second large bowl, use clean beaters to beat the egg whites with a hand mixer until stiff white peaks are formed. The peaks should hold their shape firmly.
-
On the stovetop, heat 1 cup of the heavy whipping cream over low heat, stirring constantly until it’s warm but not boiling. Remove from heat, add the chopped chocolate, and stir with a whisk until completely melted and combined into a smooth chocolate ganache. Continue stirring for a couple more minutes to allow it to thicken slightly. Let it cool to just above room temperature.
-
Slowly drizzle the cooled chocolate mixture into the egg yolk mixture while continuously whisking to prevent any clumping. Once fully combined, stir in the vanilla extract.
-
Gently fold the stiffly beaten egg whites into the chocolate and egg yolk mixture using a rubber spatula, preserving as much air as possible. Refrigerate the mousse mixture for one hour to begin setting.
-
Whip the remaining 1 ½ cups of heavy whipping cream until soft peaks form. After the initial hour of refrigeration, gently fold the whipped cream into the chocolate mixture until just combined. Pour the finished mousse into your choice of serving dishes or cups. Refrigerate for another 3 hours, or preferably overnight, for a fully set and velvety texture.
-
Serve your perfectly chilled chocolate mousse with a dollop of fresh whipped cream and elegant chocolate shavings, or your desired garnish. Enjoy!
Nutrition
The recipes on this blog are tested with a conventional gas oven and gas stovetop. It’s important to note that some ovens, especially as they age, can cook and bake inconsistently. Using an inexpensive oven thermometer can assure you that your oven is truly heating to the proper temperature. If you use a toaster oven or countertop oven, please keep in mind that they may not distribute heat the same as a conventional full sized oven and you may need to adjust your cooking/baking times. In the case of recipes made with a pressure cooker, air fryer, slow cooker, or other appliance, a link to the appliances we use is listed within each respective recipe. For baking recipes where measurements are given by weight, please note that results may not be the same if cups are used instead, and we can’t guarantee success with that method.
