Decadent Homemade Chocolate Cake Roll with Silky Buttercream and Rich Ganache: Your Ultimate Swiss Roll Recipe
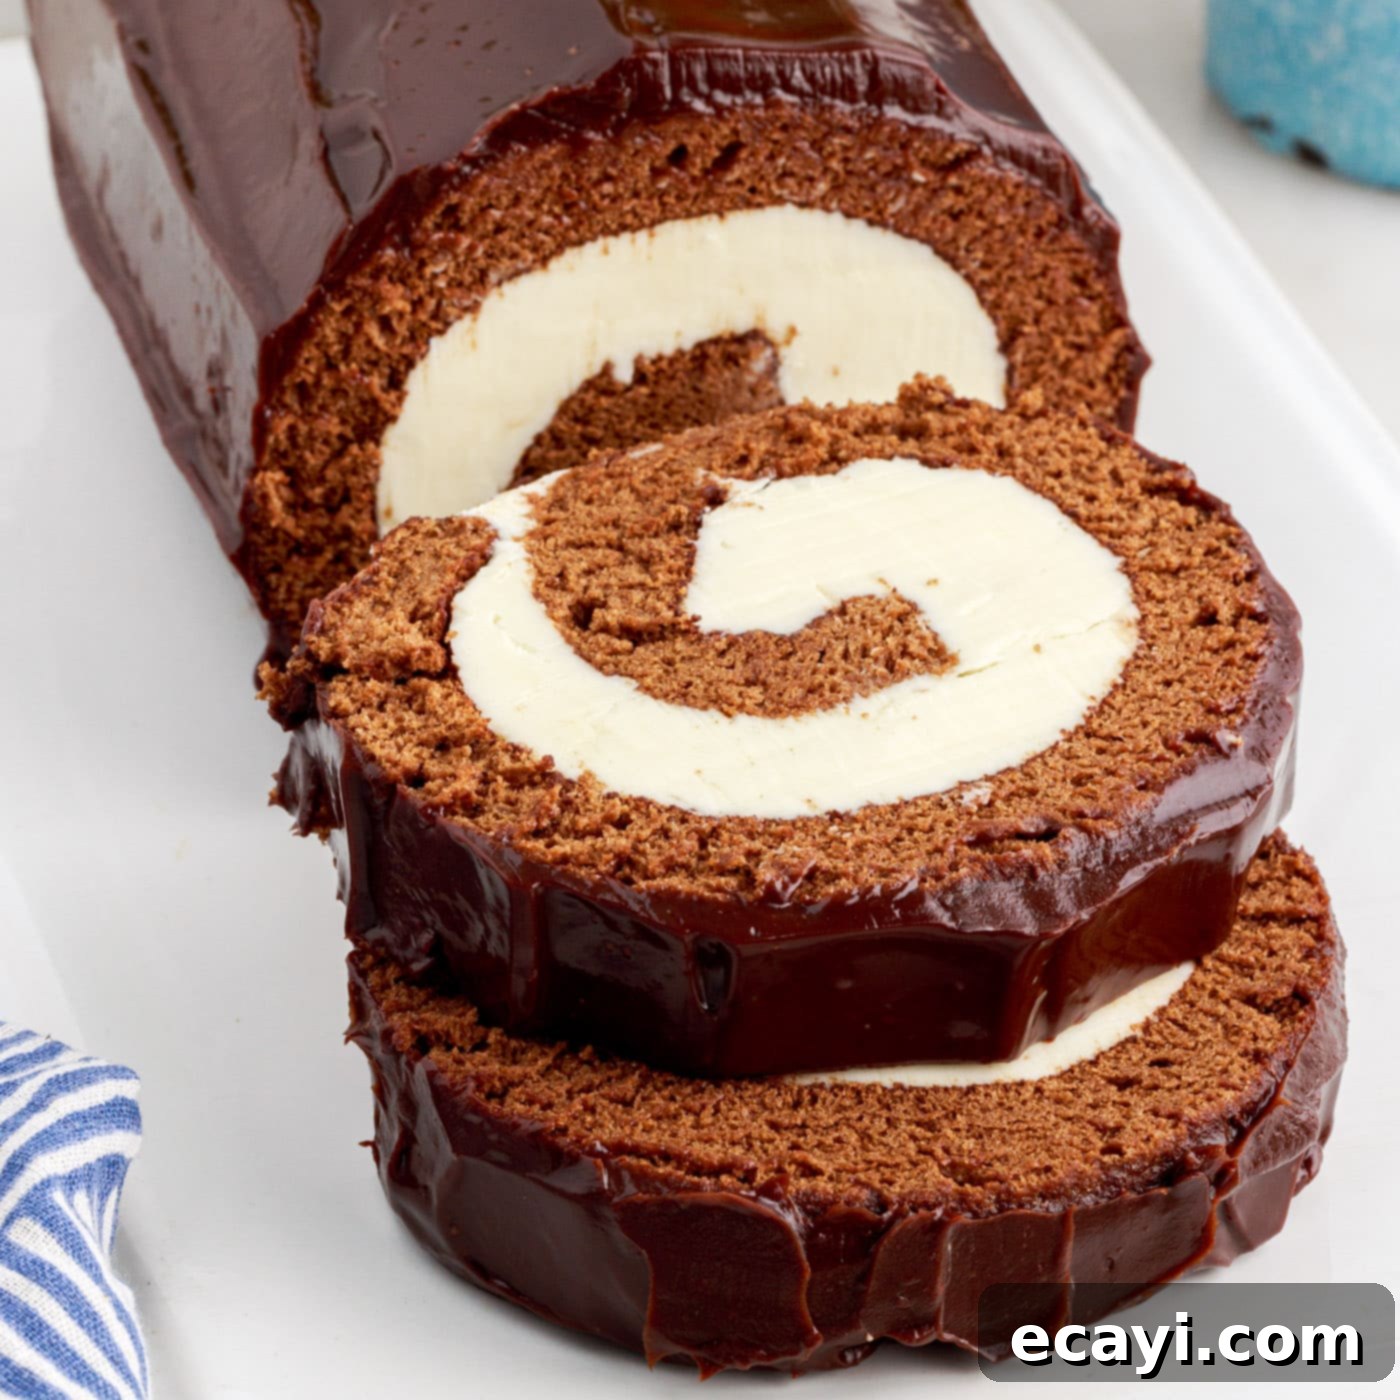
Indulge in the ultimate chocolate experience with this exquisite homemade chocolate cake roll recipe. Featuring a spectacularly tender chocolate sponge cake, it’s artfully swirled with a luscious, sweet buttercream filling and crowned with a glossy, rich chocolate ganache. Every single bite promises a symphony of deep chocolate flavor and luxurious texture, making it a truly decadent dessert that’s perfect for any occasion. This guide will walk you through creating a stunning, Instagram-worthy dessert that’s surprisingly easy to master.
Why This Chocolate Cake Roll Recipe is a Must-Try
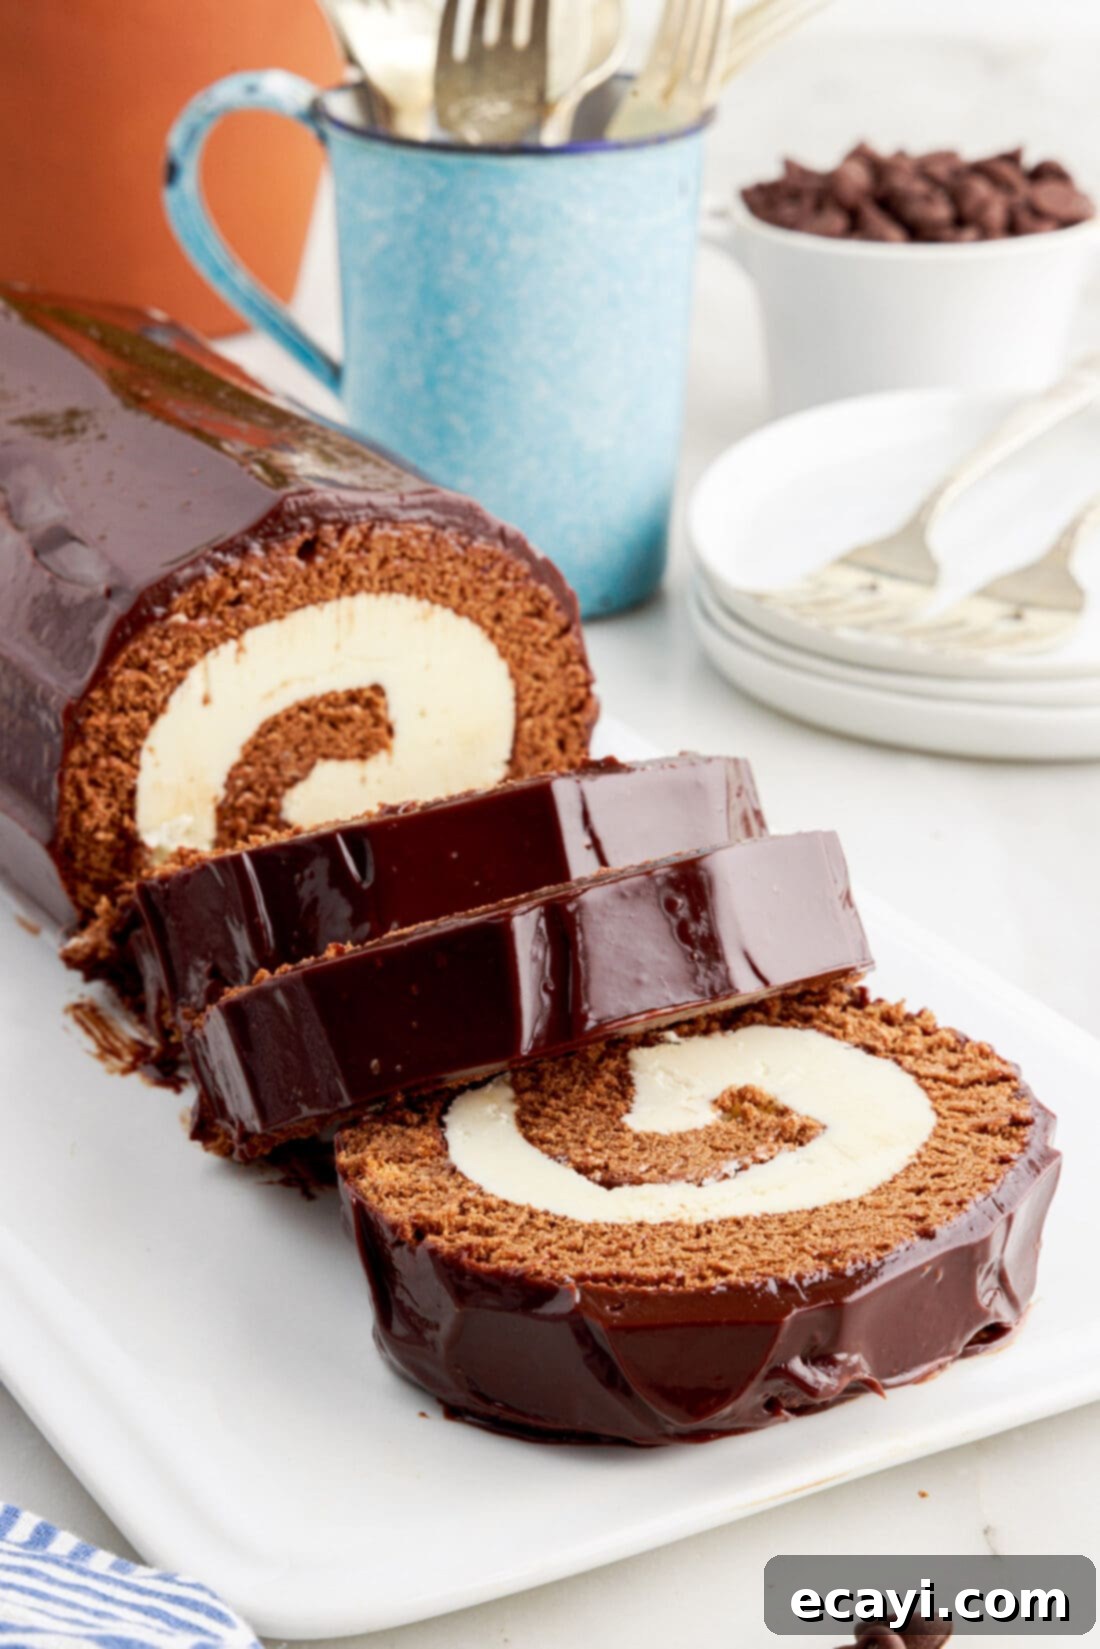
A Swiss roll, also affectionately known as a Swiss log cake, Swiss cake roll, or simply a chocolate cake roll, is the epitome of elegance and flavor in the world of desserts. This particular recipe takes the classic concept and elevates it, transforming a humble chocolate sponge cake into an impressive, showstopping centerpiece. Imagine a pillowy soft cake, layered generously with a velvety rich buttercream, then meticulously rolled into a beautiful log and finished with a shimmering chocolate ganache. It’s akin to a festive pumpkin roll but with an irresistible cocoa twist, ensuring pure chocolate bliss in every slice.
What makes *this* specific chocolate cake roll recipe truly exceptional? It all comes down to a harmonious blend of simple yet effective techniques and carefully chosen ingredients. The cake itself is incredibly light and pliable, thanks to the precise use of cake flour and perfectly whipped egg whites. This combination is key to creating a tender sponge that rolls effortlessly without cracking – a common challenge in many roll cake recipes. The homemade buttercream is perfectly balanced in sweetness and provides a smooth contrast to the deep chocolate notes of the cake. The final touch of homemade ganache not only adds a sophisticated, glossy finish but also delivers an extra layer of rich, dark chocolatey goodness that is simply divine. With a little care and attention to these details, you’ll undoubtedly impress everyone with this gorgeous, homemade treat, cementing its place as a new favorite decadent dessert in your repertoire.
Key Ingredients for Your Perfect Chocolate Cake Roll
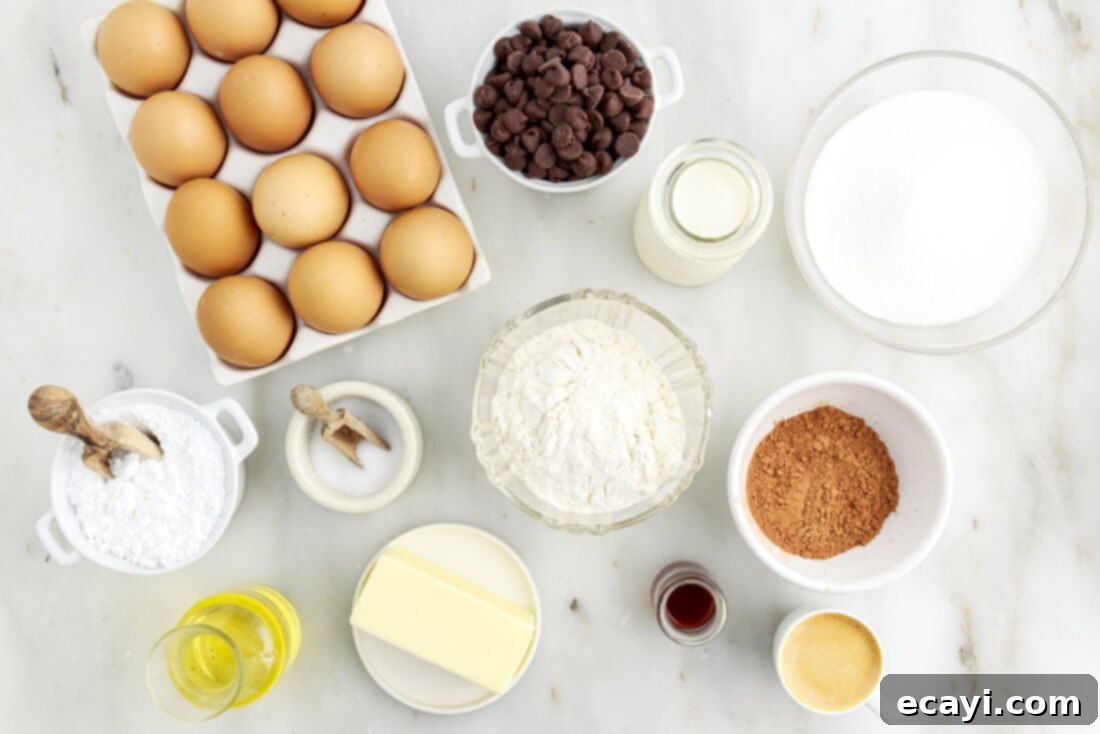
Crafting this beautiful chocolate cake roll requires a few essential ingredients that work together to create its signature tender texture and rich flavor. Each component plays a vital role in achieving that perfect swirl and decadent taste. You’ll find all precise measurements, ingredient details, and comprehensive instructions in the printable recipe card located at the very end of this post. For now, let’s explore some of the key components that make this dessert so special and how they contribute to its success.
Ingredient Spotlight: Tips for a Flawless Swiss Roll
Understanding the role of each ingredient is crucial for achieving the best possible results when baking a delicate dessert like a Swiss roll. Paying attention to these details will ensure your cake is perfectly moist, tender, and easy to roll. Here’s a closer look at some important components and potential substitutions:
FLOUR – For a truly exceptional chocolate cake roll, cake flour is not just recommended, it’s truly essential. Its fine texture and lower protein content produce an incredibly light, tender, and pliable sponge cake, which is absolutely critical for rolling without any unsightly cracks. Attempting to substitute with all-purpose flour will likely result in a denser cake that is more prone to tearing and cracking as you try to roll it, compromising both the texture and the elegant appearance of your finished dessert. Invest in cake flour for guaranteed success and a superior tender chocolate sponge cake.
EGGS – The magical leavening in this chocolate sponge cake comes primarily from the egg whites. We whip them diligently to achieve stiff, glossy peaks, creating a light, airy meringue that, when gently folded into the batter, provides the necessary lift and delicate structure to the cake. A reliable standing mixer is ideal for whisking egg whites to perfection, though a hand mixer can certainly do the job, albeit with a bit more time and effort. Remember to use room-temperature eggs (both whites and yolks); they will incorporate more easily and whip to a greater volume, contributing significantly to the cake’s lightness and rise. This simple tip is a game-changer for sponge cakes.
COFFEE – Don’t be surprised by the inclusion of coffee! While it might seem unconventional for a dessert, a small amount of strong coffee dramatically enhances the deep, rich flavor of the chocolate in the cake without imparting any distinct coffee taste itself. It acts as a flavor booster, bringing out the complex notes of cocoa. It also adds crucial moisture to the batter, contributing to the cake’s tender crumb. If you prefer, or if coffee is not available, you can easily substitute it with an equal amount of milk or water without significantly altering the recipe’s success, though the chocolate flavor might be slightly less intense.
FILLING – The sweet, creamy filling is a highlight of any Swiss roll. While the recipe calls for a classic vanilla buttercream filling, don’t hesitate to customize to your taste! You could opt for a rich chocolate buttercream for an extra layer of cocoa decadence, or a light and airy sweetened whipped cream for a fresher profile. If choosing whipped cream, I highly recommend using a homemade stabilized whipped cream. Stabilizing the whipped cream ensures it maintains its beautiful volume and doesn’t deflate or become watery, which is especially important when the cake needs to be chilled or stored for a period.
Step-by-Step: How to Master the Chocolate Cake Roll
These detailed step-by-step photos and instructions are designed to guide you visually through every stage of making this delicious chocolate cake roll. For a convenient printable version of this recipe, complete with precise measurements and instructions, you can Jump to Recipe at the bottom of this page.
- Preheat your oven to 350°F (175°C). Prepare a jelly roll pan (approximately 10×15 inches) by lining it with parchment paper, allowing some overhang on the longer sides for easy handling. Lightly spray the parchment paper with nonstick baking spray to prevent any sticking. Set the prepared pan aside, ready for your batter.
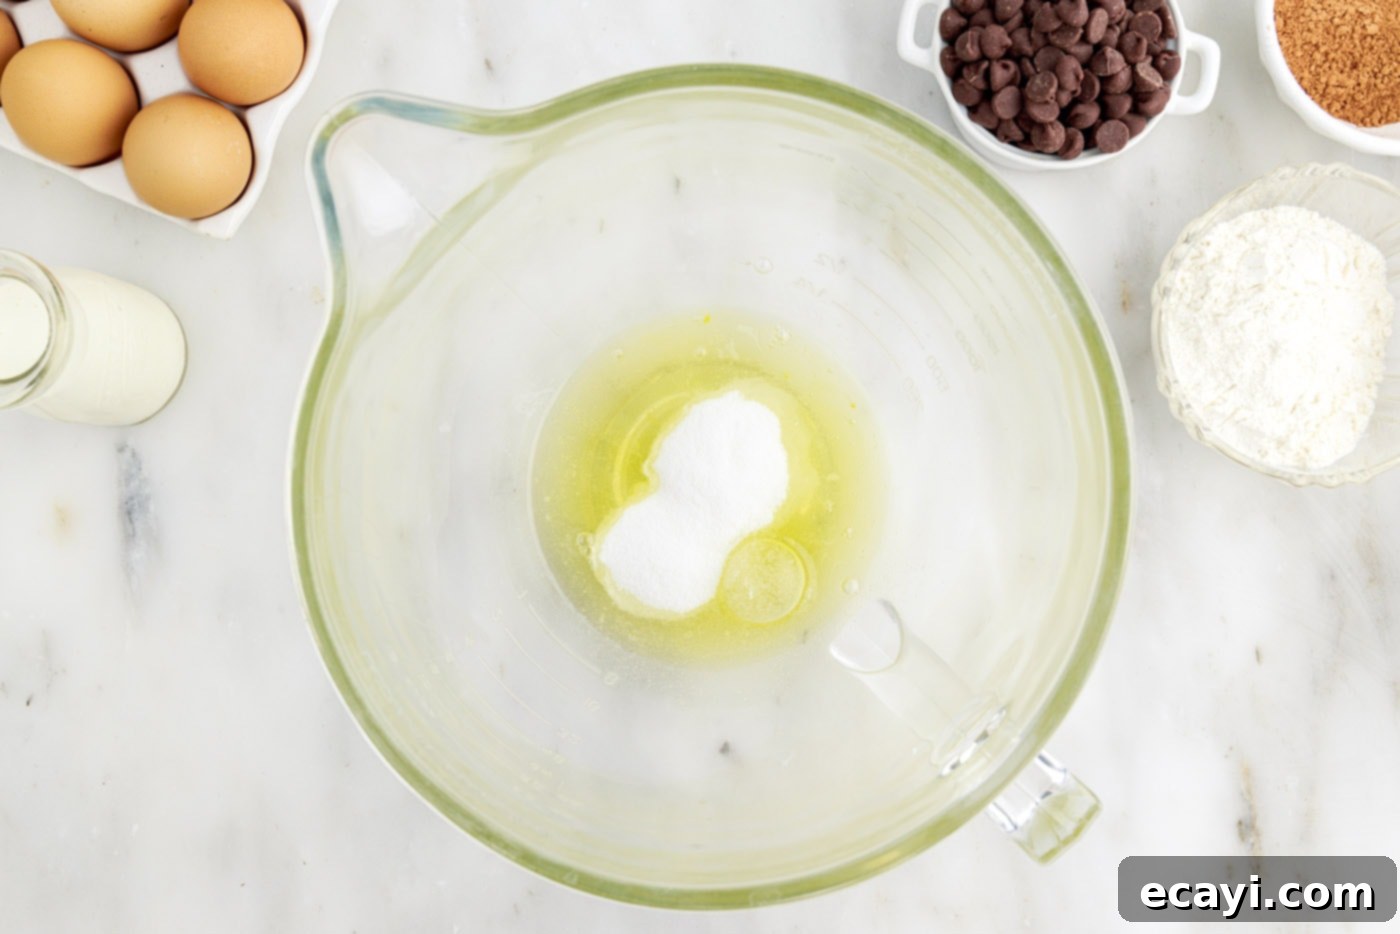
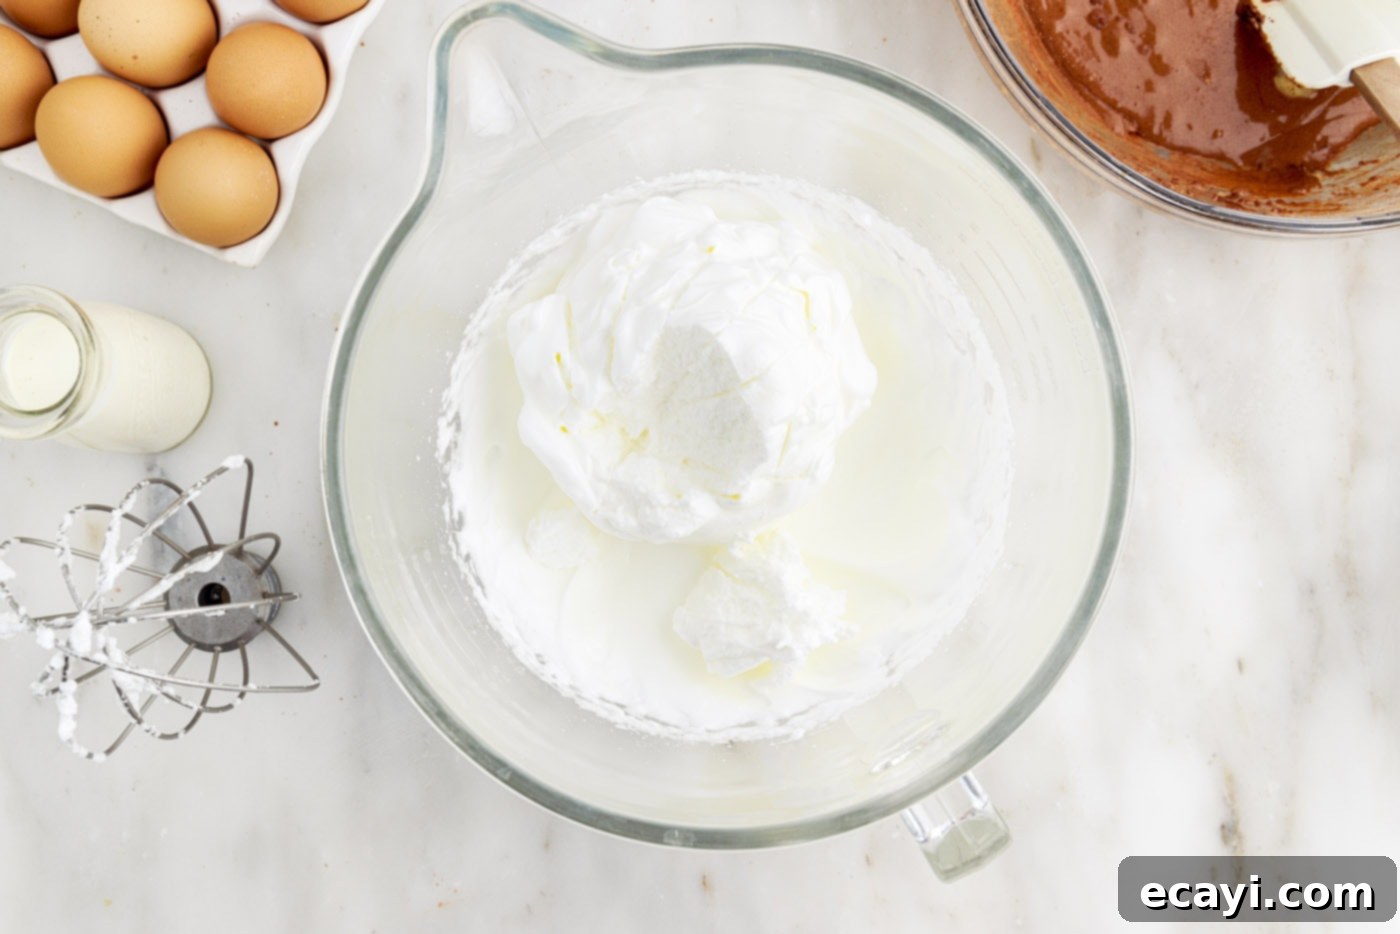
- In the clean, dry bowl of a standing mixer fitted with the whisk attachment (or using an electric hand mixer), combine the separated egg whites and 1⁄4 cup of granulated sugar. Whip the mixture on high speed until the egg whites form stiff, glossy peaks. This process typically takes about 5-7 minutes. The peaks should hold their shape firmly when the whisk is lifted, indicating perfect aeration.


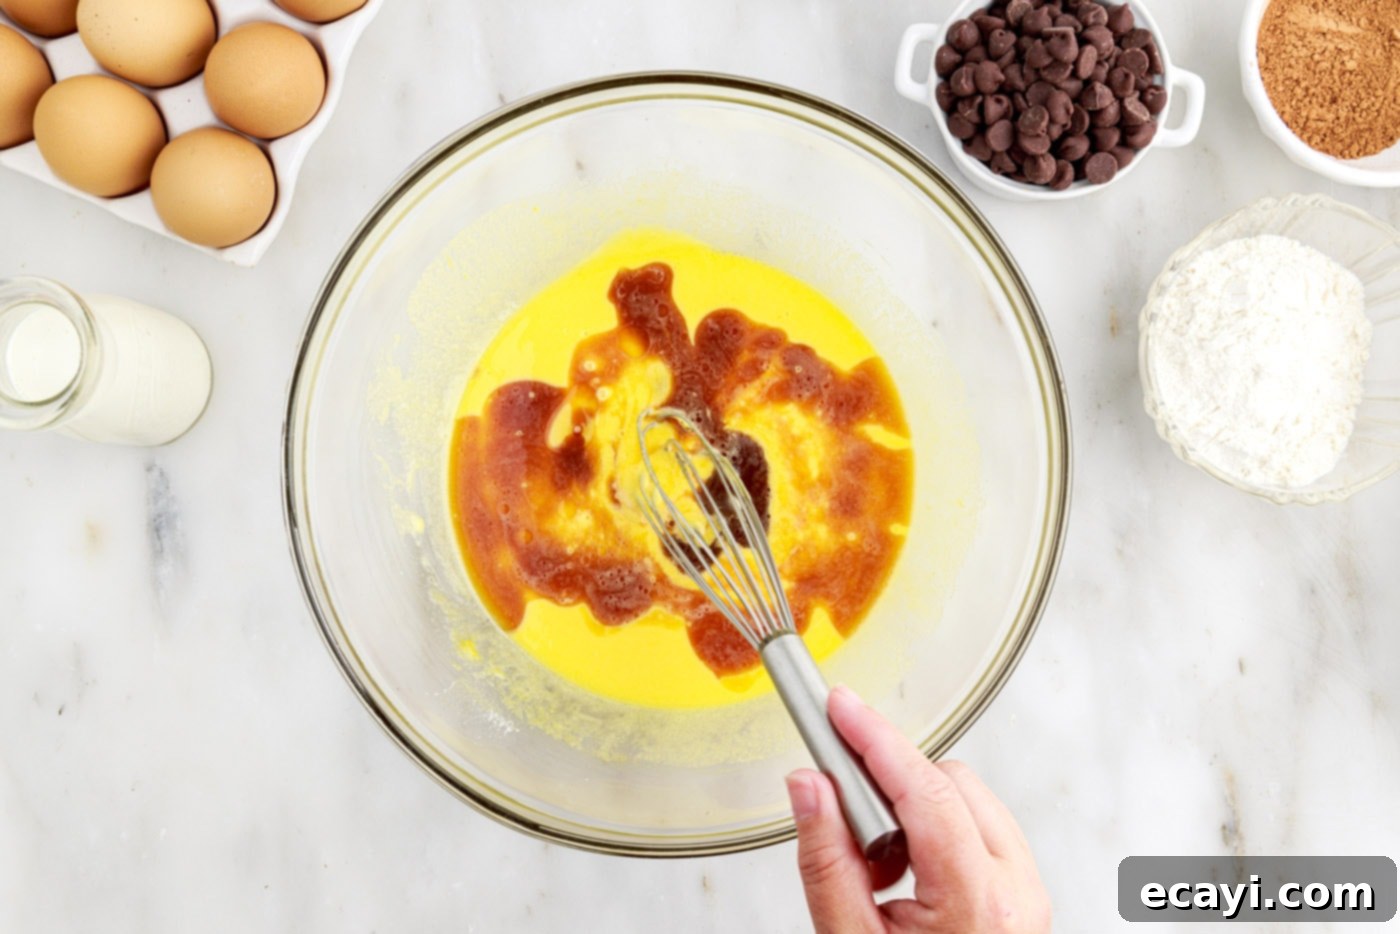
- Meanwhile, in a separate large mixing bowl, whisk together the egg yolks and the remaining 1⁄2 cup of granulated sugar. Continue whisking vigorously for 1-2 minutes until the mixture becomes pale in color and visibly thickened, taking on a ribbons-like consistency when lifted.
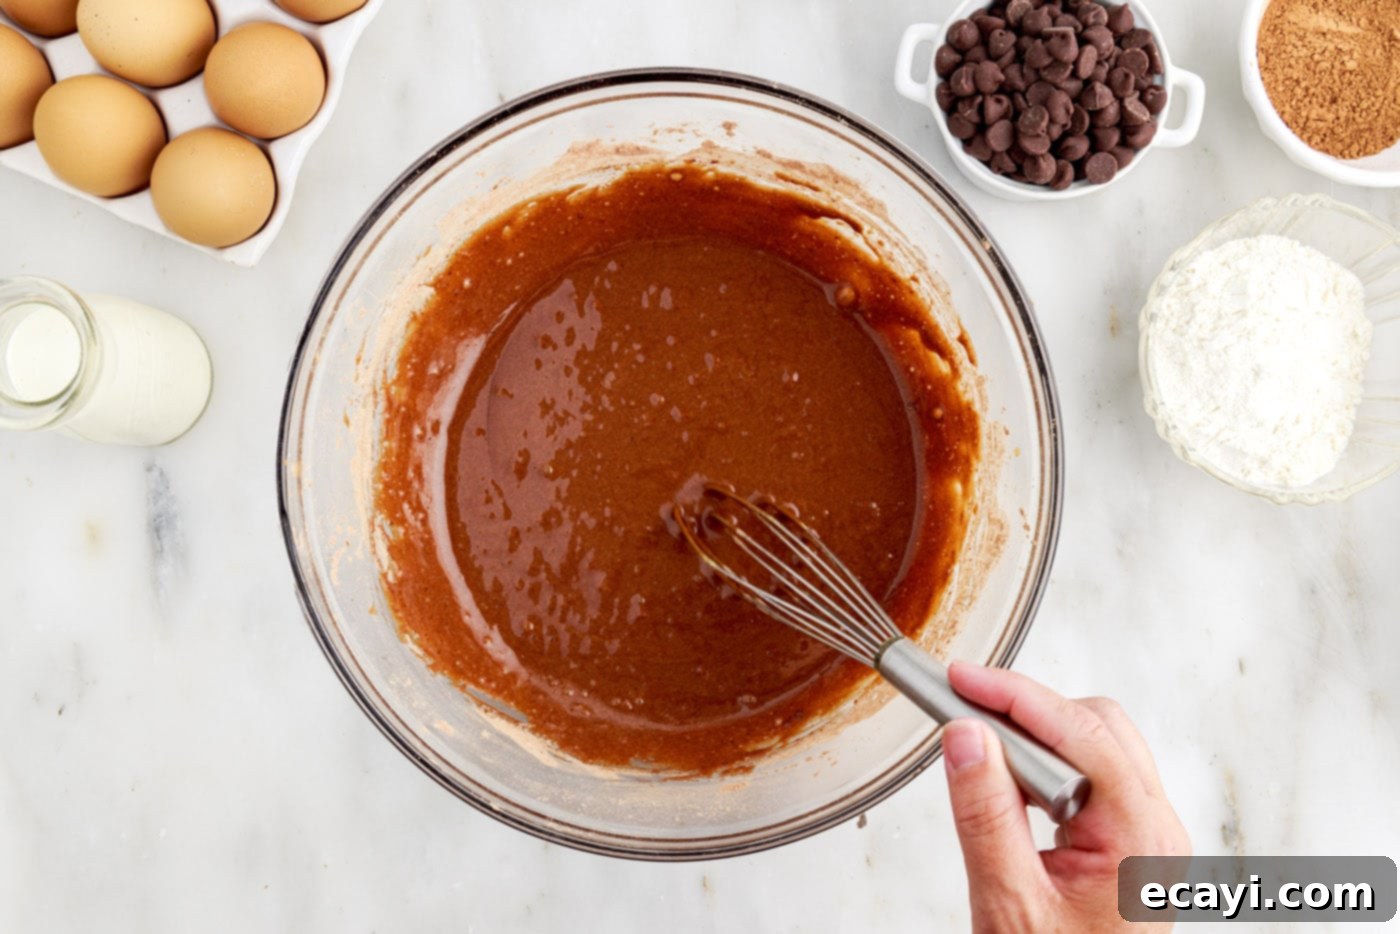
- Into the pale egg yolk mixture, whisk in the vanilla extract, vegetable oil, and the strong coffee. Mix until all these wet ingredients are thoroughly combined and the mixture is smooth and uniform. The coffee will enhance the chocolate flavor beautifully.

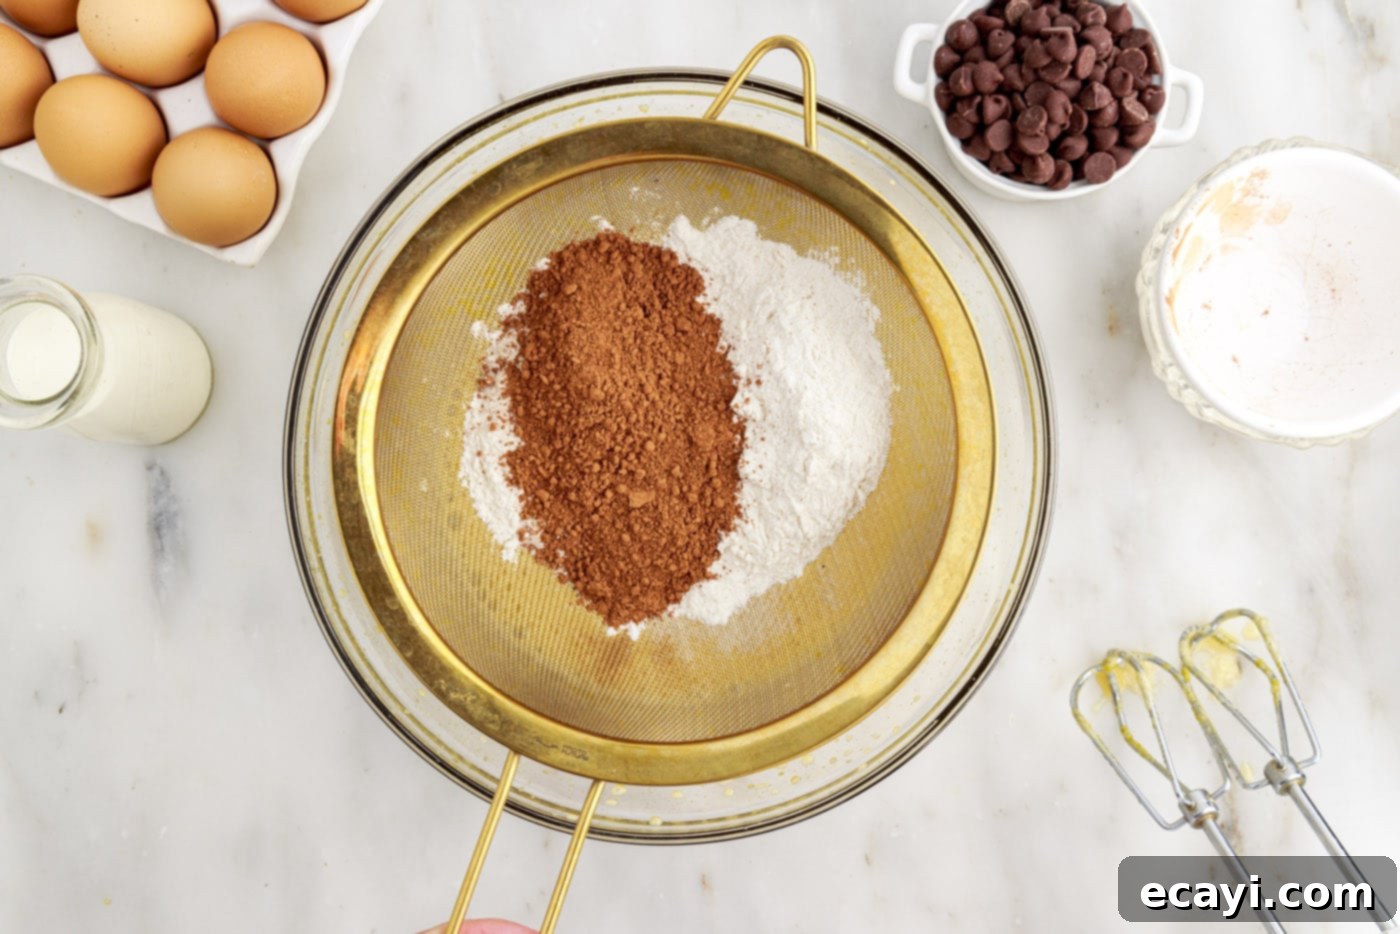
- Sift the cake flour, unsweetened cocoa powder, and salt directly into the egg yolk mixture. Sifting helps prevent any lumps from forming and ensures a much smoother batter. Stir gently with a rubber spatula or whisk until just combined. Be careful not to overmix, as this can develop gluten and toughen the delicate cake crumb, making it less pliable.


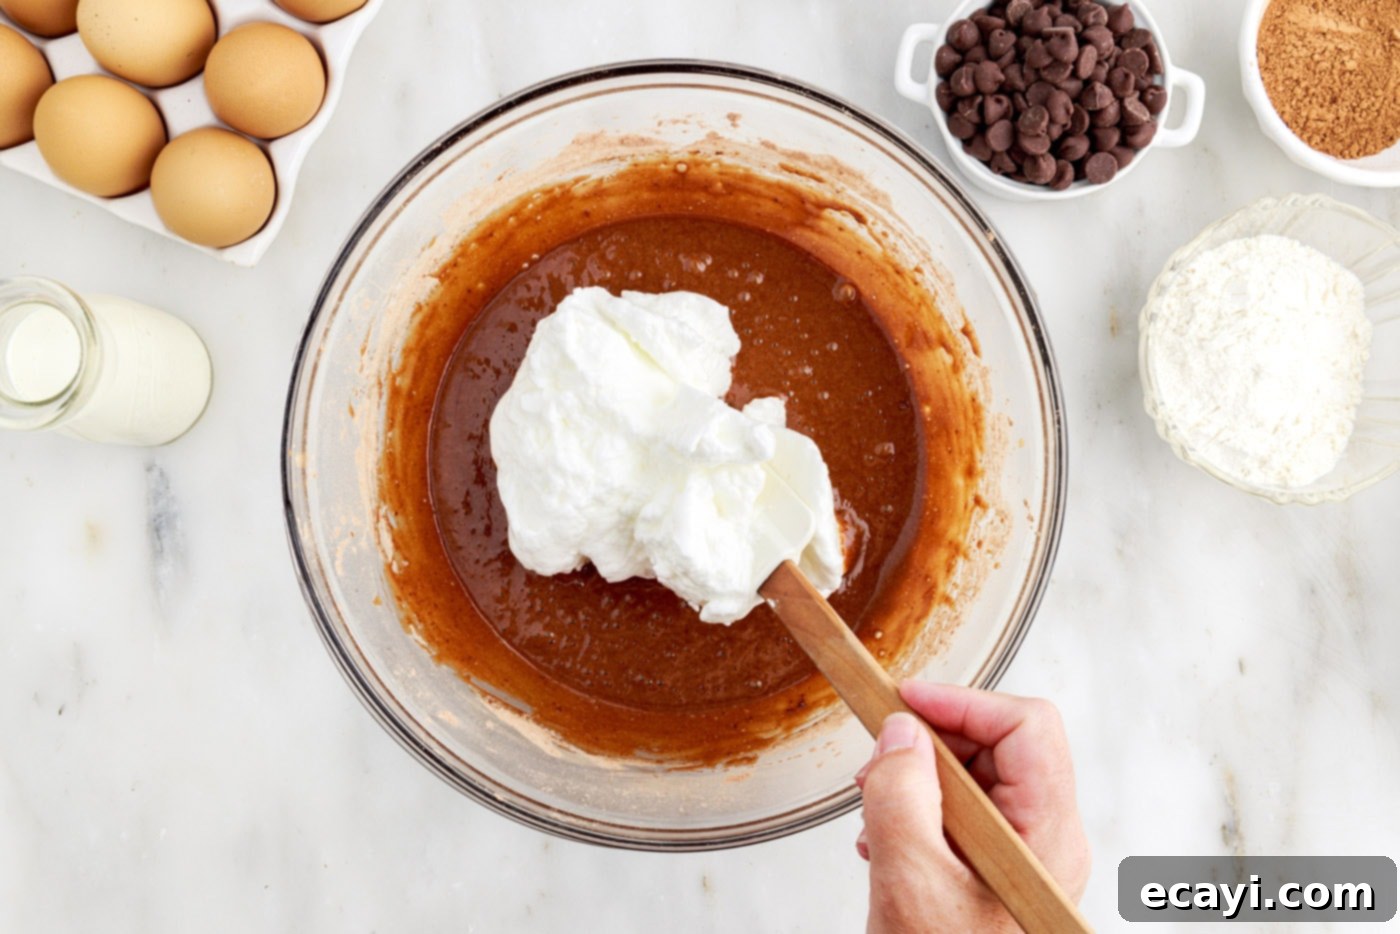
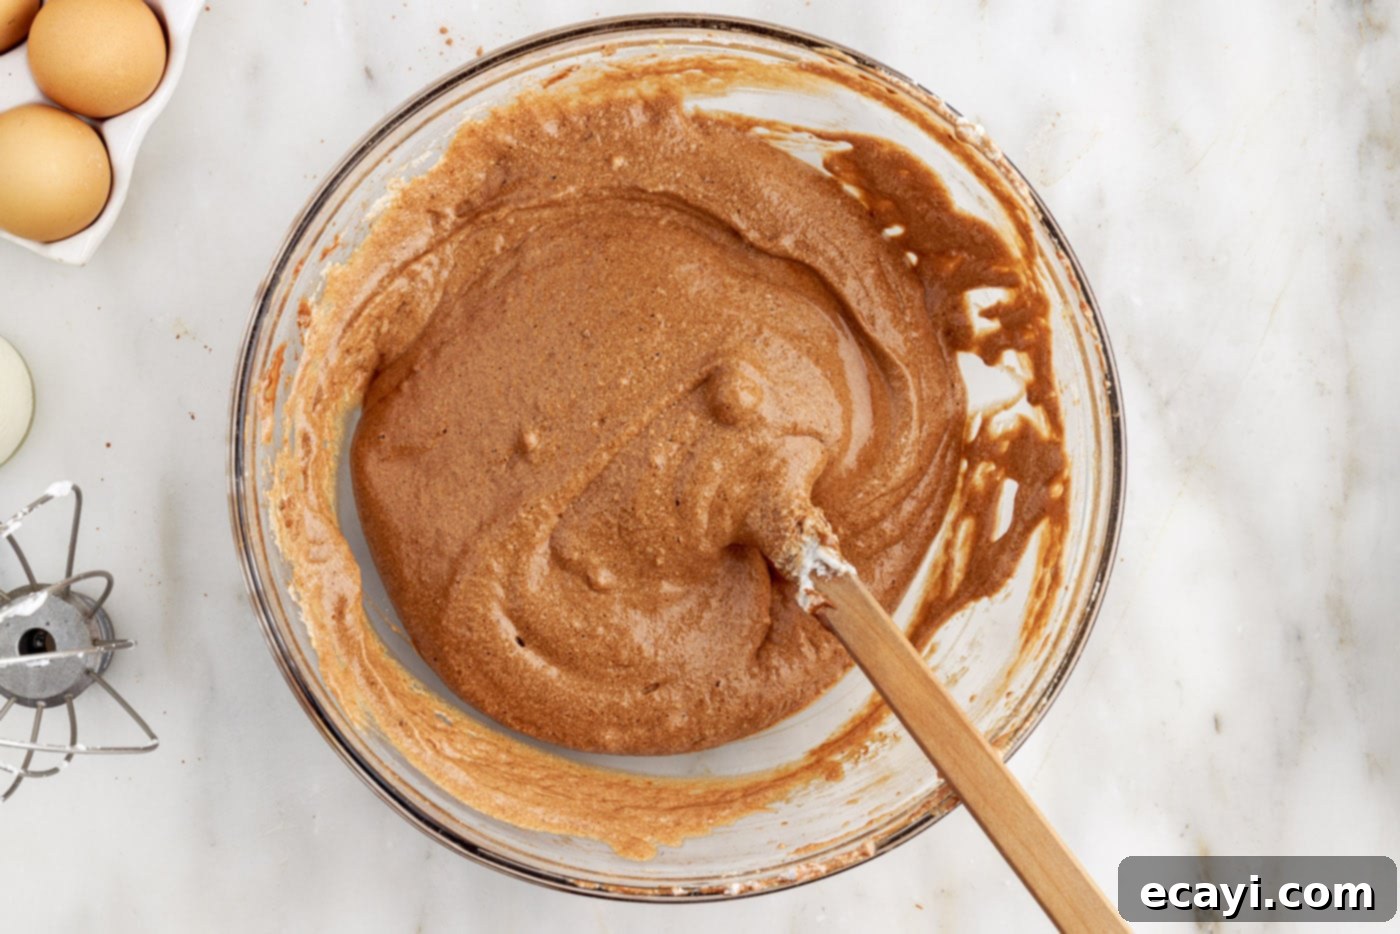
- Carefully and gently fold the whipped egg whites into the chocolate cake batter. Use a spatula and a light hand, working in batches if necessary, until most of the white streaks have disappeared and the batter appears homogeneous. The key is to retain as much air as possible in the egg whites, so avoid deflating them with aggressive mixing.


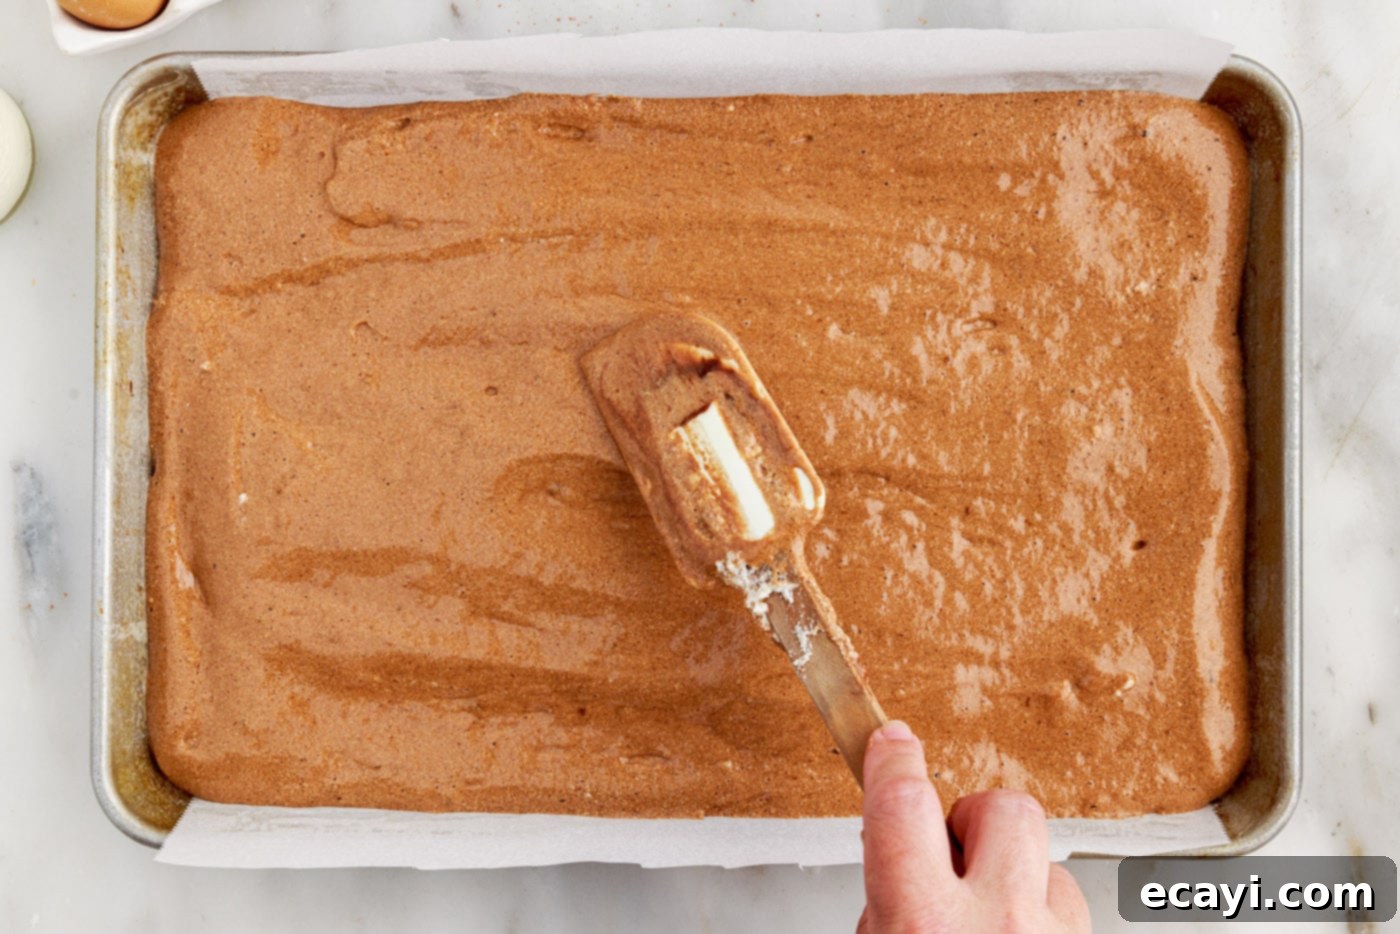
- Evenly spread the delicate chocolate batter into the prepared jelly roll pan. Use an offset spatula or the back of a spoon to gently spread it into a smooth, level layer that reaches all corners of the pan.

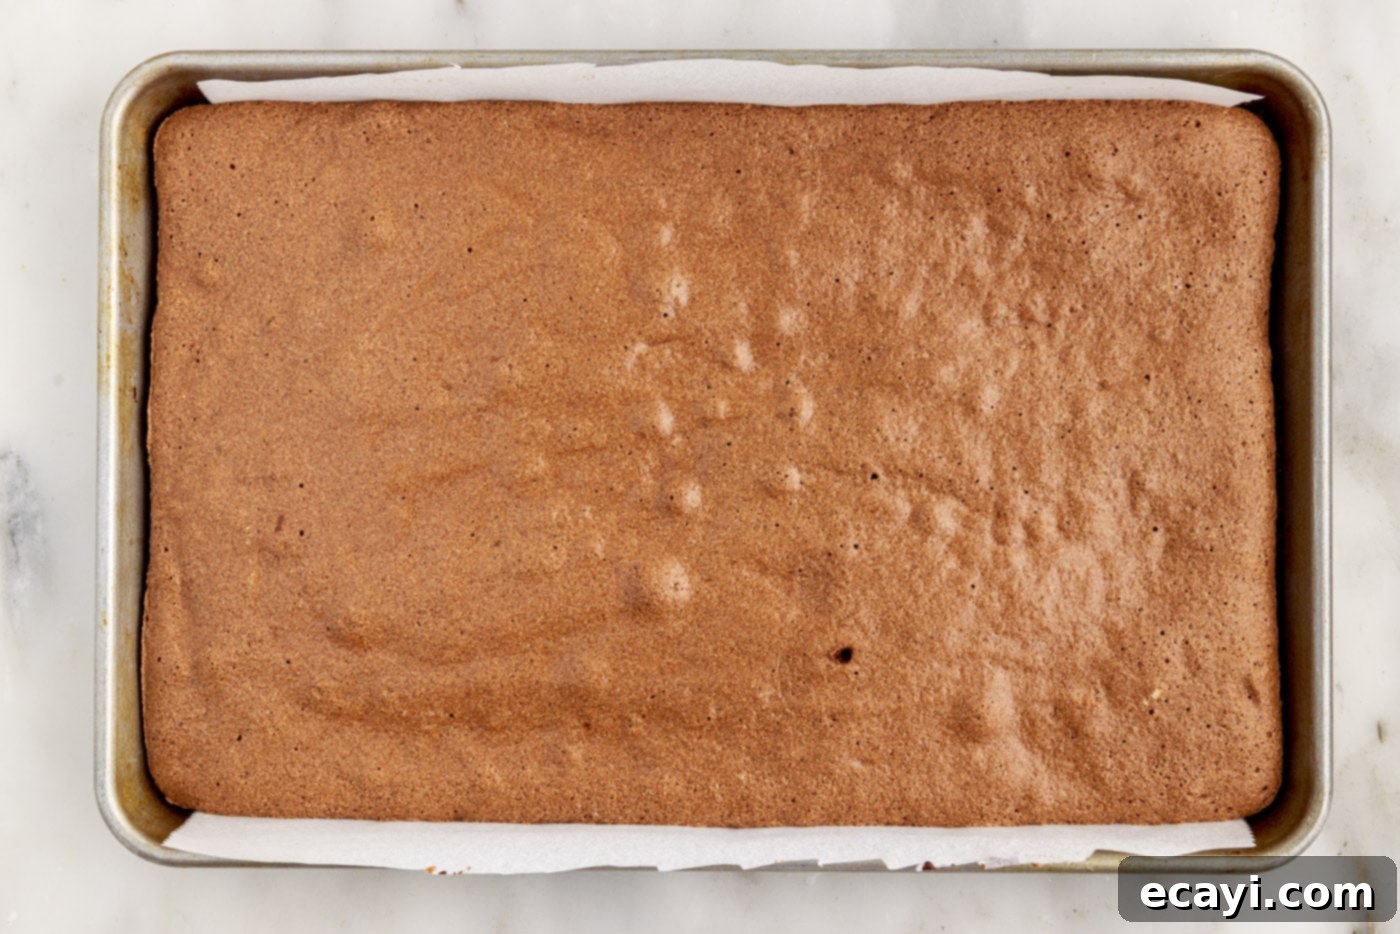
- Bake in the preheated oven for 13-15 minutes. The cake is ready when it springs back lightly when gently touched in the center, and a toothpick inserted into the center comes out clean. Be very careful not to overbake, as this can dry out the cake and make it difficult to roll without cracking later.

- Once baked, remove the cake from the oven and allow it to cool in the pan for just 3-5 minutes. While still warm, run a thin knife around the edges of the cake to make sure it is completely loose from the pan. This crucial step prevents any sticking when you invert it.
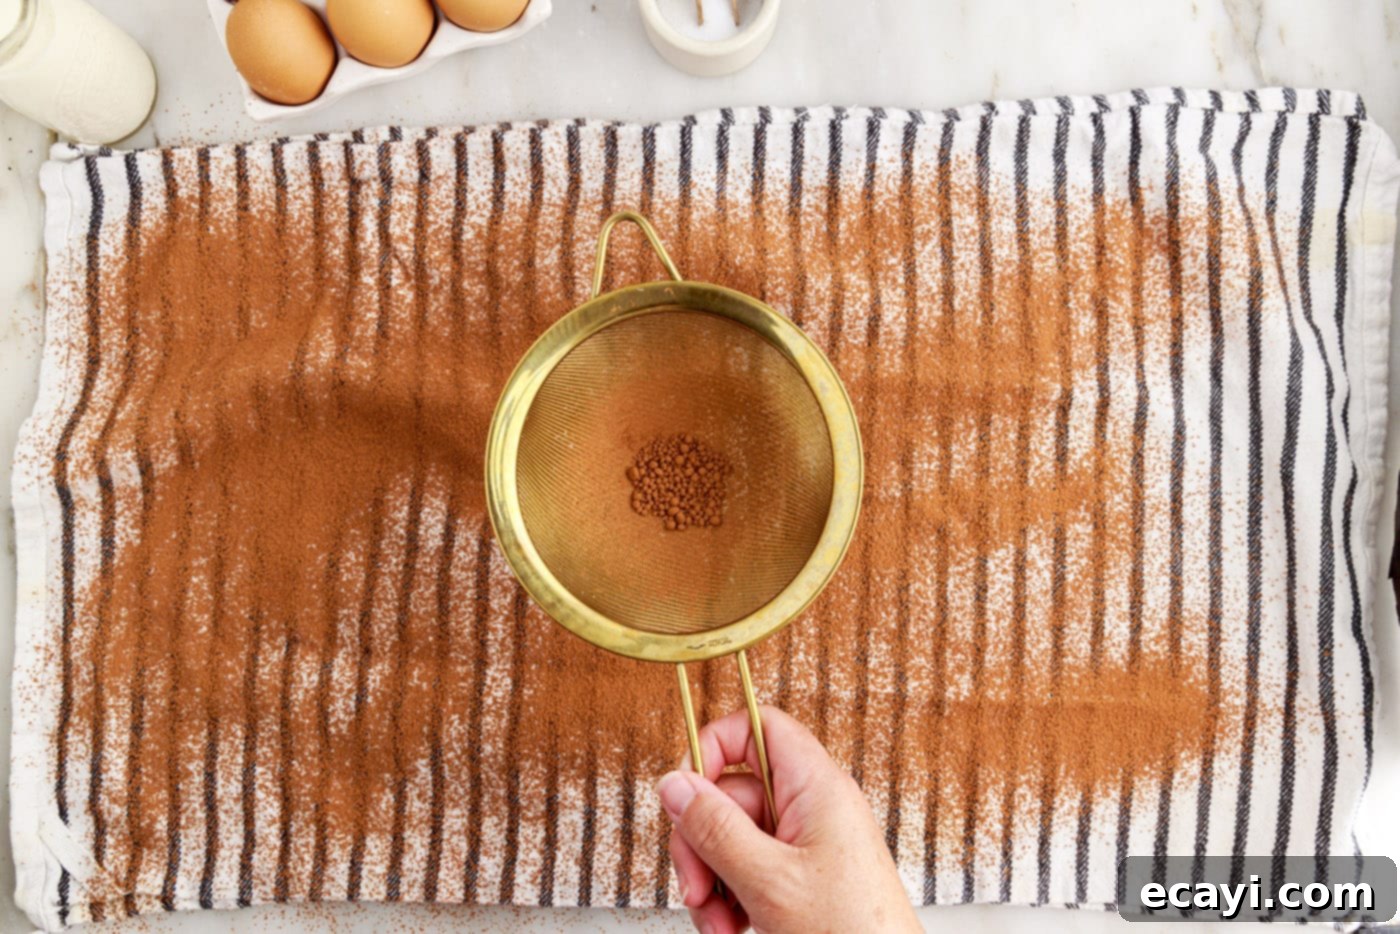
- Lay out a clean, lint-free kitchen towel or linen on a flat work surface. Dust the towel generously with a thin, even layer of unsweetened cocoa powder. This cocoa dusting is essential to prevent the warm cake from sticking to the towel during the initial roll.
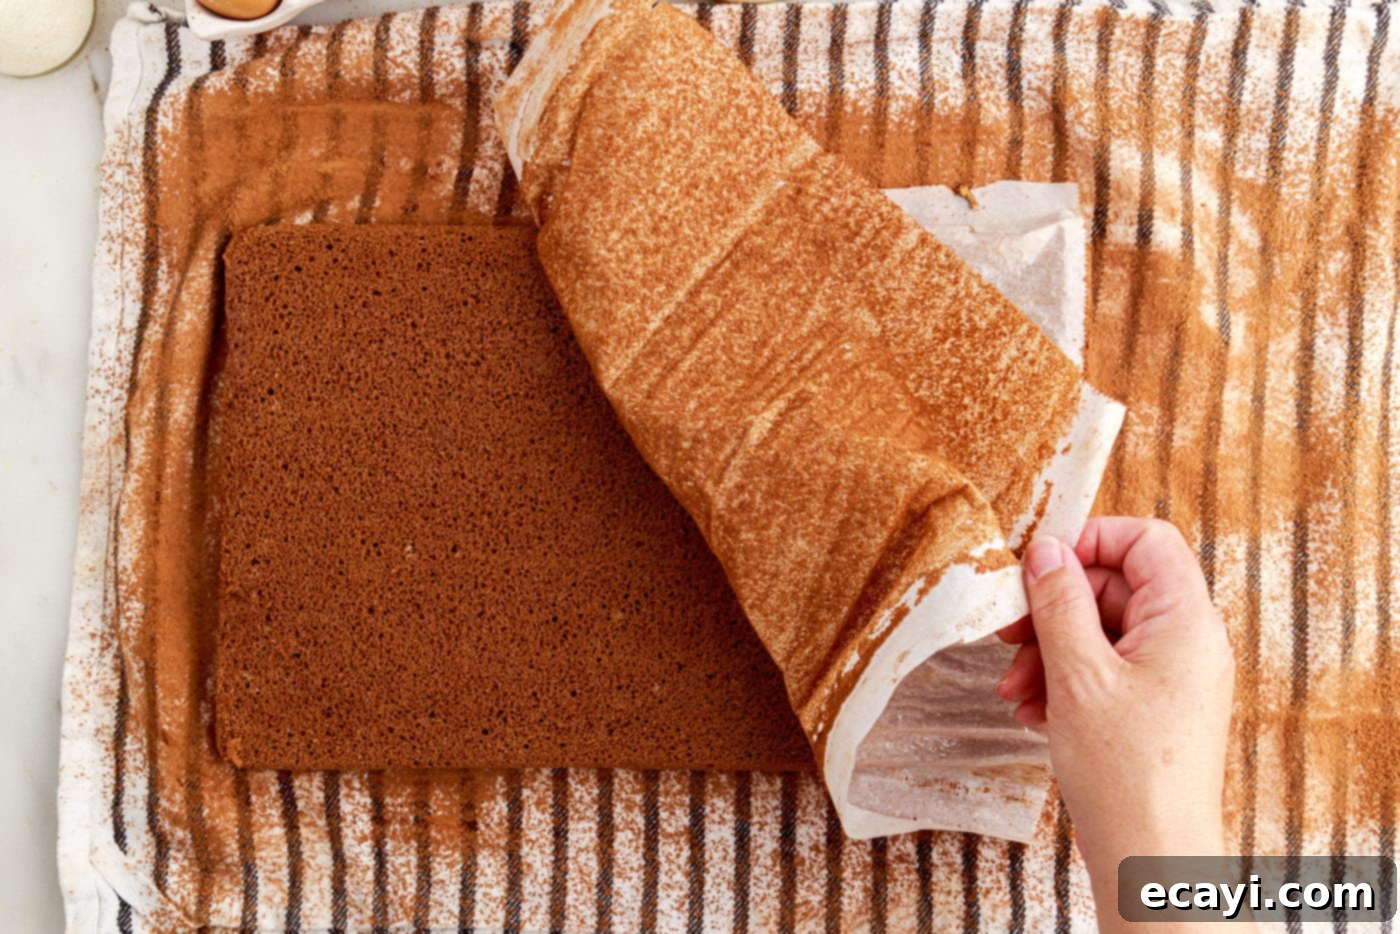
- Carefully invert the warm cake onto the prepared, cocoa-dusted linen. Gently peel off the parchment paper from the bottom of the cake. Now, dust the top surface of the cake with another light layer of cocoa powder. This double dusting ensures the cake won’t stick to itself as it cools in a rolled shape.
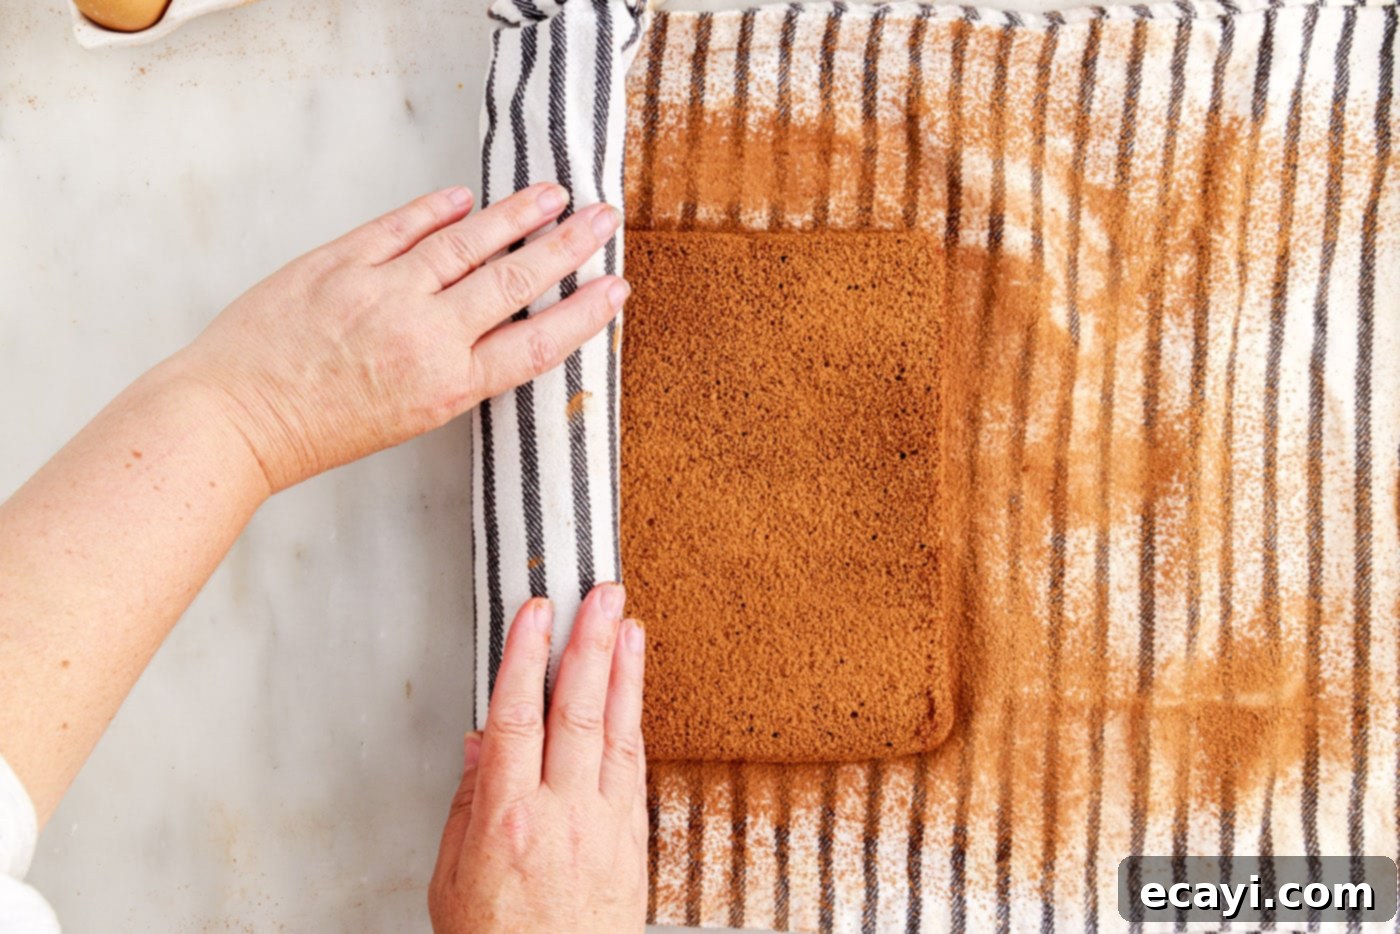
- Working from one short side, slowly and carefully begin to roll the cake along with the linen. The linen will be rolled into the cake, helping it maintain its shape and preventing it from sticking to itself. Once rolled, place the seam-side-down rolled cake on a wire cooling rack and allow it to cool completely to room temperature, which typically takes about 60 minutes. This step ‘trains’ the cake to hold its rolled shape without cracking when you add the filling later.
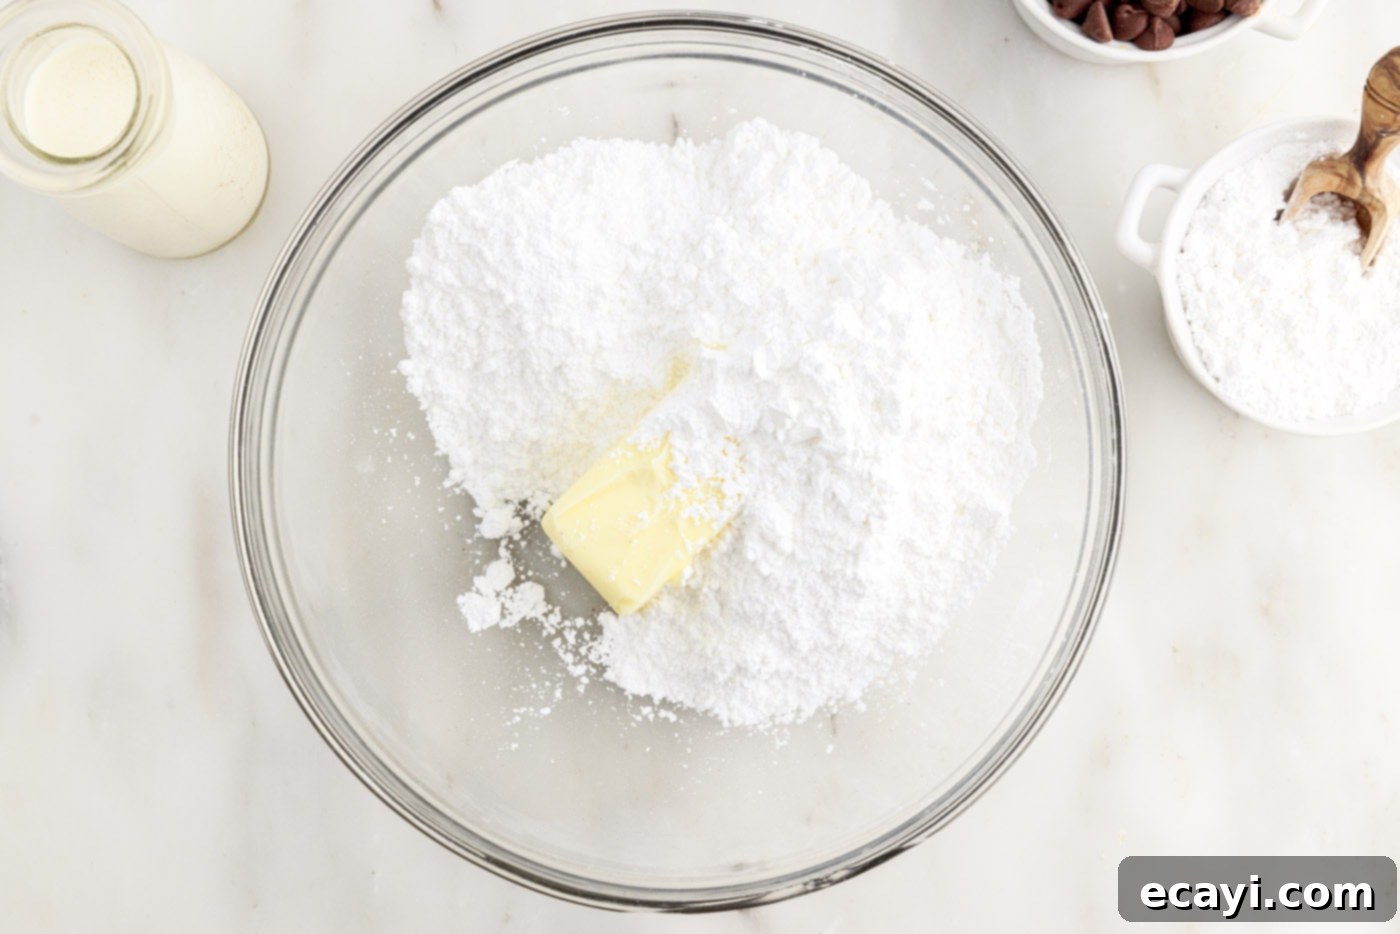
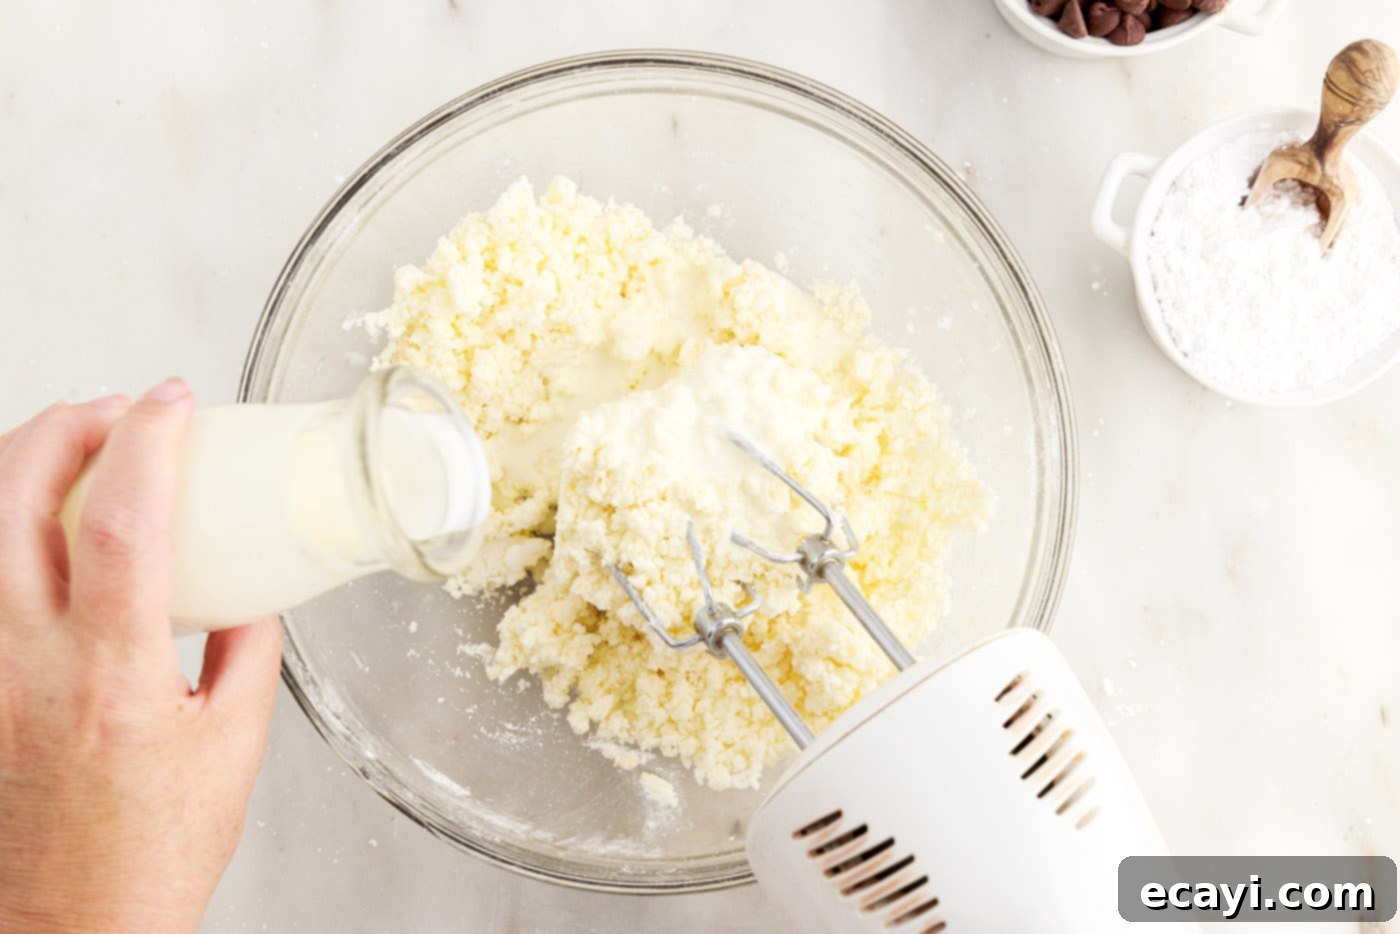
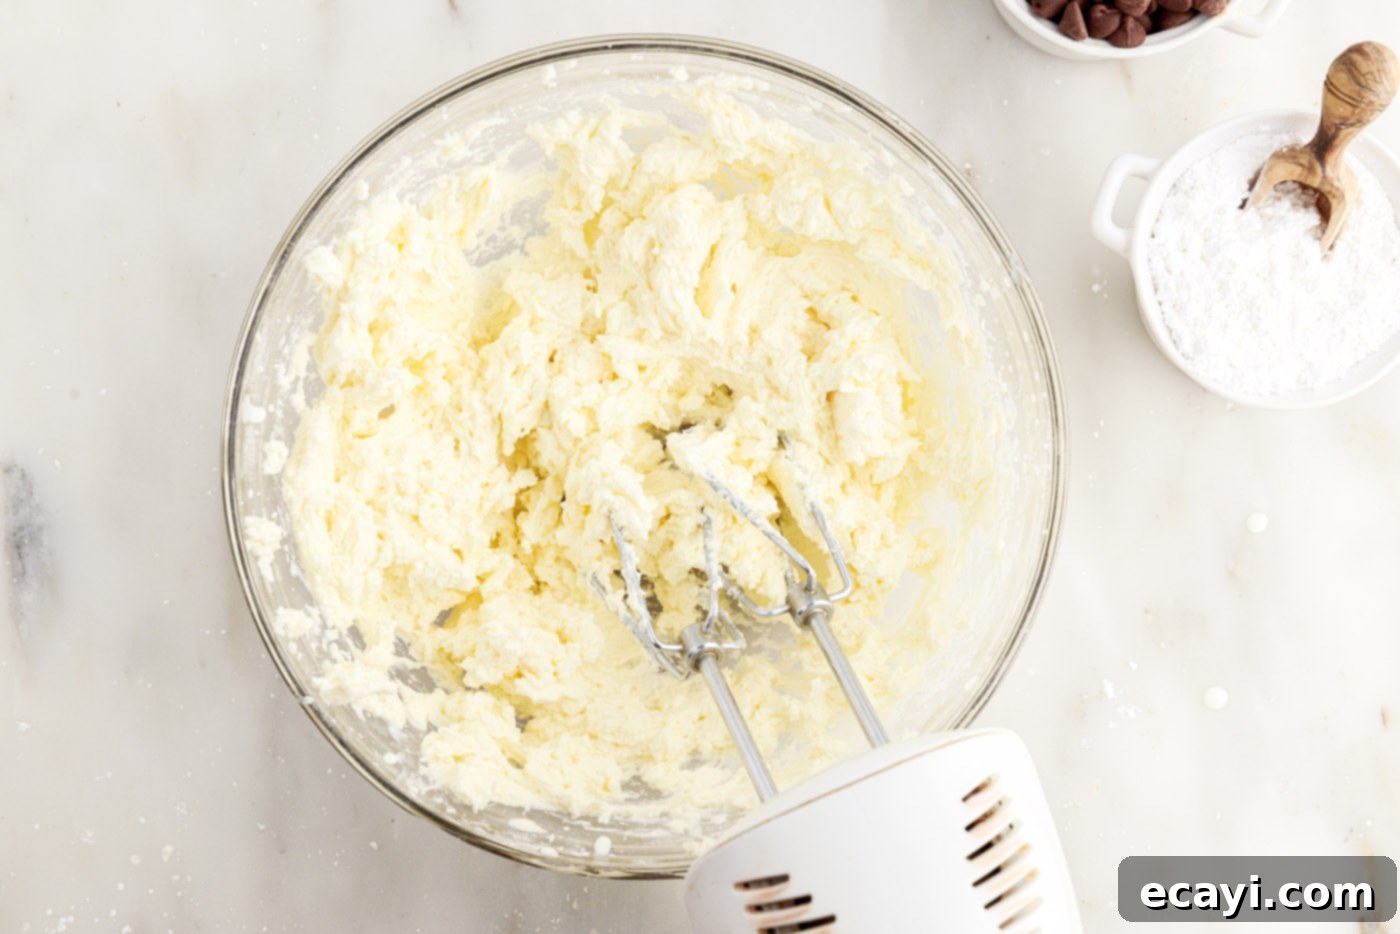
- Meanwhile, prepare the indulgent buttercream filling. In a large mixing bowl, beat together the softened unsalted butter and powdered sugar until just combined; the mixture will initially appear crumbly. Add the vanilla extract, and then gradually drizzle in the heavy whipping cream while continuing to beat on medium-high speed. Continue beating until the buttercream reaches a beautifully light, fluffy, and spreadable consistency. Adjust the amount of cream as needed to achieve your desired texture and ensure a perfect buttercream filling.
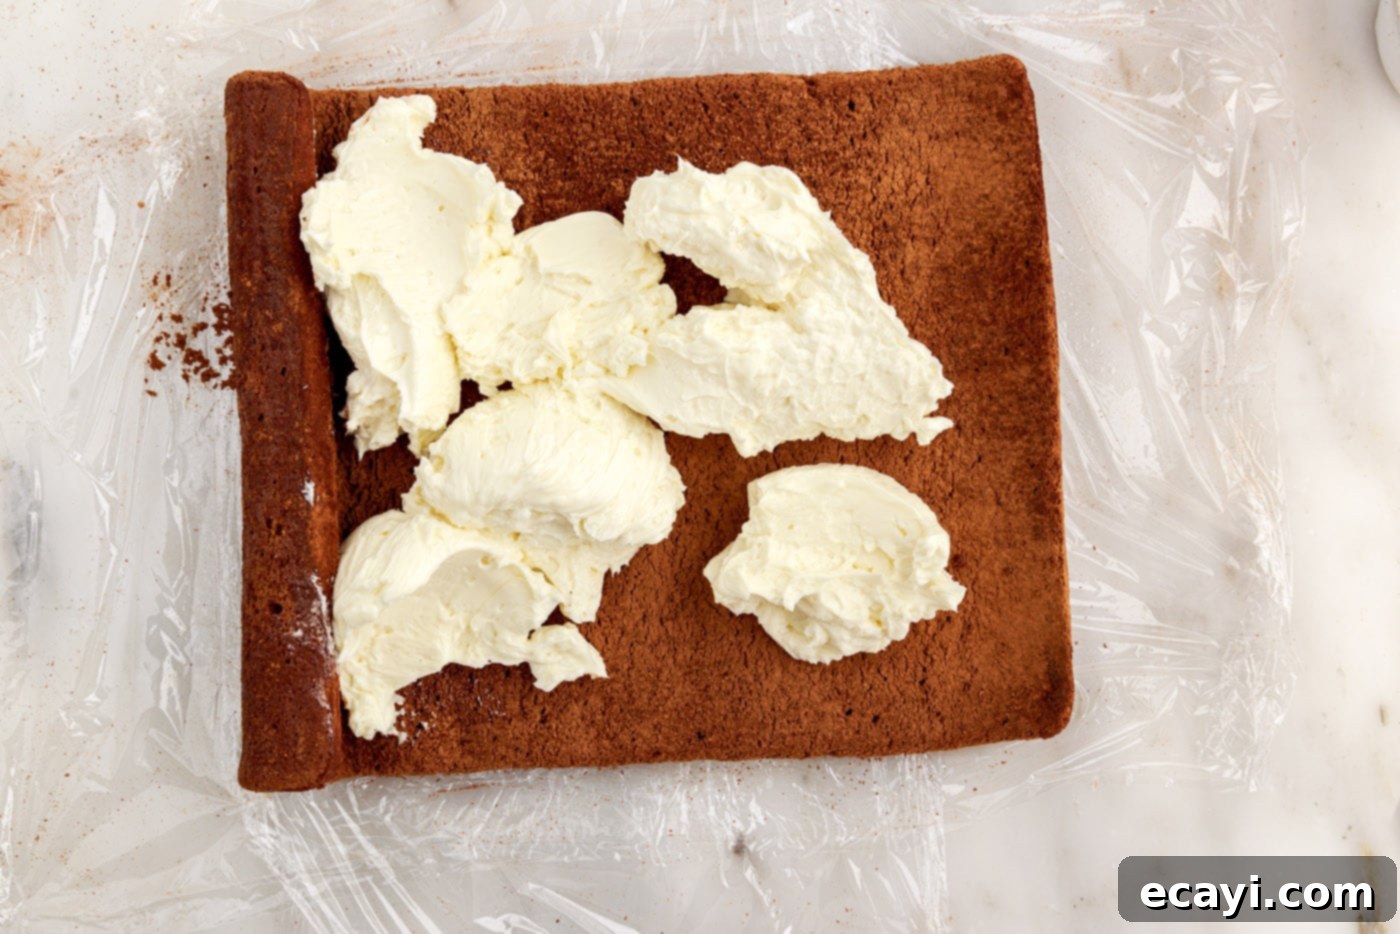
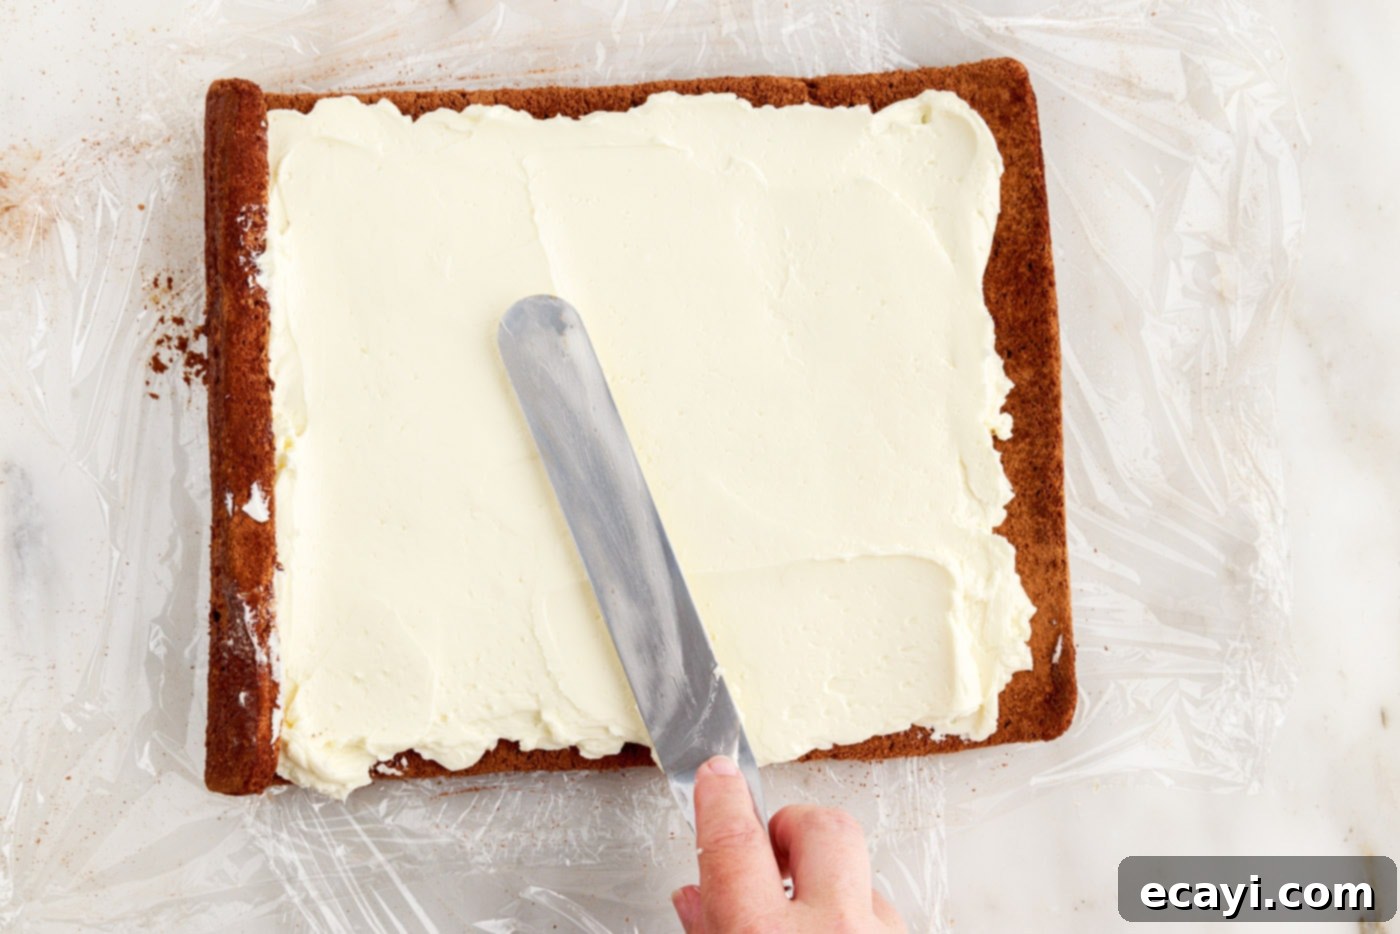
- Once the cake has cooled completely to room temperature, gently unroll it onto a fresh piece of parchment paper or plastic wrap. You’ll notice the two ends may still retain a slight curl; this is perfectly normal, and it’s best to leave them curled rather than trying to flatten them, as this helps with re-rolling.
- Evenly spread the prepared buttercream filling over the entire surface of the unrolled cake. Make sure to leave a clean margin of about an inch at one of the short edges (typically the right-hand short edge if you’re rolling from left to right). This space allows for the filling to spread naturally and fill out as you re-roll the cake, preventing excess from squishing out the ends.
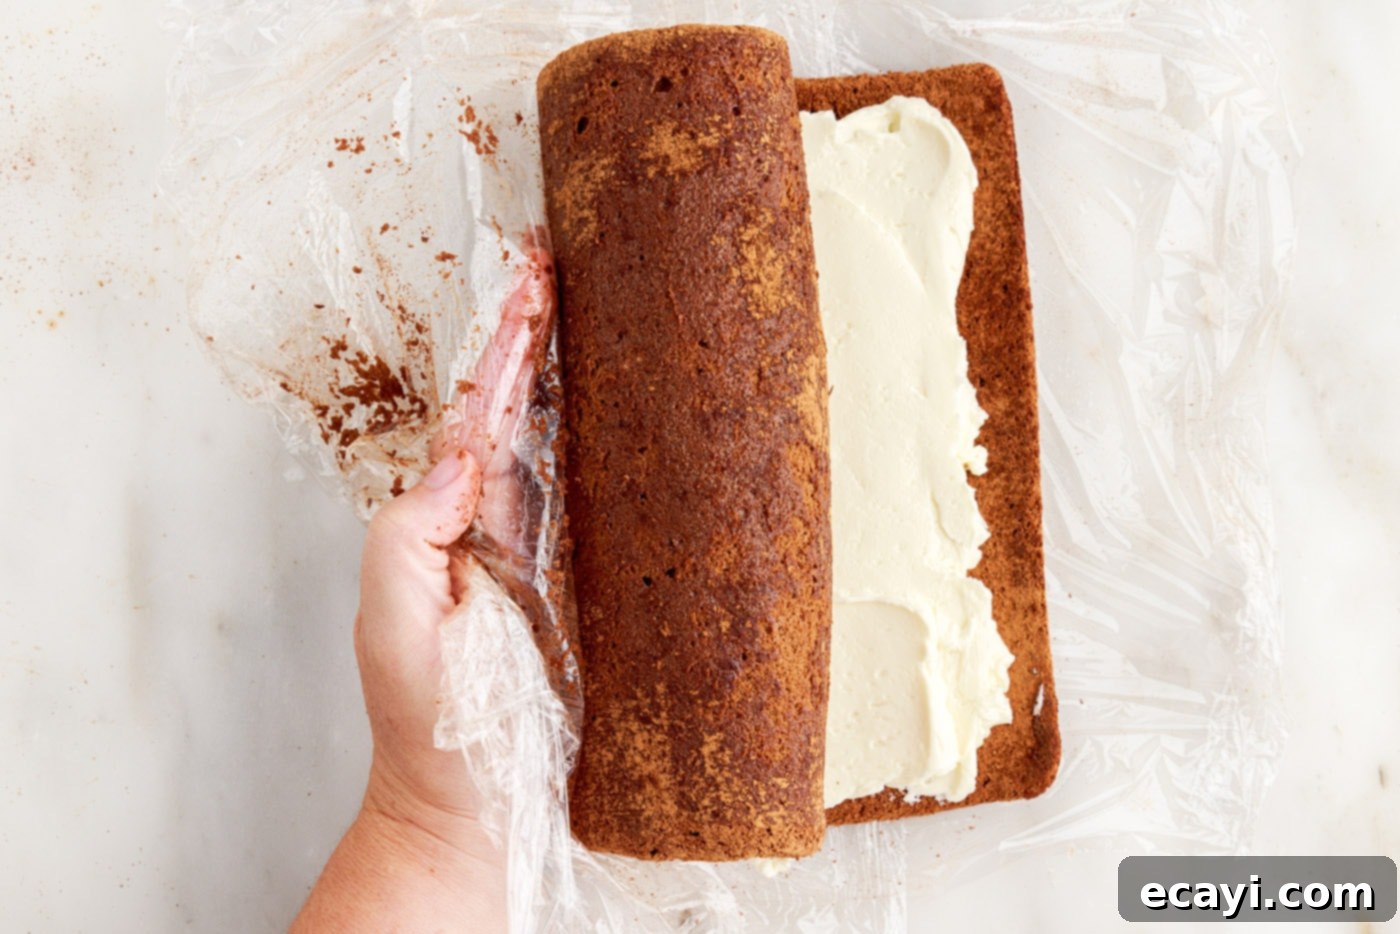
- Starting from the opposite short edge (the left-hand side), carefully re-roll the cake. Tuck it as tightly as you can, gently guiding the cake and filling into a compact log, ensuring that beautiful layer of buttercream filling remains perfectly swirled inside. Use the parchment paper or plastic wrap to assist in maintaining tightness and preventing cracks.
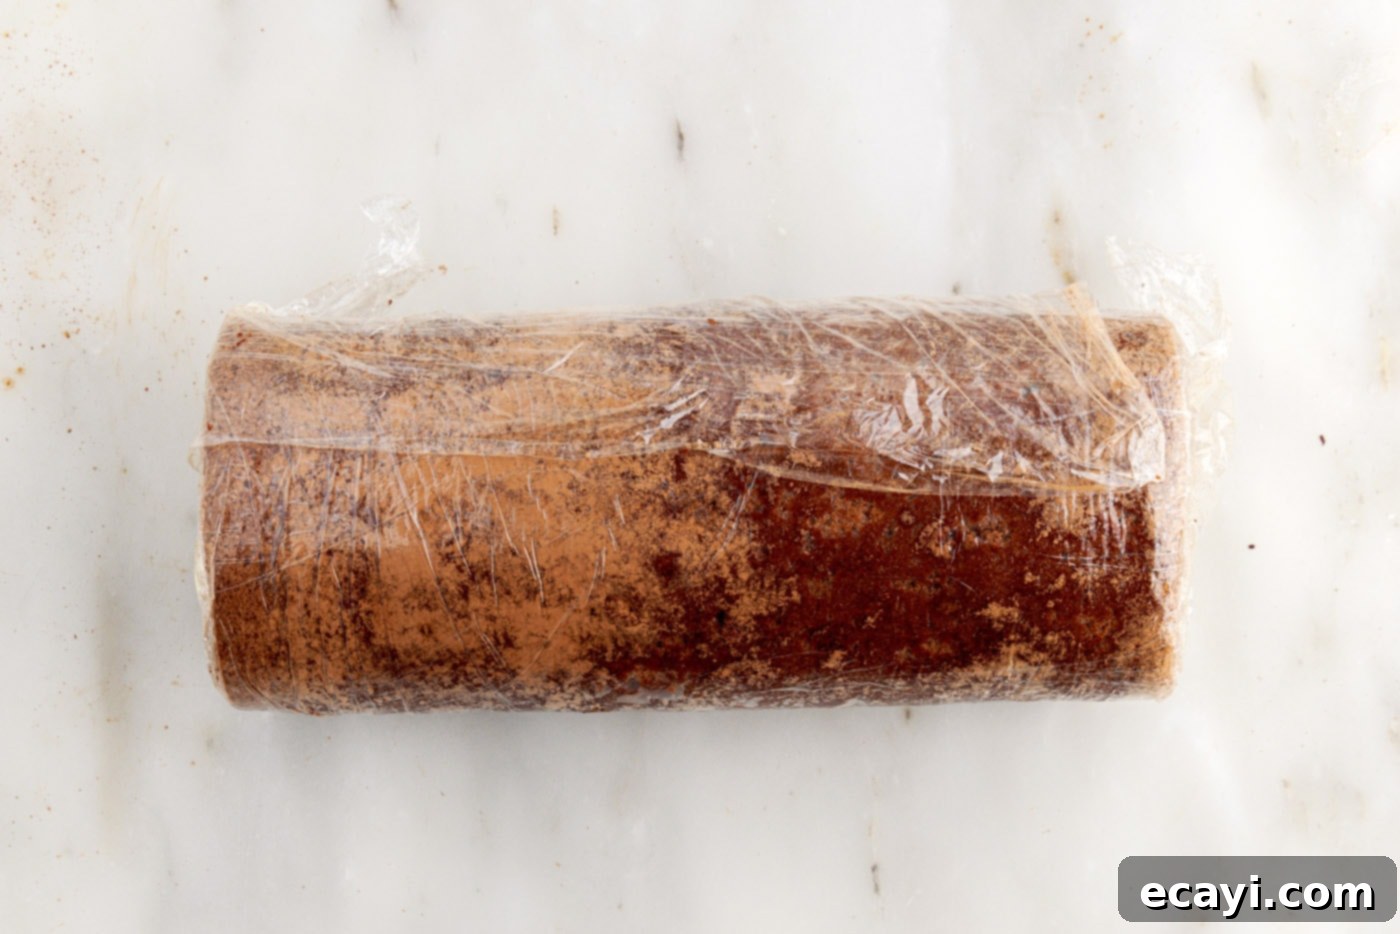
- Once rolled, tightly wrap the entire cake log in plastic wrap. This is crucial for helping the cake hold its perfect shape and allowing the filling to firm up. Place the wrapped cake, seam side down, in the refrigerator (or freezer for a quicker set) for at least one hour. Chilling allows the cake and filling to firm up, making it much easier to slice neatly later.
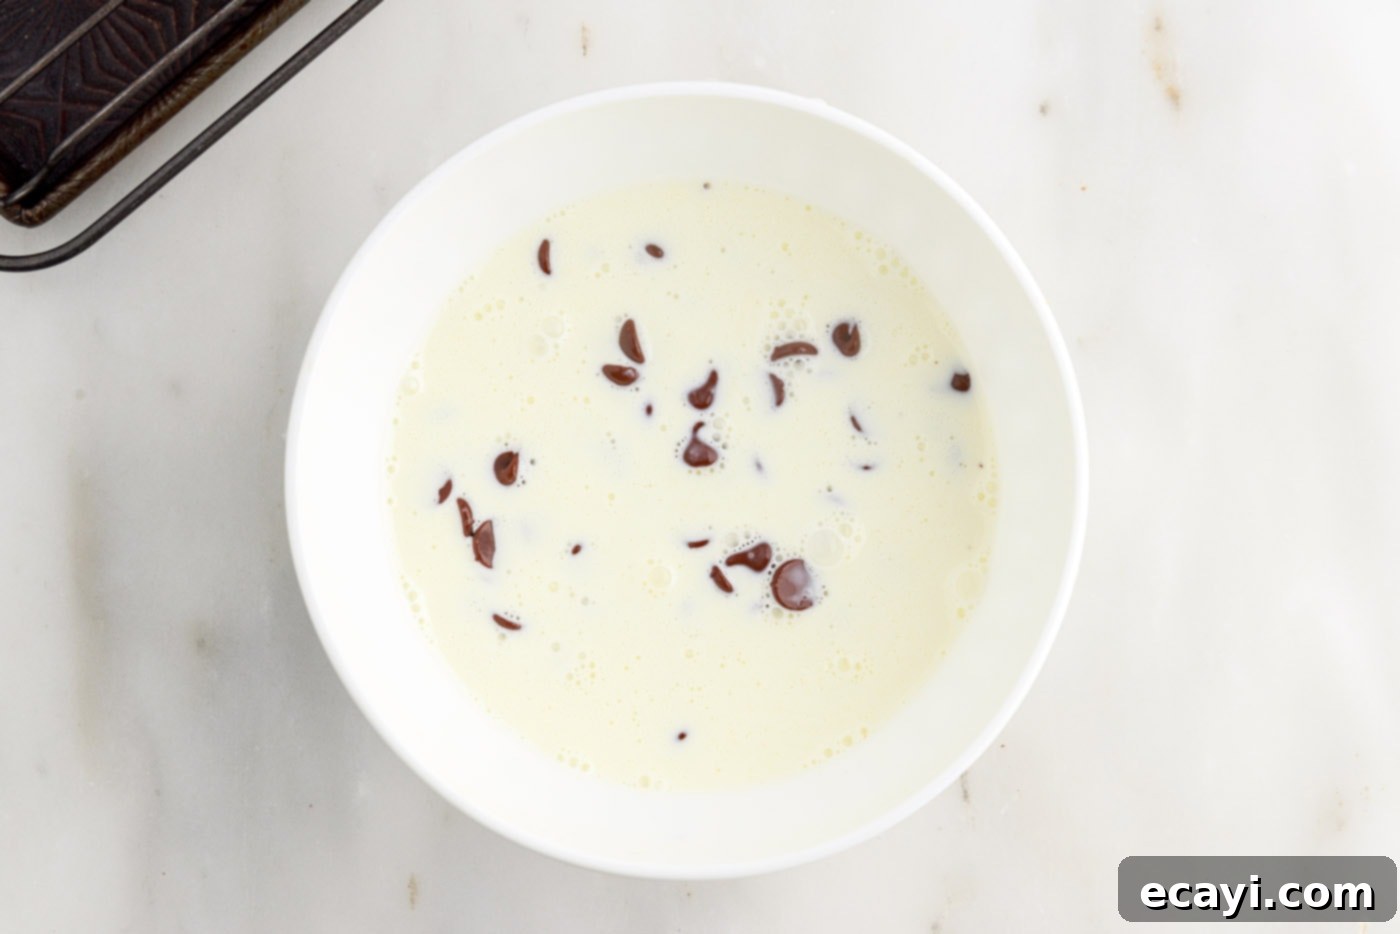
- While the cake chills, prepare the rich chocolate ganache. Heat the heavy whipping cream in a small saucepan or microwave-safe bowl until it just reaches a simmer (small bubbles will form around the edges). Pour the hot cream over the chocolate chips in a heatproof bowl. Let it sit undisturbed for 3-5 minutes to allow the chocolate to melt and soften.
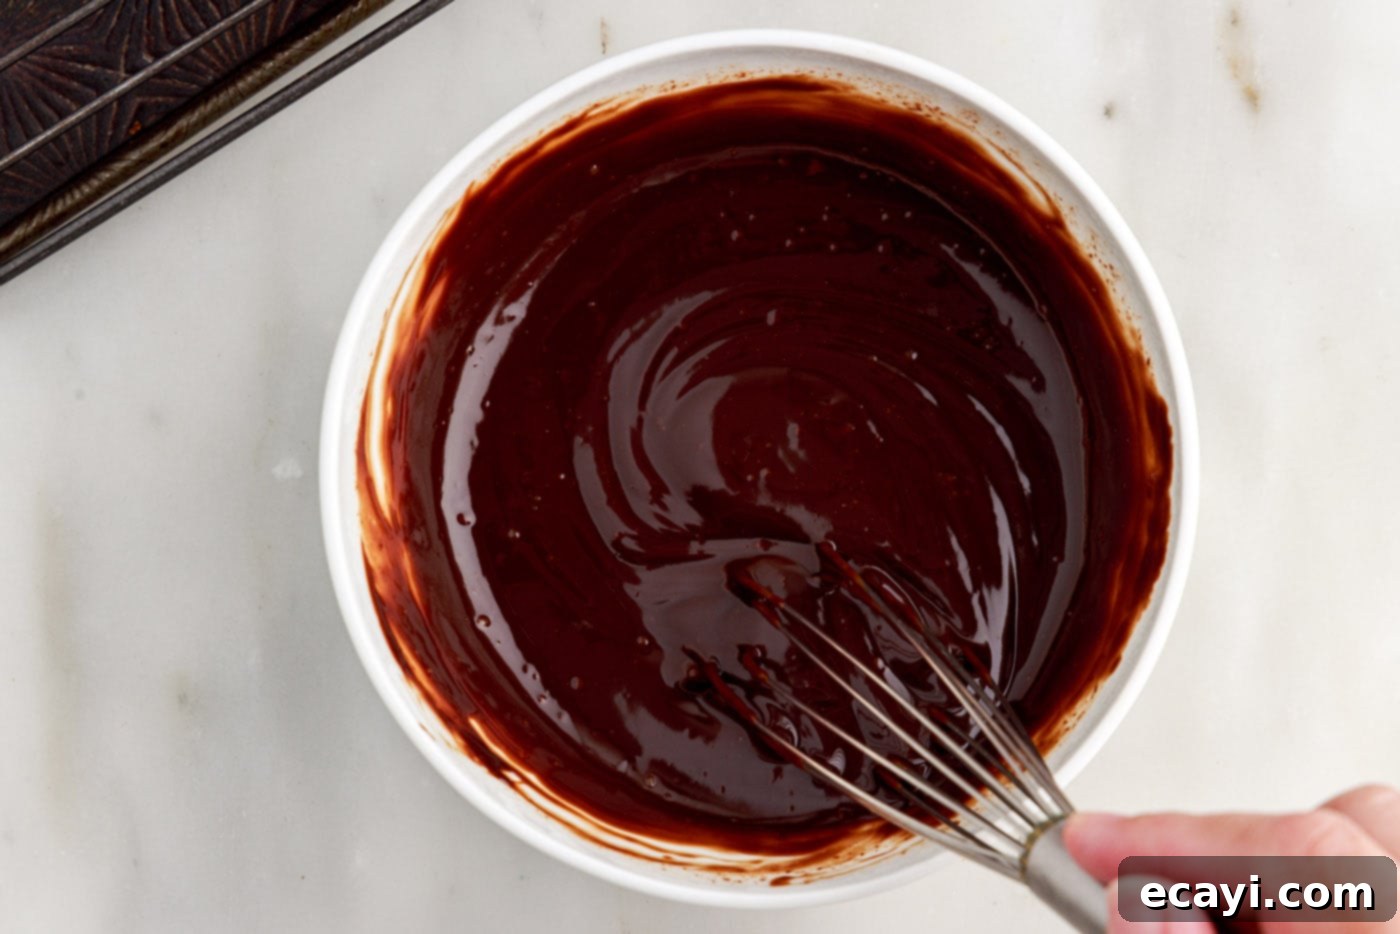
- After waiting, gently whisk the softened chocolate into the hot cream, starting from the center and working outwards, until a perfectly smooth, glossy ganache forms. This will create a decadent, pourable topping for your chocolate cake roll.
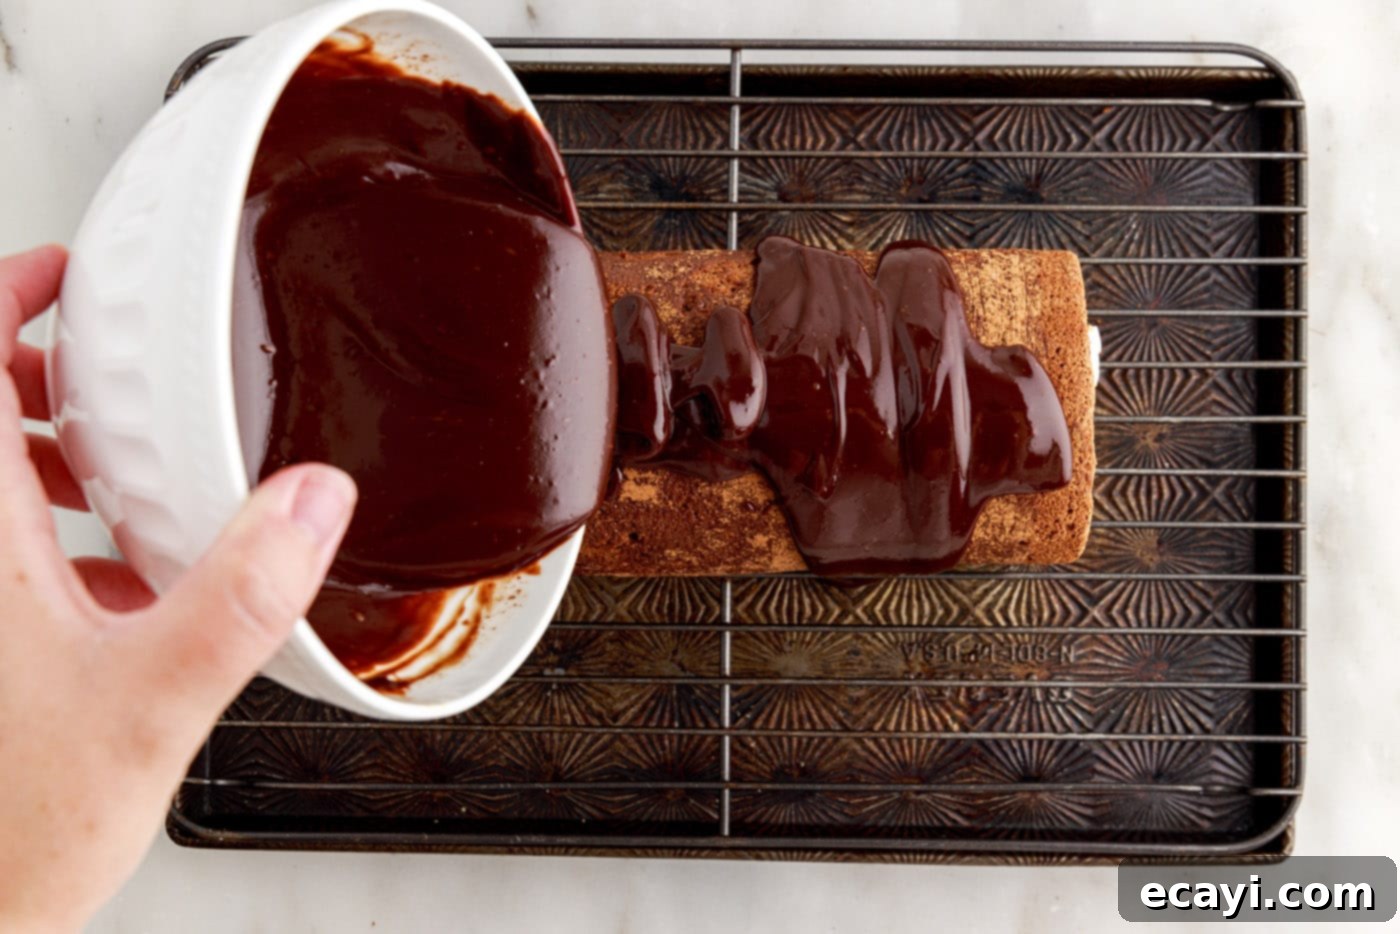
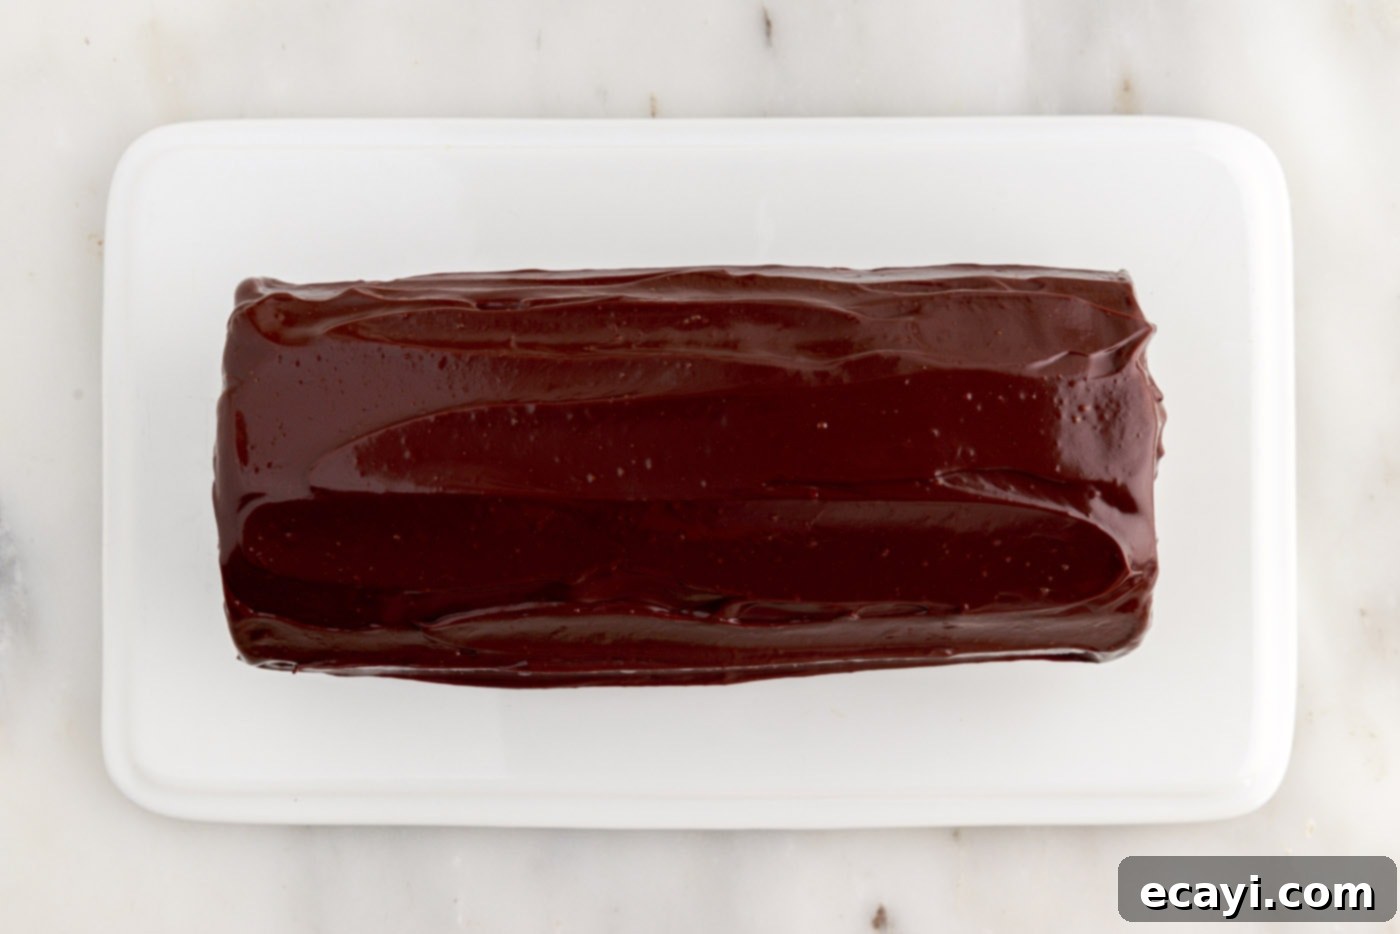
- Remove the chilled chocolate cake roll from the refrigerator and unwrap it. Place it on a wire rack set over a baking sheet (to catch any drips). Pour the still-warm ganache evenly over the top and sides of the cake, ensuring it’s fully coated. Allow the ganache to set at room temperature for about 30 minutes, or speed up the process by placing it back in the refrigerator for 15 minutes, until the ganache is firm to the touch.
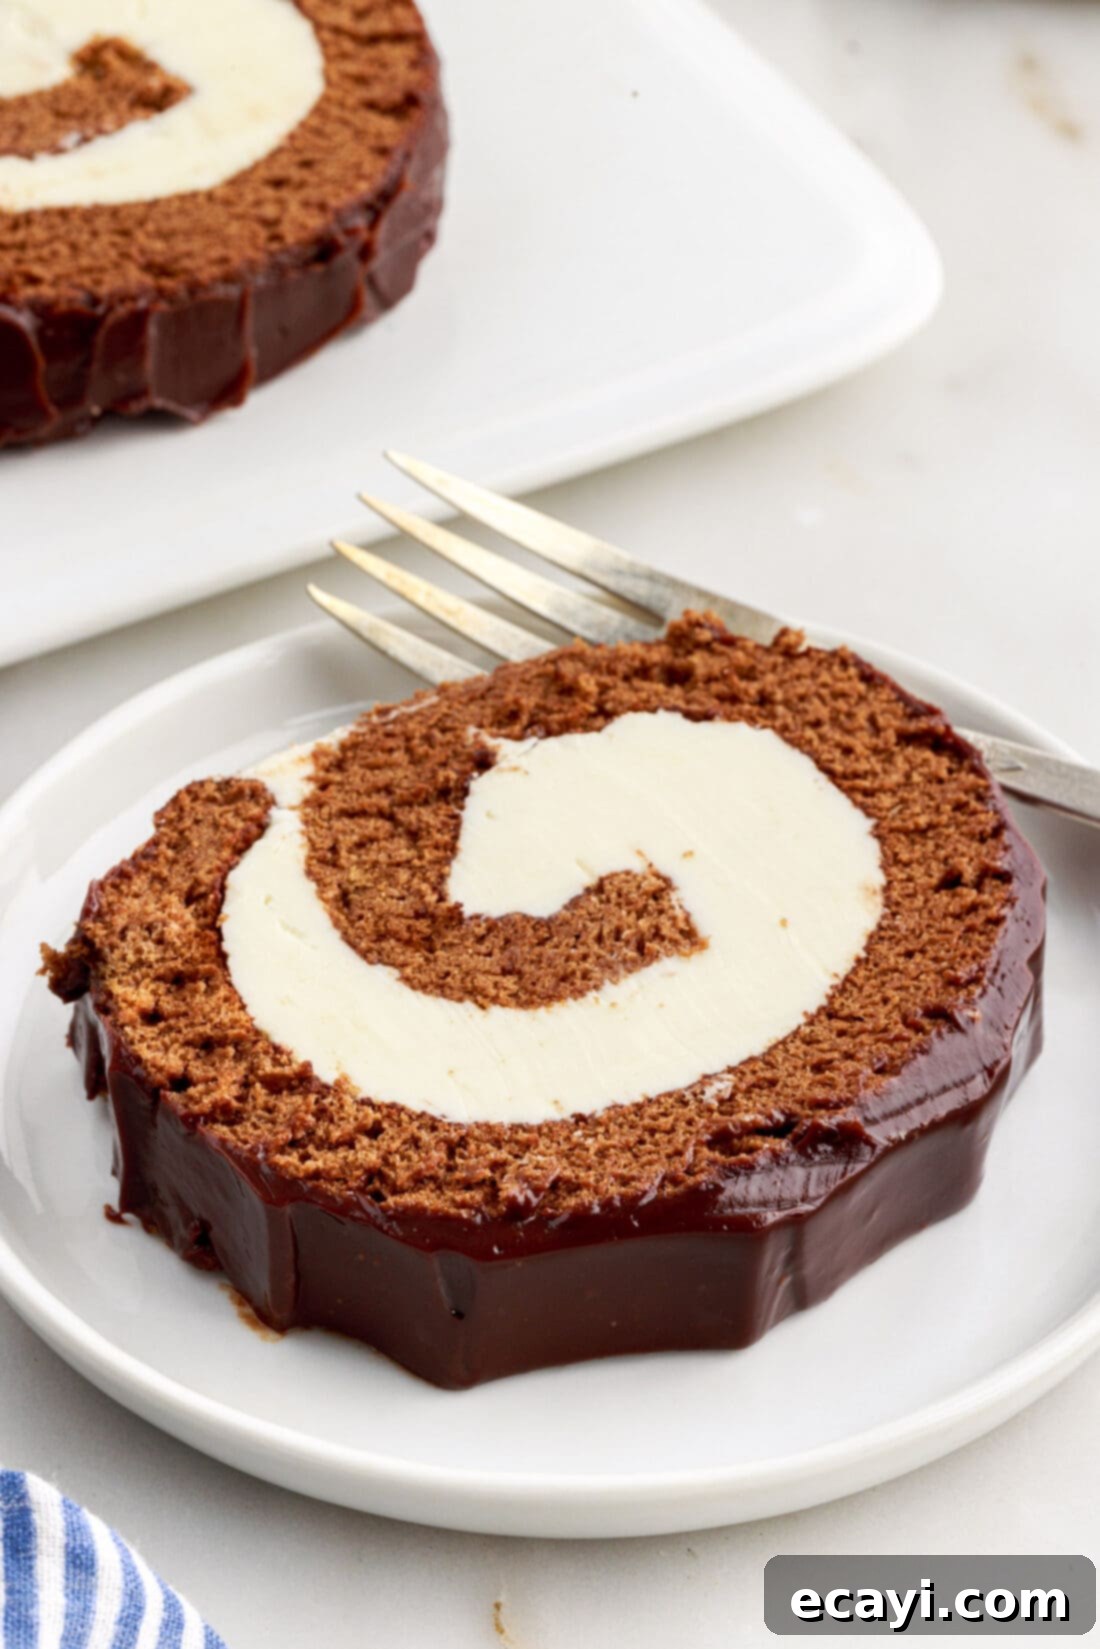
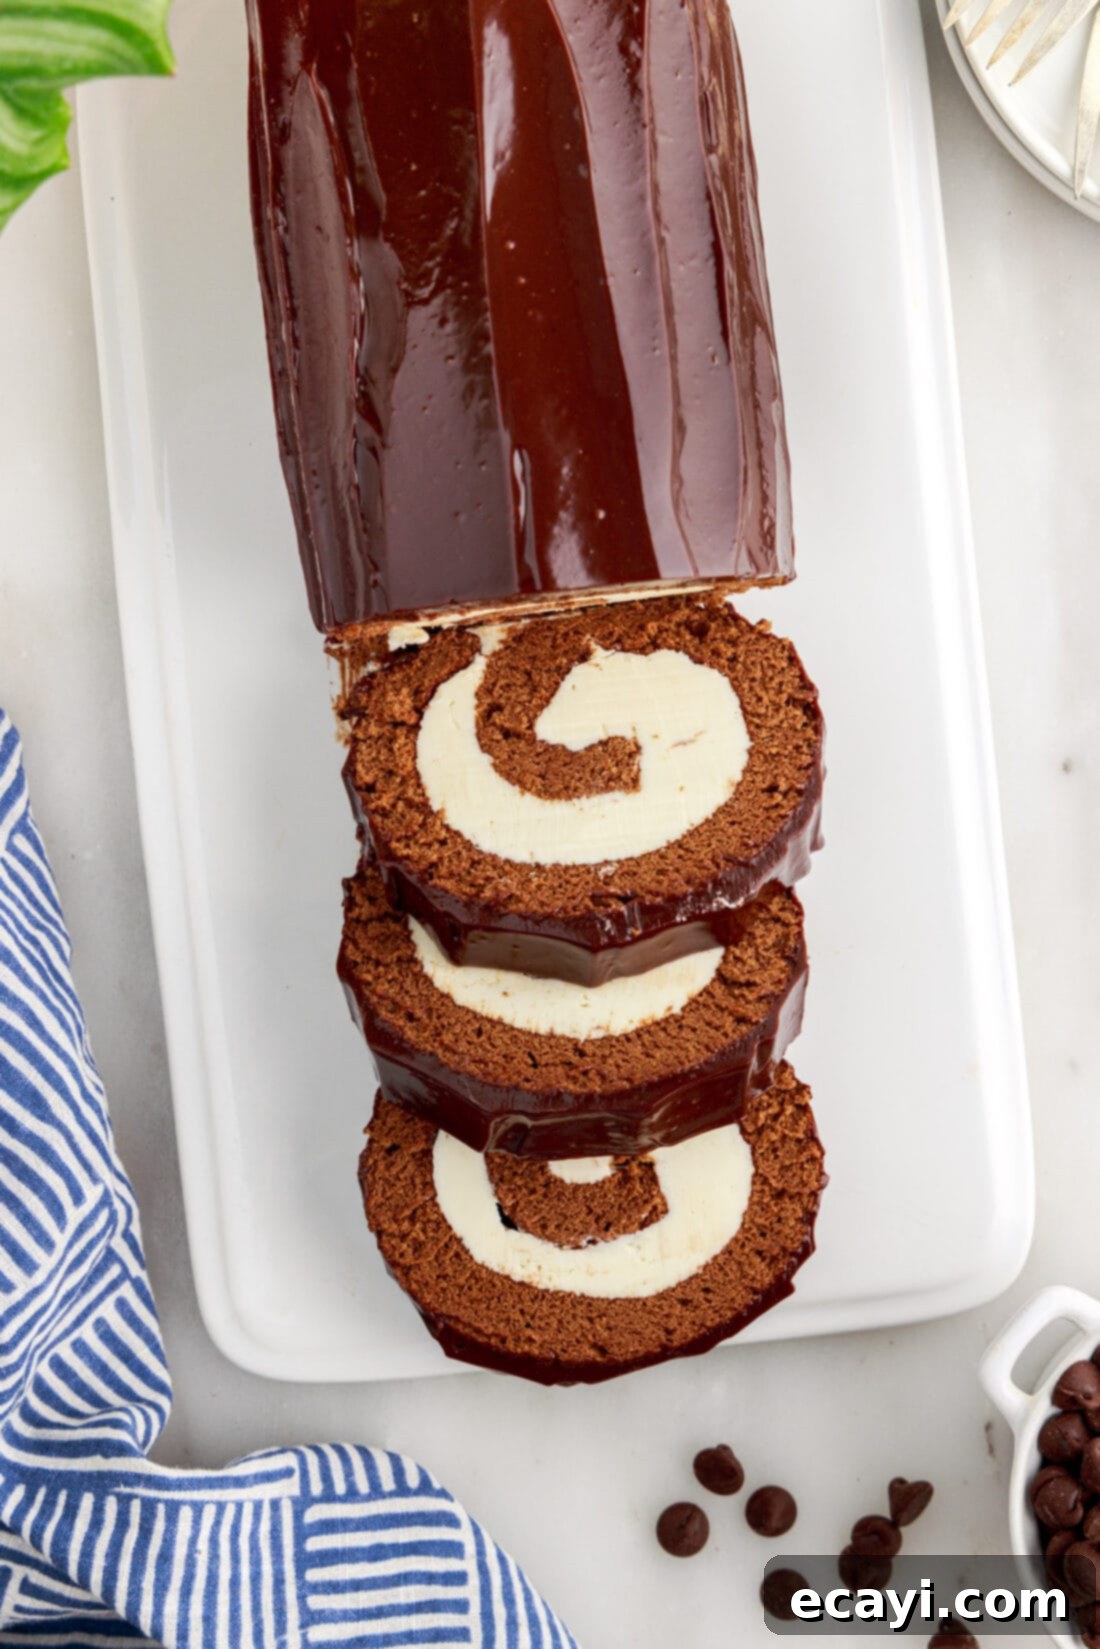
- When you’re ready to serve your magnificent homemade Swiss roll, use a sharp, thin knife (wiped clean after each slice for the best presentation) to slice it into beautifully uniform pieces, approximately 1 inch thick. Enjoy the decadent layers and impressive presentation!
Frequently Asked Questions & Expert Tips for Swiss Roll Success
To ensure your chocolate cake roll turns out perfectly every time, here are answers to some common questions and essential expert tips:
To maintain its freshness and delicious texture, store your homemade Swiss roll in an airtight container. Keep it refrigerated, and it will remain wonderfully fresh and moist for 5-7 days. Storing it in the fridge also helps keep the buttercream and ganache perfectly set and firm, preserving its beautiful presentation.
Absolutely! This chocolate cake roll freezes beautifully, making it an excellent make-ahead dessert for future enjoyment. For convenience, you can slice the roll into individual portions, wrap each slice tightly in plastic wrap, and then store them in an airtight container or a freezer-safe bag. Alternatively, if you plan to serve the whole cake later, you can freeze the entire roll by wrapping it several times in plastic wrap, followed by a layer of aluminum foil for extra protection against freezer burn. It can be safely frozen for up to 3 months. When you’re ready to enjoy, simply transfer the cake to the refrigerator to thaw overnight. For best taste and texture, you can let it come to room temperature for about an hour after thawing in the fridge.
Expert Tips for a Flawless Chocolate Cake Roll:
- Use Room Temperature Ingredients: Always ensure your eggs (for both cake and buttercream) and butter for the buttercream are at room temperature. This allows for better emulsification and volume in your batter, and a smoother, fluffier, lump-free buttercream.
- Don’t Overbake the Cake: This is a critical tip for any roll cake. Overbaking will dry out the sponge and make it brittle, which inevitably leads to cracks when you try to roll it. Bake just until a toothpick inserted into the center comes out clean and the cake springs back slightly.
- Dust Generously: The cocoa powder dusting on the towel is not optional! It acts as a non-stick layer, preventing the warm cake from adhering to the towel and ensuring a smooth, crack-free unrolling process later. Don’t skimp on this step.
- Roll While Warm: The initial roll of the cake with the towel should happen while the cake is still warm (but not piping hot) and pliable. This ‘trains’ the cake to hold its rolled shape as it cools, making it much more cooperative when it’s time to add the filling.
- Gentle Folding is Key: When incorporating the whipped egg whites into the chocolate batter, use a light hand and fold gently with a spatula. The goal is to preserve as much of the air as possible in the egg whites, which is essential for a light and airy sponge cake.
- Chill Thoroughly: Don’t rush the chilling process after filling and re-rolling the cake. A well-chilled cake is much firmer, easier to slice cleanly, and allows the buttercream filling to set perfectly, resulting in beautifully defined swirls.
- Sharp Knife for Slicing: For clean, professional-looking cuts that showcase the gorgeous spiral, use a very sharp, thin knife. Wiping the blade clean with a warm, damp cloth after each slice also helps prevent smudging the layers.
Serving Suggestions for Your Decadent Chocolate Cake Roll
This magnificent chocolate cake roll is incredibly versatile and makes a stunning addition to any table or occasion. Enjoy a delightful slice in the morning alongside a freshly brewed cup of coffee or a comforting tea for a sweet and sophisticated breakfast treat. It also serves as an unforgettable grand finale to any dinner party, instantly elevating it to a special occasion dessert. Its intricate swirl of tender chocolate sponge and creamy buttercream, all crowned with a glossy chocolate ganache, makes it a true attention-grabber. It’s perfect for holiday gatherings, birthdays, or simply as a luxurious indulgence to share with loved ones. For an even more exquisite presentation, consider garnishing individual slices with a dusting of extra cocoa powder, a sprig of fresh mint, or a few vibrant fresh berries like raspberries or strawberries.
Explore More Delicious Cake Recipes
If you loved creating this homemade chocolate cake roll, you might enjoy trying some of our other fantastic cake recipes that promise equally delightful baking and tasting experiences:
- Decadent Lava Cake Recipe: A molten chocolate dream.
- Light and Airy Chiffon Cake: A classic for its delicate texture.
- Classic Pumpkin Roll with Cream Cheese Frosting: A festive fall favorite.
- Homemade Carrot Cake Roll: Sweet, spiced, and perfectly rolled.
I love to bake and cook and share my kitchen experience with all of you! Remembering to come back each day can be tough, that’s why I offer a convenient newsletter every time a new recipe posts. Simply subscribe and start receiving your free daily recipes!
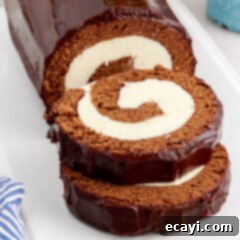
Chocolate Cake Roll
IMPORTANT – There are often Frequently Asked Questions within the blog post that you may find helpful. Simply scroll back up to read them!
Print It
Pin It
Rate It
Save ItSaved!
Ingredients
Cake
- 4 large eggs separated, at room temperature
- ¾ cup granulated white sugar divided
- 1 teaspoon vanilla extract
- ¼ cup vegetable oil
- ¼ cup strong coffee
- ½ cup cake flour
- ¼ cup unsweetened cocoa powder plus more for dusting
- ½ teaspoon salt
Buttercream Filling
- ½ cup unsalted butter softened at room temperature
- 2 cups powdered sugar
- 1 teaspoon vanilla extract
- 3-4 Tablespoons heavy whipping cream
Ganache
- ½ cup heavy whipping cream
- ¾ cup semi-sweet chocolate chips or dark chocolate chips
Things You’ll Need
-
Stand mixer
-
Sieve
-
Jelly roll pan
-
Mixing bowls
-
Rubber spatula
-
Whisk
Before You Begin
- Cake Flour is Crucial: Cake flour is paramount for this chocolate cake roll recipe. Its delicate nature creates a light, tender, and incredibly pliable cake, which is essential for rolling without unsightly cracks. Substituting with all-purpose flour will result in a denser cake that is much more prone to breaking during the rolling process.
- Egg Whites for Lift: The primary leavening agent in this recipe comes from the whipped egg whites. Whisk them to stiff peaks and then gently fold them into the batter. This technique incorporates air, giving the cake its signature lightness and aiding its rise. While a stand mixer is ideal for achieving stiff peaks, a hand mixer will also work, though it may take more time. Ensure eggs are at room temperature for maximum volume.
- Coffee Enhances Chocolate: The coffee included in the recipe acts as a flavor enhancer for the chocolate, deepening its richness without making the cake taste like coffee. It also adds moisture to the batter. If preferred, you can substitute with milk or water, though the chocolate flavor may be slightly less pronounced.
- Oil for Moistness and Flexibility: The vegetable oil in the cake batter contributes significantly to its moistness and, crucially, its flexibility. This pliability is what allows the thin sponge cake to be rolled into a perfect log without cracking, making it ideal for a beautiful jelly roll.
- Filling Options: While a vanilla buttercream is suggested, feel free to use sweetened whipped cream for a lighter alternative. If opting for whipped cream, adding 1-2 tablespoons of instant pudding mix during whipping or using a stabilized whipped cream recipe is highly recommended to prevent it from deflating.
- Storage: Store your finished chocolate cake roll in an airtight container in the refrigerator. It will stay fresh and delicious for 5-7 days.
- Freezing Instructions: To freeze, you have two options. Slice the roll into individual portions, wrap each piece tightly in plastic wrap, then place them in an airtight container or freezer-safe bag. Alternatively, you can freeze the entire roll by wrapping it several times in plastic wrap, followed by a layer of aluminum foil. It can be stored in the freezer for up to 3 months. To serve, thaw it in the refrigerator overnight, and for optimal texture, let it come to room temperature for about an hour before enjoying.
Instructions
-
Preheat the oven to 350°F. Line a jelly roll pan with parchment paper and spray with nonstick baking spray. Set aside.
-
Use a standing mixer or electric hand mixer to combine egg whites and 1⁄4 cup sugar. Whip on high speed until egg whites form stiff peaks (5-7 minutes).
-
Meanwhile, whisk together egg yolks and remaining 1⁄2 cup sugar until pale and thickened (1-2 minutes).
-
Whisk in vanilla extract, vegetable oil, and coffee.
-
Sift flour, cocoa powder, and salt into the egg yolk mixture and stir until combined.
-
Gently fold the egg whites into the cake batter until most of the white has been incorporated in. Work gently so that you don’t deflate the egg whites too much.
-
Spread the batter into the prepared jelly roll pan.
-
Bake 13-15 minutes until a toothpick inserted into the cake comes out clean.
-
Remove the cake from the oven and allow to cool for 3-5 minutes. Run a knife around the edges to make sure it is completely loose from the pan.
-
Lay out a clean linen. Dust with a thin layer of cocoa powder.
-
Turn the cake upside down onto the prepared linen and carefully lift off the pan. Gently peel off the parchment paper. Dust the top of the cake with another light layer of cocoa powder.
-
Working from one side, slowly roll the cake – the linen will be rolled into the cake. Place the rolled cake on a cooling rack to cool to room temperature – about 60 minutes.
-
Meanwhile, prepare the filling by beating together the butter and powdered sugar until combined – mixture will be crumbly. Add the vanilla and then slowly drizzle in the heavy cream while beating until a nice fluffy consistency is reached.
-
Gently unroll the room temperature cake onto a piece of parchment paper or plastic wrap. The two ends will still be curled slightly; it’s best to leave them curled.
-
Spread the filling over the cake – leaving about an inch of space at the right-hand short edge (the filling will squish and fill out this space as you re-roll it).
-
Working from the left-hand side, re-roll the cake, tucking it as tightly as you can while maintaining that nice layer of cream cheese filling on the inside.
-
Wrap the log with plastic wrap, to ensure it holds its shape. Chill in the refrigerator (or the freezer) for at least one hour more, seam side down.
-
Prepare the ganache by heating the heavy whipping cream to a simmer. Pour the simmering cream over the chocolate chips and leave to set for 3-5 minutes. Whisk the softened chocolate into the hot cream until a smooth ganache forms.
-
Pour the ganache over the chilled roll cake and spread to cover the top and sides. Allow ganache to set (about 30 minutes at room temperature or 15 minutes in the refrigerator).
-
When ready to serve, slice into approximately 1” pieces.
Nutrition
The recipes on this blog are tested with a conventional gas oven and gas stovetop. It’s important to note that some ovens, especially as they age, can cook and bake inconsistently. Using an inexpensive oven thermometer can assure you that your oven is truly heating to the proper temperature. If you use a toaster oven or countertop oven, please keep in mind that they may not distribute heat the same as a conventional full sized oven and you may need to adjust your cooking/baking times. In the case of recipes made with a pressure cooker, air fryer, slow cooker, or other appliance, a link to the appliances we use is listed within each respective recipe. For baking recipes where measurements are given by weight, please note that results may not be the same if cups are used instead, and we can’t guarantee success with that method.
