Ultimate Homemade Coconut Cream Pie: Silky Custard & Toasted Coconut Perfection
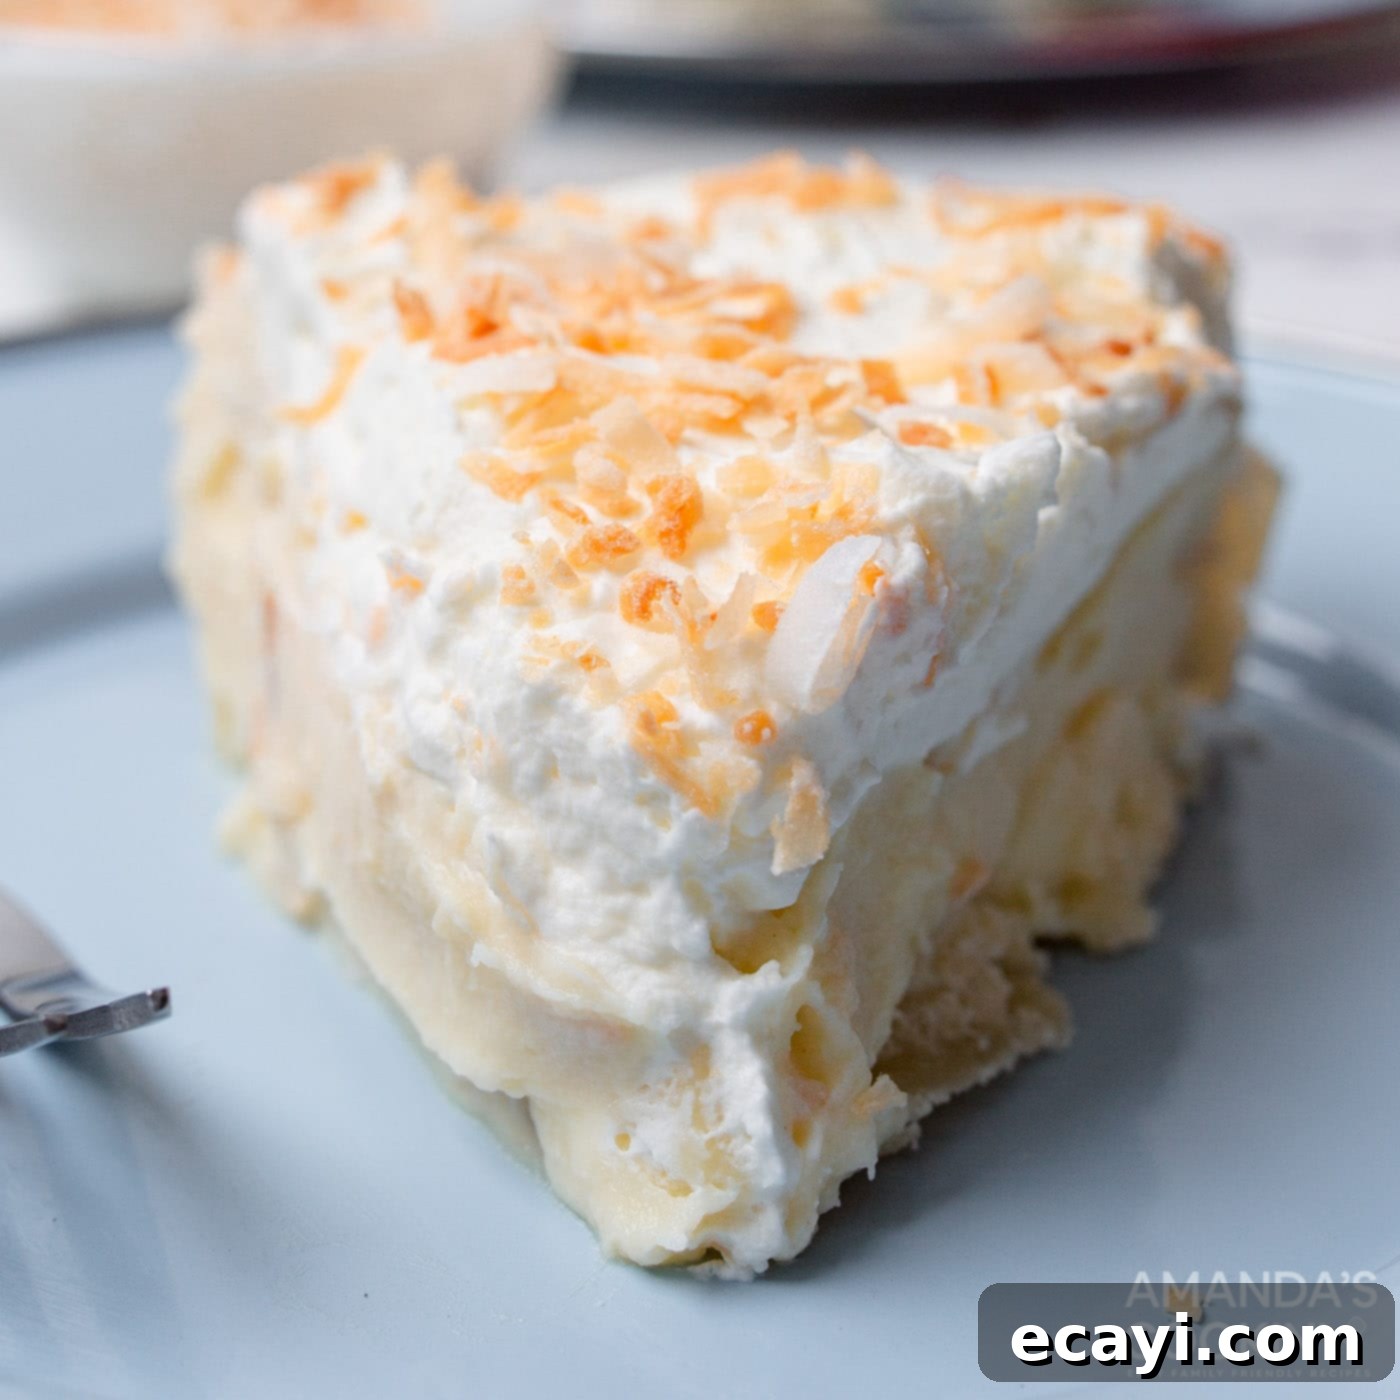
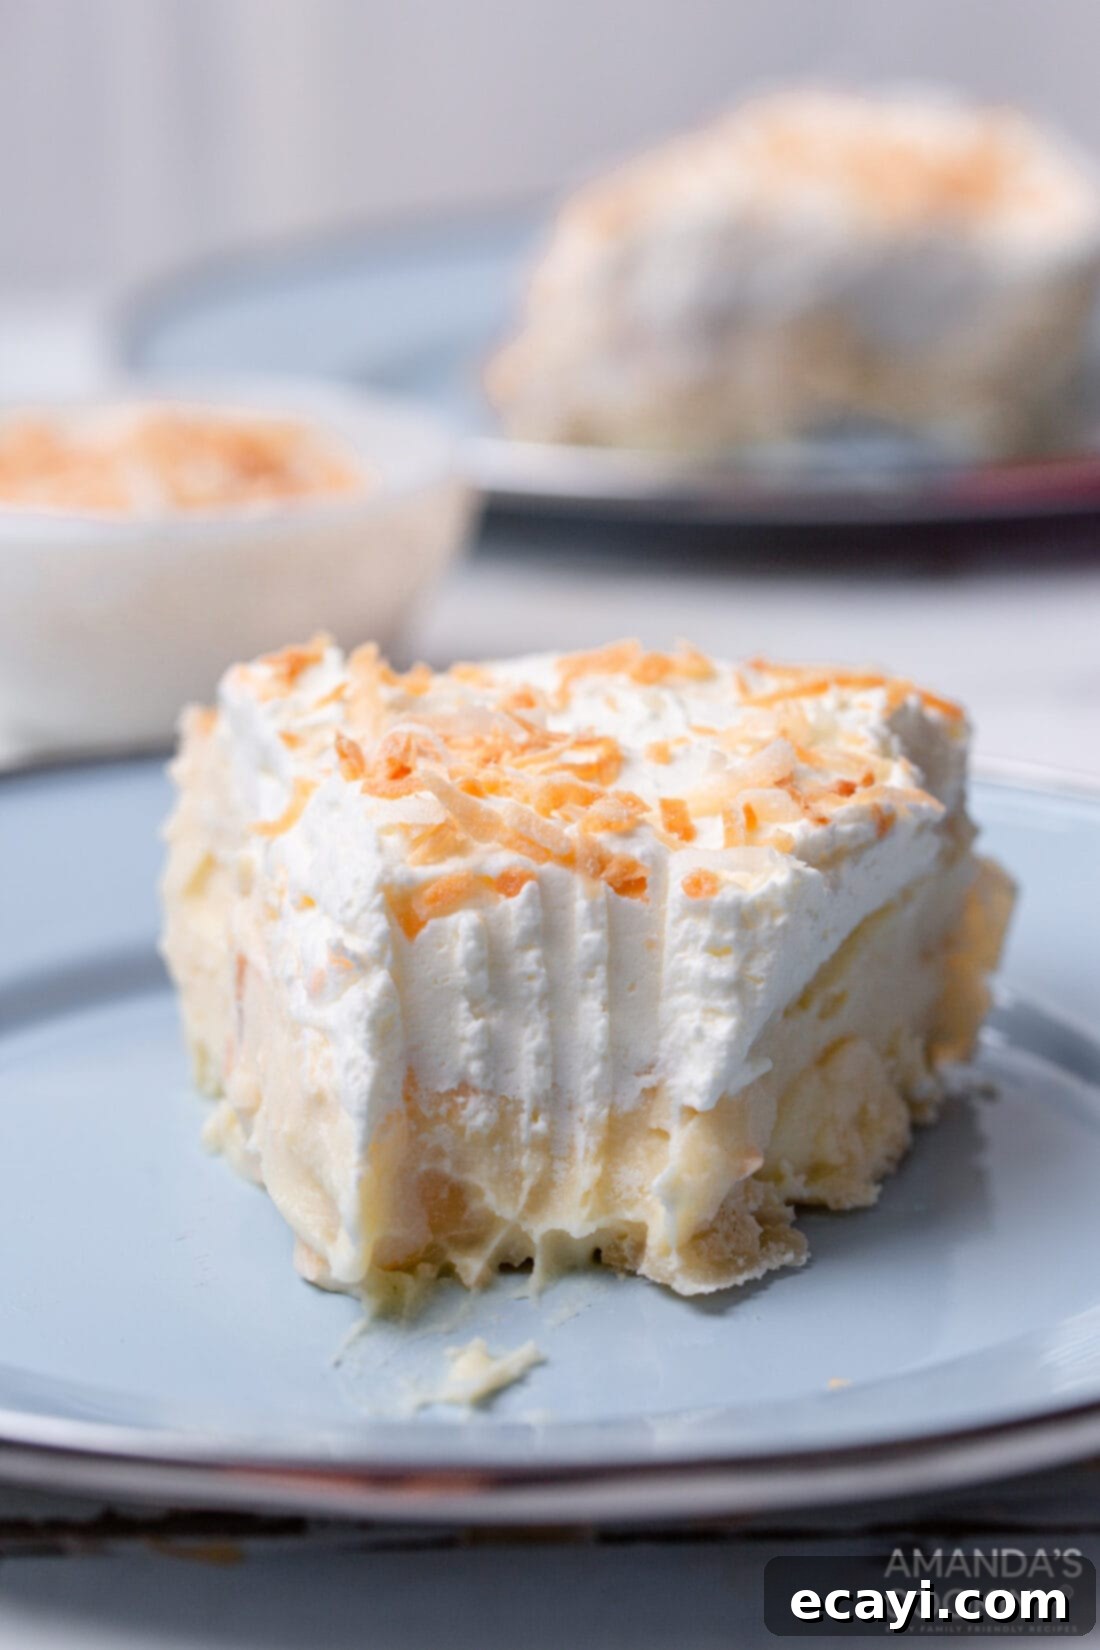
Prepare to be enchanted by the **ultimate homemade Coconut Cream Pie**, a dessert that promises a journey to tropical bliss with every single bite. This exquisite pie features three irresistible layers: a rich, silky smooth coconut custard, a generous topping of light-as-air whipped cream, and a sprinkle of perfectly toasted shredded coconut. It’s an ethereal experience, akin to sinking your teeth into a cloud of creamy, coconut-infused delight. This classic dessert brings together comforting textures and exotic flavors, making it a standout treat for any occasion.
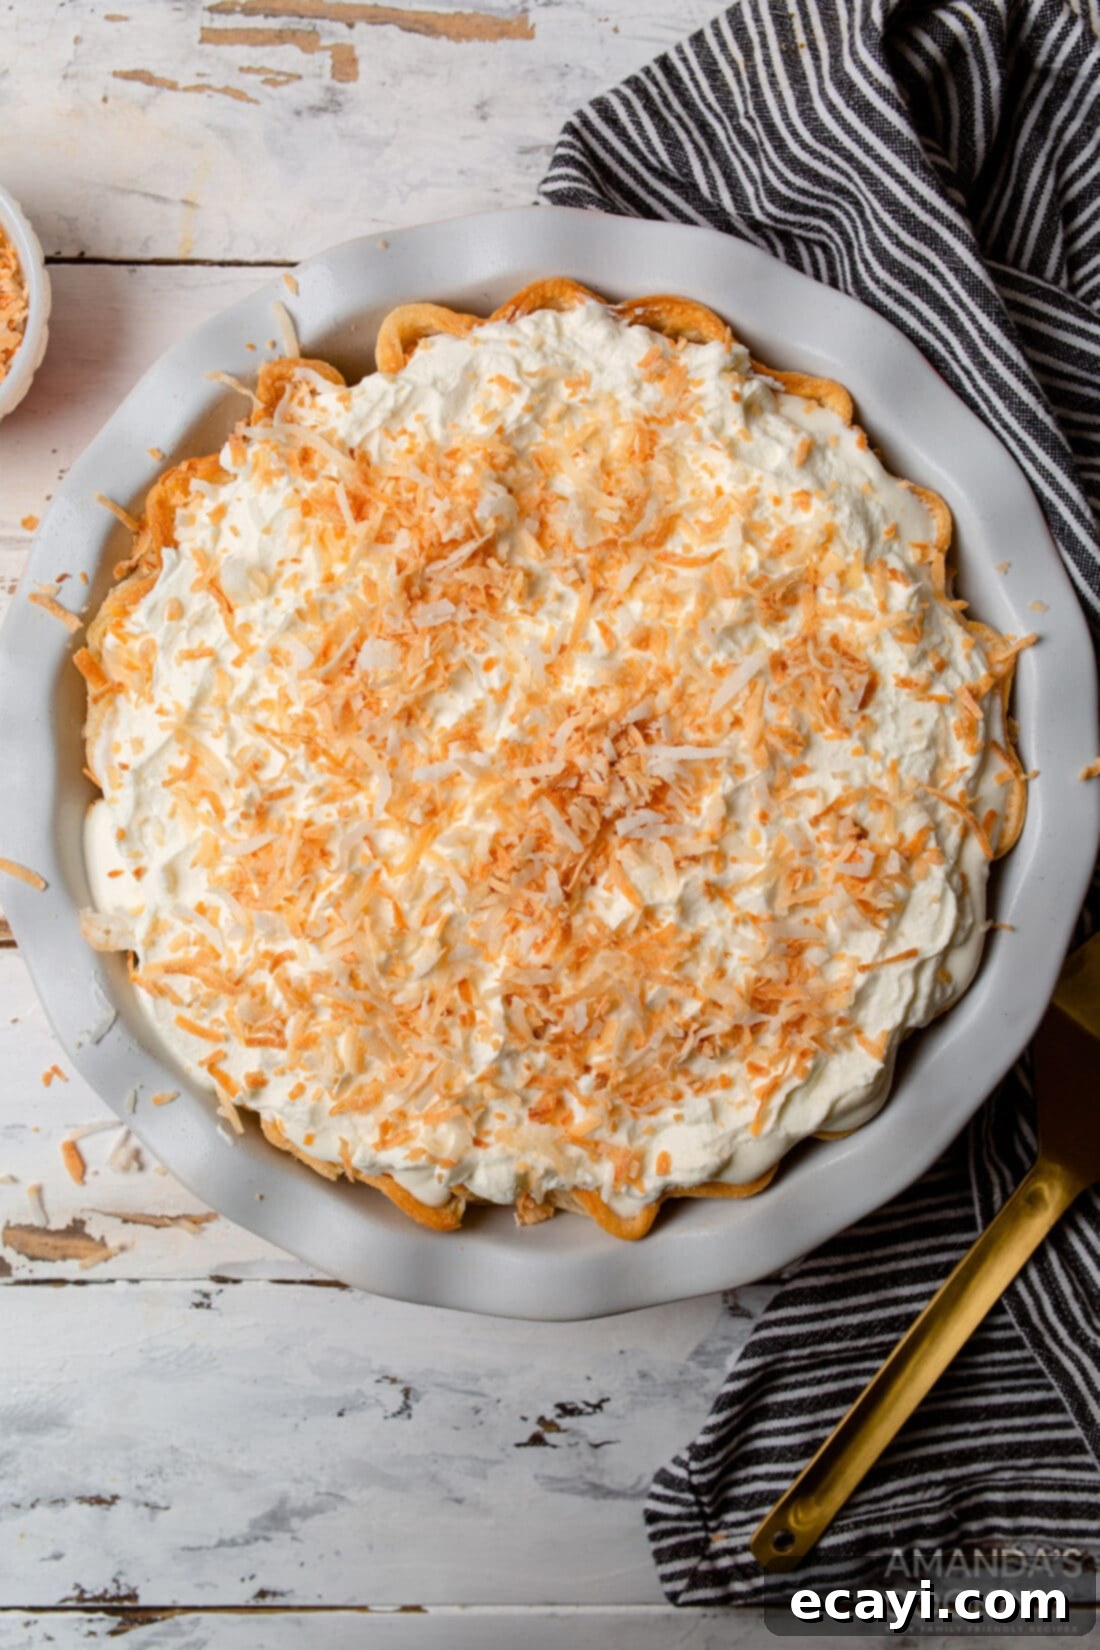
Why This Coconut Cream Pie Recipe Is a Must-Try
This Coconut Cream Pie isn’t just a dessert; it’s a testament to simple elegance and incredible flavor. Here’s why this particular recipe stands out and is guaranteed to become a family favorite:
- Effortlessly Elegant: Despite its luxurious appearance and gourmet taste, this pie is surprisingly simple to make. With an active preparation time of under 30 minutes, you can create a show-stopping dessert without spending hours in the kitchen.
- Silky Smooth Perfection: The heart of this pie is its velvety coconut custard. Cooked slowly to achieve a flawless, lump-free consistency, it delivers an unbelievably smooth and creamy mouthfeel that truly melts in your mouth.
- Balanced Coconut Flavor: We use shredded coconut not only as a garnish but also infused directly into the custard. Toasting the coconut beforehand amplifies its natural sweetness and nutty aroma, providing a deeper, more complex coconut flavor throughout the pie.
- Textural Harmony: Each spoonful offers a delightful interplay of textures – from the flaky pie crust, to the luscious custard, the airy whipped topping, and the satisfying crunch of toasted coconut. This layered approach elevates the entire dessert experience.
- Versatile for Any Occasion: Whether you’re hosting a grand holiday feast for Easter or Thanksgiving, celebrating a birthday, or simply craving a comforting sweet treat, this coconut cream pie fits perfectly. It’s sophisticated enough for special events but approachable enough for a casual Sunday dessert.
- Homemade Taste with Smart Shortcuts: While you can certainly make everything from scratch, this recipe thoughtfully incorporates the option of a store-bought pie crust, allowing you to achieve that cherished homemade taste with a convenient time-saving step.
Forget complicated desserts; this recipe proves that truly exceptional flavors can be achieved with straightforward steps and quality ingredients. It’s the more refined, yet equally approachable, cousin to our popular coconut cream lush, making it a fantastic choice for any gathering.
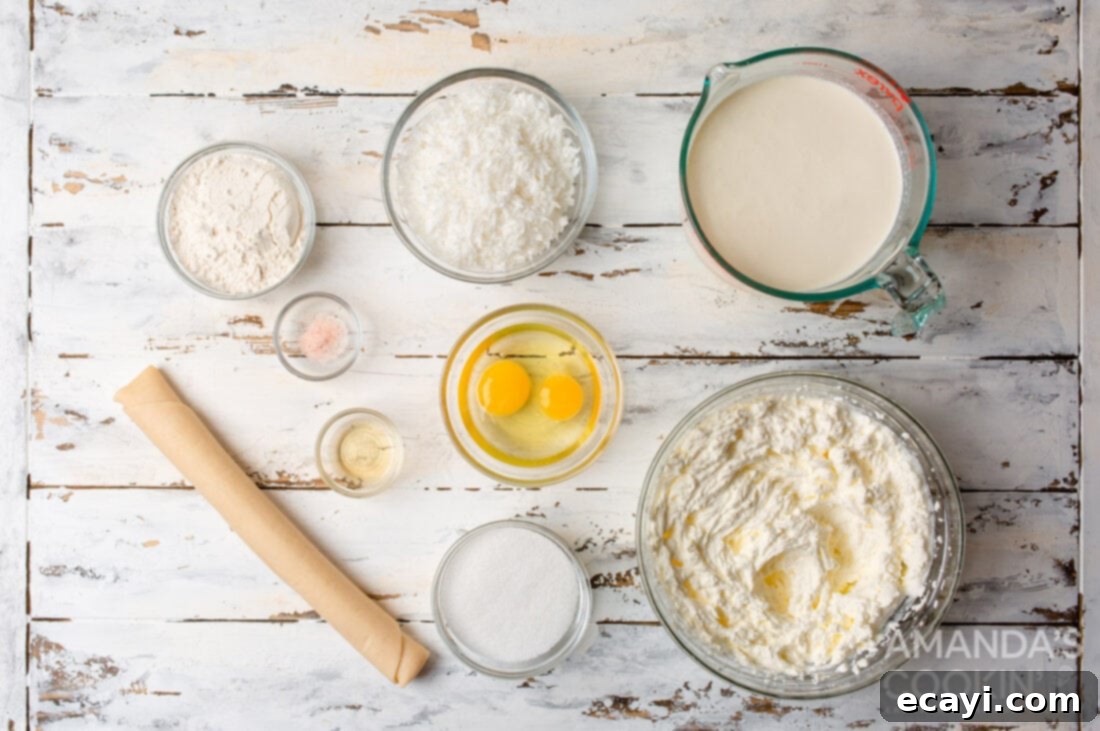
Key Ingredients for Your Perfect Coconut Cream Pie
Crafting this delightful coconut cream pie requires a few simple yet essential ingredients. You’ll find a complete list of all measurements, ingredients, and detailed instructions in the printable recipe card located at the very end of this post. For now, let’s dive into the core components that make this pie so special.
Ingredient Spotlight & Substitution Tips
Understanding each ingredient’s role and knowing possible substitutions can empower you to tailor this recipe to your preferences or what you have on hand. Here’s a closer look:
CRUST – For ultimate convenience without sacrificing flavor, we recommend a store-bought 9-inch refrigerated pie crust. This saves considerable time and ensures a consistently flaky base. However, if you prefer a homemade touch, you have several excellent options:
- Classic Pastry Crust: A traditional butter crust offers a rich, flaky foundation. Remember to blind bake it thoroughly to prevent a soggy bottom.
- Graham Cracker Crust: For an extra layer of sweetness and a crunchy texture, a homemade graham cracker crust is a fantastic no-bake alternative for the base (though you’ll still need to bake the custard).
- Shortbread Crust: A buttery shortbread crust provides a delightful crumbly texture and a rich flavor that complements the coconut perfectly.
Regardless of your choice, ensure the crust is baked according to package directions or recipe instructions, especially if using an unbaked shell. Blind baking is crucial to prevent the custard from making the crust soggy.
FILLING – The heart of this pie is its luscious, creamy custard. Each component plays a vital role:
- Half-and-Half: This blend of whole milk and light cream provides the perfect balance of richness and creaminess without being overly heavy.
- Substitution: For an intensely tropical flavor, you can substitute full-fat canned coconut milk (not the beverage kind). Note that this may require slight adjustments to the flour to achieve the same thickness, as coconut milk can be thinner. Whole milk can also be used for a slightly lighter custard.
- Eggs: Beaten eggs are essential for thickening the custard and giving it a smooth, rich texture. They act as a binding agent, ensuring the custard sets beautifully.
- Granulated Sugar: Provides the necessary sweetness to balance the rich flavors. You can adjust the amount slightly to your taste, especially if using sweetened or unsweetened coconut.
- All-Purpose Flour: This is our primary thickening agent, ensuring the custard achieves that perfectly spoonable consistency.
- Substitution: Cornstarch can be used as an alternative thickener (use about half the amount of cornstarch as flour). Ensure it’s mixed well with a small amount of cold liquid before adding to the warm mixture to prevent lumps.
- Salt: A pinch of salt is crucial! It doesn’t make the pie salty but enhances all the other flavors, making the sweetness brighter and the coconut more prominent.
- Toasted Shredded Coconut: This is where the magic happens for the filling! Toasting the coconut beforehand brings out its deep, nutty flavor and a lovely golden color. We add one cup directly into the custard for a wonderful chewiness and intense coconut taste.
- Sweetened vs. Unsweetened: You can use either sweetened or unsweetened shredded coconut. If using unsweetened, you might want to slightly increase the sugar in the custard to compensate. Sweetened coconut will give you a slightly softer texture and more pronounced sweetness.
- Vanilla Extract: A splash of vanilla extract rounds out the flavors, adding warmth and depth to the coconut custard. Always add it off the heat to preserve its delicate aroma.
WHIPPED TOPPING – The crowning glory of our pie. While store-bought whipped topping offers convenience, homemade whipped cream elevates the pie to another level:
- Homemade Whipped Cream: Whisking cold heavy cream with a touch of powdered sugar (for stability and sweetness) and a hint of vanilla creates a light, fluffy, and incredibly fresh topping that complements the rich custard perfectly.
- Store-Bought Options: Cool Whip or similar frozen whipped toppings are perfectly acceptable for a quick and easy finish. Thaw according to package directions before use.
By understanding these ingredients and their roles, you can confidently create a coconut cream pie that is truly your own!
Step-by-Step Guide to Making Coconut Cream Pie
These step-by-step photos and detailed instructions are provided to help you visualize each stage of making this incredible dessert. For a convenient printable version of this recipe, complete with precise measurements and instructions, simply jump to the recipe card at the bottom of this post.
- Prepare the Pie Crust: If your chosen pie shell is unbaked, it’s crucial to blind bake it first to prevent a soggy crust. Follow the package directions carefully. This typically involves lining the raw crust with parchment paper and filling it with pie weights or raw dried beans. Bake until the crust is lightly golden brown and set. Remove the weights and parchment, then allow the crust to cool completely on a wire rack before filling.
- Toast the Coconut: Preheat your oven to a moderate temperature (around 325-350°F or 160-175°C). Spread 1½ cups of shredded coconut thinly and evenly on a baking sheet. Toast in the oven for about 5 minutes, stirring frequently every minute or so, until the majority of the coconut turns a beautiful golden brown. Keep a close eye on it, as coconut can burn quickly! This toasting process enhances the flavor immensely. Once toasted, immediately remove from the hot pan to prevent further cooking. Reserve ½ cup of this golden, toasted coconut to use as a garnish for the topping. The remaining 1 cup will be folded into the custard.
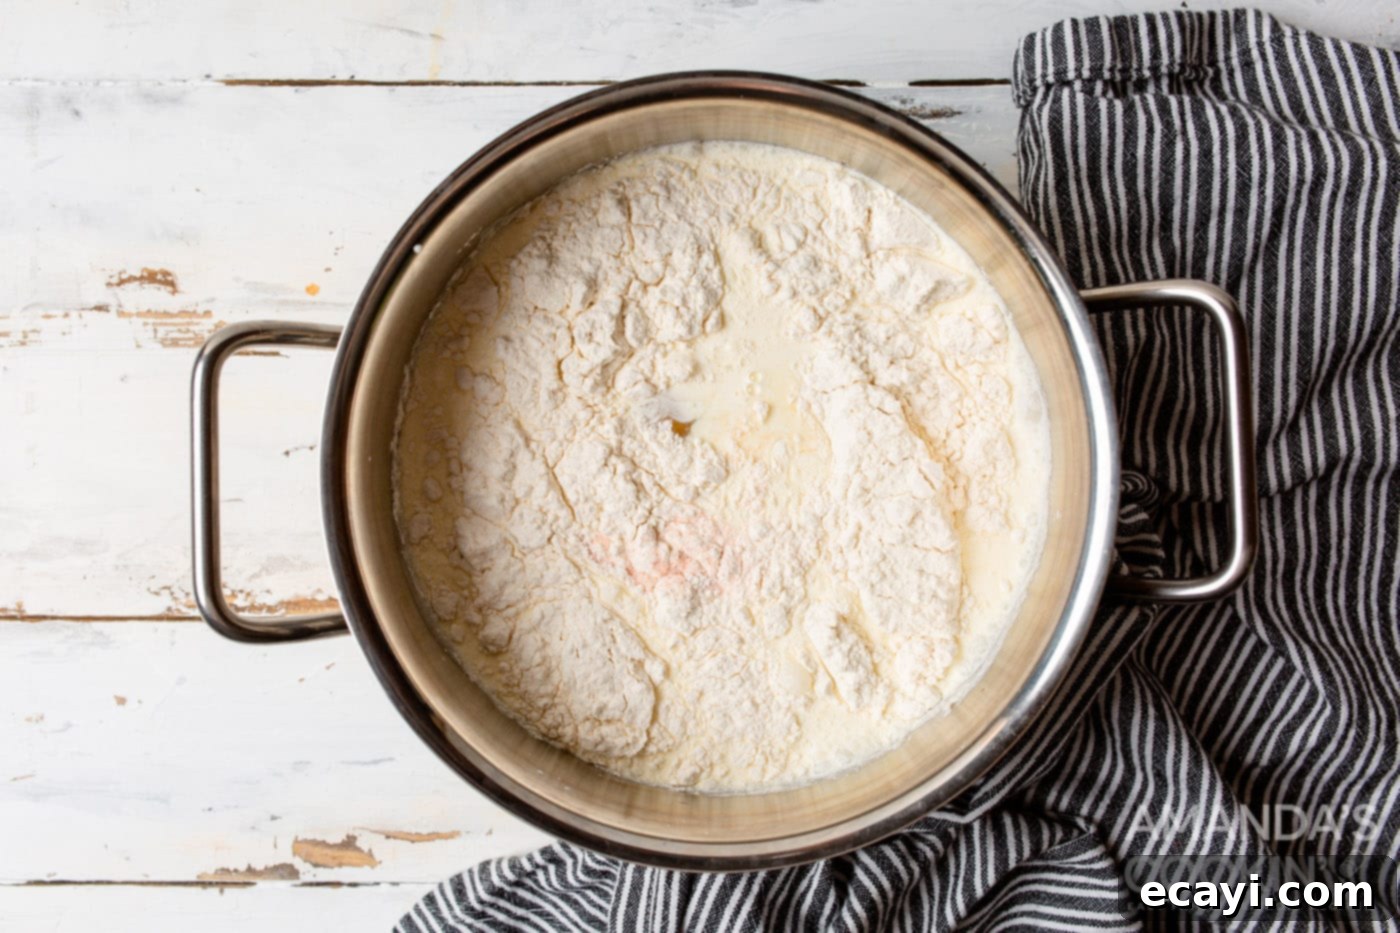
- Cook the Coconut Custard Base: In a medium saucepan over low to medium-low heat, combine the half-and-half, beaten eggs, granulated sugar, all-purpose flour, and salt. Whisk these ingredients constantly and thoroughly to ensure they are well combined and no lumps form. Continue whisking as you bring the mixture to a gentle boil. The key here is patience; cooking on low heat prevents scorching and allows the custard to thicken evenly. Let the mixture continue to cook and thicken for approximately 20 minutes, maintaining constant whisking. The custard will gradually transform from a thin liquid to a consistency resembling thick cake batter or a pourable pudding. It should be thick enough to coat the back of a spoon.

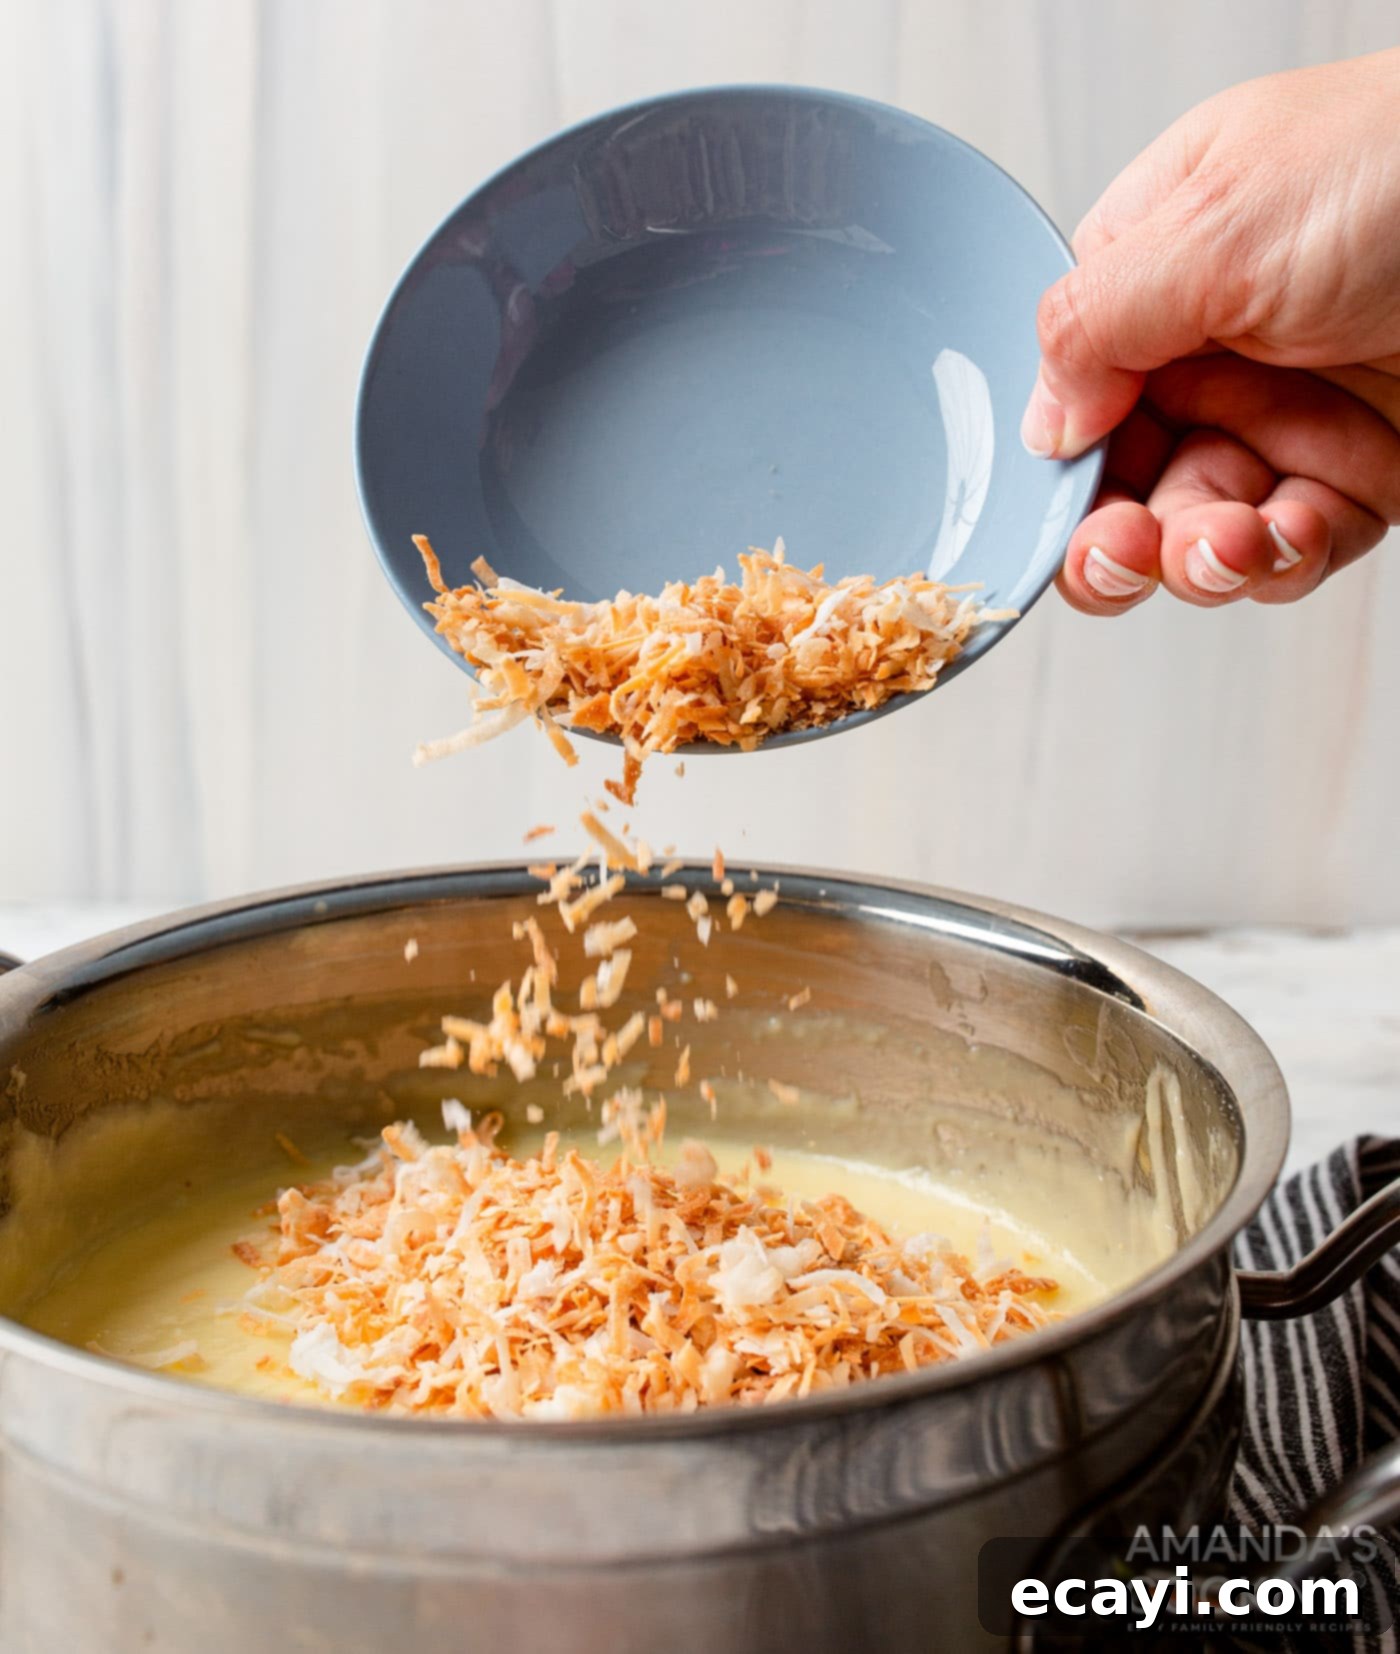
The custard ingredients combine in the saucepan, beginning their transformation. - Infuse with Flavor: Once the custard has reached the desired thickness, remove the saucepan from the heat immediately. Stir in the 1 cup of toasted shredded coconut (the portion not reserved for topping) and the vanilla extract. Adding vanilla after removing from heat helps to preserve its delicate flavor. Stir vigorously until the coconut is evenly distributed throughout the creamy custard.

Adding the toasted coconut to the warm, freshly made custard. 
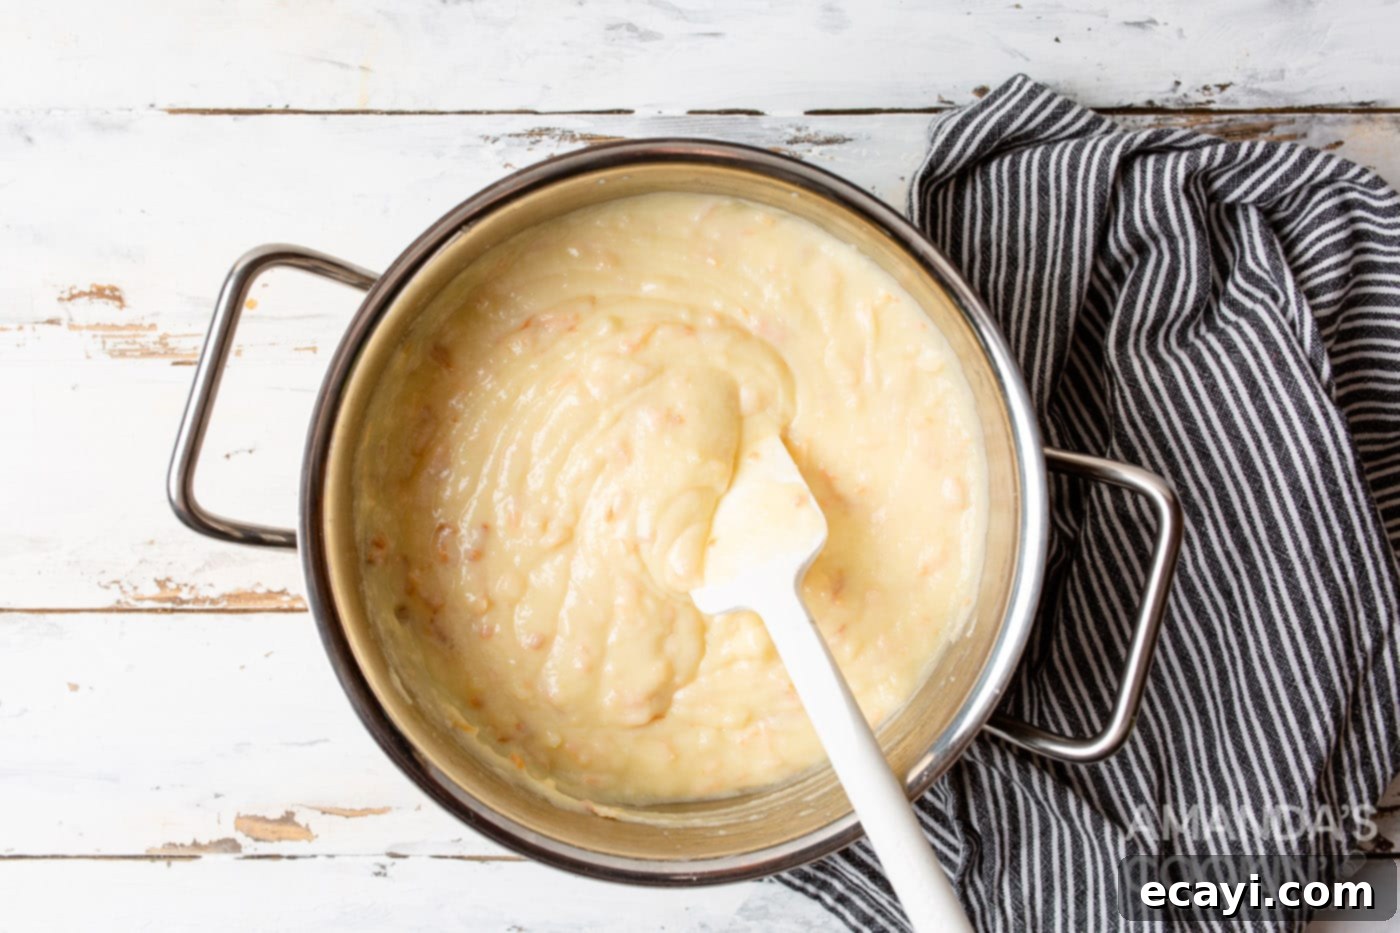
The smooth, rich custard being stirred to incorporate all ingredients. - Chill to Perfection: Carefully pour the warm coconut custard mixture into your prepared and cooled pie shell. Spread it evenly. To prevent a “skin” from forming on top, you can gently press a piece of plastic wrap directly onto the surface of the custard. Place the pie in the refrigerator and chill for a minimum of 4 hours, or until it is completely firm and set. This chilling time is essential for the pie to hold its shape and for the flavors to fully meld.
- Final Assembly & Serve: Just before you’re ready to serve, remove the chilled pie from the refrigerator. Top the firm custard with a thick, generous layer of whipped topping. Finish by sprinkling the reserved ½ cup of toasted coconut over the whipped cream for a beautiful presentation and an extra burst of texture and flavor. Slice and enjoy your delightful homemade Coconut Cream Pie!
Frequently Asked Questions & Expert Tips for Coconut Cream Pie
Coconut cream pie will keep well in the refrigerator, tightly covered with plastic wrap or stored in an air-tight container, for 3-4 days. For best flavor and texture, it’s ideal to consume it within 2-3 days.
Absolutely! The pie crust can be baked and cooled a day in advance. The coconut custard filling can also be made and chilled a day ahead of time. Assemble the pie (add whipped topping and toasted coconut) just a few hours or right before serving to ensure the whipped cream stays fresh and fluffy.
Blind baking is your best friend! Always pre-bake your pie crust (even if it’s store-bought unbaked) before adding the custard. Use pie weights or dried beans to hold down the crust during baking. You can also brush the baked crust lightly with an egg wash (egg white + water) during the last few minutes of blind baking to create an extra moisture barrier.
Lumps in custard typically occur if the flour isn’t fully whisked in at the beginning, or if the custard isn’t stirred constantly during cooking, allowing it to stick and clump. Ensure you whisk thoroughly when combining ingredients and maintain continuous stirring over low to medium-low heat. If lumps do form, you can press the warm custard through a fine-mesh sieve before pouring it into the pie crust for a silky smooth finish.
Yes, for an even stronger coconut flavor, you can replace the half-and-half with full-fat canned coconut milk (ensure it’s the rich, creamy kind, not the beverage type). You might need to slightly increase the flour by a tablespoon or two, as coconut milk can sometimes be thinner than half-and-half, requiring a bit more thickening agent. Adjust sugar as needed, especially if your coconut milk is sweetened.
Toasting coconut requires vigilance! Use a preheated oven (325-350°F / 160-175°C) and spread the coconut in a single layer on a baking sheet. Stir frequently (every 1-2 minutes) to ensure even browning and prevent burning. It goes from perfectly golden to burnt very quickly, so do not walk away from the oven. Alternatively, you can toast it in a dry skillet over medium-low heat, stirring constantly, for a quicker method.
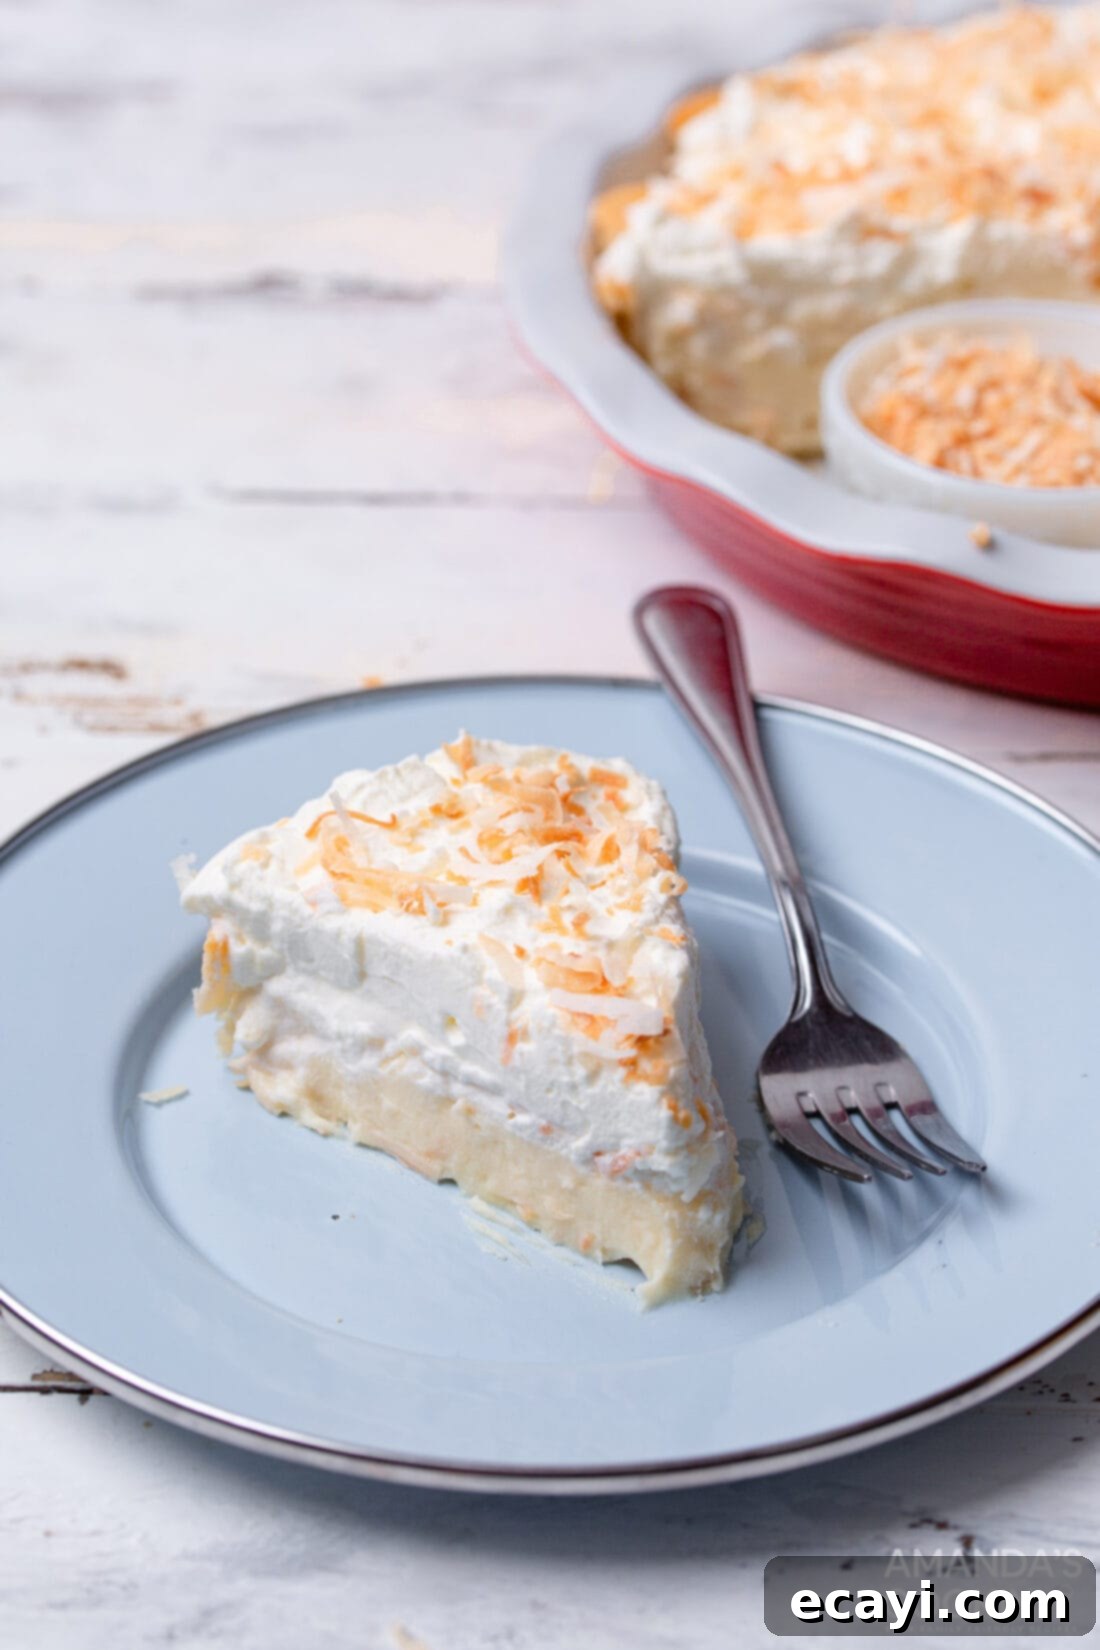
Creative Serving Suggestions
This Coconut Cream Pie is a star on its own, but a few thoughtful touches can elevate the serving experience even further:
- Temperature: Serve this pie chilled or at a cool room temperature. Chilling for at least 4 hours (or more) is essential for the custard to set properly, ensuring clean slices and optimal flavor.
- Garnish Galore: While toasted coconut is classic, consider adding a sprinkle of dark chocolate shavings, a few fresh raspberries or blueberries for a pop of color and tartness, or even a drizzle of homemade caramel or chocolate sauce for added indulgence.
- Perfect Pairings: This tropical delight pairs wonderfully with a freshly brewed cup of coffee, a light herbal tea, or even a glass of iced tea. For an adult twist, consider pairing it with a light rum cocktail or a refreshing sparkling wine.
- Occasion Versatility: This pie shines on your Easter or Thanksgiving sweets table, but it’s equally perfect for summer potlucks, birthday celebrations, or as a comforting dessert on a cozy evening. Its bright, refreshing flavor makes it a hit any time of year.
- Make Ahead Advantage: As mentioned, you can prepare the pie a day in advance, leaving only the whipped topping and final coconut garnish for just before serving. This saves you valuable time on the day of your event and ensures a stress-free dessert presentation.
Explore More Delicious Pie Recipes
If you have a passion for pie, we’ve got you covered! Discover more delightful pie creations that are sure to please:
- French Silk Pie
- Banana Cream Pie
- Southern Buttermilk Pie
- Homemade Apple Pie
- No Bake Peanut Butter Pie
- Sweet Potato Pie
I absolutely adore spending time in the kitchen, experimenting with new flavors, and sharing my culinary adventures with all of you! It can be tricky to remember to check back every day for new recipes, which is why I offer a convenient newsletter. Every time a fresh recipe is posted, you’ll get it delivered straight to your inbox. Simply subscribe today and start receiving your free daily recipes, ensuring you never miss a delicious update!
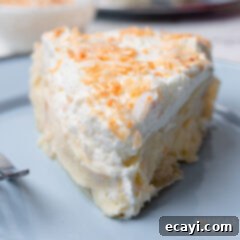
Coconut Cream Pie
IMPORTANT – There are often Frequently Asked Questions within the blog post that you may find helpful. Simply scroll back up to read them!
Print It
Pin It
Rate It
Save It
Saved!
Prevent your screen from going dark
Course:
Dessert
Cuisine:
American
8
servings
4 hours
35 minutes
427
Amanda Davis
Ingredients
-
1 9 inch pie crust baked or unbaked -
1 ½ cups sweetened flaked coconut -
3 cups half and half -
2 eggs beaten -
¾ cups granulated sugar -
½ cup all purpose flour -
¼ tsp salt -
1 tsp vanilla extract -
1 cup whipped topping
Things You’ll Need
-
9 inch pie pan
Before You Begin
- Store your finished pie in an air-tight container or tightly covered with plastic wrap in the refrigerator for 3-4 days to maintain freshness.
- For best results, read through the entire recipe once before starting to familiarize yourself with the steps and ensure you have all ingredients ready.
- Always allow your baked pie crust to cool completely before filling to prevent the custard from becoming too runny or the crust from becoming soggy.
Instructions
-
If using an unbaked pie shell, bake according to package directions. Place parchment paper in the bottom of the crust and fill with raw beans or pie weights during baking to prevent shrinkage and bubbling. Allow to cool completely.
-
Spread the shredded coconut on a sheet pan. Toast in the oven for about 5 minutes at 325-350°F (160-175°C), stirring often, until the majority has turned golden brown. Immediately transfer to a plate to cool. Reserve ½ cup of baked coconut for topping.
-
In a saucepan over low to medium-low heat, combine the half-and-half, beaten eggs, sugar, flour, and salt. Whisk constantly as you bring the mixture to a boil. Continue to cook and thicken for about 20 minutes, still whisking frequently. The thickness will resemble that of a pourable cake batter or pudding.
-
Remove the saucepan from the heat. Stir in the remaining 1 cup of toasted coconut along with the vanilla extract until well combined.
-
Pour the warm coconut custard mixture into the cooled pie shell. Cover the surface directly with plastic wrap to prevent a skin from forming. Chill in the refrigerator for a minimum of 4 hours, or until completely firm and set.
-
Before serving, remove the plastic wrap. Top the chilled pie with a thick, even layer of whipped topping. Sprinkle the reserved toasted coconut over the whipped cream for garnish. Slice and serve immediately.
Nutrition
Serving:
1
slice
|
Calories:
427
cal
|
Carbohydrates:
50
g
|
Protein:
7
g
|
Fat:
23
g
|
Saturated Fat:
14
g
|
Polyunsaturated Fat:
1
g
|
Monounsaturated Fat:
6
g
|
Trans Fat:
1
g
|
Cholesterol:
75
mg
|
Sodium:
265
mg
|
Potassium:
230
mg
|
Fiber:
2
g
|
Sugar:
27
g
|
Vitamin A:
388
IU
|
Vitamin C:
1
mg
|
Calcium:
115
mg
|
Iron:
1
mg
Tried this Recipe? Pin it for Later!
Follow on Pinterest @AmandasCookin or tag #AmandasCookin!
The recipes on this blog are tested with a conventional gas oven and gas stovetop. It’s important to note that some ovens, especially as they age, can cook and bake inconsistently. Using an inexpensive oven thermometer can assure you that your oven is truly heating to the proper temperature. If you use a toaster oven or countertop oven, please keep in mind that they may not distribute heat the same as a conventional full sized oven and you may need to adjust your cooking/baking times. In the case of recipes made with a pressure cooker, air fryer, slow cooker, or other appliance, a link to the appliances we use is listed within each respective recipe. For baking recipes where measurements are given by weight, please note that results may not be the same if cups are used instead, and we can’t guarantee success with that method.
