The Ultimate Guide to Baking Fudgy Red Velvet Crinkle Cookies for the Holidays
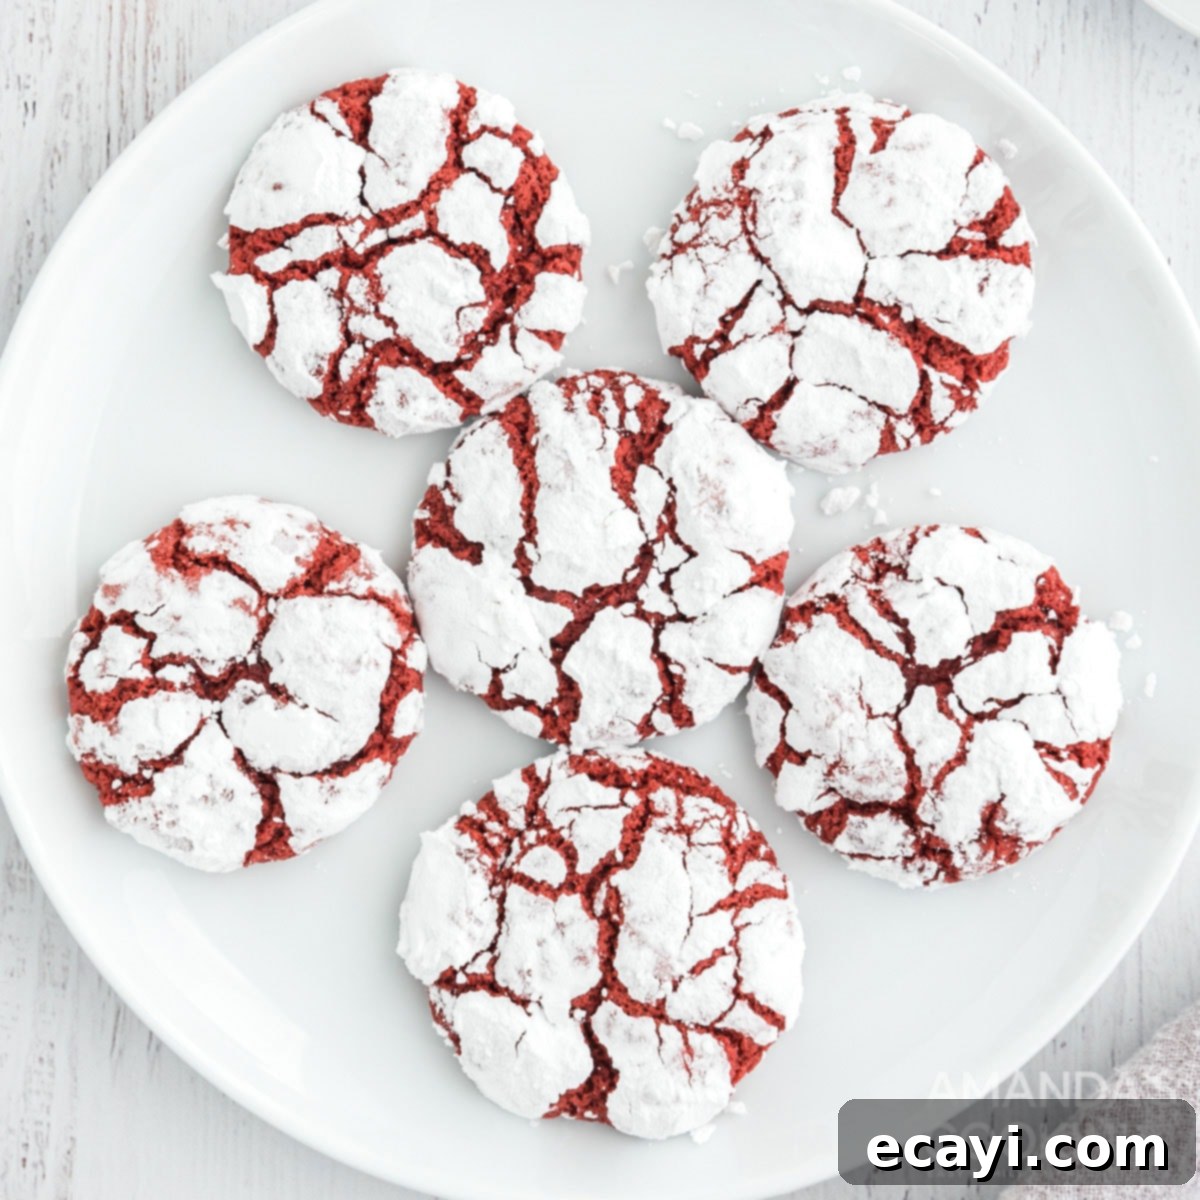
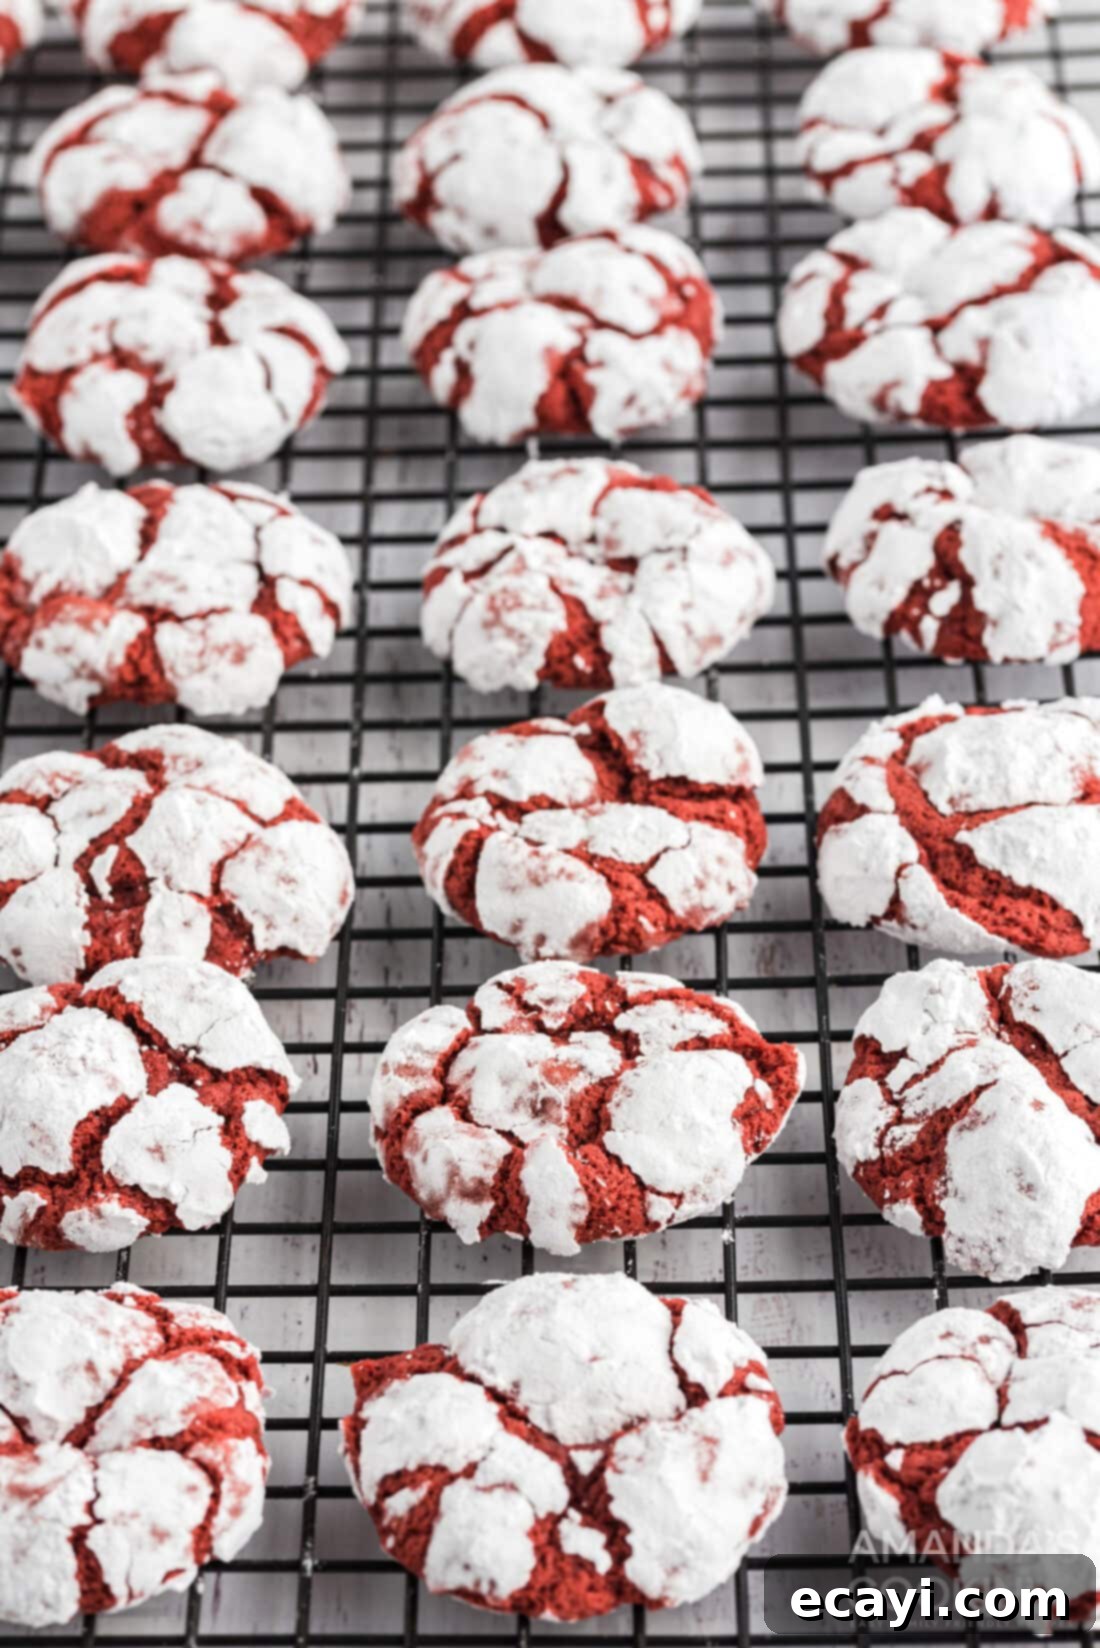
Prepare to delight your taste buds and impress your guests with these irresistibly fudgy red velvet crinkle cookies. A true holiday favorite, their vibrant red hue dusted with powdered sugar makes them look as if they’re covered in fresh snow, creating a stunning visual on any Christmas dessert table. Beyond their beautiful appearance, these cookies offer a rich, brownie-like texture that’s perfectly chewy and moist, ensuring they’re always a cherished treat during the festive season.
Why This Red Velvet Crinkle Cookie Recipe is a Must-Try
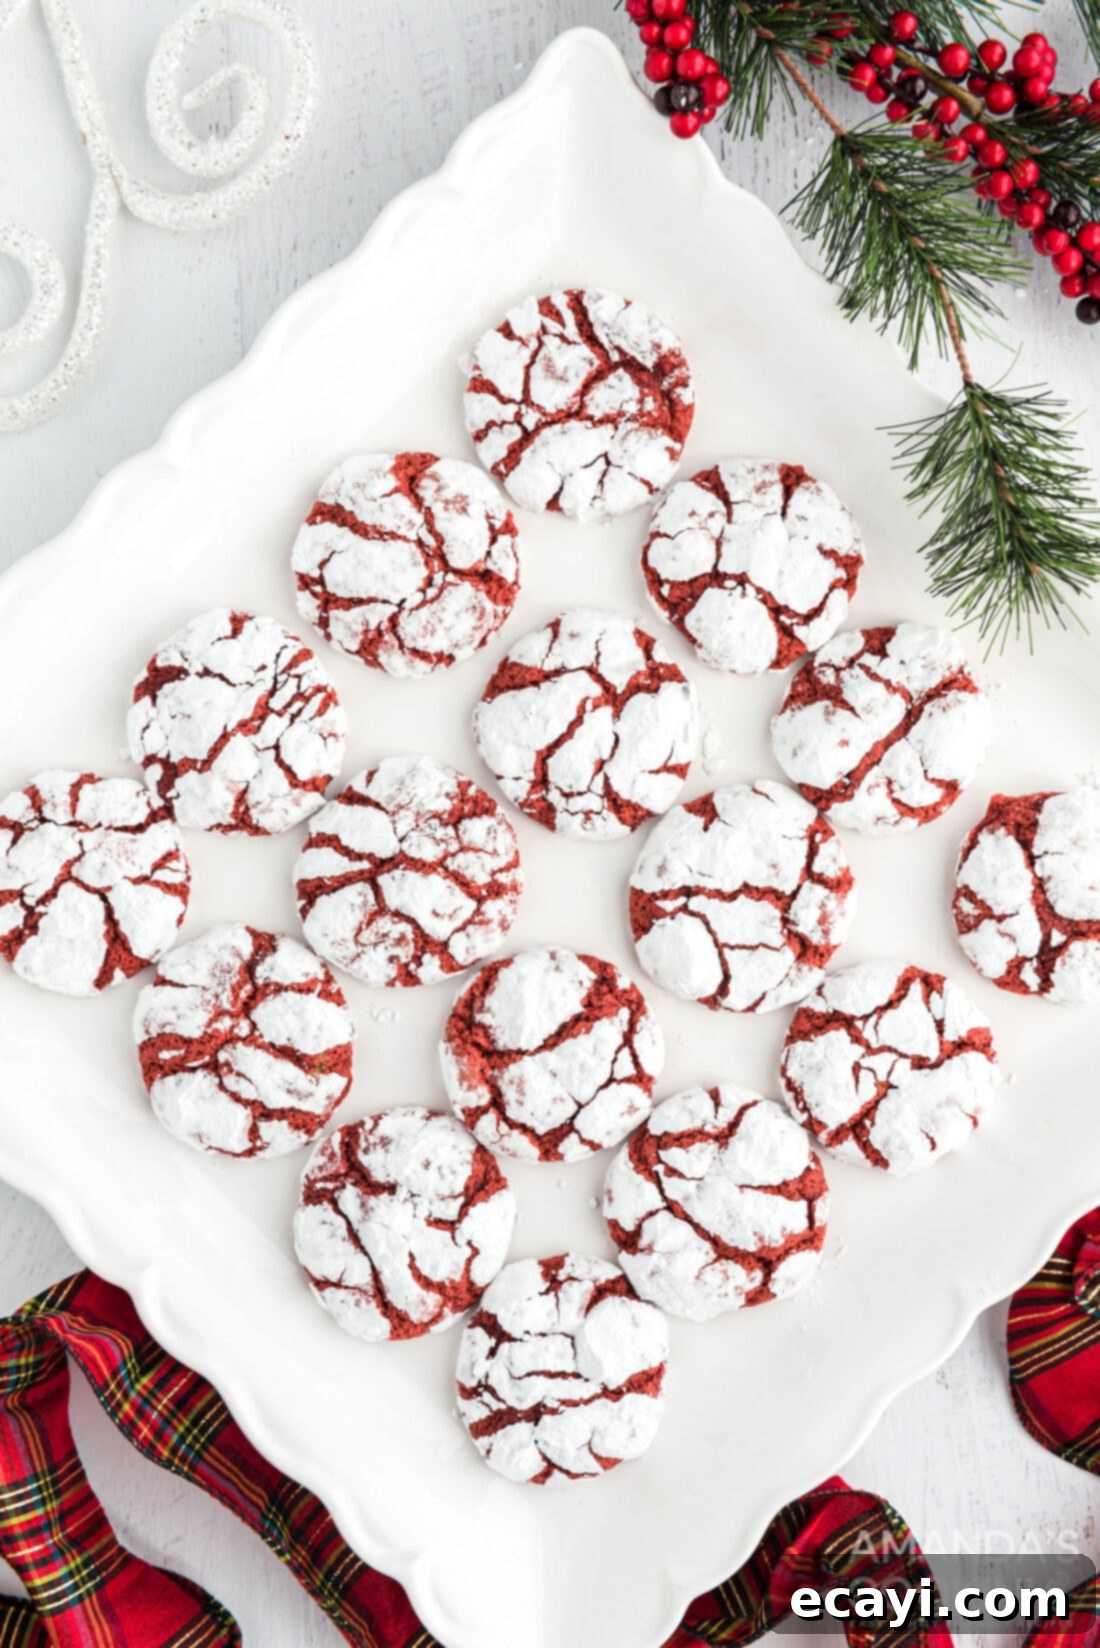
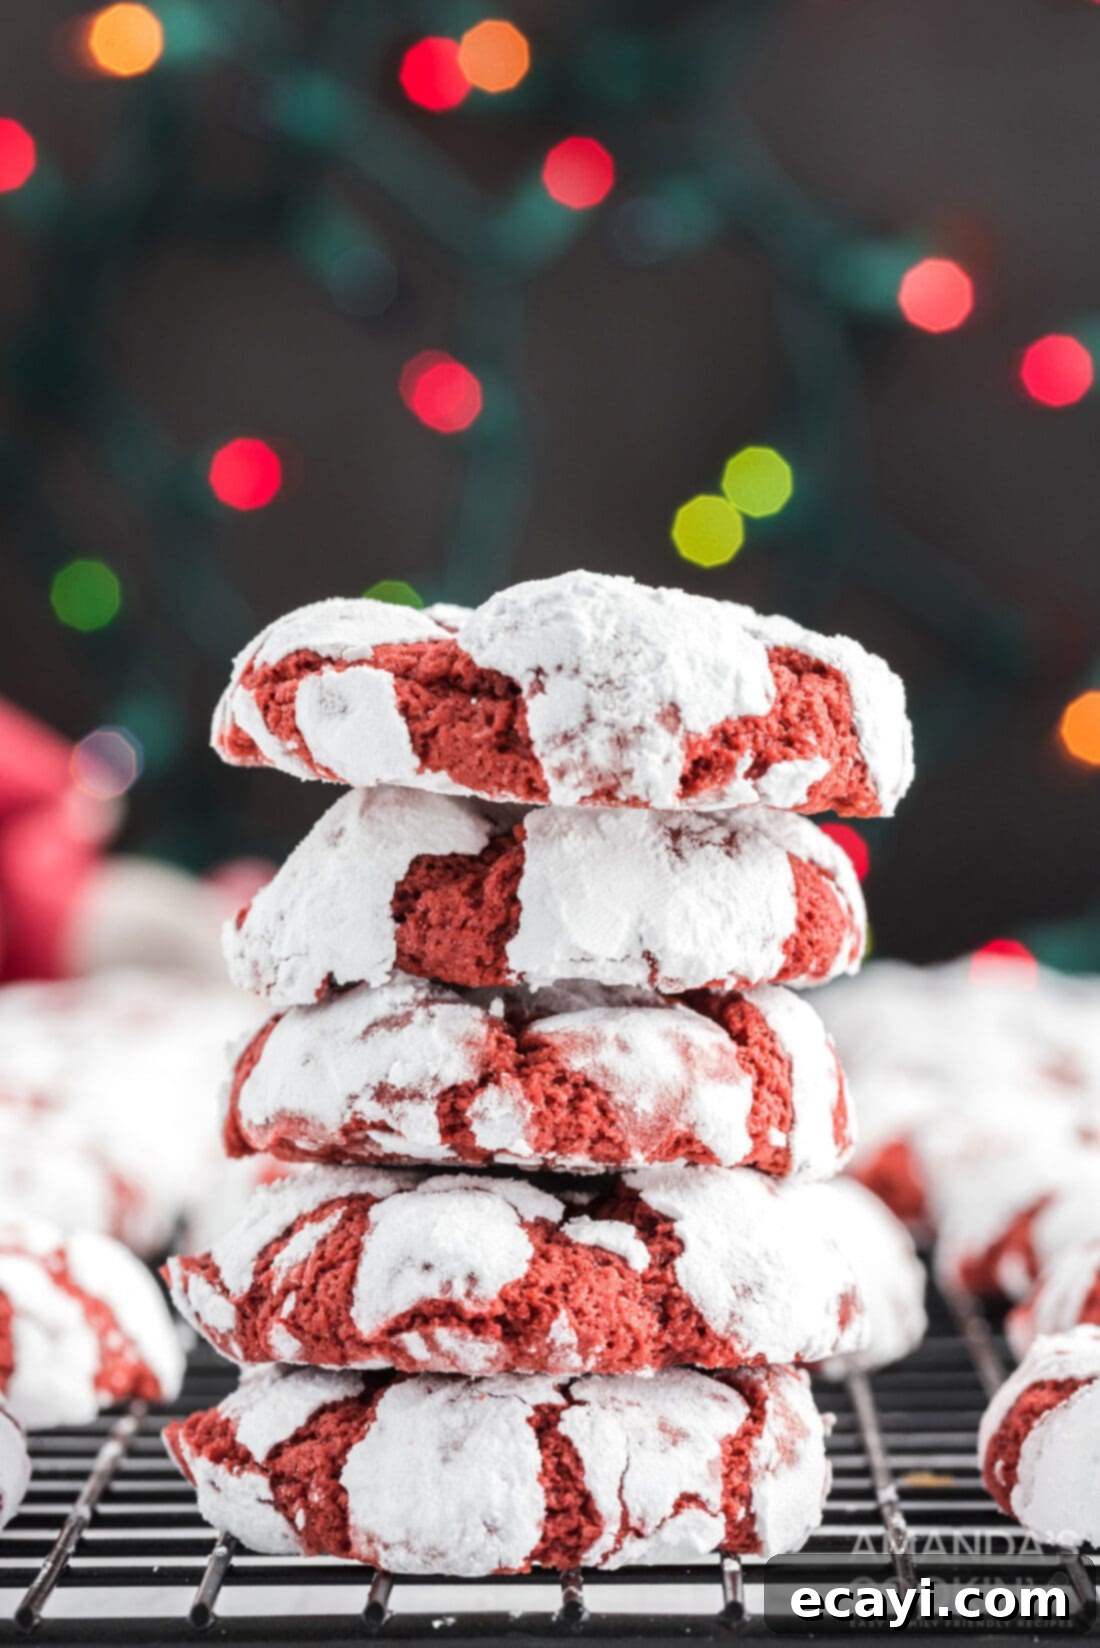
There are countless reasons why these bright, cheerful red velvet crinkle cookies are an absolute triumph, especially during the holidays. Their striking red color, achieved with just the right amount of gel food coloring, is instantly recognizable and festive. When coated generously in powdered sugar before baking, they develop characteristic “cracks” that expose the deep red interior, making them look like a joyful snowball has just burst, truly “screaming” Christmas spirit. But it’s not just about looks; the magic lies in their texture. They boast a delectable brownie-like chewiness – soft, dense, and oh-so-fudgy in the center, a delightful contrast to the crisp, sugary exterior. This unique combination of visual appeal and rich texture makes them an undisputed hit at any gathering, from casual family nights to elaborate holiday parties.
This recipe is carefully adapted from our incredibly popular chocolate crinkle cookies, ensuring a proven, delicious base. We’ve fine-tuned the balance of cocoa and red food coloring to achieve that classic red velvet flavor and unmistakable vibrant shade, all while maintaining the signature crinkle effect and a melt-in-your-mouth experience that everyone adores. It’s a simple yet effective adaptation that brings the joy of red velvet to a beloved cookie form.
Essential Ingredients for Perfect Red Velvet Crinkle Cookies
Crafting these delicious cookies requires a straightforward list of common baking ingredients. Each component plays a crucial role in achieving the desired flavor, color, and texture that defines a classic red velvet crinkle cookie. We’ll walk you through what you need and offer a few insights into their purpose.
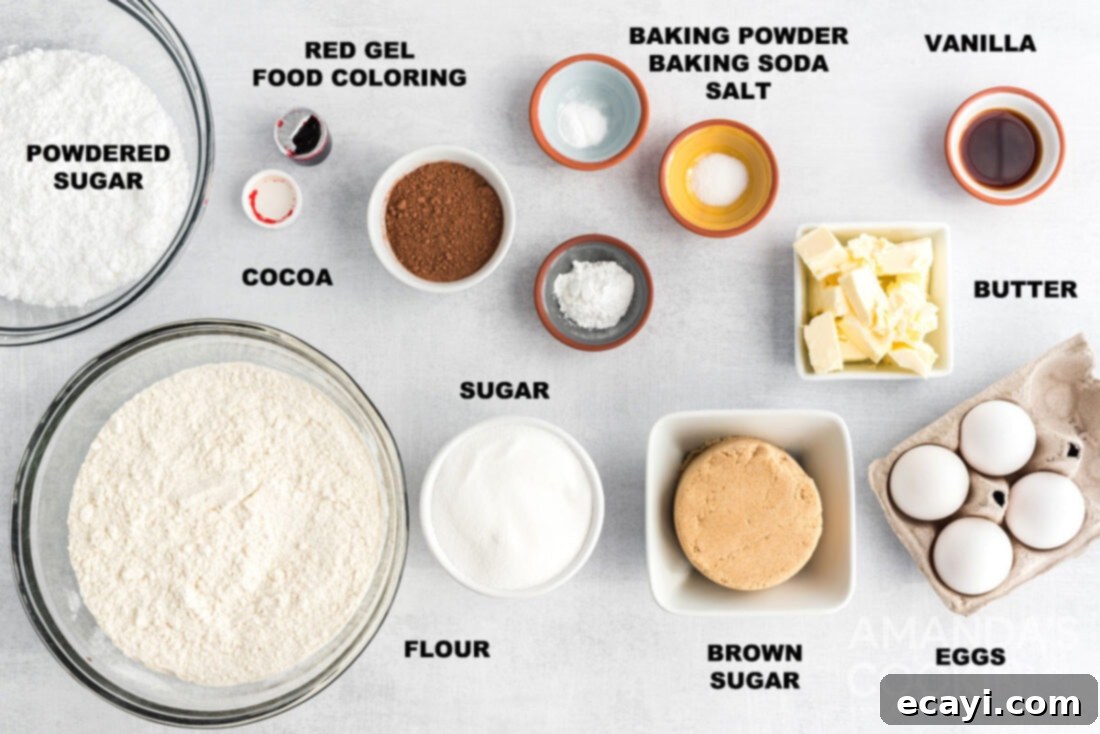
You’ll need the following to get started:
- All-Purpose Flour: The structural backbone of our cookies. Using unbleached flour can sometimes result in a slightly chewier texture.
- Unsweetened Cocoa Powder: This is key for the classic red velvet flavor, providing a subtle chocolatey depth that complements the red coloring. Don’t skip it!
- Baking Powder & Baking Soda: These leavening agents work together to give the cookies their ideal lift and tender crumb. The baking soda also reacts with the cocoa powder and buttermilk (if using, though not in this specific adapted recipe, cocoa adds a slight acidity for it to react with) to enhance the red color.
- Salt: A pinch of salt balances the sweetness and brings out the full range of flavors.
- Granulated Sugar & Packed Light Brown Sugar: The combination of both sugars is essential. Granulated sugar provides crispness and sweetness, while brown sugar adds moisture, chewiness, and a slight caramel note, contributing to that desirable fudgy texture.
- Unsalted Butter (softened): Creaming softened butter with sugar creates air pockets, which results in a lighter, more tender cookie. Ensure it’s truly softened, not melted, for the best results.
- Large Eggs: Eggs bind the ingredients, add richness, and contribute to the cookie’s structure and moisture. Using large eggs is standard for most baking recipes.
- Vanilla Extract: A crucial flavor enhancer that elevates the overall taste profile of the cookies. Pure vanilla extract is always recommended for the best flavor.
- Red Gel Food Coloring: This is what gives red velvet its iconic deep red hue. Gel food coloring is preferred over liquid as it provides a more intense color without altering the dough’s consistency too much. You’ll want a vibrant, rich red!
- Powdered Sugar (for rolling): This final coating is what creates the distinctive “crinkle” effect. It melts slightly during baking, then dries to form a beautiful contrasting white layer as the cookie expands and cracks.
Having all your ingredients at room temperature, especially butter and eggs, will ensure they combine smoothly and evenly, leading to a perfectly consistent cookie dough.
Step-by-Step Guide: How to Make Red Velvet Crinkle Cookies
These step-by-step photos and detailed instructions are provided to help you visualize each stage of the recipe. For a complete, printable version of this recipe, including exact measurements and instructions, simply Jump to Recipe at the very bottom of this post.
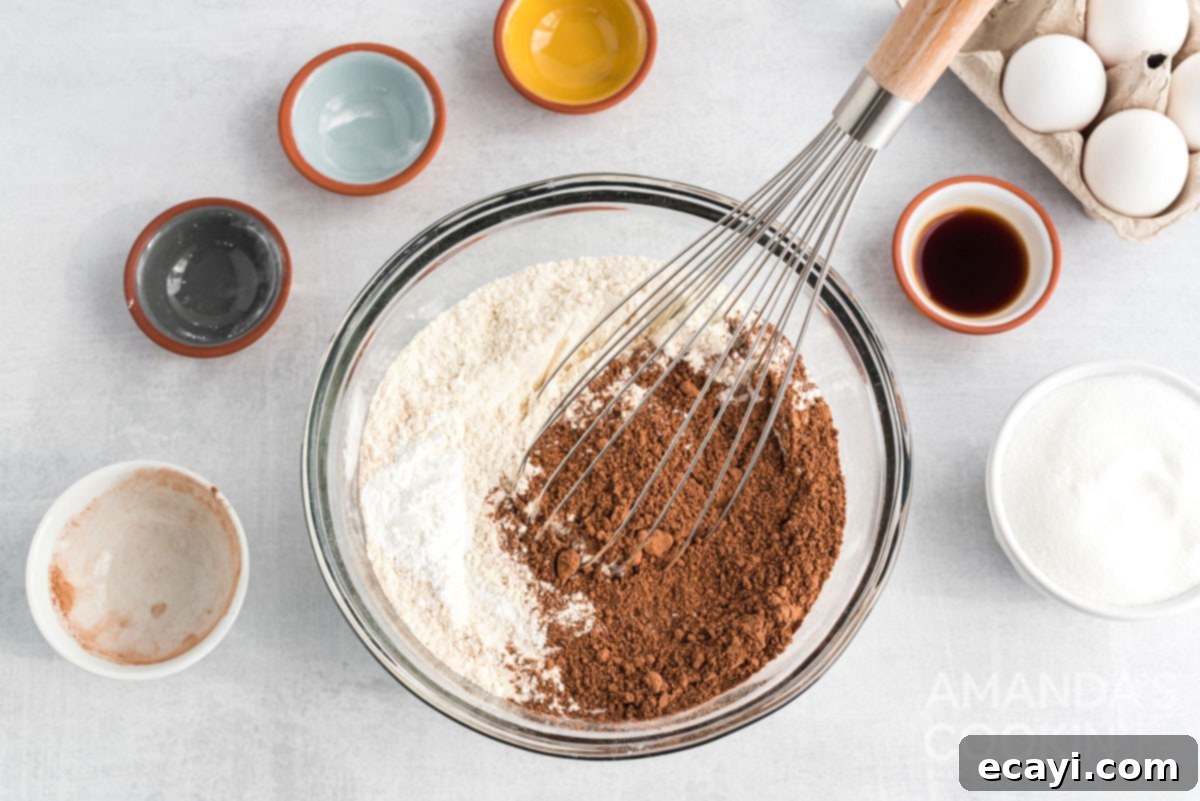
- Combine Dry Ingredients: In a medium-sized bowl, begin by whisking together the all-purpose flour, unsweetened cocoa powder, baking powder, baking soda, and salt. Whisk thoroughly to ensure all ingredients are evenly distributed – this prevents pockets of leavening agents or salt in your finished cookies. Set this bowl aside for later.

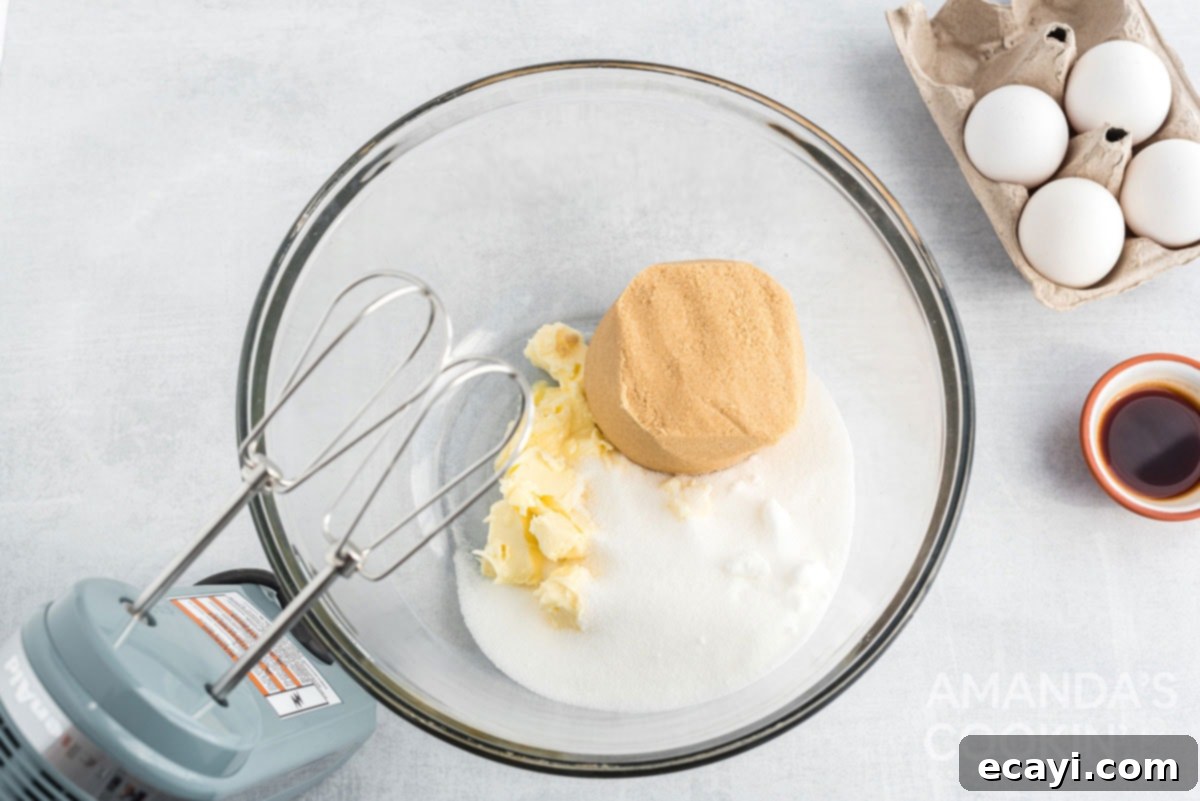
- Cream Wet Ingredients (Part 1): In the bowl of a stand mixer fitted with the paddle attachment, or using a hand mixer, combine both the granulated sugar and the softened unsalted butter. Beat them together on medium speed until the mixture is light, fluffy, and creamy, usually taking about 2-3 minutes. This process incorporates air, contributing to the cookie’s texture.

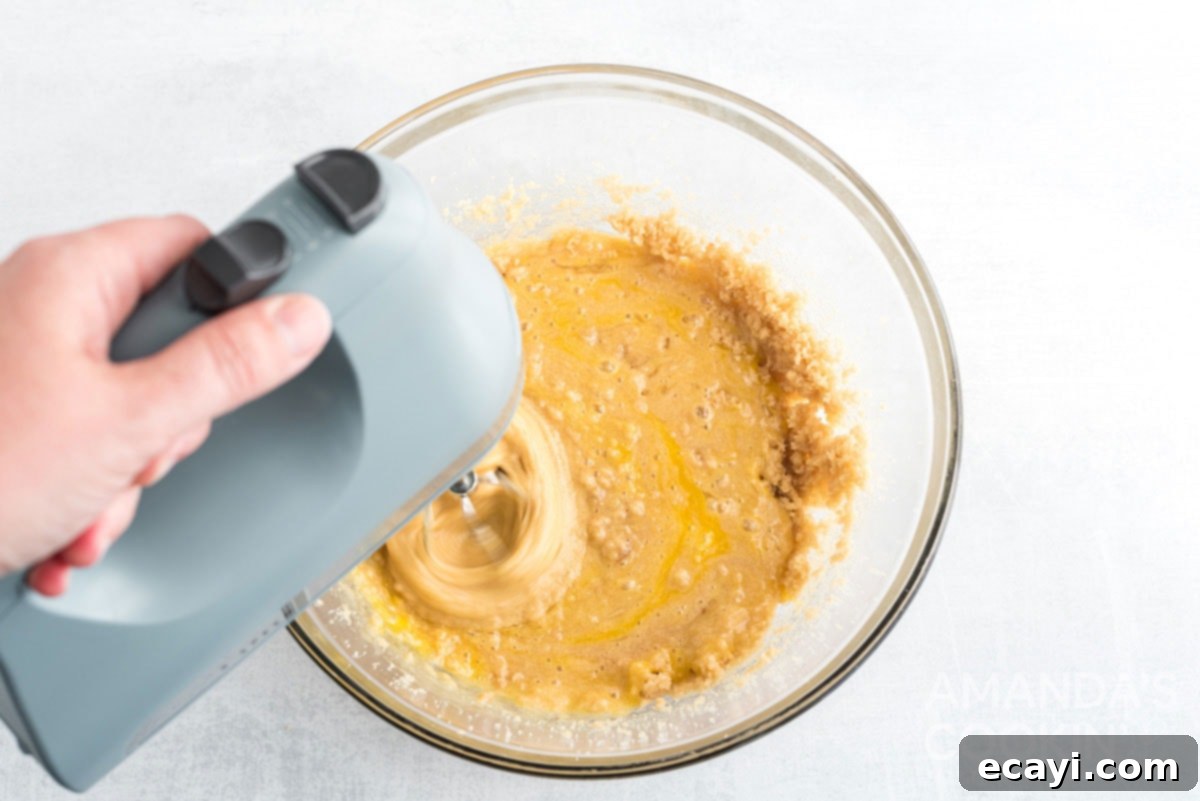
- Cream Wet Ingredients (Part 2): Reduce the mixer speed to low, then add the eggs one at a time, mixing well after each addition until fully incorporated. Follow with the vanilla extract, beating just until combined.

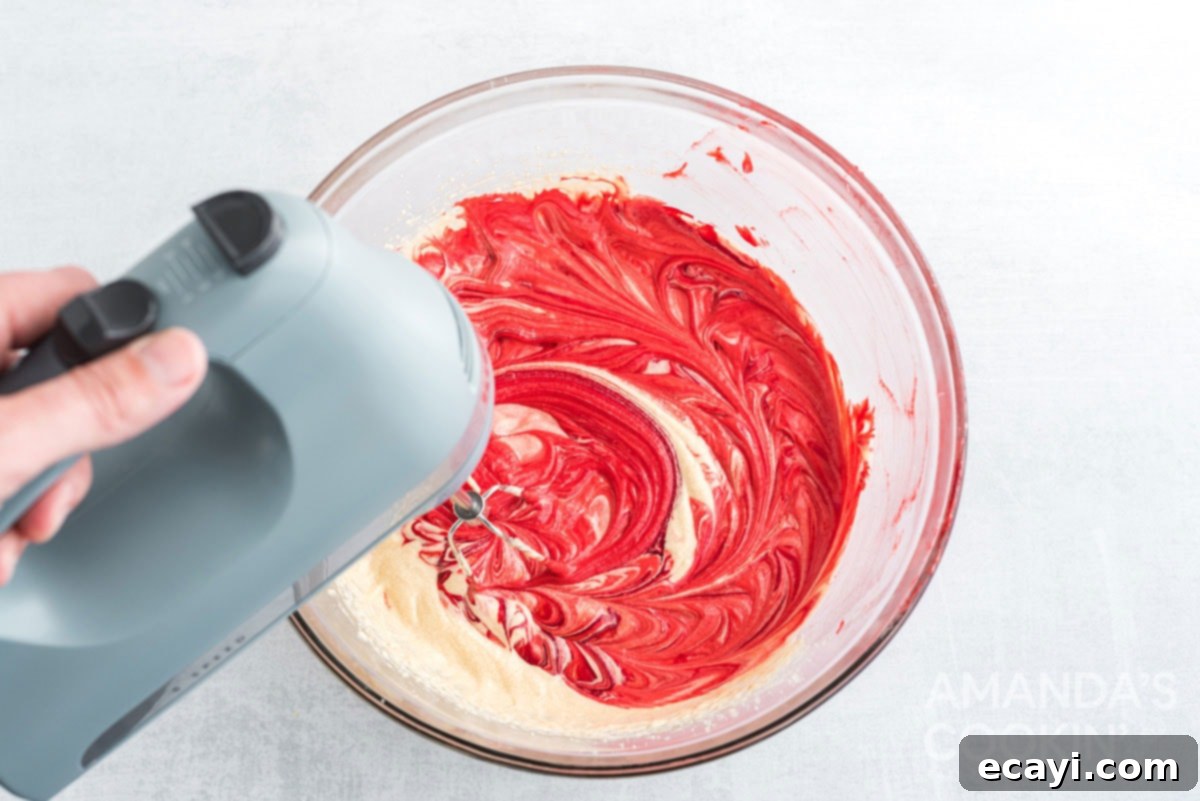
- Add Red Food Coloring: Now for the signature color! Add the red gel food coloring to the wet mixture. Beat on low speed until the color is thoroughly mixed in and evenly distributed throughout the dough. You want a consistent, vibrant red. Don’t forget to stop and scrape down the sides of the bowl with a spatula to ensure everything is fully combined.

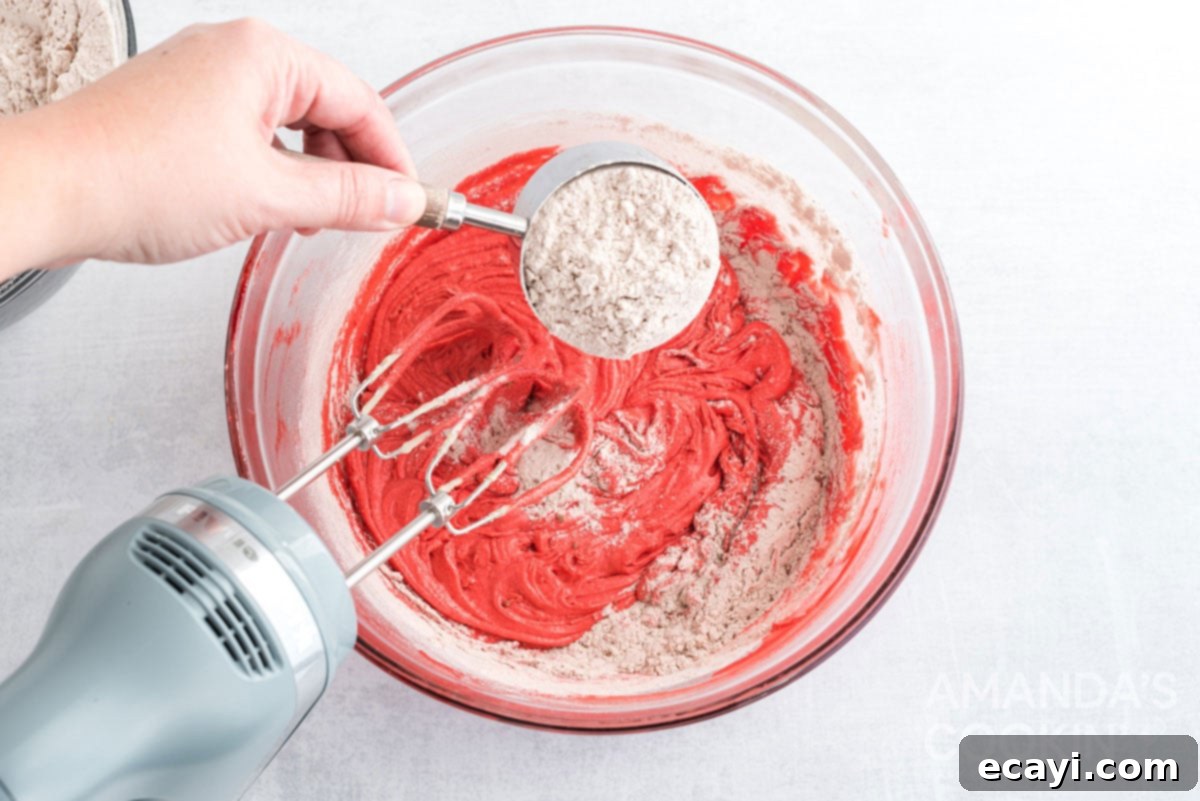
- Incorporate Dry into Wet: Gradually add the reserved flour mixture to the wet ingredients, mixing on low speed. Mix just until everything is well combined and no streaks of dry ingredients remain. Be careful not to overmix, as this can lead to tough cookies. The resulting batter will be thick and similar in consistency to a dense cake batter or a soft brownie batter.

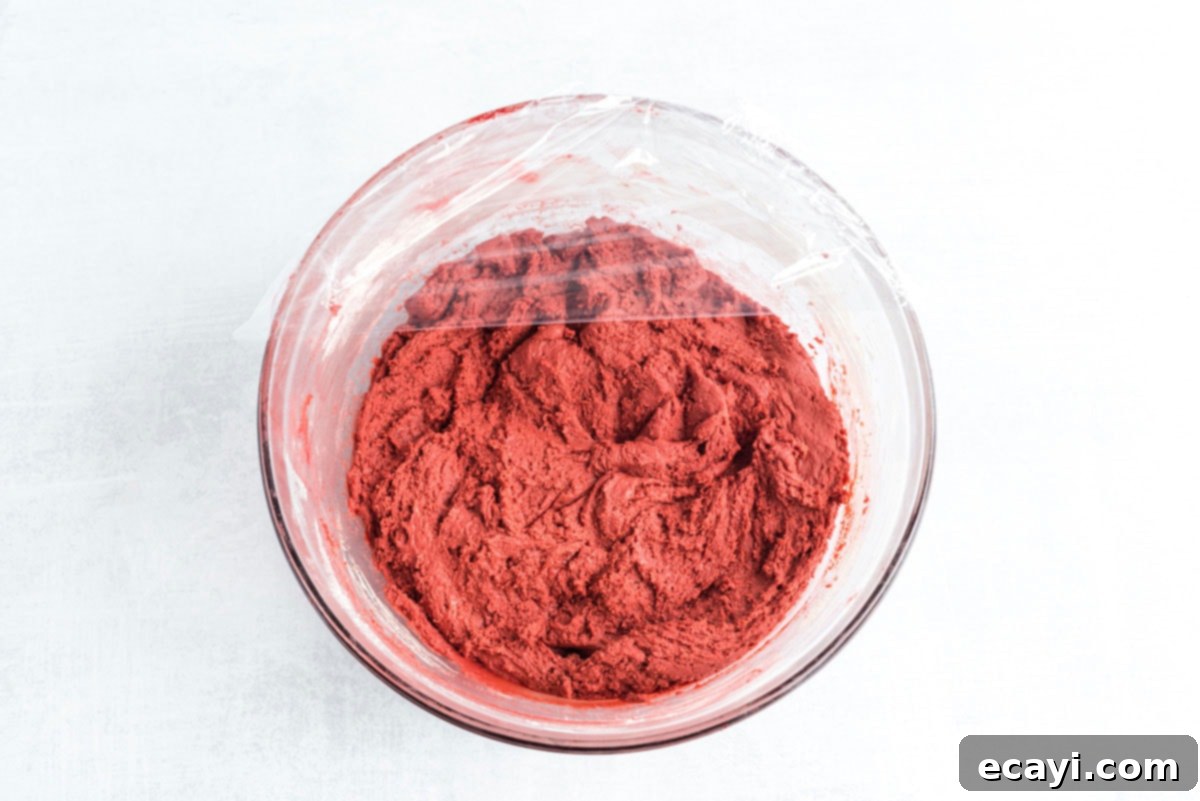
- Chill the Dough: Cover the bowl of cookie dough tightly with plastic wrap. It’s crucial to refrigerate the dough for at least two hours. This chilling period allows the butter to firm up, making the dough easier to handle and roll, and prevents the cookies from spreading too much during baking. It also deepens the flavors.

- Prepare for Baking: Preheat your oven to 350°F (175°C). Line insulated baking sheets with parchment paper or a silicone baking mat. This helps prevent sticking and promotes even baking.
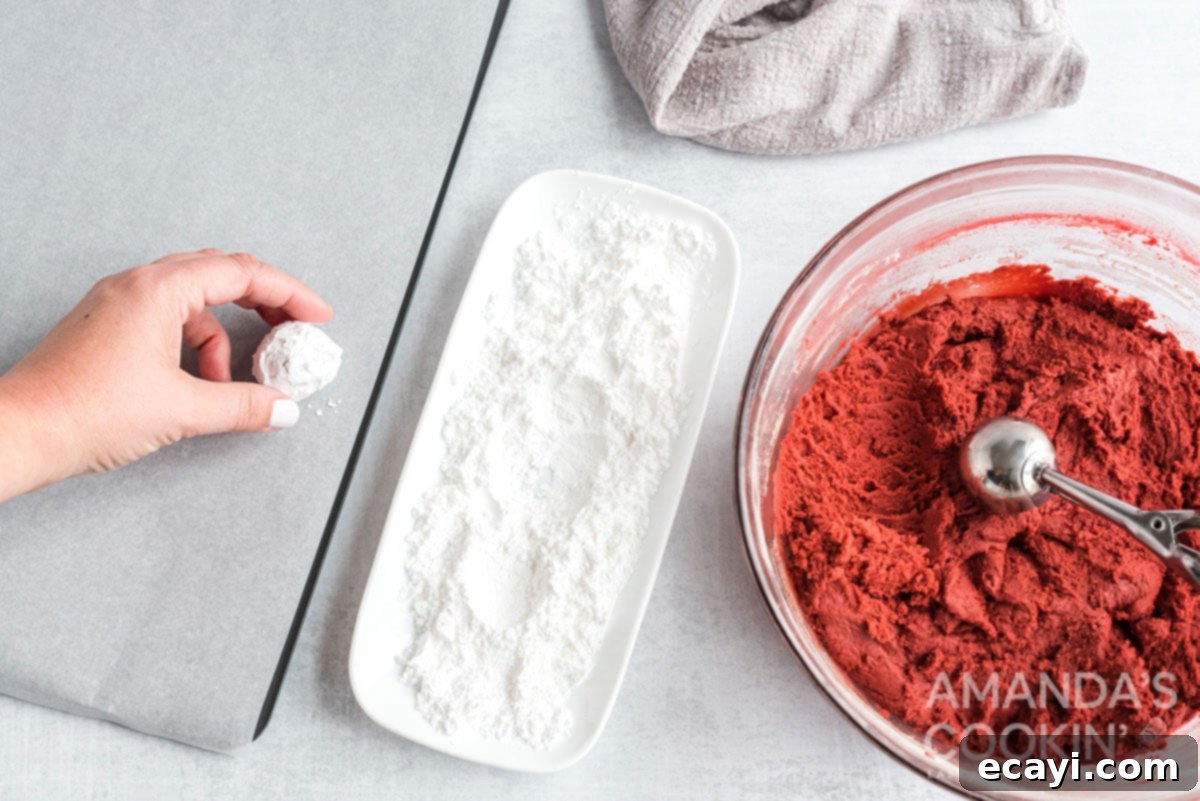
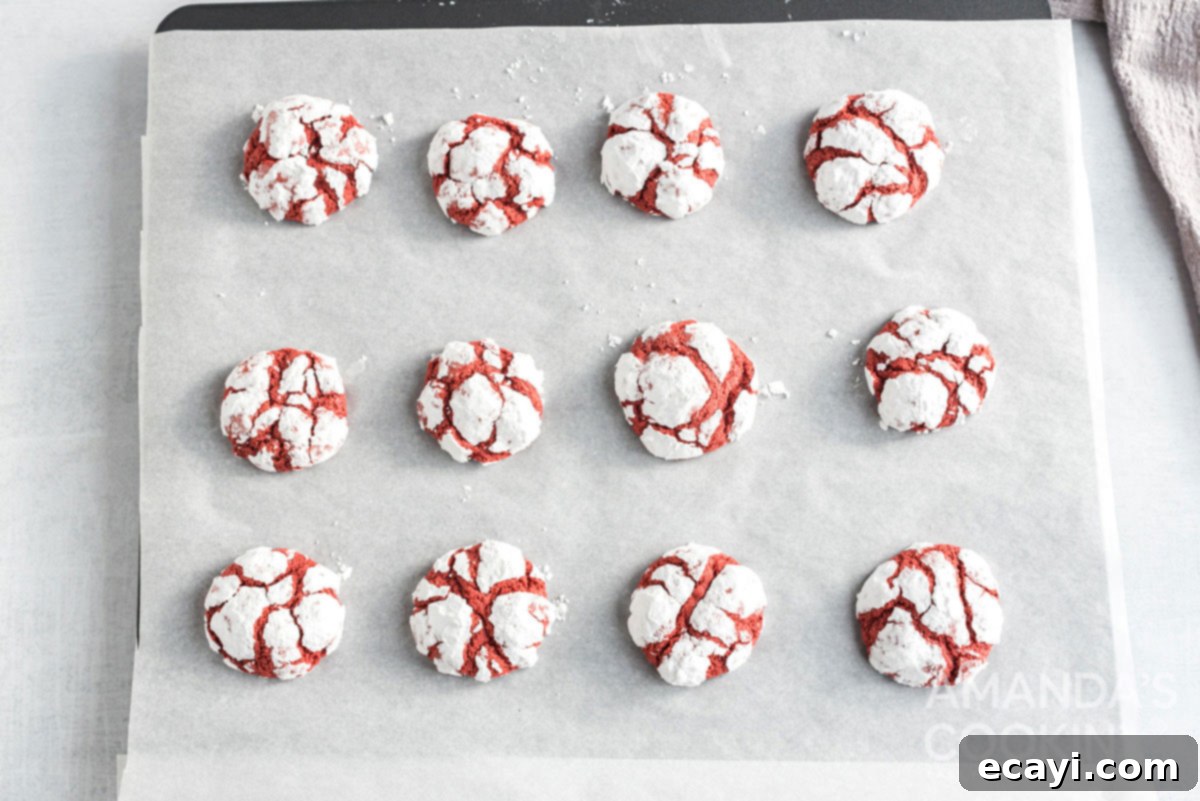
- Roll and Bake: Once the dough is chilled, scoop out portions and roll them into one-inch balls. The exact size is flexible, but consistency ensures even baking. Generously roll each dough ball in powdered sugar, ensuring it’s completely coated. The thicker the coating, the more pronounced the crinkle effect. Place the sugar-coated balls on the prepared baking sheets, leaving at least 2 inches of space between them as they will spread. Bake for approximately 10 minutes. It’s essential not to overbake; the cookies might still appear slightly glossy or soft in the center when removed from the oven, but they will firm up as they cool. Overbaking will result in a dry cookie rather than a fudgy one.

- Cool and Enjoy: Remove the cookies from the oven and allow them to cool on the baking sheet for 4-5 minutes. This brief resting period helps them set without breaking. Then, carefully transfer the warm cookies to a wire cooling rack to cool completely. As they cool, their chewy, fudgy texture will fully develop.

Expert Tips for the Best Red Velvet Crinkle Cookies
- Proper Spacing is Key: Always ensure you place your cookie dough balls at least 2 inches apart on the baking sheets. These cookies will expand significantly during baking, and adequate spacing prevents them from merging into one giant cookie.
- Allow for Proper Cooling: It’s tempting to grab a warm cookie right off the pan, but allowing them to cool on the baking sheet for a few minutes before transferring to a wire rack is crucial. This cooling period helps the cookies set properly and prevents them from falling apart when moved.
- Achieving the Perfect Crinkle: Don’t be shy with the powdered sugar! A generous coating is essential for the dramatic crinkle effect. Roll the dough balls thoroughly, ensuring they are completely covered. For an even more defined crinkle, you can roll them once in granulated sugar before rolling in powdered sugar.
- Don’t Overmix the Dough: Once you add the flour mixture, mix only until just combined. Overmixing develops the gluten in the flour, which can lead to tough, dense cookies instead of the desired fudgy, chewy texture.
- Chill Time is Non-Negotiable: The refrigeration step is vital. Chilling the dough not only makes it easier to handle but also prevents the cookies from spreading too much in the oven, helping them maintain their shape and thickness, and enhancing the flavor.
- Measure Flour Correctly: For consistent results, always spoon your flour into the measuring cup and then level it off with a straight edge (the “scoop and sweep” method). Scooping directly with the measuring cup can pack too much flour, leading to dry or crumbly cookies.
Frequently Asked Questions About Red Velvet Crinkle Cookies
Absolutely! Preparing the cookie dough in advance is a fantastic time-saver, especially during busy holiday seasons. Simply wrap the dough tightly in plastic wrap and store it in the refrigerator for up to 4 days. If you need to store it for a longer period, you can freeze the dough for up to 3 months. When ready to bake, thaw the frozen dough in the refrigerator overnight before proceeding with rolling and baking.
These red velvet crinkle cookies stay wonderfully fresh when stored properly. Once completely cooled, place them in an airtight container at room temperature for up to 3-4 days. For extended freshness, you can refrigerate them for up to a week. To store them even longer, these cookies freeze exceptionally well. Place them in a single layer on a baking sheet to flash freeze, then transfer to a freezer-safe bag or container for up to 3 months. Thaw at room temperature before serving.
Flat cookies are a common issue and can usually be traced back to a few culprits. Most often, it’s due to the dough not being sufficiently chilled – warm dough spreads too quickly in the oven. Ensure you refrigerate the dough for at least the recommended two hours. Another reason could be insufficient flour mixture or incorrect measurement of dry ingredients. Make sure you are using the “scoop and sweep” method when measuring your flour and cocoa to ensure accuracy. Also, using softened but not melted butter is key, as melted butter can also cause spreading.
The signature “crinkle” is achieved by generously rolling the cookie dough balls in powdered sugar before baking. As the cookies bake and expand in the hot oven, the powdered sugar coating, which cooks and hardens faster than the expanding dough, cracks and creates those beautiful fissures, revealing the vibrant red cookie beneath. A good chill on the dough and a thick coating of powdered sugar are crucial for a pronounced crinkle effect.
While you can technically use liquid food coloring, it is highly recommended to use gel food coloring for red velvet cookies. Liquid food coloring requires a much larger quantity to achieve a vibrant red, which can thin out your dough and affect the cookie’s texture and spread. Gel food coloring is concentrated, providing a deep, rich color with minimal impact on consistency.
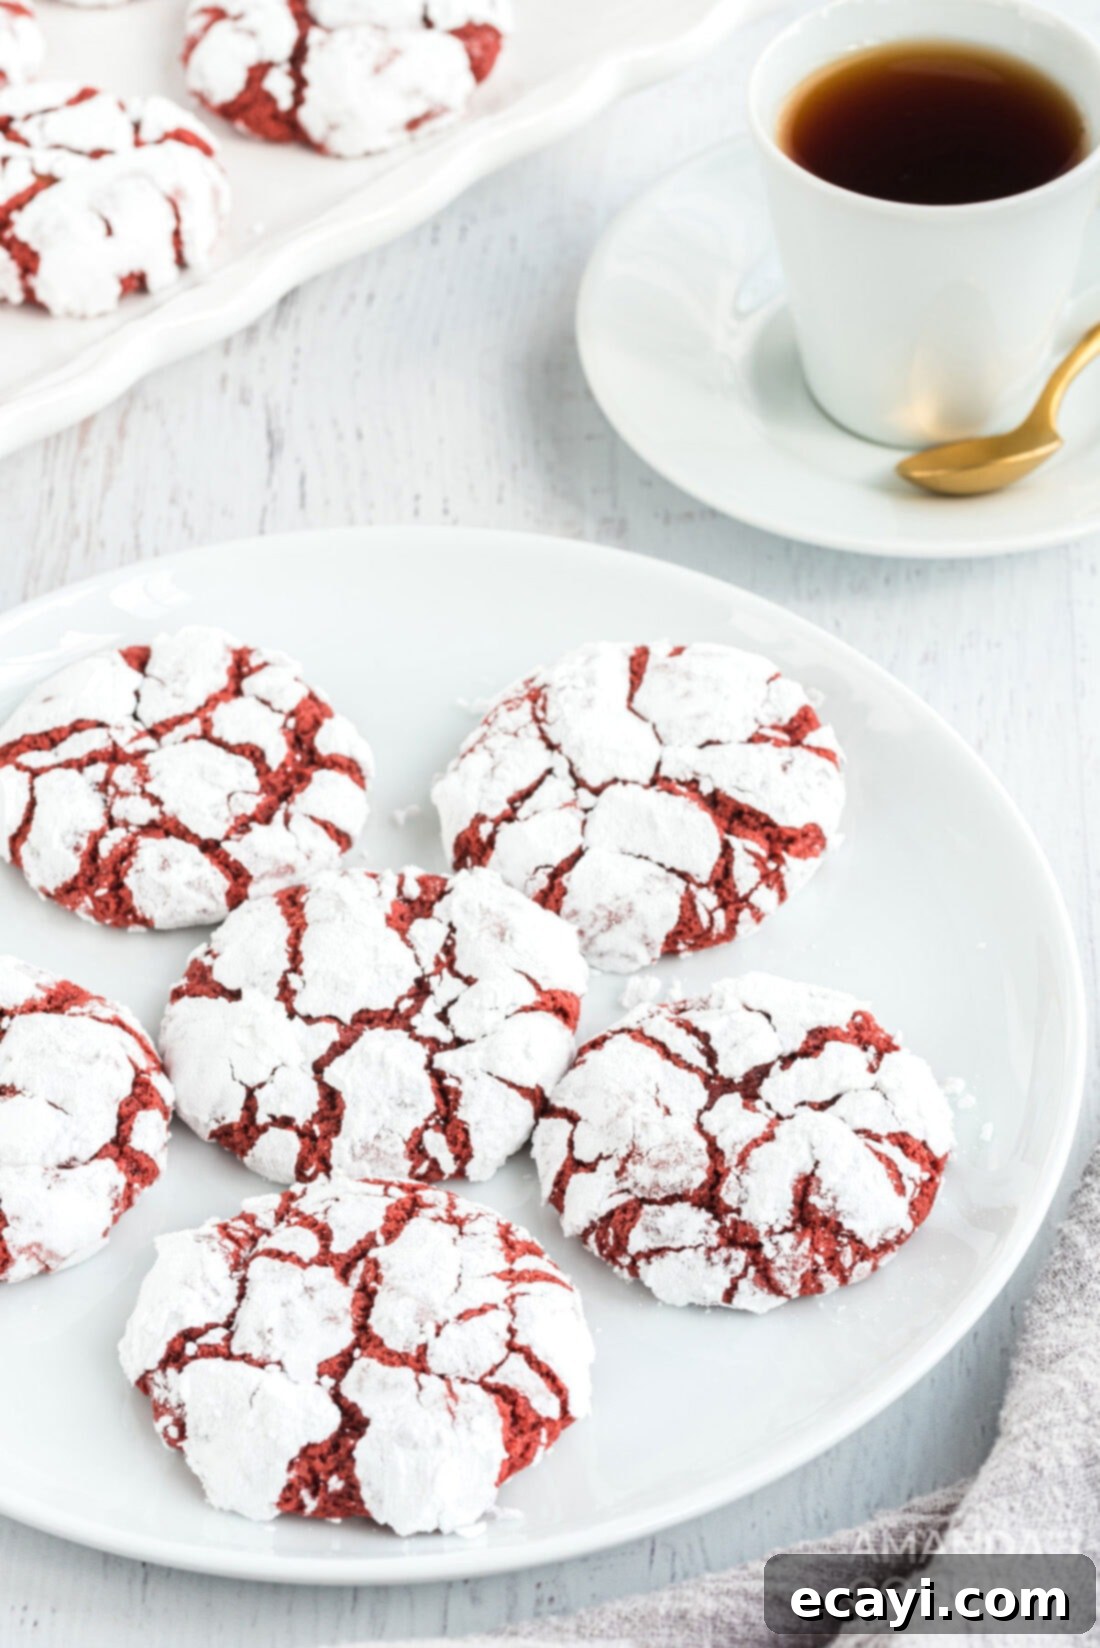
There’s no better way to spread holiday cheer than with a batch of homemade cookies, and these gorgeous red velvet crinkle cookies are truly something special. Their festive appearance, coupled with their rich, fudgy taste and delightful texture, makes them perfect for adding to your holiday cookie trays, gifting in edible gift boxes, or simply enjoying with a cup of hot cocoa by the fireplace. They are sure to become a cherished part of your holiday baking tradition!
More Festive Christmas Cookie Recipes to Enjoy
If you’re looking to expand your holiday cookie repertoire, we have plenty of other delicious recipes that are perfect for Christmas baking and gifting. Explore these other fan favorites:
- Classic Snickerdoodles
- Rich Chocolate Peanut Butter Cookies
- Soft and Chewy Peanut Butter Cookies
- Bright Orange Crinkle Cookies
- Spicy Homemade Gingersnap Cookies
- Fun Reeses Pieces Cookies
- Charming Christmas Kiss Cookies
I am passionate about baking and cooking, and I love sharing my culinary adventures and tested recipes with all of you! To make sure you never miss a new recipe, I offer a convenient newsletter that delivers fresh ideas directly to your inbox every time a new post goes live. Simply subscribe here and start receiving your free daily recipes, tips, and inspiration!
Red Velvet Crinkle Cookies
IMPORTANT – There are often Frequently Asked Questions within the blog post that you may find helpful. Simply scroll back up to read them!
Print It
Pin It
Rate It
Save It
Saved!
Prevent your screen from going dark
Course:
Desserts
Cuisine:
American
40
cookies
20 minutes
118
Amanda Davis
Ingredients
-
3 ¾
cups
unbleached all purpose flour -
¼
cup
plus one tablespoon unsweetened cocoa -
2
teaspoons
baking powder -
¼
teaspoon
baking soda -
½
teaspoon
salt -
1
cup
granulated sugar -
1
cup
packed light brown sugar -
½
cup
unsalted butter
softened -
4
large
eggs -
2
teaspoons
vanilla -
1 ¼
teaspoon
red gel food coloring -
1 ½
cups
powdered sugar
Things You’ll Need
-
Hand mixer -
Insulated baking sheets -
Silicone baking mat -
Wire cooling racks
Before You Begin
- Be sure to place cookies 2-inches apart on baking sheets as they double in size while baking.
- Let the cookies rest and cool so they will set up. Otherwise, they may fall apart when you pick them up warm.
Instructions
-
In a medium bowl whisk together flour, cocoa, baking powder, baking soda, and salt. Set aside.
-
In a mixer beat both sugars and softened butter until creamy. Add eggs and vanilla and beat on low until combined. Increase speed to high and beat until light and airy.
-
Add red gel food coloring and beat on low until combined. Scrape down sides of bowl.
-
Gradually add flour mixture and mix well. The batter will be a similar consistency to a thick cake batter.
-
Cover batter with plastic wrap and refrigerate for two hours to firm up.
-
Preheat oven to 350 F. Line insulated baking sheets with parchment paper.
-
From the dough, make one-inch balls and roll in powdered sugar. Place on baking sheet 2 inches apart. Bake for 10 minutes. Do not over bake. They will appear a bit glossy on top, so don’t be tempted to bake much longer.
-
Remove from oven and cool on pan 4-5 minutes then carefully transfer cookies to cooling rack to cool completely. Cookies will be chewy.
Nutrition
Serving:
1
cookie
|
Calories:
118
cal
|
Carbohydrates:
21
g
|
Protein:
2
g
|
Fat:
3
g
|
Saturated Fat:
2
g
|
Cholesterol:
25
mg
|
Sodium:
45
mg
|
Potassium:
55
mg
|
Fiber:
1
g
|
Sugar:
12
g
|
Vitamin A:
98
IU
|
Calcium:
19
mg
|
Iron:
1
mg
Tried this Recipe? Pin it for Later!
Follow on Pinterest @AmandasCookin or tag #AmandasCookin!
The recipes on this blog are tested with a conventional gas oven and gas stovetop. It’s important to note that some ovens, especially as they age, can cook and bake inconsistently. Using an inexpensive oven thermometer can assure you that your oven is truly heating to the proper temperature. If you use a toaster oven or countertop oven, please keep in mind that they may not distribute heat the same as a conventional full sized oven and you may need to adjust your cooking/baking times. In the case of recipes made with a pressure cooker, air fryer, slow cooker, or other appliance, a link to the appliances we use is listed within each respective recipe. For baking recipes where measurements are given by weight, please note that results may not be the same if cups are used instead, and we can’t guarantee success with that method.
