Easy 5-Ingredient Chocolate Buttercream Frosting Recipe: Your Go-To Guide for Fluffy, Decadent Cakes & Cupcakes
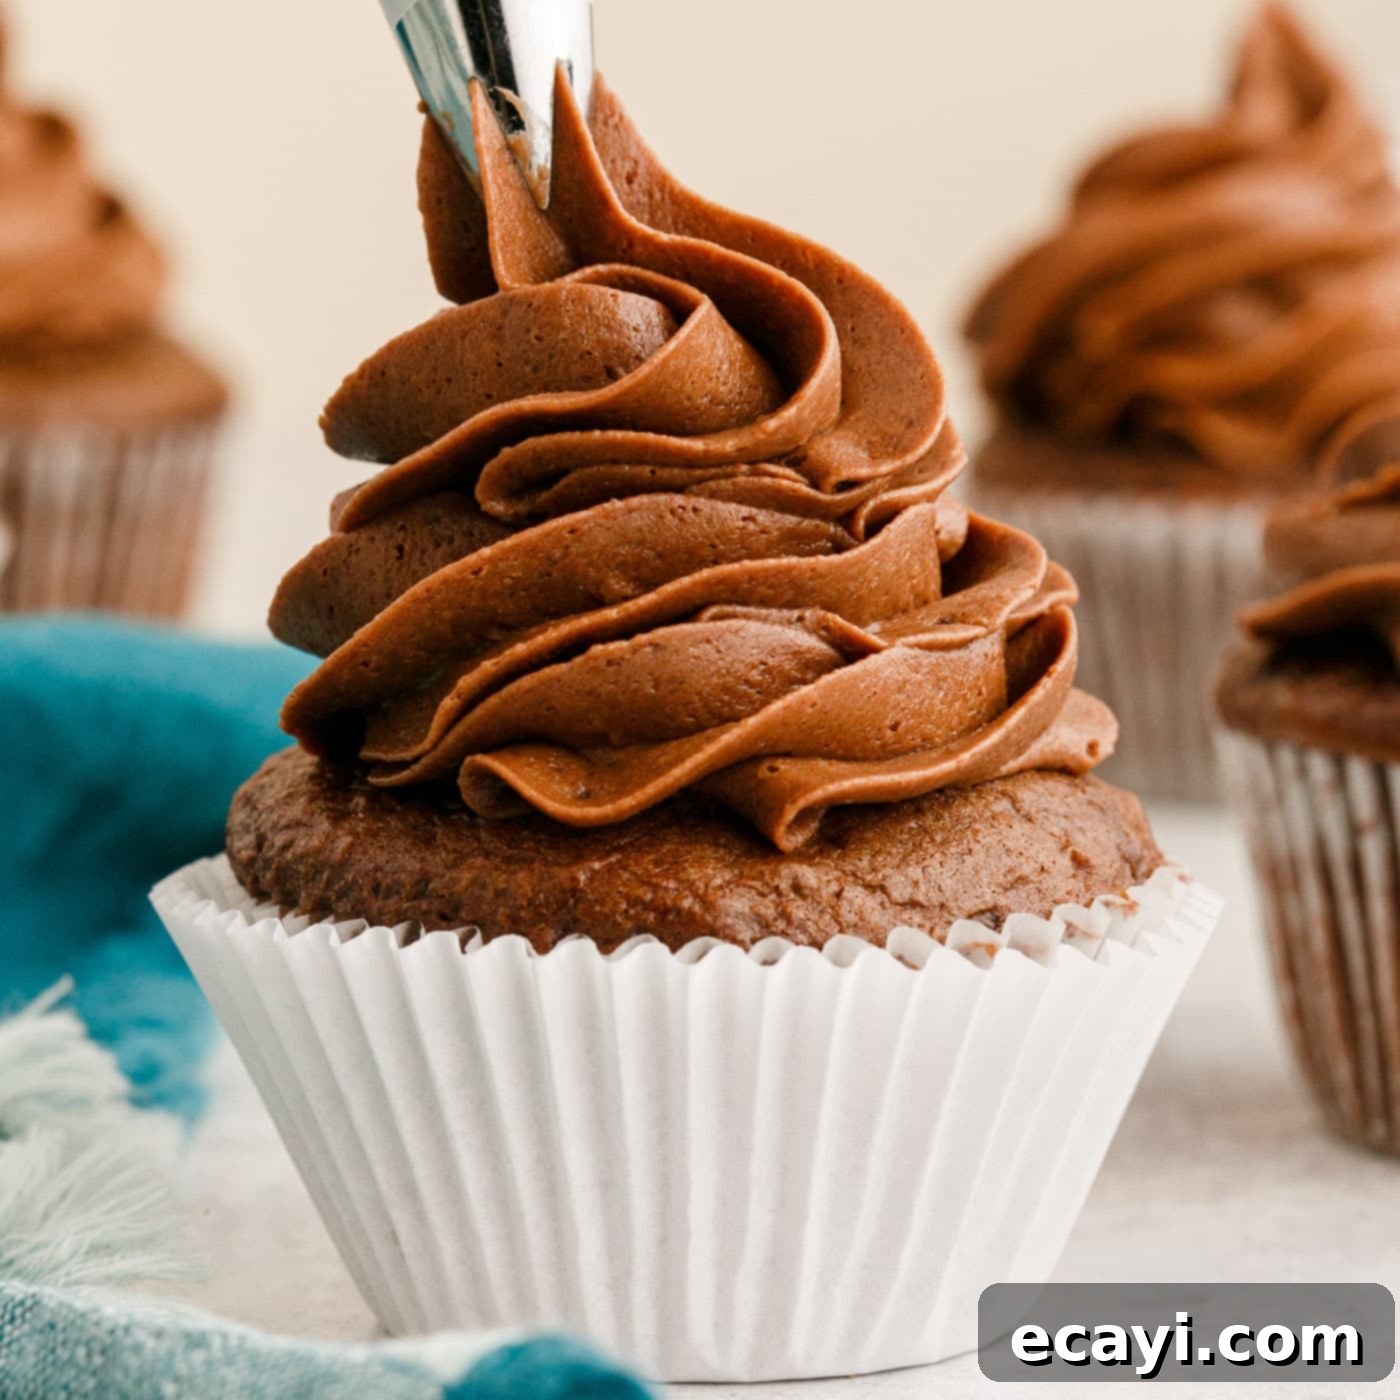
Prepare to elevate your baking game with our incredibly simple, yet utterly decadent, 5-ingredient chocolate buttercream frosting. This classic recipe is designed for both novice bakers and seasoned pros, offering a rich, creamy, and wonderfully pipeable frosting that comes together in a mere 10 minutes. Perfect for adorning a wide array of sweet treats, from festive cupcakes to elegant layer cakes, this versatile frosting will become your new favorite staple for any special occasion or everyday indulgence.
Why This Easy Chocolate Buttercream Recipe is a Must-Try for Home Bakers
Just like its beloved vanilla counterpart, our chocolate buttercream frosting stands out as an essential recipe for any home baker’s repertoire. What makes this recipe truly exceptional is its perfect balance: it’s incredibly airy, lusciously fluffy, and profoundly rich in chocolate flavor, all while requiring only a handful of common ingredients. We focus on simplicity without compromising on taste or texture, ensuring a consistently delightful result every time. This isn’t just another frosting; it’s a reliable, quick, and satisfying solution for all your decorating needs.
At its core, this recipe relies on five key ingredients: perfectly softened unsalted butter, fine powdered sugar (also known as confectioners’ sugar), rich unsweetened cocoa powder, a touch of pure vanilla extract, and smooth heavy cream. These components are expertly whipped together in a stand mixer, transforming into an unbelievably smooth, stable, and decadent chocolate frosting in under 10 minutes. The magic happens as air is incorporated, yielding a light yet flavorful frosting that holds its shape beautifully.
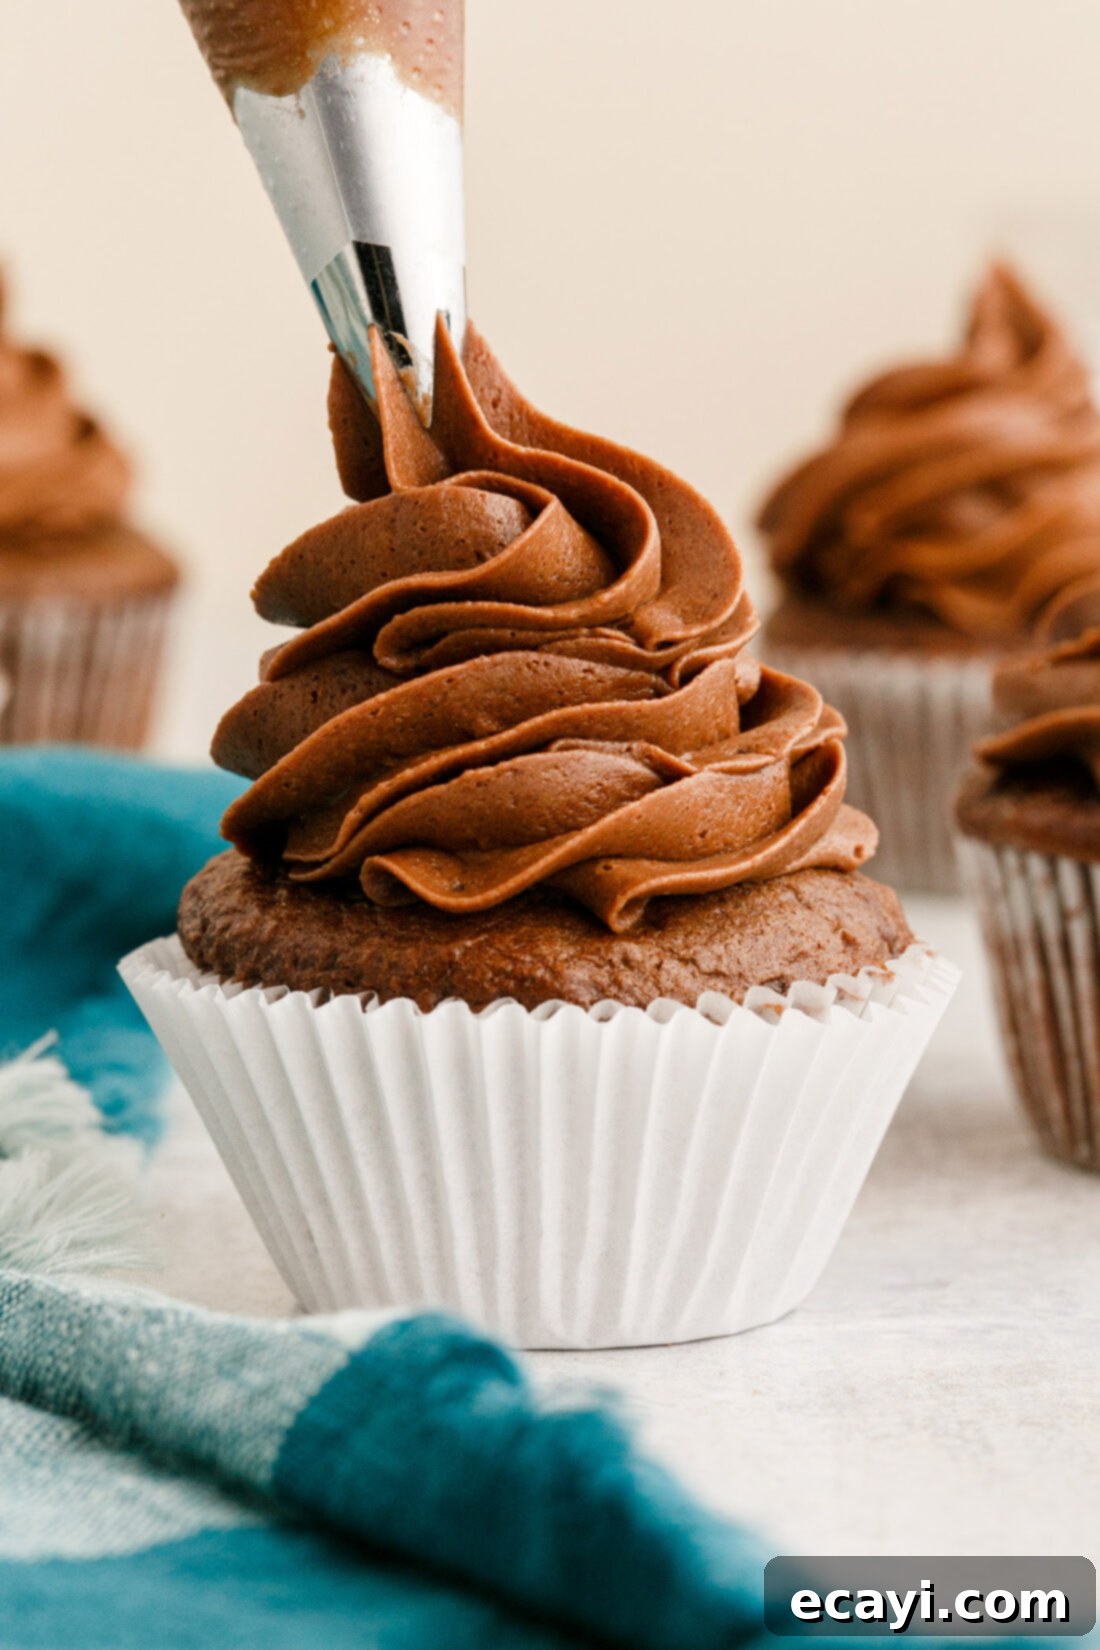
Whether you’re aiming for intricate piping designs on a batch of cupcakes, a smooth and elegant finish on a celebratory layer cake, or simply a delicious spread over brownies and cookies, this homemade chocolate buttercream delivers. Its versatility makes it suitable for various decorating techniques, providing a flawless finish and an irresistible chocolatey taste that will impress everyone who takes a bite. It’s the ideal choice for those who want a high-quality, delicious frosting without spending hours in the kitchen.
Essential Ingredients for Perfect Homemade Chocolate Buttercream
Gathering your ingredients is the first exciting step to creating this delectable frosting. You’ll find a complete list of precise measurements, ingredients, and detailed instructions in the printable recipe card located at the very end of this post. For now, let’s dive into understanding each component and why it’s crucial for achieving the perfect consistency and flavor of your chocolate buttercream.
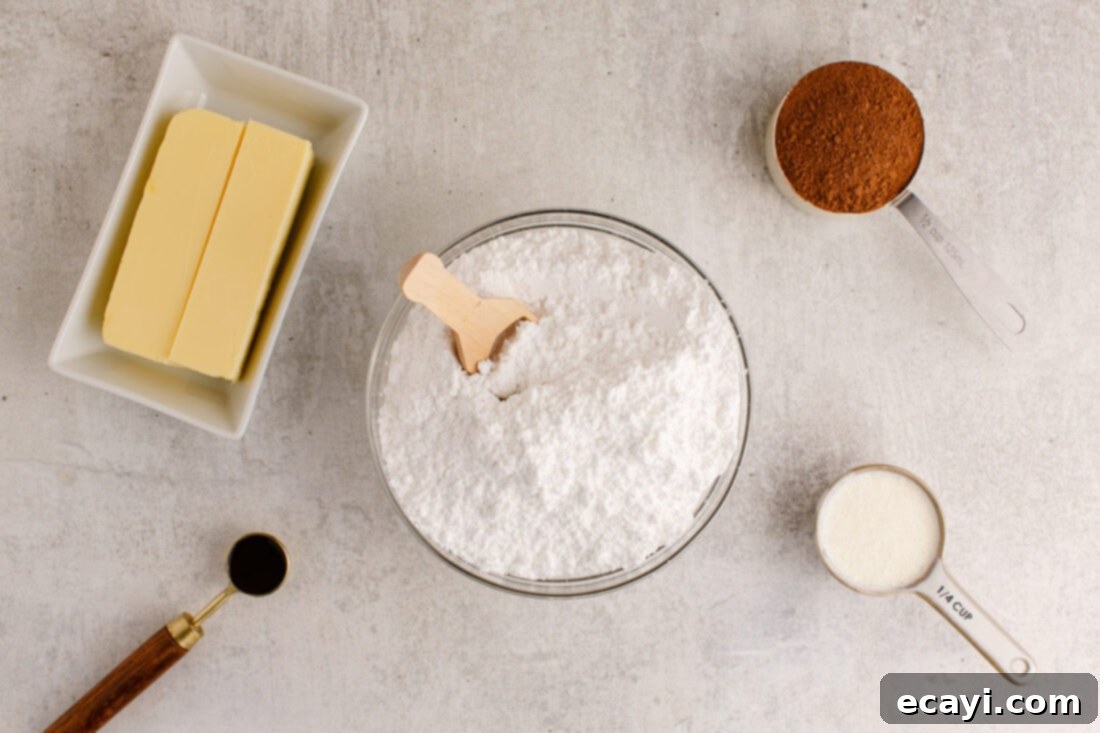
Ingredient Spotlight & Expert Substitution Tips for Best Results
Understanding each ingredient’s role and potential substitutions is key to mastering this frosting and adapting it to your needs. Here’s what you need to know to make the best chocolate buttercream every time:
BUTTER – This is the foundation of any great American buttercream, providing its rich flavor and structure. When a recipe specifies “softened butter,” it refers to butter at true room temperature, typically around 68-70°F (20-21°C). This temperature is critically important because butter at the right consistency allows it to emulsify properly with the sugar and incorporate air effectively during whipping. This aeration process is what gives buttercream its signature light, airy, and fluffy texture.
You know your butter is perfectly softened when you can easily press an indentation into it with your finger, the back of a spoon, or a butter knife, but it still holds its shape and isn’t greasy or shiny. To achieve this ideal state, simply cut your butter into small cubes and let it rest on a plate on your kitchen counter for 30-45 minutes. Avoid the microwave at all costs, as even a few seconds too long can melt the butter unevenly, compromising the frosting’s consistency and stability. Melted or overly soft butter will result in a greasy, runny frosting that won’t hold its shape or pipe beautifully.
POWDERED SUGAR (CONFECTIONERS’ SUGAR) – This finely milled sugar is the primary sweetener and structure builder for our buttercream. Its incredibly fine consistency dissolves smoothly into the butter and cream, creating a silky, lump-free texture without any grittiness. While often recommended, sifting powdered sugar isn’t always strictly necessary if you’re using a good quality, lump-free brand and an electric mixer that beats well. However, if your powdered sugar has visible clumps or has been sitting for a while, a quick sift will ensure the smoothest possible frosting, preventing any annoying sugar pockets that can clog your piping tips.
COCOA POWDER – This is where the rich, deep chocolate flavor and color come from! We typically use natural unsweetened cocoa powder, which provides a classic, slightly robust chocolate taste and a beautiful medium brown hue. However, you have options that can slightly alter the final flavor and appearance! Dutch-processed cocoa powder is another excellent choice; it has been treated with an alkali to neutralize its acidity, resulting in a darker color (often a rich, deep brown) and a smoother, less bitter, and often milder chocolate flavor. Experiment to see which you prefer, or even combine both for a more complex flavor profile. Just ensure it’s unsweetened, as sweetened cocoa powder will throw off the carefully balanced sugar content of the recipe.
PURE VANILLA EXTRACT – More than just a flavoring for vanilla desserts, pure vanilla extract plays a crucial role in deepening and rounding out the chocolate flavor in this buttercream. It adds a warmth, complexity, and aromatic depth that would be noticeably missing without it. Always opt for high-quality pure vanilla extract over imitation for the best and most natural taste. A little bit goes a long way in enhancing the overall profile of your chocolate frosting.
HEAVY CREAM (HEAVY WHIPPING CREAM) – This ingredient is essential for achieving the perfect creamy, fluffy consistency. Heavy cream (or heavy whipping cream, they are essentially interchangeable for this purpose, both containing at least 36% milk fat) has a high fat content that contributes significantly to the frosting’s luxurious mouthfeel and its ability to whip up light and airy. It also helps to stabilize the buttercream, ensuring it’s firm enough for piping and holds its shape beautifully on cakes and cupcakes without collapsing.
Substitution for Cream: While heavy cream is highly recommended for the best results, you can use whole milk, regular low-fat milk, or even unsweetened almond milk in a pinch. However, be aware that these alternatives have a lower fat content and are thinner in consistency. This means you will likely need less than the amount of heavy cream called for in the recipe to achieve a similar thickness. When substituting with milk, add it very gradually, one teaspoon or half-tablespoon at a time, until your desired consistency is reached. Using too much milk will result in a runnier, less stable frosting that may not pipe well or hold its shape on decorated baked goods. If you desire an even deeper, more complex chocolate flavor, consider adding a tablespoon of brewed coffee or espresso instead of some of the cream – it beautifully enhances chocolate notes without making the frosting taste like coffee!
Crafting Your Decadent Chocolate Buttercream Frosting: A Step-by-Step Guide
These step-by-step photos and detailed instructions are provided to help you visualize each stage of making this delightful frosting. Achieving perfect buttercream is easier than you think when you follow these simple guidelines! For a printer-friendly version, complete with precise measurements and comprehensive instructions, please Jump to the full recipe card at the bottom of this page.
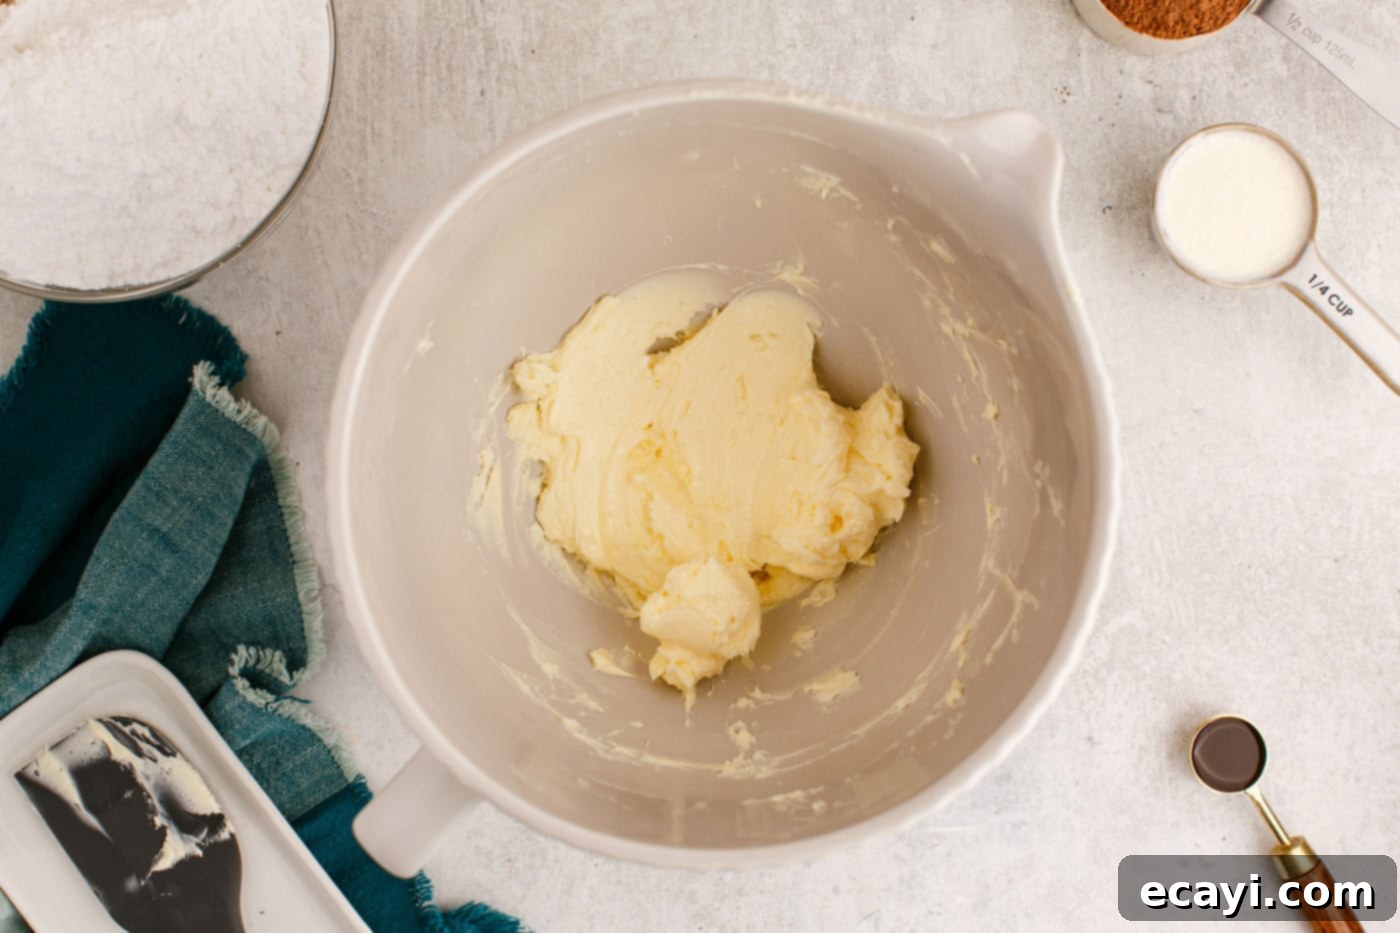
- Cream the Softened Butter: Begin by placing your properly softened unsalted butter into the bowl of a stand mixer equipped with the whisk attachment. Beat the butter on medium-high speed for 2-3 minutes. Observe as it transforms, becoming noticeably lighter in color and developing a wonderfully fluffy, airy texture. This initial creaming is crucial for incorporating air and laying the foundation for a light and airy buttercream.

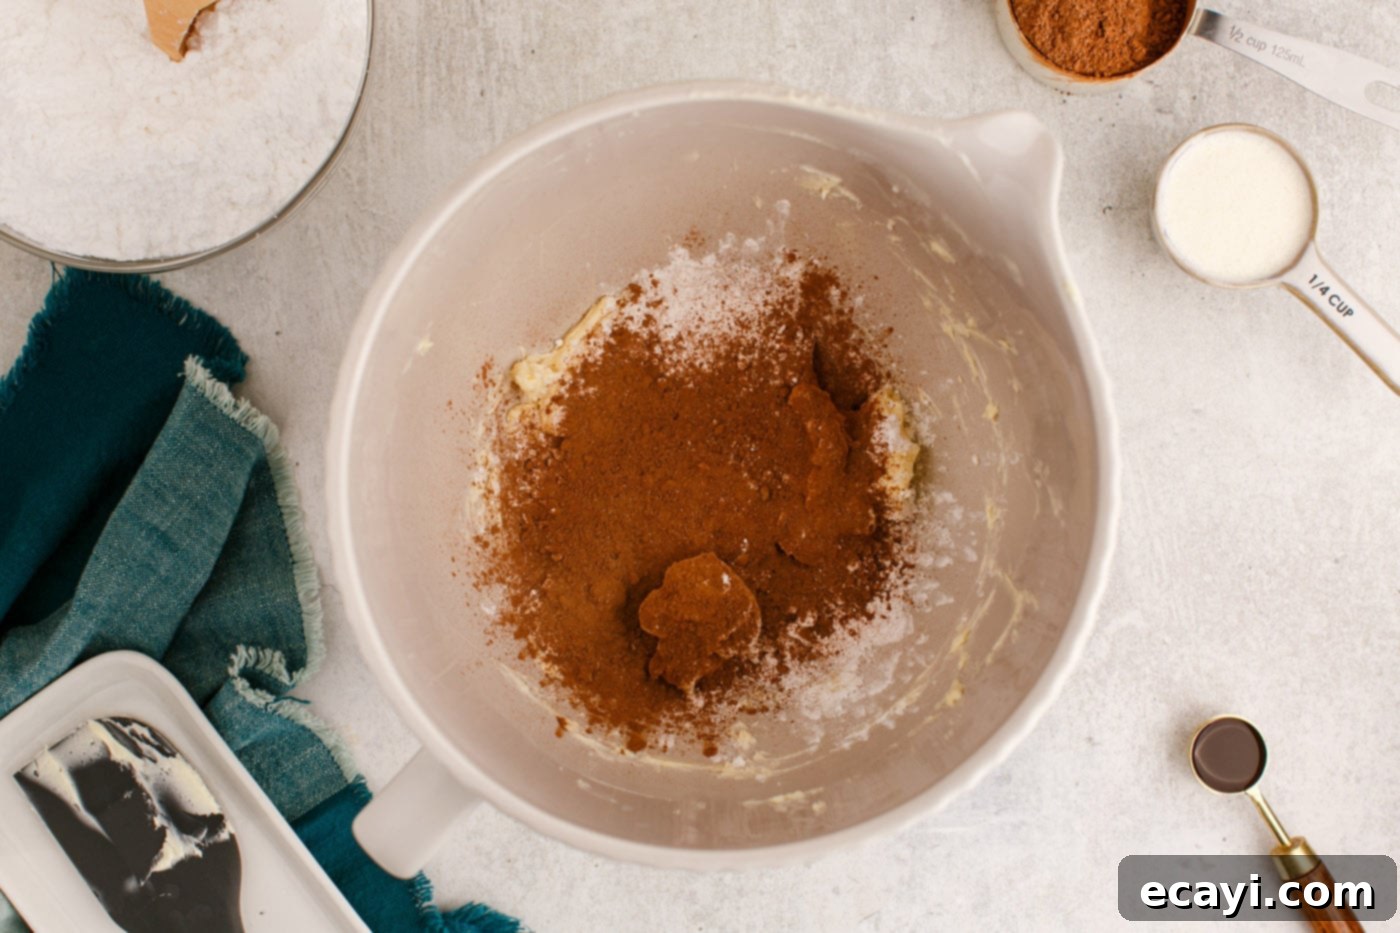
- Incorporate Dry Ingredients Slowly: With the mixer on its absolute lowest speed (to avoid a powdery explosion!), gradually add the powdered sugar and cocoa powder to the creamed butter. Start very slowly until the dry ingredients are mostly moist and combined. Then, slowly increase the speed to medium. Continue to beat until the mixture is smooth, lump-free, and all powdered sugar and cocoa powder are fully combined with the butter. Make sure to scrape down the sides and bottom of the bowl periodically with a rubber spatula to ensure everything is evenly mixed and no pockets of unmixed ingredients remain.

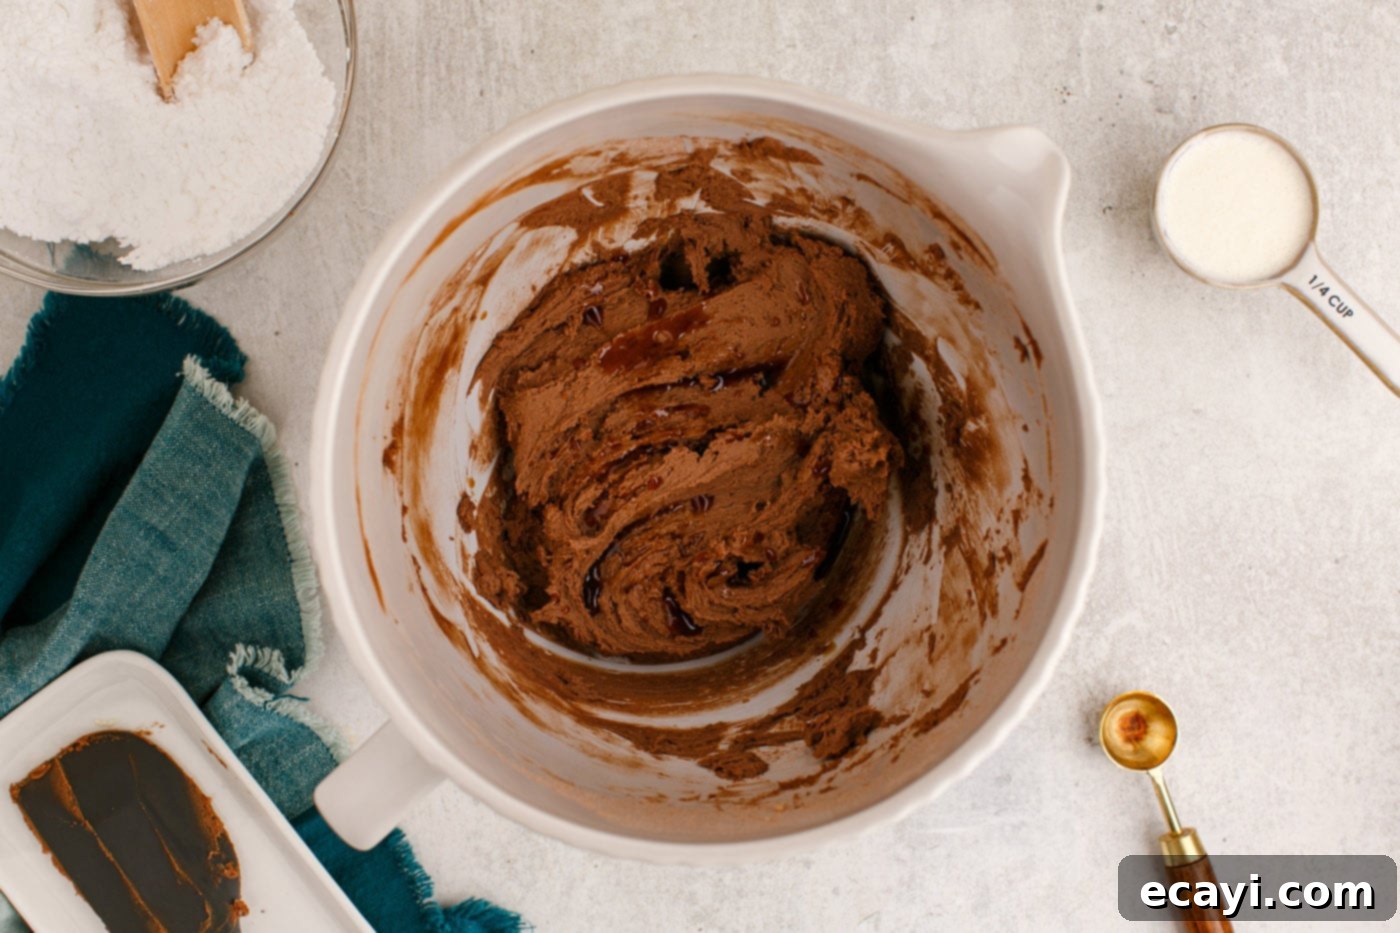
- Add Vanilla Flavor: Pour in the pure vanilla extract. Beat the mixture for an additional 30 seconds to a minute on medium speed until the vanilla is fully incorporated and its lovely aroma begins to infuse the chocolate mixture, enhancing its overall depth of flavor.

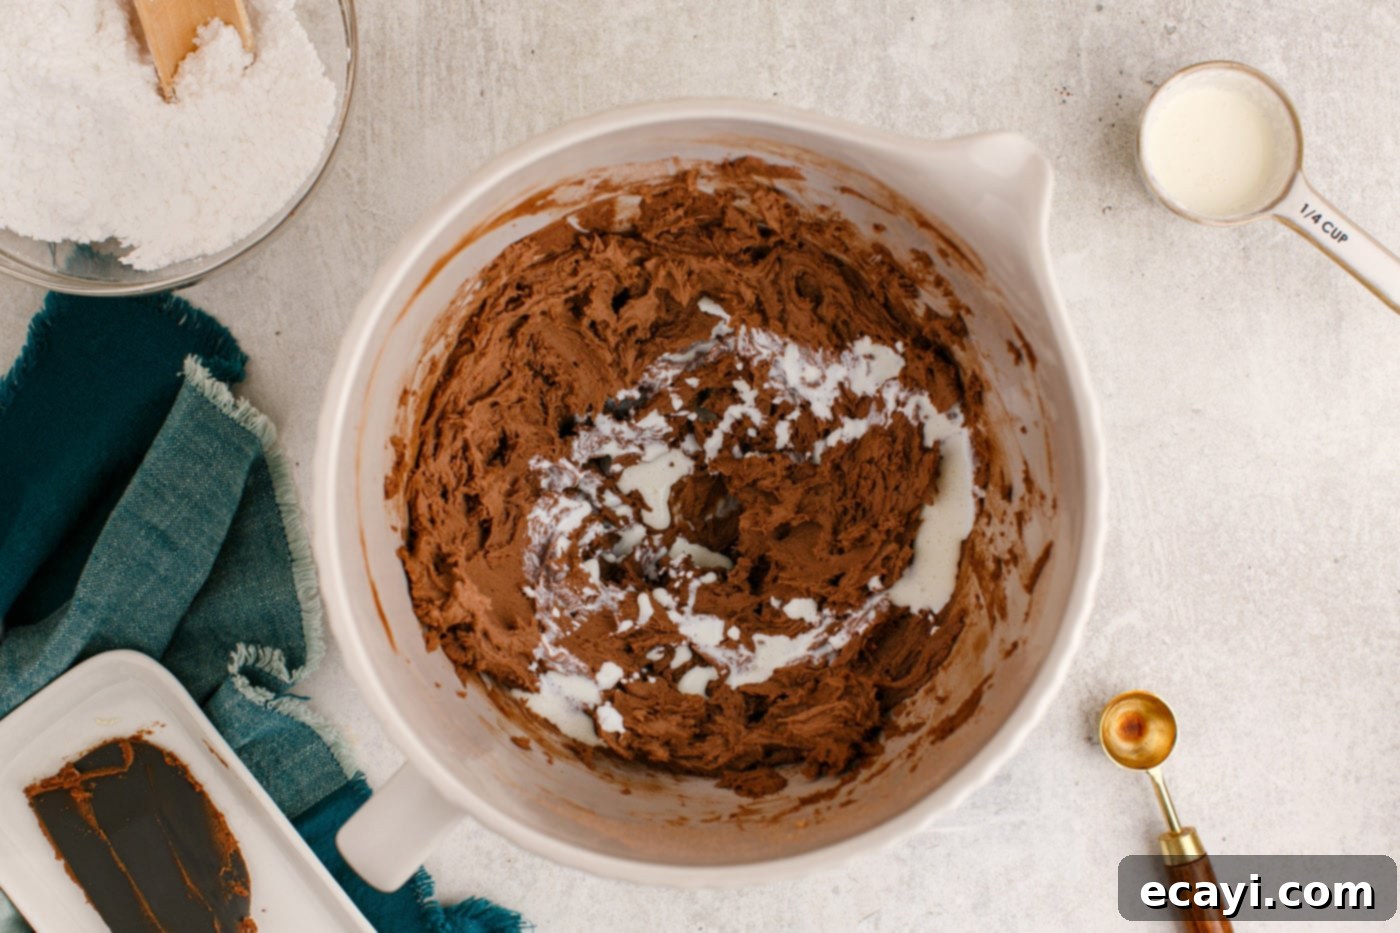
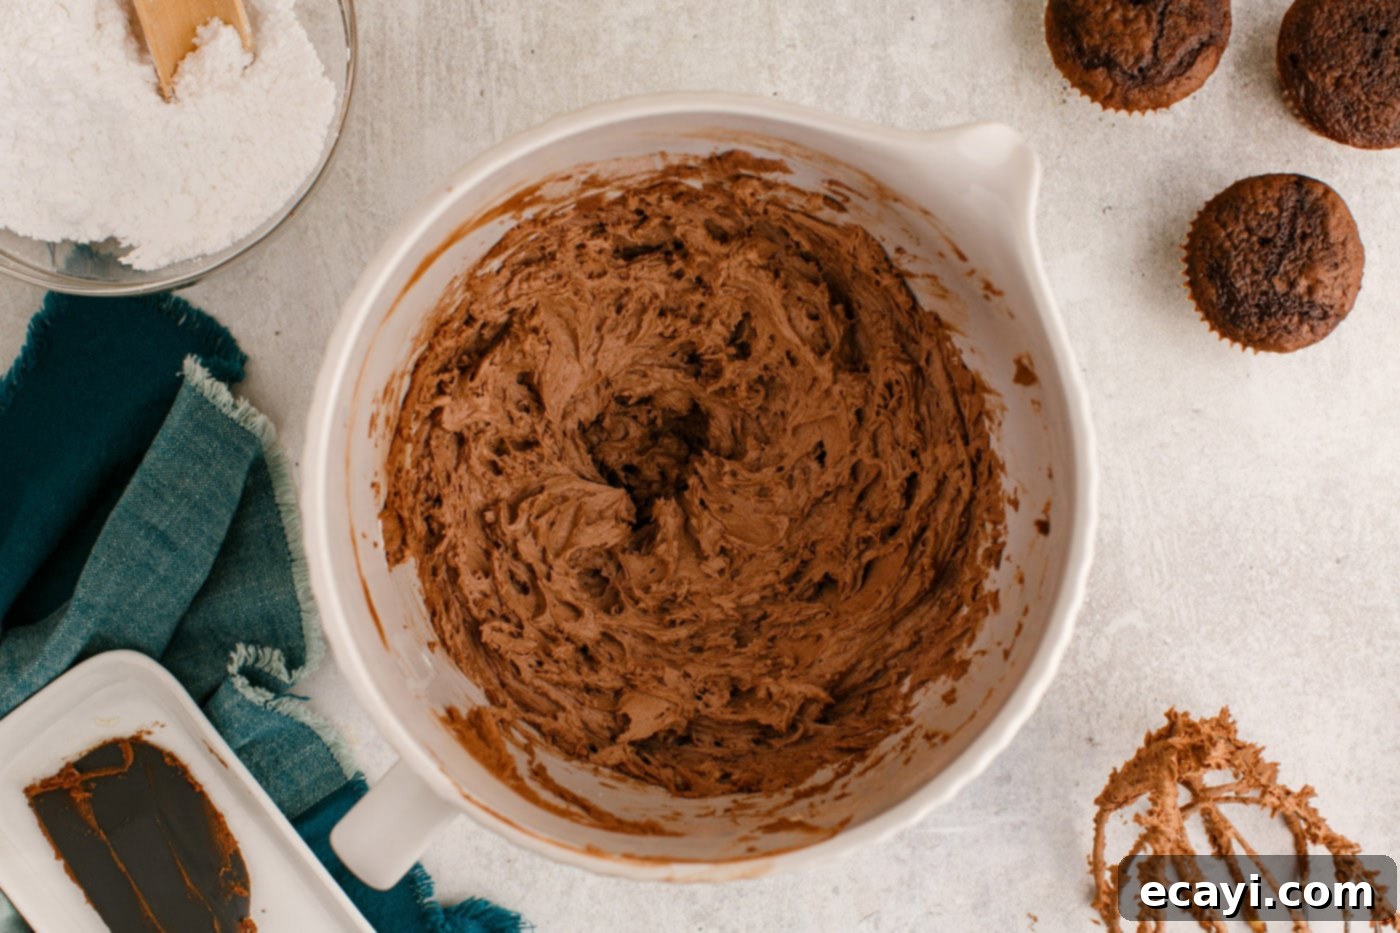
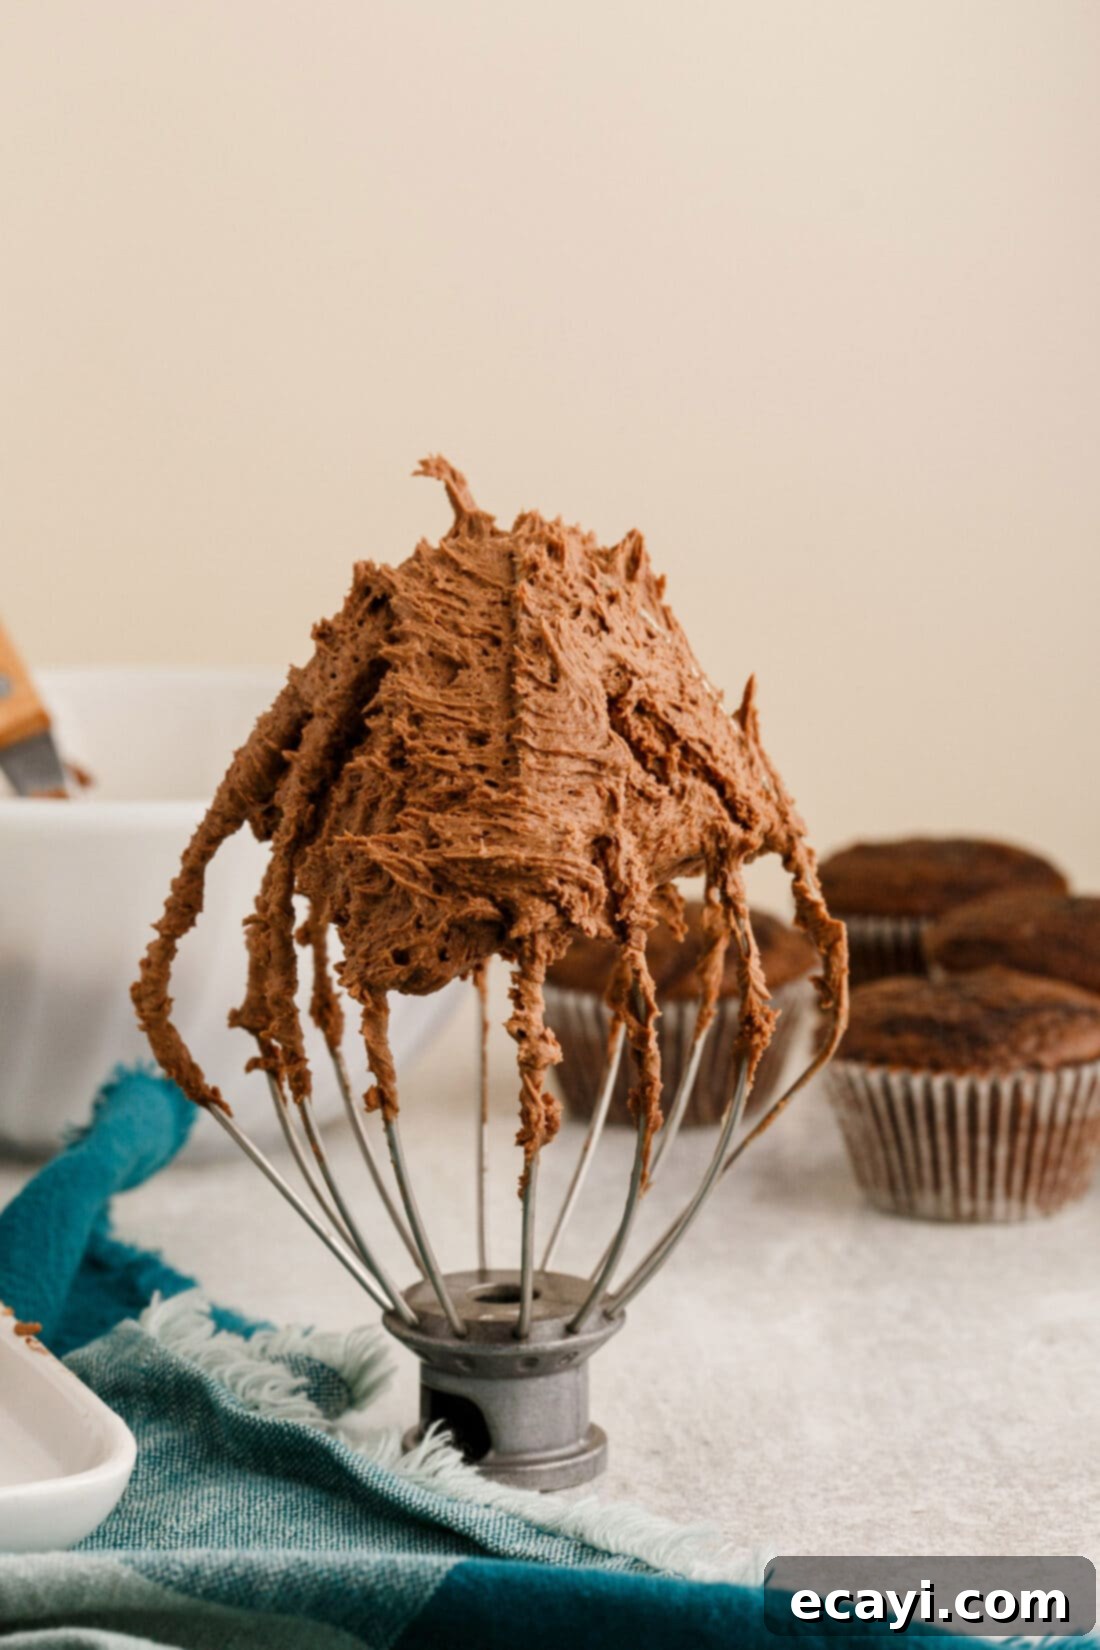
- Achieve Your Desired Consistency: Now, add an initial 2 tablespoons of the heavy cream to the frosting mixture. Increase the mixer speed to high and whisk vigorously. As the frosting whips, it will lighten in color and become significantly fluffier and more voluminous. Stop the mixer, scrape down the sides and bottom of the bowl thoroughly with a rubber spatula, then add 1-2 more tablespoons of heavy cream, one at a time, until your desired consistency is achieved. This usually takes about 3-5 more minutes of beating on high speed. You’re looking for a frosting that is light, airy, smooth, and holds soft to medium peaks – perfect for piping or spreading effortlessly onto your baked goods.


Frequently Asked Questions & Expert Tips for Buttercream Success
You have a couple of excellent choices when it comes to cocoa powder, and both will yield delicious results. We typically use natural unsweetened cocoa powder, which provides a classic, slightly robust chocolate flavor and a beautiful medium brown color. If you prefer a darker, smoother, and slightly milder chocolate taste, Dutch-processed cocoa powder is an excellent alternative. Dutch-processed cocoa has been treated to reduce its acidity, which not only gives it a deeper color but also a less bitter flavor profile. Feel free to use whichever you have on hand or experiment to find your personal preference. For a truly rich, deep chocolate flavor, some bakers even combine a small amount of dark cocoa powder with regular unsweetened cocoa.
Proper storage is essential to keep your homemade chocolate buttercream fresh and ready for use. Store the frosting in an airtight container, such as a sealed plastic container or a heavy-duty ziptop bag, in the refrigerator for up to 2 weeks. This ensures its freshness and prevents it from absorbing odors from other foods. For longer storage, you can absolutely freeze buttercream! Transfer it to an airtight freezer-safe container or a freezer-safe ziptop bag, pressing out any excess air to prevent freezer burn. It will keep well in the freezer for up to 3 months. When you’re ready to use stored frosting, whether refrigerated or frozen, ensure you bring it back to room temperature slowly. Once at room temperature, re-beat it in your stand mixer (or with a powerful hand mixer) for a few minutes until it becomes smooth, fluffy, and perfectly pipeable again. This re-whipping process restores its original light texture and removes any stiffness from chilling.
This single batch of chocolate buttercream frosting is quite generous and versatile. It will typically provide enough frosting to generously cover a standard 13×9 inch sheet cake, a classic round 9-inch single-layer cake, or approximately 24 standard-sized cupcakes if you’re applying a flat, smooth spread of frosting. However, if your plan involves piping more elaborate swirls, tall peaks, or intricate decorative designs onto cupcakes, you’ll find that significantly more frosting is used compared to a simple flat spread. For such applications, we highly recommend doubling this recipe to ensure you have plenty of frosting and avoid running out mid-decoration. Similarly, for a two-tiered 8-inch or 9-inch cake, a double batch is almost always necessary to adequately cover both layers, fill between them, and decorate. Having a little extra frosting is always better than running short at the crucial moment!
Achieving the perfect consistency is key for beautiful frosting. If your buttercream seems too thick, stiff, or difficult to spread, gradually add more heavy cream (or your chosen milk alternative) one teaspoon at a time, beating well after each addition until it reaches your desired smoothness and spreadability. Conversely, if your frosting is too thin, runny, or not holding its shape, you can thicken it by adding a tablespoon or two more of powdered sugar, beating until fully incorporated. For a slightly more stable fix for runny frosting, especially if it’s warm, you can also try chilling the entire bowl in the refrigerator for 15-20 minutes, then re-beating it. The butter will firm up, helping the frosting regain its structure and hold its shape better.
Absolutely, and we highly recommend it! While not always listed in every basic buttercream recipe, a tiny pinch of fine sea salt (about 1/8 to 1/4 teaspoon) can work wonders in chocolate buttercream. Salt is a fantastic flavor enhancer that helps to balance the sweetness, cut through the richness, and truly deepen the complex notes of the chocolate. It doesn’t make the frosting salty, but rather makes the chocolate taste “more chocolatey” and prevents the frosting from being overwhelmingly sweet. Add it along with the cocoa powder and powdered sugar, and you’ll notice a more well-rounded and sophisticated flavor profile.
Scraping down the sides and bottom of your mixer bowl frequently throughout the process is a crucial step that many overlook, but it makes a significant difference. As the ingredients are mixed, some butter, sugar, or cocoa powder can cling to the sides or settle at the bottom of the bowl, avoiding the whisk. If these unmixed portions are not incorporated, your final buttercream will have an uneven texture, potentially with lumps of butter or dry pockets of sugar/cocoa. Regular scraping ensures all ingredients are thoroughly combined, resulting in a perfectly smooth, consistent, and uniform frosting.
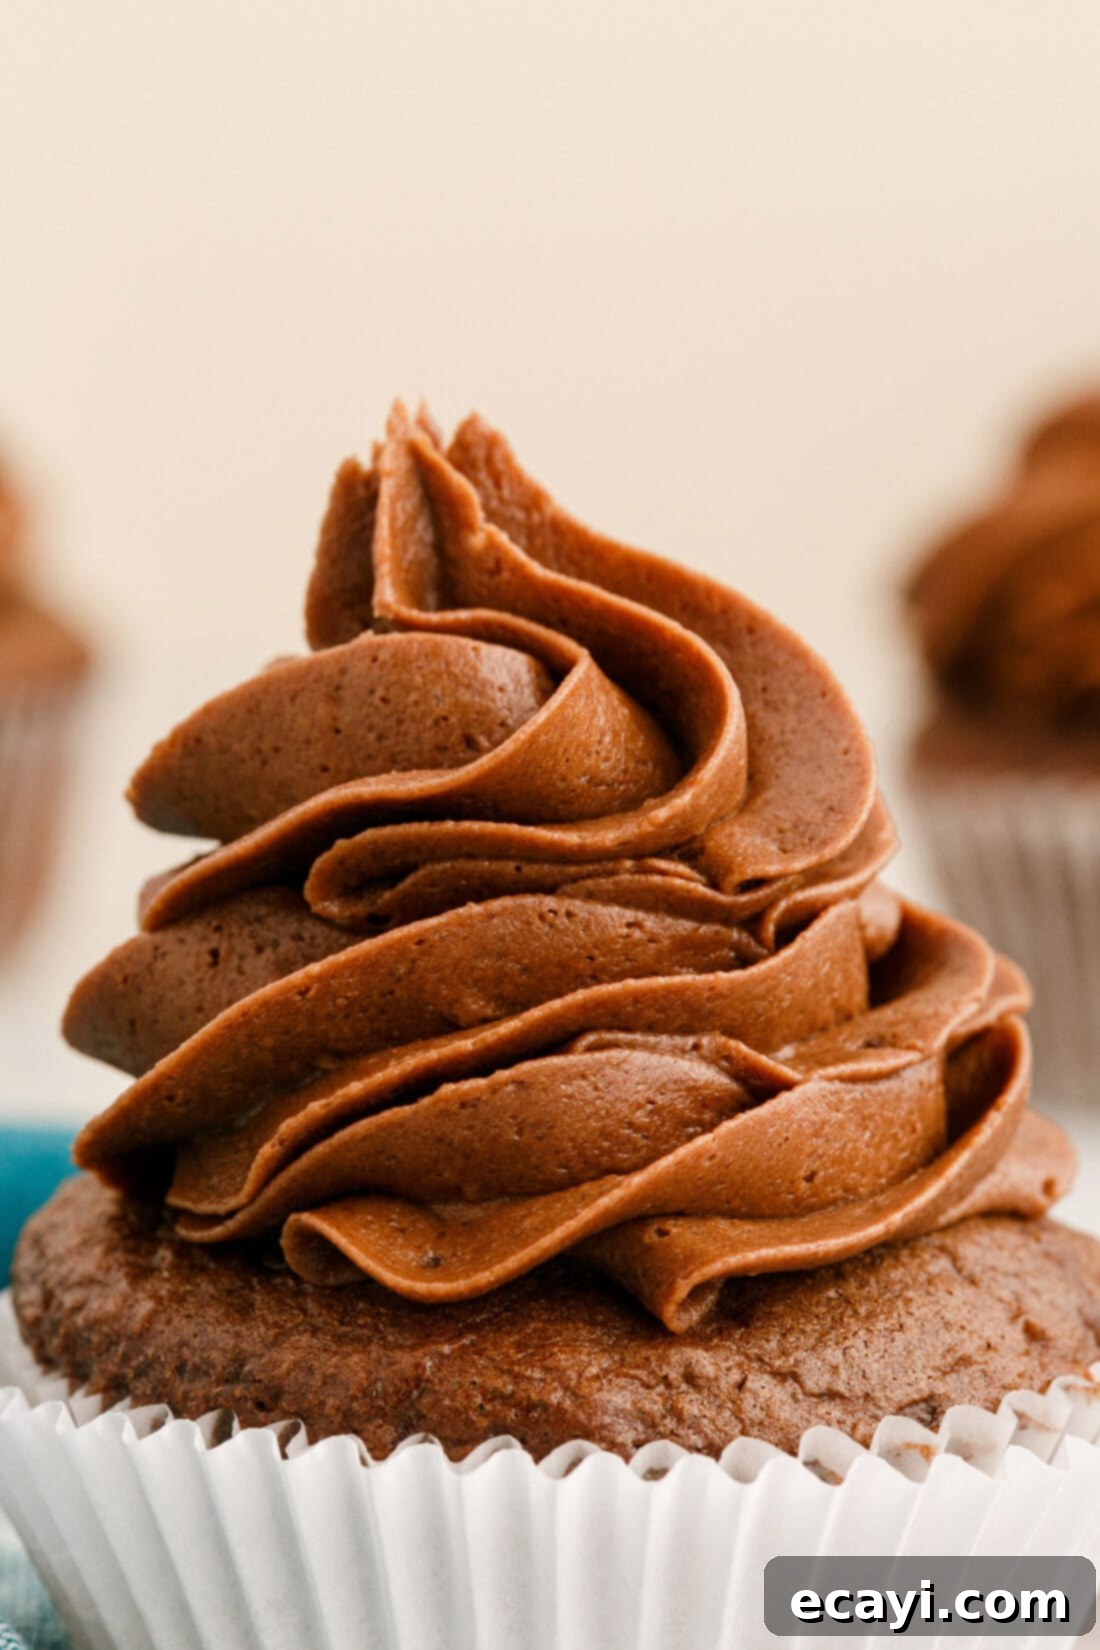
Delicious Ways to Enjoy Your Chocolate Buttercream Frosting
Once you’ve whipped up this delightful chocolate buttercream, the possibilities for enjoyment are truly endless! Its rich flavor and incredibly smooth, pipeable consistency make it perfect for a vast array of sweet applications. Go ahead and pipe, decorate, or generously smear this luscious frosting over a wide assortment of treats. It’s a sensational topping that elevates any dessert:
- Classic Toppings: It’s absolutely perfect for homemade cupcakes, fudgy brownies, classic chocolate chip cookies, sugar cookies, or elegant layer cakes. Its robust flavor pairs well with both vanilla and chocolate bases.
- Decadent Fillings: Use it as a delectable filling for whoopie pies, between two soft chocolate cookies to create sandwich cookies, or as a rich layer in cakes and tortes.
- Donut Glaze: For a thinner, pourable glaze that still packs a chocolate punch, gradually thin out a portion of this frosting with an additional teaspoon or two of heavy cream (or milk) until it reaches a drizzleable consistency. It’s absolutely divine over freshly baked or fried donuts, imparting a rich chocolatey sheen.
- Cake Pop Coating: While it’s wonderfully thick, it can be slightly thinned to coat cake pops for an irresistible, smooth chocolate finish.
- Breakfast Treat Enhancement: A dollop of thinned buttercream can even make a breakfast treat like waffles or pancakes feel extra special and indulgent.
Looking for other fantastic frosting options to complement your baking repertoire? We’ve got you covered with more essential recipes that are just as versatile and delicious! Be sure to check out our classic Vanilla Buttercream Frosting for a lighter, all-purpose flavor, our tangy and rich Cream Cheese Frosting for cheesecakes and red velvet, and for the ultimate chocolate lover, our intensely flavored Chocolate Fudge Frosting recipes.
Perfect Pairings: What to Frost with This Delicious Chocolate Buttercream
This incredibly versatile and decadent chocolate buttercream is a fantastic companion to numerous baked goods, enhancing their flavor and presentation. Here are some of our favorite recipes that truly shine when topped with this rich and creamy frosting:
- Cake Balls
- Marble Cake
- Classic White Cake
- Mayonnaise Cake
- Double Chocolate Cupcakes
- Red Velvet Cupcakes (for a truly decadent twist!)
- Vanilla Cupcakes
- Banana Cake or Cupcakes
- Peanut Butter Cookies
- Your favorite sugar cookies or shortbread
- Blondies or cookie bars
I absolutely adore sharing my passion for baking and cooking with all of you! To make sure you never miss out on a delicious new recipe or helpful kitchen tip, I invite you to join my convenient newsletter. Every time a new recipe posts, you’ll receive it directly in your inbox, filled with inspiration and easy-to-follow guides. Simply subscribe here and start receiving your free daily recipes, culinary insights, and much more!
Decadent 5-Ingredient Chocolate Buttercream Frosting
IMPORTANT – Don’t forget to check the Frequently Asked Questions and Expert Tips section above for more invaluable advice on making your buttercream perfect!
Print It
Pin It
Rate It
Save ItSaved!
Ingredients
- 1 cup unsalted butter softened to room temperature (essential for creamy texture)
- 3 ½ cups powdered sugar (confectioners’ sugar, sifted if clumpy for best smoothness)
- ½ cup unsweetened cocoa powder (natural or Dutch-processed, according to preference)
- 1 teaspoon pure vanilla extract (enhances and rounds out chocolate flavor)
- 4 Tablespoons heavy whipping cream (plus 1-2 tbsp more for desired consistency, as needed)
- (Optional) ⅛ – ¼ teaspoon fine sea salt (for balancing sweetness and enhancing chocolate)
Things You’ll Need
-
Stand mixer (with whisk attachment, or a powerful hand mixer with beaters)
-
Measuring cups and spoons
-
Rubber spatula (essential for thorough mixing and scraping down the bowl)
Before You Begin: Important Tips for Success
- Butter Temperature is Key: Always ensure your butter is genuinely at room temperature and softened, not melted. Softened butter should yield to gentle pressure, leaving an indentation, but still hold its shape. This allows for proper aeration and emulsification, resulting in a light, fluffy buttercream. To soften, cut into cubes and let sit for 30-45 minutes. Never microwave, as melted butter will make your frosting greasy and runny!
- Whisk vs. Paddle Attachment: The whisk attachment is ideal for incorporating maximum air, leading to that signature creamy, smooth, and incredibly fluffy buttercream texture. If, however, you find your buttercream has too much air (appears too voluminous) or you desire a denser, more condensed frosting (perhaps for piping intricate flowers or a firmer coating), you can switch to the paddle attachment and beat it on low speed for a minute or two. This will help smooth it out and remove some of the excess air.
- Cocoa Powder Choice Matters: Our recipe typically uses natural unsweetened cocoa powder for a classic chocolate flavor. For a darker color and a smoother, less acidic, and milder chocolate taste, feel free to use Dutch-processed cocoa powder. Both work beautifully, so choose based on your preference or experiment with a blend!
- Adjusting Frosting Yield: A single batch of this recipe is ideal for frosting a 13×9 inch cake, a standard 9-inch round cake, or approximately 24 standard-sized cupcakes with a simple flat spread. If you plan on piping more elaborate designs onto your cupcakes or frosting a two-tiered 9-inch cake, we strongly recommend doubling the recipe. It’s always better to have a little extra frosting than to run out mid-decoration!
- Storage Solutions: Unused homemade buttercream frosting can be stored in an airtight container in the refrigerator for up to 2 weeks. For longer preservation, it can be frozen in an airtight freezer-safe container or a sealed heavy-duty ziptop bag for up to 3 months. To use after storage, simply bring the buttercream to room temperature (this can take several hours). Once at room temperature, re-beat it thoroughly in your mixer until it regains its smooth and fluffy consistency.
- Customizing Consistency: If your frosting is too thick, add heavy cream (or your chosen milk alternative) a teaspoon at a time, beating until smooth. If it’s too thin, add powdered sugar one tablespoon at a time until the desired texture is achieved.
- A Pinch of Salt: For an enhanced flavor that beautifully balances the sweetness and deepens the chocolate notes, consider adding ⅛ to ¼ teaspoon of fine sea salt along with the dry ingredients. It truly elevates the taste!
Step-by-Step Instructions
-
In the clean, dry bowl of a stand mixer fitted with the whisk attachment, place the properly softened unsalted butter. Beat the butter on medium-high speed for 2 to 3 minutes until it becomes noticeably light in color and achieves a wonderfully fluffy, aerated texture. This initial whipping is vital for a light and airy buttercream.
-
With the mixer set to its lowest speed, carefully and gradually add the powdered sugar and cocoa powder to the creamed butter. Begin slowly to prevent dry ingredients from scattering. Once most of the dry ingredients are moistened, slowly increase the speed to medium. Beat until the mixture is completely smooth and lump-free, with all sugar and cocoa fully incorporated into the butter. Remember to stop and scrape down the sides and bottom of the bowl frequently with a rubber spatula to ensure even mixing.
-
Pour in the pure vanilla extract. Continue to beat the mixture on medium speed for about 30 seconds to 1 minute, ensuring the vanilla flavor is thoroughly distributed throughout the chocolate base and its aroma begins to develop.
-
Add an initial 2 tablespoons of the heavy cream to the frosting mixture. Increase the mixer speed to high and whisk vigorously. As the frosting whips, you’ll notice it lightening in color and becoming significantly fluffier. After a couple of minutes, stop the mixer and scrape down the sides and bottom of the bowl thoroughly. Then, add 1 to 2 more tablespoons of heavy cream, one at a time, continuing to beat on high speed for approximately 3-5 minutes until the frosting reaches your desired light, airy, and pipeable consistency. It should be smooth, shiny, and hold its shape beautifully.
Nutrition Information
The recipes on this blog are tested with a conventional gas oven and gas stovetop. It’s important to note that some ovens, especially as they age, can cook and bake inconsistently. Using an inexpensive oven thermometer can assure you that your oven is truly heating to the proper temperature. If you use a toaster oven or countertop oven, please keep in mind that they may not distribute heat the same as a conventional full sized oven and you may need to adjust your cooking/baking times. In the case of recipes made with a pressure cooker, air fryer, slow cooker, or other appliance, a link to the appliances we use is listed within each respective recipe. For baking recipes where measurements are given by weight, please note that results may not be the same if cups are used instead, and we can’t guarantee success with that method.
