Decadent Chocolate Whoopie Pies with Fluffy Marshmallow Cream Filling: Your Ultimate Guide
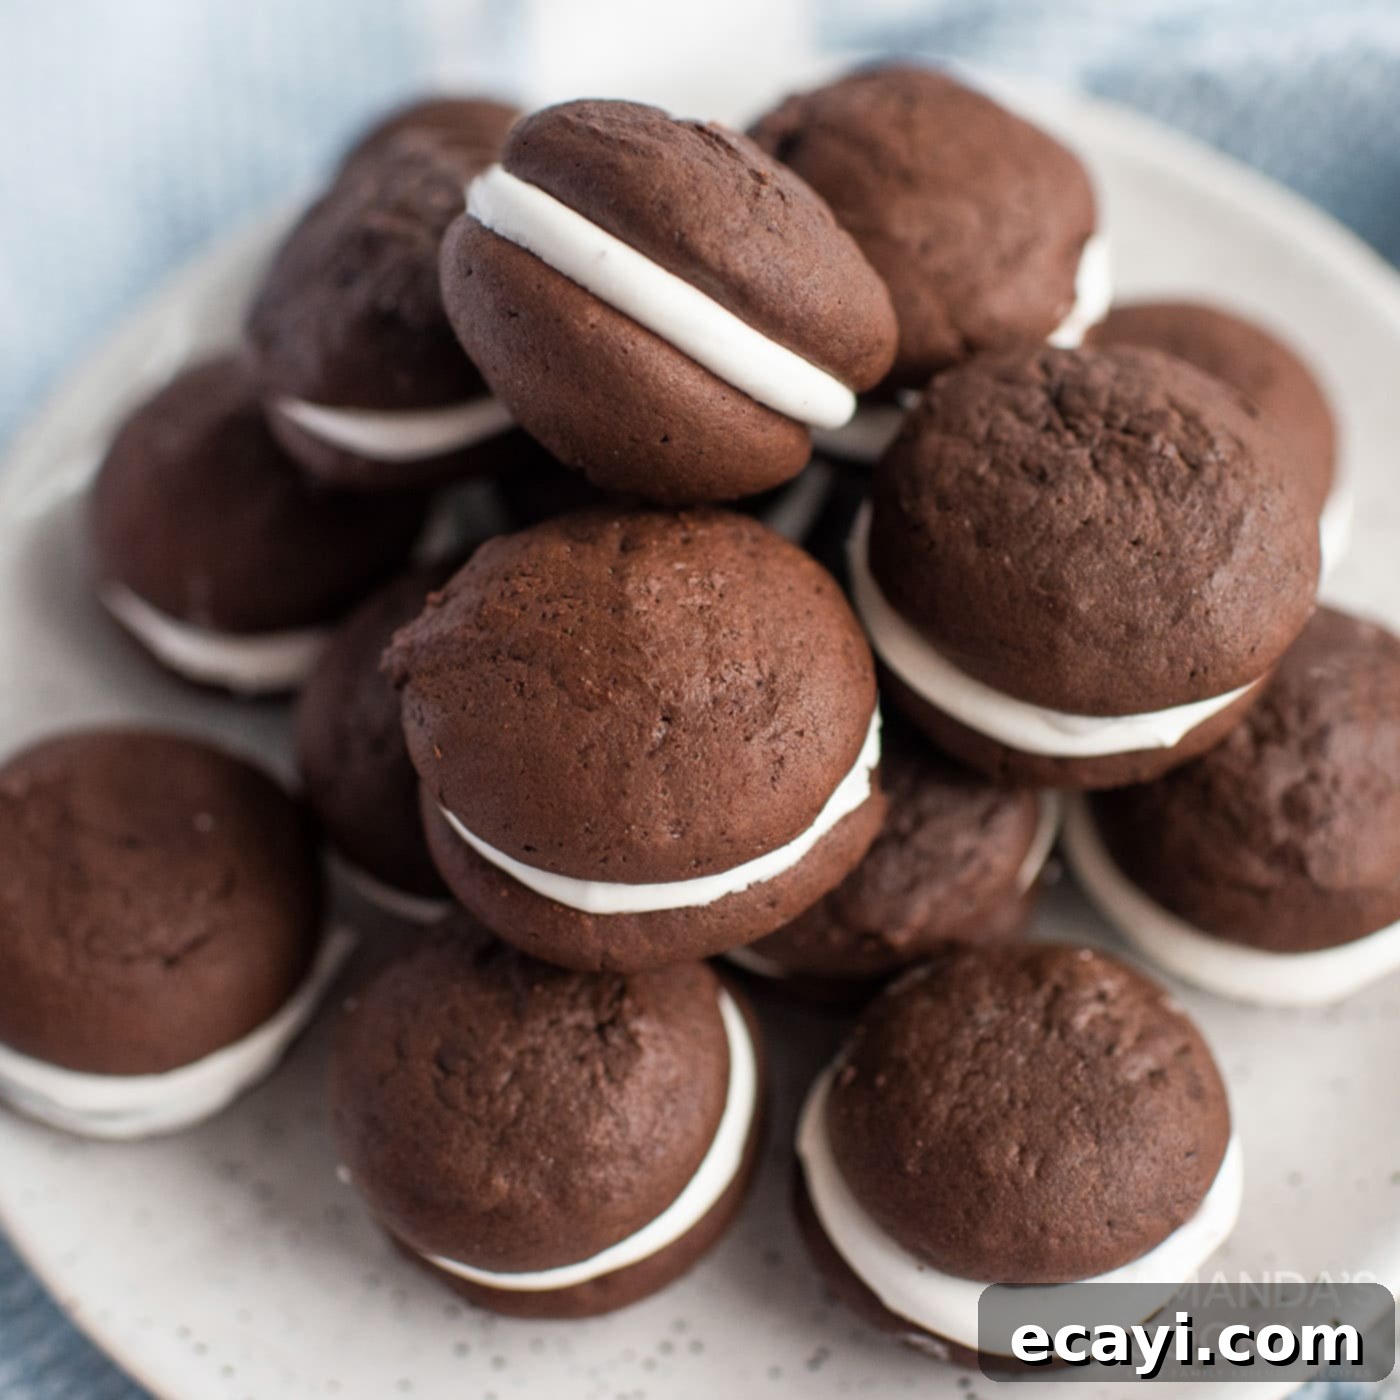
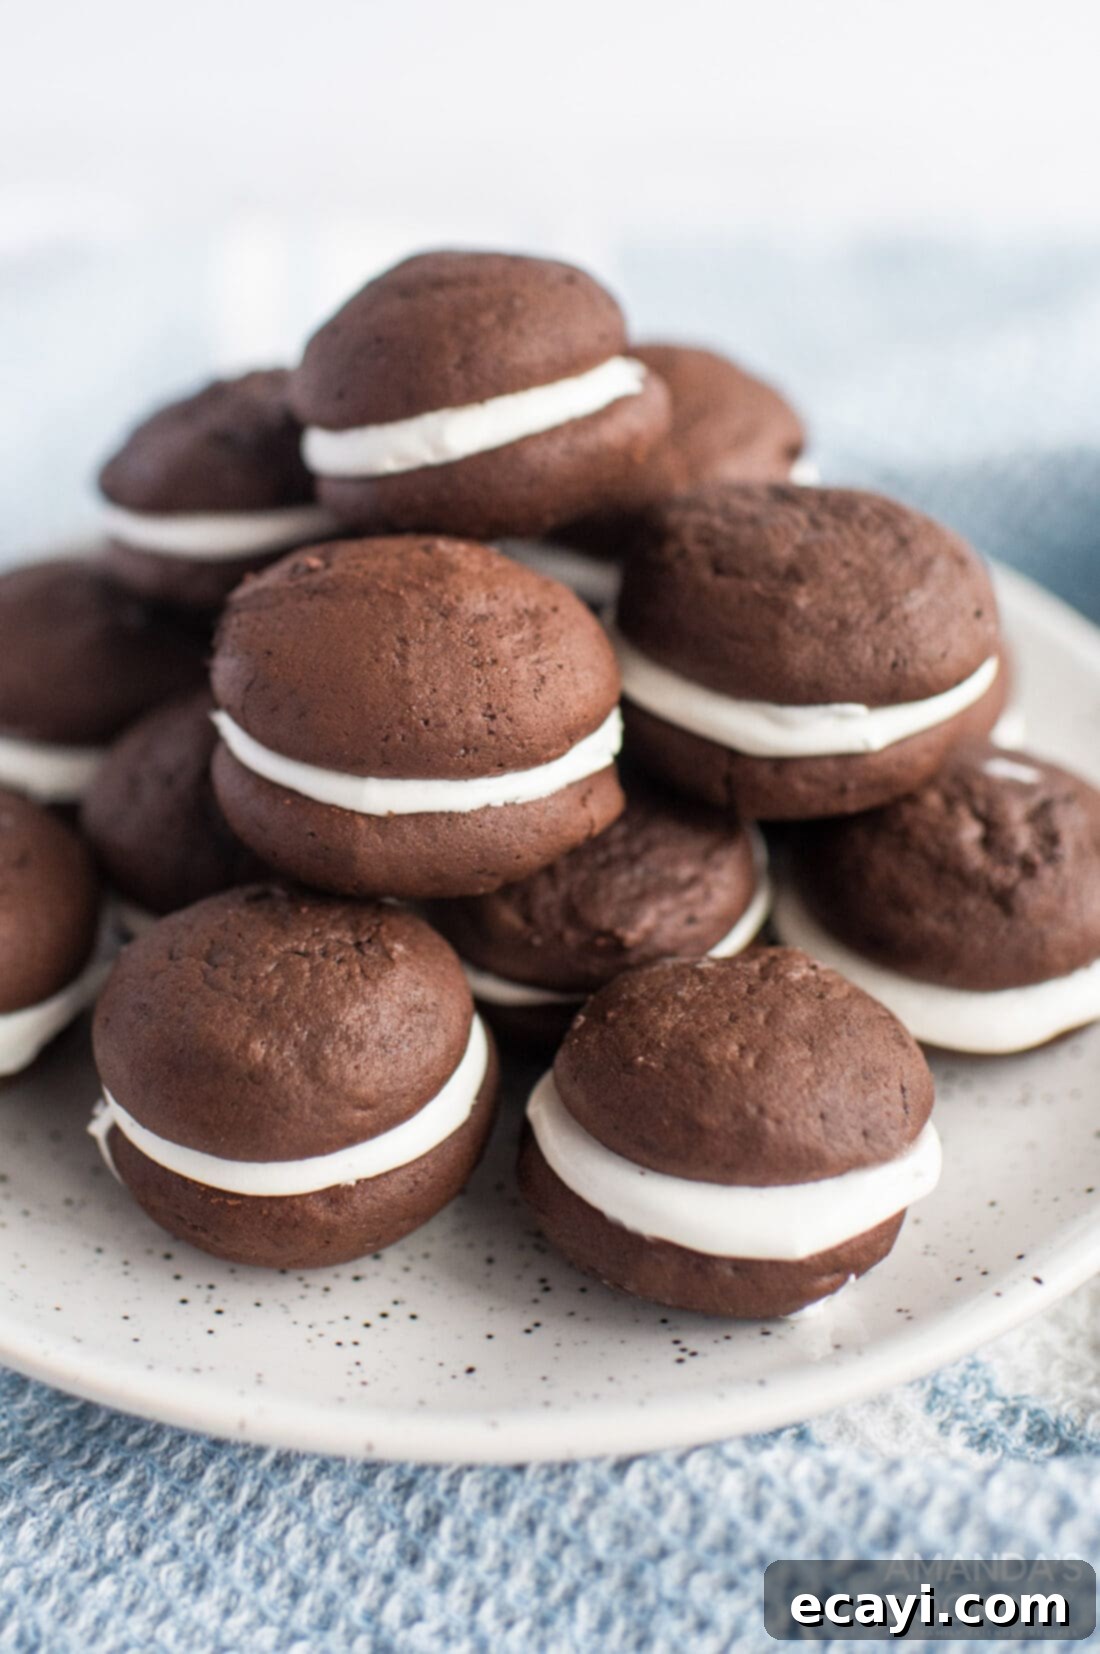
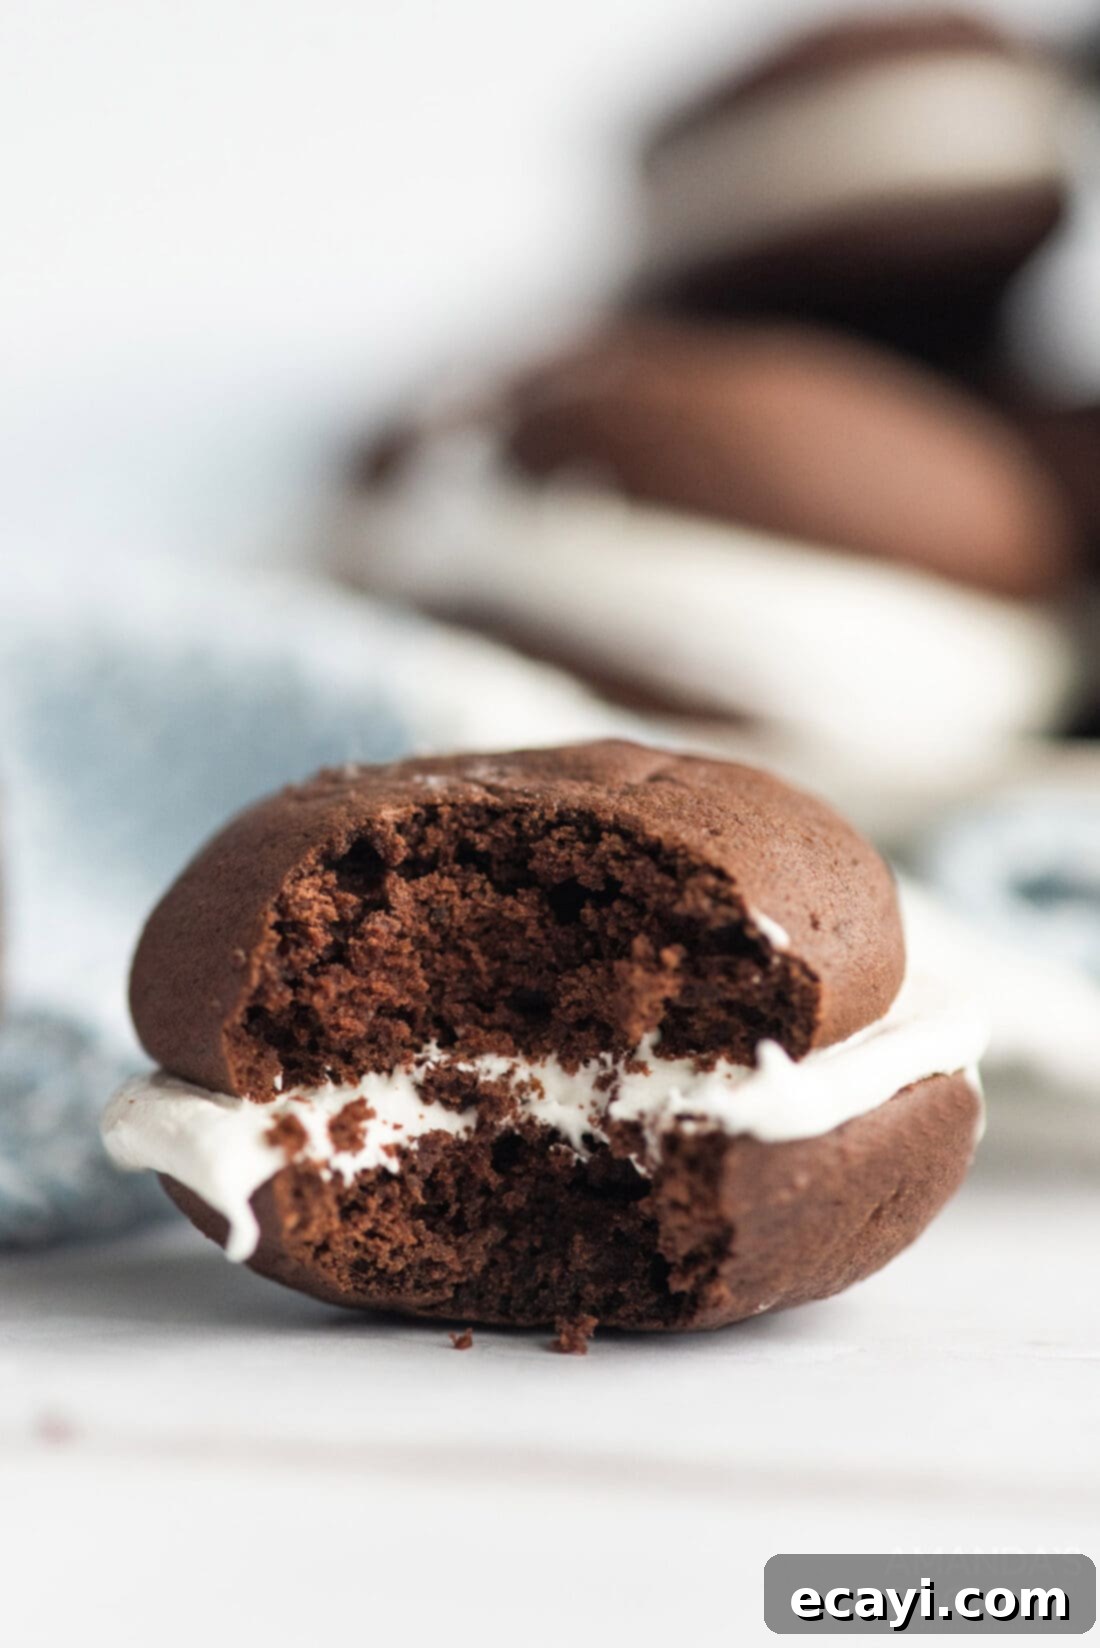
Indulge in the irresistible charm of homemade chocolate whoopie pies, a beloved treat that perfectly balances rich cocoa flavor with a wonderfully sweet, silky-smooth center. Imagine two soft, pillowy mini chocolate cakes embracing a luxurious marshmallow cream filling – it’s a symphony of textures and tastes that makes it nearly impossible to stop at just one. This recipe promises a classic dessert experience that’s both nostalgic and incredibly satisfying, perfect for any occasion or simply to brighten your day.
Why This Chocolate Whoopie Pie Recipe is a Must-Try
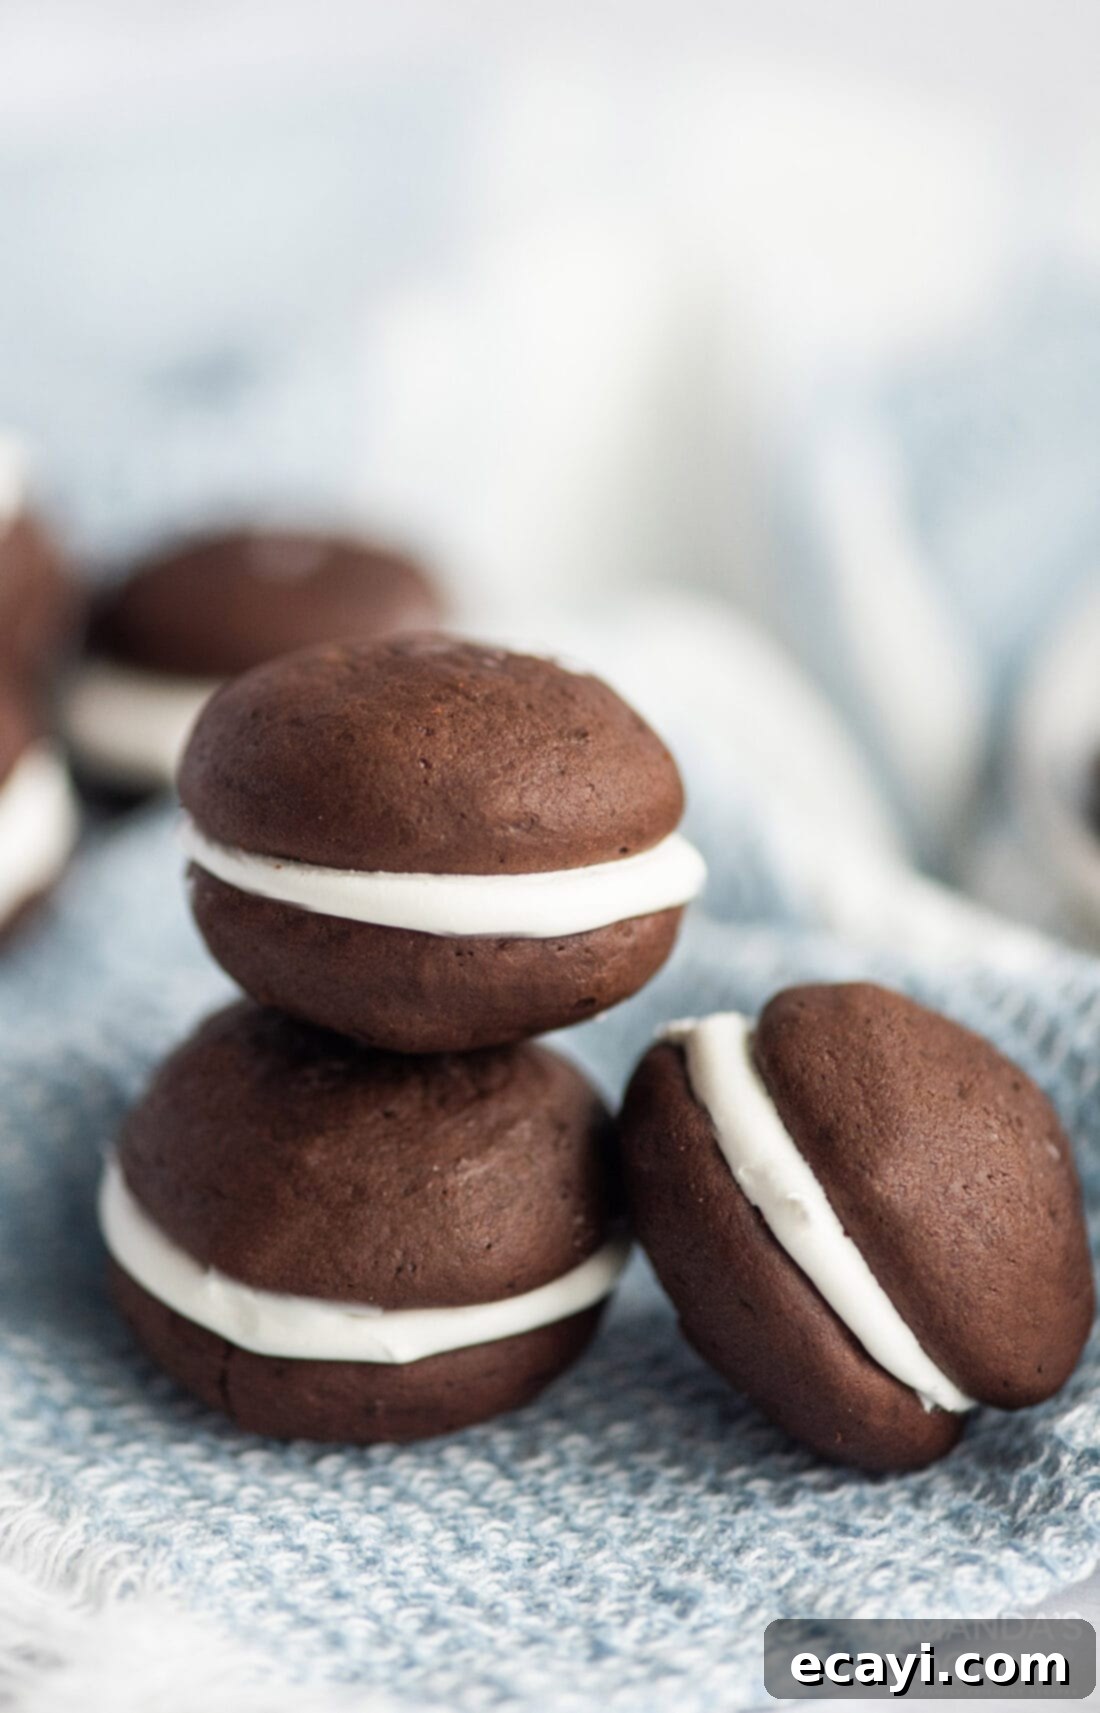
Chocolate whoopie pies are renowned for their delightful chewiness and melt-in-your-mouth filling, and while both marshmallow and frosting centers are delicious, our recipe elevates the experience with an exceptionally fluffy, creamy, and utterly dreamy marshmallow filling. This particular filling strikes the perfect balance, offering a sweet counterpoint to the rich chocolate cakes without being overly dense or sugary. Its light, airy texture means your teeth will effortlessly sink into pure bliss with every bite.
Our method ensures that the chocolate cakes remain incredibly soft and moist, yet sturdy enough to hold the generous filling. The key lies in achieving the right dough consistency, preventing the cakes from spreading too thin or becoming dry. We’ve mastered the art of creating that perfect “mini cake” texture that defines a true whoopie pie.
This isn’t our first adventure into the wonderful world of whoopie pies! If you’re looking for another seasonal delight, be sure to check out our mini pumpkin whoopie pies, which feature a luscious pumpkin cream cheese frosting – another fan favorite for its autumnal flavors and creamy finish. But today, we’re focusing on the timeless appeal of chocolate and marshmallow, a combination that never disappoints.
Essential Ingredients for Your Homemade Whoopie Pies
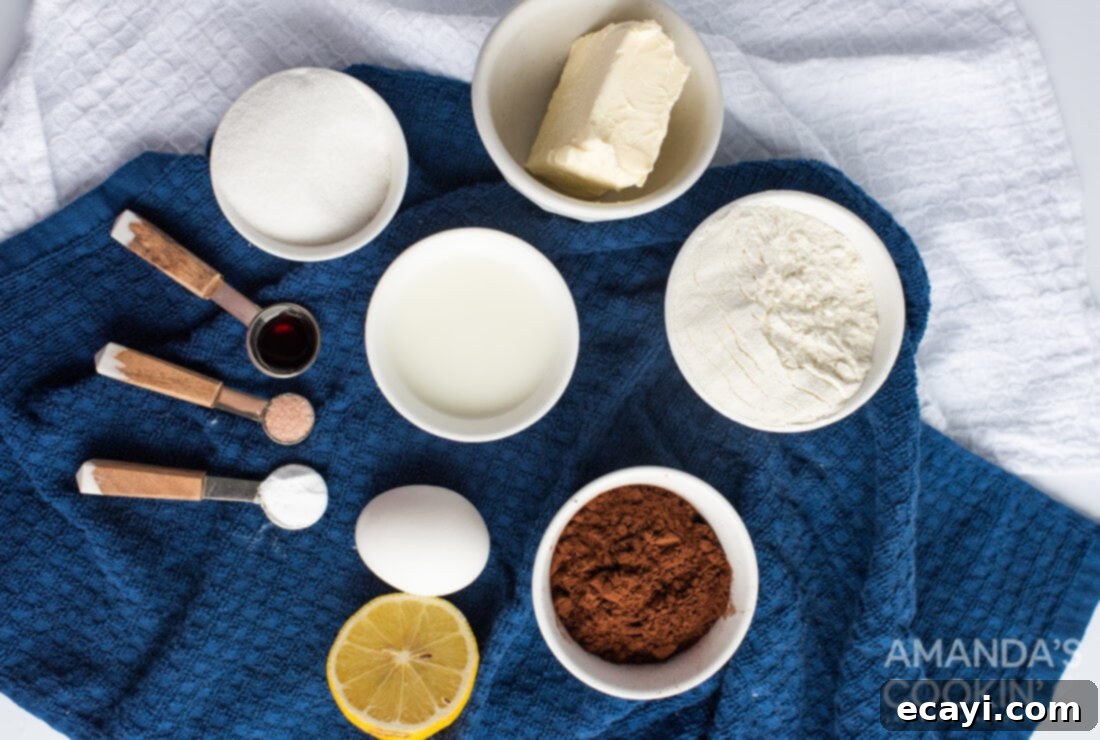
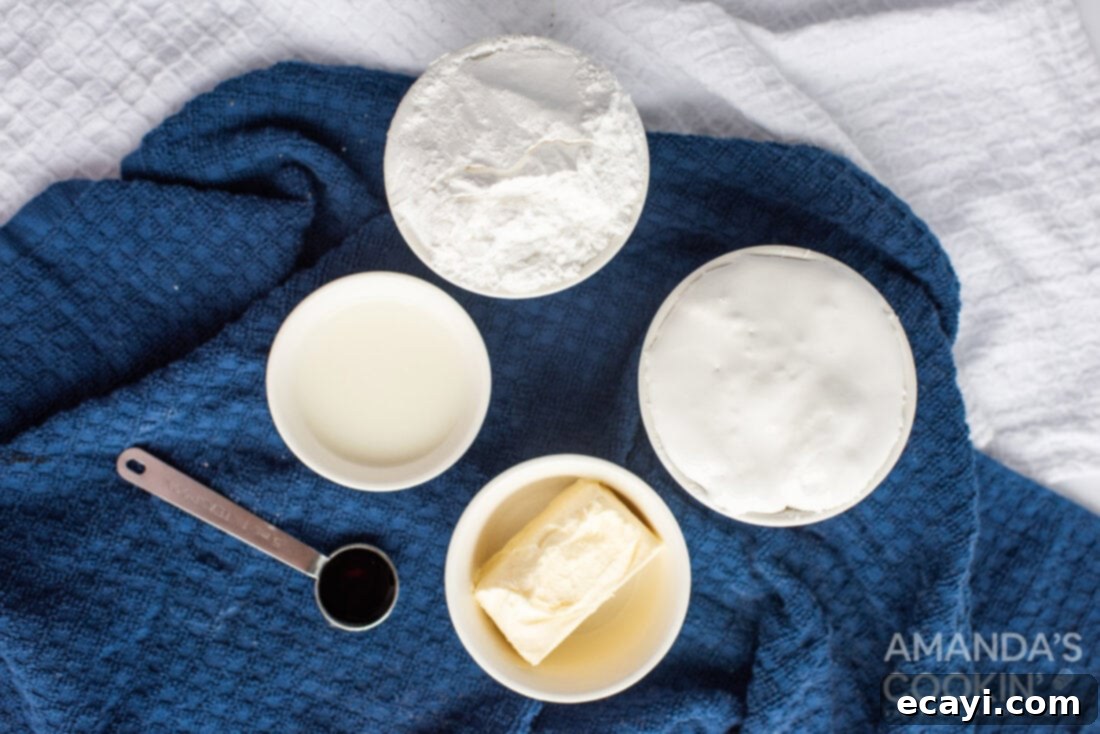
To embark on this delightful baking journey, you’ll need a selection of common pantry staples. For precise measurements, detailed instructions, and a convenient printable version of this recipe, please refer to the comprehensive recipe card located at the end of this post. Having all your ingredients prepped and ready will make the baking process smooth and enjoyable.
Ingredient Information and Expert Substitution Advice
Understanding the role of each ingredient is crucial for baking success and allows for informed substitutions when necessary. Here’s a deeper dive into what makes our chocolate whoopie pies so special:
DOUGH INGREDIENTS:
- Cocoa Powder: We recommend using unsweetened natural cocoa powder for a deep, rich chocolate flavor. While Dutch-processed cocoa can be used, keep in mind that it’s less acidic and might require adjusting the baking soda/lemon juice balance for optimal rise and texture.
- All-Purpose Flour: The foundation of our soft cake texture. Properly measuring flour is essential – spoon it into your measuring cup and level it off with a straight edge to avoid a dense, dry cake.
- Baking Soda: This acts as a leavening agent, creating the characteristic lift and light texture. When combined with the acidity from the lemon juice, it produces carbon dioxide bubbles that make the cakes airy.
- Softened Butter: Room temperature butter is critical for creaming with sugar. It incorporates air, resulting in a lighter, fluffier cake. If your butter isn’t soft enough, it won’t cream properly, leading to a denser dough.
- Granulated Sugar: Provides sweetness and also helps with tenderness and moisture retention in the cakes.
- Egg: Acts as a binder, adding structure, moisture, and richness to the dough. Ensure it’s also at room temperature for better emulsification.
- Vanilla Extract: Enhances the chocolate flavor and adds a warm, aromatic depth. Don’t skip it!
- Milk: Adds necessary moisture to the dough. Whole milk works best for richness, but any dairy or non-dairy milk can be used.
- Lemon Juice: Crucial for activating the baking soda, contributing to the cakes’ lift. If you don’t have lemon juice, white vinegar can be used as a 1:1 substitute. You can also use buttermilk in place of milk + lemon juice; simply use ⅔ cup buttermilk and omit the lemon juice.
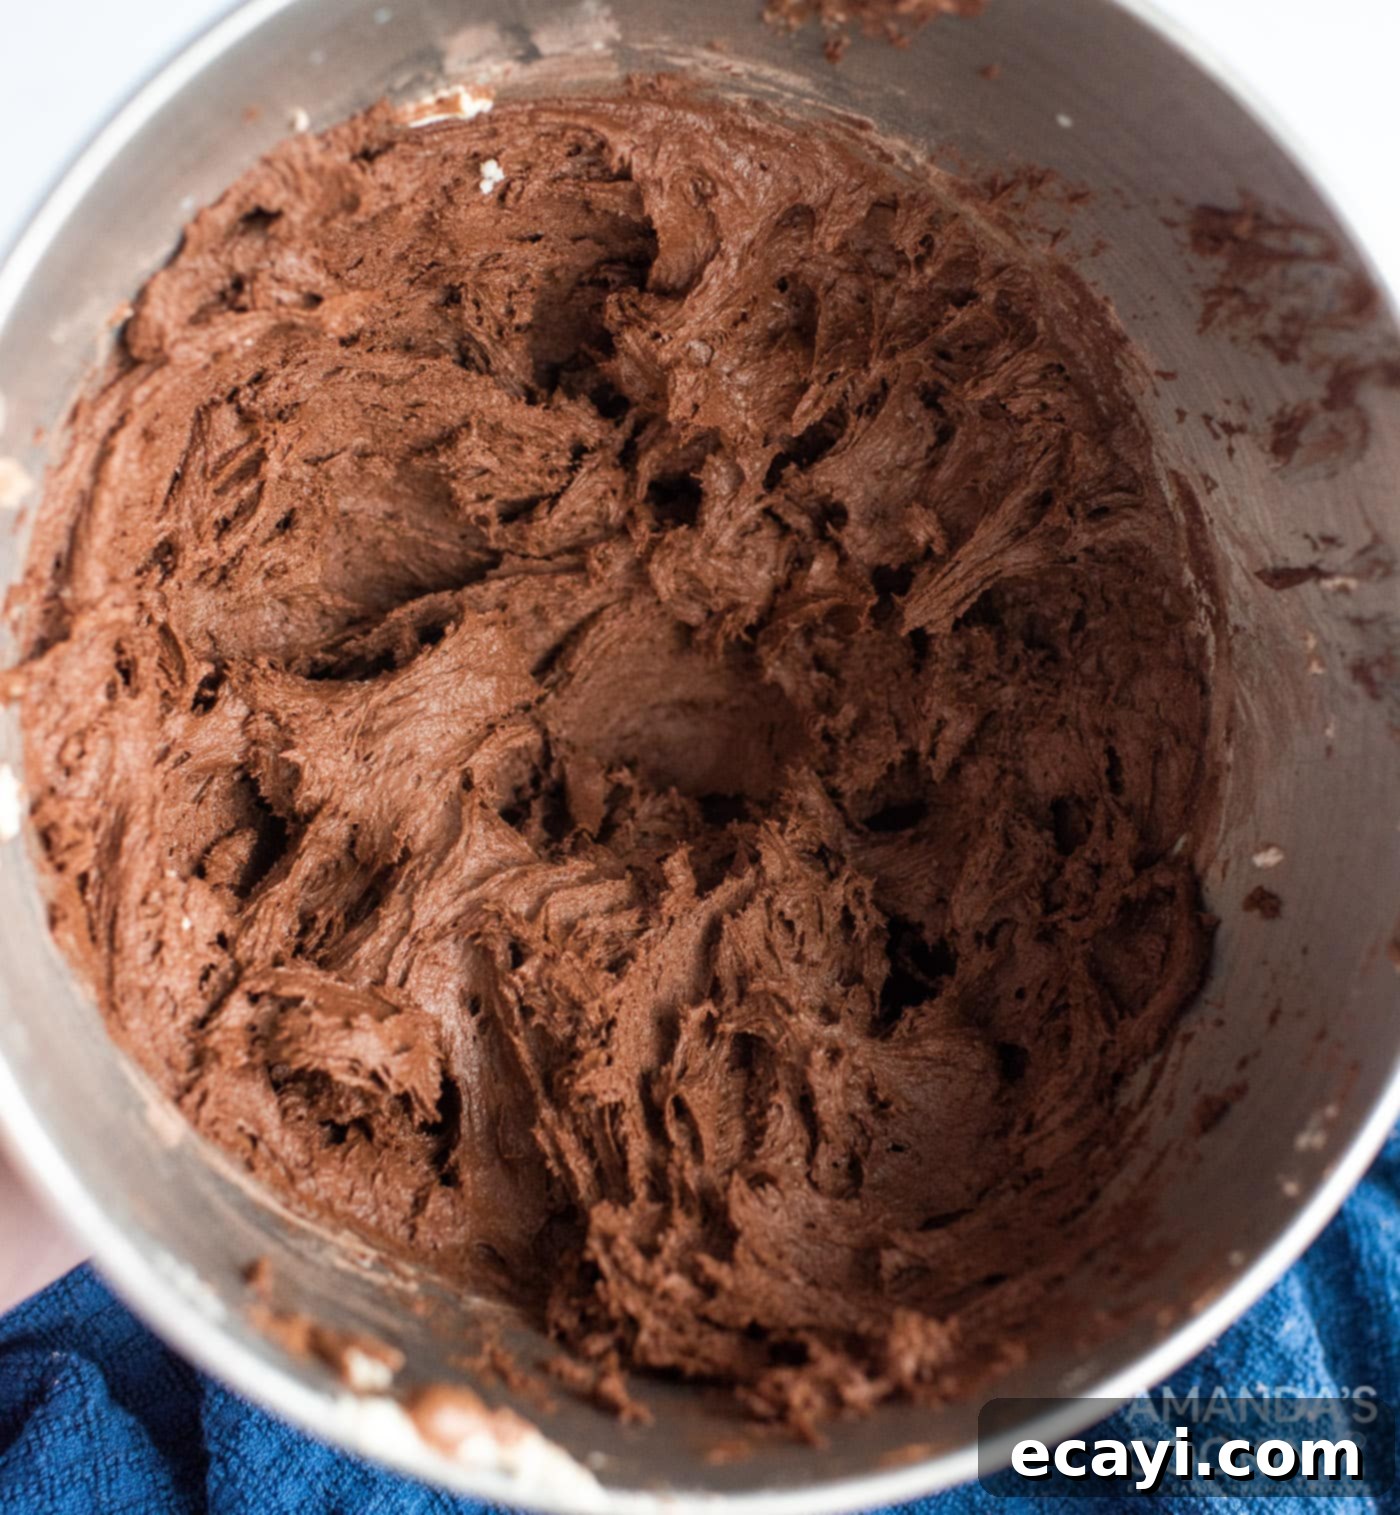
A note on dough consistency: Don’t be alarmed when your chocolate dough appears thick; this is exactly what you want! A thick dough is key to ensuring your whoopie pies maintain their dome-like shape and don’t flatten excessively in the oven, giving you those perfectly plump, soft cakes.
FILLING INGREDIENTS (Marshmallow Cream):
- Marshmallow Fluff: The star of our filling, providing that signature sticky-sweet, wonderfully stretchy, and incredibly fluffy texture. There’s no real substitute for the unique qualities of marshmallow fluff in this specific recipe, though you could make homemade marshmallow cream if you’re feeling ambitious.
- Confectioners’ Sugar (aka Icing Sugar, Powdered Sugar): Essential for thickening the filling and adding sweetness while dissolving smoothly to create a velvety texture. Sifting it can help prevent lumps.
- Softened Butter: Contributes to the filling’s creamy consistency and richness, balancing the sweetness of the marshmallow fluff. Ensure it’s at room temperature for easy blending.
- Vanilla Extract: A crucial flavor enhancer for the marshmallow cream, adding warmth and depth that complements the chocolate cakes.
- Milk: Used sparingly to achieve the perfect spreadable consistency for the filling. Add it one tablespoon at a time to ensure it doesn’t become too runny.
Alternative Filling Suggestion: While our marshmallow cream filling is truly exceptional, you could alternatively create a delicious vanilla buttercream or a tangy cream cheese frosting for a different, yet equally fantastic, whoopie pie experience.
Step-by-Step Guide: Crafting Your Delicious Chocolate Whoopie Pies
These step-by-step photos and detailed instructions are provided to help you visualize each stage of making this recipe. For the complete printable version of this recipe, including all measurements and instructions, please Jump to Recipe at the bottom of this post.
- First, preheat your oven to 325 degrees F (160°C). Prepare two baking sheets by either lightly greasing them or lining them with parchment paper. This prevents sticking and makes cleanup easier.
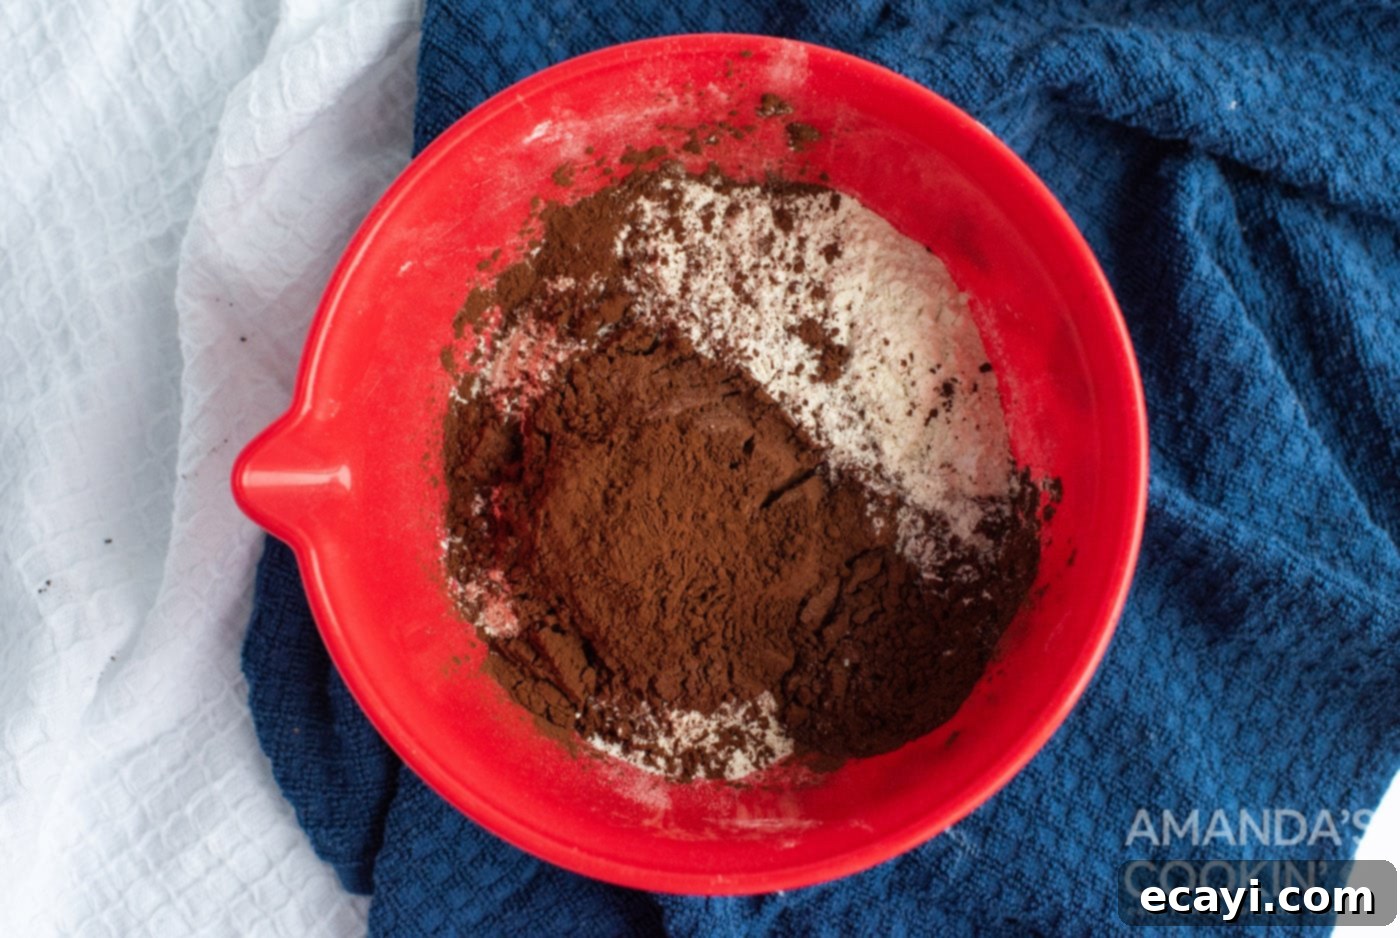
- In a medium-sized bowl, combine the all-purpose flour, a pinch of salt, cocoa powder, and baking soda. Whisk these dry ingredients together thoroughly to ensure even distribution, then set the bowl aside.

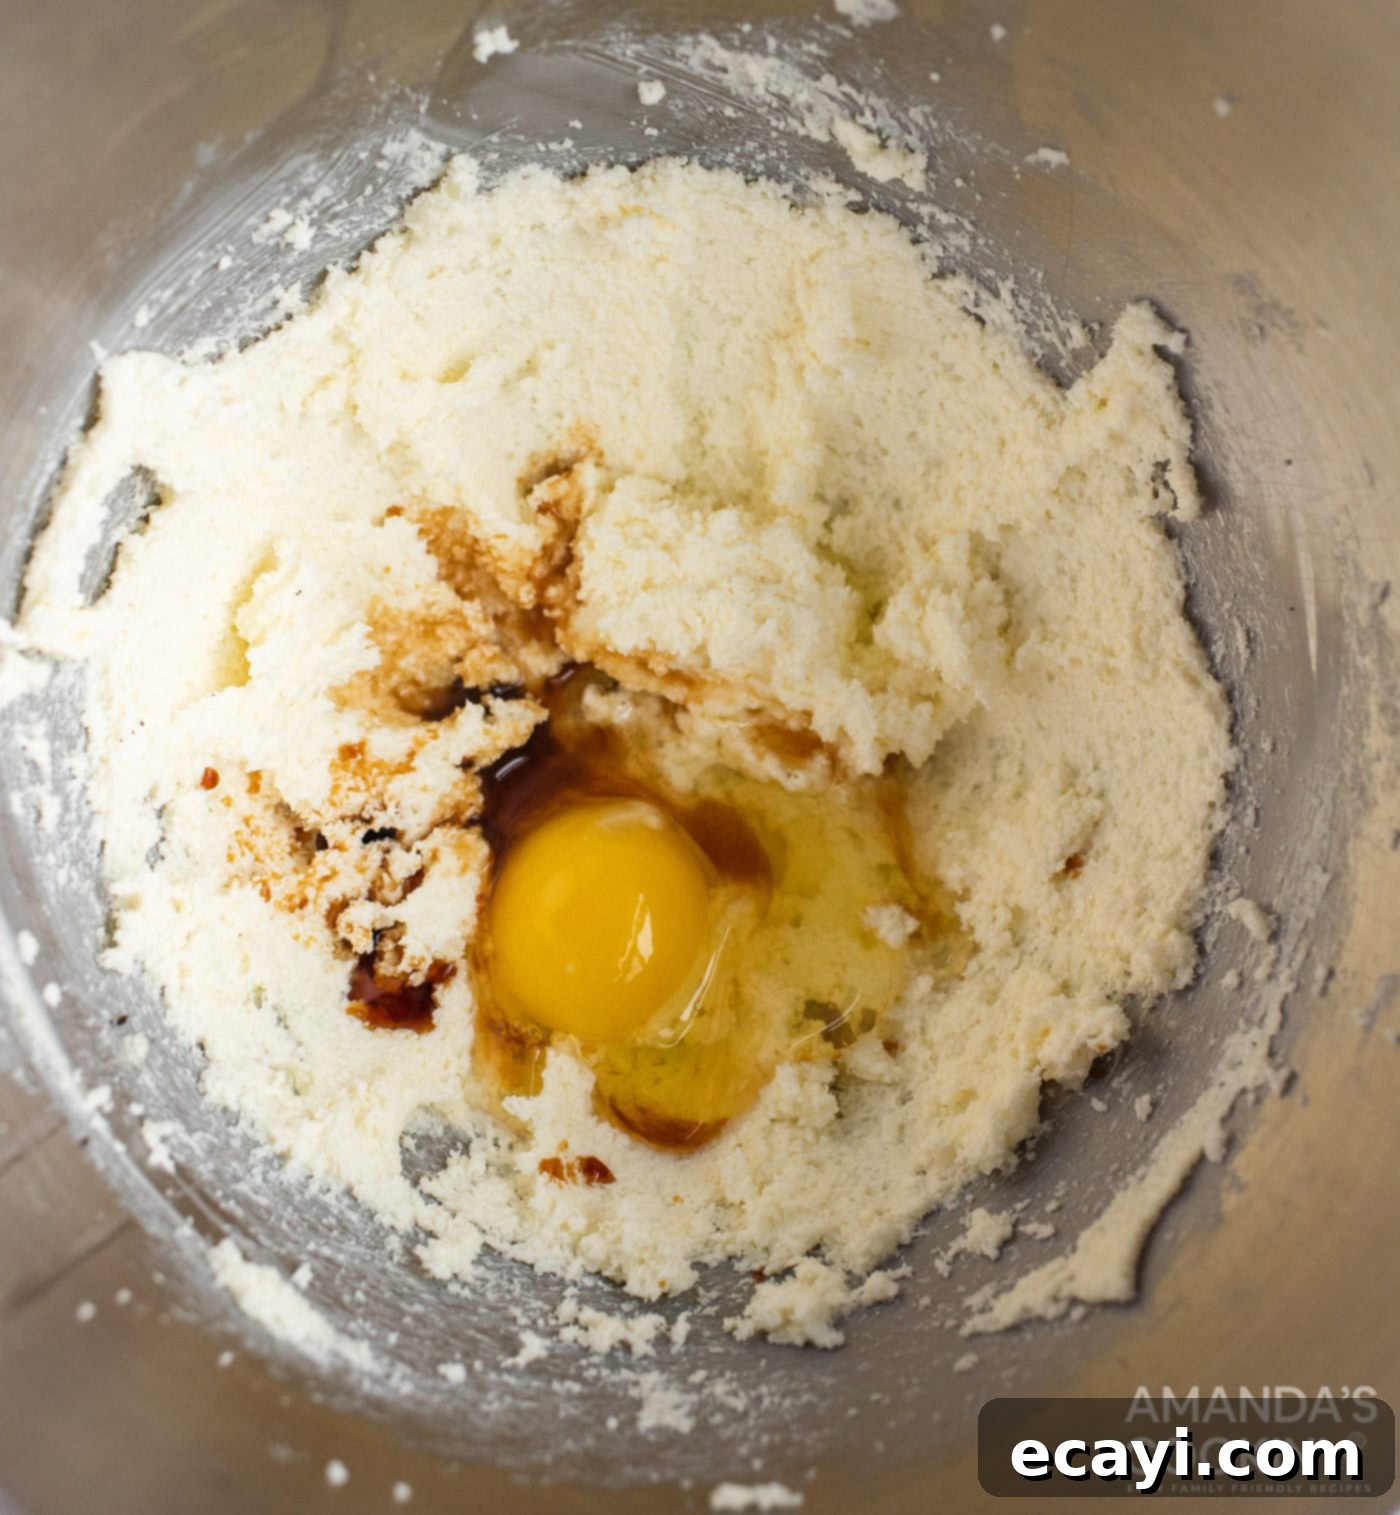
- Using an electric mixer (either stand or hand-held), cream together the softened butter and granulated sugar in a large mixing bowl until the mixture becomes light, pale, and fluffy. This process incorporates air, contributing to the cake-like texture. Next, beat in the egg and vanilla extract until well combined. Finally, mix in the lemon juice.

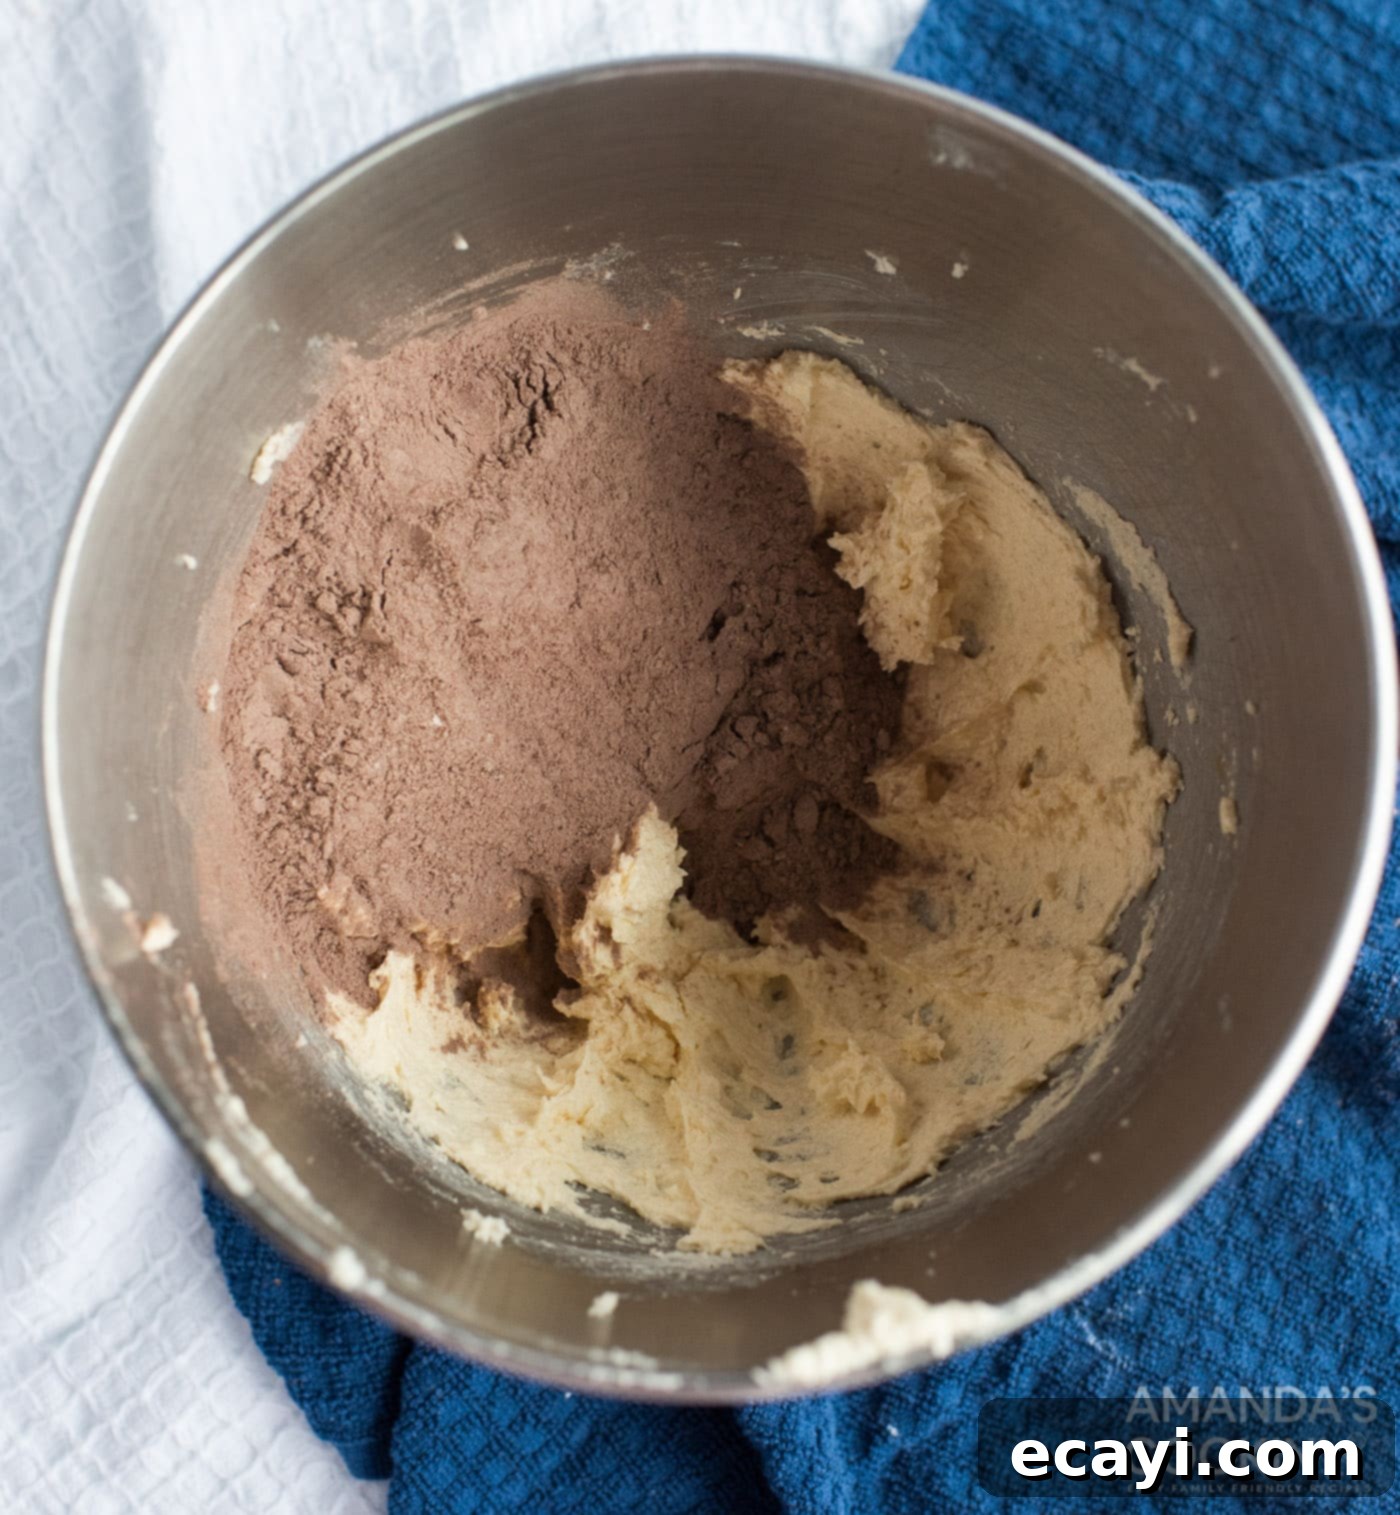
- Begin to alternate between adding the dry ingredients mixture and the milk to the wet ingredients, mixing gently on low speed after each addition. Always start and end with the dry ingredients. Be careful not to overmix the batter once the flour is added, as this can develop gluten and lead to tough whoopie pies. Mix just until combined.


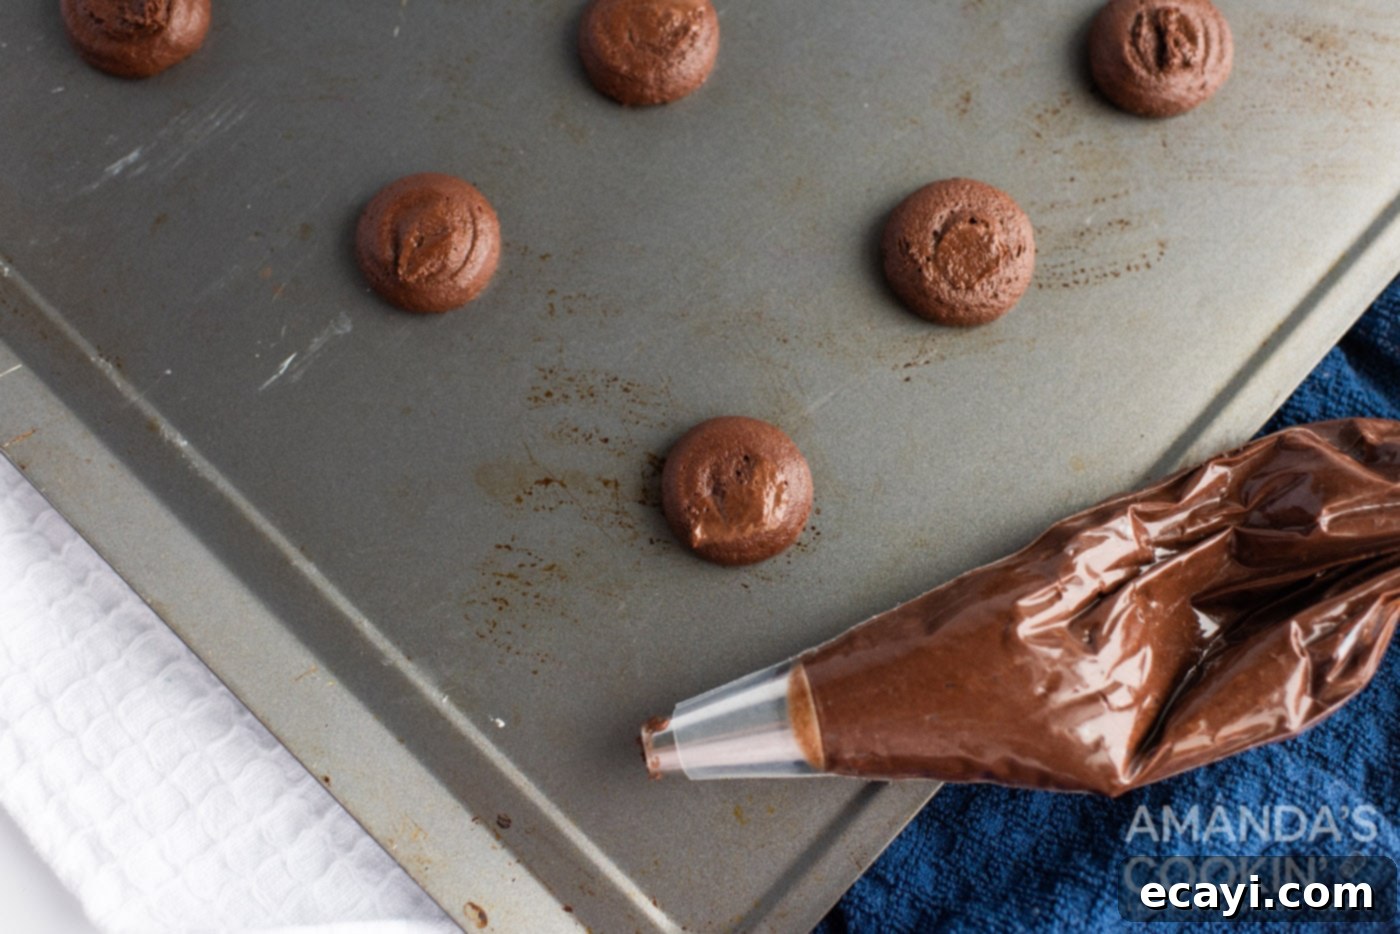
- Transfer the thick dough into a piping bag fitted with a large round tip (or simply snip off the end of the bag for a wider opening). Pipe out even circles, about 1.5-2 inches in diameter, onto your prepared baking sheets, leaving a little space between each. If you don’t have a piping bag, you can use a small cookie scoop or two spoons to drop spoonfuls of batter, though they might not have as perfectly smooth tops.

- Bake for 8-10 minutes, or until the edges are set and the centers spring back lightly when touched. Avoid overbaking to keep them soft. Let the baked whoopie pie cakes cool on the baking pan for about 5 minutes before carefully transferring them to a wire cooling rack to cool completely.
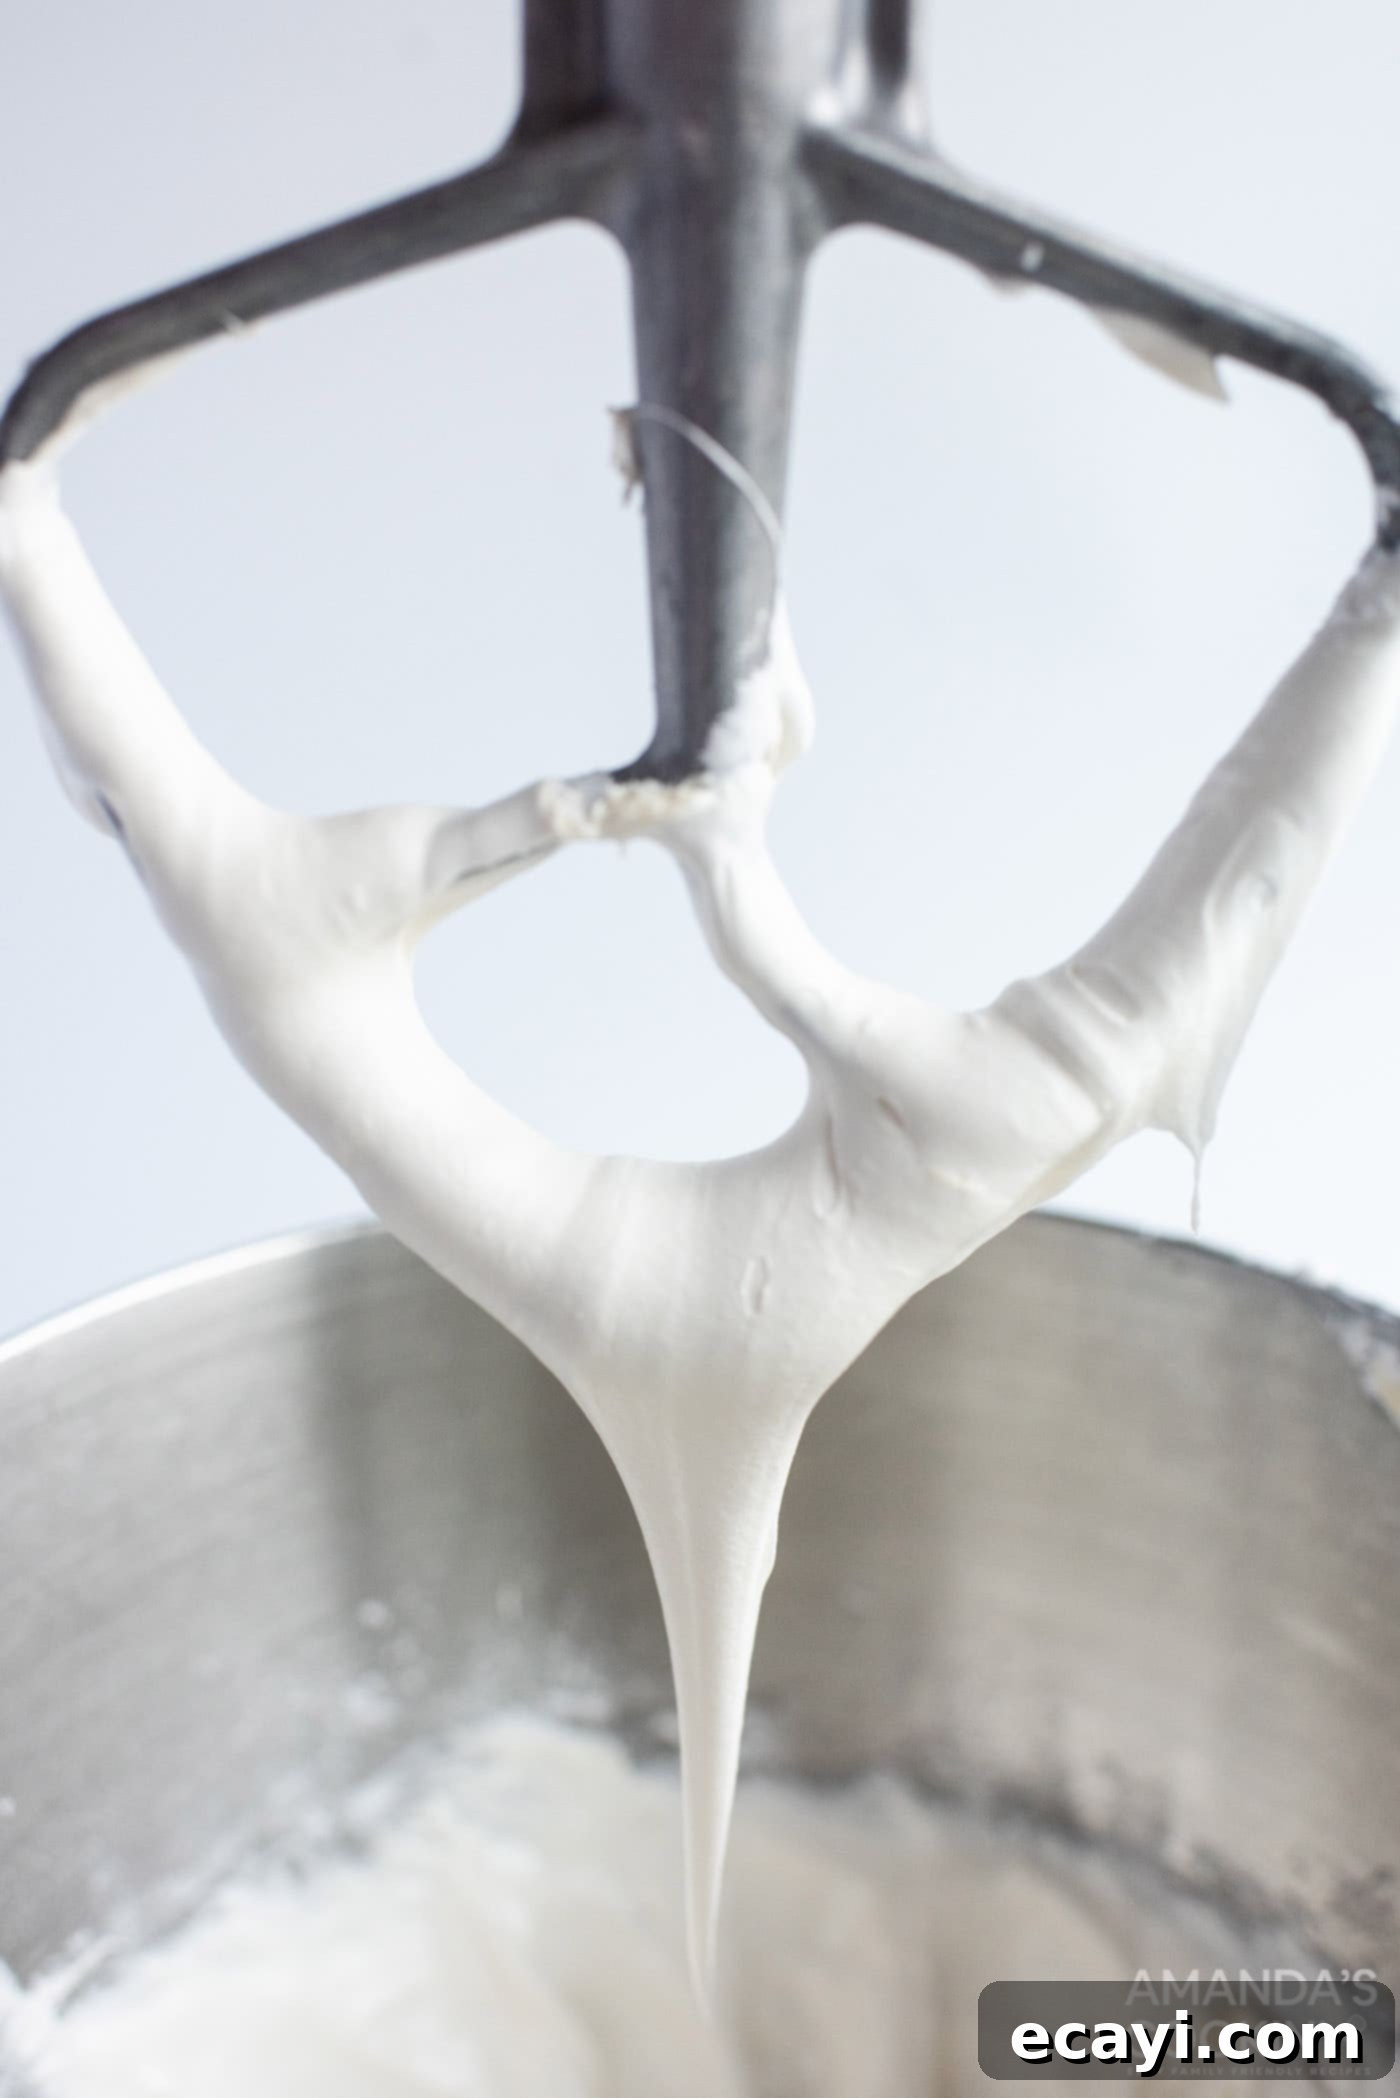
- While the cakes are cooling, prepare the marshmallow filling. In a clean mixing bowl, cream together the softened butter and confectioners’ sugar until light and smooth. Stir in the vanilla extract until combined. Then, add the marshmallow fluff and mix well. Gradually add milk, one tablespoon at a time, until the filling reaches a fluffy, spreadable consistency. You might need 2-3 tablespoons in total.

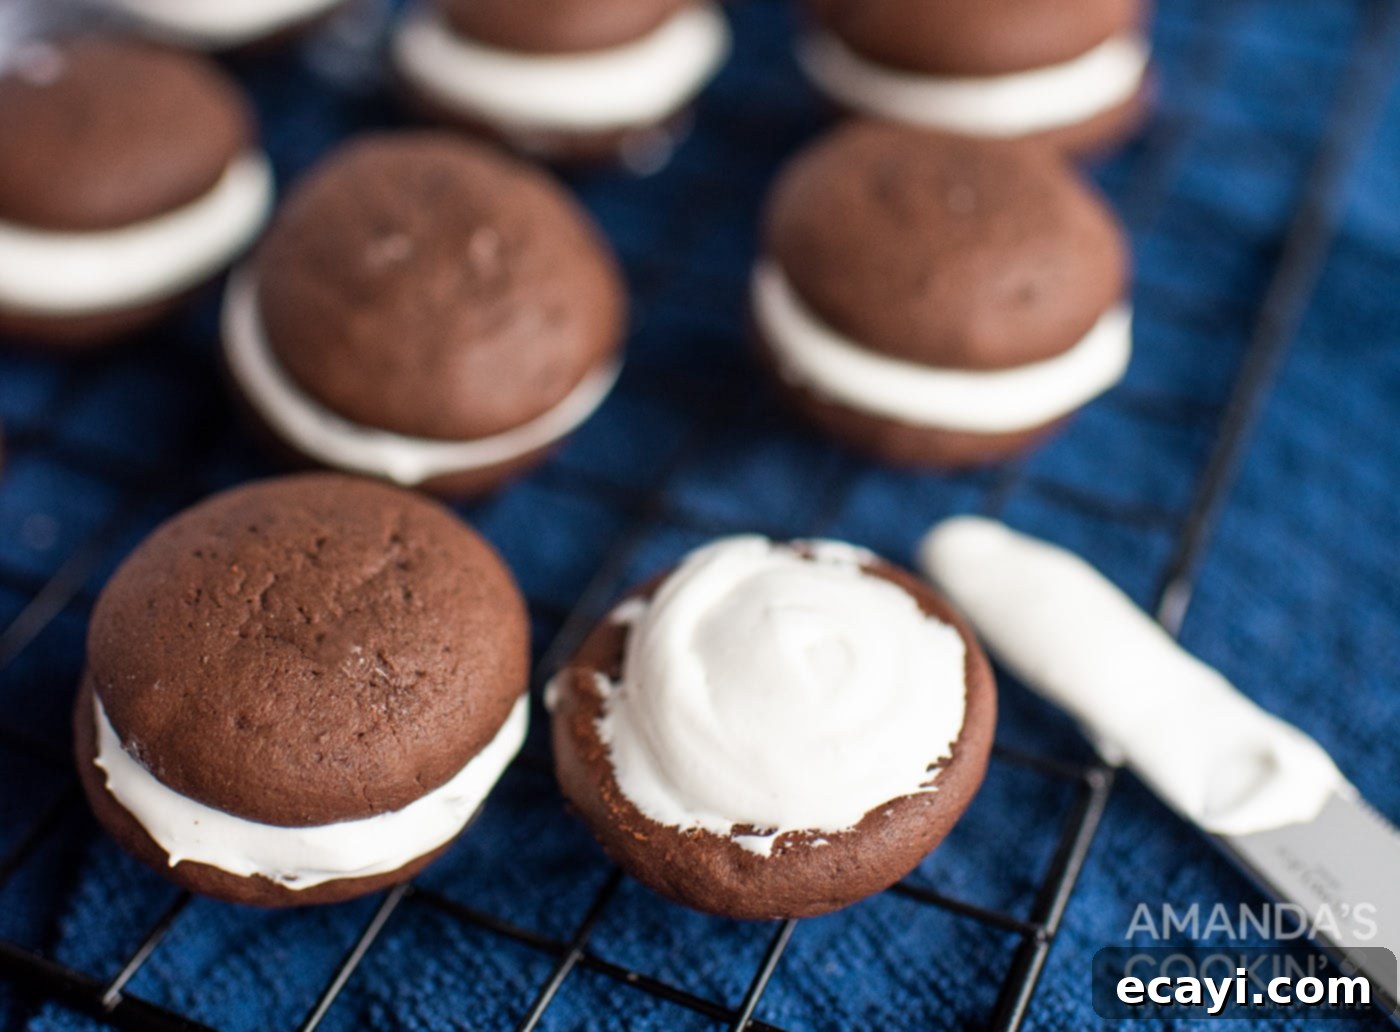
- Once the chocolate cakes are completely cool, spread a generous amount of the marshmallow cream filling onto the flat side of one cookie. Gently top with a second cookie, pressing lightly to form a sandwich. Repeat this process with the remaining cookies. Allow the assembled whoopie pies to set for approximately 30 minutes to allow the filling to firm up slightly. Then, it’s time to enjoy your perfectly crafted chocolate whoopie pies!

Frequently Asked Questions & Expert Tips for Perfect Whoopie Pies
To maintain their optimal freshness and soft texture, store your chocolate whoopie pies in an airtight container in the refrigerator. They will stay delightfully moist and delicious for 3-4 days. This prevents the cakes from drying out and the filling from losing its creamy consistency.
Absolutely! Whoopie pies freeze wonderfully, making them an excellent make-ahead dessert. To freeze, individually wrap each whoopie pie tightly in parchment paper or plastic wrap, then place them in an airtight container or a large freezer-safe Ziploc bag. They can be stored for up to 3 months. When you’re ready to enjoy them, simply thaw them overnight in the refrigerator for the best texture.
There are a few common culprits behind flat whoopie pies. The most frequent reason is overbeating the dough once the flour has been added. Overmixing develops the gluten in the flour, leading to a tough texture and causing the cakes to spread too much in the oven. Another factor could be an overly runny or thin batter, which often results from inaccurate ingredient measurements, particularly too little flour or cocoa powder. The consistency of the dough is paramount for those signature plump cakes, so ensure you’re measuring ingredients precisely. Always spoon and level your flour rather than scooping directly from the bag, which can compact it and result in using too much. Also, make sure your baking soda is fresh and active!
For uniform whoopie pies, a piping bag with a large round tip is your best friend. This allows you to pipe even circles with consistent height and diameter. If you don’t have a piping bag, a small cookie scoop (like a 1.5-inch scooper) is an excellent alternative. Always leave adequate space between each dollop on the baking sheet, as they will spread slightly during baking.
Serving Suggestions for Your Chocolate Whoopie Pies
When is a chocolate whoopie pie not a welcome treat? Almost never! These delightful sandwiches are incredibly versatile and perfect for a multitude of occasions, or simply “just because.” They taste fantastic whether served at room temperature, chilled from the refrigerator, or even slightly warmed for a gooey marshmallow experience. Whoopie pies are a charming addition to tea parties, holiday dessert spreads, bake sales, potlucks, or as a comforting snack whenever that undeniable chocolate craving strikes. Pair them with a cold glass of milk, a warm cup of coffee, or a scoop of vanilla ice cream for an extra special indulgence.
More Irresistible Chocolate Recipes to Explore
If you have a passion for chocolate like we do, you’ll love these other decadent recipes:
- Rich Homemade Chocolate Ice Cream
- Quick & Easy Chocolate Mug Cake
- No-Bake Chocolate Icebox Cake
- Decadent Chocolate Cheesecake Brownies
- Classic Chocolate Peanut Butter Cookies
- Authentic German Chocolate Cake
- Double Chocolate Cupcakes with Ganache Frosting
I absolutely adore baking and cooking, and I love sharing my kitchen adventures and tested recipes with all of you! Remembering to come back each day for new ideas can be tough, which is why I offer a convenient newsletter every time a new recipe is posted. Simply subscribe here and start receiving your free daily recipes directly in your inbox!
Chocolate Whoopie Pies
IMPORTANT – There are often Frequently Asked Questions within the blog post that you may find helpful. Simply scroll back up to read them!
Print It
Pin It
Rate It
Save ItSaved!
Ingredients
- 1 ½ cups all purpose flour
- ½ cup cocoa powder
- 1 tsp baking soda
- pinch of salt
- ½ cup butter softened, 1 full stick
- ½ cup granulated sugar
- 1 egg
- 1 tsp vanilla extract
- ⅔ cup milk
- 1 tsp lemon juice
For the Marshmallow Cream
- 1 cup marshmallow fluff
- 1 cup confectioners sugar aka icing sugar or powdered sugar
- ¼ cup butter softened
- 1 tsp vanilla extract
- 2 Tbsp milk 2-3 Tbsp
Things You’ll Need
-
Electric mixer
-
Mixing bowls
-
Wire cooling racks
-
Insulated baking sheets
Before You Begin
- Store in an air tight container in the fridge for 3-4 days.
Instructions
-
Preheat oven to 325 degrees F. Grease or place parchment paper on two baking sheets.
-
In a medium bowl, add flour, salt, cocoa, and baking soda. Set aside.
-
With an electric mixer, cream the butter and sugar together until light and fluffy. Add the egg and vanilla and mix well. Mix in lemon juice.
-
Alternate adding the dry ingredients and milk, mixing in between. Start and end with dry ingredients, and do not overmix.
-
Scoop dough into a piping bag and pipe out even circles onto baking sheets. If you don’t have a piping bag you can just scoop out the batter with a spoon or cookie scoop. They just won’t be as smooth on the top.
-
Bake for 8-10 minutes. Allow to cool on pan for 5 minutes before placing on a cooling rack.
To make the marshmallow cream
-
Cream butter and icing sugar. Add vanilla and mix until combined. Add marshmallow fluff. Mix well, adding milk, a tablespoon at a time, as needed.
-
Spread icing on one cookie and top with a second. Do this with the remaining cookies. Leave to set. (Approx. 30 minutes). Enjoy!
Nutrition
The recipes on this blog are tested with a conventional gas oven and gas stovetop. It’s important to note that some ovens, especially as they age, can cook and bake inconsistently. Using an inexpensive oven thermometer can assure you that your oven is truly heating to the proper temperature. If you use a toaster oven or countertop oven, please keep in mind that they may not distribute heat the same as a conventional full sized oven and you may need to adjust your cooking/baking times. In the case of recipes made with a pressure cooker, air fryer, slow cooker, or other appliance, a link to the appliances we use is listed within each respective recipe. For baking recipes where measurements are given by weight, please note that results may not be the same if cups are used instead, and we can’t guarantee success with that method.
