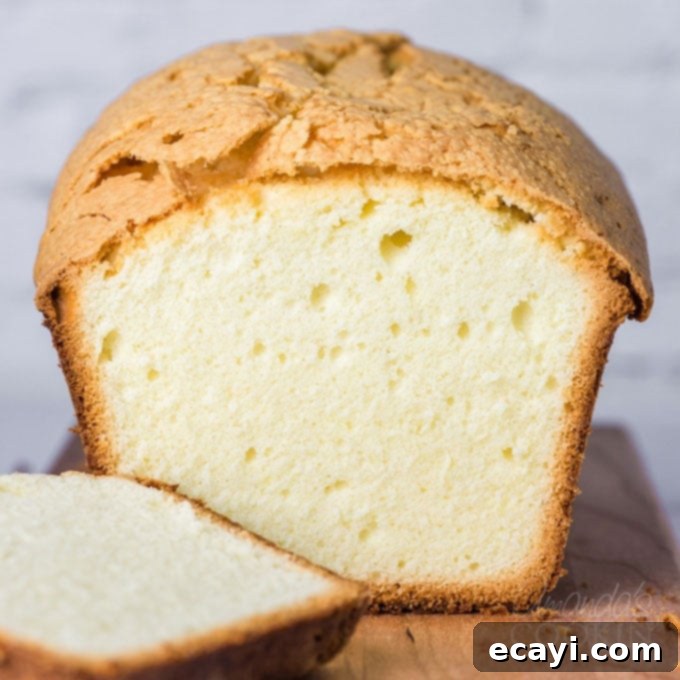
Elvis Presley’s Favorite Whipping Cream Pound Cake: The Ultimate Recipe for Moist Perfection
Pound cake, a timeless classic in American baking, traditionally earns its name from its simple yet robust formula: a pound each of butter, eggs, flour, and sugar. This foundational recipe results in a dense, rich, and wonderfully satisfying cake. However, as baking evolves, so do beloved recipes. Our particular version, often hailed as the best pound cake we’ve ever crafted, takes inspiration from a legend: Elvis Presley. While the King of Rock and Roll’s preferred recipe might have strayed from the exact “pound of each” principle, it certainly delivered on flavor and texture. This whipping cream pound cake modernizes the classic by incorporating heavy cream, creating an exceptionally moist crumb that’s both substantial and tender. It’s a testament to how slight adjustments can elevate a traditional dessert to new heights, making it truly unforgettable.
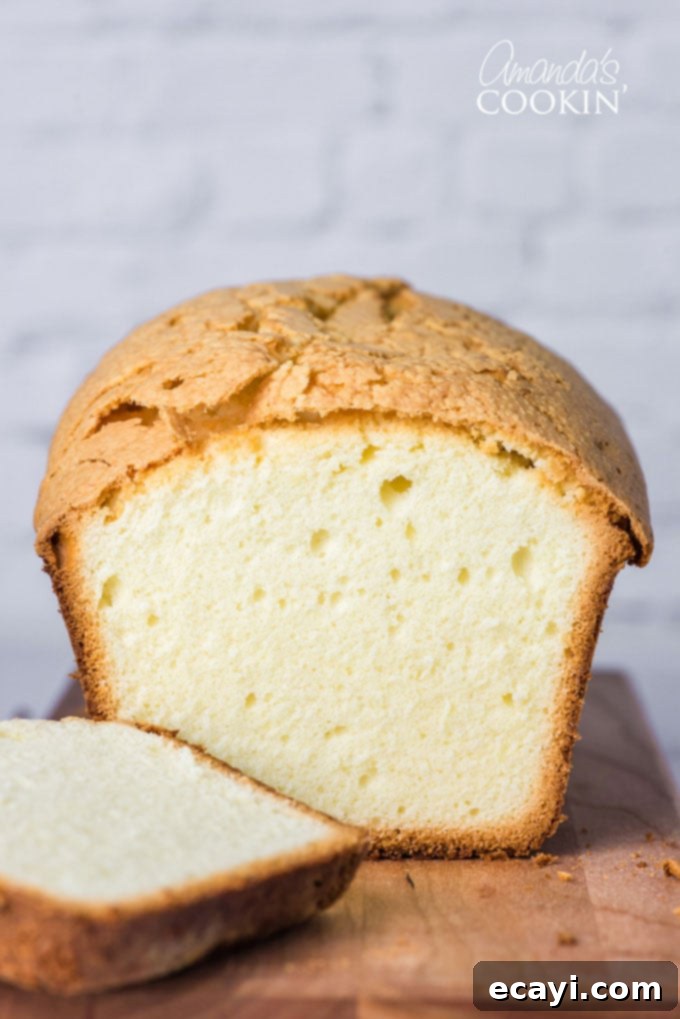
Whipping Cream Pound Cake: A Nostalgic Delight
This particular whipping cream pound cake recipe evokes a delightful sense of nostalgia, reminiscent of the perfectly baked Sara Lee pound cakes I cherished during my childhood. It strikes a remarkable balance: wonderfully dense yet incredibly moist, perfectly sweet, and boasting a delicate, fine crumb that melts in your mouth. For me, the ultimate indulgence was to enjoy a thick slice slathered generously with creamy, spreadable butter, or brightened with a smear of tangy lemon curd or a spoonful of vibrant homemade berry jam. This recipe has been a staple in my kitchen for over a decade since its discovery, proving itself countless times as a consistent crowd-pleaser and a personal favorite.
Unlocking the Secrets to a Perfectly Homemade Pound Cake
Achieving pound cake perfection isn’t just about the ingredients; it’s also about technique. Mastering a few key steps can transform your baking experience and guarantee a superior result. Pay close attention to these vital tips:
- Precision in Beating: The aeration of your batter is paramount for a light, fluffy, and tender crumb. The recipe specifies beating times for a reason – adhere to them rigorously. When it calls for 5 minutes, literally set a timer for the full 5 minutes. This ensures sufficient air is incorporated, which contributes significantly to the cake’s final texture and rise.
- Triple Sifting for Excellence: The instruction to sift your flours is not merely a suggestion; it’s a critical step. Sifting aerates the flour, removes any lumps, and ensures it’s evenly distributed throughout the batter. For this recipe, sifting the flours three times as directed will yield an incredibly fine, uniform mixture, leading to a much smoother batter and a more delicate cake structure.
- The Art of Room Temperature Butter: Butter consistency is crucial for proper emulsification with the sugar. Softened to room temperature means the butter should be pliable, allowing you to make a slight indent with your finger without your finger sinking deeply into it. Typically, this requires removing the butter from the refrigerator about 20-30 minutes before you intend to use it. Cold butter won’t cream properly, and overly melted butter will result in a greasy, dense cake.
- Choosing the Right Loaf Pan: Pan size directly impacts baking time and cake structure. We specifically recommend 8×4 inch loaf pans for this recipe. If you opt to use larger 9×5 inch loaf pans, remember to reduce the baking time by approximately ten minutes to prevent overbaking, as the batter will spread thinner and cook faster.
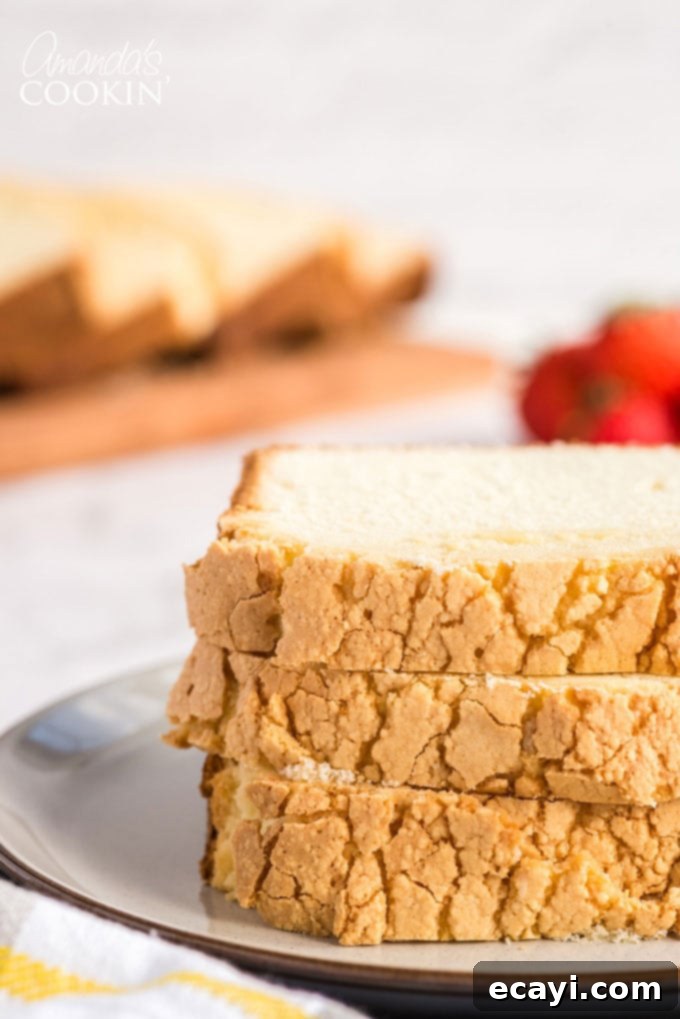
Understanding Your Pound Cake Ingredients
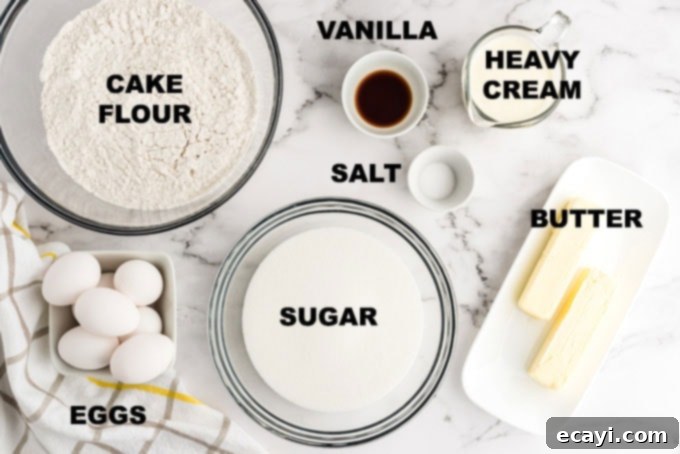
Each ingredient plays a crucial role in the symphony of flavors and textures that make this whipping cream pound cake so exceptional. Understanding their function will further enhance your baking confidence and results:
- Unsalted Butter: We consistently opt for unsalted butter in our baking to have complete control over the salt content of the recipe. While using salted butter might not be noticeable to everyone, those with sensitive palates may detect a subtle saltiness that could alter the intended flavor profile of the cake.
- Sifted Cake Flour: This recipe specifically calls for sifted cake flour. Cake flour, with its lower protein content, yields a lighter, more tender crumb compared to all-purpose flour. The instruction to “sift before measuring” is critical; it ensures you get the precise volume of flour needed, preventing a heavy, dense cake.
- Table Salt: A small amount of table salt is essential to enhance and balance the sweetness of the cake. If you do choose to use salted butter, consider slightly reducing the amount of added salt to avoid over-seasoning.
- Granulated Sugar: Beyond providing sweetness, granulated sugar contributes significantly to the cake’s moisture and tender texture. It also aids in creating that beautiful golden crust.
- Large Eggs: Large eggs act as a binder, adding richness, moisture, and structure to the cake. Bringing them to room temperature, just like butter, is important for them to emulsify properly with the other ingredients, leading to a smoother, more uniform batter.
- Pure Vanilla Extract: The quality of your vanilla matters immensely. Always use pure vanilla extract. Imitation vanilla has a distinctly different, often artificial, flavor profile that will noticeably alter the delicious taste of this pound cake.
- Heavy Cream: This is the secret ingredient that truly elevates this pound cake. Unlike traditional recipes that rely on an abundance of butter, the heavy cream in this recipe provides unparalleled moisture and a luxurious, tender crumb, making up for using a comparatively smaller amount of butter while enhancing the overall richness.
Helpful Baking Tools for Your Kitchen
Having the right tools can make all the difference in your baking journey. These essentials will ensure a smooth and successful pound cake experience:
- Loaf pans (8×4 inches recommended for optimal results)
- Wire cooling rack (essential for even cooling and preventing sogginess)
- Stand mixer (or a high-quality handheld mixer for thorough beating)
- Sifter (crucial for achieving a light and airy cake crumb)
How to Make Elvis Presley’s Whipping Cream Pound Cake: Step-by-Step
Baking this iconic pound cake is a rewarding experience when you follow these instructions carefully. The specific oven preheating method varies depending on your oven type, so pay close attention to ensure the best outcome.
First, position your oven rack in the middle position. This ensures even heat distribution around your loaf pans. Now, for the critical step regarding oven temperature:
- If you are using a conventional **gas oven**, do *not* preheat your oven. This recipe was specifically developed and tested in a gas oven, which typically heats from the bottom using a pilot light. The “cold oven method” often yields superior results for gas ovens, allowing the cake to rise gradually.
- If you are using an **electric oven** or a toaster oven, you *must* preheat your oven to 325°F (160°C). Electric ovens often have a top heating element that can become very hot during the initial heating phase, potentially causing the top of your pound cake to burn or crack if placed in a cold oven. Preheating helps maintain a consistent temperature throughout the baking process.
Next, prepare your loaf pans: generously butter two 8×4 inch loaf pans. Ensure every internal surface is coated. Then, dust the buttered pans with flour, tapping out any excess. This creates a non-stick surface, guaranteeing your beautiful cakes release easily after baking.
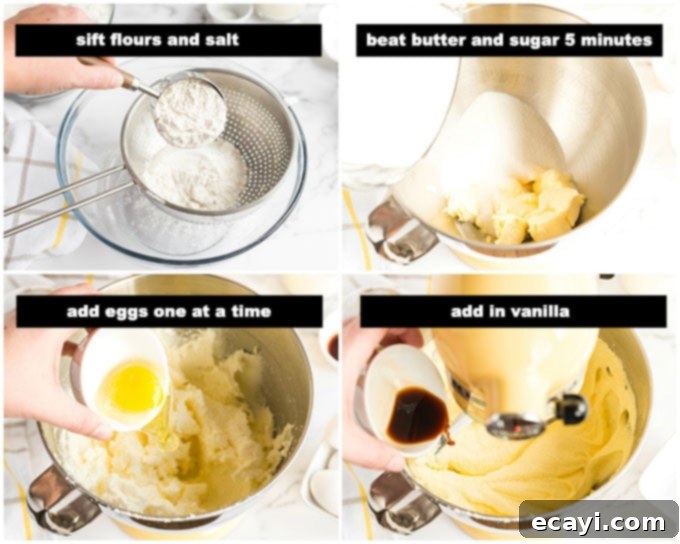
- Begin by sifting together the measured cake flour and salt into a medium-sized bowl. This initial sifting helps aerate the flour and removes any lumps. For the desired fine texture, repeat this sifting process into *another* clean bowl. By the end, your flour will have been sifted a total of three times (once by itself and twice with the salt), ensuring optimal lightness.
- In a large mixing bowl, combine the softened unsalted butter and granulated sugar. Using an electric mixer (either a stand mixer fitted with a paddle attachment or a handheld mixer), beat these ingredients together at medium-high speed. Continue beating until the mixture is visibly pale in color and has become wonderfully light and fluffy. This crucial step takes approximately 5 minutes with a stand mixer, or 6 to 8 minutes if using a handheld mixer, creating the necessary aeration for the cake’s tender crumb.
- Add the large eggs to the butter and sugar mixture, one at a time. After each egg addition, beat thoroughly until it is fully incorporated into the batter before adding the next. This ensures proper emulsification.
- Once all eggs are incorporated, beat in the pure vanilla extract. Mix until just combined.
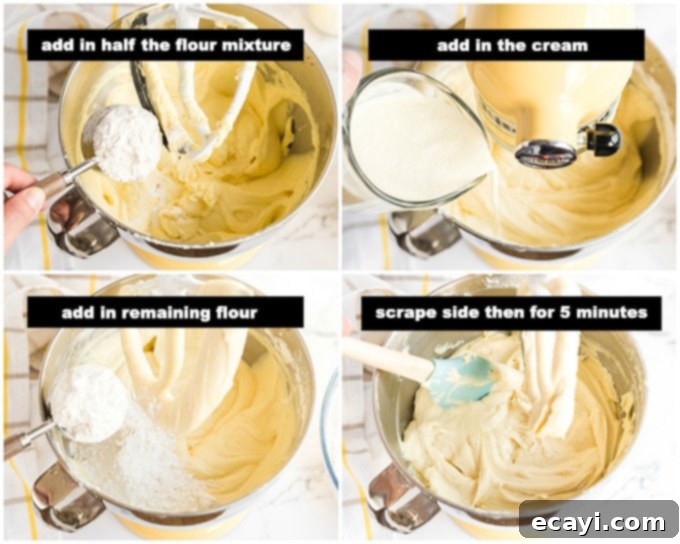
- Reduce the mixer speed to low. Gradually add half of the sifted flour mixture to the batter, mixing until just combined. Next, pour in all of the heavy cream, mixing until smooth. Finally, add the remaining flour, mixing until the batter is uniform and smooth, being careful not to overmix. Overmixing the flour can develop gluten, leading to a tough cake. Scrape down the sides of the bowl with a spatula to ensure all ingredients are incorporated. Then, increase the mixer speed to medium-high and beat for an additional 5 minutes. During this stage, the batter will transform, becoming visibly satiny and creamy, a sign of perfect consistency.
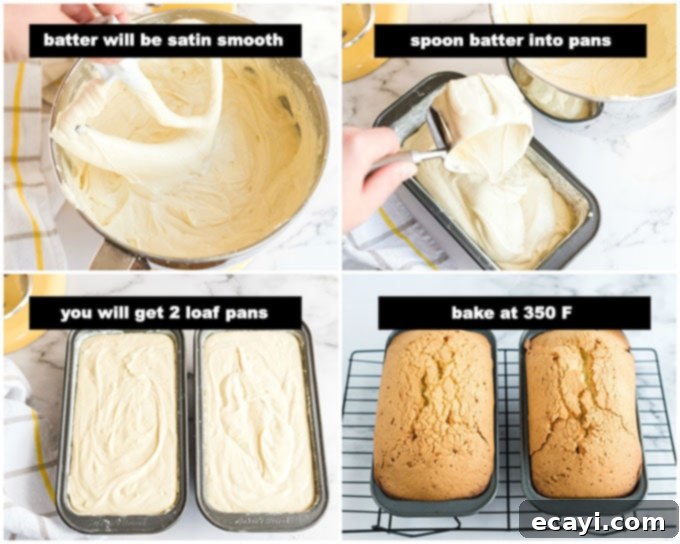
- Evenly spoon the satiny batter into the two generously buttered and floured loaf pans. Once the batter is in the pans, gently rap each pan against your counter surface once or twice. This simple action helps to release any trapped air bubbles, ensuring a smooth, even crumb and preventing large air pockets in your baked cake.
- For **gas ovens**: Place the filled loaf pans directly onto a baking sheet, then into the cold gas oven. Immediately turn the oven temperature to 350°F (175°C). For **electric ovens**: Place the pans into your preheated electric oven set to 325°F (160°C).
- Bake the pound cakes until they are beautifully golden brown on top and a wooden pick or skewer inserted into the very center of the cake comes out with only a few moist crumbs clinging to it. This typically takes about 75-85 minutes. The exact time may vary slightly based on your oven, so always rely on the visual cues and the skewer test.
- Once baked, remove the pound cakes from the oven and allow them to cool in their pans on a wire rack for 30 minutes. This crucial cooling period allows the cake to firm up and prevents it from crumbling when removed. After 30 minutes, run a thin knife carefully around both the inner and outer edges of the cake to loosen it. Then, invert the wire rack over the pan and flip the cake onto the rack to cool completely. Cooling completely on a wire rack prevents condensation and keeps the bottom of the cake from becoming soggy.
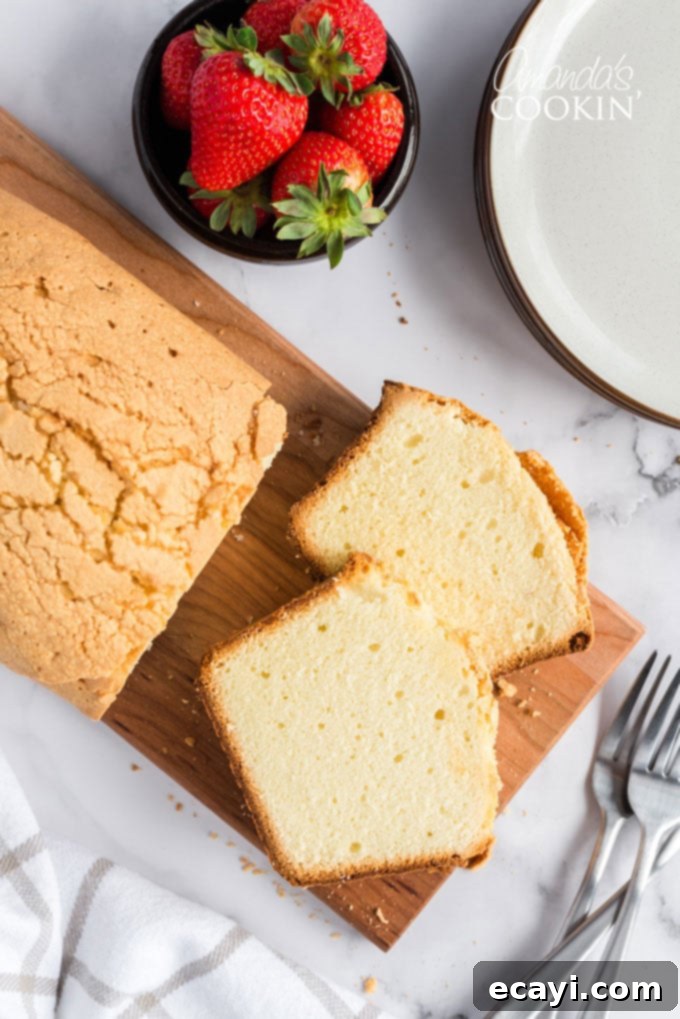
Serving and Storing Your Whipping Cream Pound Cake
This whipping cream pound cake is delicious enough to enjoy on its own, but it also serves as a fantastic base for various toppings and accompaniments. Enjoy it with a dollop of fresh whipped cream and berries, a drizzle of chocolate sauce, or a dusting of powdered sugar. For a delightful breakfast or brunch, consider transforming leftover slices into French toast! To maintain its freshness, store the pound cake tightly wrapped at room temperature for up to 3-4 days, or in the refrigerator for up to a week. For longer storage, slices can be individually wrapped and frozen for up to 2-3 months.
Other Cake Recipes You Will Enjoy
If you’ve loved this pound cake, you’ll surely appreciate these other delightful cake creations from our kitchen:
- Lemon Curd Poke Cake
- Pistachio Cake
- Chocolate Texas Sheet Cake
- Pound Cake Cupcakes
- Orange Poppy Seed Pound Cake
- Chocolate Pound Cake
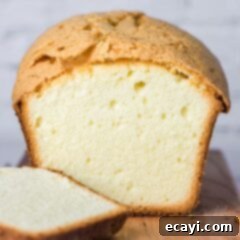
Elvis Presley’s Whipping Cream Pound Cake
IMPORTANT – There are often Frequently Asked Questions within the blog post that you may find helpful. Simply scroll back up to read them!
Print It
Pin It
Rate It
Save ItSaved!
Ingredients
- 1 cup unsalted butter softened, plus additional for buttering pan
- 3 cups sifted cake flour not self-rising; sift before measuring plus additional for dusting
- ¾ teaspoon salt
- 3 cups sugar 600g
- 7 large eggs at room temperature 30 minutes
- 2 teaspoons pure vanilla extract
- 1 cup heavy whipping cream
Things You’ll Need
-
2 8×4 loaf pans
-
Wire cooling racks
-
Stand mixer
-
Sifter
Before You Begin
- This recipe was developed and tested in a conventional GAS oven. Gas ovens operate on a pilot light and usually heat from the bottom. If you are using a toaster oven or electric oven, we suggest preheating your oven to 325F. Electric ovens usually have a heating element at the top of the oven that will get very hot when turned on because it’s bringing the oven up to temp. This can cause the top of your pound cake to burn.
- The trick to this batter is beating it the full length of time specified. So when it says 5 minutes, set a timer for 5 minutes.
- Be sure to sift the flours as indicated in the recipe. Sift them 3 times as directed.
- Butter should be softened to room temperature. This means take the butter out of the fridge 20 minutes before you will need it. You should be able to make a small indent in the butter, but your finger should not go “into” the butter.
- We use 8×4 sized loaf pans. If you want to make these in 9×5 loaf pans, reduce the baking time by ten minutes.
Instructions
-
Put oven rack in middle position, but do not preheat oven. THIS IS ONLY FOR GAS OVENS. If you have an electric oven, preheat to 325F.
-
Generously butter two 8×4 loaf pans and dust with flour, knocking out excess flour. (Be sure to read NOTES if using 9×5 loaf pans)
-
Sift together sifted flour and salt into a bowl. Repeat sifting into another bowl (flour will have been sifted 3 times total, once by itself and twice with the salt).
-
Beat together butter and sugar in a large bowl with an electric mixer at medium-high speed until pale and fluffy, about 5 minutes in a stand mixer fitted with paddle attachment, or 6 to 8 minutes with a handheld mixer.
-
Add eggs one at a time, beating well after each addition, then beat in vanilla.
-
Reduce speed to low and add half of flour, then all of cream, then remaining flour, mixing well after each addition.
-
Scrape down side of bowl, then beat at medium-high speed 5 minutes. Batter will become creamier and satiny.
-
Spoon batter into pan and rap pan against work surface once or twice to eliminate air bubbles.
-
Place pan in (cold) gas oven and turn oven temperature to 350°F. OR place in preheated electric oven (325F). Bake until golden and a wooden pick or skewer inserted in middle of cake comes out with a few crumbs adhering, 75-85 minutes.
-
Cool cake in pan on a rack 30 minutes. Run a thin knife around inner and outer edges of cake, then invert rack over pan and invert cake onto rack to cool completely.
Expert Tips & FAQs
Nutrition
The recipes on this blog are tested with a conventional gas oven and gas stovetop. It’s important to note that some ovens, especially as they age, can cook and bake inconsistently. Using an inexpensive oven thermometer can assure you that your oven is truly heating to the proper temperature. If you use a toaster oven or countertop oven, please keep in mind that they may not distribute heat the same as a conventional full sized oven and you may need to adjust your cooking/baking times. In the case of recipes made with a pressure cooker, air fryer, slow cooker, or other appliance, a link to the appliances we use is listed within each respective recipe. For baking recipes where measurements are given by weight, please note that results may not be the same if cups are used instead, and we can’t guarantee success with that method.
This post originally appeared here on Aug 24, 2009. Important tips for baking success were added and content was updated for clarity and SEO on September 22, 2025.
