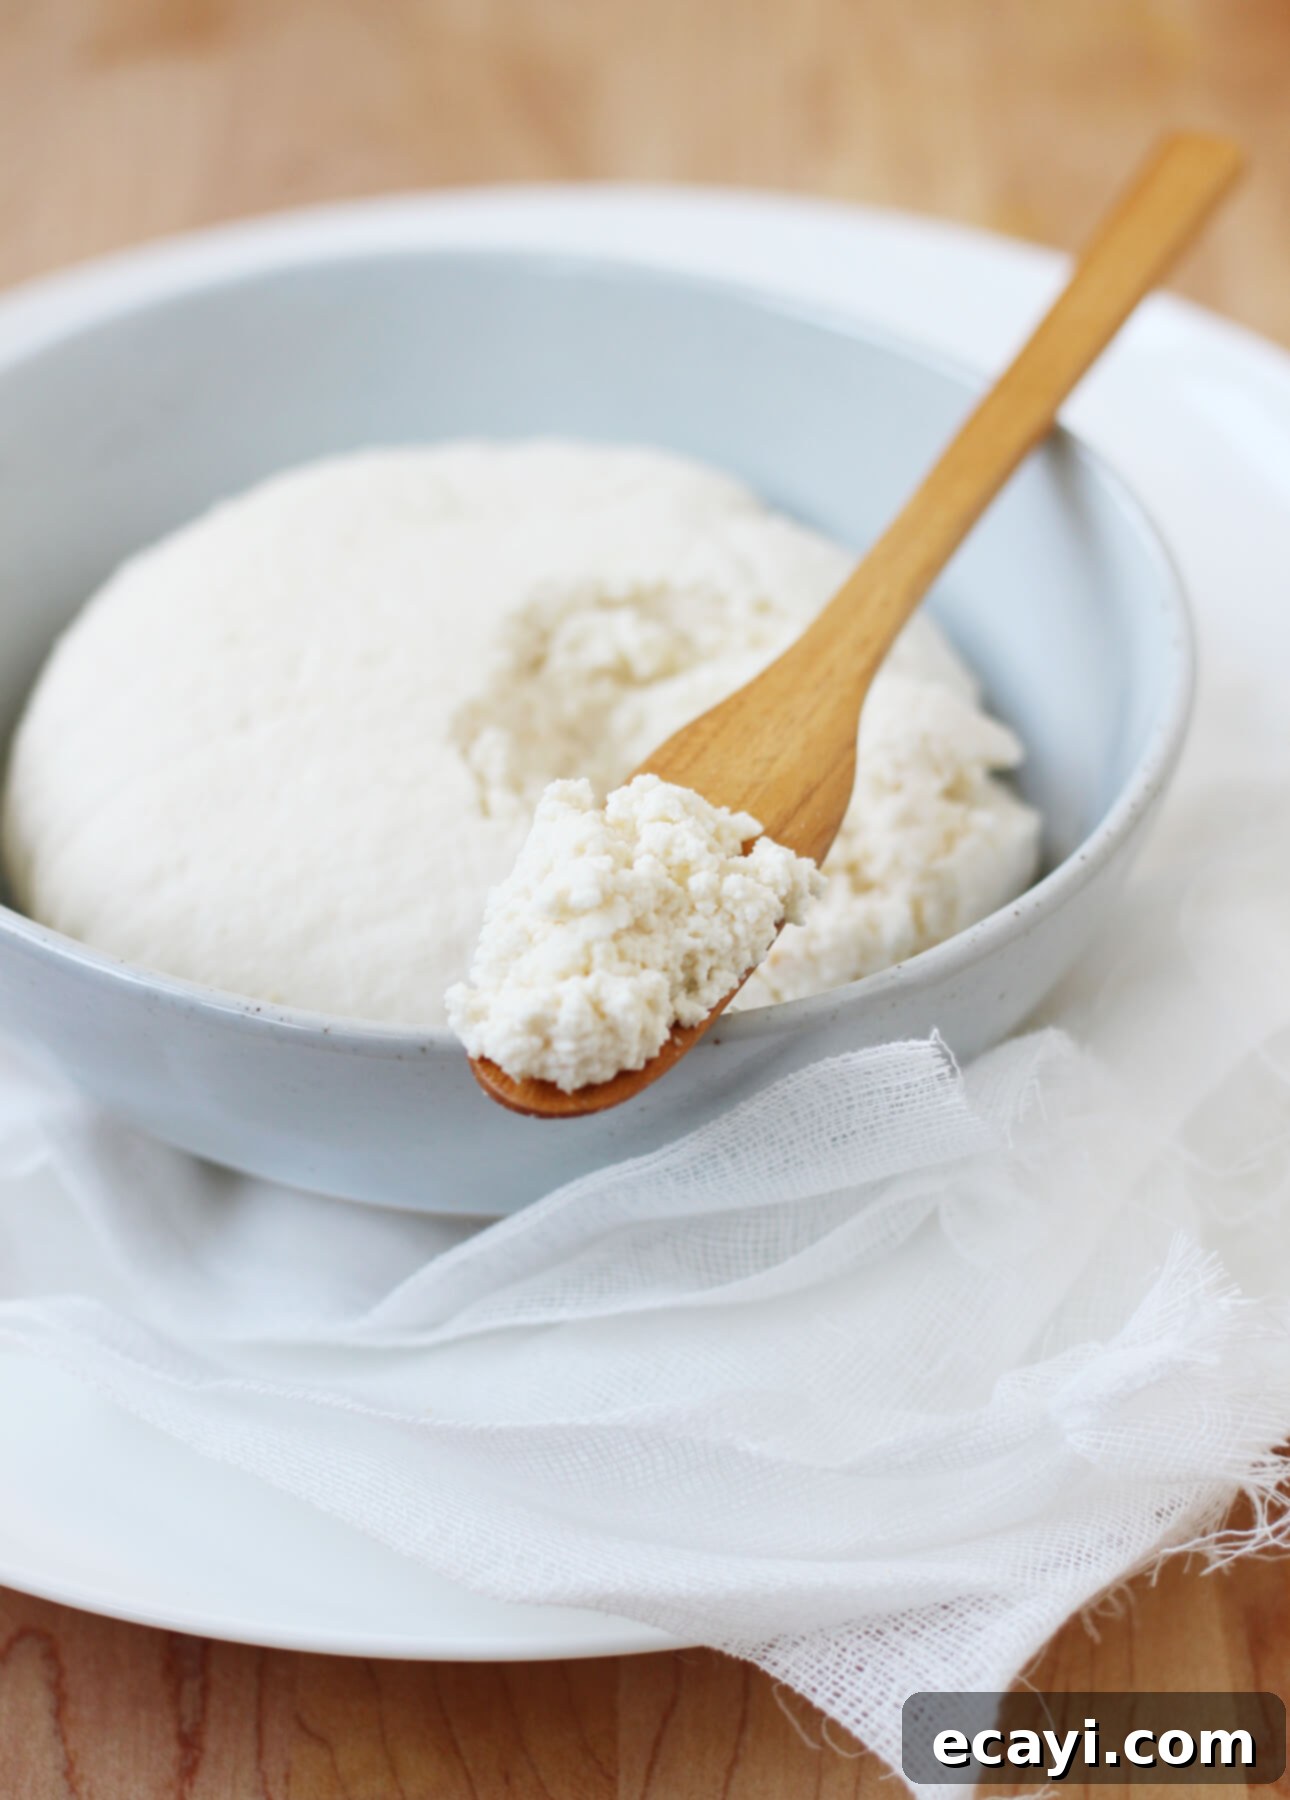
Homemade Ricotta Cheese: Your Easy Guide to Fresh, Creamy Goodness
Discover the simple secret to making homemade ricotta cheese: it’s surprisingly quick, incredibly easy, requires no specialized equipment, and the result far surpasses any store-bought version you’ve ever tasted. Prepare to transform your culinary experience with this fresh, milky delight.
This post contains affiliate links. Full disclosure is at the bottom of the article.
For as long as I can remember, cheesemaking has struck me as a true art form. My formative years in Québec, a province renowned for its artisanal cheese producers, instilled in me a deep appreciation for quality and diversity in dairy. Growing up, my parents made it a tradition to feature aged and exquisite cheeses at every gathering and meal. It’s a delightful custom I’ve enthusiastically carried into adulthood, constantly exploring new textures and flavors.
Given this lifelong passion for cheese, it might come as a surprise that my true appreciation for authentic Italian cheeses only blossomed later in life. While our pantry always held staples like shelf-stable parmesan and the familiar brick-style mozzarella, I was largely unaware of the incredible, unprocessed spectrum of Italian cheeses until I experienced them firsthand during a visit to Italy. I vividly recall my first taste of fresh mozzarella di bufala, savored on a sun-drenched terrace of an agriturismo in Tuscany. Equally memorable was the intoxicating, nutty aroma of Parmigiano Reggiano as I walked through aging caves in Parma. Tasting these cheeses in their purest, most authentic forms was nothing short of a revelation, fundamentally changing my understanding and appreciation. Since then, I’ve eagerly seized every opportunity to incorporate (and devour!) Italian cheeses into my cooking and daily life.
While many Italian cheeses demand specialized knowledge, precise ingredients, or even a specific geographic location to achieve their distinctive qualities, there’s one remarkable Italian cheese you can effortlessly create in your own kitchen: ricotta cheese. To be entirely candid, before I ventured into making it myself, ricotta was often the one Italian cheese that didn’t fully capture my culinary imagination. I enjoyed its presence in comforting lasagnas and delicate cheese tarts, but it wasn’t a cheese I’d actively crave on its own. As someone who is lactose-intolerant (a rather cruel twist of fate for a cheese enthusiast!), I truly need to *desire* a cheese to justify indulging. Making homemade ricotta not only elevated my appreciation for its subtle charms but also empowered me to create a delicious lactose-free version, simply by using lactose-free milk and cream. This newfound ability transformed ricotta from an ingredient I used out of necessity into a cherished, versatile staple.
The Undeniable Superiority of Homemade Ricotta
My experience with store-bought ricotta had always been consistent: it was often dry, somewhat grainy, and notoriously bland. This common shortcoming, I discovered, has a logical explanation. Ricotta cheese is traditionally crafted by combining heated milk (or whey, the liquid left over from cheesemaking) with an acid, which causes the delicate milk proteins to coagulate and form soft, white curds. These curds are then carefully collected and allowed to drain, a crucial step that concentrates the ricotta’s inherent flavor and rich texture. As Serious Eats aptly points out, the reason industrially produced ricotta often falls short in taste is largely due to a lack of patience in the draining process. “Instead,” they explain, “they load the stuff up with gums and stabilizers intended to keep the water (and thus their profits) from leaking out.” This shortcut ultimately sacrifices quality for shelf life and volume, resulting in a product that barely hints at the true potential of fresh ricotta.
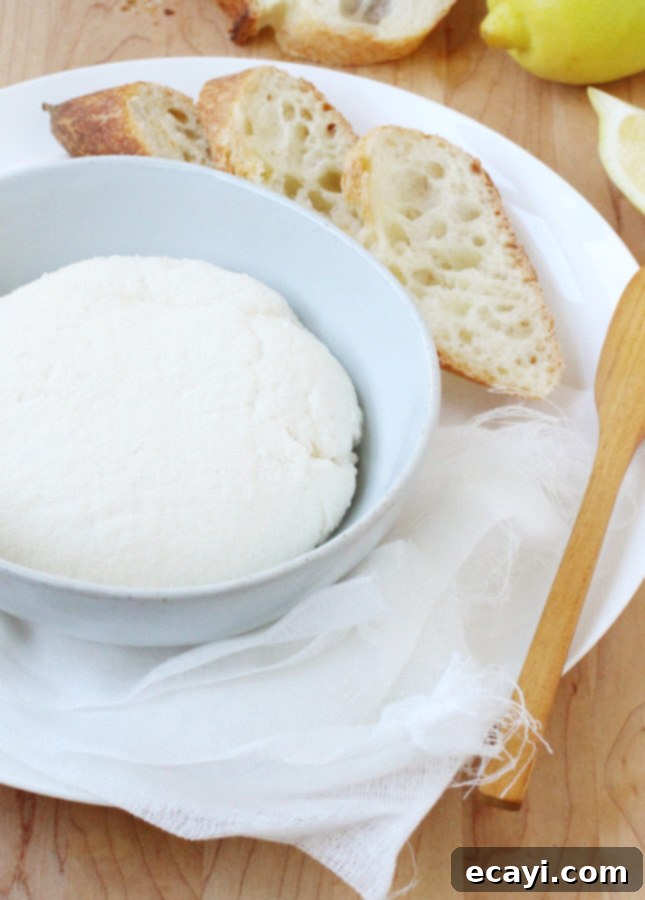
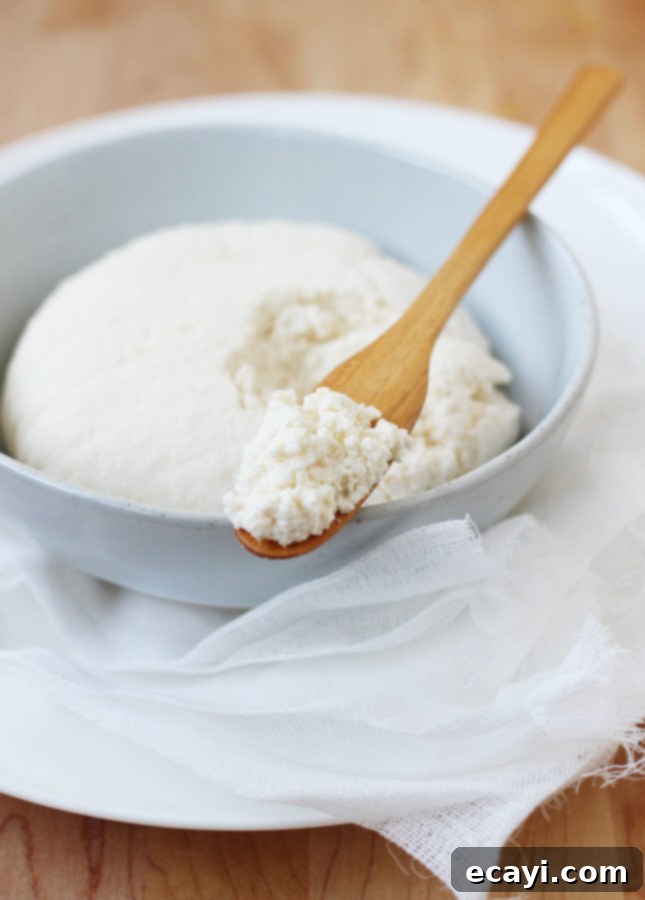
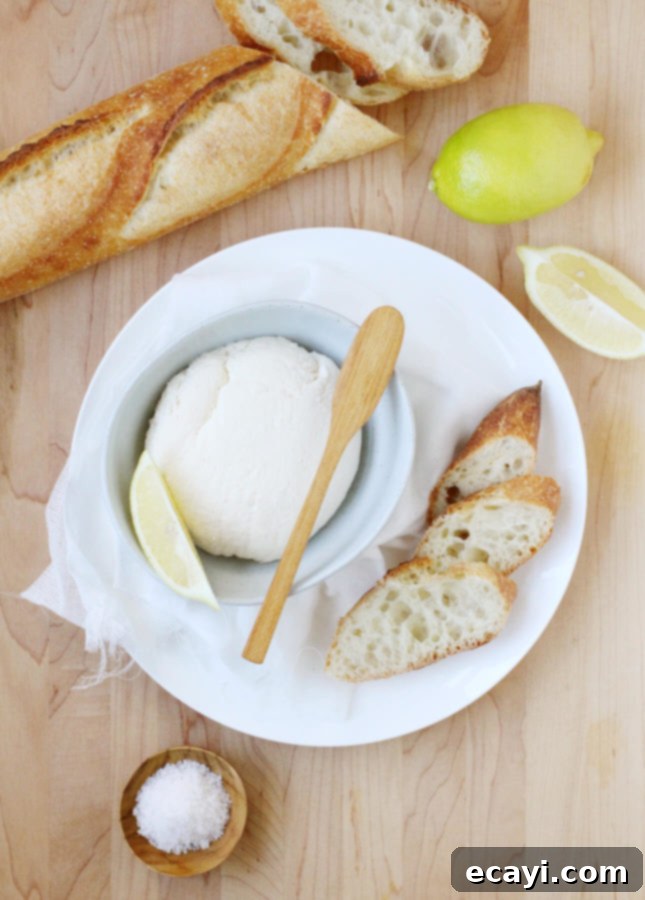
When you take the simple step of making homemade ricotta cheese, you gain complete control over every aspect of the final product. You get to select the quality and type of milk—whether you prefer organic, grass-fed, or even lactose-free options. Crucially, you also decide precisely how long your ricotta should drain. This flexibility allows you to customize the texture: leave more moisture for a sumptuously creamy, spreadable ricotta perfect for toast or desserts, or drain it further to achieve a firmer, crumbly consistency ideal for baked goods like lasagna or cannoli. The flavor of homemade ricotta is wonderfully rich and clean, boasting a pure, delicate milky taste that’s simply unparalleled. Moreover, making homemade ricotta requires no advanced cheesemaking techniques or specialized equipment. All you need are a few basic ingredients—milk, buttermilk, cream, and a touch of salt—and a minimal time commitment. When I say minimal, I truly mean it: if you have these ingredients ready, you’re just about 30 minutes away from savoring your very first batch of fresh, warm homemade ricotta cheese.
The Buttermilk Advantage: A Game-Changing Method for Creamier Ricotta
For years, my go-to method for homemade ricotta involved only whole milk, lemon juice, and salt. It was a reliable recipe, always yielding a slightly dryer, leaner ricotta—perfect for pasta dishes and certain baked desserts. However, my journey of culinary exploration recently led me to a revolutionary approach: I stumbled upon a brilliant new method while devouring Aimée Wimbush-Bourque’s inspiring cookbook, The Simple Bites Kitchen. Her recipe diverges wonderfully by utilizing reduced-fat milk (2% m.f.), half-and-half cream (10% m.f.), and the truly ingenious addition of buttermilk. The secret weapon here is the buttermilk itself, which acts as the acid that gently coaxes the milk proteins into forming soft, luscious curds. Despite being low-fat (typically 1-3% m.f.), buttermilk imparts a remarkable richness and a subtle tang that elevates the ricotta to new heights. Aimée’s method enabled me to create the most exquisite ricotta I have ever tasted: it’s unbelievably creamy and robust in flavor, yet maintains a moderate fat content. This means you can enjoy and incorporate this exceptional homemade ricotta into your meals frequently, without any hint of guilt.
I’ve enthusiastically prepared multiple batches of Aimée’s homemade ricotta over the past few weeks, testing its versatility across various applications: nestled in a classic lasagna, baked into a savory tart, swirled into fluffy pancakes, and simply spread over warm, toasted baguette slices. In every instance, it proved to be incredibly adaptable and, without exaggeration, 100% superior to any ricotta I’ve ever purchased. Perhaps you’ve never envisioned yourself making cheese at home, but I wholeheartedly encourage you to embark on this simple culinary adventure. I have a strong suspicion that once you experience the fresh, creamy perfection of homemade ricotta, you’ll find it impossible to return to the industrially produced alternatives. It’s a culinary revelation that opens up a world of fresh flavors and textures in your kitchen.
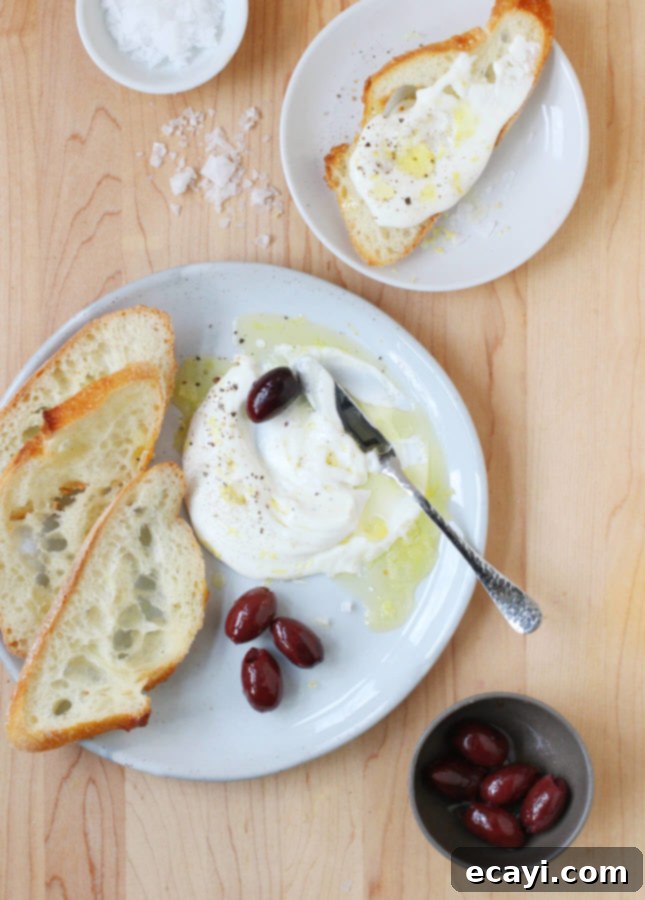
Looking for a quick and delectable way to enjoy your freshly made homemade ricotta cheese? Try our Lemony Whipped Ricotta Cheese! The recipe is detailed in the notes section following the step-by-step instructions.
Essential Tips for Crafting Perfect Homemade Ricotta Cheese
- Mastering Buttermilk Usage: Many people tell me, “But I never have buttermilk in the fridge!” I understand completely—I don’t always either! My solution, however, is simple and effective: I keep cultured buttermilk in the freezer. Since I often need just half a cup or so for various recipes, I’ve made it a habit to freeze store-bought cultured buttermilk in 1/2-cup or 1-cup portions within airtight containers. It thaws perfectly overnight in the refrigerator or in about 30 minutes at room temperature, ensuring I always have this crucial ingredient on hand.
Important distinction: While it’s tempting to make “instant buttermilk” by mixing lemon juice with regular milk and letting it rest, this homemade buttermilk substitute will not work for making ricotta cheese. The coagulation process for ricotta specifically requires cultured buttermilk, or you can follow Aimée’s method to create your own 24-hour buttermilk from scratch (refer to the recipe notes below for detailed instructions).
- Adjusting Ricotta’s Fat Content: This particular recipe calls for one cup of half-and-half cream (10% m.f.), which significantly contributes to the rich texture and full flavor of the homemade ricotta. If you prefer a lighter cheese, you can easily modify the recipe by using 5 cups of whole milk (instead of 4 cups) and omitting the cream entirely. The resulting ricotta will be leaner, yet it will still possess a superior flavor and texture compared to any store-bought light ricotta cheese. Experiment to find your perfect balance!
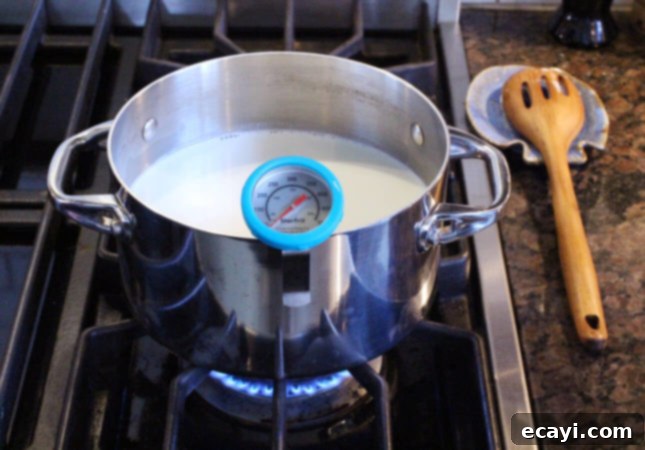
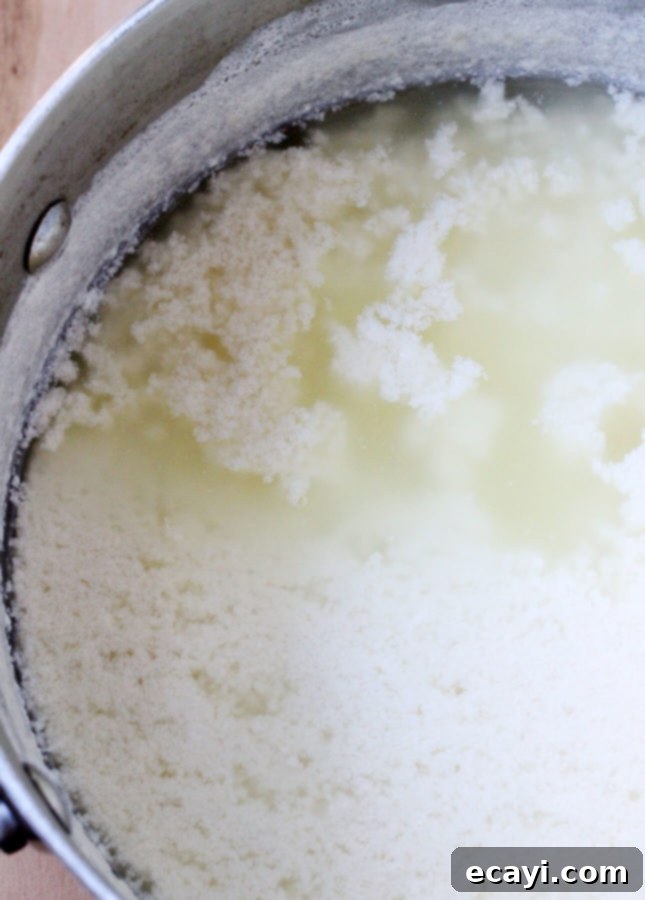
- Monitoring the Simmering Process: If you own a kitchen thermometer, Aimée suggests using it to accurately monitor the milk’s temperature. It’s a convenient tool for precision, but don’t worry if you don’t have one; you can still successfully make excellent ricotta. The key is to pay very close attention to the milk mixture as it heats. Watch for it to reach the brink of a vigorous, rolling boil. At this stage, you’ll observe small, active bubbles vigorously rising all around the edges of the pot. Crucially, you should clearly see the curds beginning to separate from the beige or pale yellow liquid (the whey). As soon as this clear separation occurs, promptly remove the pot from the heat and allow it to rest undisturbed for 5 minutes. This resting period helps the curds fully form before you proceed to scoop them out.
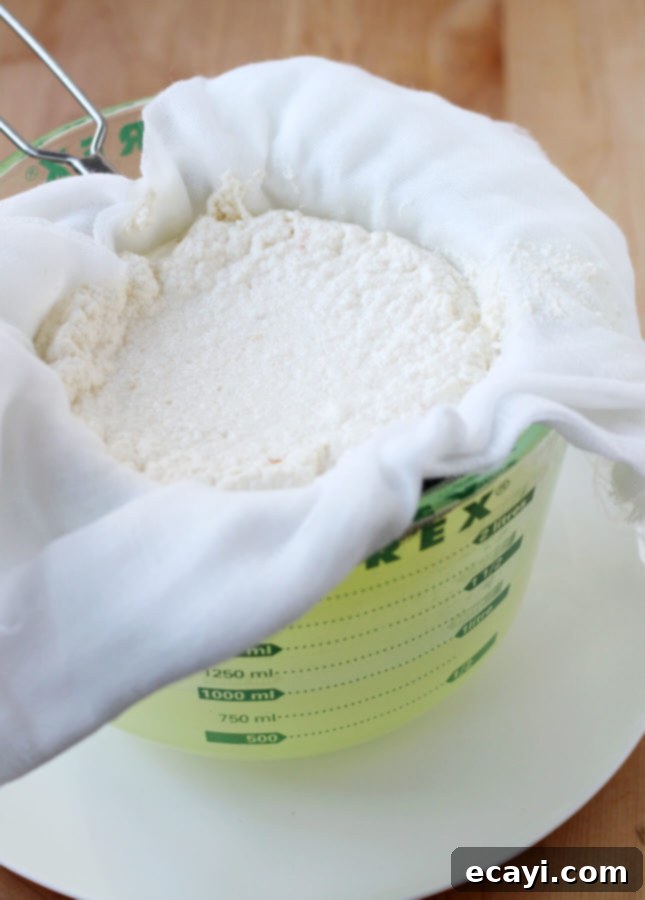
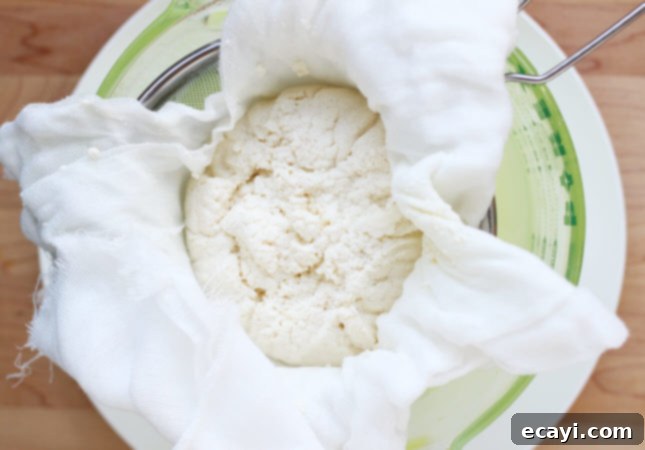
- Efficiently Draining the Curds: To properly drain your curds, you’ll need to prepare a large sieve or a colander by lining it with two layers of cheesecloth, then set it over a larger bowl to catch the draining whey. While cheesecloth is generally preferred for optimal drainage, Serious Eats offers an excellent alternative: simply using a double layer of paper towels. I’ve personally tried this method, and it works surprisingly well. Once the curds have fully formed and rested, use a slotted spoon or a large regular spoon to gently scoop as many curds as possible and transfer them to your prepared sieve. Allow the curds to drain for your desired amount of time (see next point for texture variations), then transfer the finished ricotta to a glass jar or an airtight container. Afterward, you can slowly pour the remaining whey directly through an unlined sieve to catch any tiny solids that might have been missed, then save the liquid whey for other uses.
Some homemade ricotta recipes, including Aimée’s, suggest draining *all* the remaining whey through the lined sieve. However, I’ve found that this tends to clog the cheesecloth or paper towels, making the drainage process excessively long and often ineffective, all for a minimal amount of additional solids. By pouring the whey through an unlined sieve, you efficiently collect any lingering curds and ensure all the “good stuff” is safely captured.
- Storing Ricotta Cheese and Whey: Your freshly made homemade ricotta cheese will remain delicious when stored in an airtight container in the refrigerator for up to four days. For longer preservation, you can also freeze ricotta for up to six months. Don’t discard the valuable whey! This nutrient-rich liquid is incredibly versatile: use it to boost the nutritional content of smoothies, as a flavorful base for soups, or as a substitute for milk in various baking and cooking recipes. Store the whey in an airtight container in the fridge for up to two weeks, or freeze it for extended use.
Pin Recipe
Homemade Ricotta Cheese Recipe
Ingredients
- 4 cups whole milk (3.25% m.f.) or partly skimmed milk (2% m.f.)
- 1 cup cultured buttermilk, or 24-hour buttermilk (see note)
- 1 cup half-and-half cream (10% m.f.)
- ¾ tsp kosher salt, or fine sea salt
Instructions
-
Prepare your draining setup: Place a fine-mesh sieve or a colander over a large bowl and line it carefully with two layers of cheesecloth or, as an alternative, two layers of strong paper towels.
-
Combine ingredients and heat: If you have a thermometer, attach it to the side of a medium pot, ensuring the tip doesn’t touch the bottom. Add the milk, buttermilk, cream, and salt to the pot. Place over medium-low heat and slowly bring the mixture to a gentle simmer, stirring gently two or three times to combine. This process will typically take 10 to 15 minutes.

-
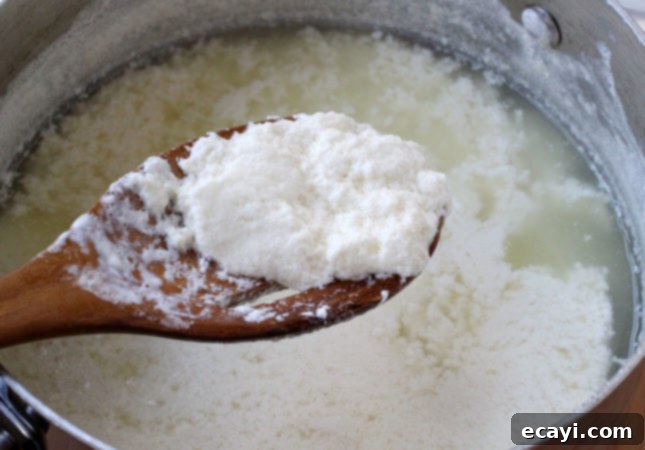
Observe curd formation: As the mixture gradually heats, you’ll notice it becoming grainy, then the liquid will begin to separate, and small, distinct curds will start to form (this typically occurs when the temperature is between 195° and 205°F/90° and 96°C). Once you see curds resembling cottage cheese suspended in a cloudy beige or pale yellow liquid (the whey), immediately remove the pot from the heat and let it rest undisturbed for 5 minutes.

-
Scoop and drain: Using a slotted spoon or a large regular spoon, gently ladle all the formed curds into the prepared sieve, being careful not to press them down.

-
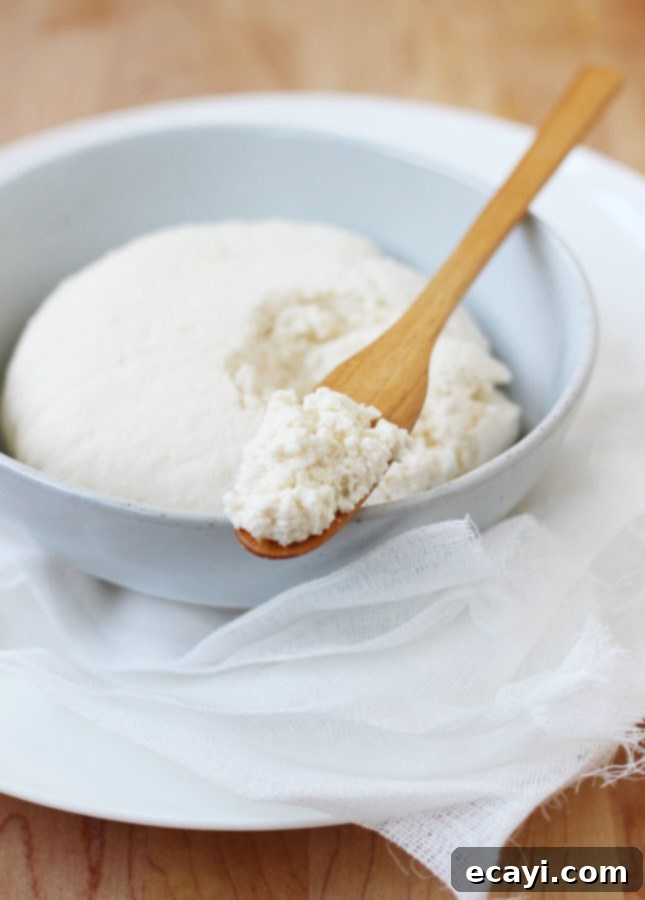
Customize draining time: Allow the curds to drain according to your desired texture: drain for 3 to 5 minutes for an incredibly milky-rich and soft cheese; 20 minutes for a thicker, yet still moist and easily spreadable consistency; or up to 2 hours for a much dryer, crumbly texture, perfect for baking (note: if using paper towels, the draining process will generally take longer).

-
Store ricotta and whey: Transfer the drained ricotta cheese to an airtight container or a glass jar. Carefully remove the cheesecloth or paper towels from the sieve (you can rinse and reuse cheesecloth for your next batch!). Then, slowly pour the remaining liquid whey directly through the now unlined sieve to catch any residual solids. Transfer these solids (if any) to the ricotta container, then store the collected whey in a separate airtight container.
-
Enjoy immediately, or chill: Use your ricotta right away—warm, freshly made ricotta cheese is an absolute dream! Alternatively, refrigerate the ricotta until it’s needed for other recipes.

STORAGE
-
Homemade ricotta cheese will keep beautifully in an airtight container in the fridge for up to 4 days. For longer storage, you can freeze ricotta for up to 6 months without significant loss of quality. Remember to save the whey—it’s a valuable ingredient! You can use it in smoothies for a protein boost, as a base for flavorful soups, or as a healthy substitute for milk in virtually any recipe. Store the whey in an airtight container in the fridge for up to two weeks, or freeze it for even longer use.
Notes
To prepare 24-hour buttermilk from scratch, begin by warming a 1-quart (1 L) jar with hot water, then discard the water. In the warmed jar, combine 2 cups (500 ml) of whole milk with 2 tablespoons (30 ml) of cultured buttermilk or sour cream, stirring until thoroughly combined. Secure the jar with a lid and place it in a warm location within your kitchen. Make sure to label the jar with the current date and time. The buttermilk will be ready when it has visibly thickened slightly and developed a distinct tangy flavor. This fermentation process typically takes between 12 and 24 hours, varying depending on the ambient temperature of your kitchen. Once ready, refrigerate the homemade buttermilk and use it as needed in your recipes.
How to serve Homemade Ricotta Cheese as a quick appetizer:
Lemony Whipped Ricotta
For a delightful and effortless appetizer, create a Lemony Whipped Ricotta. Place 1/2 cup (125 ml) of your freshly made ricotta into the bowl of a small food processor. Add 1 tablespoon (15 ml) of heavy cream and 1 tablespoon (15 ml) of high-quality extra-virgin olive oil. Process until the mixture becomes incredibly smooth and airy. If you don’t have a food processor, you can achieve a slightly coarser, yet still wonderfully creamy, texture by beating the ricotta with the cream and olive oil using a whisk or a hand mixer. Once whipped, refrigerate the ricotta for at least 1 hour to allow the flavors to meld and the texture to set. To serve, elegantly spread the whipped ricotta across a plate, then finish with a generous drizzle of extra-virgin olive oil, a sprinkle of flaky sea salt, freshly ground black pepper, and a vibrant zest of finely grated lemon. Serve with crisp toasted baguette slices for an irresistible treat.
Did you make this?
Tell me how you liked it! Leave a comment or take a picture and tag it with @foodnouveau on Instagram.
Recipe adapted from The Simple Bites Kitchen: Nourishing Whole Food Recipes for Every Day. Copyright © 2017 by Aimée Wimbush-Bourque. Published by Penguin, an imprint of Penguin Canada, a division of Penguin Random House Canada Limited. Reproduced by arrangement with the Publisher. All rights reserved.
Disclosure Notice: This site is a participant in the Amazon Associates Program, an affiliate advertising program designed to provide a means for the site to earn fees by linking to Amazon and affiliated sites.
If you click on an affiliate link, I may earn advertising or referral fees if you make a purchase through such links, at no extra cost to you. This helps me creating new content for the blog–so thank you! Learn more about advertising on this site by reading my Disclosure Policy.
