Mastering Classic French Madeleines: The Ultimate Recipe and Expert Tips for Homemade Perfection
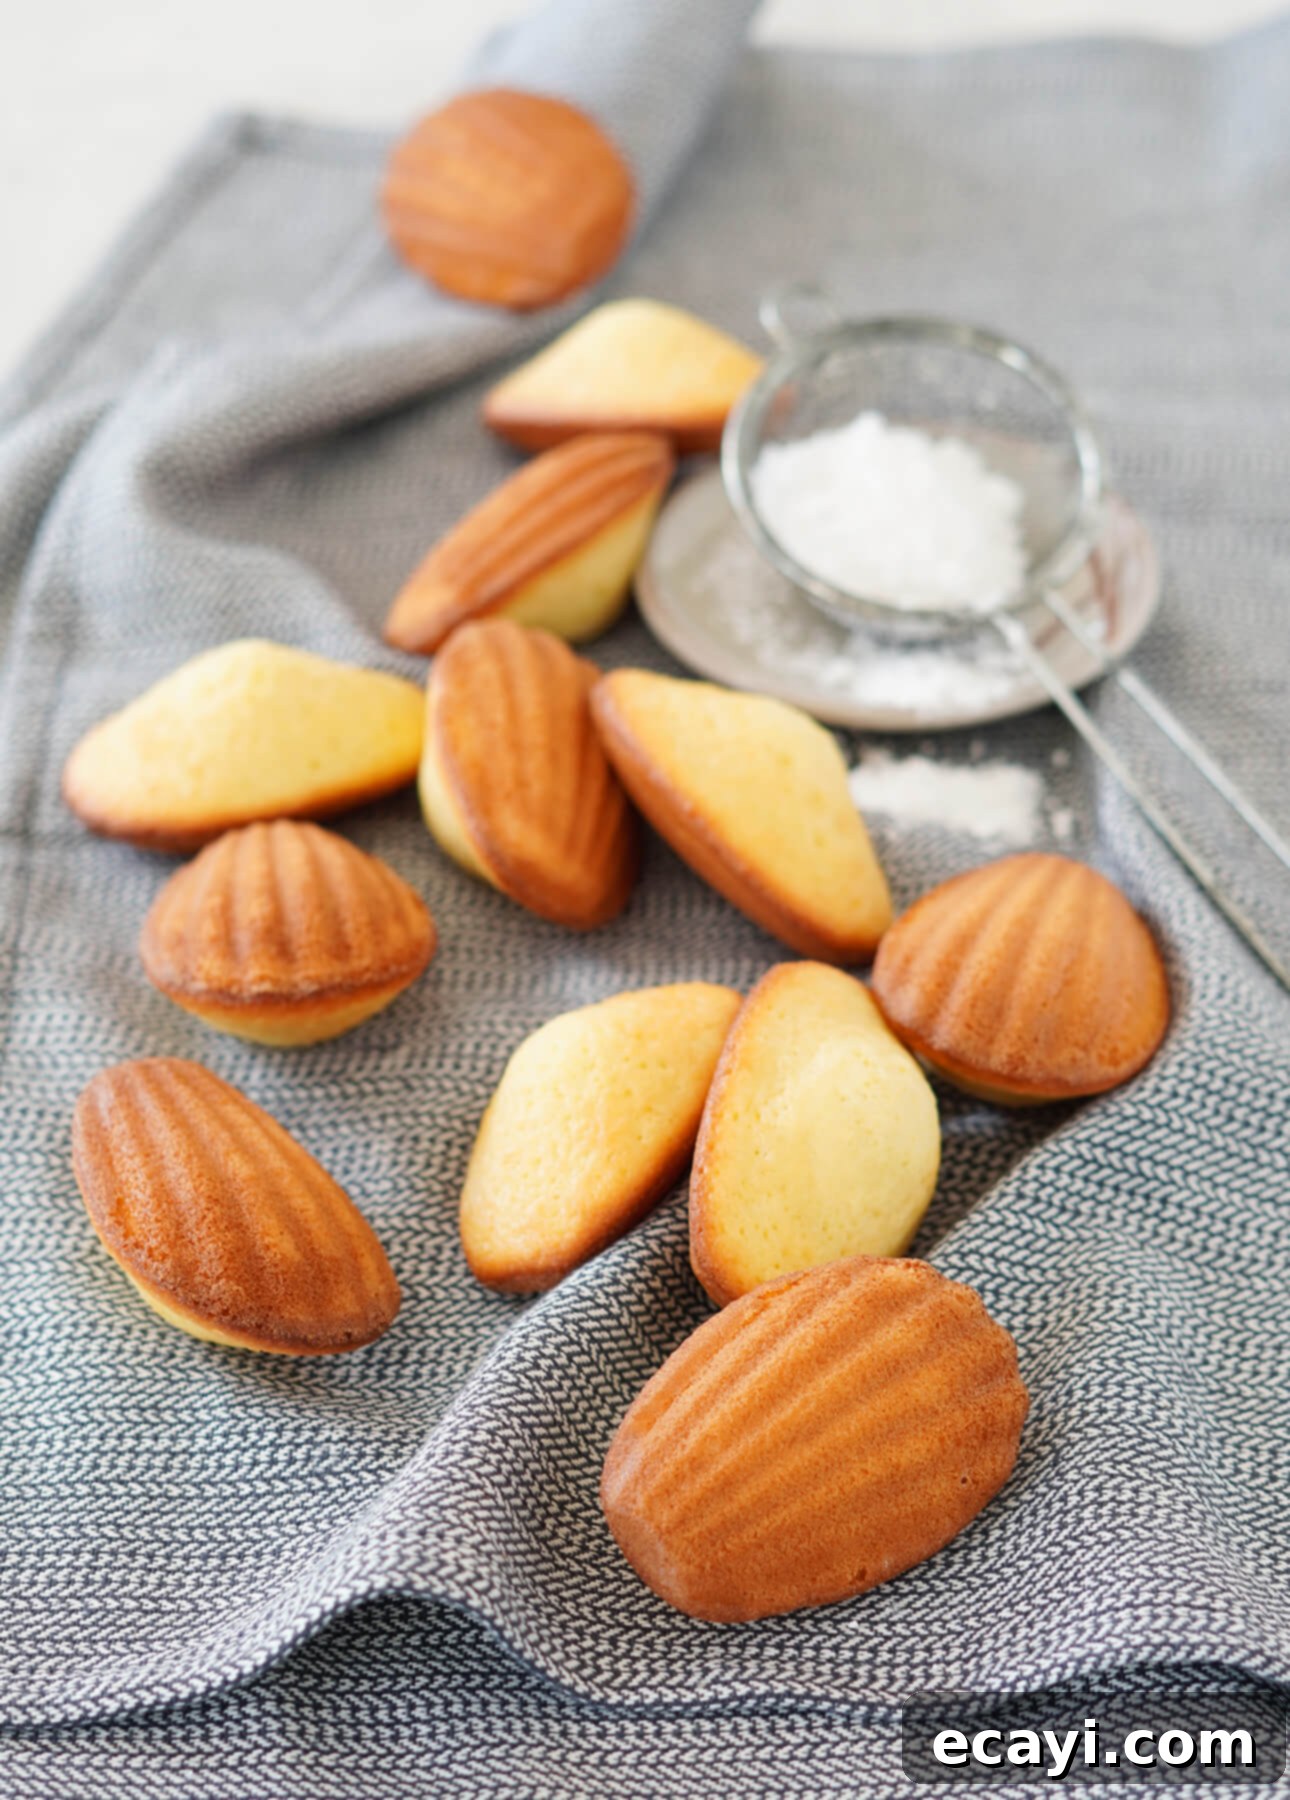
Tasting a classic madeleine right as it comes out of the oven is an unforgettable experience. These delicate French shell-shaped cakes, with their signature hump and perfectly crisp edges, represent the pinnacle of simple elegance in baking. Learn how to successfully recreate this magic at home using clever tips and an easy-to-follow recipe, bringing a taste of Parisian patisseries directly to your kitchen.
This post contains affiliate links. Full disclosure is at the bottom of the article.
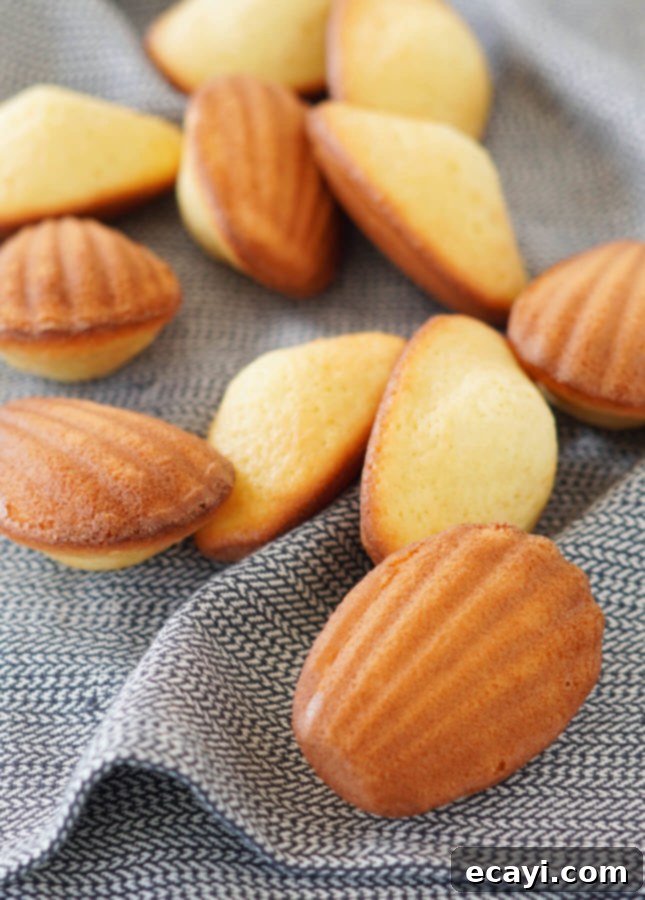
There are certain desserts that etch themselves into your memory the moment you taste them, especially when they’re still warm from the oven. For me, madeleines hold an exceptionally special place. These exquisite French delights, with their distinctive shell shape and wonderfully airy texture, are truly light as air. They are, without a doubt, best enjoyed within mere moments of emerging from the oven. If you’ve ever had the pleasure of tasting a warm madeleine, savoring its impeccably crunchy edge and meltingly tender interior, you’ll understand how such a small bite can offer a truly life-changing culinary experience. Madeleines perfectly encapsulate the genius of French pastry-making: the incredible artistry of transforming a few simple, humble ingredients into an utterly outstanding and unforgettable creation.
I genuinely adore crafting all sorts of bite-sized French treats. Financiers, for example, are a personal favorite due to their remarkable ease of preparation. And when I find myself with a little extra time on my hands, I’m always delighted to whip up a fresh batch of colorful macarons. However, my ultimate go-to, no-fuss French treat for when I truly want to impress guests or simply indulge myself is a batch of classic madeleines. I’ve lost count of how many times I’ve made them over the years; my trusty madeleine pans have been used and washed so frequently that it’s a wonder they don’t appear more worn and battered than they do.
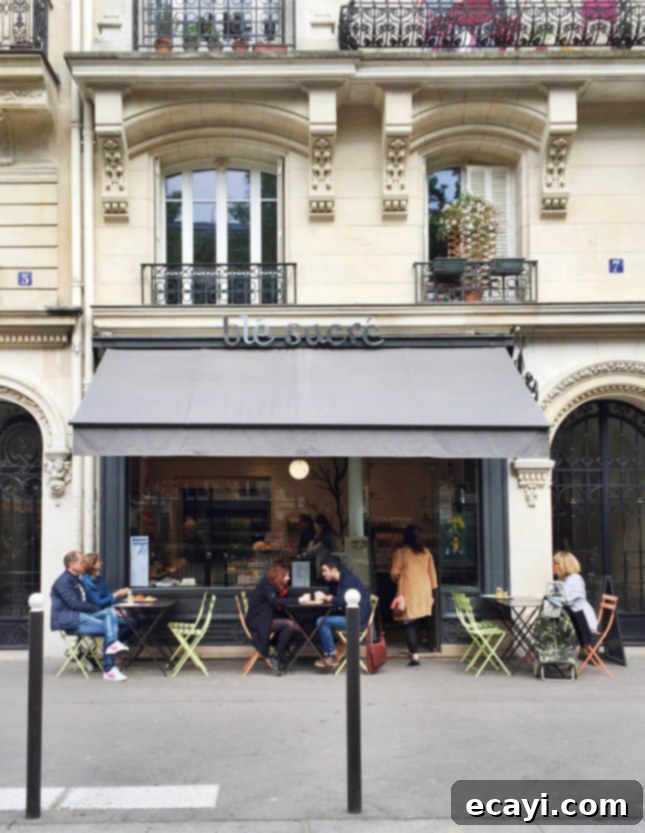
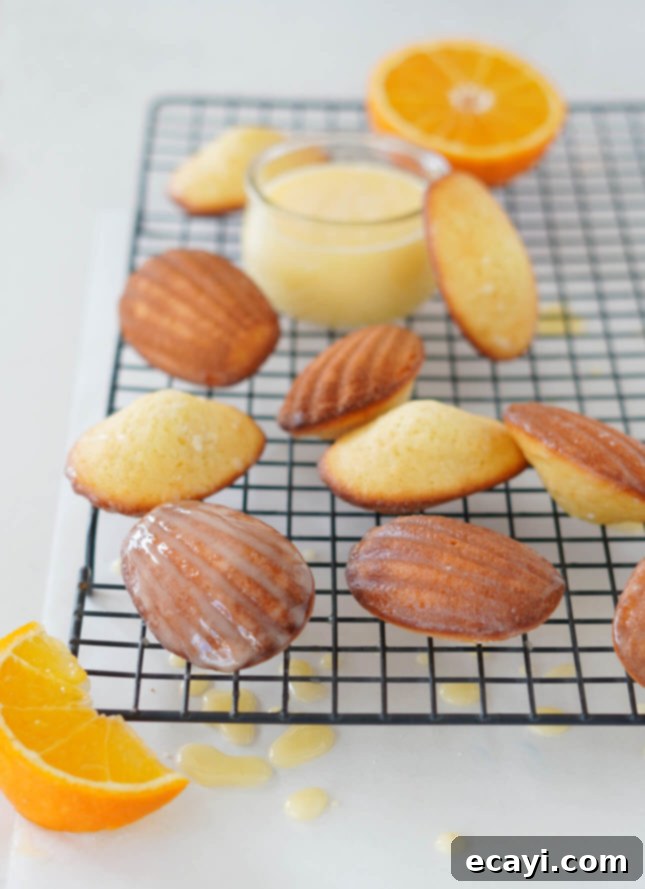
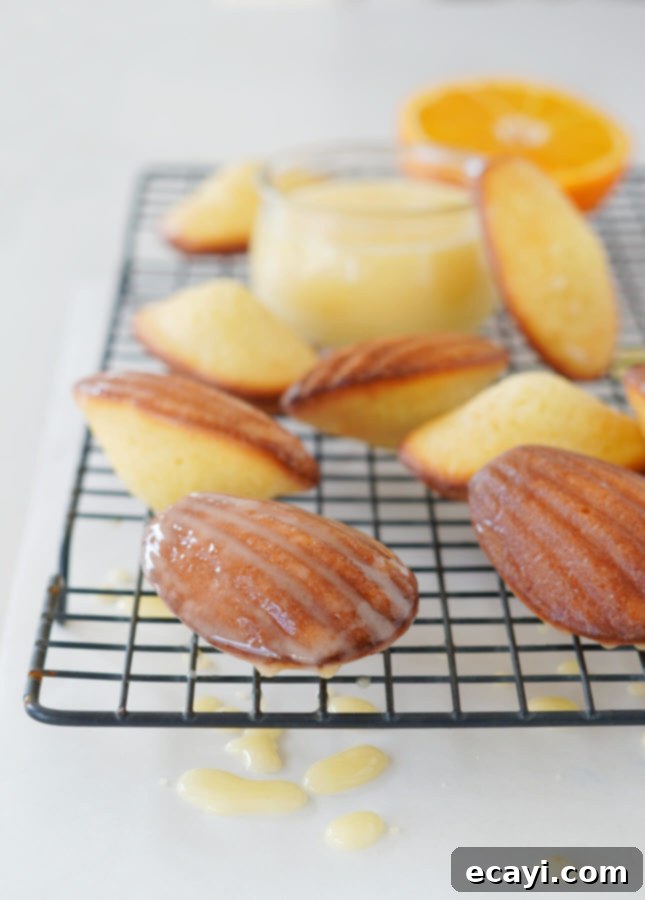
Traditional madeleines are typically as straightforward as a sponge cake can be, relying on a simple batter and precise baking. Yet, my perception of this classic treat was transformed after a memorable visit to Blé Sucré, an acclaimed Paris pastry shop. This establishment is widely considered to produce some of the city’s finest madeleines, earning accolades from renowned food critics and authors such as David Lebovitz, Dorie Greenspan, and Clotilde Dusoulier, among others. It was there that I discovered a revolutionary twist on the classic madeleine that utterly captivated me: Blé Sucré’s madeleines are brushed with a delicate orange glaze. Crucially, this glaze isn’t applied to the elegant shell side, but rather to the prominent, humpy side of the cake. This was a detail I had never encountered elsewhere. This subtly sweet, citrus-infused glaze beautifully accentuates the madeleine’s plumpness and, most wonderfully, adds an exquisite crunch to the cake’s tender texture. After tasting just one of Blé Sucré’s madeleines, I was instantly hooked. I immediately went back inside to purchase a larger bag, and then, without fail, returned every single day for the remainder of my stay in Paris. They were, hands down, the freshest, lightest, and most utterly magical madeleines I had ever had the privilege to taste.
This transformative tasting experience at Blé Sucré ignited a passionate quest within me: to meticulously re-create their exceptional classic madeleines at home. Over the years, I’ve dedicated countless hours to testing, tweaking, and refining my own recipe, striving to capture that elusive magic. I genuinely believe that my current recipe for classic madeleines comes incredibly close to the dreamy treat I first enjoyed in Paris so many years ago. You can certainly enjoy these classic madeleines as they are, in their pure, unadorned form, or you can choose to elevate them further by brushing them with the delightful citrus glaze. To enhance the wonderful aroma that the glaze provides, I often incorporate a touch of orange zest directly into the madeleine batter. For variety, I’ll also frequently switch things up and use lemon zest and juice in both the madeleines and their corresponding glaze, offering a different but equally refreshing flavor profile.
In this comprehensive post, I am not only delighted to share my perfected recipe for classic madeleines but also to arm you with all my insider tips and tricks to help you achieve truly perfect results every single time. You might have heard whispers that madeleines are notoriously tricky to master, especially achieving their distinctive hump, but please, don’t believe the hype. With just a few key techniques and a bit of patience, you too will be able to effortlessly bake perfect, classic madeleines right in the comfort of your own kitchen—and perhaps save yourself an expensive trip to Paris in the process!
French Madeleines Recipe Video: Your Visual Guide to Perfection
Unlock the secrets to making flawless French madeleines with this short and incredibly helpful recipe video! Watch and learn the precise steps to achieve those signature humps and irresistible textures.
Essential Tips for Baking Flawless Classic Madeleines at Home
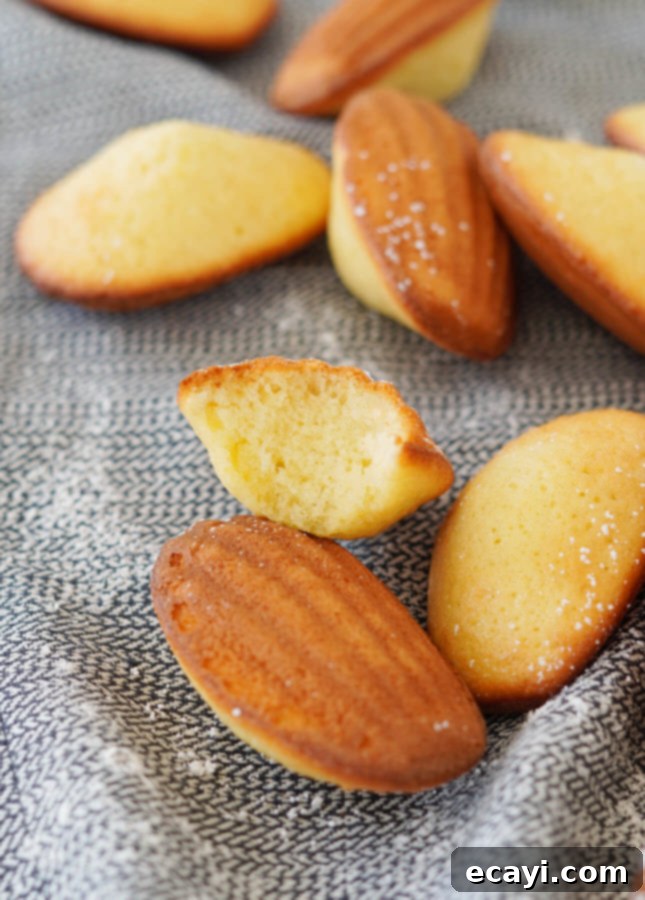
What, Exactly, Defines a Madeleine?
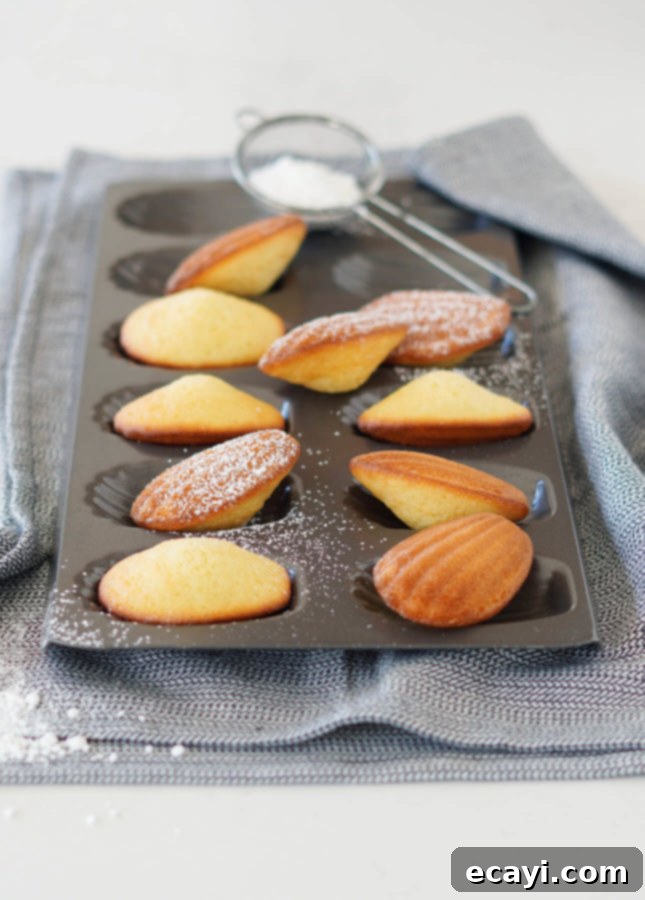
Madeleines are more than just small cakes; they are an iconic symbol of French patisserie, renowned for their distinctive shell shape and exquisite texture. These tiny, elegant cakes are baked in a specialty mold featuring unique shell-shaped indentations, which are crucial for achieving their iconic appearance and characteristics. This specific shape allows the batter to bake to a super light and wonderfully tender texture, while simultaneously developing irresistibly crisp, golden-brown edges. Visually, madeleines are undeniably elegant and sophisticated, making them a beloved staple in French bakeries and a favorite among those with a sweet tooth. Despite their fancy appearance, madeleines are surprisingly easy and approachable to make at home: beyond the essential specialty madeleine pan, no other complicated special equipment is required, and you won’t need to master any advanced culinary techniques to achieve truly perfect, professional-looking results.
The Fascinating Origin: Why Are Madeleines Called Madeleines?
The madeleine, a petite and delicate sponge cake famously recognized by its beautiful shell-like shape, is a cherished classic French confection steeped in a rich and sometimes conflicting history. While several stories attempt to explain its creation, the authoritative Larousse Gastronomique provides one of the most endearing accounts. According to this culinary encyclopedia, the delightful bite-sized cake was invented by a young farmer girl named Madeleine Paulmier in the quaint town of Commercy, located in the picturesque northeast region of France. The tale goes that in 1755, the King of France, Stanislas Leszczynski (father-in-law to King Louis XV), discovered her small shop and was so utterly enchanted by her unique cakes that he decided to name them after her. Subsequently, the recipe quickly gained immense popularity, becoming a fashionable sensation first in the lavish court of Versailles and then spreading its charm throughout Paris.
Whether this particular narrative is the absolute true origin story or merely a charming legend, it certainly possesses all the hallmarks of a delightful fairy tale. The idea of a small, humble confection rising to such prominence and making its way into a king’s court perfectly complements the madeleine’s inherently dainty and elegant appearance. It adds an extra layer of romance to every bite.
No Madeleine Pan? Creative Alternatives for Baking Delicious Madeleines
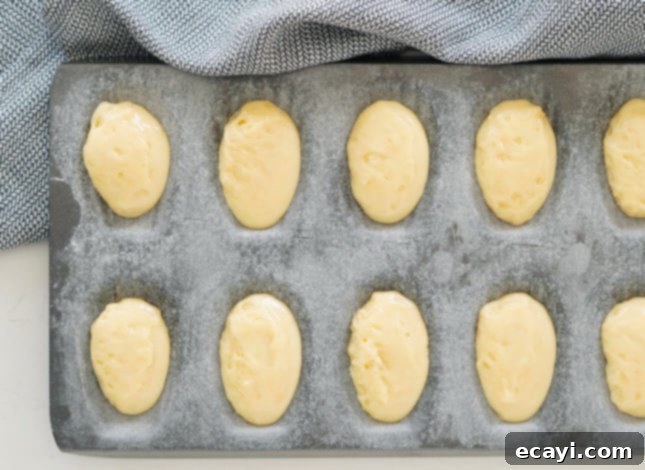
If you’re anything like me, your kitchen cabinets are likely already overflowing with an impressive array of baking pans, leading you to wonder if investing in yet another specialty pan solely for madeleines is truly necessary. While it’s true that only a dedicated madeleine pan will yield the beautifully distinct shell-shaped cakes we associate with this treat, there’s excellent news: you can absolutely use a standard muffin pan to create equally delicious madeleines. To adapt this recipe for a muffin pan, begin by generously greasing and then lightly flouring each muffin cup, being sure to tap off any excess flour. Alternatively, you can line the pan with parchment paper cups for easier removal. The key to mimicking the authentic madeleine texture—crisp edges and a tender center—lies in the amount of batter. By adding only a small amount (around one to two teaspoons) of batter to each cup, you will produce thinner cakes with wonderfully crisp edges that closely replicate the textural delights of genuine madeleines. And, if you follow the crucial extra steps outlined in the recipe—freezing your pan before baking and refrigerating the batter for an extended period—your round madeleines will even develop that coveted, signature hump in the center, giving them a surprising resemblance to their shell-shaped cousins.
The Secret to Achieving Those Perfect Humps on Classic Madeleines
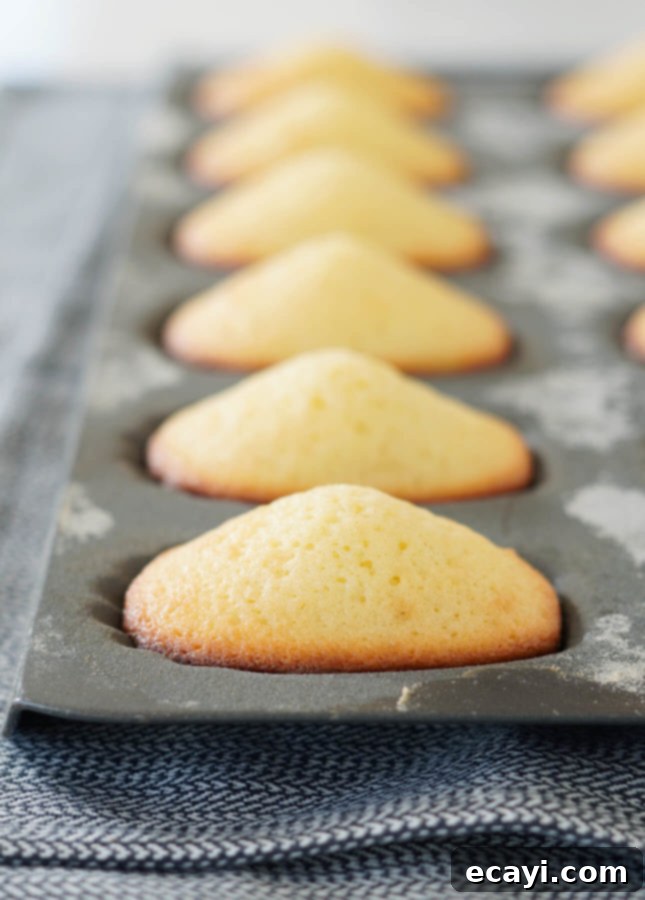
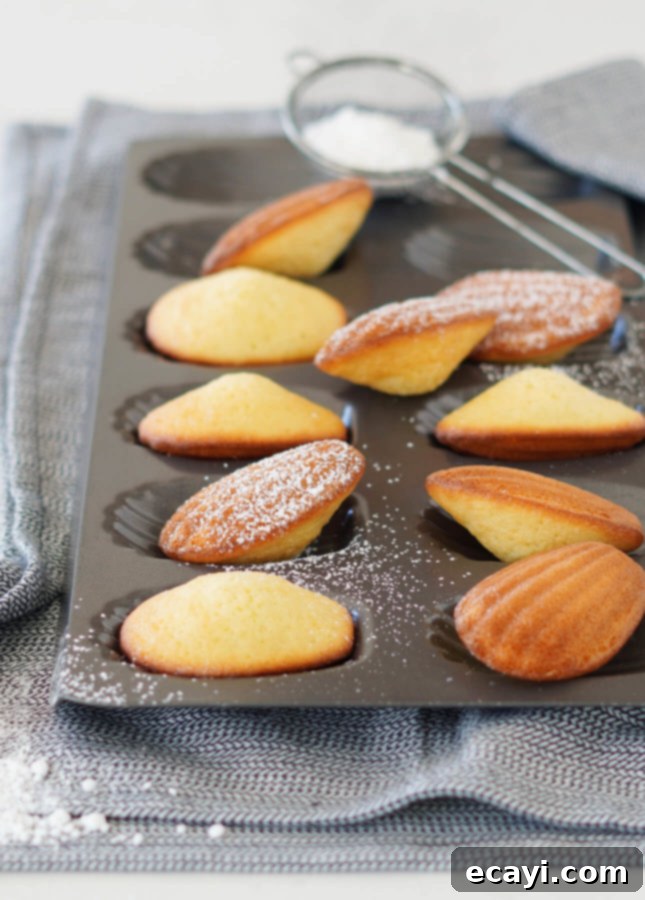
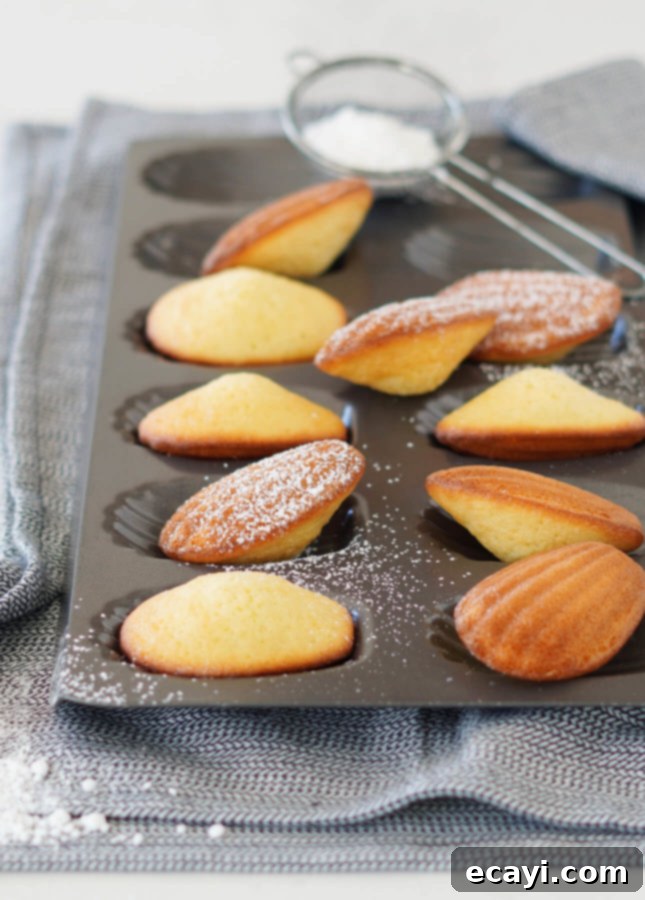
One of the most characteristic features of a perfectly baked madeleine is the pronounced hump that rises on its back. This distinctive mound is widely regarded as the signature of a “perfect” classic madeleine and, perhaps unfairly, has contributed to madeleines developing an undeserved reputation for being fussy or difficult to achieve. The truth is, it’s actually quite straightforward to bake beautifully plump and humped madeleines once you understand the simple scientific principle behind them.
Madeleine humps are primarily achieved through a significant temperature shock. This shock occurs when a freezing cold madeleine pan, filled with equally cold madeleine batter, is rapidly introduced into a very hot oven. The drastic change in temperature causes the outer edges of the cold batter to set almost instantly, while the center of the batter remains cool. As the cake bakes, the cold center heats up more slowly, causing the leavening agents (baking powder and baking soda) to react vigorously and produce a burst of steam. This steam has nowhere to go but up, pushing the unset batter upwards and creating that iconic hump. While it might be tempting to skip the crucial freezing and refrigerating steps in an effort to produce madeleines more quickly, you should know that rushing this process will almost certainly lead to madeleines that aren’t as fluffy, light, and high as they could be. Patience is truly a virtue when it comes to madeleine baking.
A comforting note, however: even flatter madeleines, those without a prominent hump, are still perfectly delicious and delightful. So please! Never, ever discard a batch of madeleines if they don’t rise exactly as much as you had hoped. Embrace them, enjoy them, and remember that baking is a journey. With a little more practice and adherence to these tips, your next batch will undoubtedly be perfect!
Ensuring a Smooth Release: How to Prevent Madeleines from Sticking to the Pan
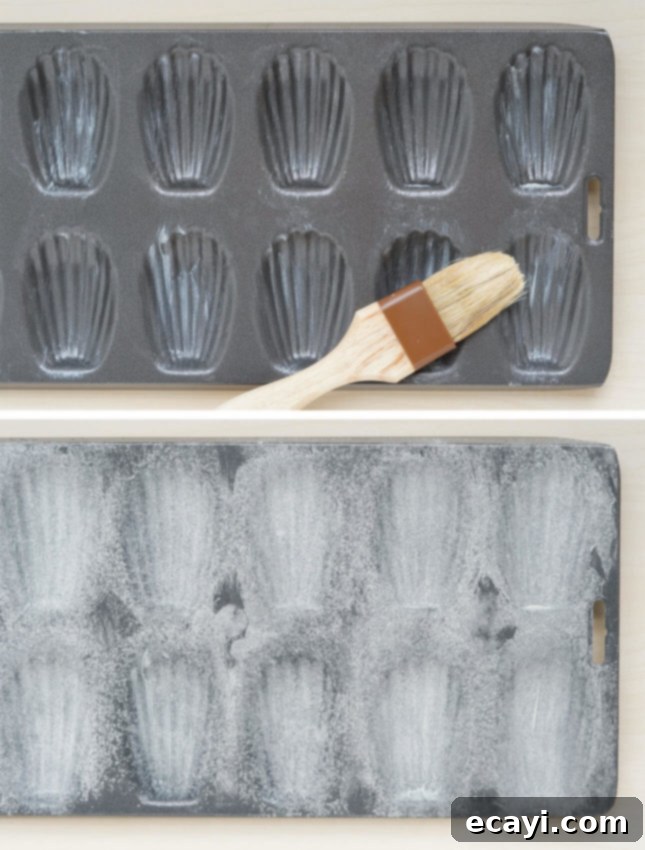
Even though many modern madeleine pans are marketed as “nonstick,” relying solely on this claim can often lead to disappointment. The most reliable way to guarantee that your delicate madeleines will effortlessly pop right out of their molds, preserving their beautiful shape, is to generously butter and then lightly flour each individual cavity. This dual-layer coating creates a barrier that prevents sticking and encourages a perfect release.
To execute this crucial step effectively, use a high-quality pastry brush and very soft—but absolutely not melted—butter to meticulously grease every nook and cranny of the cavities. The soft butter ensures even coverage without pooling. Once greased, lightly sift all-purpose flour over the entire pan, ensuring a fine, even layer. Then, gently tap the edges of the pan on your countertop. This helps to distribute the flour uniformly and ensures it adheres well to the butter. Finally, turn the pan upside down over your sink or a clean working surface and tap it firmly to shake off any excess flour. This leaves a thin, even coating that is ideal for non-stick baking. Thorough preparation of your pan is a small step that makes a monumental difference in the final outcome of your madeleines.
Silicone vs. Metal Madeleine Pans: Which is Best for the Perfect Hump?
When it comes to baking the fluffiest, highest-humped madeleines, traditional metal pans are generally considered superior. The primary reason for this lies in their thermal conductivity. Metal pans can become intensely icy cold in the freezer, which is a critical factor in creating the significant temperature shock needed for the madeleines to develop their signature hump. This dramatic contrast between the ice-cold pan and cold madeleine batter entering a super-hot oven forces a rapid expansion of steam within the batter, causing it to puff up dramatically in the center. Silicone pans, by their very nature, simply cannot reach or maintain the same extremely low temperatures as metal, and thus cannot create the same powerful thermal shock effect. This means that while madeleines baked in silicone might be delicious, they typically won’t achieve the same impressive rise or pronounced hump.
However, if a silicone madeleine pan is what you have on hand, by all means, use it! It will still produce lovely madeleines, even if they’re a bit less “humpy.” Although silicone is naturally touted as nonstick, for a delicate pastry like classic madeleines, there’s still a possibility of them sticking and breaking during unmolding. To prevent this disappointment, always ensure you thoroughly butter and lightly flour a silicone pan before each use, just as you would a metal pan. (Refer to the previous question for detailed tips on proper greasing and flouring techniques.) A little extra care in preparation will go a long way in ensuring your madeleines come out perfectly intact and beautiful.
Can I Make Classic Madeleines Ahead of Time for Convenience?
For the absolute ultimate madeleine experience, these delicate treats are unquestionably at their very best when enjoyed freshly baked. It’s during these precious moments, right after they emerge from the oven, that the sublime contrast between their super-light, tender crumb and the irresistibly delicate, crunchy edge is most pronounced. In an ideal culinary world, madeleines should be savored and enjoyed within just a couple of hours of being baked to fully appreciate this unique texture.
If you choose to store baked madeleines in an airtight container, they will inevitably lose some of their signature delicate crispy edges. The moisture within the container will soften them. However, even day-old madeleines remain absolutely delicious; their texture will simply evolve to be more reminiscent of a mini cupcake—a perfectly delightful outcome that is certainly nothing to complain about! For optimal freshness and convenience, the really good news is that madeleine batter can be prepared in advance and will keep beautifully refrigerated for up to three days. This ingenious trick means you can easily bake just as many madeleines as you desire on any given day, allowing you to enjoy them fresh and warm over several days without compromising on quality. It’s a truly dreamy proposition for any madeleine enthusiast, offering flexibility without sacrificing that fresh-baked perfection!
Freezing Madeleines: Is it a Good Idea?
While I dislike repeating myself, it bears reiterating: madeleines are truly at their pinnacle when savored freshly baked. The delicate balance of their crisp exterior and tender interior is fleeting. Although madeleines can certainly be kept in an airtight container at room temperature for a couple of days and still offer a delightful treat, I must strongly advise against freezing them. The freezing and subsequent thawing process, unfortunately, has an irreparable impact on the delicate texture and nuanced flavor of these exquisite little cakes. The subtle crispness will be lost, and the tender crumb can become somewhat soggy or dry, diminishing the overall magic that makes a madeleine so special. For the best experience, always aim to enjoy them fresh or store the batter for later baking rather than freezing the finished product.
Pin Recipe
Classic Madeleines
Ingredients
For the madeleines
- 1 cup all-purpose flour
- 1 tsp baking powder
- ½ tsp baking soda
- Pinch kosher salt, or fine sea salt
- 3 eggs
- ⅔ cup granulated sugar
- 1 tsp pure vanilla extract
- 1 tsp finely grated lemon or orange zest (optional)
- ½ cup unsalted butter, melted and cooled
For the glaze (optional)
- 1 cup powdered sugar, sifted
- ⅓ cup freshly squeezed orange or lemon juice, strained to remove the pulp
Instructions
-
Make the madeleines: Preheat the oven to 425°F (220°C). Set a rack in the upper third of the oven. Generously grease a madeleine mold with soft butter or cooking spray, then dust with flour, tapping the pan upside down to remove excess. Place the pan in the freezer.
-
In a medium bowl, sift the flour, baking powder, baking soda, and salt together, and set aside.
-
In the bowl of a stand mixer fitted with the whisk attachment (or in a large mixing bowl, if you’re using a hand mixer), mix the eggs and sugar together for 5 minutes until the mixture is pale and thick. Whisk in the vanilla extract and lemon zest.
-
With the mixer running at slow speed, drizzle the melted butter into the batter, mixing just to incorporate. Using a spatula, add the reserved dry ingredients a third at a time, folding between each addition until just incorporated. Cover the mixing bowl with plastic wrap and refrigerate the batter for 30 minutes to an hour, or up to overnight.
-
Take the prepared madeleine mold out of the freezer. Take the madeleine batter out of the fridge. Using a spatula, gently mix the batter so relax it and remove excess bubbles that have formed while the batter was resting.
-
Fill each shell-shaped cavity with two teaspoons of batter, or about three-quarters full (using a small ice cream or cookie scoop allows you to fly through this step). Place the remaining batter back in the fridge.
-
Bake the madeleines for 8 to 10 minutes or until they are puffed and golden. Unmold as soon as you take the madeleines out of the oven by turning the mold upside down and gently coaxing uncooperative madeleines out with the tip of a butter knife. Place the madeleines shell side up on a wire rack set over a baking sheet. Using a pastry brush, generously coat each madeleine with the glaze while they’re still hot. Let the madeleines cool and the glaze set.
-
Before baking the next batch, thoroughly wash the madeleine mold, then grease and flour again. Place in the freezer at least 10 minutes. Fill the cavities with cold batter, then bake as instructed. Repeat as necessary.
-
Always serve madeleines at room temperature. Madeleines are best enjoyed freshly baked, but they will also keep in an airtight container at room temperature for up to 3 days.
Video
Did you make this?
Tell me how you liked it! Leave a comment or take a picture and tag it with @foodnouveau on Instagram.
Disclosure Notice: This site is a participant in the Amazon Associates Program, an affiliate advertising program designed to provide a means for the site to earn fees by linking to Amazon and affiliated sites.
If you click on an affiliate link, I may earn advertising or referral fees if you make a purchase through such links, at no extra cost to you. This helps me creating new content for the blog–so thank you! Learn more about advertising on this site by reading my Disclosure Policy.
