Effortlessly Delicious: The Ultimate Shredded Chicken and Green Chile Enchiladas Recipe
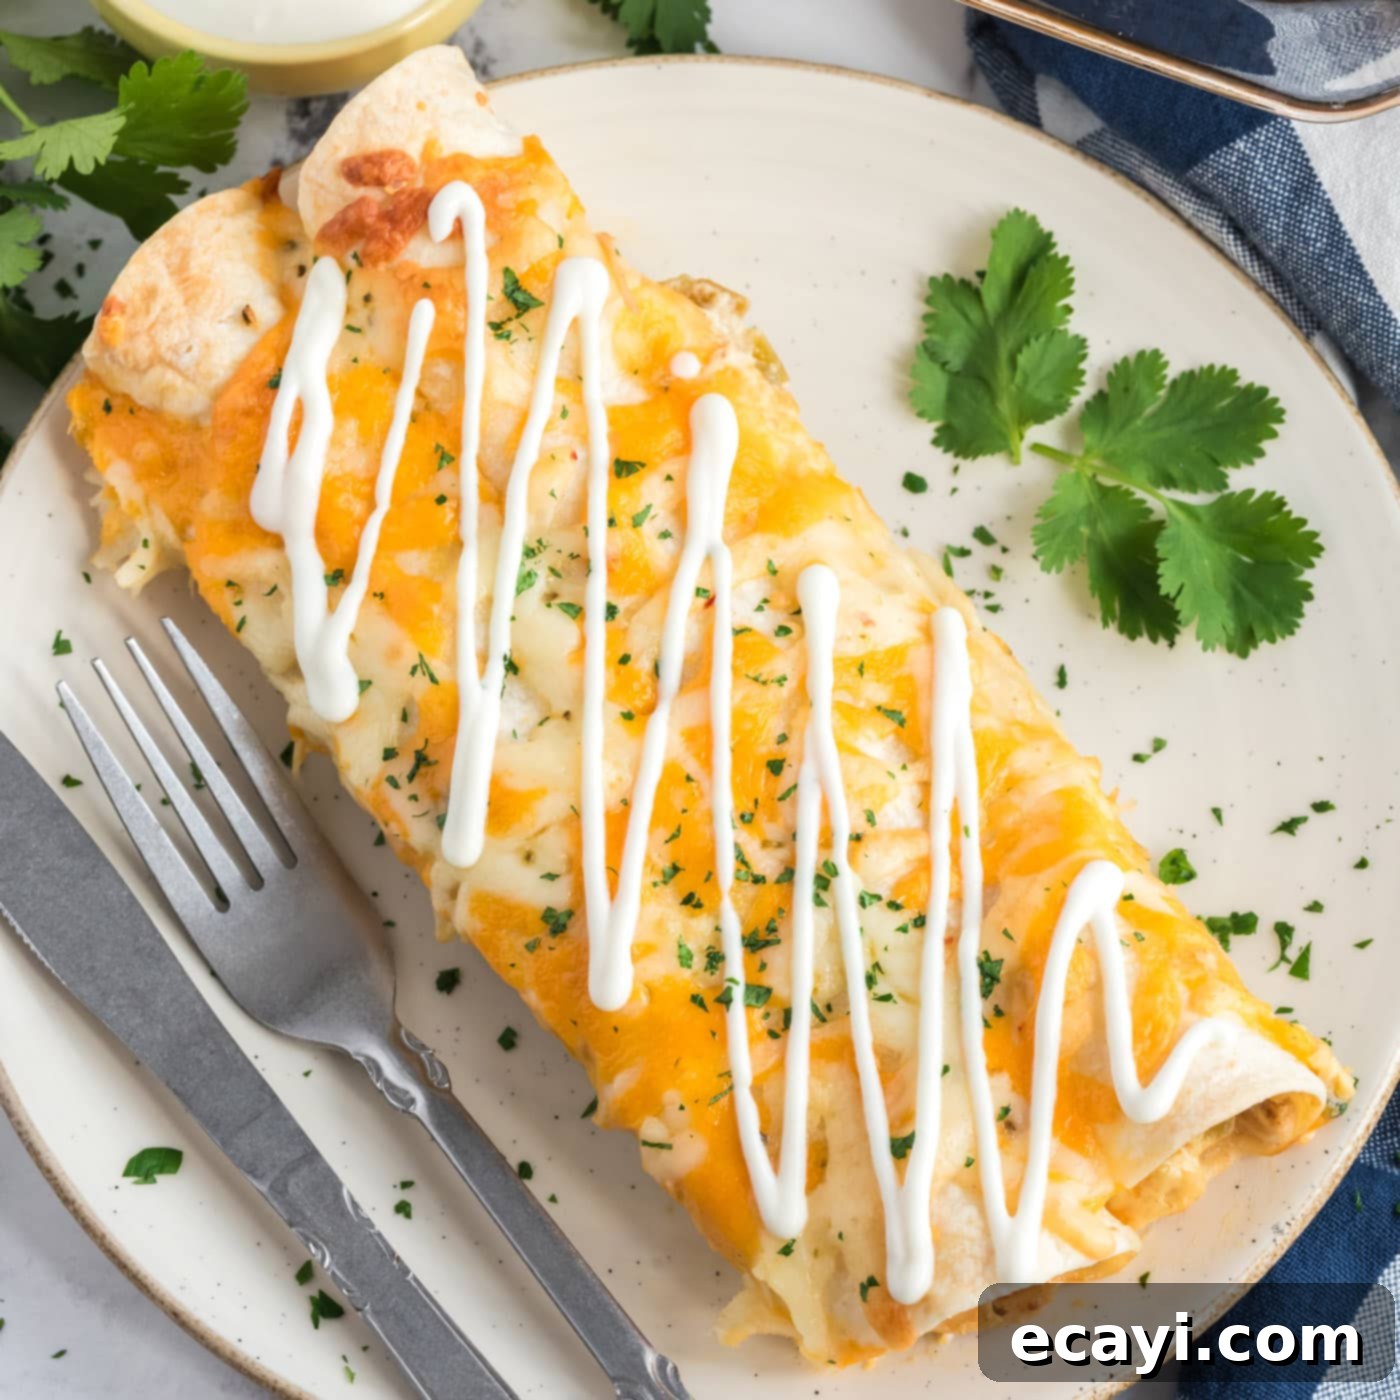
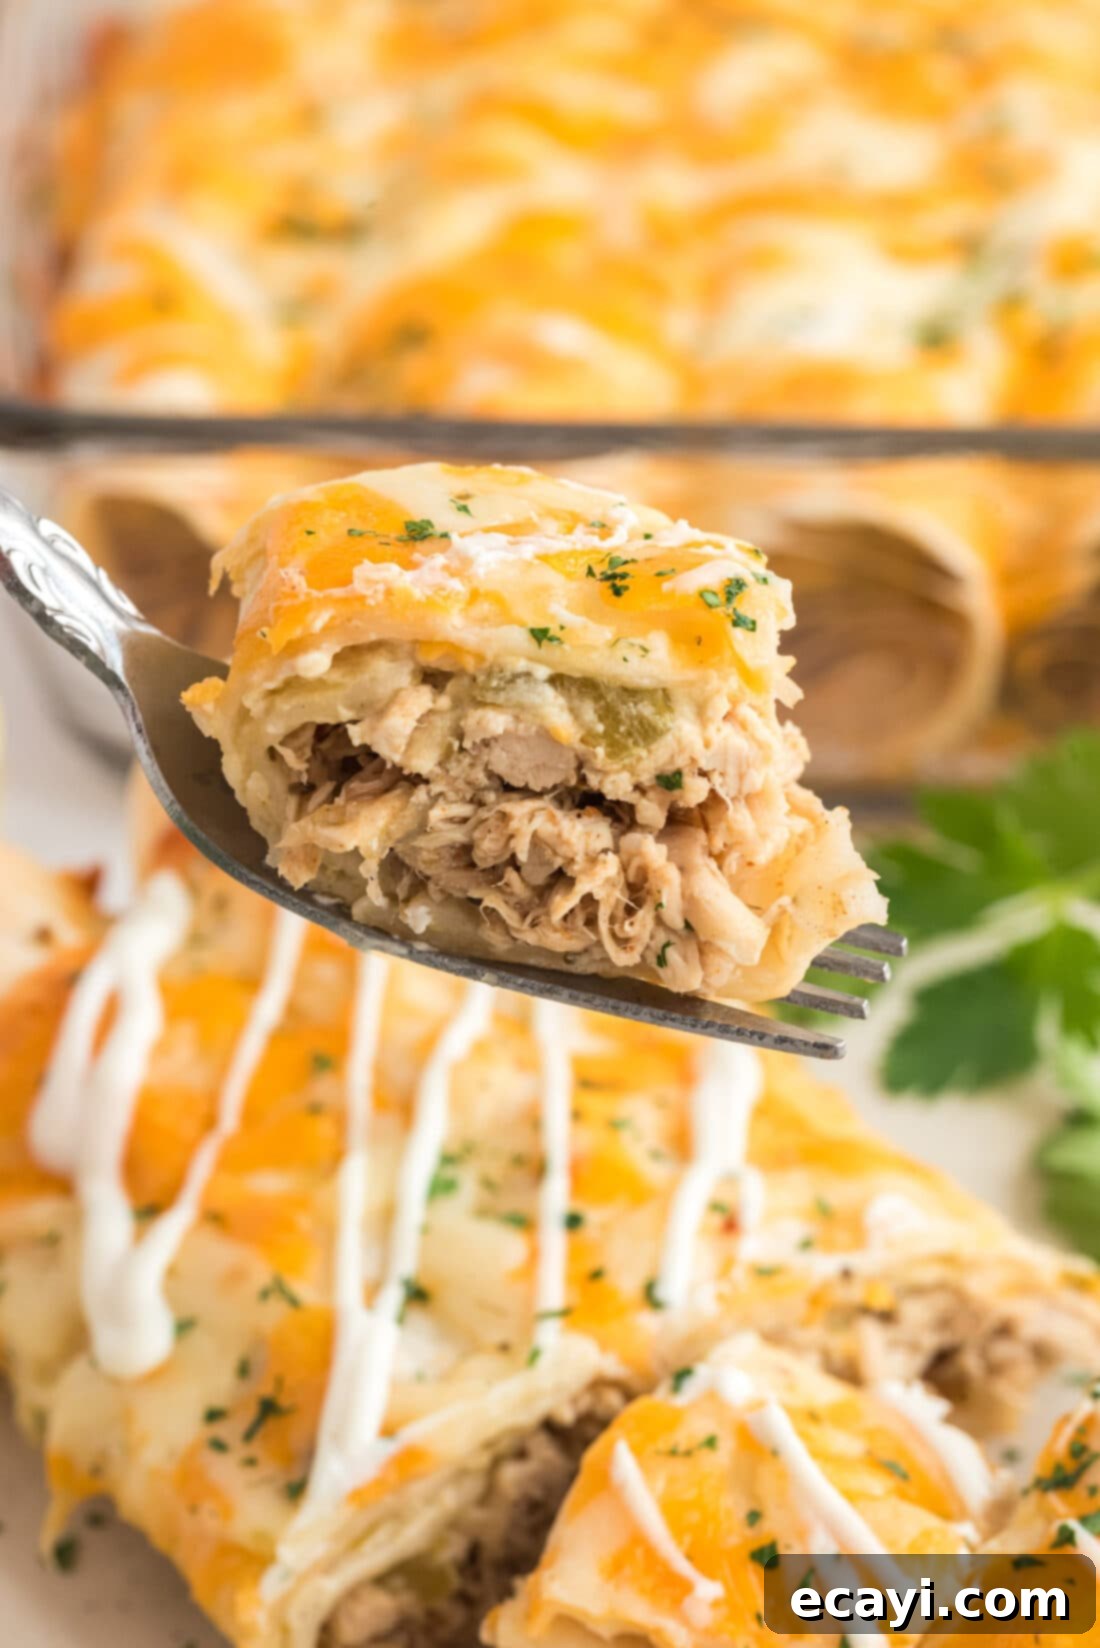
Discover the ultimate weeknight hero: flavor-packed shredded chicken and green chile enchiladas. Crafted with simple, accessible ingredients, this recipe promises a hearty, comforting meal that’s perfect for busy evenings or preparing ahead of time. Dive into tender chicken, zesty green chiles, and melty cheese, all wrapped in soft tortillas for a Mexican-inspired dish that truly satisfies.
Why This Recipe Will Become Your New Favorite
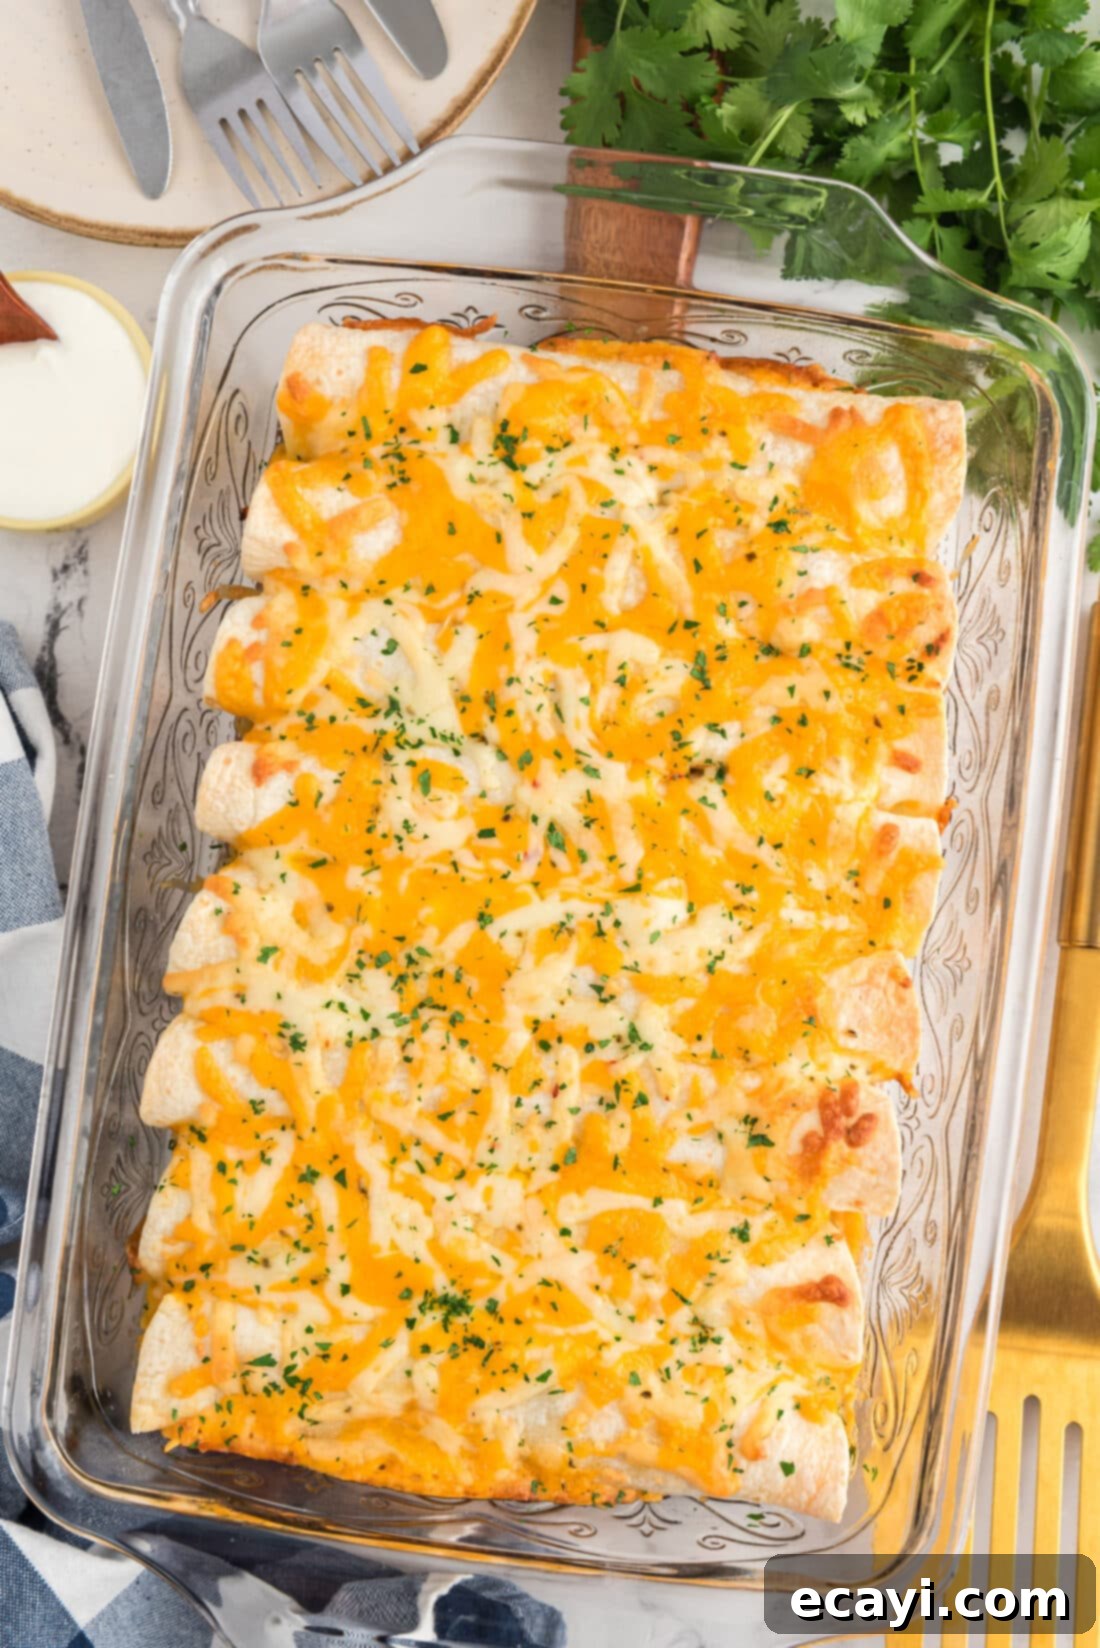
These shredded chicken and green chile enchiladas are a game-changer for several reasons. Not only are they incredibly easy to prepare, making them ideal for quick family dinners, but they are also exceptionally freezer-friendly, offering a convenient make-ahead option for meal prepping. While this particular rendition doesn’t rely on being drenched in a traditional red or green enchilada sauce, its robust flavors speak volumes on their own. The creamy, savory filling combined with the subtle kick of green chiles creates a harmony of tastes that is both comforting and exciting.
The beauty of enchiladas lies in their incredible versatility. Originating from ancient Mayan and Aztec culinary traditions, enchiladas have evolved over centuries into countless delicious variations. You can customize them to your heart’s content – whether you prefer a classic green or red enchilada sauce, a rich broth base, or different protein fillings like ground beef, savory pork, or our favorite shredded chicken. There are even delightful vegetarian options! From the hearty shredded beef enchiladas to cheese-filled delights, there’s an enchilada for every palate. This recipe offers a fantastic foundation, allowing you to add your personal flair, ensuring a wonderful meal that can be savored any time of the year, regardless of how traditional or innovative you decide to be.
Key Ingredients You Will Need
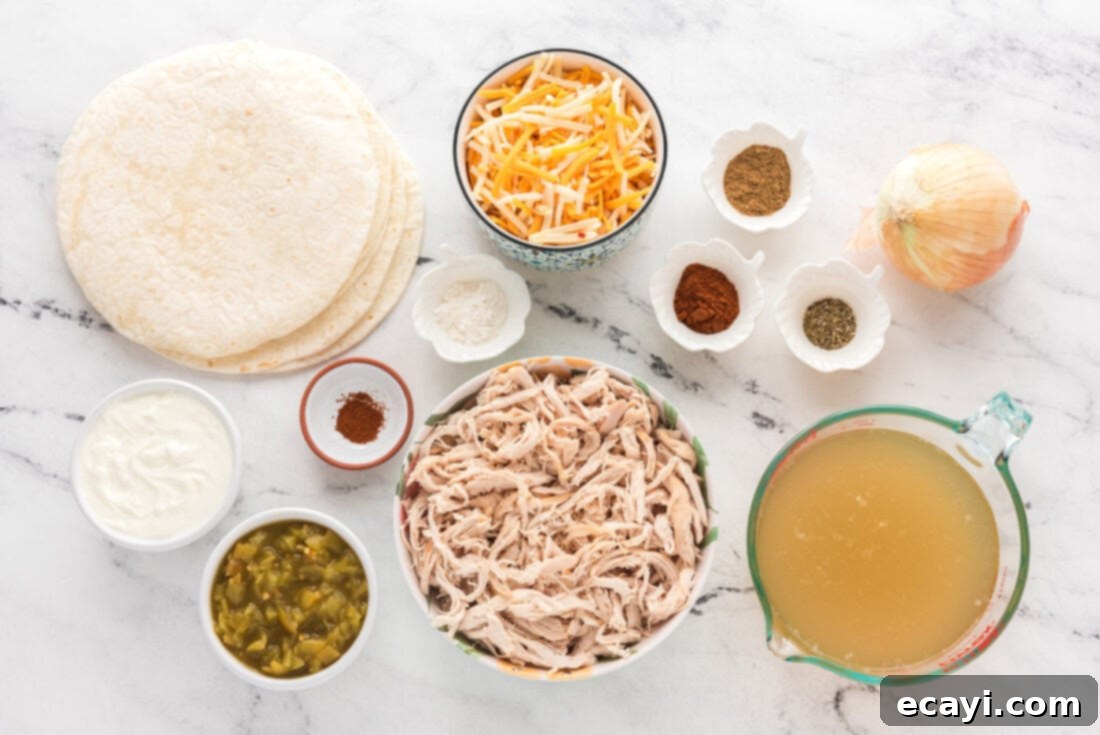
To embark on this culinary journey, you’ll need a selection of fresh and pantry staples. While the full list of measurements, ingredients, and detailed instructions can be found in the printable recipe card at the conclusion of this post, here’s a quick overview of what you’ll be gathering to create these delectable enchiladas. Quality ingredients are the cornerstone of any great dish, so choose wisely!
Ingredient Insights and Smart Substitutions
Let’s take a closer look at some of the core components of these enchiladas and explore how you can tailor them to your preferences and what you have on hand.
CHICKEN – For ultimate convenience and to shave valuable time off your prep, a store-bought rotisserie chicken is an absolute lifesaver. It’s already cooked and seasoned, making shredding a breeze. However, don’t feel limited! You can easily prepare your own shredded chicken by boiling or slow cooking chicken breasts or thighs until fork-tender. This is also an excellent opportunity to use up any leftover chicken from a previous meal. A bonus tip: if you do cook your own chicken, make sure to reserve any stock it creates. This homemade, flavorful stock can be used in place of canned chicken broth in the recipe, adding an extra layer of depth to your enchiladas. Just ensure your chicken is cooled enough to handle before shredding.
CHEESE – The right cheese makes all the difference in enchiladas, providing that irresistible melty goodness. A pre-shredded Mexican blend is a fantastic and convenient choice, typically combining Monterey Jack, Cheddar, Asadero, and Queso Blanco for a balanced flavor and excellent melt. If you prefer to shred your own, a mixture of Pepper Jack for a hint of spice and sharp Cheddar for classic richness works wonderfully. Other great options include Colby Jack or even a pure Monterey Jack for a milder profile. Freshly grated cheese often melts more smoothly than pre-shredded, which can sometimes contain anti-caking agents, so consider grating your own for the best results.
TORTILLA – The choice of tortilla is largely a matter of personal preference, but it significantly impacts the texture and handling of your enchiladas. We’ve found that flour tortillas, particularly the 8-inch variety, tend to hold the generous filling for these enchiladas more securely without tearing, leading to a neater roll. Their soft, pliable nature also contributes to a wonderfully tender finished product. However, if you are a fan of the traditional corn tortilla flavor and texture, you can absolutely use them. Just note that corn tortillas are typically smaller, so you might yield a few more enchiladas. If using corn tortillas, it’s often helpful to quickly warm them in a dry skillet or microwave to make them more pliable and prevent cracking during rolling.
Crafting Your Shredded Chicken and Green Chile Enchiladas: A Step-by-Step Guide
These step-by-step photos and detailed instructions are provided to help you visualize each stage of making this delicious recipe. For a convenient printable version, complete with all measurements and instructions, simply Jump to Recipe at the bottom of this post.
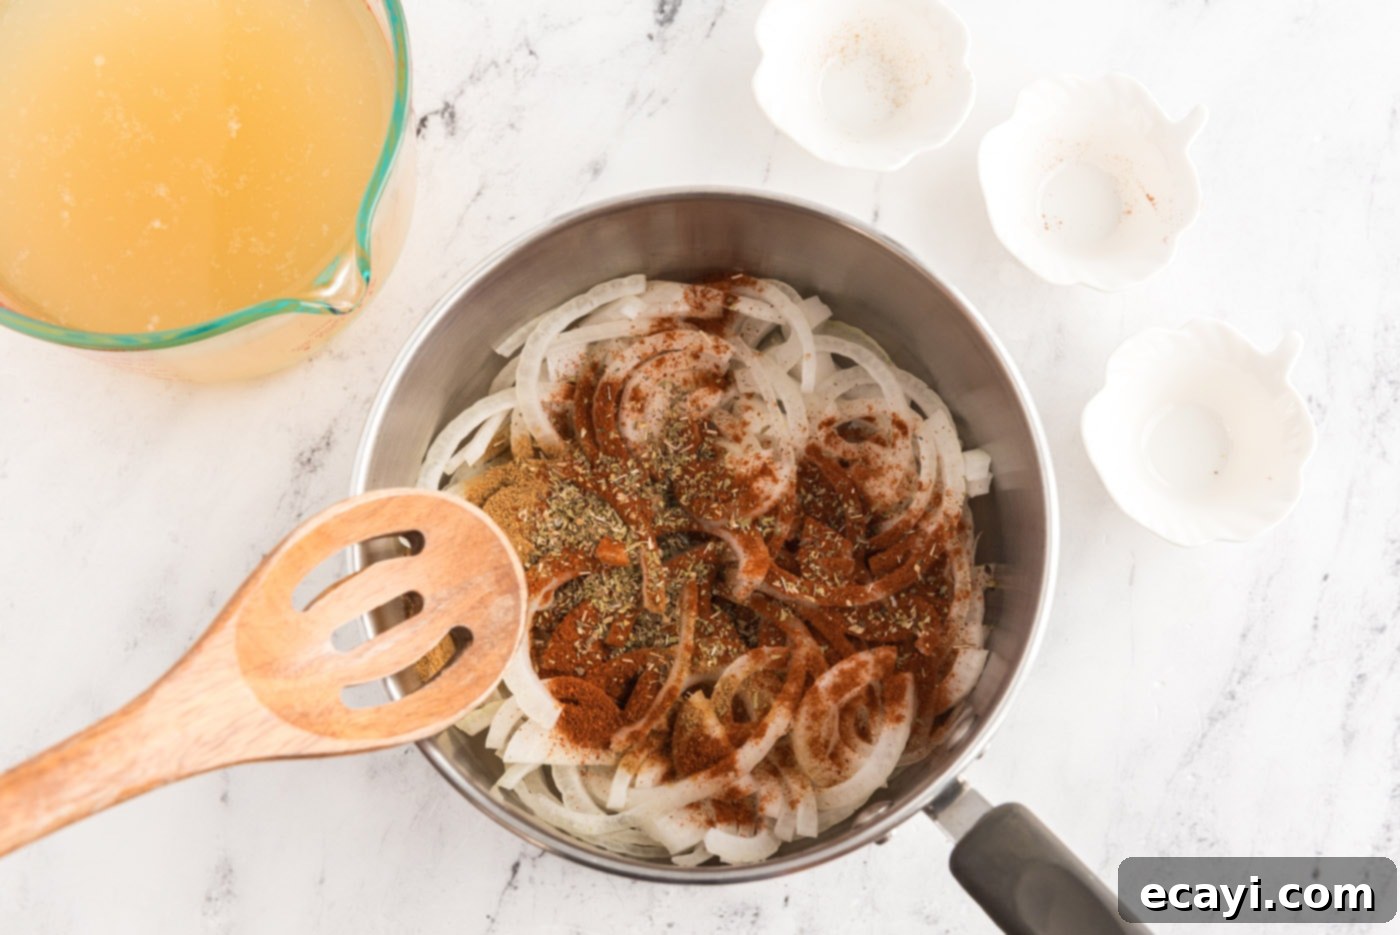
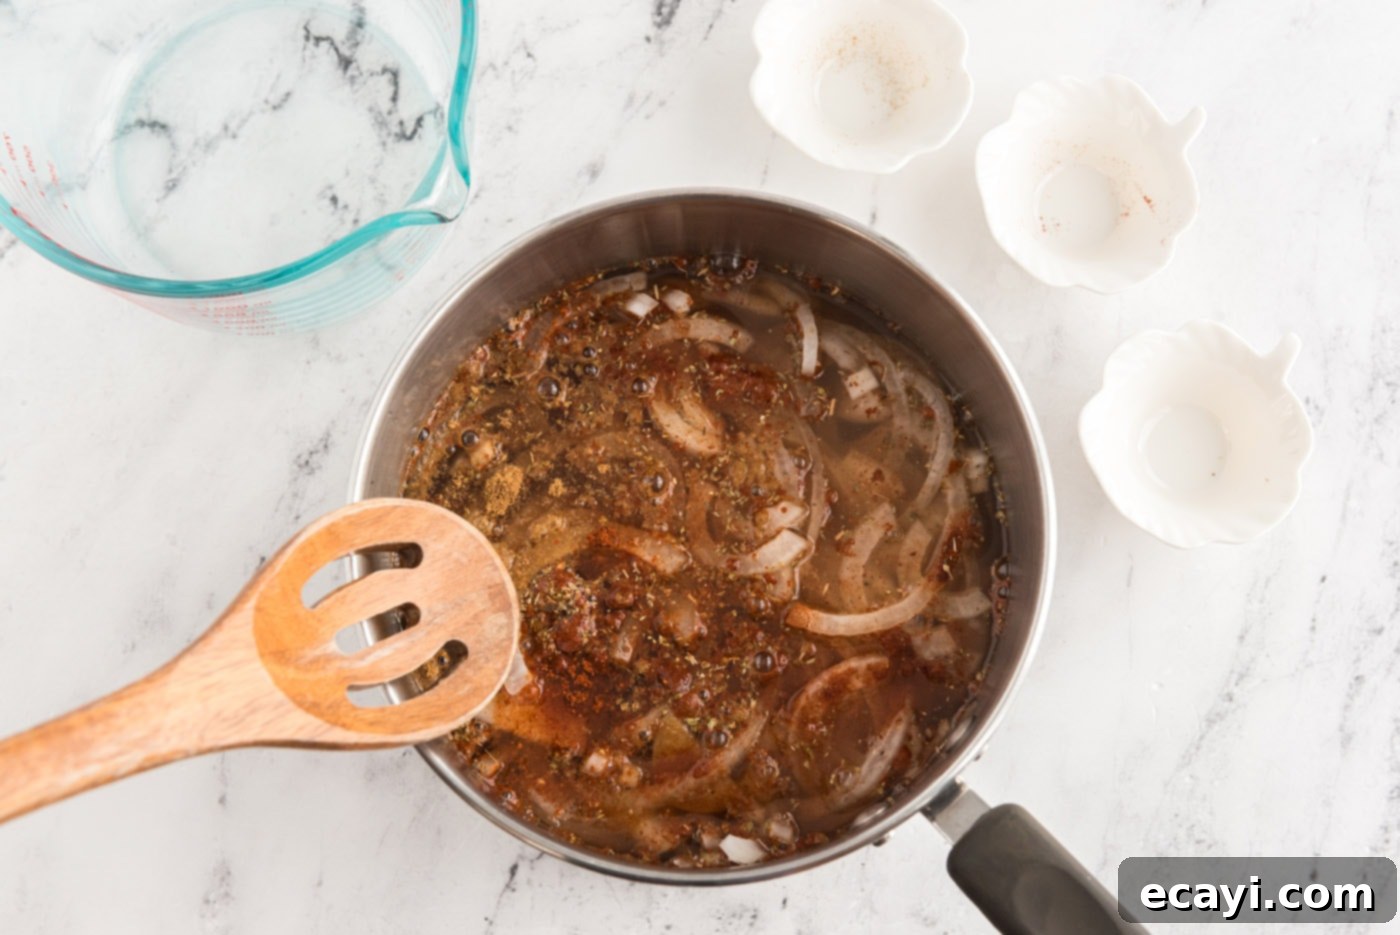
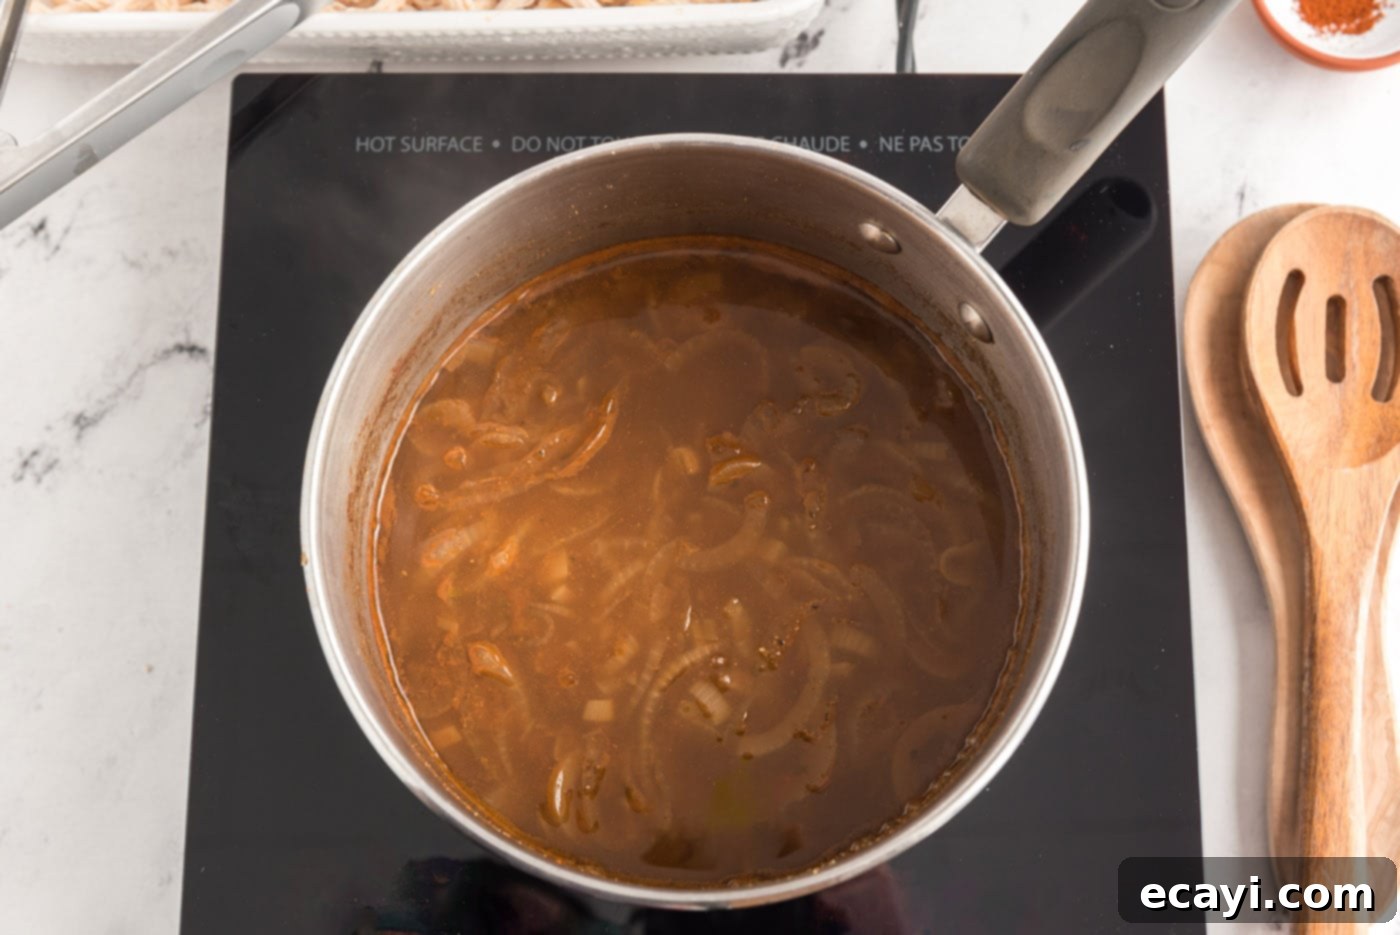
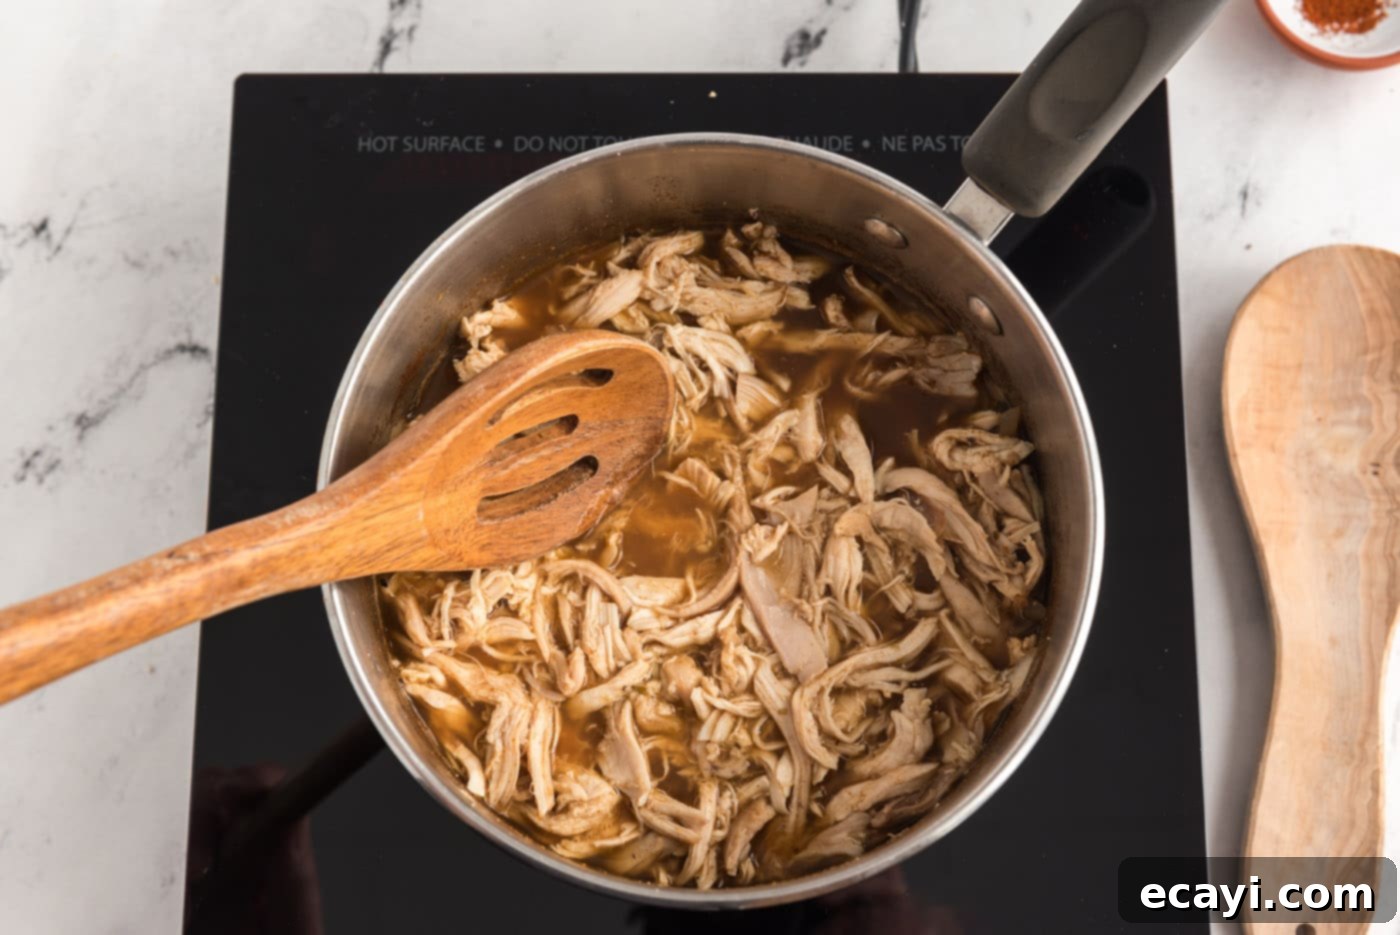
- Prepare the Chicken and Broth Mixture: Begin by preheating your oven to a consistent 350°F (175°C). Shred the meat from your chosen chicken (whether rotisserie or homemade) and set it aside in a dish to keep it warm. In a medium saucepan, combine the initial five ingredients: the generous amount of chili powder, ground cumin, dried oregano, thinly sliced large onion, and chicken broth. Bring this flavorful mixture to a rolling boil over medium-high heat. Once boiling, reduce the heat to maintain a steady simmer and allow the onion and broth mixture to cook down, reducing its volume by approximately half. This simmering process, which usually takes about 20 minutes, is crucial as it concentrates the flavors, infusing the broth with the aromatic spices and softening the onions perfectly.

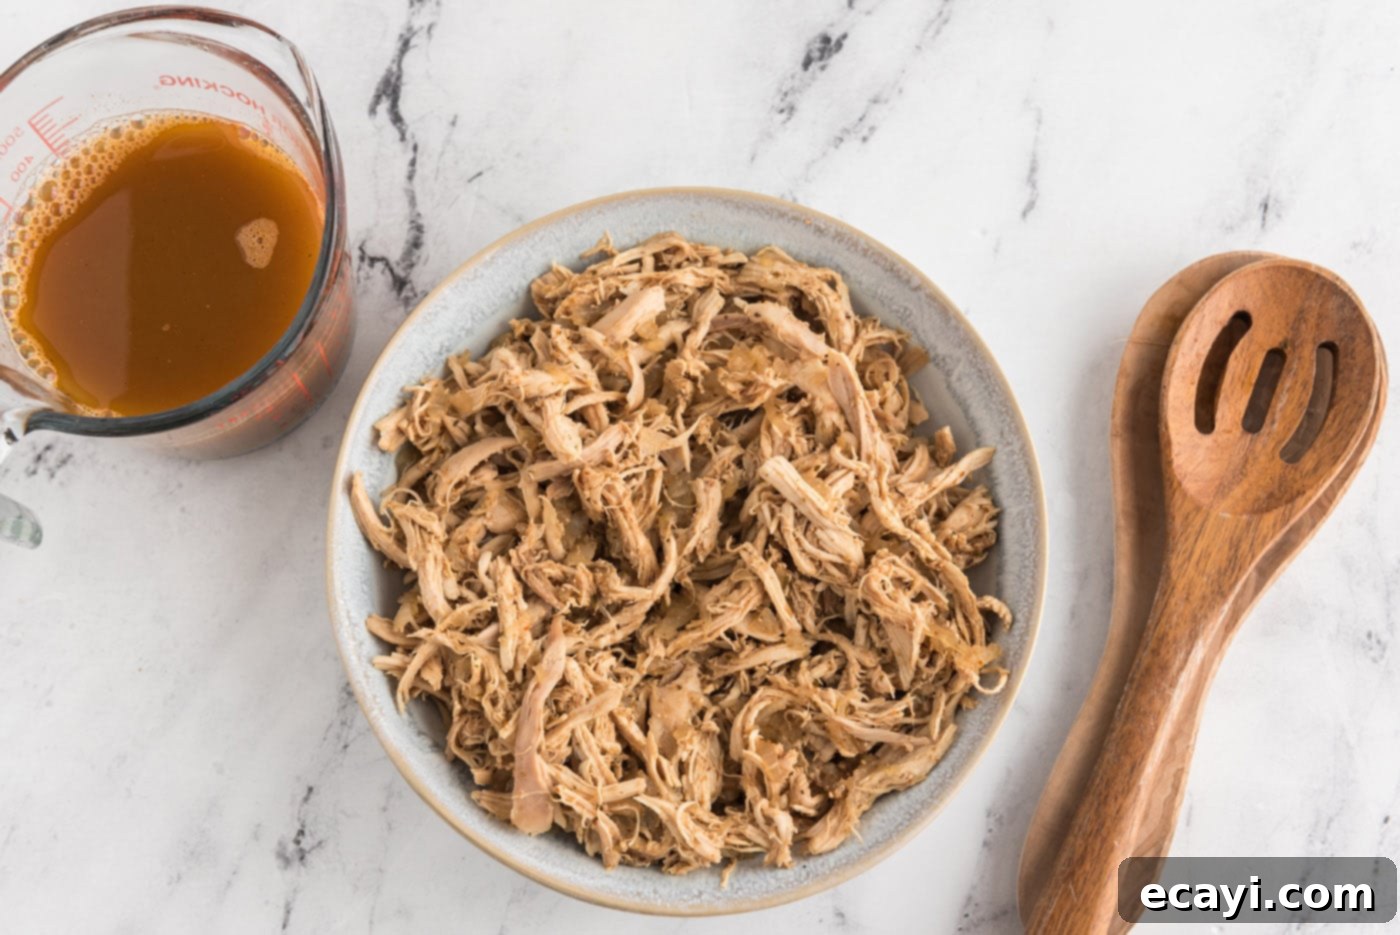
- Infuse the Chicken: Once your broth mixture has sufficiently reduced and is fragrant, add the shredded chicken to the saucepan. Allow it to simmer gently in the spiced broth for approximately ten minutes. This step is key to heating the chicken through and allowing it to absorb the wonderful flavors of the broth and spices, ensuring every bite of your enchilada is packed with taste. After simmering, carefully remove the chicken and softened onion from the saucepan using a slotted spoon, leaving behind the rich liquid. Reserve about one cup of this flavorful broth for later use, and you can discard any remaining liquid.


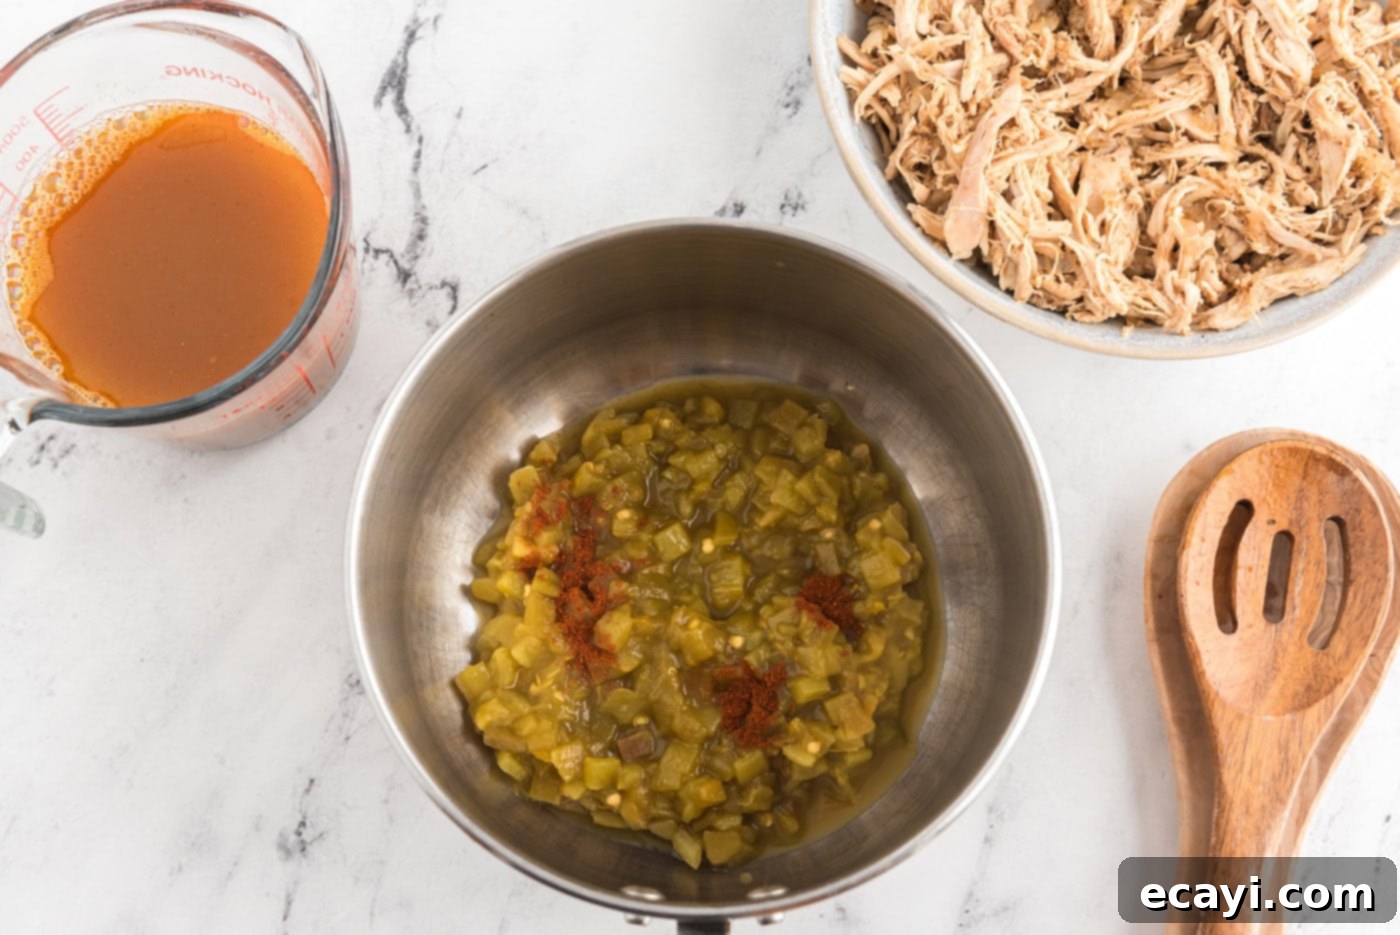
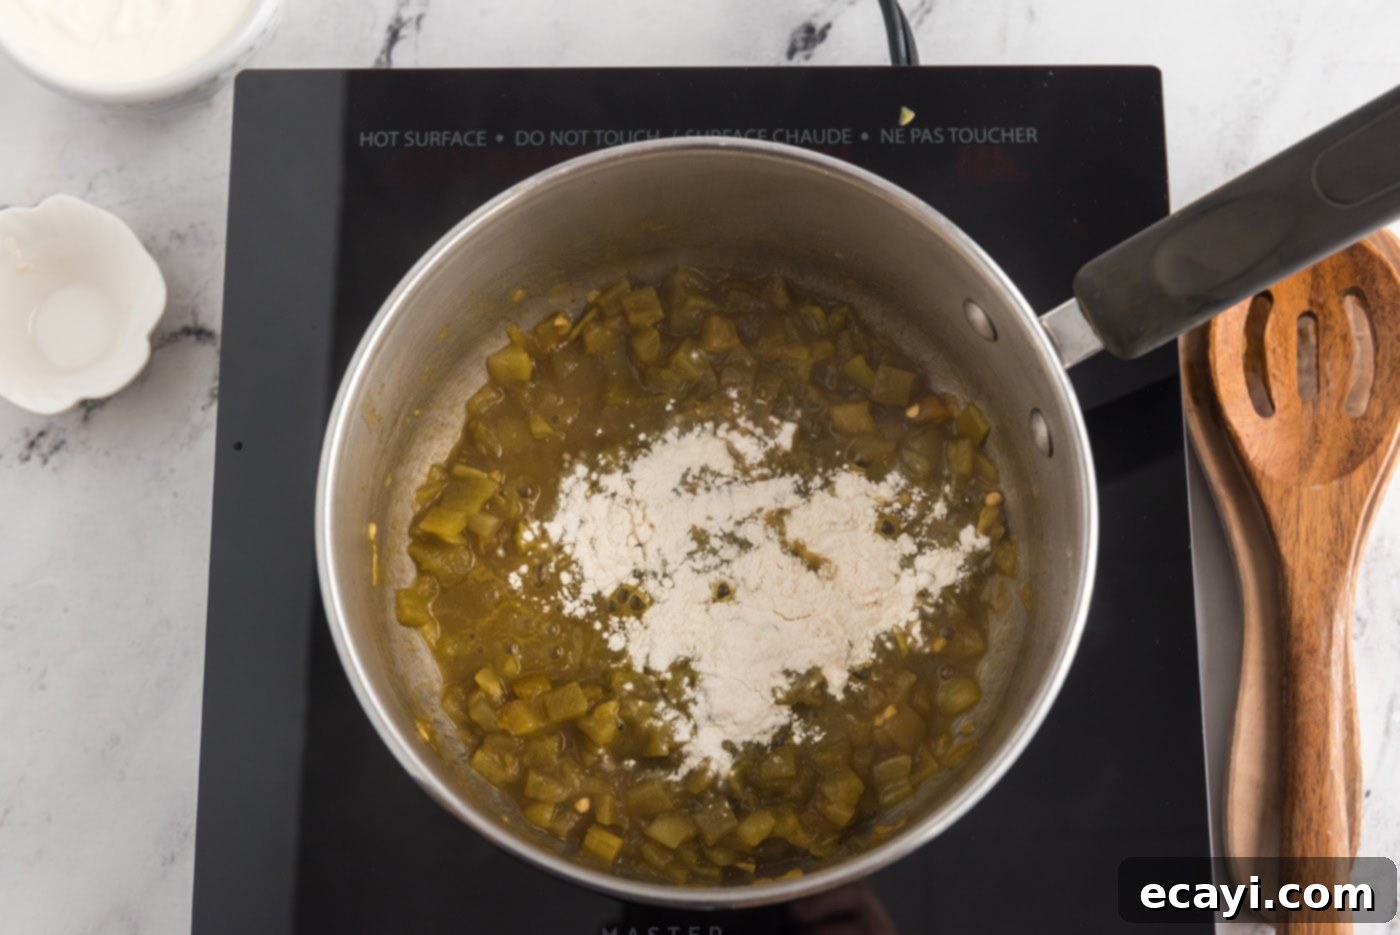
- Prepare the Green Chile Cream Sauce Base: Give your saucepan a quick rinse. Then, return it to the stovetop and add the diced green chiles (undrained, to retain their moisture and flavor) and the quarter teaspoon of chili powder. Cook this mixture over medium heat for about one minute, or until the chiles are heated through and fragrant. Next, stir in the all-purpose flour. Continue to cook and stir for another minute. The flour will lightly toast, forming a roux-like base that will thicken your sauce beautifully and eliminate any raw flour taste.


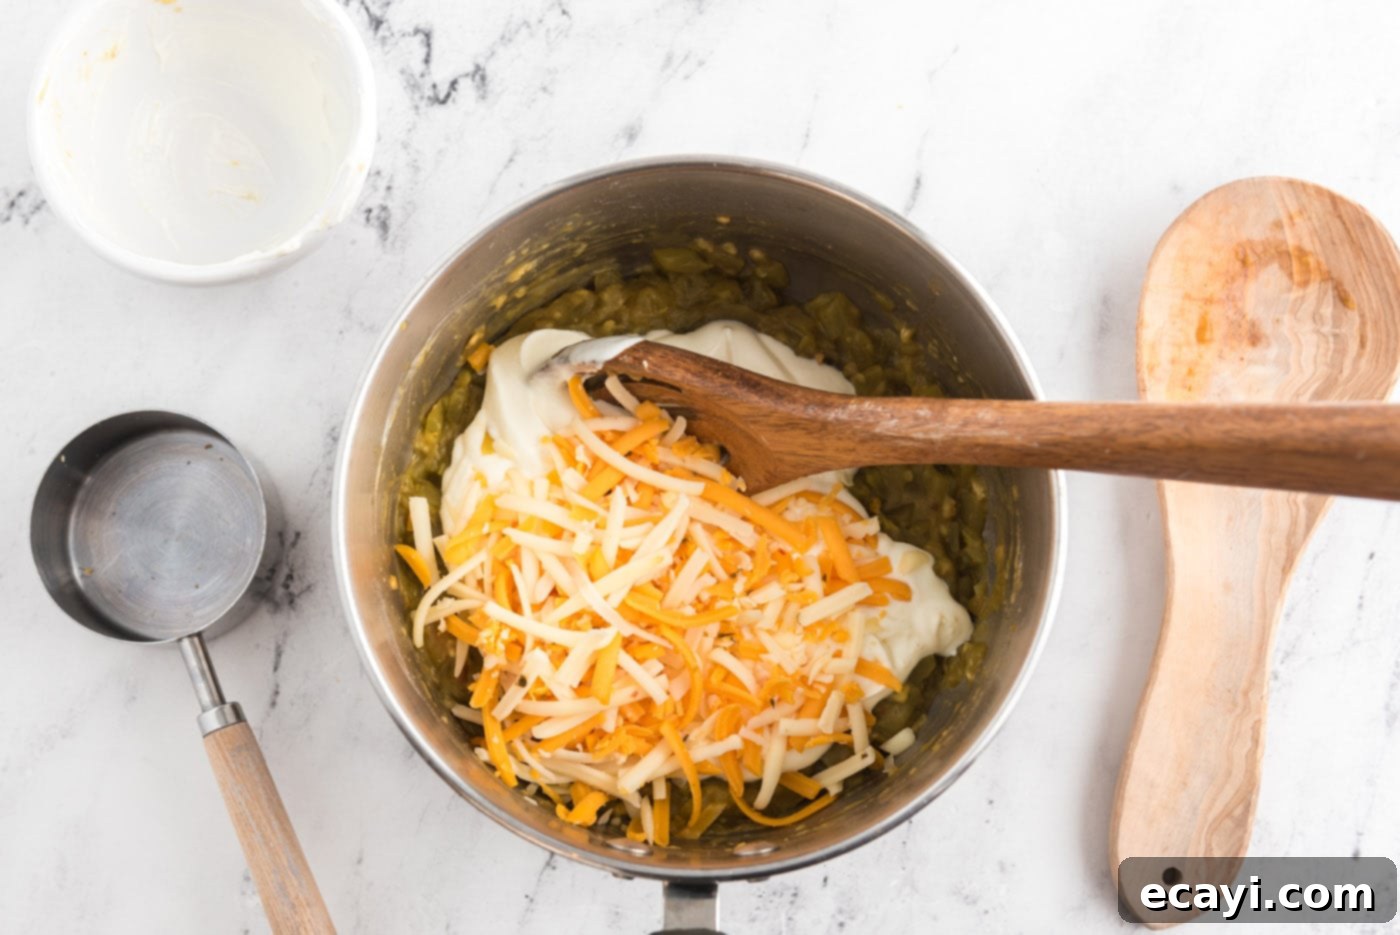
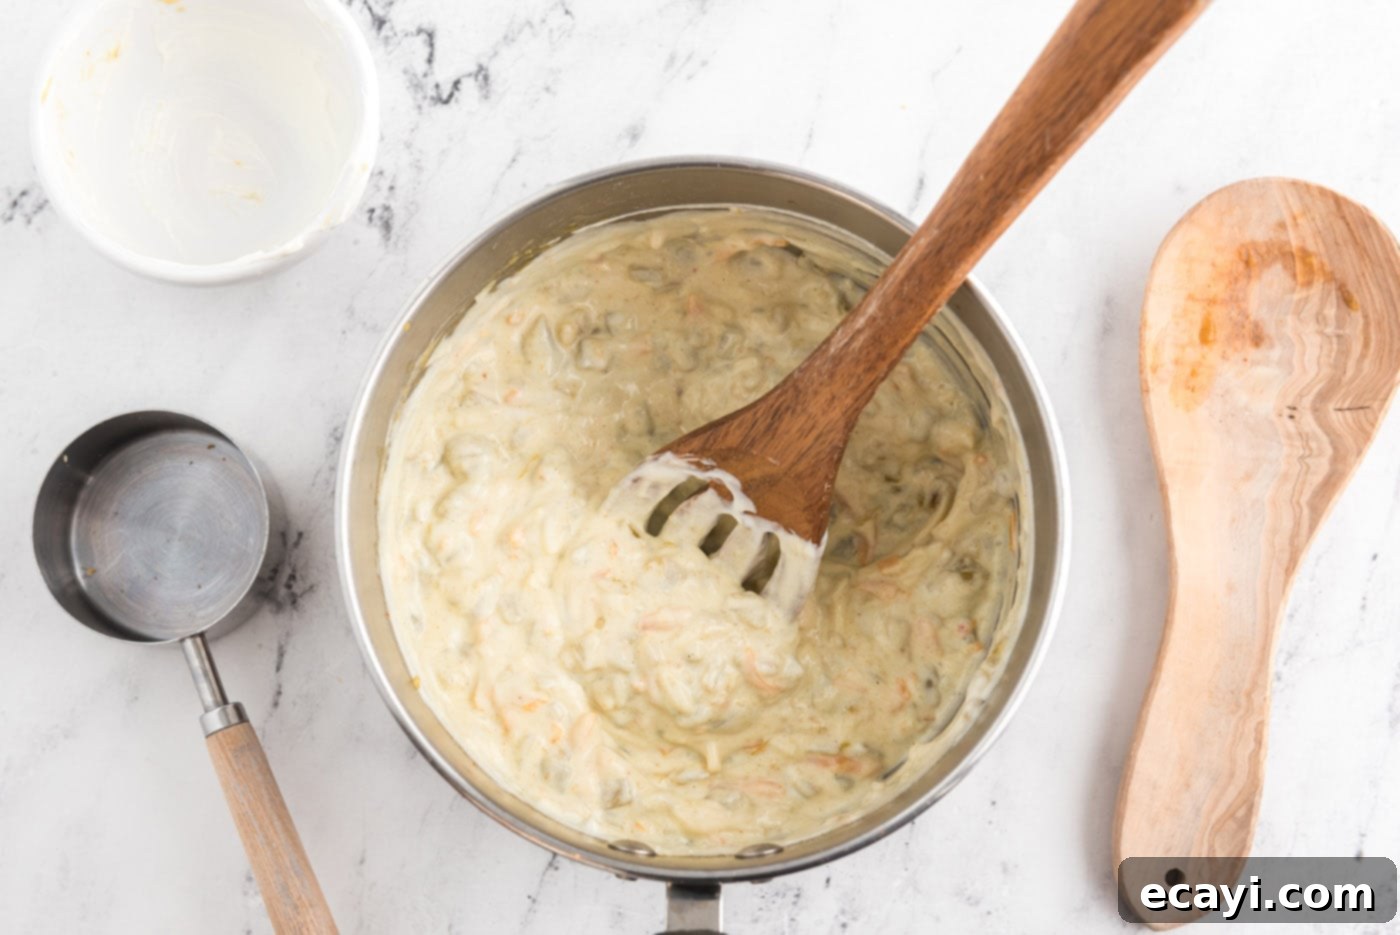
- Create the Creamy Filling: Remove the saucepan from the heat. Now, gently stir in the sour cream until it’s fully incorporated, creating a smooth and creamy base. Follow this by stirring in half a cup of your shredded Mexican cheese blend. The residual heat from the saucepan will help the cheese melt slightly, blending seamlessly with the sour cream and chiles to form a rich, unctuous sauce that will be the heart of your enchilada filling.


- Prepare Your Baking Dish: Lightly grease or spray a 13×9 inch baking dish. This ensures your enchiladas won’t stick and makes for easier cleanup. Set it aside, ready for assembly.
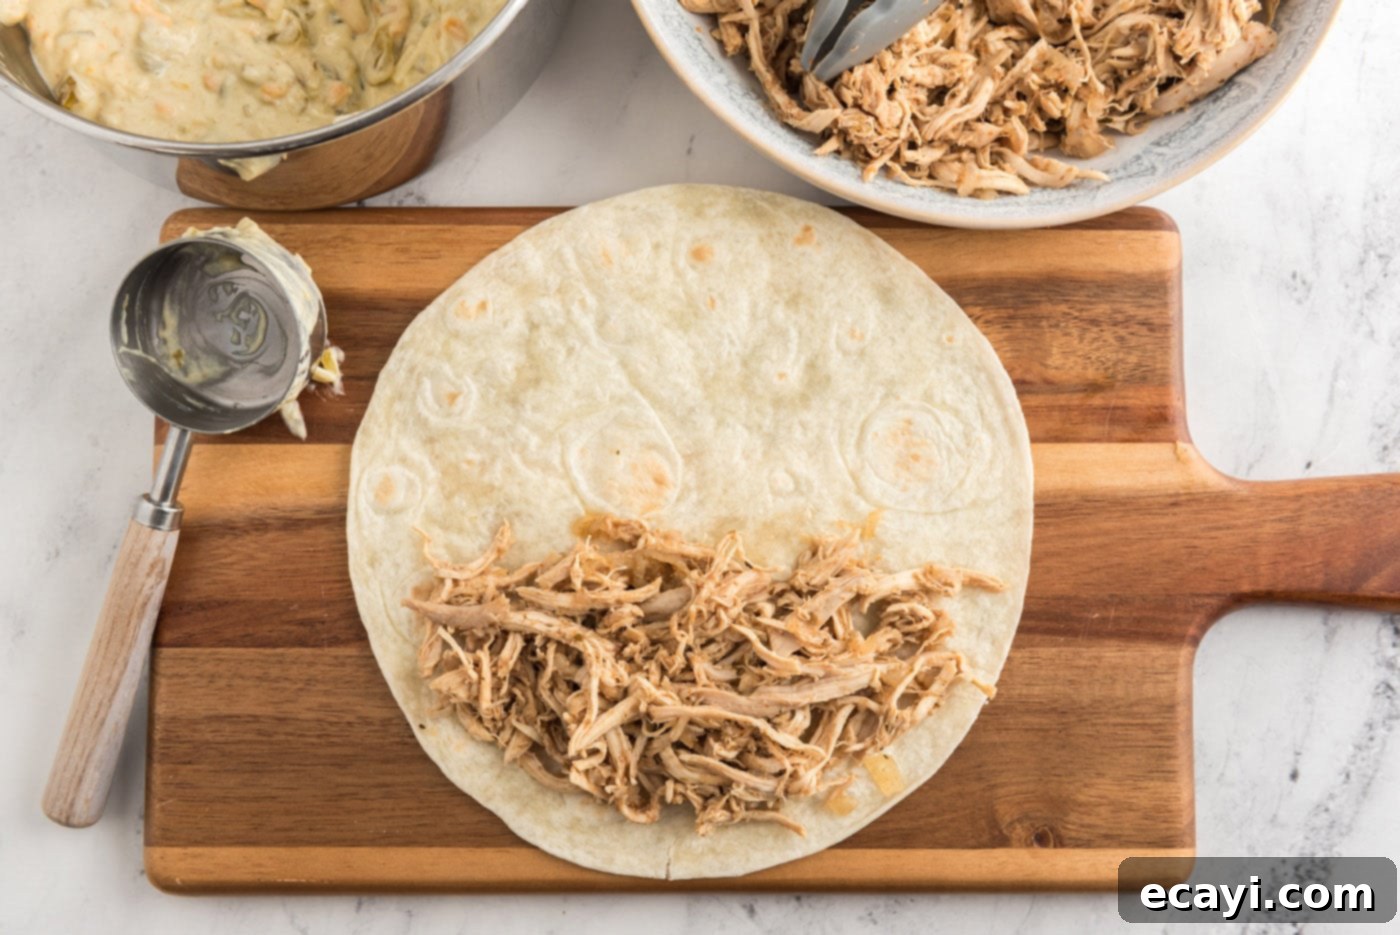
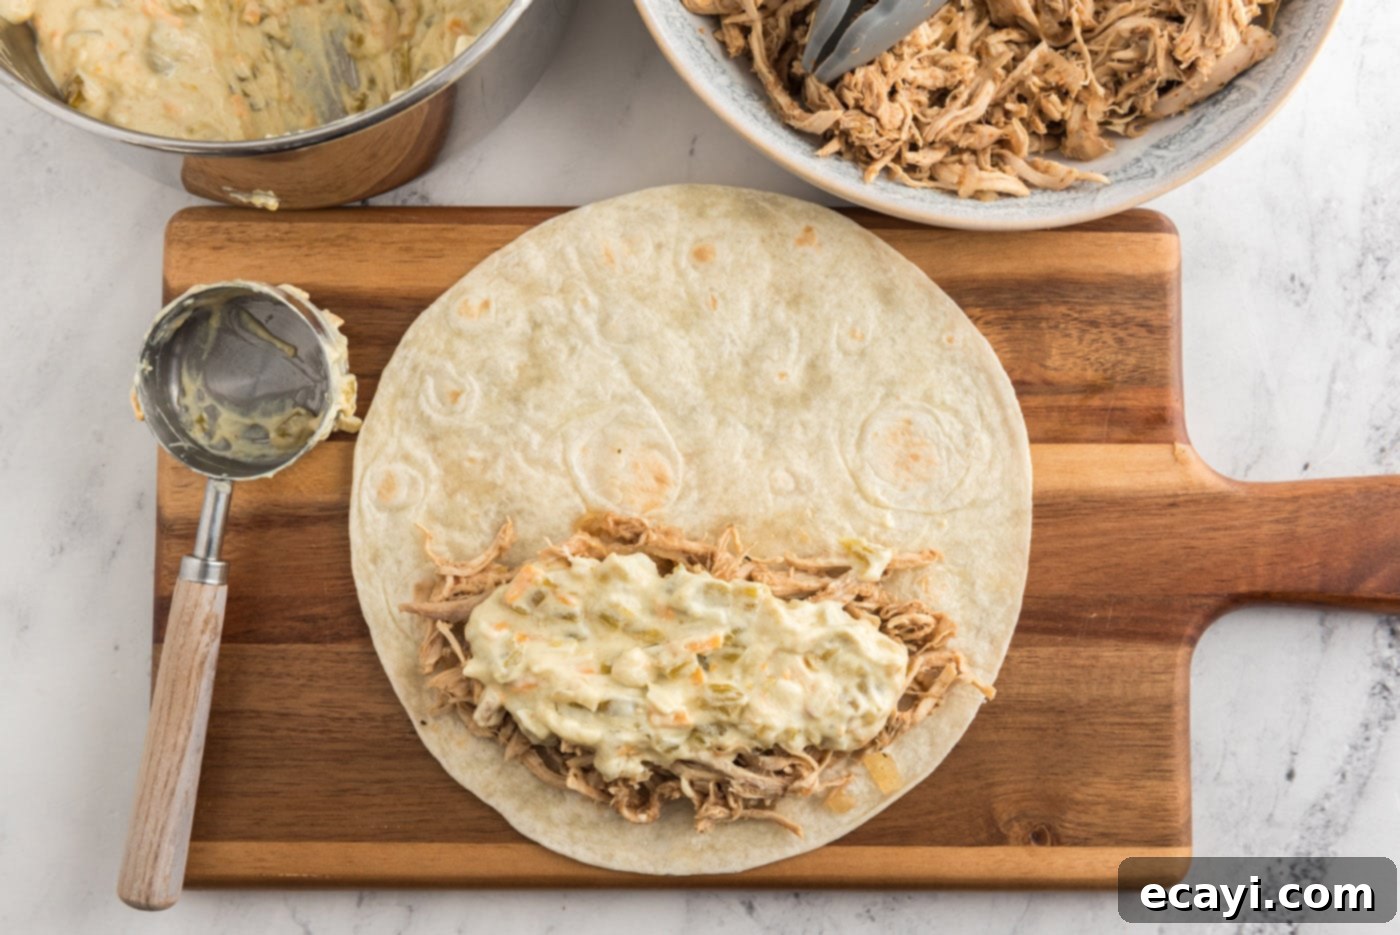
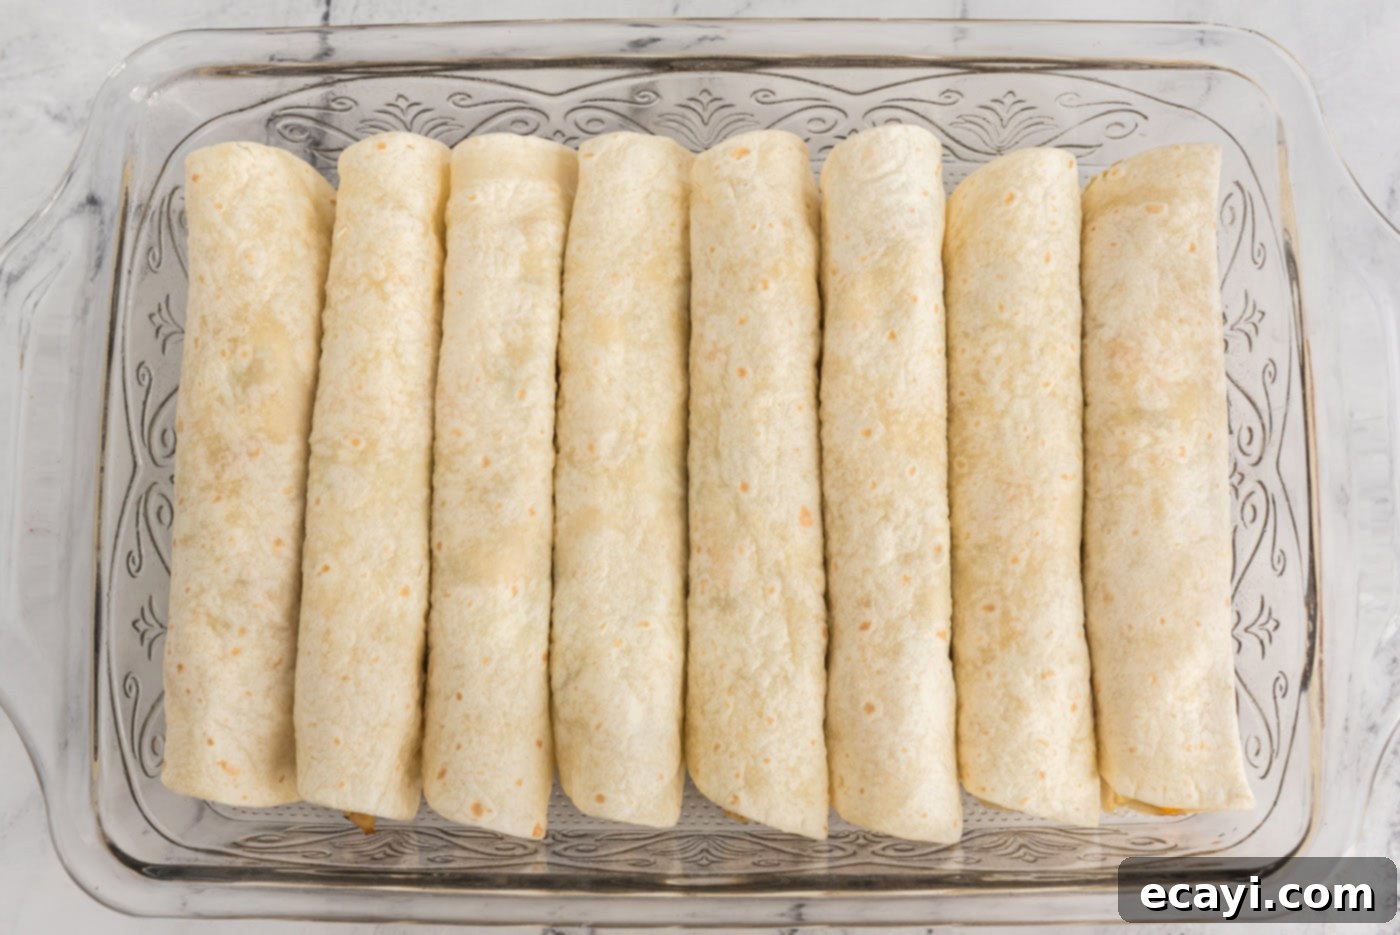
- Assemble and Bake: In a separate bowl, gently combine the reserved chicken and onion mixture. If it appears a little dry, add a small amount of the reserved broth mixture until it reaches a moist but not soggy consistency. Now, it’s time to assemble! Take one flour tortilla and place a generous portion of the shredded chicken mixture along one edge. Top the chicken with a dollop of the creamy sour cream and chile mixture. Roll up the tortilla tightly – they will be quite full, but that’s what makes them so satisfying! Arrange the rolled enchiladas in your prepared baking dish, placing them seam-side down to prevent them from unrolling during baking. Cover the baking dish tightly with aluminum foil. Bake the covered enchiladas in your preheated oven for 30 minutes, allowing the flavors to meld and the enchiladas to heat through evenly.


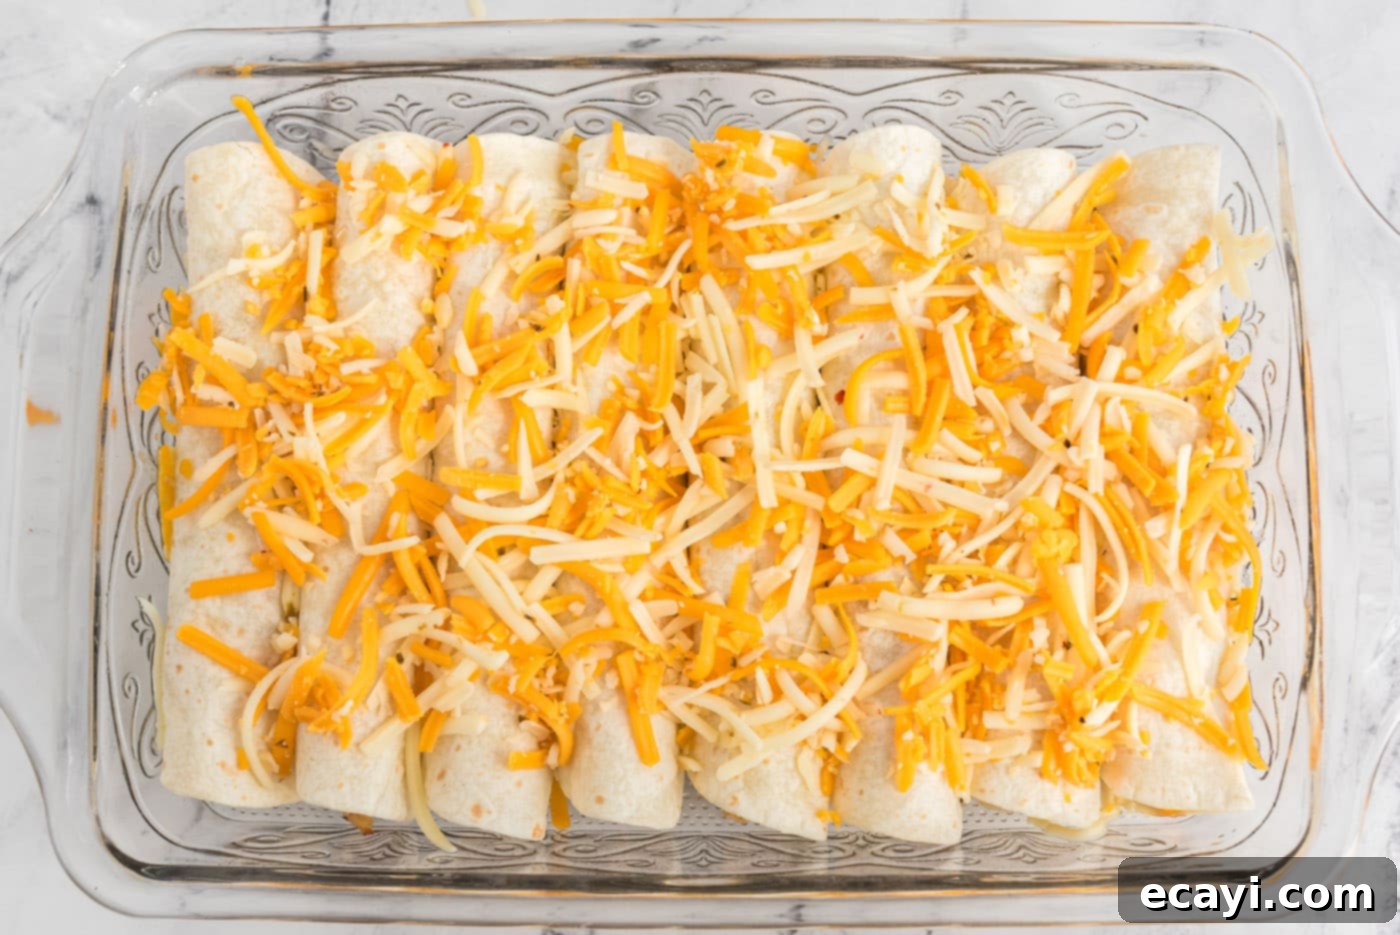
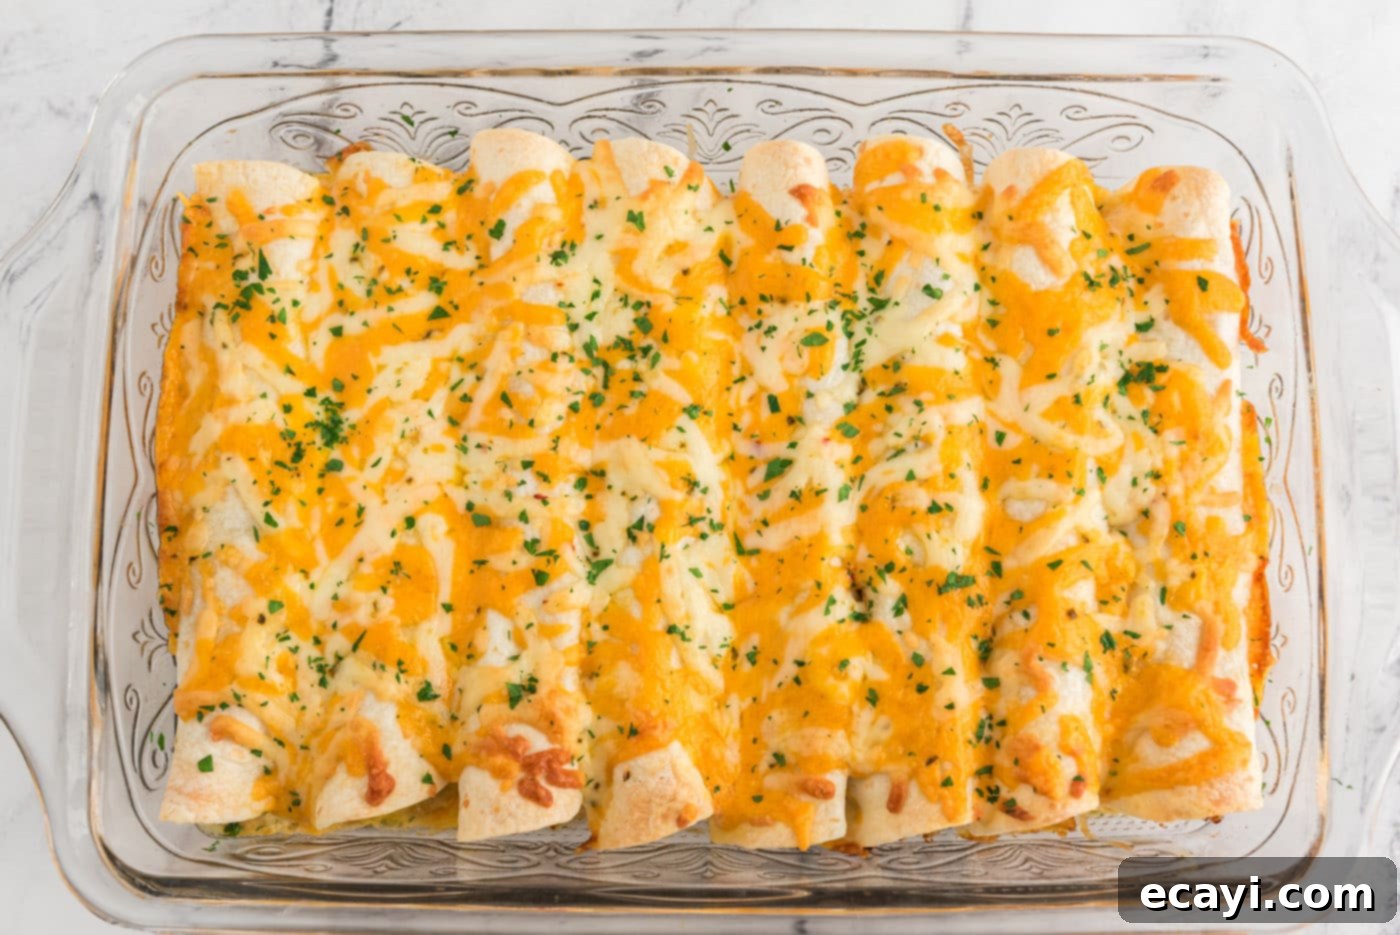
- The Cheesy Finish: After 30 minutes, carefully remove the foil. Generously sprinkle the remaining 1 1/2 cups of shredded cheese evenly over the top of the enchiladas. Return the uncovered dish to the oven and bake for an additional 10 minutes, or until the cheese is beautifully melted, bubbly, and slightly golden, and the enchiladas are thoroughly heated through. The melted cheese creates a delicious crust and locks in all the incredible flavors.


Frequently Asked Questions & Expert Tips for Perfect Enchiladas
Storing your delicious leftovers correctly ensures they remain fresh and tasty for future meals. Once cooled, transfer any remaining enchiladas to an airtight container. They will keep perfectly in the refrigerator for up to 4 days. When you’re ready to enjoy them again, you can easily reheat them. For the best texture, place them in a 350°F (175°C) oven until warmed through, which typically takes about 15-20 minutes. Alternatively, for a quicker option, pop them in the microwave for a minute or two, checking regularly until hot.
Absolutely! These enchiladas are fantastic for making ahead, which makes them a superb choice for meal prep or entertaining. You can assemble the entire dish, right up to the point where it goes into the oven. Once assembled in the baking dish, cover it tightly with plastic wrap or foil and store it in the refrigerator for up to 24-48 hours. When you’re ready to bake, take the dish out of the refrigerator about 30 minutes before cooking to allow it to come closer to room temperature. Then, bake as directed in the recipe. If you’re short on time and can’t let it sit out, simply add an extra 10-15 minutes to the initial covered baking time to compensate for the colder starting temperature.
This recipe is designed to be mild, offering a comforting flavor profile without overwhelming heat, making it perfect for families and those who prefer less spice. The green chiles typically used are mild varieties. However, if you’re a fan of a fiery kick, it’s incredibly easy to adjust the heat level. Simply swap out the mild green chiles for a hot variety, or incorporate a finely diced jalapeño or serrano pepper (remove seeds for less heat) into the chicken mixture. A dash of your favorite hot sauce drizzled over the top before serving also works wonders for an instant spice boost!
Yes, these enchiladas are incredibly freezer-friendly, making them perfect for future meals! You can freeze them either cooked or uncooked. To freeze, arrange the prepared enchiladas (seam side down) in an airtight freezer-safe container or a large resealable freezer bag. They will keep well in the freezer for up to 3 months. When you’re ready to enjoy them, transfer the frozen enchiladas to the refrigerator overnight to thaw. Then, if they were uncooked, bake according to the recipe directions, potentially adding a few extra minutes if they’re still quite cold. If they were precooked, simply bake them in a 350°F (175°C) oven until thoroughly warmed through and bubbling. Freezing is a fantastic way to ensure you always have a delicious, homemade meal ready to go!
Expert Tips for Success:
- Achieving Perfect Tortillas: If using flour tortillas, ensure they are fresh and pliable. If they seem stiff, a quick 10-15 second warm-up in the microwave or a dry skillet can make them much easier to roll without cracking.
- Flavor Boost: Don’t skip reducing the broth mixture! This step is critical for concentrating the savory flavors and ensuring your chicken is deeply seasoned.
- Cheese, Please: While pre-shredded cheese is convenient, shredding your own from a block often results in a smoother, creamier melt as it lacks the anti-caking agents found in packaged varieties.
- Customizing Heat: For a smoky heat, consider adding a pinch of chipotle powder to the chicken and broth mixture.
- Preventing Dryness: If your chicken mixture feels too dry when assembling, don’t hesitate to add a little more of the reserved broth. The goal is a moist, flavorful filling that isn’t watery.
Perfect Serving Suggestions
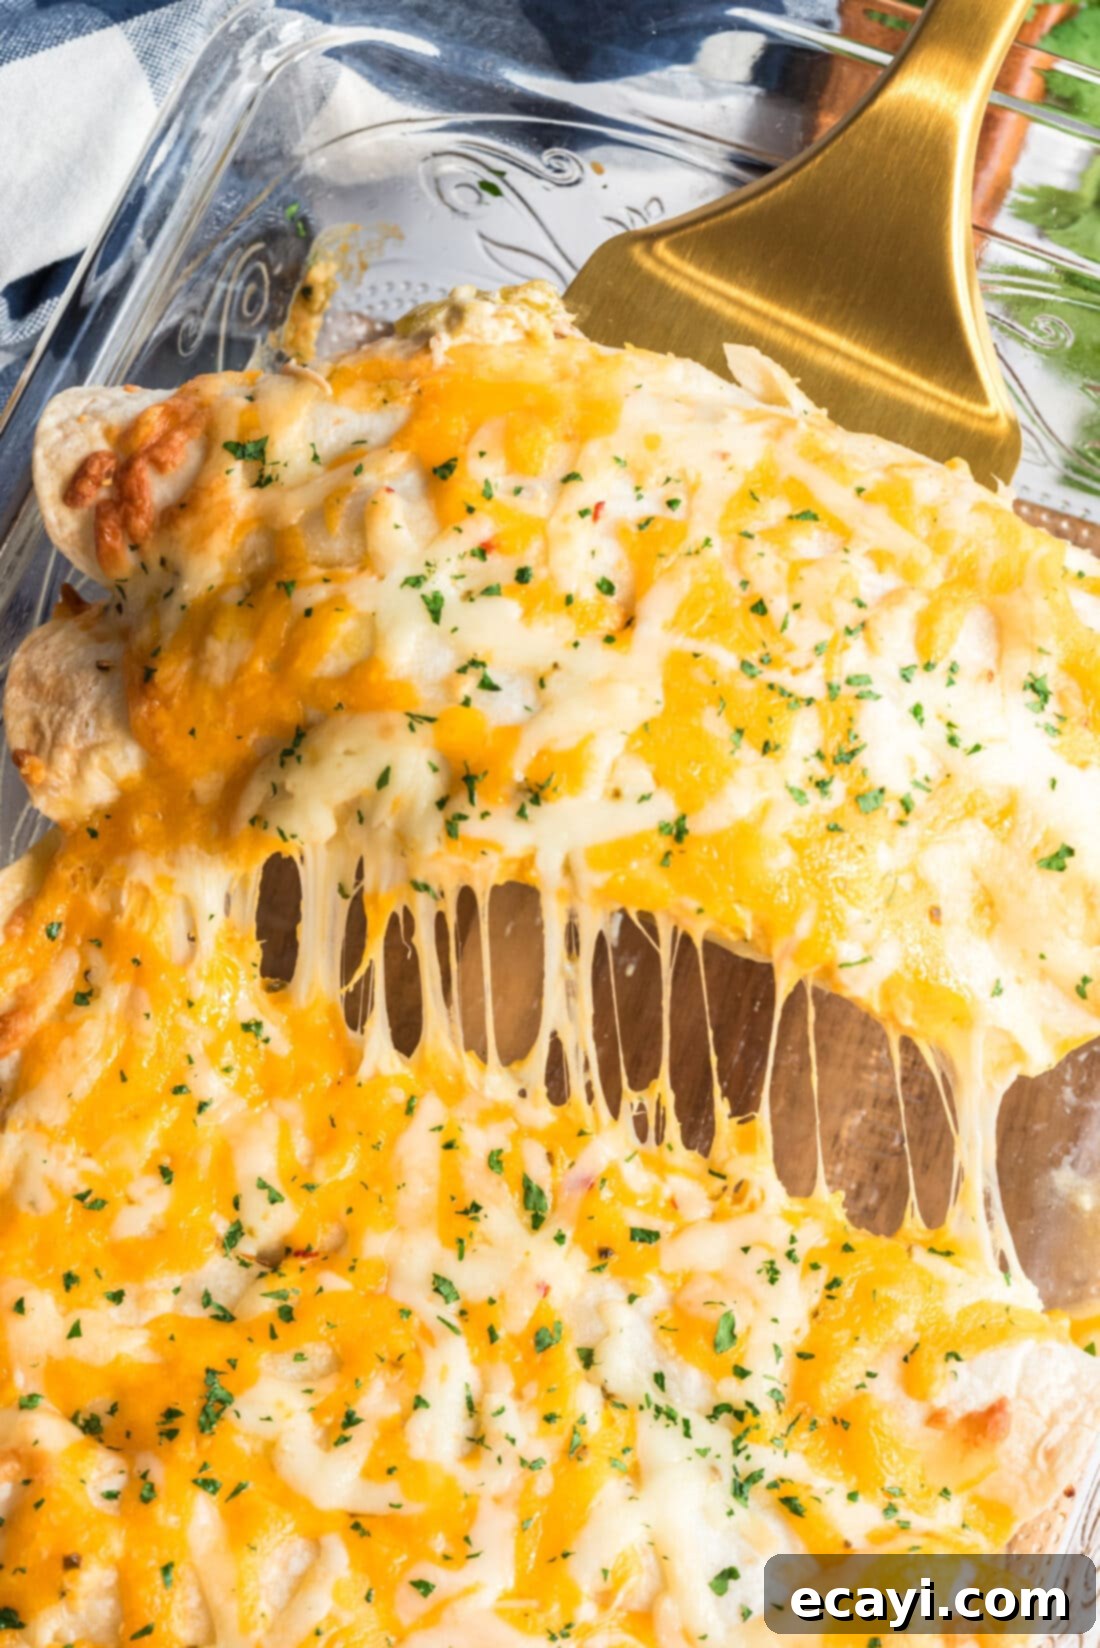
These shredded chicken and green chile enchiladas are a complete meal in themselves, but they pair beautifully with a variety of side dishes to create a truly satisfying spread. Classic accompaniments include fluffy rice, such as a flavorful Spanish rice, and a side of hearty refried or black beans. A fresh, crisp green salad with a light vinaigrette can also offer a refreshing counterpoint to the richness of the enchiladas.
As mentioned earlier, while this recipe shines without being fully smothered, you can always incorporate a homemade enchilada sauce into the mix if that’s your preference. Alternatively, keep a bowl of warm enchilada sauce on the side, allowing individual diners to add as much or as little as they like. For an extra flourish, garnish your freshly baked enchiladas with a dollop of sour cream or Mexican crema, diced fresh tomatoes, finely chopped red onions, and a generous sprinkle of fresh cilantro. Sliced avocado or a spoonful of guacamole also adds a wonderful creamy texture and fresh flavor.
More Delicious Related Recipes
If you loved these enchiladas and are looking for more fantastic Mexican-inspired dishes or comforting meals, be sure to check out these other recipes:
- Crispy Chimichangas
- Vibrant Salsa Verde (Green Salsa)
- Hearty Mexican Lasagna
- Tender Instant Pot Carnitas
- Flavorful Chicken Tinga
I absolutely adore cooking and baking, and there’s nothing I enjoy more than sharing my kitchen adventures and tested recipes with all of you! Remembering to check back every day for new ideas can be tricky, which is why I’ve made it easy for you. I offer a convenient newsletter delivered straight to your inbox every time a new recipe is posted. Simply subscribe here and start receiving your free daily recipes to inspire your next meal!

Shredded Chicken and Chile Enchiladas
IMPORTANT – There are often Frequently Asked Questions within the blog post that you may find helpful. Simply scroll back up to read them!
Print It
Pin It
Rate It
Save ItSaved!
Ingredients
- 4 cups shredded chicken (we used a 3 pound rotisserie chicken for convenience)
- 4 ½ teaspoons chili powder
- 1 Tablespoon ground cumin
- 1 teaspoon dried oregano crushed
- 1 large onion thinly sliced
- 28 ounces chicken broth (or homemade chicken stock)
- 8 ounces diced green chiles (two 4 ounce cans, undrained)
- ¼ teaspoon chili powder
- 1 Tablespoon all purpose flour
- 8 ounces sour cream
- 2 cups shredded Mexican cheese
- 8 flour tortillas (8 inches)
Things You’ll Need
-
13×9 baking dish
-
Saucepan
Before You Begin
- For incredible convenience and to save time, consider using a pre-cooked rotisserie chicken from your local supermarket. However, feel free to cook your own chicken or utilize any leftover shredded chicken you might have. If you prepare your own chicken, definitely use the resulting stock in place of canned chicken broth for a deeper flavor.
- The cheese is crucial for that delicious, gooey texture. Use your favorite blend! A Mexican blend is always a safe bet, or for a bit of a kick, try a mix of Pepper Jack and Cheddar. Freshly grated cheese often melts more smoothly.
- When it comes to tortillas, we generally find that flour tortillas are more pliable and hold the filling better for these enchiladas. That said, if you prefer the classic flavor of corn tortillas, they work perfectly fine. Just keep in mind that corn tortillas are usually smaller, so you might end up with a few more enchiladas. Warming corn tortillas slightly before rolling can help prevent them from cracking.
Instructions
-
Preheat your oven to 350°F (175°C). Remove the meat from your chosen chicken (rotisserie or homemade) and shred it, then set it aside in a dish to keep warm. In a medium saucepan, combine 4 ½ teaspoons chili powder, 1 Tablespoon ground cumin, 1 teaspoon crushed dried oregano, 1 thinly sliced large onion, and 28 ounces chicken broth. Bring this mixture to a boil over medium-high heat. Once boiling, reduce the heat and simmer, cooking the onion and broth mixture until it has reduced by half, which typically takes about 20 minutes, concentrating all the wonderful flavors.
-
Add the shredded chicken to the reduced broth mixture and let it simmer for ten minutes. This allows the chicken to heat through and absorb the rich flavors. Using a slotted spoon, remove the chicken and onion from the saucepan, reserving approximately one cup of the flavorful broth. You can discard any remaining broth.
-
Rinse out the saucepan. Return it to the heat and add the 8 ounces of undrained diced green chiles and ¼ teaspoon of chili powder. Cook for about one minute, or until the chiles are heated through and aromatic. Stir in 1 Tablespoon of all-purpose flour and continue to cook and stir for one minute more to create a light roux, which will help thicken your sauce.
-
Remove the saucepan from the heat. Stir in 8 ounces of sour cream until smooth, then incorporate ½ cup of the shredded Mexican cheese until melted and creamy. This forms the delicious, tangy sauce for your enchiladas.
-
Lightly grease or spray a 13×9 inch baking dish; set aside, ready for assembly.
-
In a separate bowl, mix the chicken and onion mixture. If it appears too dry, add a small amount of the reserved broth until it’s moist. Divide this shredded meat mixture evenly among your 8 flour tortillas, placing the mixture along one edge. Top each portion of chicken with a generous spoonful of the sour cream and chile mixture, then roll up the tortillas tightly (they will be full!). Arrange the rolled enchiladas in your prepared baking dish, placing them seam-side down. Cover the dish with aluminum foil and bake for 30 minutes.
-
Uncover the baking dish. Sprinkle the remaining 1 ½ cups of cheese generously over the enchiladas. Return the uncovered dish to the oven and bake for an additional 10 minutes, or until the cheese is beautifully melted, bubbly, and the enchiladas are heated through and golden. Serve immediately and enjoy!
Expert Tips & FAQs
- You can easily incorporate homemade enchilada sauce directly into the mix for a wetter, smothered style, or simply keep it on the side as an optional topping for those who prefer to add their own. Feel free to garnish your finished enchiladas with a variety of fresh toppings like sour cream, diced tomatoes, finely chopped red onions, and fresh cilantro for added flavor and visual appeal.
- For storing leftovers, ensure they are placed in an airtight container and kept in the refrigerator for up to 4 days. Reheat them in a 350°F (175°C) oven until warmed through, or for a quicker option, use the microwave.
- These enchiladas are excellent for making ahead. Prepare the entire dish, assembling the enchiladas in the baking dish, but do not bake. Cover the dish tightly and store it in the refrigerator. About 30 minutes before you plan to cook, remove the dish from the refrigerator to allow it to reach closer to room temperature, then bake as directed. If time doesn’t permit this pre-warming, simply add a bit of extra cooking time to the initial covered baking stage.
- Freezing is a fantastic option for meal prep. Place the prepared enchiladas, whether cooked or uncooked, seam side down in an airtight container or a large freezer-safe bag. They can be frozen for up to 3 months. To cook from frozen (uncooked), thaw them overnight in the refrigerator and then bake as directed, adjusting baking time if necessary. If they were precooked, simply pop them into a 350°F (175°C) oven until thoroughly warmed through.
Nutrition
The recipes on this blog are tested with a conventional gas oven and gas stovetop. It’s important to note that some ovens, especially as they age, can cook and bake inconsistently. Using an inexpensive oven thermometer can assure you that your oven is truly heating to the proper temperature. If you use a toaster oven or countertop oven, please keep in mind that they may not distribute heat the same as a conventional full sized oven and you may need to adjust your cooking/baking times. In the case of recipes made with a pressure cooker, air fryer, slow cooker, or other appliance, a link to the appliances we use is listed within each respective recipe. For baking recipes where measurements are given by weight, please note that results may not be the same if cups are used instead, and we can’t guarantee success with that method.
This recipe originally appeared here on Nov 11, 2010, and has since been thoughtfully updated with fresh new photos and enhanced expert tips to provide you with the best cooking experience.
