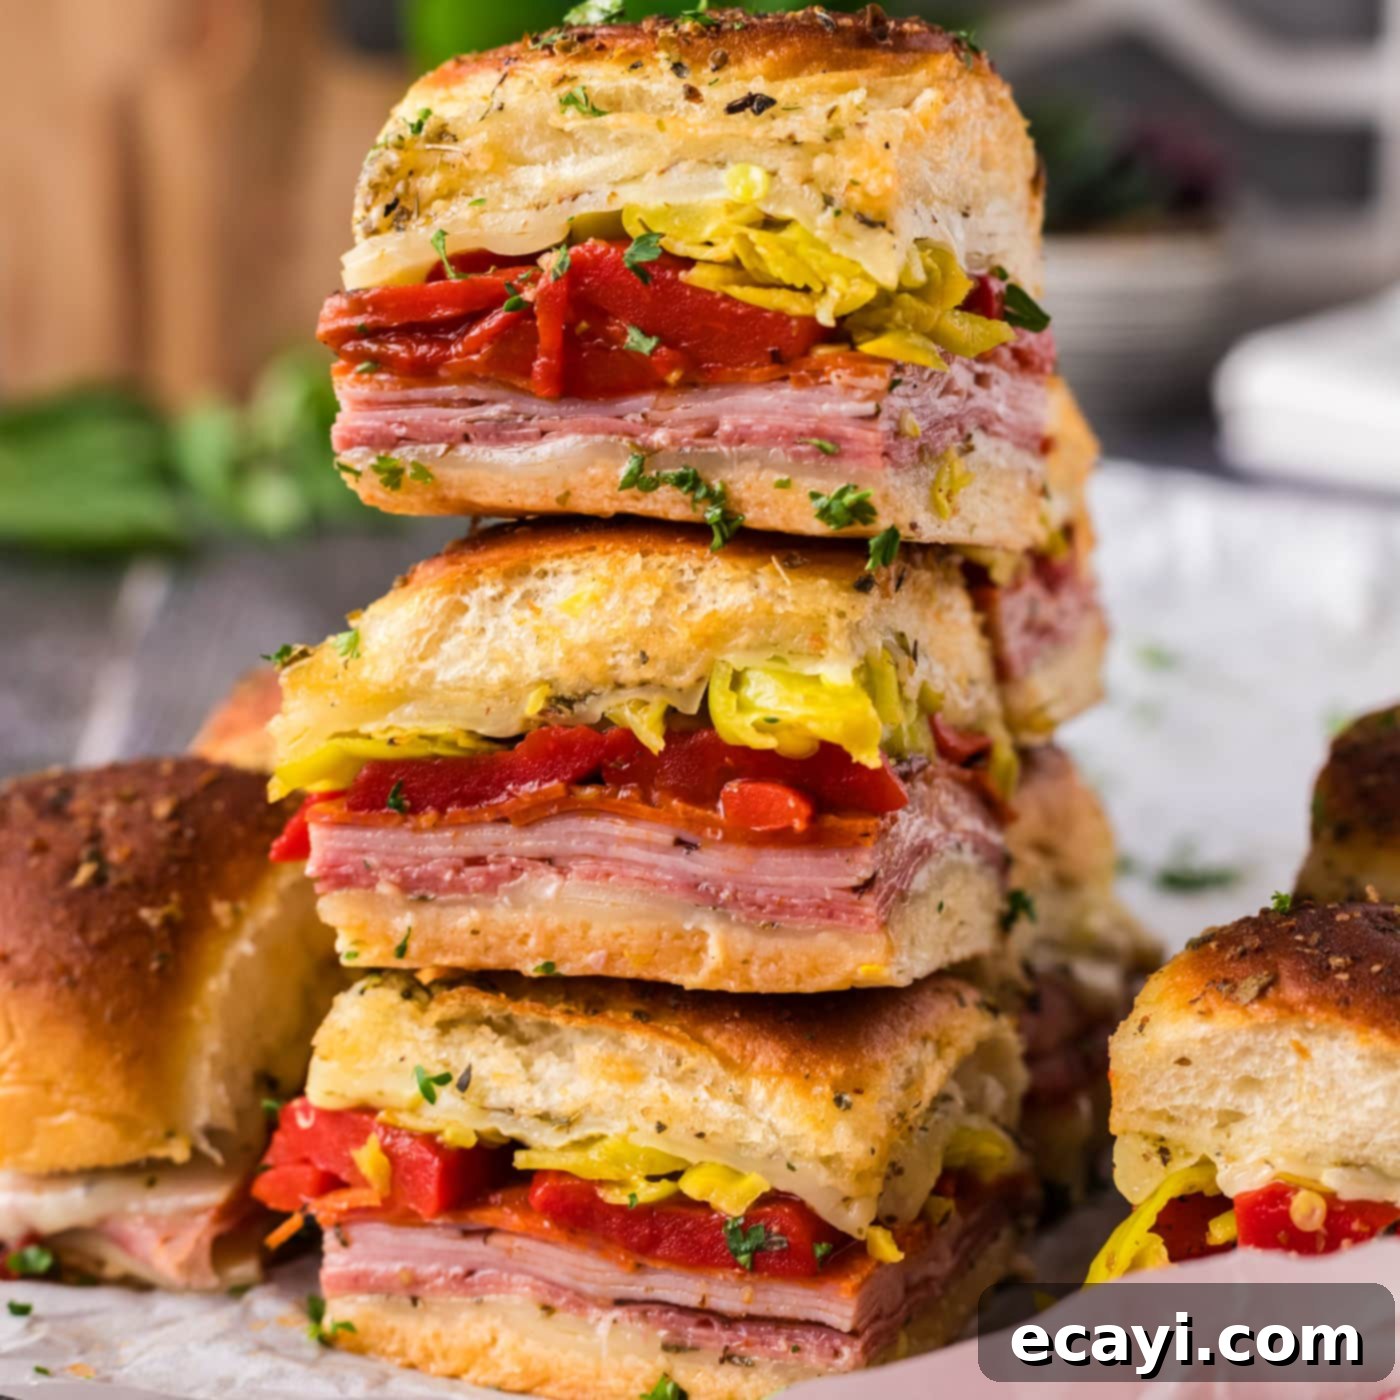
Irresistible Italian Sliders: The Ultimate Hot & Cheesy Party Appetizer or Easy Dinner
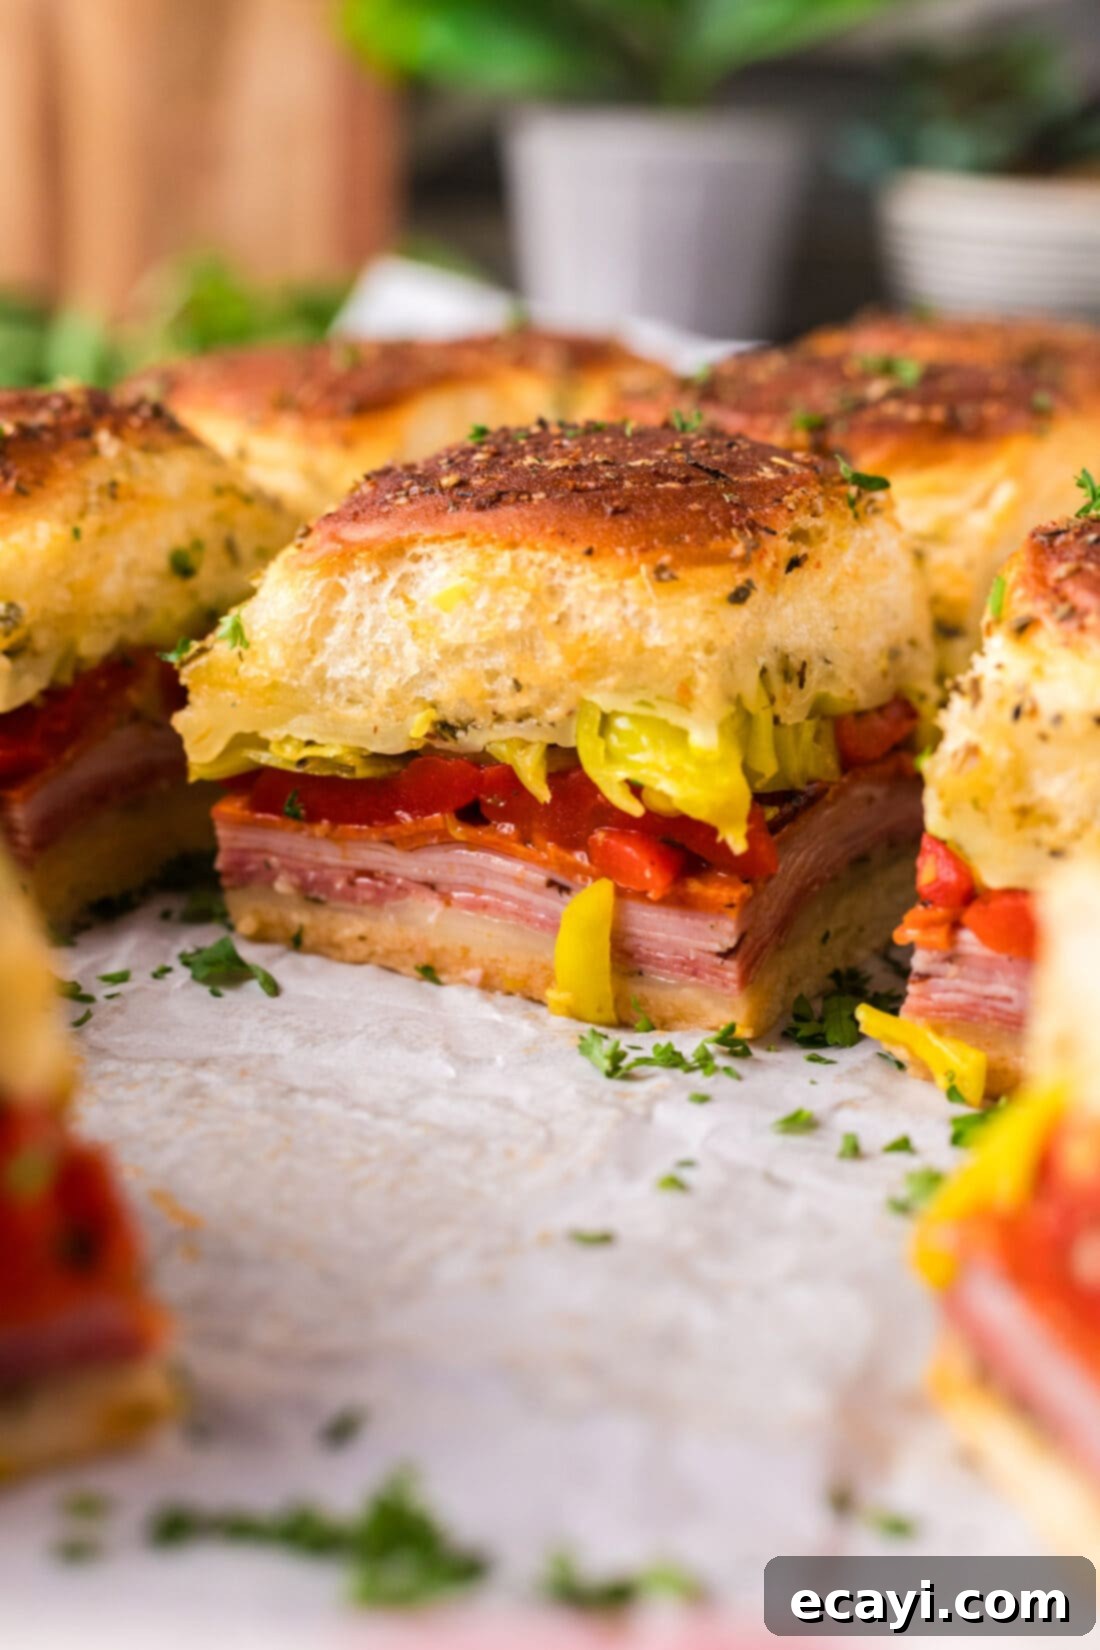
Prepare to delight your taste buds with these sensational Italian sliders! Imagine soft, golden slider buns, brushed with a savory garlic-herb butter, embracing layers of perfectly melted provolone cheese, savory hard salami, delicious deli ham, and zesty pepperoni. Adding a vibrant touch are roasted bell peppers, while sliced pepperoncini introduce a tangy kick that perfectly balances the rich meats and cheese. These hot and toasty mini sandwiches are not just incredibly quick and easy to assemble, but they’re also guaranteed to be a massive hit at any gathering, party, or even as a simple, satisfying weeknight dinner. They deliver all the robust flavors of a classic Italian sub in a convenient, bite-sized format that everyone will adore.
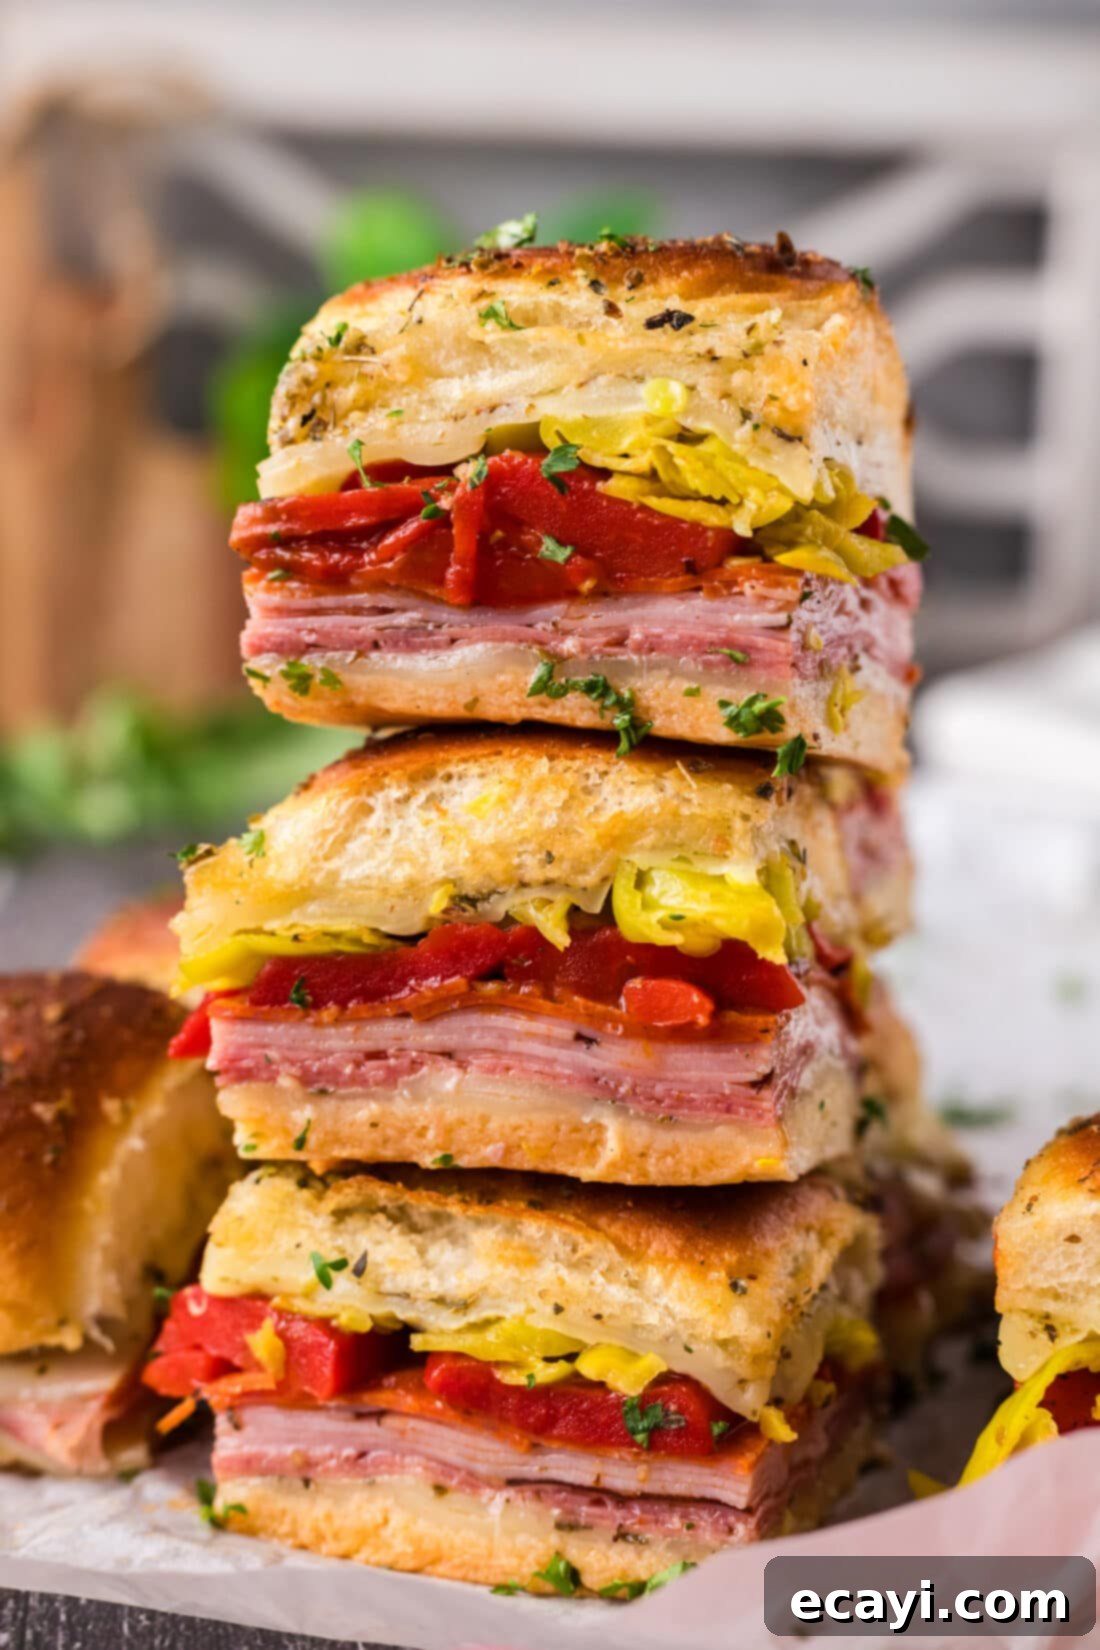
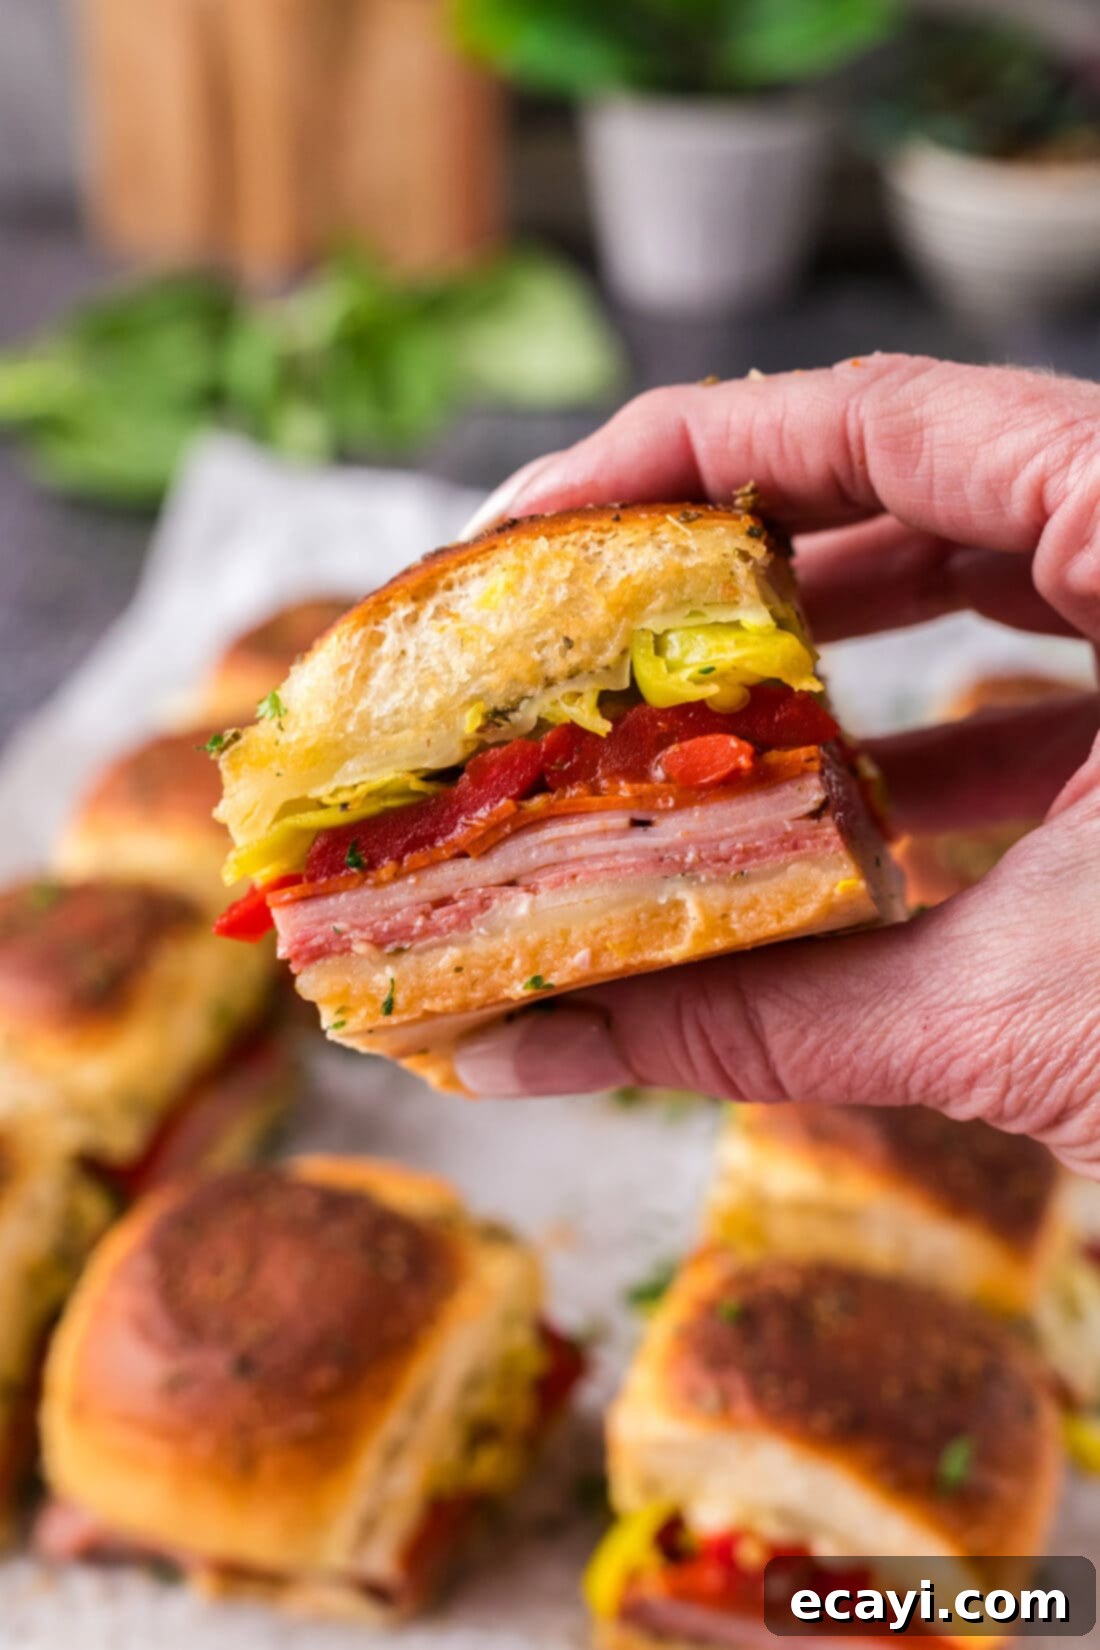
Why These Italian Sliders Are Your New Go-To Recipe
These Italian sliders aren’t just delicious; they’re a culinary marvel designed for maximum flavor and minimal effort, making them an absolute winner for any occasion. The secret lies in their ingenious construction and the harmonious blend of classic Italian deli flavors. We start with soft slider buns, which are the perfect vehicle for holding all the incredible fillings. Each mini sandwich is generously layered with premium provolone cheese, offering a creamy, slightly sharp melt that binds everything together. Then come the robust meats: salty hard salami, tender deli ham, and spicy pepperoni, creating a diverse texture and an explosion of savory goodness in every bite.
What truly elevates these sliders is the addition of vibrant roasted bell peppers, adding a subtle sweetness and a tender crunch, and the crucial tangy kick from sliced pepperoncini. This briny element cuts through the richness of the meats and cheese, awakening your palate and ensuring each bite is as exciting as the last. Finally, the entire ensemble is basted with a fragrant melted butter mixture, infused with garlic salt and Italian seasoning, which toasts the buns to a beautiful golden perfection and imparts an irresistible aroma and flavor. They come together quickly, bake effortlessly, and serve beautifully, ensuring less time in the kitchen and more time enjoying your company. They are truly the quintessential party food!
Essential Ingredients for Perfect Italian Sliders
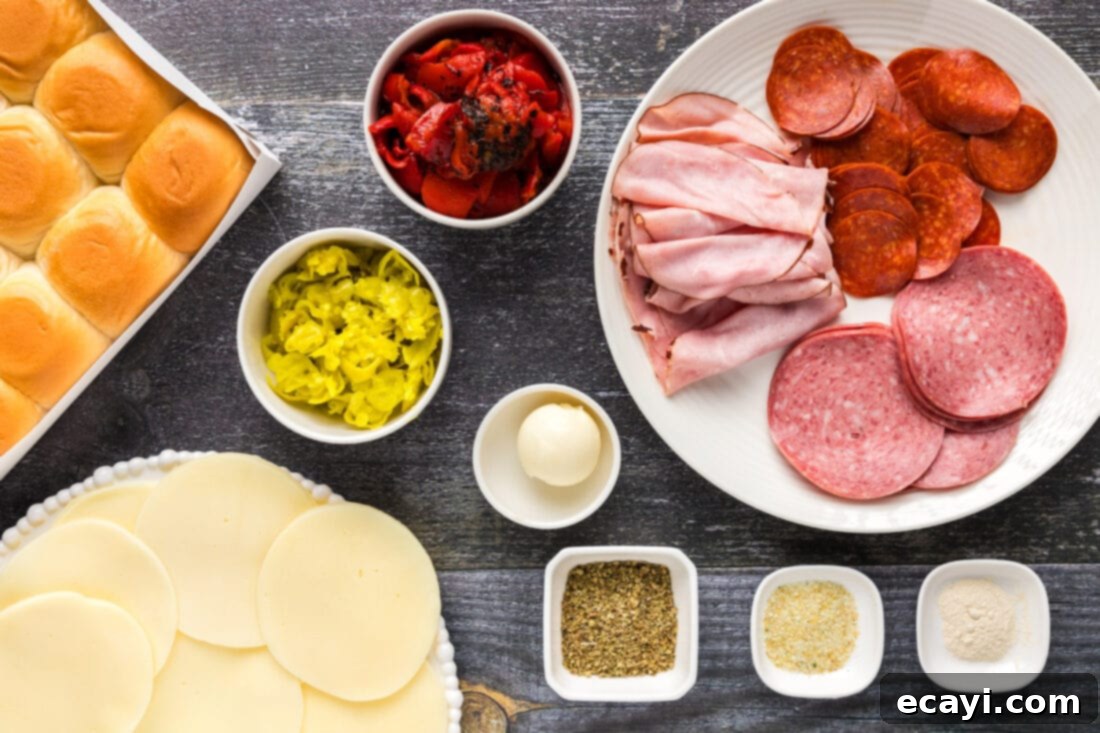
Crafting these amazing Italian sliders begins with selecting the right ingredients. Each component plays a vital role in building the incredible flavor profile that makes these sliders so irresistible. While the recipe is forgiving and allows for some customization, sticking to quality ingredients will yield the best results. You’ll find all precise measurements, ingredient quantities, and step-by-step instructions in the convenient printable recipe card located at the very end of this post.
Ingredient Spotlight & Creative Substitutions
Let’s dive deeper into the key components of our Italian sliders and explore how you can customize them to suit your preferences and what you have on hand.
MEAT – Our recipe features a classic trio of hard salami, deli ham, and pepperoni. The hard salami brings a wonderful, robust flavor and slightly firm texture. Deli ham offers a milder, savory taste and tender mouthfeel, while the pepperoni delivers that signature spicy, slightly greasy kick that’s synonymous with Italian-American sandwiches. For those looking to delve into more traditional Italian deli flavors, consider substituting or adding thin slices of prosciutto for its delicate, salty notes, mortadella for its rich, spiced flavor, or coppa/capicola for a delightful savory-spicy punch. You can even mix and match your favorite combination of meats to create a truly personalized slider. Experiment with roast beef, turkey, or even a vegetarian option like grilled portobello mushrooms or thick slices of roasted eggplant for a meat-free alternative.
CHEESE – We highly recommend using provolone cheese for its excellent melting properties and mild, slightly tangy flavor that complements the meats beautifully. Mozzarella is another fantastic choice, offering a milder taste and an incredible stretch when melted. However, don’t limit yourself! Almost any good melting cheese will work wonderfully on these sliders. Consider Swiss for a nutty flavor, sharp cheddar for a bolder bite, or even a blend of Italian cheeses like provolone and mozzarella for added complexity. The key is to use a cheese that melts smoothly to create that satisfying gooey texture.
BUNS – The foundation of any great slider is a soft, fresh bun. Slider buns are perfectly sized, but Hawaiian rolls are an equally excellent choice, lending a touch of sweetness that beautifully contrasts the savory and tangy fillings. Their slightly sweet and fluffy texture absorbs the butter mixture wonderfully, leading to a perfectly golden, crispy exterior and a soft interior. If you’re feeling ambitious, you can even make your own homemade Hawaiian rolls for an extra special touch. Other suitable options include mini brioche buns for a richer flavor or even small dinner rolls, sliced horizontally. The main goal is a bun that’s soft enough to absorb the butter and toasty enough to hold up to the fillings without becoming too dense.
THE KICK – The combination of roasted red bell peppers and sliced pepperoncini is what truly sets these sliders apart. Roasted bell peppers add a sweet, smoky depth and a tender texture, while the pepperoncini introduces a bright, briny, and slightly spicy tang that cuts through the richness of the meats and cheese. If you prefer more heat, you can add a pinch of red pepper flakes to the butter mixture or opt for spicier pickled peppers like mild jalapeños. For less tang, reduce the amount of pepperoncini or rinse them thoroughly before adding. You could also include finely diced onions or black olives for additional layers of flavor and texture.
Crafting Your Delicious Italian Sliders: A Step-by-Step Guide
These step-by-step photos and instructions are here to help you visualize how to make this recipe successfully. For the full, printable version of this recipe, complete with precise measurements and detailed instructions, simply Jump to Recipe at the bottom of this post.
- Preheat your oven to 350°F (175°C). This ensures your oven is at the optimal temperature for even baking and melting the cheese.
- Carefully cut the entire slab of slider buns in half horizontally, keeping the tops and bottoms intact as much as possible. Place the bottom half of the buns in a parchment-lined baking pan. Parchment paper is essential for easy cleanup and preventing sticking.
- Begin layering your delicious fillings. First, lay a single, even layer of provolone cheese slices over the bottom buns. Then, generously sprinkle a portion of the Italian seasoning over the cheese. Next, add a single layer of hard salami, followed by a layer of deli ham, and finally, a layer of pepperoni. Repeat these layers of cheese and meat once more to create substantial, flavorful sliders. This double layering ensures every bite is packed with savory goodness and plenty of melty cheese.
- Distribute the roasted red bell peppers evenly over the meat and cheese layers. Their sweet, smoky flavor will infuse into the sandwiches as they bake. Next, scatter the sliced pepperoncinis across the peppers. These add a crucial tangy, slightly spicy element that brightens the entire slider.
- Add one final layer of provolone cheese on top of the peppers and pepperoncinis. This top layer of cheese will melt down, creating a delicious, gooey seal over the fillings, and also holds everything in place. Finish with another sprinkle of Italian seasoning for an extra aromatic boost.
- In a small bowl, prepare your flavor-packed butter topping. Combine the softened unsalted butter with garlic salt, onion powder, and the remaining Italian seasoning. Mix thoroughly until all ingredients are well combined, creating a fragrant, savory spread. This butter mixture is what gives the sliders their golden, toasty crust and adds incredible depth of flavor.
- Carefully place the top half of the slider buns over your layered fillings in the baking pan. Using a pastry brush, generously brush the entire surface of the top buns with the prepared butter mixture. Ensure every bun is coated for maximum flavor and an even golden-brown finish. This buttery top layer is key to achieving that irresistible texture.
- Bake the sliders in your preheated oven for approximately 20 minutes, or until the cheese is completely melted and bubbly, and the tops of the buns are beautifully golden brown and toasted. Keep an eye on them to prevent over-browning. Once baked, remove from the oven, let them cool slightly, and then slice them apart for serving.
Frequently Asked Questions & Expert Tips for Perfect Sliders
While these sliders are undeniably best enjoyed hot and fresh from the oven, especially for that ideal melty cheese and toasty bun experience, you can certainly do some prep work in advance. To avoid soggy buns, which can happen if assembled overnight, it’s recommended to assemble them the morning of your event. You can layer all the ingredients, including the meats, cheeses, and peppers, onto the bottom buns. Cover them tightly with plastic wrap and refrigerate. Prepare the butter mixture separately and keep it covered in the fridge. When ready to bake, place the tops of the buns, brush with the softened butter mixture, and bake as directed. This strategy saves you significant time right before serving.
Should you be lucky enough to have any leftovers, store them properly to maintain their deliciousness. Place any cooled Italian sliders in an air-tight container and keep them refrigerated for up to 4 days. When it’s time to reheat, your best bet for retaining that delightful texture is to use an oven or an air fryer. Pop them into a 350°F (175°C) oven for about 10-15 minutes, or until they are warmed through and the cheese is soft again. Alternatively, the air fryer works wonders for crisping up the buns; use the reheat function at 300-325°F (150-160°C) for 5-7 minutes, checking frequently to prevent burning.
Absolutely! While roasted bell peppers and pepperoncini are fantastic, you can certainly customize your Italian sliders with other vegetables. Sautéed onions or caramelized onions add a wonderful depth of flavor. Thinly sliced black olives or green olives can contribute extra saltiness and brininess. Fresh baby spinach or arugula can be added after baking for a fresh, peppery contrast. Even sun-dried tomatoes (oil-packed and drained) can provide a sweet, concentrated tomato flavor that pairs beautifully with the Italian meats.
A standard 9×13 inch baking pan (or similar size) is ideal for a batch of 12 sliders. The key is to use a pan that allows the buns to fit snugly but not overly crowded. This ensures they steam slightly as they bake, keeping them moist, while also allowing the tops to get wonderfully golden and crispy. Lining the pan with parchment paper is highly recommended for easy lifting and cleanup, preventing any melted cheese from sticking to the bottom.
If you love a little extra heat, there are several ways to spice up these Italian sliders! You can add a generous pinch of red pepper flakes to the butter mixture before brushing it onto the buns. Alternatively, you could incorporate a layer of spicy giardiniera (Italian pickled vegetables) instead of or in addition to the pepperoncini. Diced hot cherry peppers or a dash of hot sauce brushed on the inside of the buns before layering can also bring that fiery kick you’re looking for.
Delectable Serving Suggestions for Your Italian Sliders
These Italian sliders are incredibly versatile and can be dressed up or down depending on the occasion. While they are undeniably delicious on their own, a few simple additions can elevate their flavor profile even further. Optionally, consider enhancing them with flavorful spreads such as a vibrant pesto, offering a fresh, herbaceous note; a rich sun-dried tomato spread for a concentrated, sweet-tart burst; a creamy garlic aioli for an extra layer of savory depth; or a sweet and tangy balsamic glaze drizzled over the top before serving. Each of these adds a unique dimension, though they are just as satisfying without any extra adornment!
For parties, arrange them artfully on a large platter, perhaps with a side of extra pepperoncinis or a small bowl of marinara for dipping. As a weeknight dinner, pair these satisfying sliders with a fresh green salad tossed in a light vinaigrette, a hearty pasta salad, a simple side of potato chips, or a warm bowl of tomato soup for a complete and comforting meal. Their portability and crowd-pleasing nature make them perfect for game nights, potlucks, family gatherings, or simply a fun and easy meal during the week.
Explore More Delicious Slider Recipes
If you love the convenience and flavor of sliders as much as we do, you’re in for a treat! We have a fantastic collection of other slider recipes that are just as easy to make and equally delicious. Perfect for any occasion, these mini sandwiches are always a crowd-pleaser.
- Pizza Sliders
- Roast Beef Sliders
- Pulled Pork Sliders
- Ham and Cheese Sliders
- Philly Cheesesteak Sliders
I absolutely adore spending time in the kitchen, creating and experimenting with new recipes, and sharing all my culinary experiences with you! Remembering to come back and check for new recipes every day can be a challenge, which is why I offer a convenient newsletter. Every time a fresh new recipe is published, it lands right in your inbox. Simply subscribe here and start receiving your free daily recipes, making it easier than ever to discover your next favorite meal or treat!

Italian Sliders
IMPORTANT – There are often Frequently Asked Questions within the blog post that you may find helpful. Simply scroll back up to read them!
Print It
Pin It
Rate It
Save ItSaved!
Ingredients
- 12 slider buns or Hawaiian rolls
- 15 slices provolone cheese divided
- 2 Tablespoons Italian seasonings divided
- 12 slices hard salami
- 12 slices deli ham
- 26 slices pepperoni
- 1 cup roasted red bell peppers
- ¾ cup sliced pepperoncinis
- 1 Tablespoon unsalted butter very well softened
- 2 teaspoons garlic salt
- 1 teaspoon onion powder
Things You’ll Need
-
13×9 baking pan or larger
Before You Begin
- For the meats, feel free to get creative! We’ve used hard salami, deli ham, and pepperoni, but traditional Italian options like prosciutto, mortadella, or coppa/capicola would be fantastic. You can easily adapt to your favorite combination of deli meats.
- When it comes to cheese, provolone is a top choice for its excellent melt and balanced flavor. Mozzarella is another popular option, and truly, most good melting cheeses will work wonderfully to create that desired gooey texture.
Instructions
-
Preheat oven to 350 F (175 C).
-
Cut buns in half horizontally, keeping them connected if possible, and place the bottom half in a parchment lined 13×9 baking pan.
-
Add a single layer of provolone cheese over the bottom buns, then sprinkle with Italian seasoning. Layer salami, ham, and pepperoni. Repeat these layers (cheese, seasoning, salami, ham, pepperoni).
-
Top the meat layers with roasted red bell peppers and sliced pepperoncinis.
-
Add one more layer of provolone cheese on top and sprinkle with the remaining Italian seasoning.
-
In a small bowl, combine the softened unsalted butter, garlic salt, onion powder, and the last portion of Italian seasoning. Mix well.
-
Place the top half of the buns over the assembled fillings and brush generously with the prepared butter mixture.
-
Bake for 20 minutes, or until cheese is melted and buns are golden and toasted.
Expert Tips & FAQs
- For the best taste and texture, these Italian sliders are ideal when made the day of serving, preventing the buns from becoming soggy if left overnight. However, you can prep the fillings and butter mixture in the morning to save time for later assembly and baking.
- Store any leftover sliders in an air-tight container in the refrigerator for up to 4 days. Reheat them in a 350°F (175°C) oven until warmed through, or for a quicker and crispier result, use an air fryer’s reheat function.
- Don’t be afraid to experiment with other Italian-inspired ingredients. Consider adding thinly sliced red onion, black olives, or even a drizzle of balsamic glaze to the layers for additional flavor complexity.
Nutrition
The recipes on this blog are tested with a conventional gas oven and gas stovetop. It’s important to note that some ovens, especially as they age, can cook and bake inconsistently. Using an inexpensive oven thermometer can assure you that your oven is truly heating to the proper temperature. If you use a toaster oven or countertop oven, please keep in mind that they may not distribute heat the same as a conventional full sized oven and you may need to adjust your cooking/baking times. In the case of recipes made with a pressure cooker, air fryer, slow cooker, or other appliance, a link to the appliances we use is listed within each respective recipe. For baking recipes where measurements are given by weight, please note that results may not be the same if cups are used instead, and we can’t guarantee success with that method.
