The Best Classic Lemon Bars Recipe: Easy, Zesty & Irresistibly Sweet-Tart
Craving a sunshine-filled dessert that’s effortlessly delicious? Look no further! This truly is the best lemon bar recipe you’ll ever make. Forget complicated techniques or a long list of obscure ingredients – these lemon bars are incredibly easy to prepare, relying on just 6 simple staples, most of which are likely already in your pantry. Every single bite delivers a perfect balance of zesty lemon tang and sweet, buttery richness, making them an absolute showstopper for any occasion. They’re guaranteed to be a hit, so be prepared to share the recipe – everyone who tries them will be asking for it!
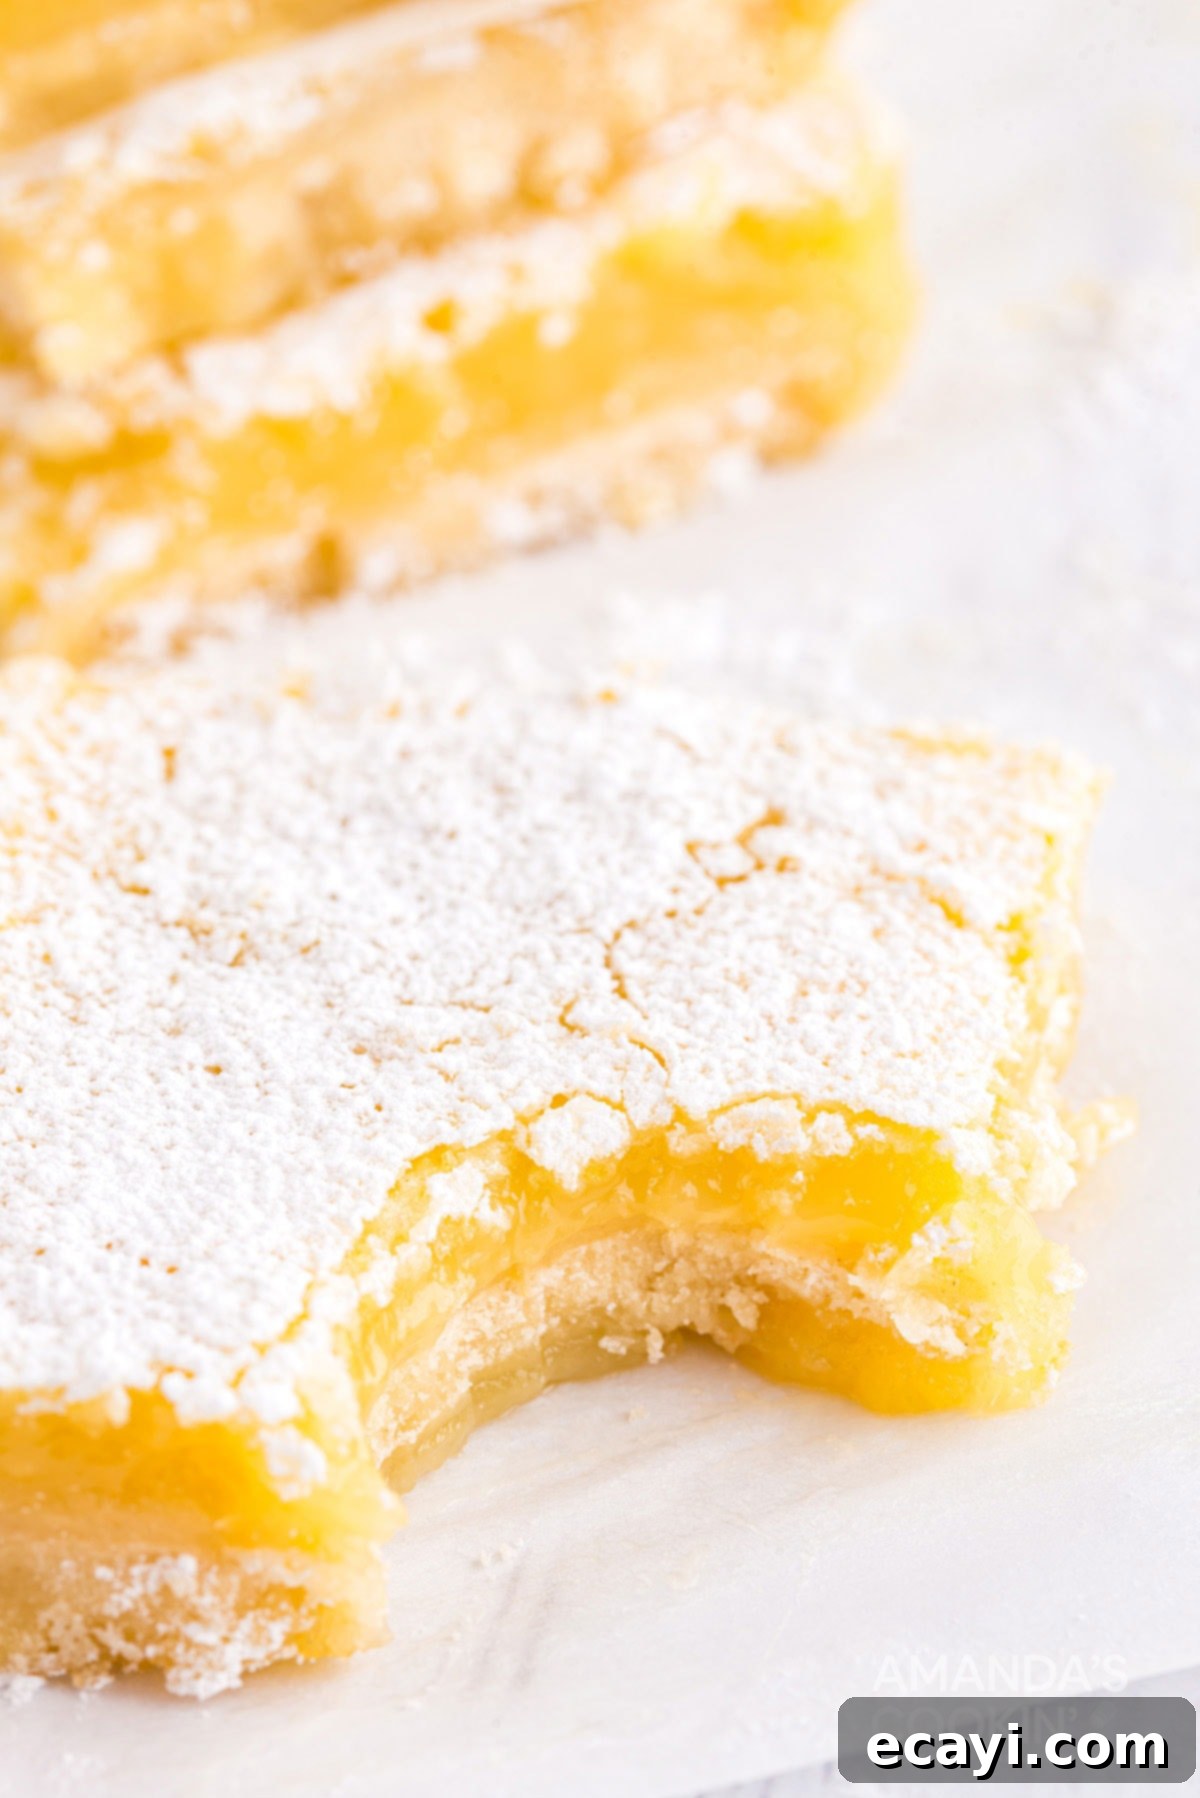
Why This Lemon Bar Recipe Is a Must-Try
Over the years, I’ve experimented with countless lemon bar variations, testing different ratios, baking times, and ingredient combinations. My mission was to create a lemon bar that consistently delivered perfection: a tender, buttery shortbread crust paired with a vibrantly tart and smooth lemon filling. This recipe is the culmination of that journey, and I confidently say it’s the one you’ll come back to again and again. You absolutely won’t regret giving these a try!
What makes this recipe stand out? Primarily, its incredible simplicity and the impeccable balance it achieves. With only 6 core ingredients, you can whip up a batch of these extraordinary bars without a special trip to the grocery store. The ingredient list is minimal, yet the flavor is anything but! The crust melts in your mouth, providing a delightful contrast to the bright, tangy lemon curd-like topping. It’s a dessert that feels gourmet but is surprisingly accessible for even novice bakers.
More irresistible dessert bars – If you love easy, crowd-pleasing bar recipes, be sure to try my amazing fudge brownies for chocolate lovers, and my ooey gooey S’mores bars for a taste of summer nostalgia. And if you’re a fan of those soft, frosted Lofthouse-style cookies from the grocery store, you absolutely can’t miss my recipe for these delightful frosted sugar cookie bars. For something truly decadent and over-the-top, I even have a recipe for Slutty Brownies!
Essential Ingredients You Will Need for the Best Lemon Bars
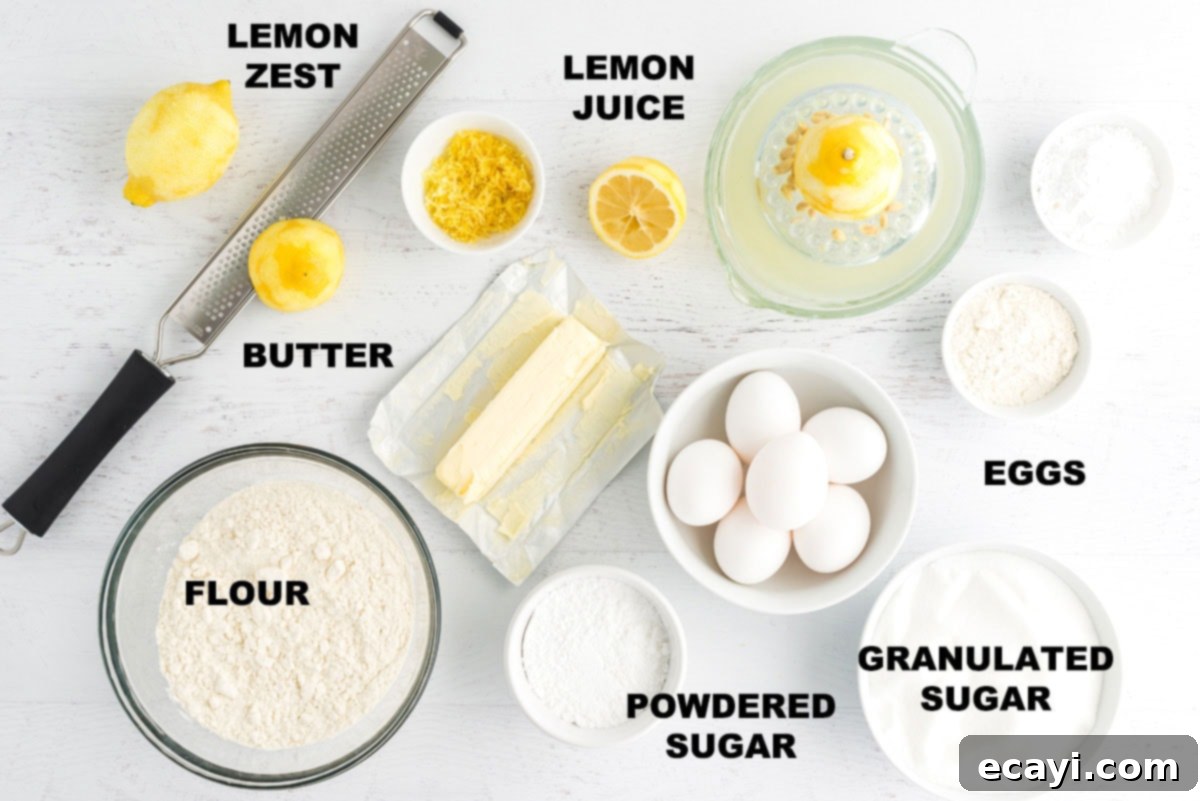
The beauty of these classic lemon bars lies in their simplicity, utilizing common pantry staples to create an extraordinary dessert. Each ingredient plays a crucial role in achieving that perfect sweet-tart balance and delightful texture.
- All-Purpose Flour: Forms the foundation of our tender shortbread crust and helps thicken the lemon filling.
- Cold Unsalted Butter: Essential for a flaky, crumbly shortbread crust. Keeping it cold is key to preventing overmixing and ensuring a light texture. Using unsalted butter allows you to control the salt content in the recipe.
- Powdered Sugar (Confectioners’ Sugar): Used in the crust for a fine, melt-in-your-mouth texture, and also for dusting on top for a beautiful presentation and a touch more sweetness.
- Granulated Sugar: Sweetens the vibrant lemon filling, balancing the tartness of the fresh lemon juice.
- Large Eggs: Act as a binder and create the rich, custard-like consistency of the lemon filling. They contribute to the classic texture and golden hue.
- Fresh Lemon Juice: This is where the magic happens! Freshly squeezed lemon juice is paramount for that bright, natural, and authentic lemon flavor. Bottled lemon juice simply won’t yield the same vibrant taste.
- Lemon Zest: Don’t skip this! Lemon zest contains concentrated lemon oil, which provides an intense burst of lemon aroma and flavor without adding extra liquid or acidity. Always zest the lemon first, then juice it. Aim for bright yellow zest, avoiding the bitter white pith.
These minimal ingredients combine to create a dessert that’s far greater than the sum of its parts. The quality of your lemons truly makes a difference, so choose firm, fragrant lemons for the best results.
Get all measurements, ingredients, and instructions in the printable version at the end of this post.
How to Make These Irresistible Lemon Bars: A Step-by-Step Guide
Making these lemon bars is a straightforward process, broken down into two main parts: preparing the buttery shortbread crust and then creating the luscious lemon filling. Follow these simple steps, and you’ll have a batch of perfect lemon bars ready to enjoy.
These step-by-step photos and instructions are designed to help you visualize exactly how to make this recipe. For a quick, printable version of the full recipe with all measurements, please scroll down to the dedicated recipe card at the end of this post!
Before you begin, remember to preheat your oven to 350°F (175°C) and line a 13×9 inch baking pan with parchment paper. Make sure the parchment paper hangs over the edges of the pan, as these “handles” will be crucial for easily lifting the cooled bars out later.
To Make the Perfect Buttery Crust
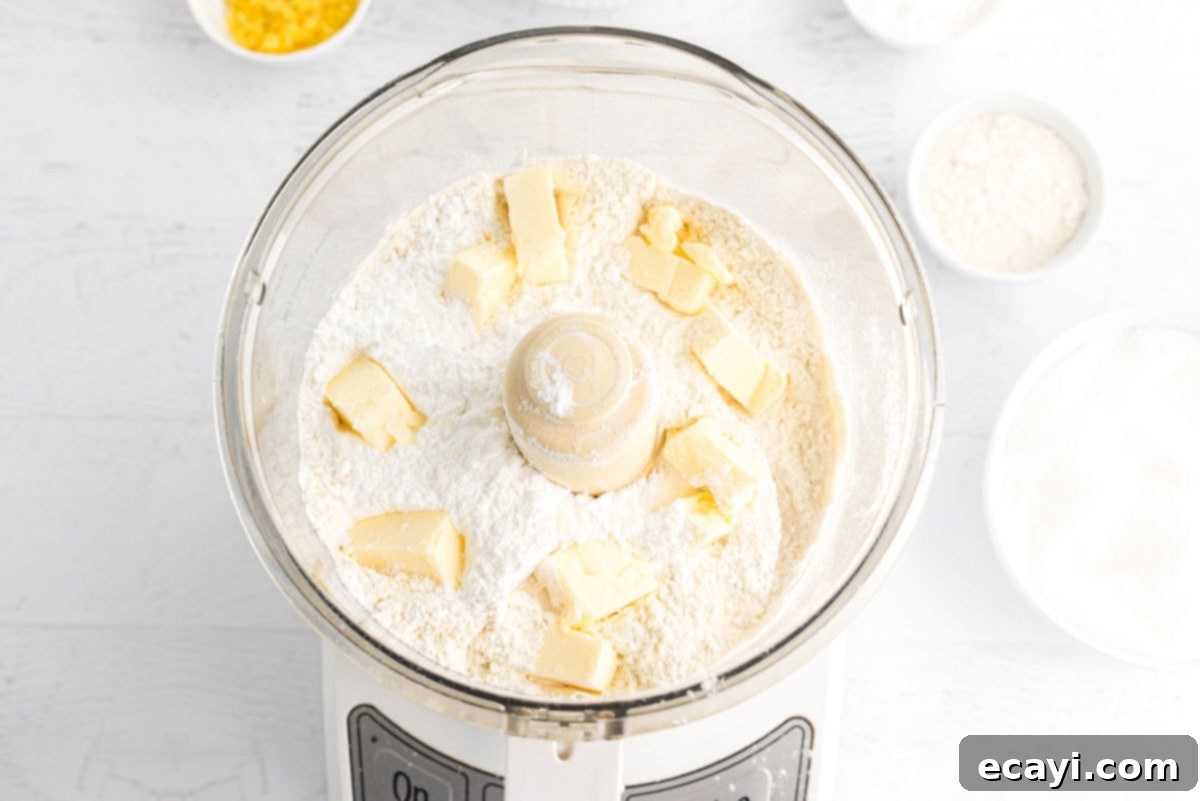
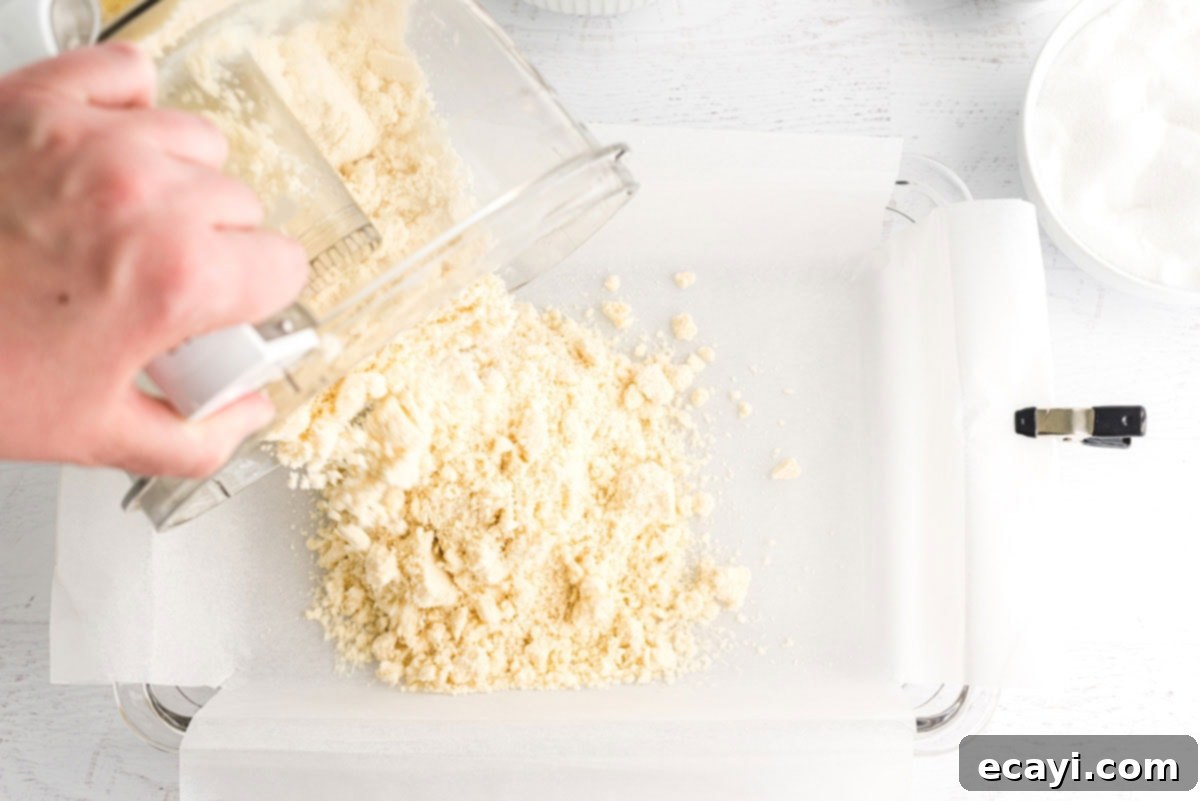
- In the bowl of your food processor, combine the all-purpose flour, powdered sugar, and cold, cubed butter. Pulse these ingredients together until coarse crumbs are formed. Continue processing just until the mixture begins to come together and resembles a soft, crumbly dough. The key here is not to overmix, which can result in a tough crust. If you don’t have a food processor, you can cut in the butter by hand using a pastry blender, two knives, or even your fingertips until a similar crumbly texture is achieved.
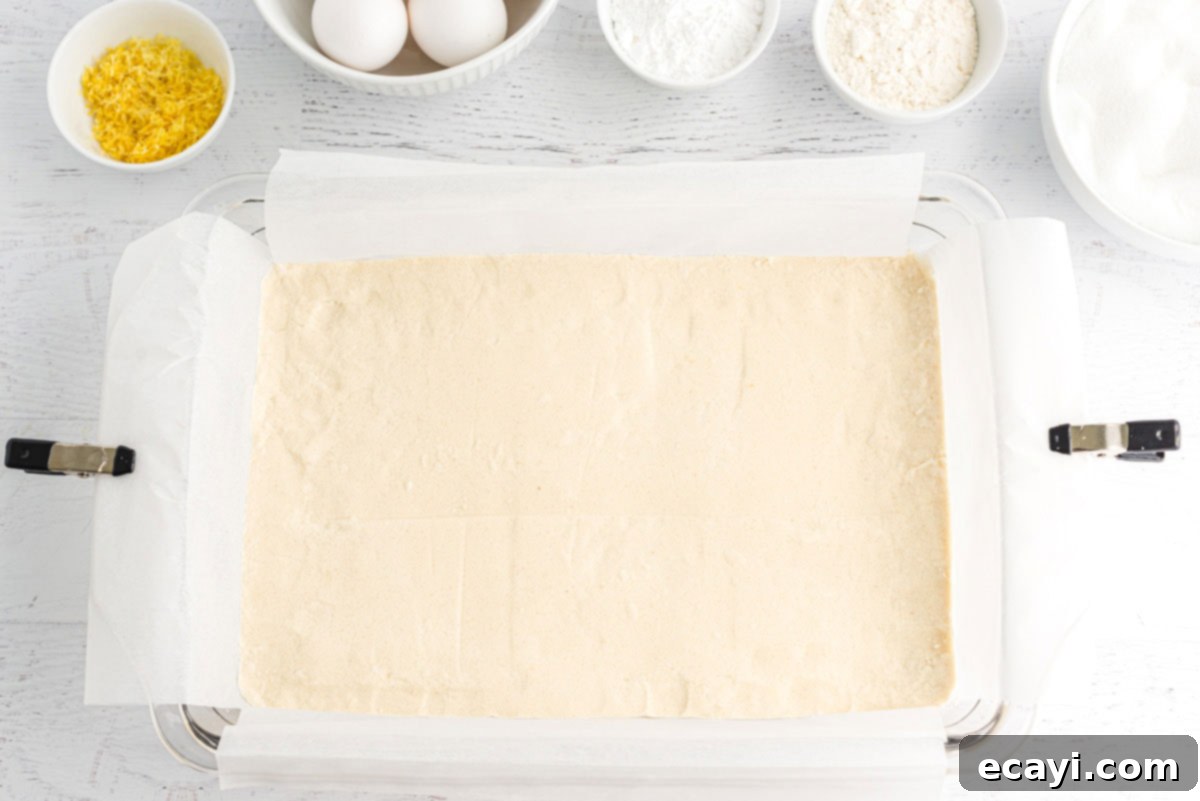
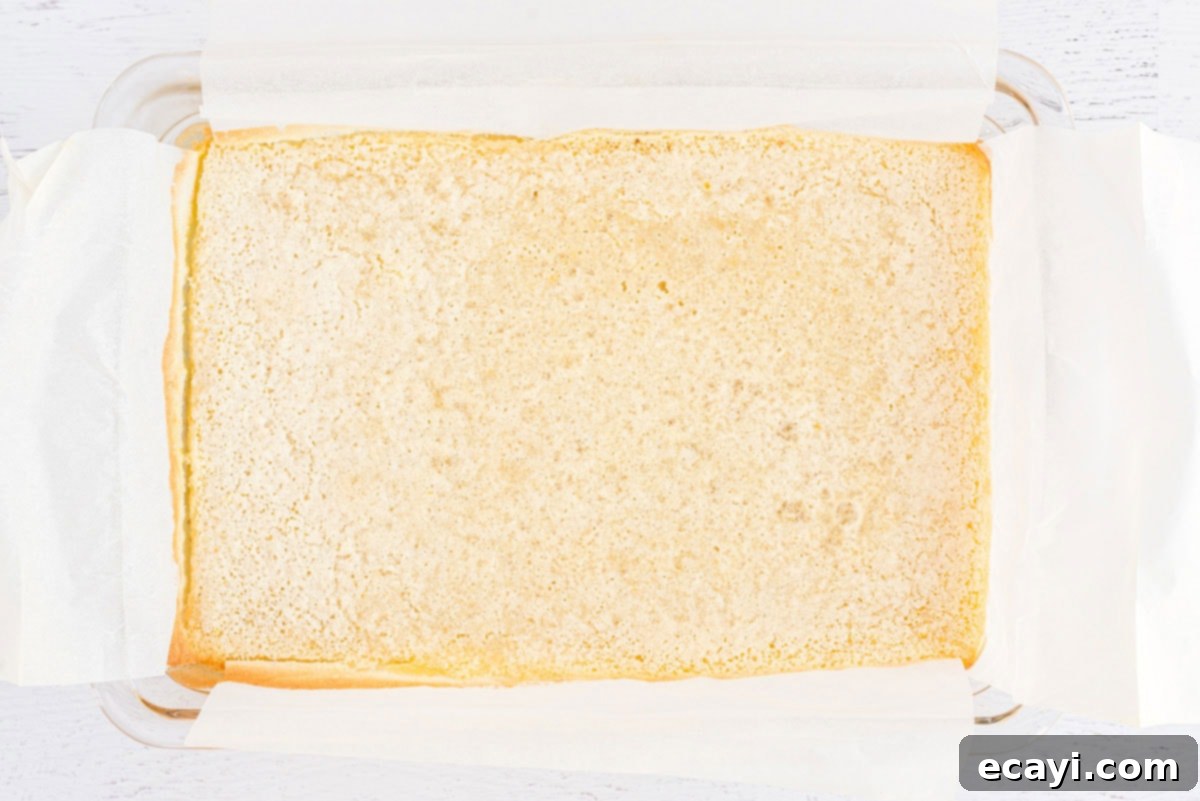
- Once your crumb mixture is ready, carefully dump it into the prepared 13×9 inch pan. Use your fingers or the bottom of a flat glass to press the mixture evenly across the bottom of the pan, forming a compact crust. Bake this crust in your preheated oven for 18-20 minutes, or until it’s lightly golden brown around the edges. This pre-baking step is essential for creating a sturdy, flavorful crust that won’t become soggy once the lemon filling is added. Remove the pan from the oven and allow the crust to cool slightly on a wire rack while you prepare the filling. It doesn’t need to be completely cold, just warm.
To Make the Zesty Lemon Filling
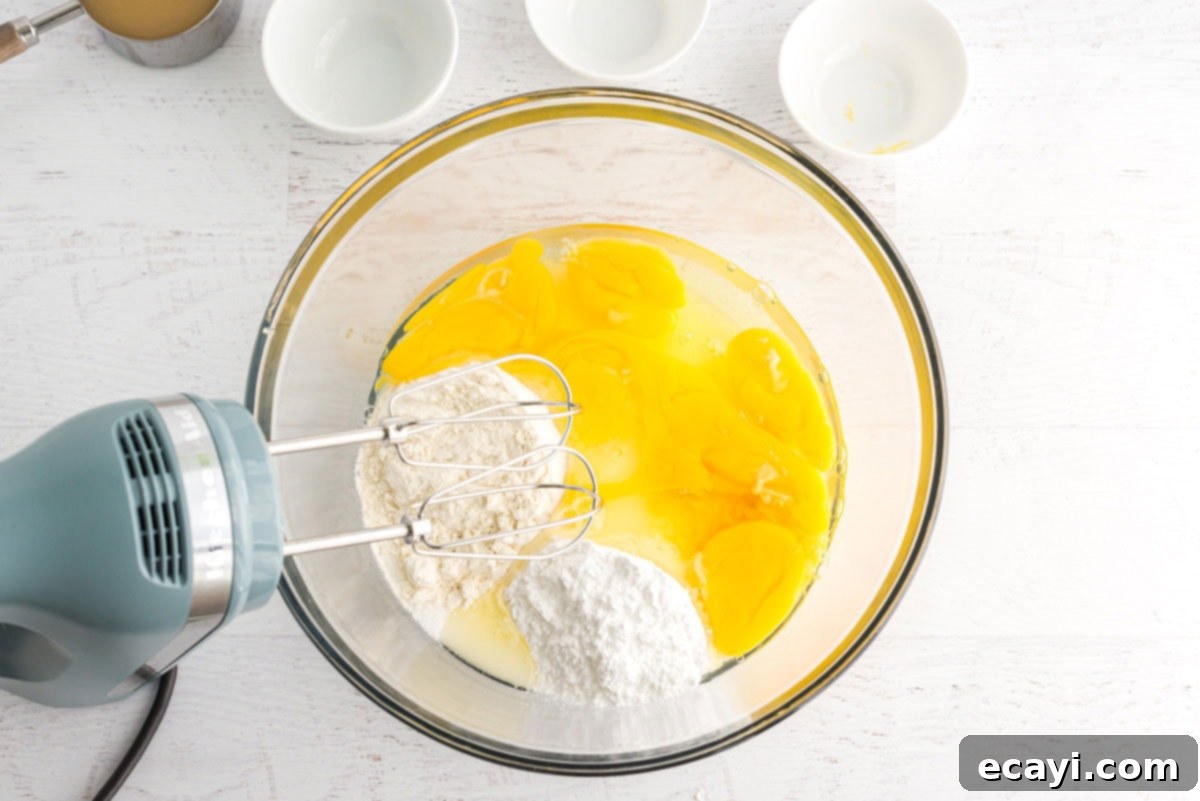
- While the crust is cooling, prepare the vibrant lemon filling. In a large mixing bowl, using an electric mixer set at medium speed, beat together the granulated sugar, remaining all-purpose flour, large eggs, freshly squeezed lemon juice, and aromatic lemon zest. Continue to beat until all the ingredients are thoroughly blended and the mixture appears smooth and slightly thickened. The flour helps to stabilize the filling and give it that classic, sliceable consistency.
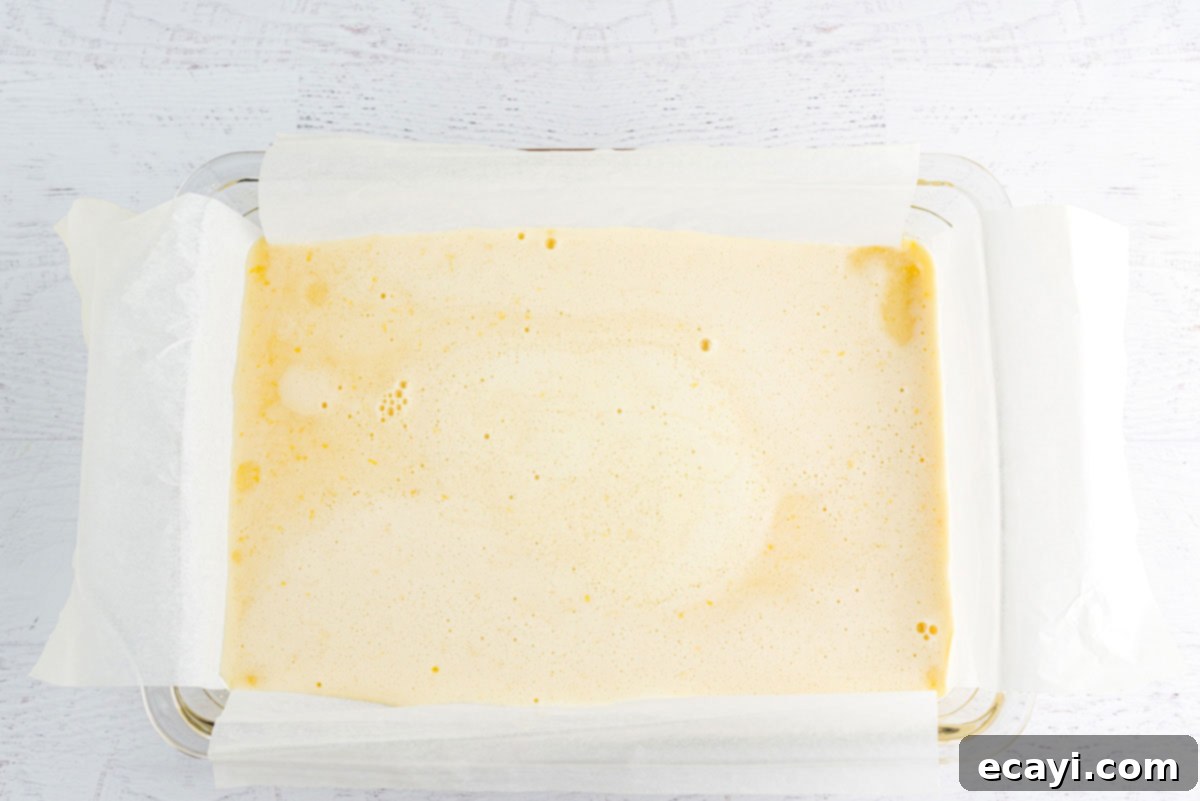
- Carefully pour the prepared lemon mixture evenly over the still-warm crust in the baking pan. Return the pan to the oven and bake for another 18-20 minutes, or until the center of the lemon filling is set (it should only jiggle slightly when the pan is gently shaken) and the edges are beautifully golden. Avoid overbaking, as this can lead to a rubbery texture. Once baked, remove the pan from the oven and place it back on the wire rack to cool completely. This cooling process is critical and will take approximately 2 hours for the filling to fully set and firm up. Patience is key for perfectly sliced bars!
- After the bars have completely cooled at room temperature, transfer the pan to the refrigerator and chill for about 30 minutes. This extra chilling step helps the lemon filling to firm up even more, making the bars much easier to cut into neat, clean squares.
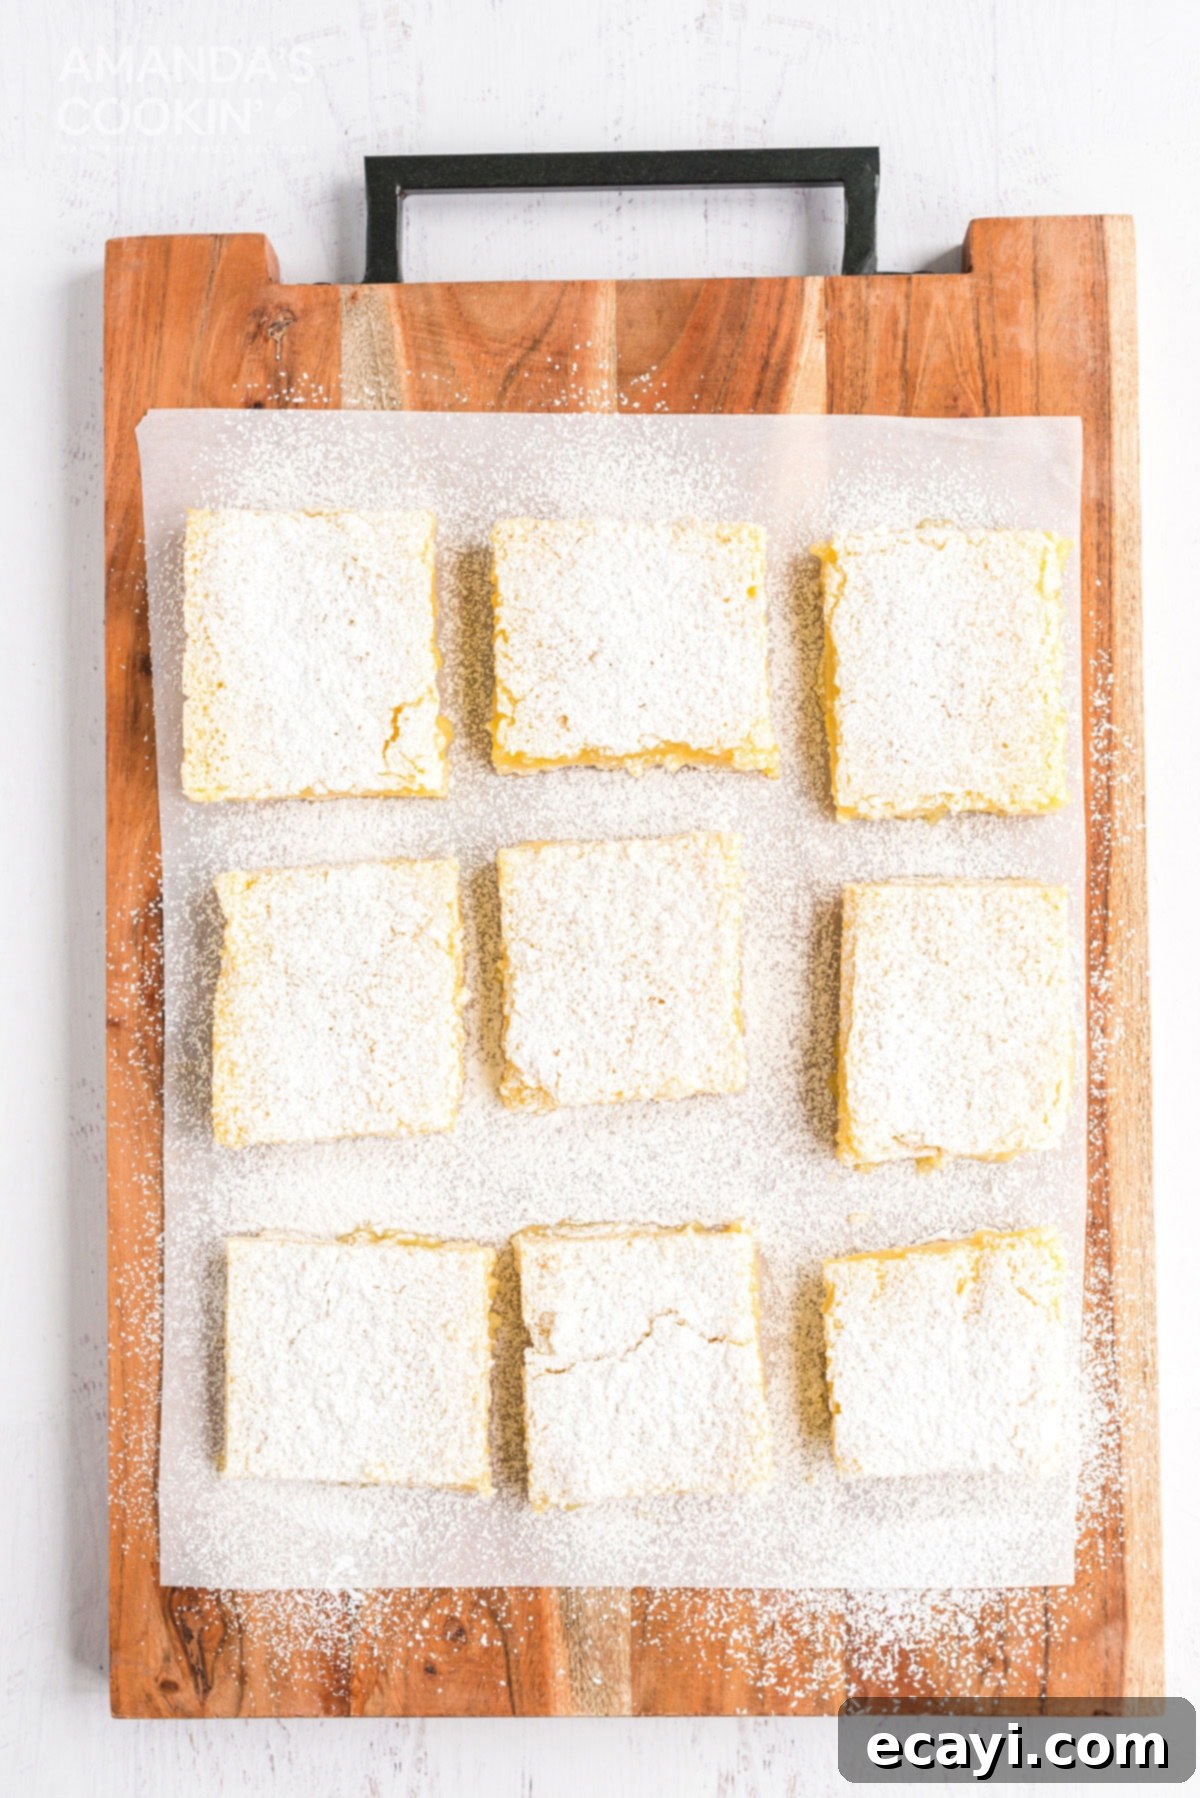
- Once chilled, remove the pan from the fridge. Use the parchment paper “handles” to gently lift the entire slab of lemon bars out of the pan and onto a cutting board. Sift a generous amount of powdered sugar across the top for an elegant finish and an extra touch of sweetness. Then, using a sharp knife, cut the large slab into individual bars, approximately 2″ x 1.5″ in size, yielding about 30 delicious bars. Clean your knife between cuts for the cleanest possible edges.
Expert Tips & Frequently Asked Questions (FAQs)
- Achieving Clean Cuts: For perfectly neat lemon bars, chilling them is absolutely essential. Store them in the fridge for about 30-40 minutes after they’ve cooled completely. Any longer, and the shortbread crust can become too solid from the butter firming up, making it difficult to cut smoothly. If this happens, simply let them sit at room temperature for 15-20 minutes to soften slightly before cutting. A sharp knife, wiped clean between each cut, will also help achieve crisp edges.
- Storage Solutions: These lemon bars are best stored tightly covered at room temperature for up to 2-3 days. If you prefer them chilled or need to store them longer, they can be kept in an airtight container in the refrigerator for up to a week. Bring them closer to room temperature for the best flavor and texture before serving.
- Food Processor Alternatives: While the recipe calls for a food processor for the crust, mainly because it’s quicker and easier, you certainly don’t need one. You can achieve the same crumbly crust by cutting the cold butter into the flour and powdered sugar using a pastry blender, two butter knives in a scissor-like motion, or even your clean fingertips until the mixture resembles coarse crumbs.
- Freezing Lemon Bars: Yes, you can freeze these delightful lemon bars! I recommend cutting them into individual bars first. Then, arrange them in a single layer on a cookie sheet lined with waxed paper, ensuring they aren’t touching. Freeze for about 2 hours until solid. Once frozen, wrap each individual bar tightly with plastic wrap, then place the wrapped bars into a freezer-safe bag or airtight container. They can be stored in the freezer for up to 3 months. To thaw, simply remove a frozen lemon bar, unwrap it immediately, and let it thaw at room temperature on a plate for about 30-60 minutes.
- Lemon Selection: When choosing lemons, look for ones that are firm, heavy for their size (indicating juiciness), and have smooth, brightly colored skin. Avoid lemons that are soft, shriveled, or have blemishes.
- Zesting vs. Juicing: Always zest your lemons before you cut and juice them. It’s much easier to zest a whole, firm lemon than a juiced half.
- Don’t Overbake the Filling: The lemon filling should be set but still have a slight jiggle in the center when gently moved. Overbaking can lead to a rubbery texture, diminishing its custardy goodness.
- Serving Suggestions: While perfect on their own, lemon bars can be elevated with a dollop of whipped cream, a few fresh berries (raspberries or blueberries complement the lemon beautifully), or a light dusting of extra lemon zest for added aroma.

These sweet-tart lemon bar treats are incredibly versatile and always a welcome addition. They’re perfect for any occasion – from a casual family dessert to a sophisticated potluck or your next backyard barbecue. The bright, refreshing flavor is especially delightful in spring and summer, but truly, they’re a comforting joy any time of year. I genuinely hope you and your loved ones enjoy them as much as we do!
More Zesty Lemon Inspired Recipes to Try
If you find yourself smitten with the irresistible flavor of lemon, you’re in luck! There’s a whole world of lemon-infused desserts waiting to be explored. From tangy tarts to moist loaves, lemon brings a bright, refreshing zing to any treat. Here are some of my other favorite lemon-inspired recipes that you’re sure to adore:
- Lemon Streusel Squares
- Lemon Lush
- Lemon Cream Cheese Pudding Dessert
- Pink Lemonade Cake
- Lemon Blueberry Trifle
- Lemon Zucchini Bread with Blueberries
- Starbucks Lemon Loaf
- Lemon Meringue Pie Bars
- Instant Pot Lemon Curd
- Lemon Cream Cheese Pudding Dessert
I absolutely adore baking and cooking, and sharing my favorite recipes with you brings me so much joy! I know it can be challenging to remember to come back and search for that perfect dish, so I’ve made it super easy for you to stay updated with my weekly newsletter! You can subscribe for free, and I’ll send a collection of delicious new recipes directly to your email inbox every week.

Lemon Bars
IMPORTANT – There are often Frequently Asked Questions and Expert Tips within the blog post that you may find helpful. Simply scroll back up to read them!
Print It
Rate It
Save ItSaved!
Ingredients
Crust
- 2 cups all purpose flour
- 1 cup cold unsalted butter, cubed
- ½ cup powdered sugar
Lemon Filling
- 2 cups granulated sugar
- ⅓ cup all purpose flour
- 6 large eggs
- ½ cup lemon juice freshly squeezed
- 2 tablespoon lemon zest
Topping
- ¼ cup powdered sugar
Things You’ll Need
-
13×9 baking pan
-
Food processor
-
Electric mixer
-
Wire cooling racks
Before You Begin
- These lemon bars will cut neatly if you chill them first. Store in the fridge for about 30-40 minutes. Any longer and the shortbread becomes too solid to get through easily. This is from the butter solidifying. If that happens, leave them at room temperature for 20 minutes or so.
- Store lemon bars tightly covered at room temperature.
- The instructions call for a food processor, simply because it’s easier and faster. You can use your mixer for the filling, and if you prefer, you can cut the butter in the old fashioned way, with your fingers or using two butter knives scissor fashion.
Instructions
-
Preheat oven to 350 F (175 C) and line a 13×9 baking pan with parchment paper. Be sure that the parchment hangs over the edges; you will use these overhangs to lift out the bars when they are cool.
Make the Crust
-
In the bowl of your food processor, pulse to combine flour, powdered sugar and cold, cubed butter. Process until coarse crumbs are formed, just as the dough begins to come together. Dump crumb mixture into the prepared pan and press evenly and firmly into the bottom. Bake for 18-20 minutes, until lightly browned. Remove from oven and allow to cool on a wire rack for about 10-15 minutes.
Make the Lemon Filling
-
With an electric mixer set at medium speed, beat granulated sugar, flour, eggs, freshly squeezed lemon juice, and lemon zest until all ingredients are well blended and the mixture is smooth.
-
Pour the lemon mixture evenly over the warm crust in the pan. Return to the oven; bake until the center of the filling is set (it should only jiggle slightly) and the edges are golden, about 18-20 minutes. Remove the pan to a wire rack; cool completely at room temperature for at least 2 hours.
-
When completely cool, refrigerate the pan for about 30 minutes to help further set the filling and make for easier cutting.
-
Remove the bars from the fridge and lift them out of the pan using the parchment paper handles. Sift some additional powdered sugar generously across the top for garnish, then cut into individual bars (approximately 2″ x 1.5″, yielding about 30 bars). Serve and enjoy!
Nutrition
The recipes on this blog are tested with a conventional gas oven and gas stovetop. It’s important to note that some ovens, especially as they age, can cook and bake inconsistently. Using an inexpensive oven thermometer can assure you that your oven is truly heating to the proper temperature. If you use a toaster oven or countertop oven, please keep in mind that they may not distribute heat the same as a conventional full sized oven and you may need to adjust your cooking/baking times. In the case of recipes made with a pressure cooker, air fryer, slow cooker, or other appliance, a link to the appliances we use is listed within each respective recipe. For baking recipes where measurements are given by weight, please note that results may not be the same if cups are used instead, and we can’t guarantee success with that method.
This post originally appeared here on Apr 11, 2013, and has since been updated with new photos, expanded content, and expert tips for an even better baking experience.
